The Conversation (0)
Sign Up
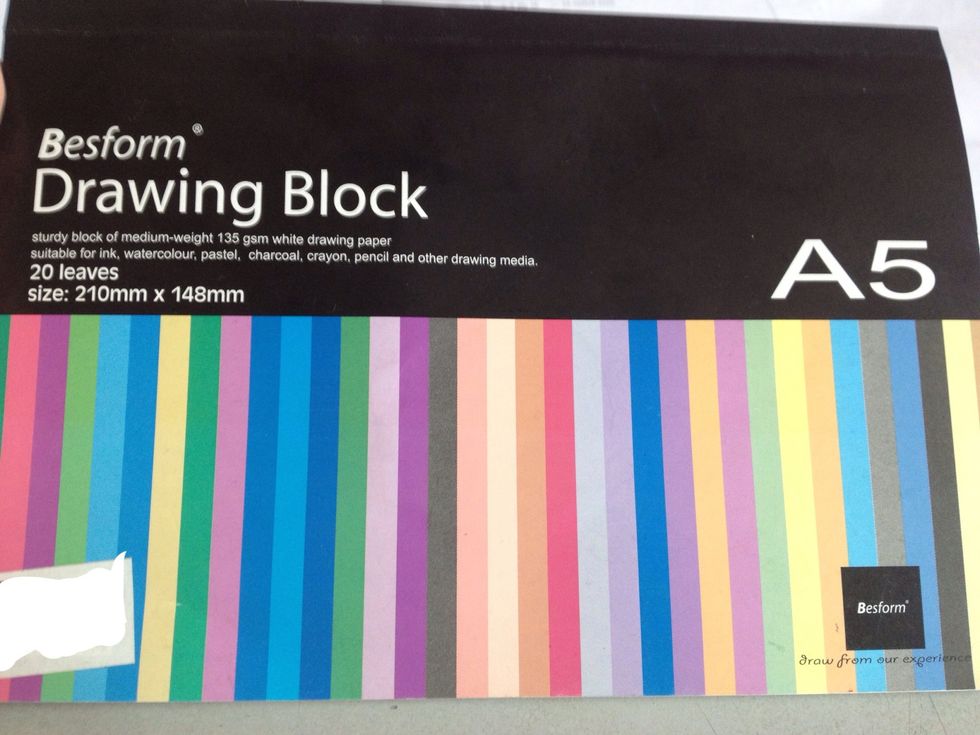
I used A5 drawing block, it makes good card stock.

Tear out a piece of drawing block, and fold into half. Rub the creases down with a ruler. Fold over to the other side and repeat to get neater creases.

Find suitable pictures to fit the theme of your card, and cut. The shape in which you cut the picture out depends on your desired design of the card as you'll see later.

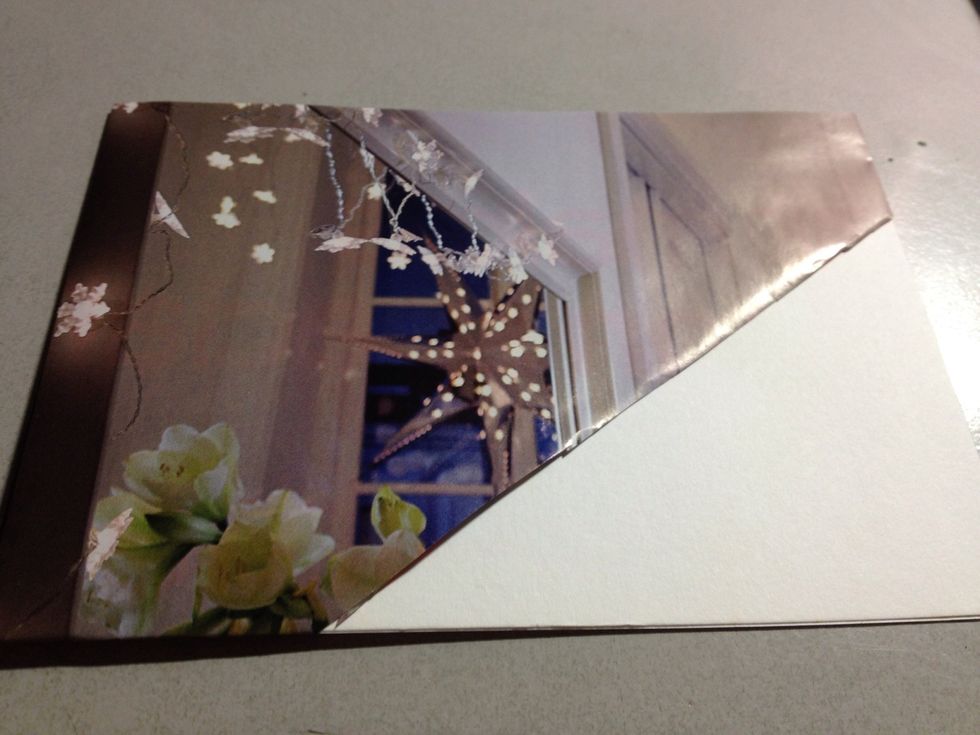
My cut triangle strip. I chose this picture to represent "celebration" since I'm making a birthday card. I would not recommend using newspaper pictures since its ink smudges easily.
Fold over your card stock to see how you want to fit it onto your card. Trim the picture accordingly.

I couldn't find another suitable picture for "celebration" so I chose a picture representing "nature" as my friend likes nature. I know they don't match...

Cut picture

Adjust both pictures until they're layered over, and across the card it's just one straight line distinguishing between the 2 pictures. Don't worry about whether the line is neat. Glue them down.
Trim off the ugly edges which are sticking out from the card.

I used a ribbon on the line to lend a hint of elegance to the card. If you prefer to stick to the creative feel of the card, you can use a thin strip of paper instead. Glue down the ribbon.
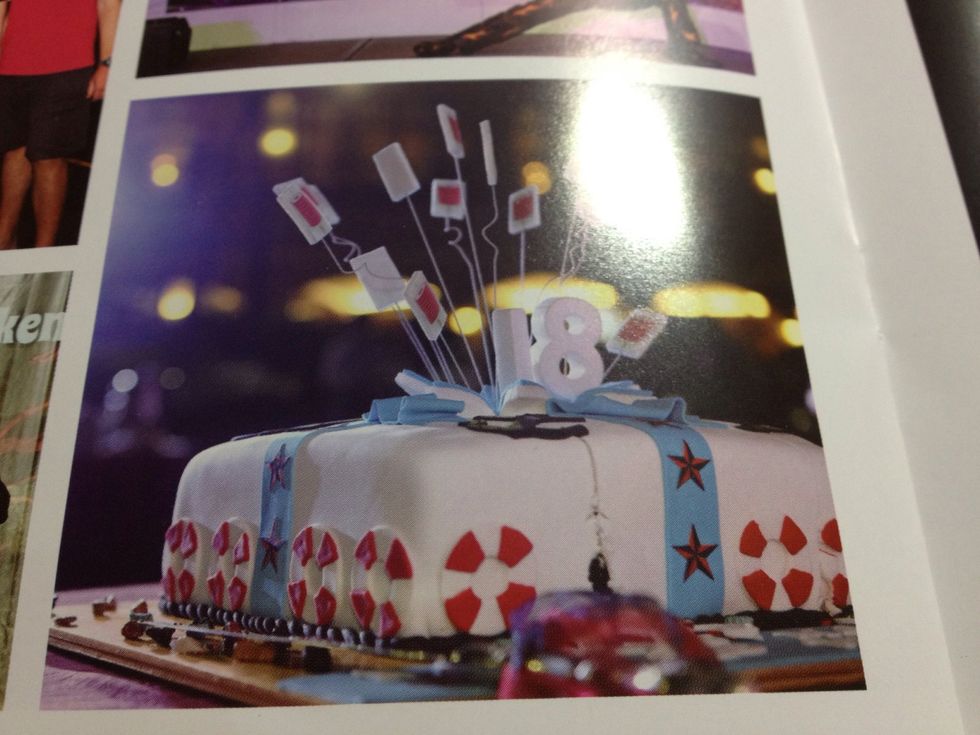
I happened to find this picture which is appropriate for my friend's 18th birthday, but putting it on the front of the card will cover up part of this picture. So here's what I did with it.

Hole punch both the inside of the card where you are going to write the message and the picture with a single hole.
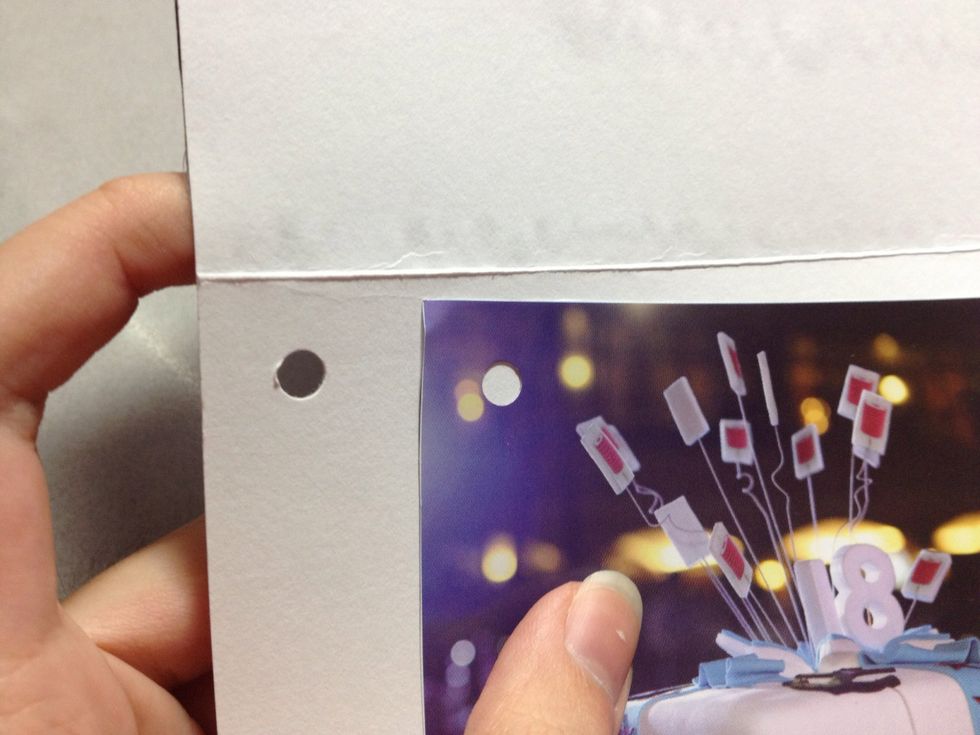

Tie through both with a ribbon, preferably the same one as the one used for the front of the card.
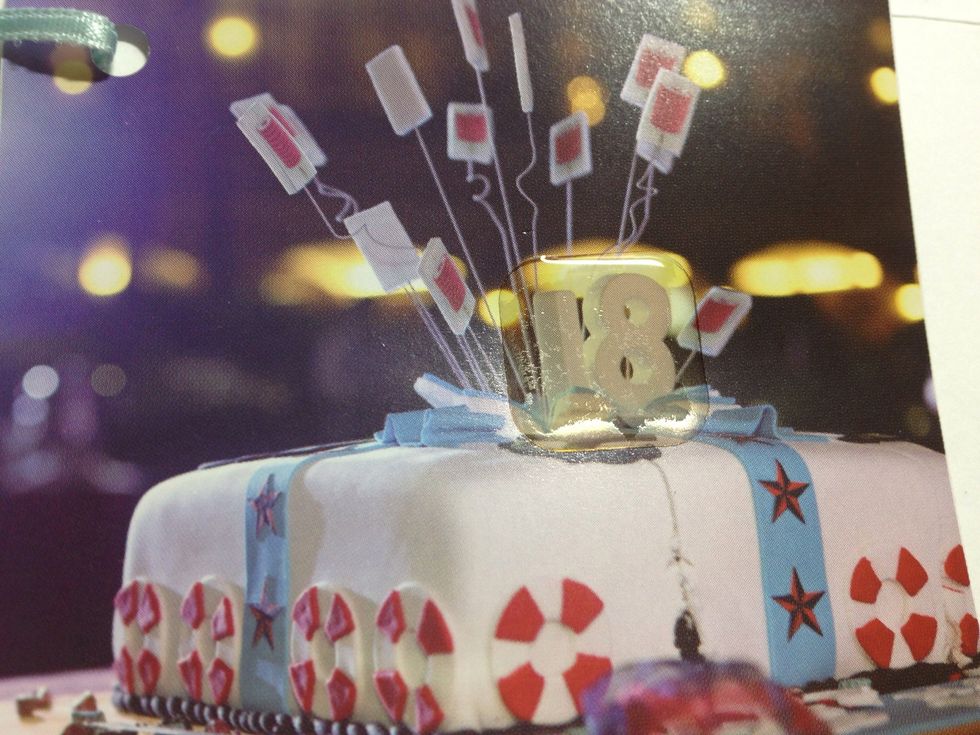
I added an epoxy sticker to emphasise the 18...

...and a nice decorative sticker to lend a hint of nature to the inside of the card.
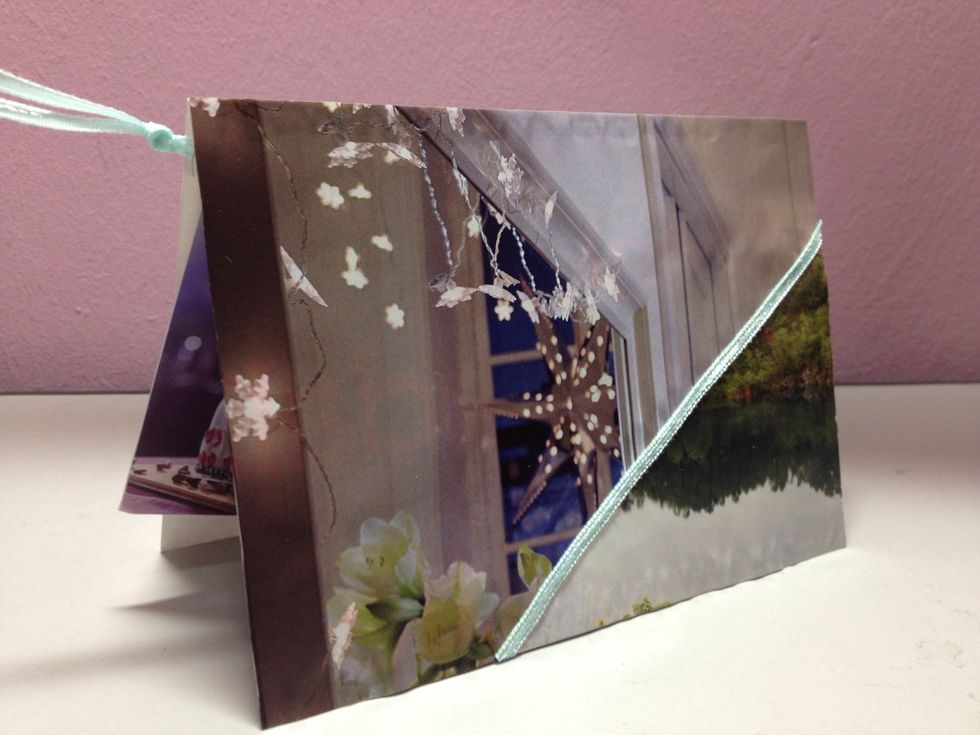
Finished product. Have fun coming up with your own variations to this card! More card guides available on my profile.