The Conversation (0)
Sign Up
This tutorial is based on the 'reverse lens' technique of macro photography. You'll need a kit lens, like the Canon 18-55mm or another lens of about 50mm of focal lenght. Tap on images to fullscreen.
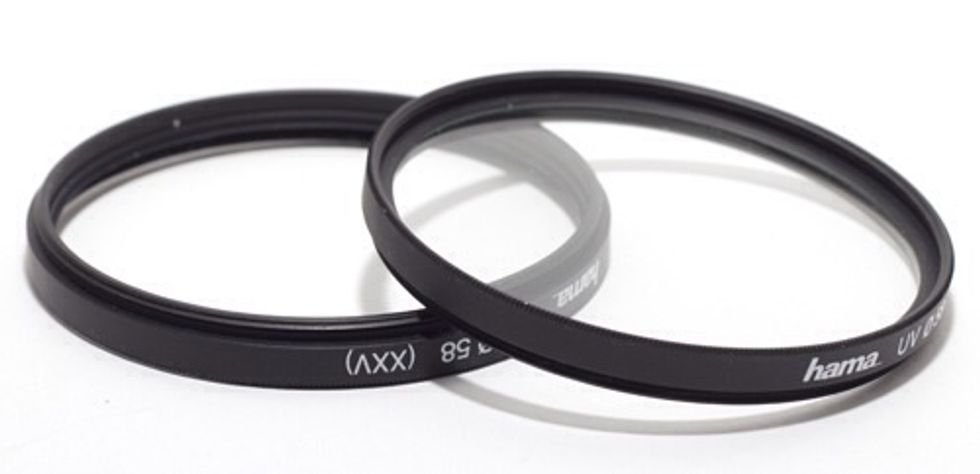
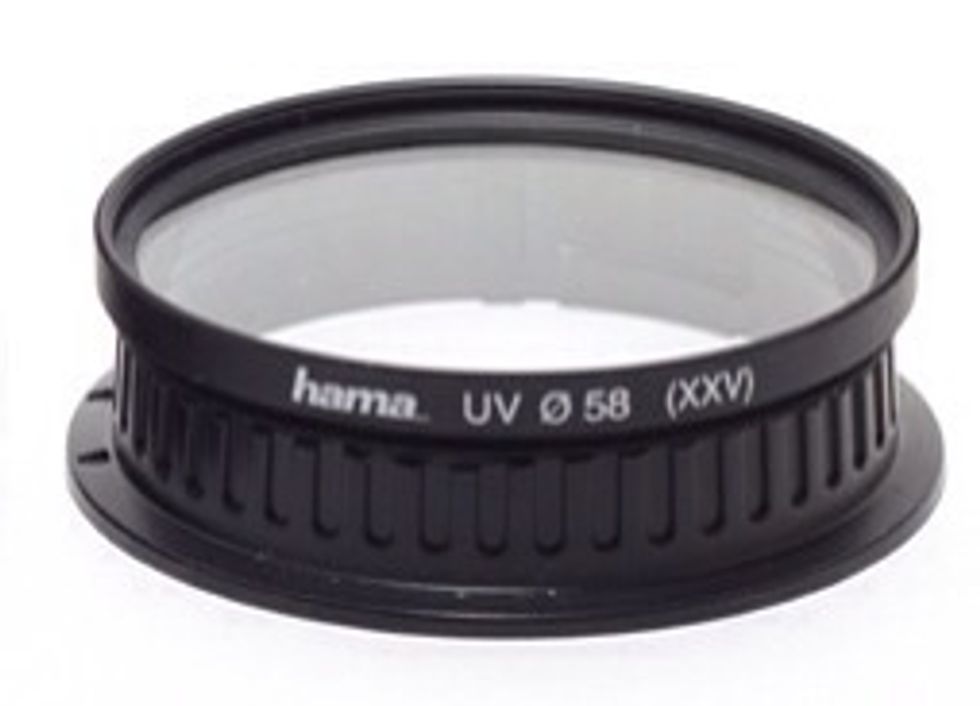
We'll be needing two filters. We have to remove the glass of one of the filters and keep the thread ring. Do nothing on the other one, just keep it to the next steps.

This is the body cap. We have to drill or cut the cap and result as the image. It'll be used as a ring adaptor, so we'll 'shoot through it'.
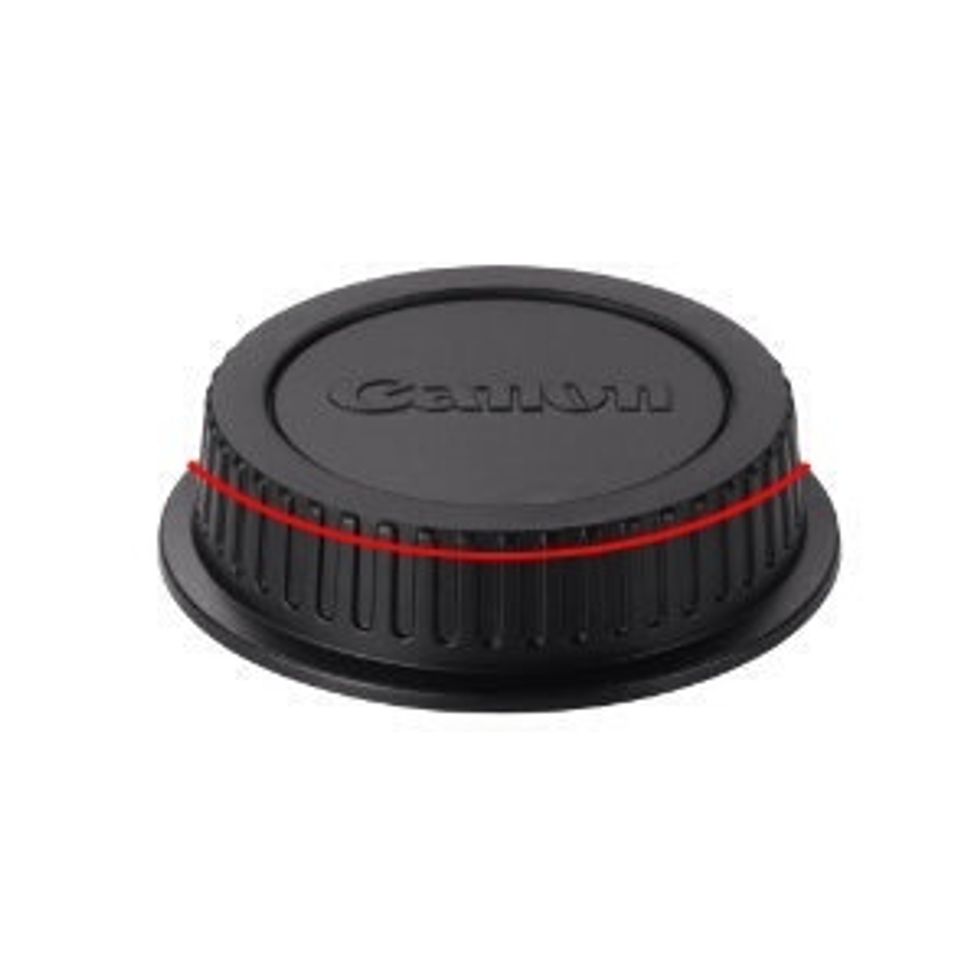
This is the rear lens cap. We have to cut a section of it, about 2-3mm from the top, by the red line of the pic. This will be used, with the unmodified filter from step one, as a lens protector.
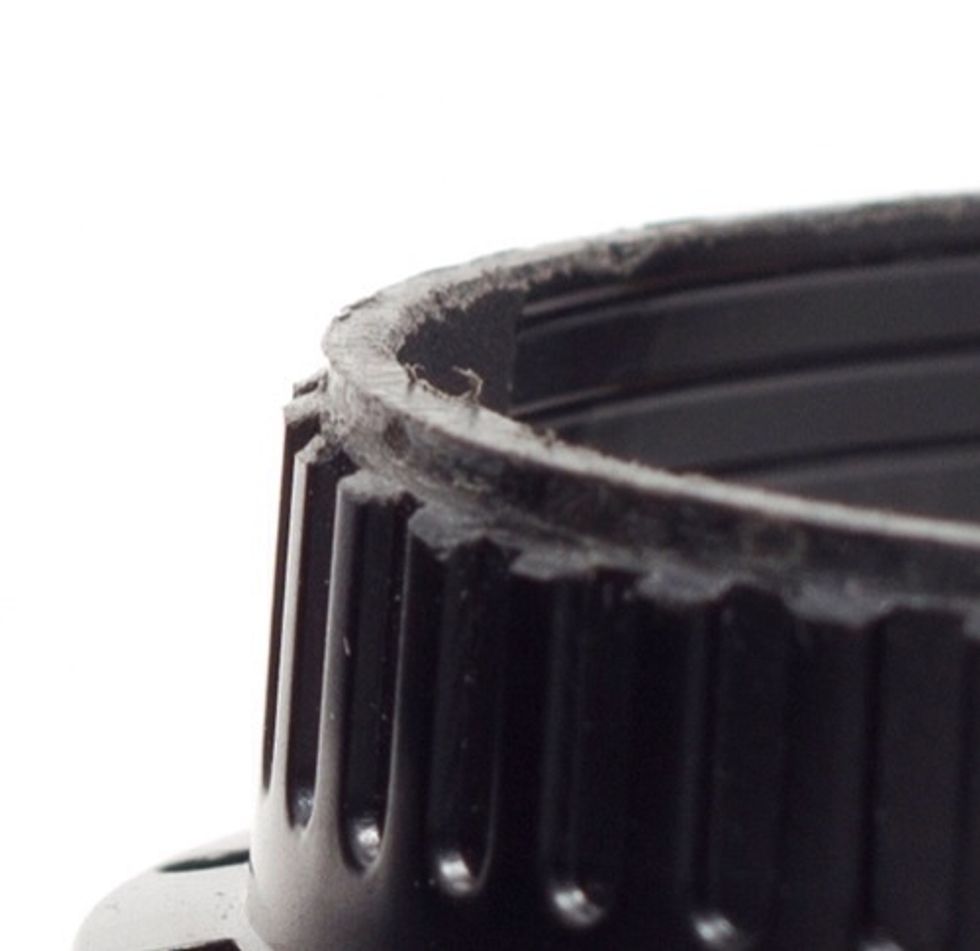
Working on the same cap as previous step, we have to fit the filter on it, so we have to file the borders on a 90º angle, like an 'L' as you can se on this picture. Then the filter will fit perfectly.
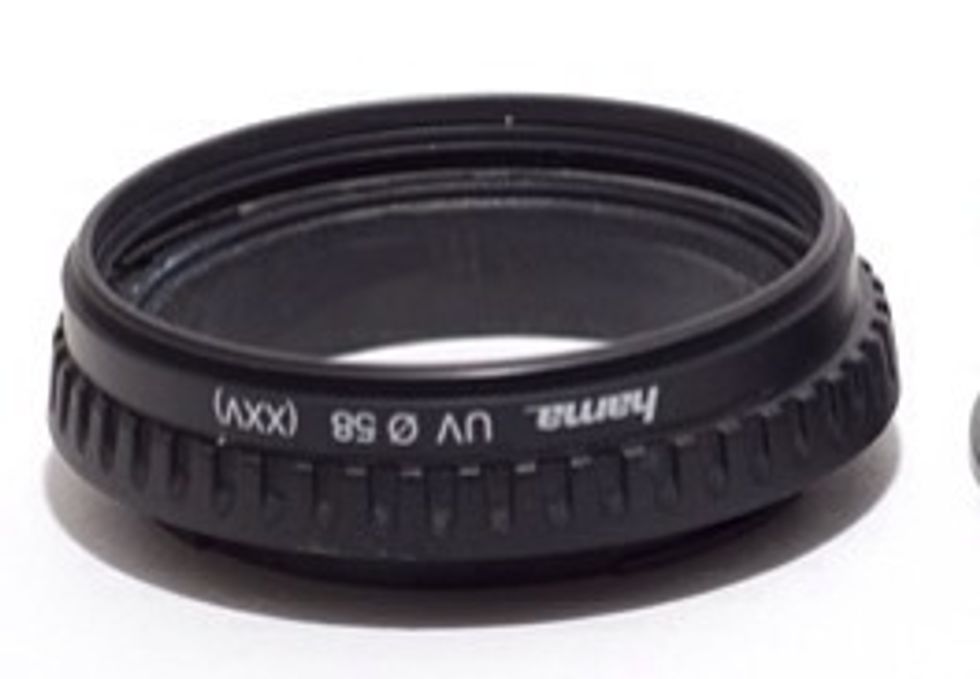
Now glue the filter ring (no glass) to the body cap, mantaining the filter thread on the outside of the filter, as seen on the image.
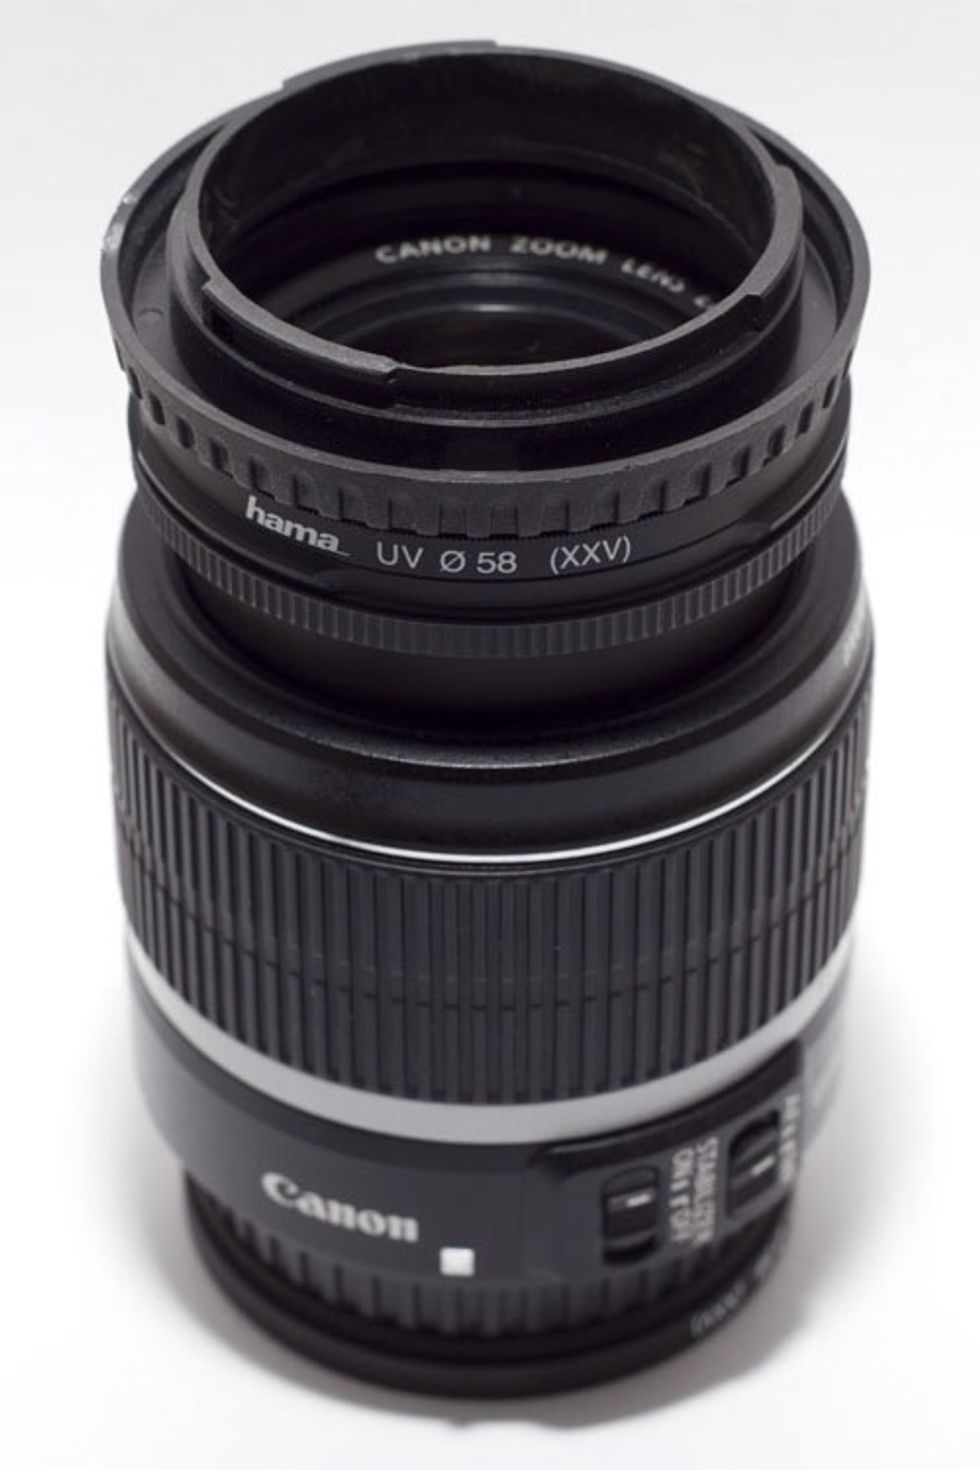
By the other side, glue the filter (with glass) to the back cap of the lens (previously cutted or drilled). This will fit on the reversed lens to protect it and avoid dust.

Once glued, fit the back cap on the lens. Remember that we'll be using the lens reversed, so this will be the 'external part'.
Fit the filter-body-cap-adapter to the filter thread of the lens. This will be placed on the camera, and will join the lens with the camera body, as if it would be a regular lens.
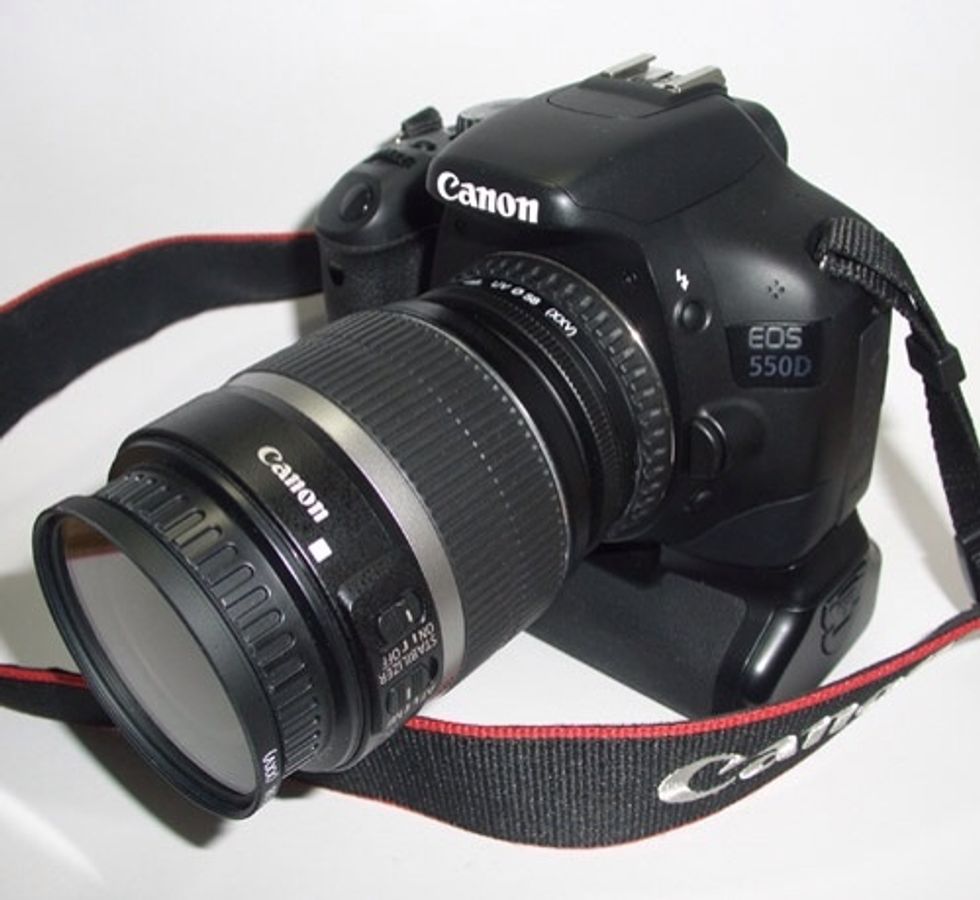
That's the final product.
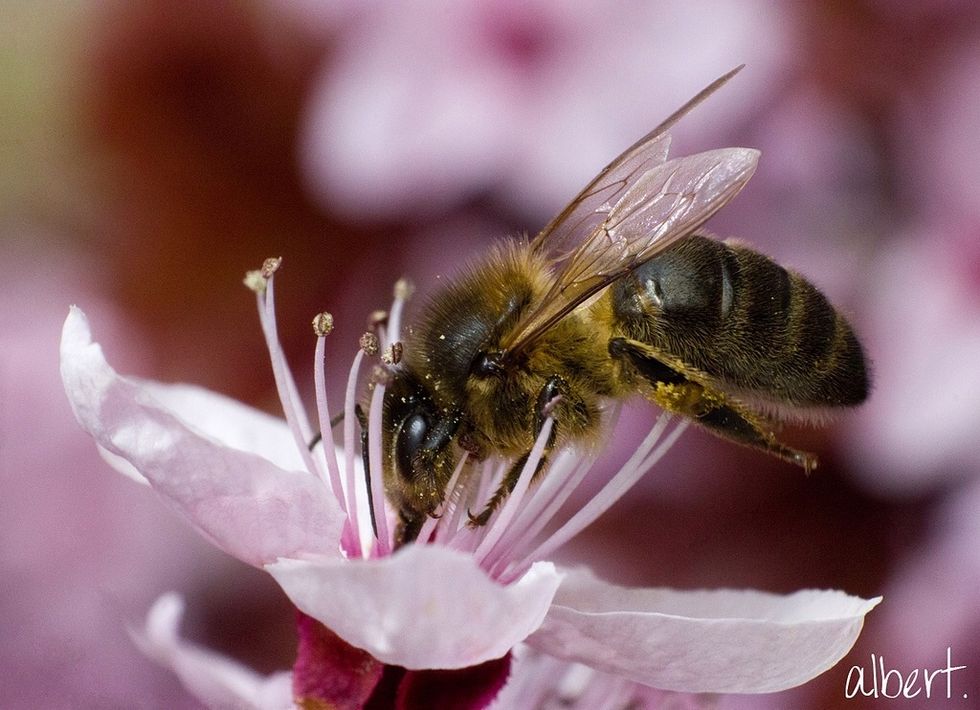
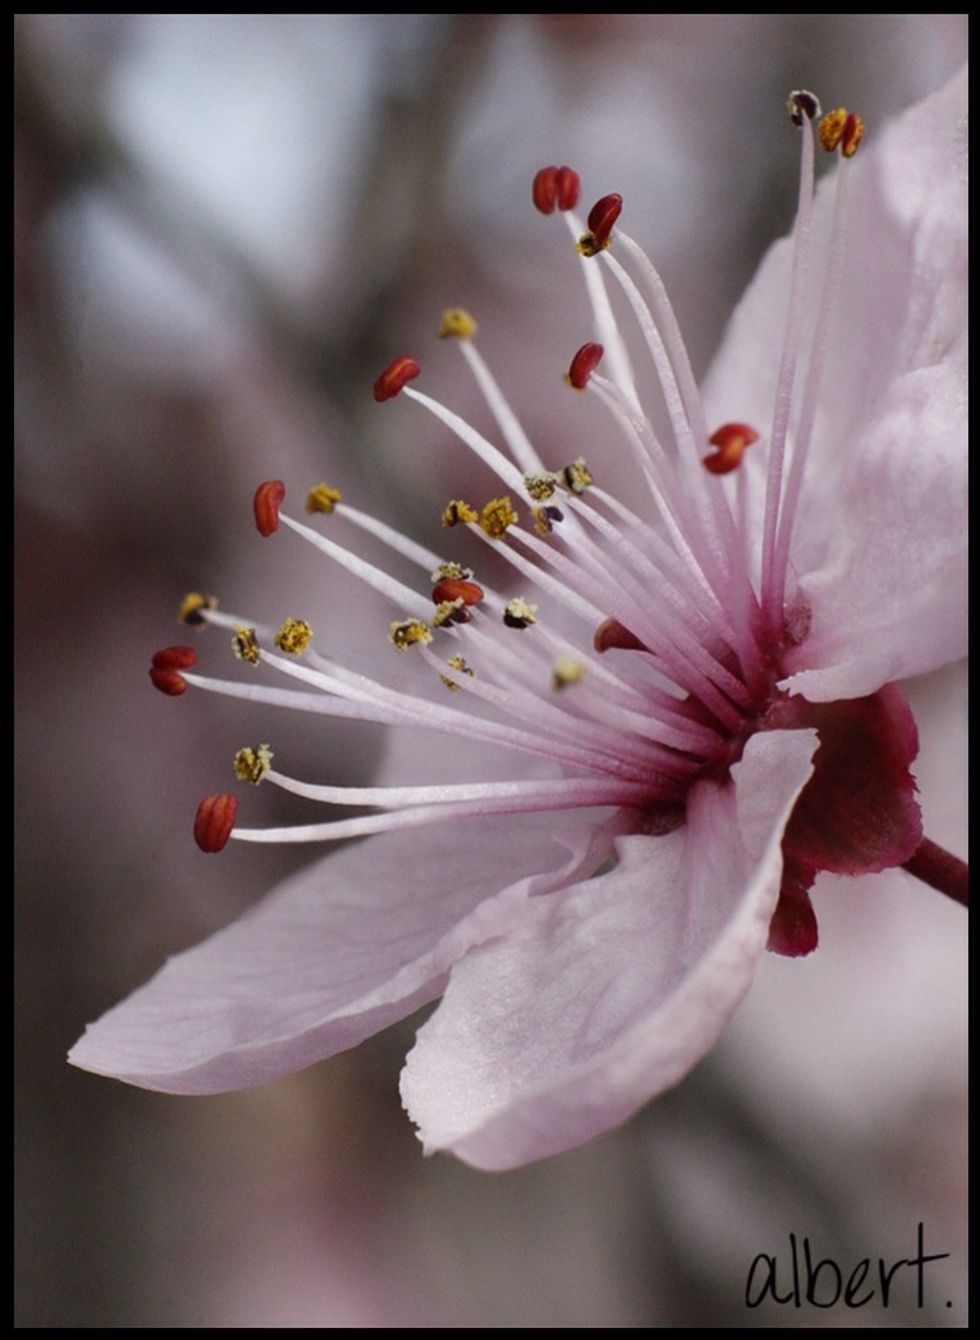
An example picture taken with this manual lens. It was at a 'reversed' 55mm, manual focus, no flash. Camera settings at ISO 3200, f/11 and 1/125. Original pic was not squared.
Another example. Any questions, just ask :)