The Conversation (0)
Sign Up
First, open the Safari web browser (it has an icon that looks like a compass) and navigate to the part of the website you want to display on your dashboard.
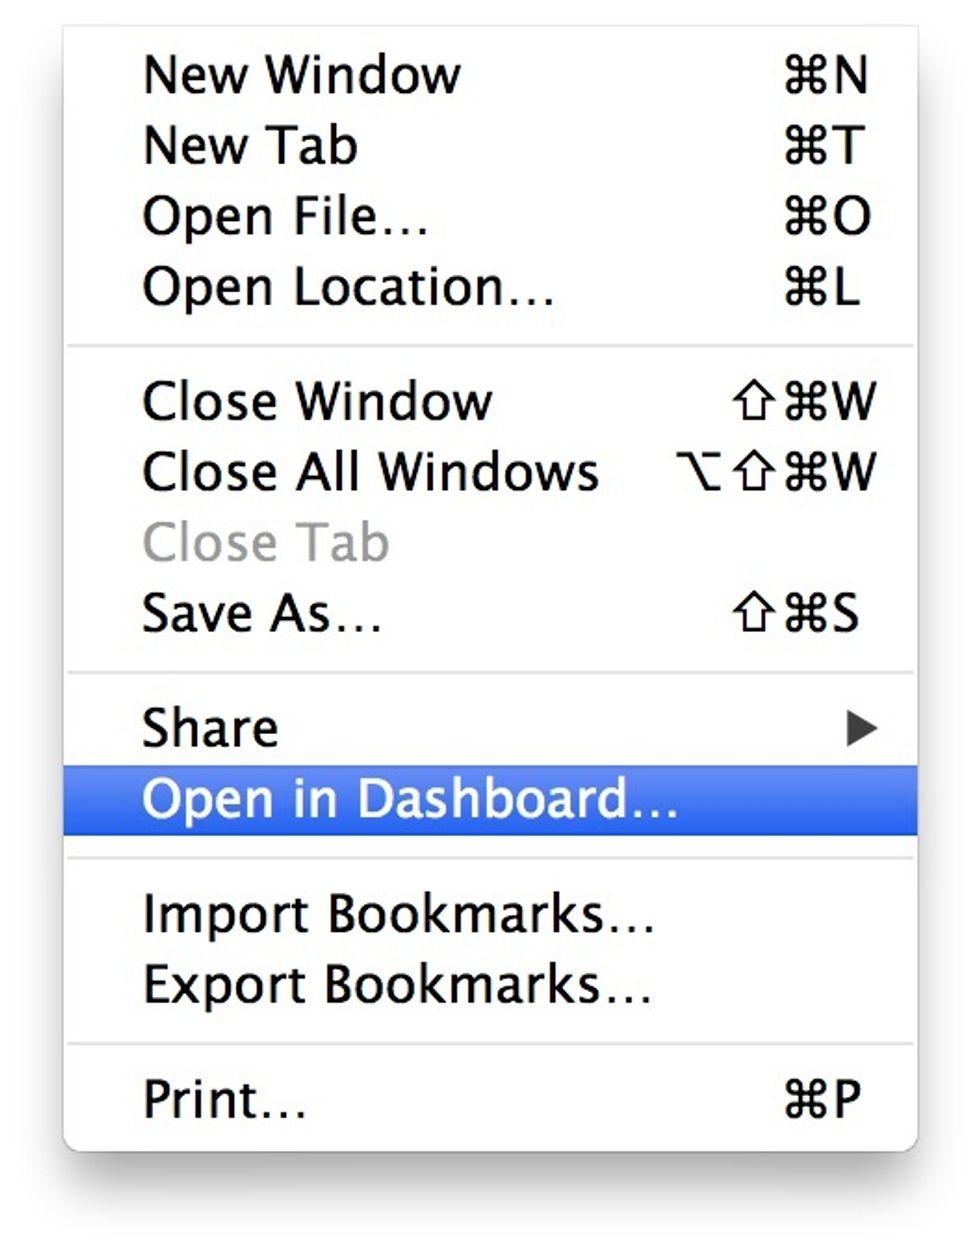
Once the website has loaded, right-click on the page, and select ‘Open in Dashboard…’ from the menu that appears.

Next, click the area you want to add to your dashboard to highlight it. If the area is not perfectly highlighting the content you want, click & drag the little round handles on the edges to refine it.
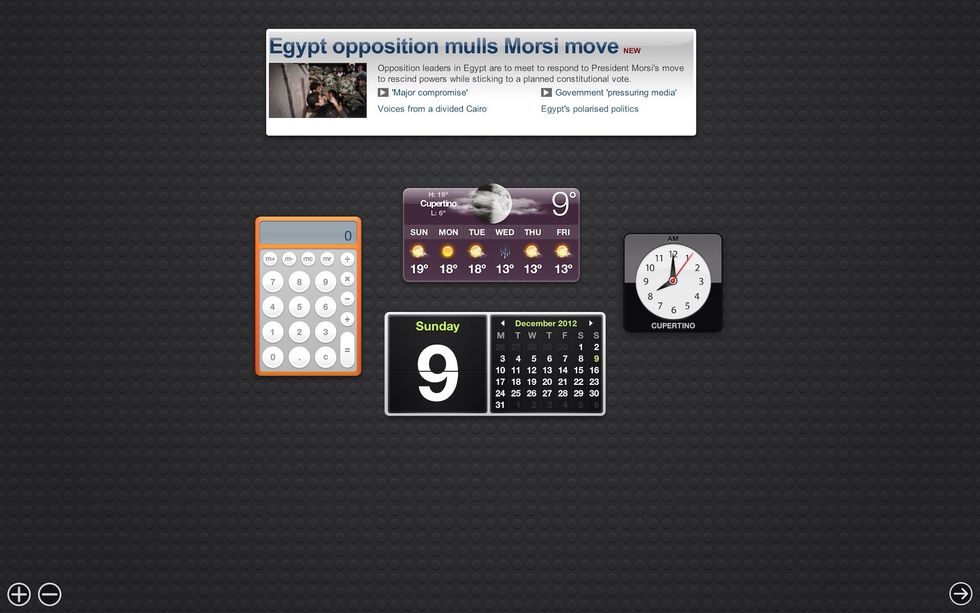
A widget of your webpage selection will be added to your dashboard. Now, whenever you want to see that part of the webpage, simply open dashboard to view the live information from within that widget.
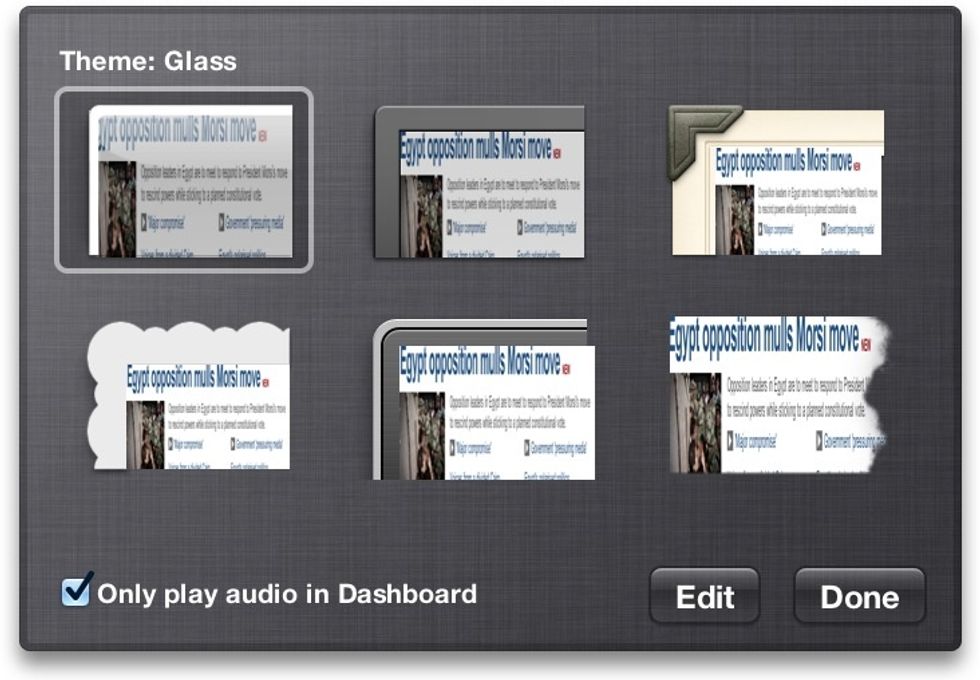
The widget also has some options, simply click the ‘i’ button that appears in the bottom right corner when you hover your cursor over the widget. You can choose a frame for it, among other things.
Find more tips like this for the Mac, iPhone, and iPad at www.simpleiguides.com