The Conversation (0)
Sign Up

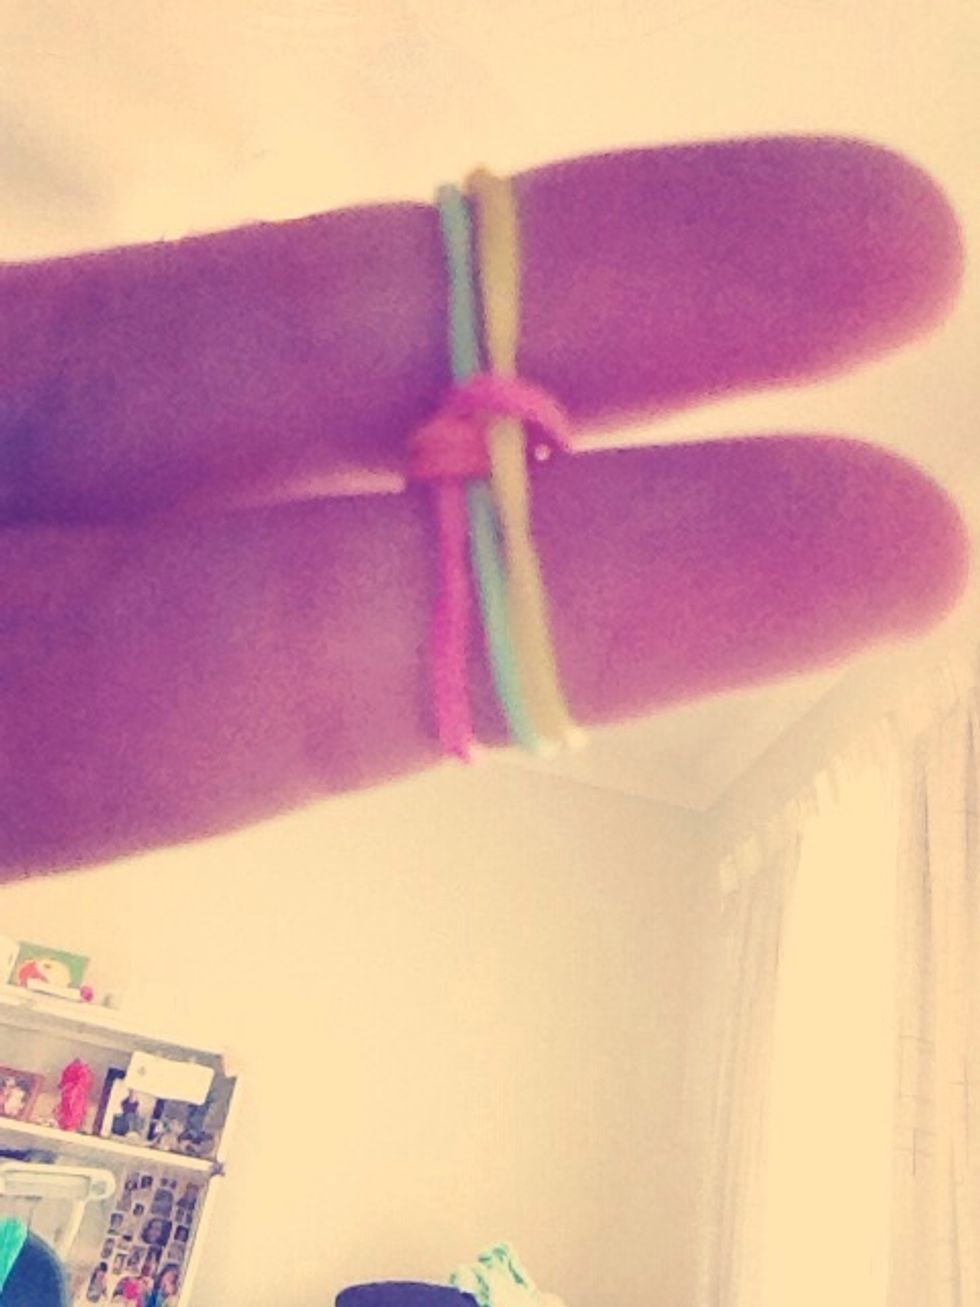
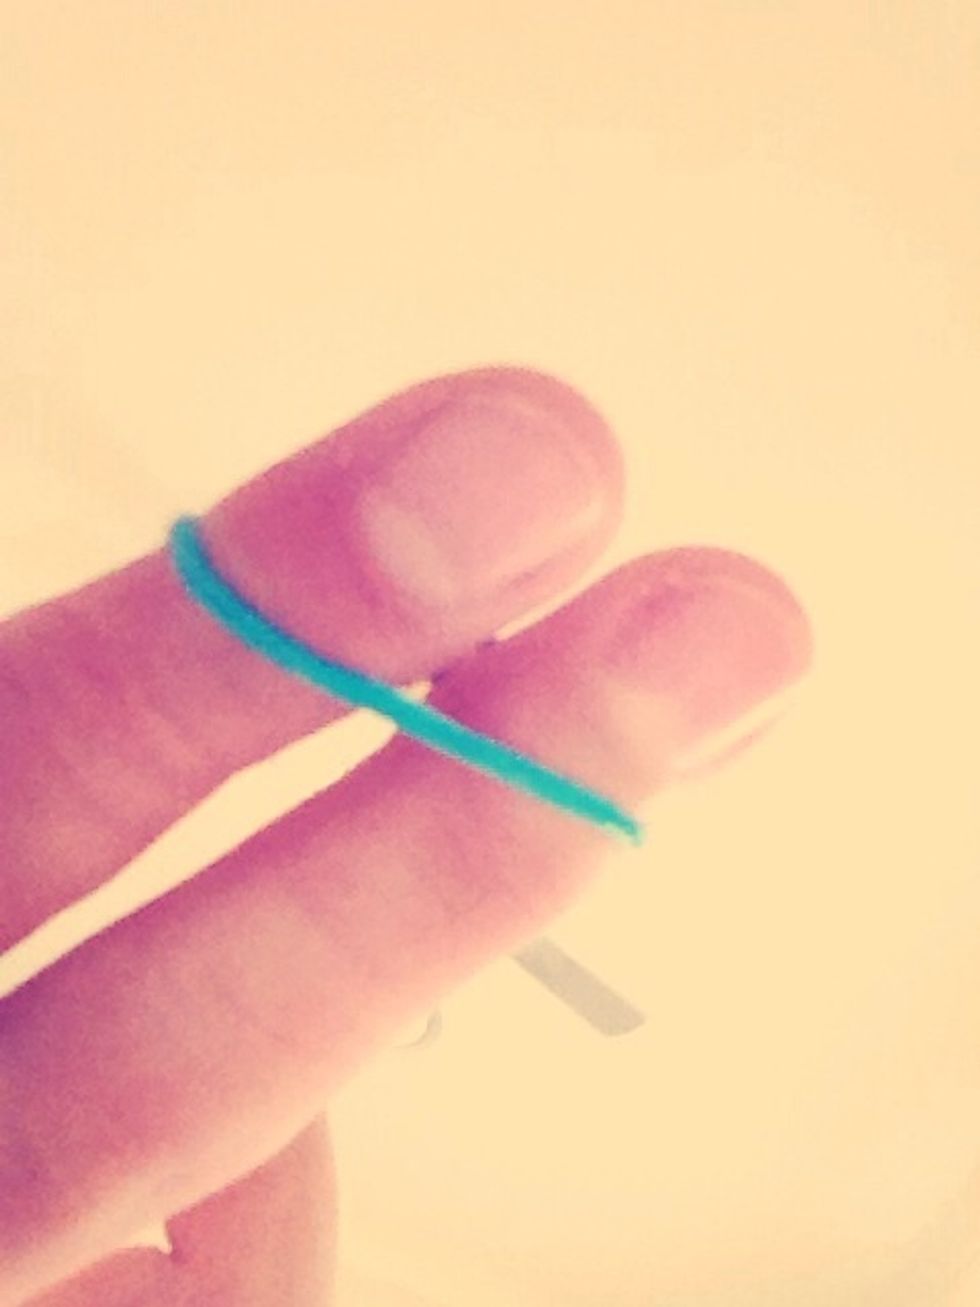
Take one band, twist it, and put it over your fingers. Doesn't matter which way you twist.
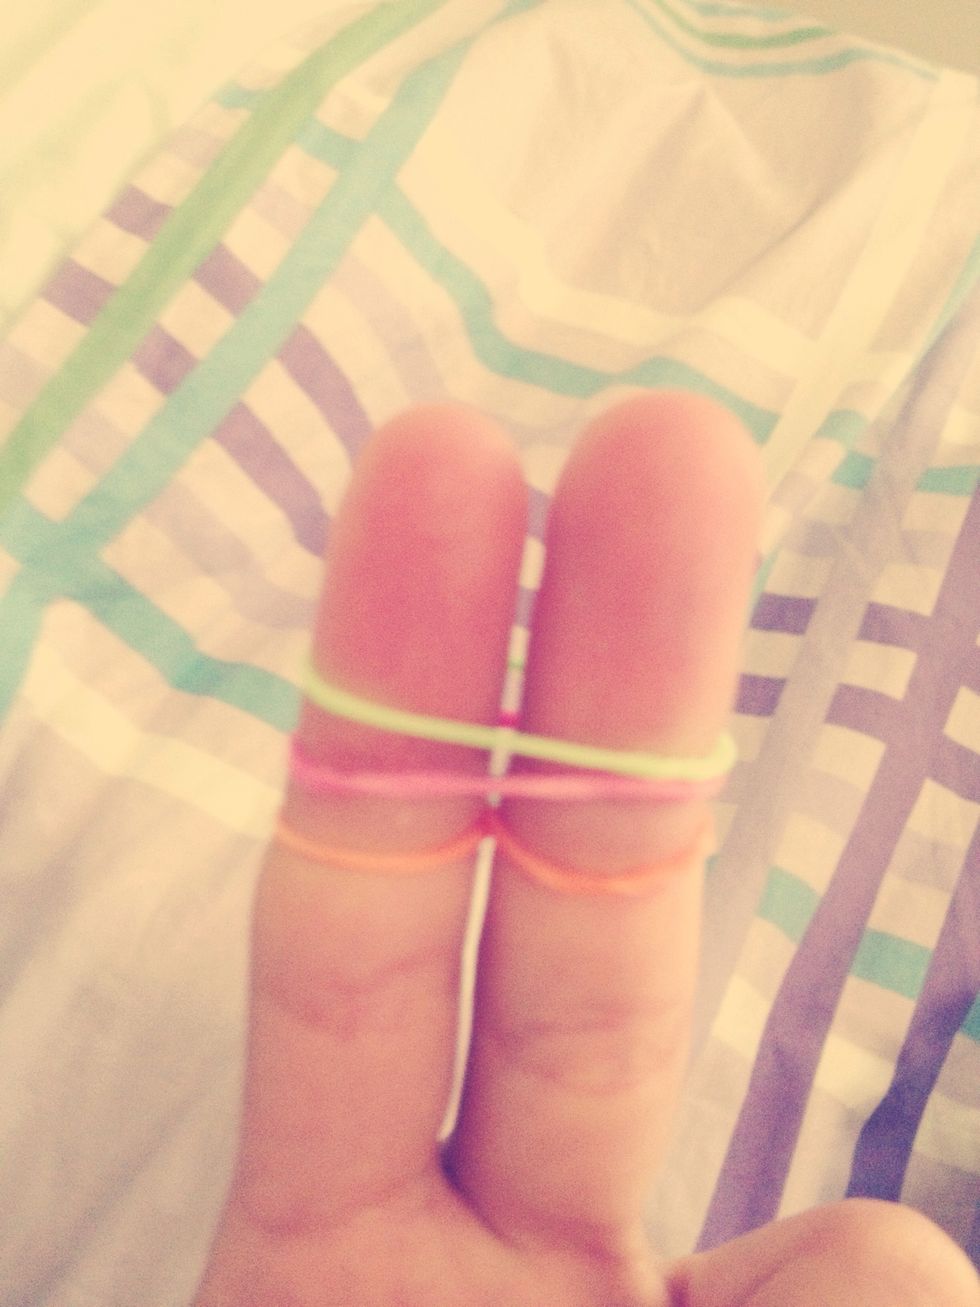
Put two more bands above the first, but do not twist these bands.

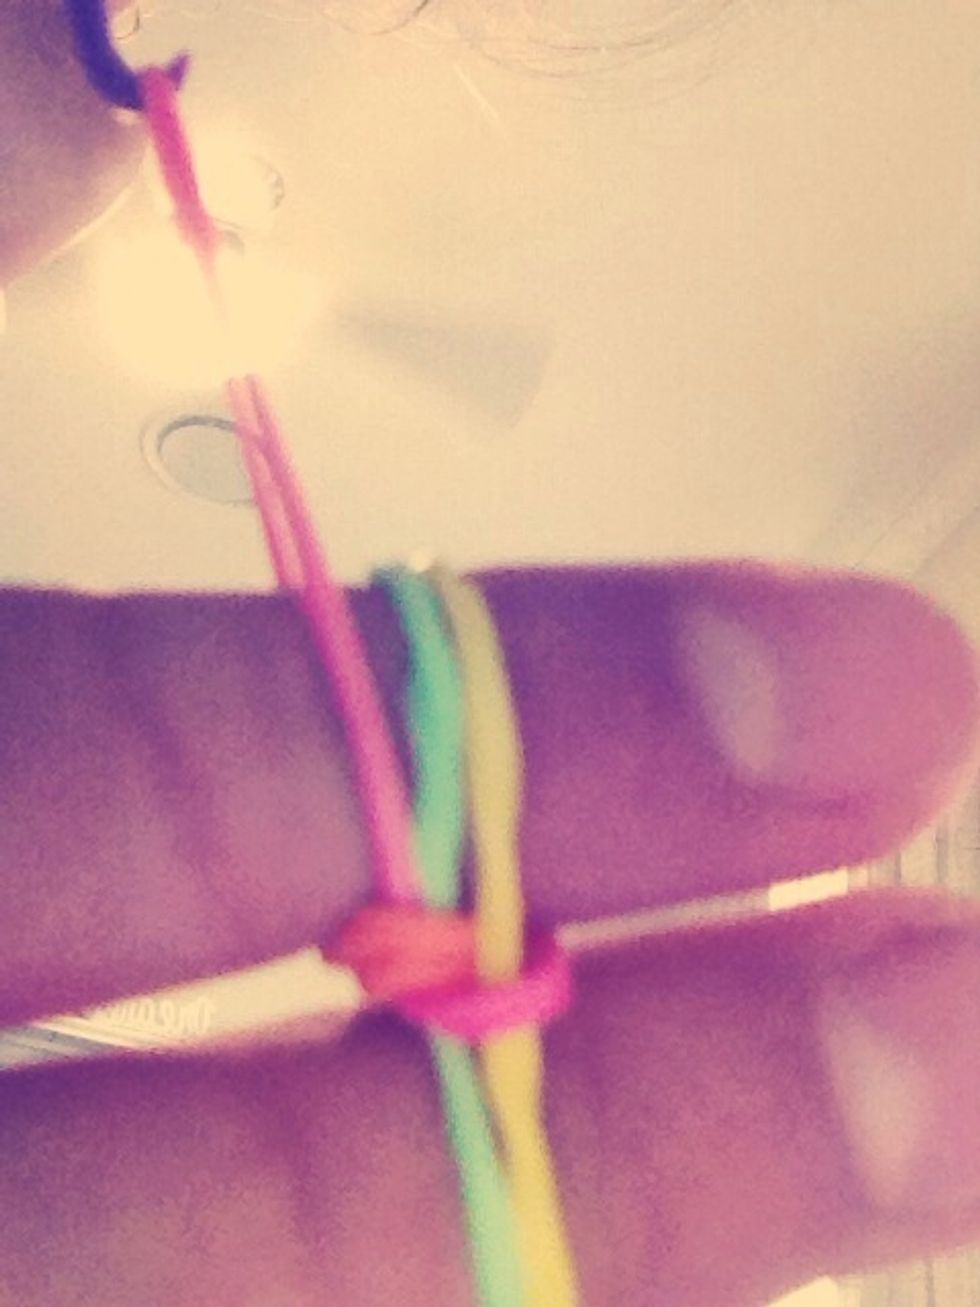
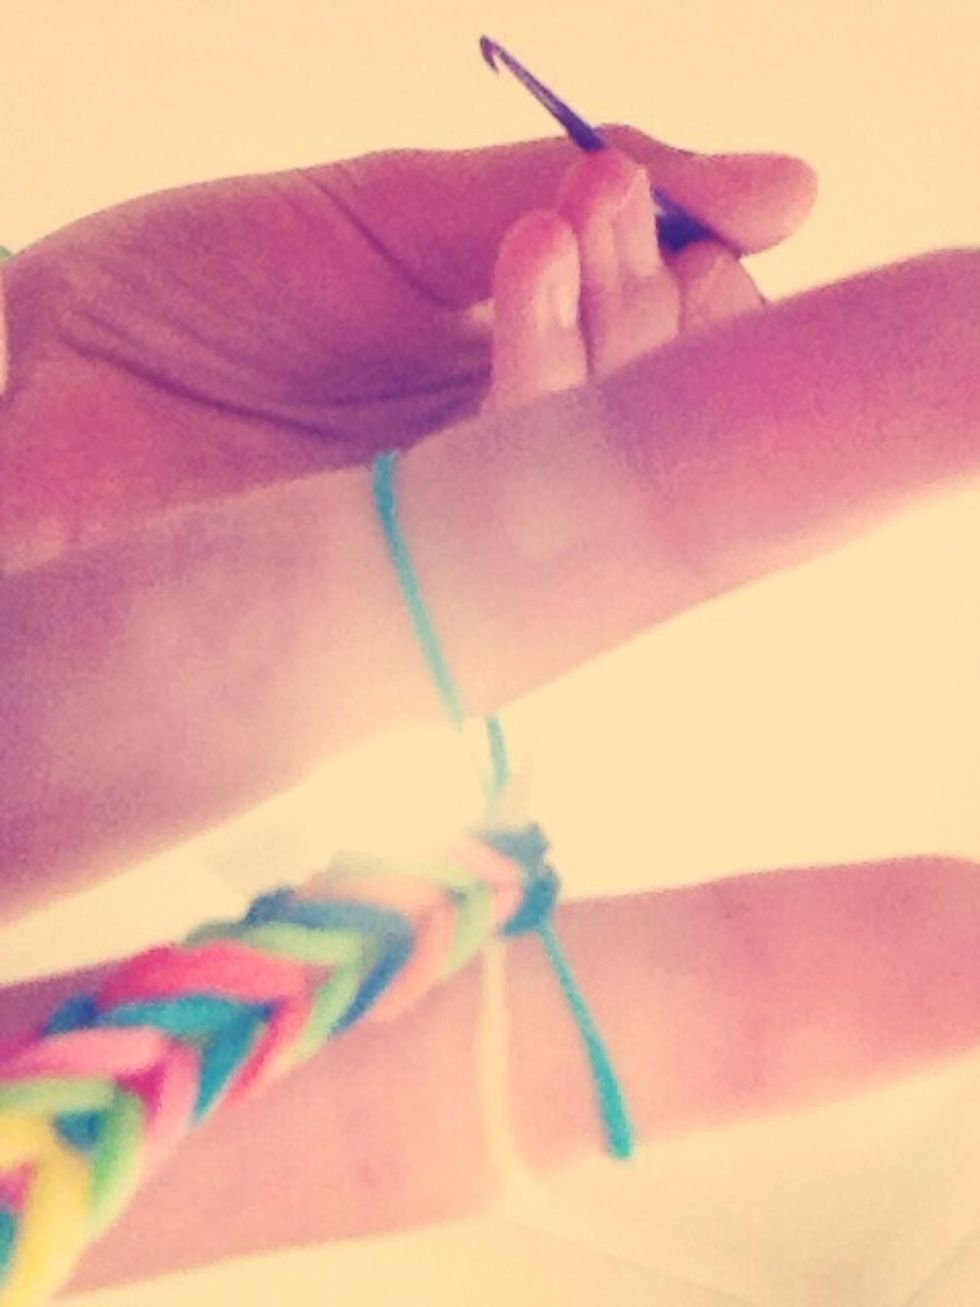
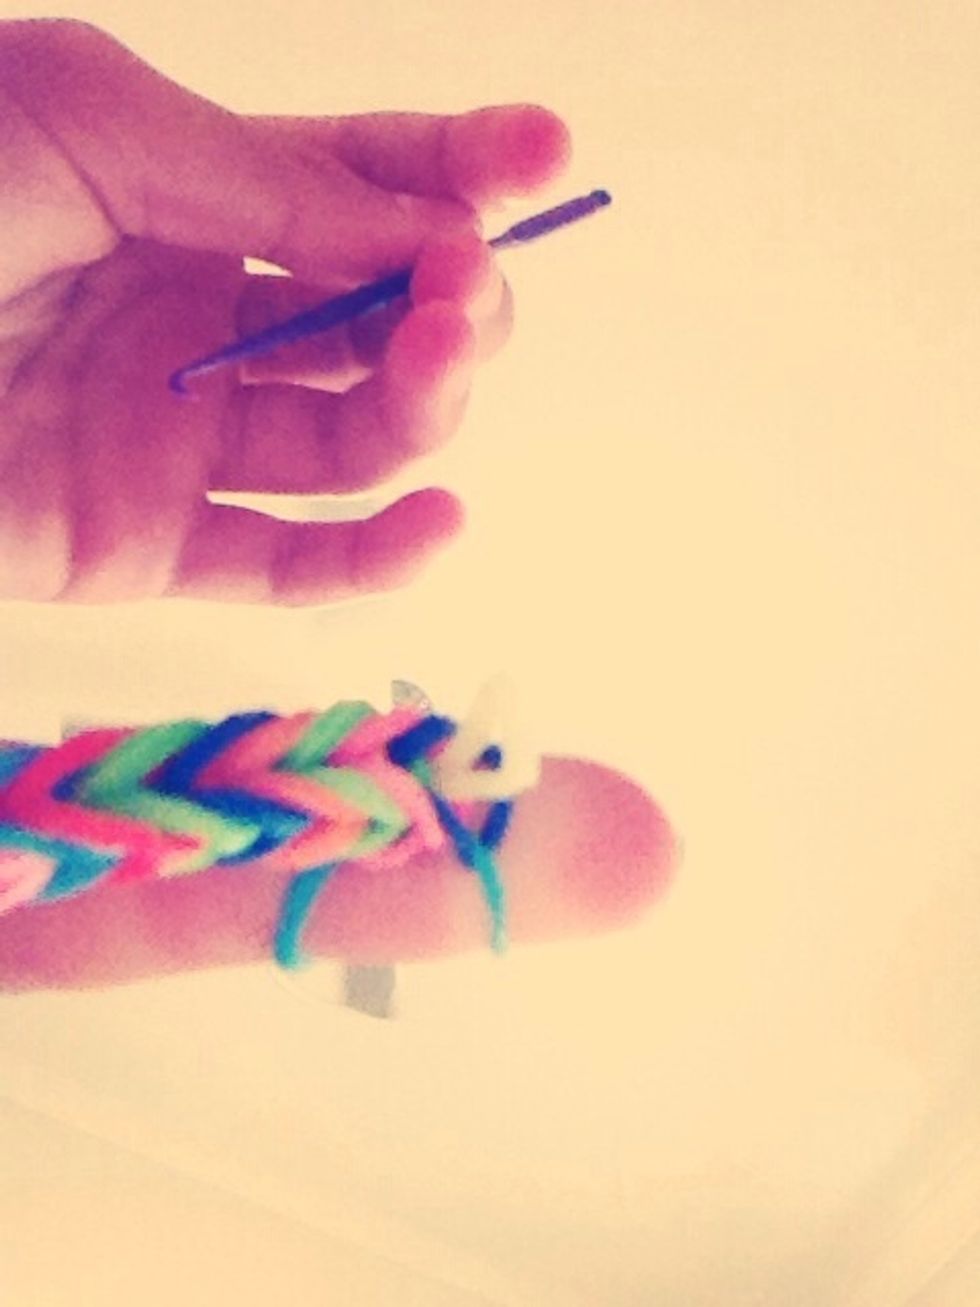
Hook your... 'Hook' (hook?) through the side of the bottom band.
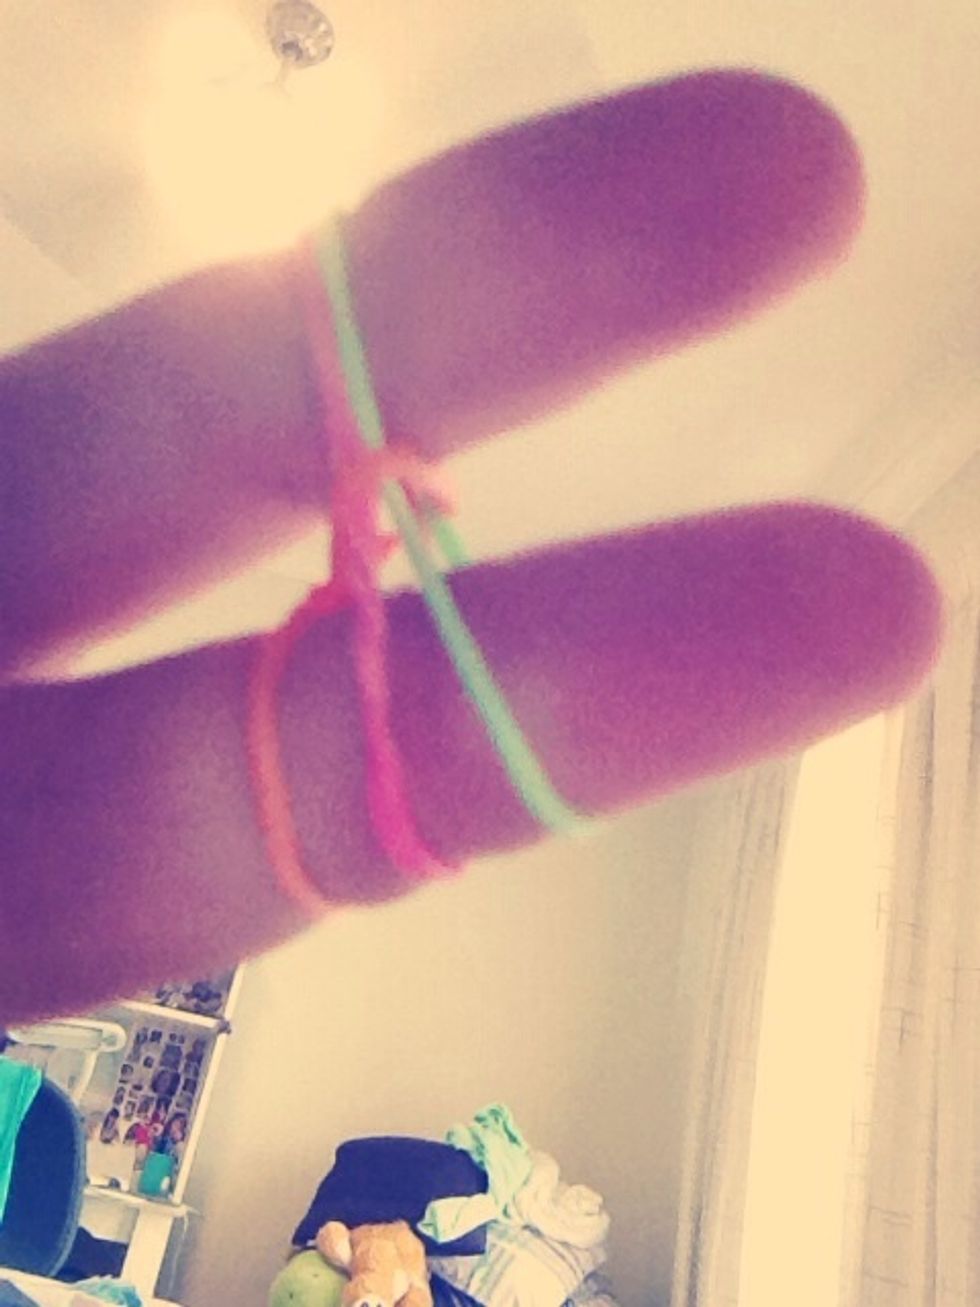
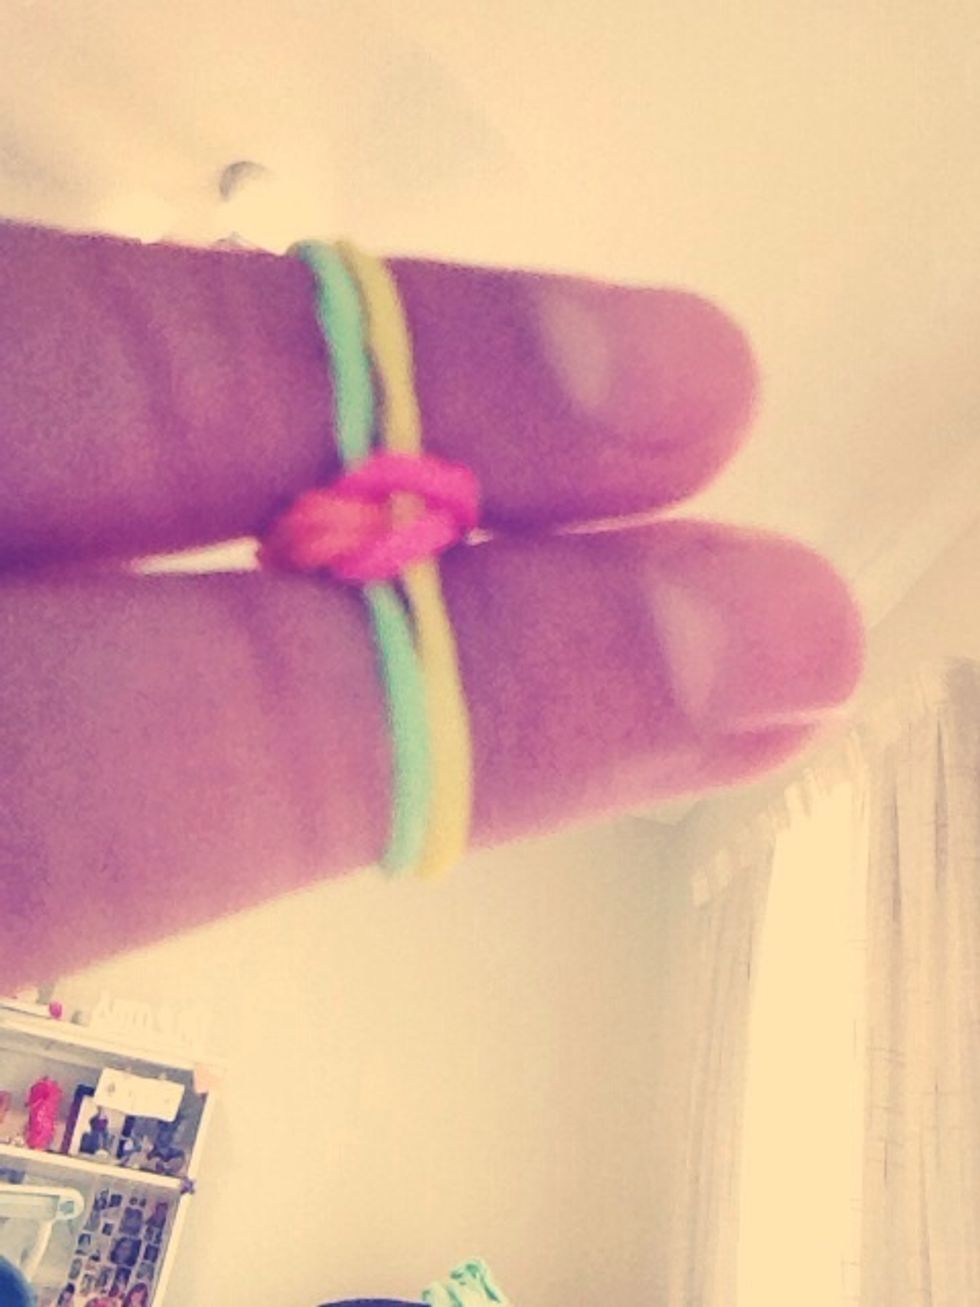
Pull it over the top of one finger and let it go. It should look like this. A bit blurry though sorry!
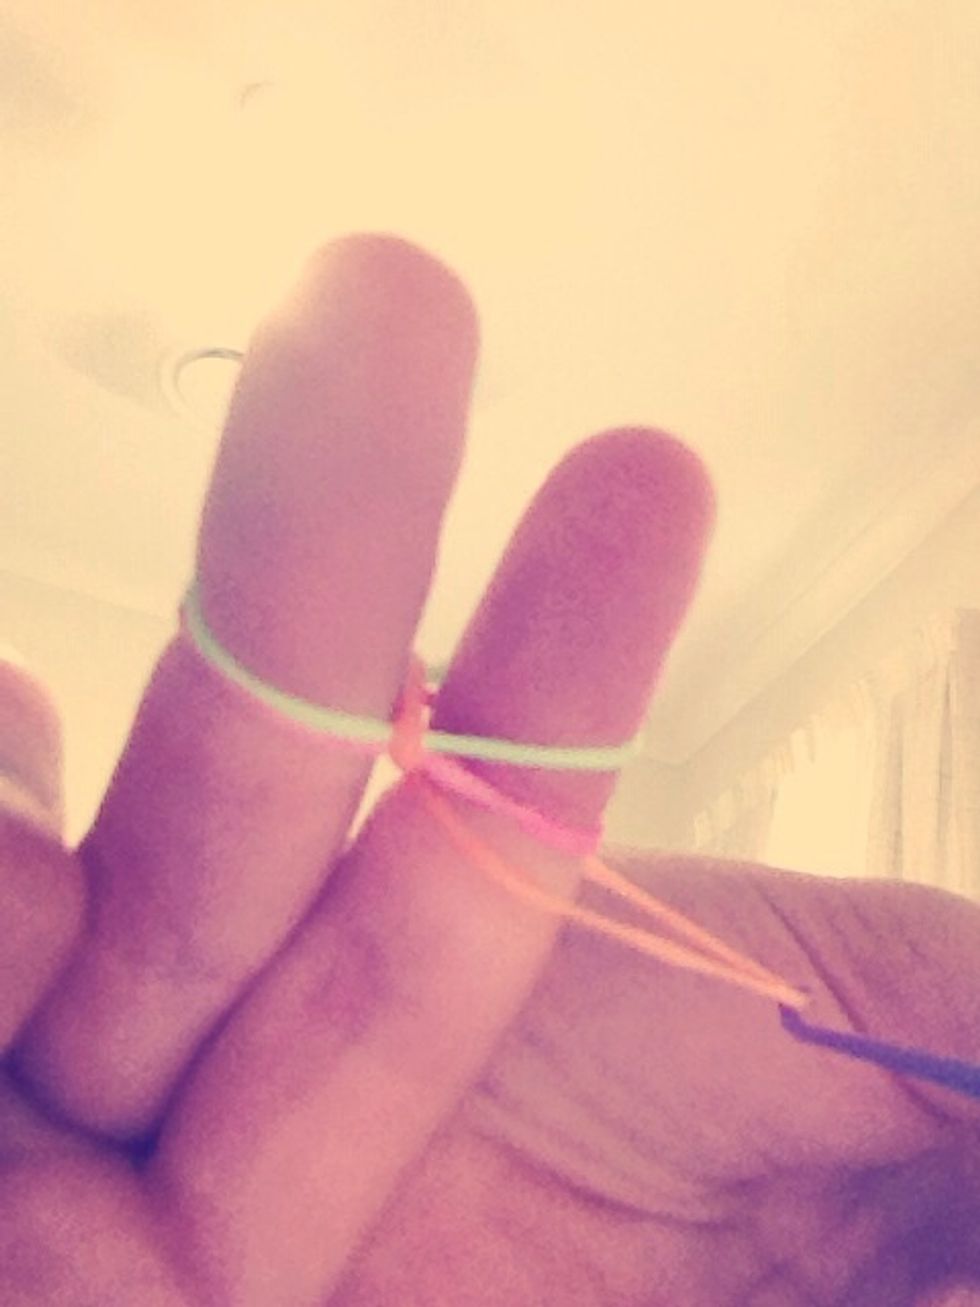
Repeat. So hook onto the other side of the same band.
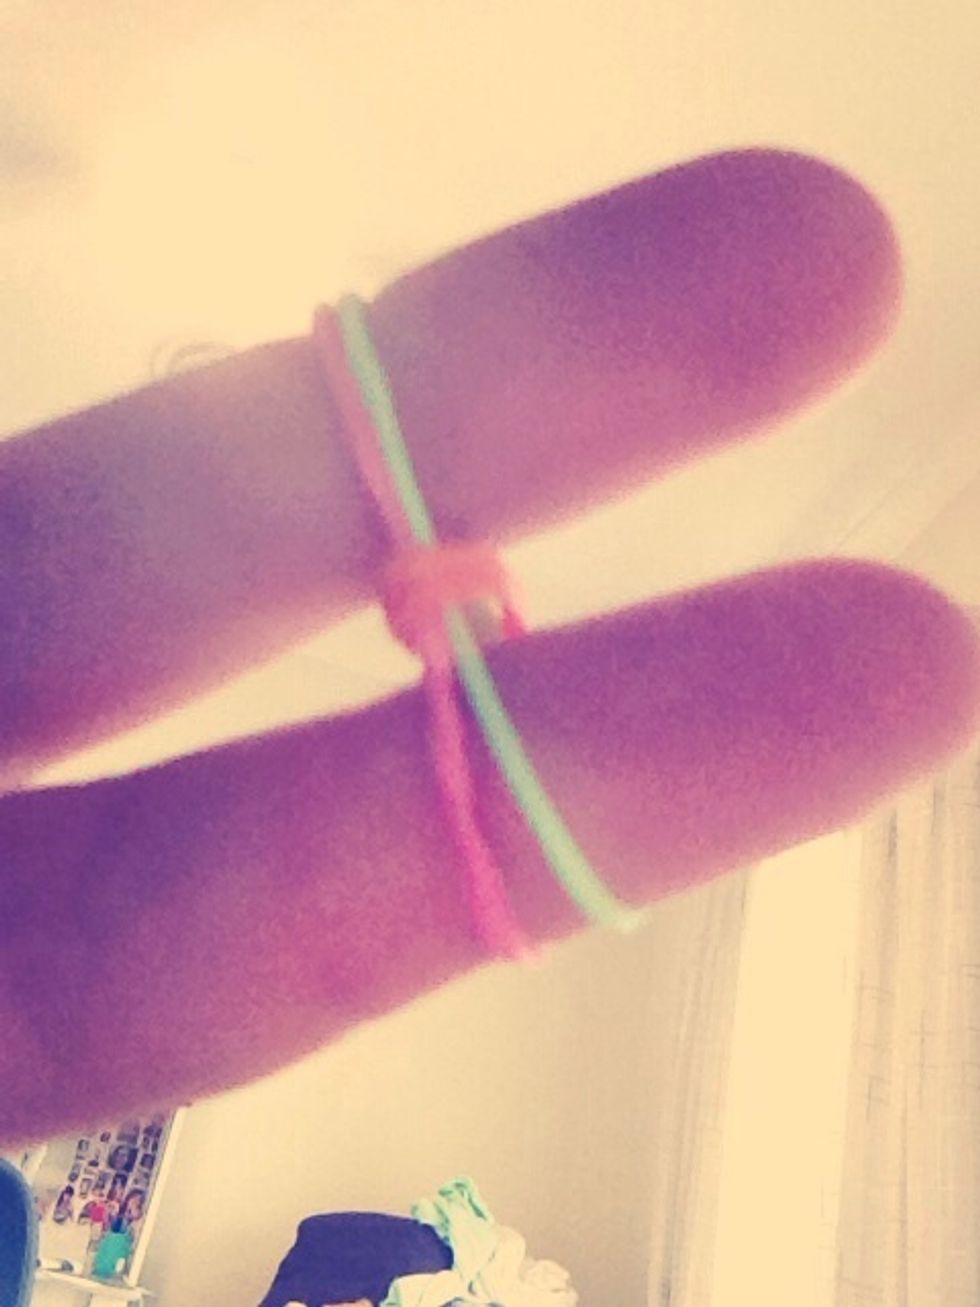
And pull over the other finger. When both are done, it should look like this.

Add another band on top. Note that none of the bands you will put on are to be twisted. DO NOT TWIST! And ignore my colour scheme, I was using leftover bands.

Hook into the side of the band that is at the bottom of the 'stack'.
Pull over finger. Like you did with the first band.
Hook into the other side of the band.
Pull over other finger.
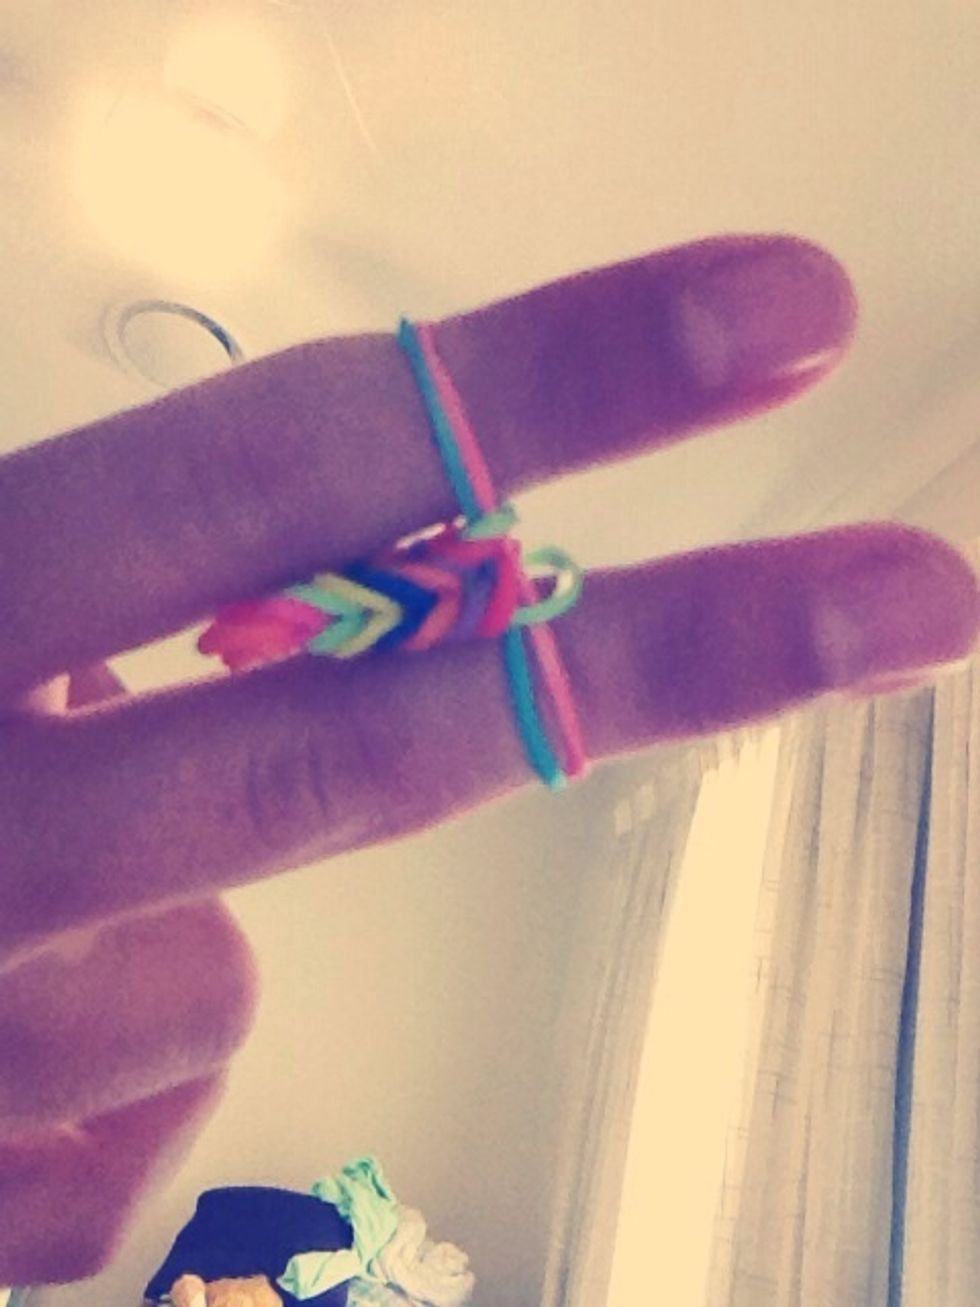
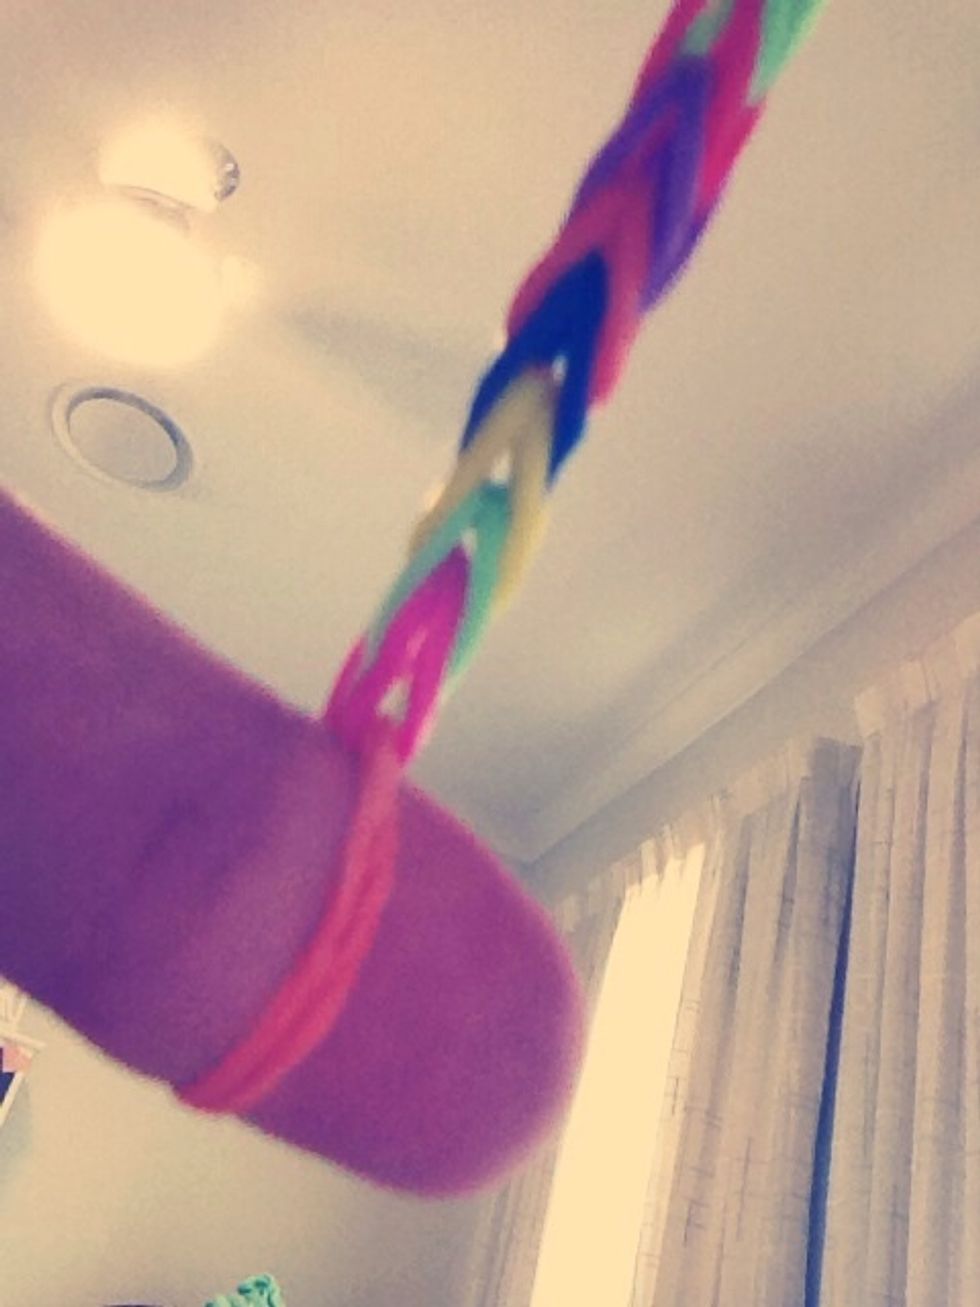
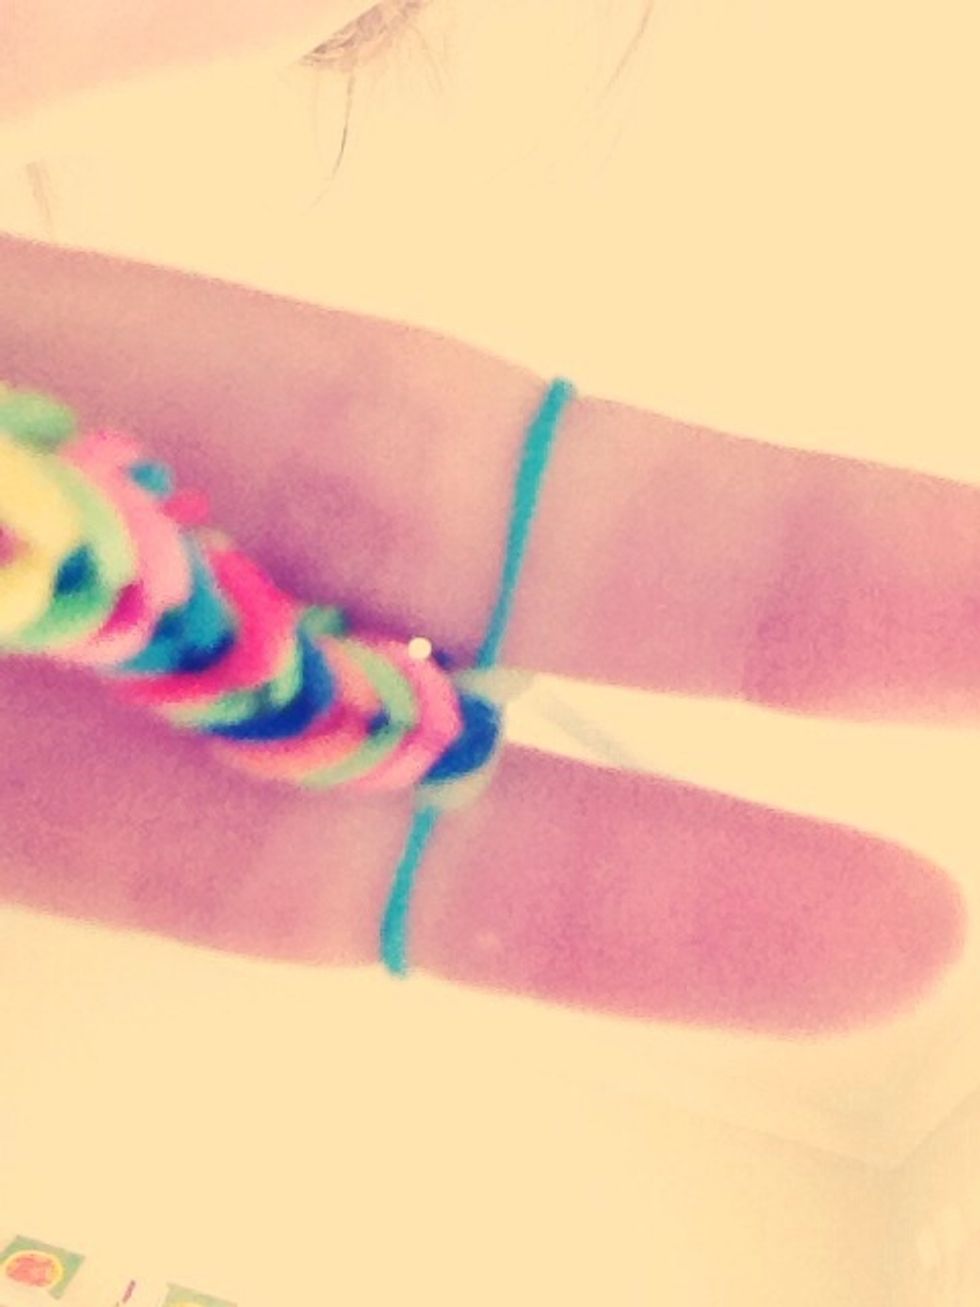
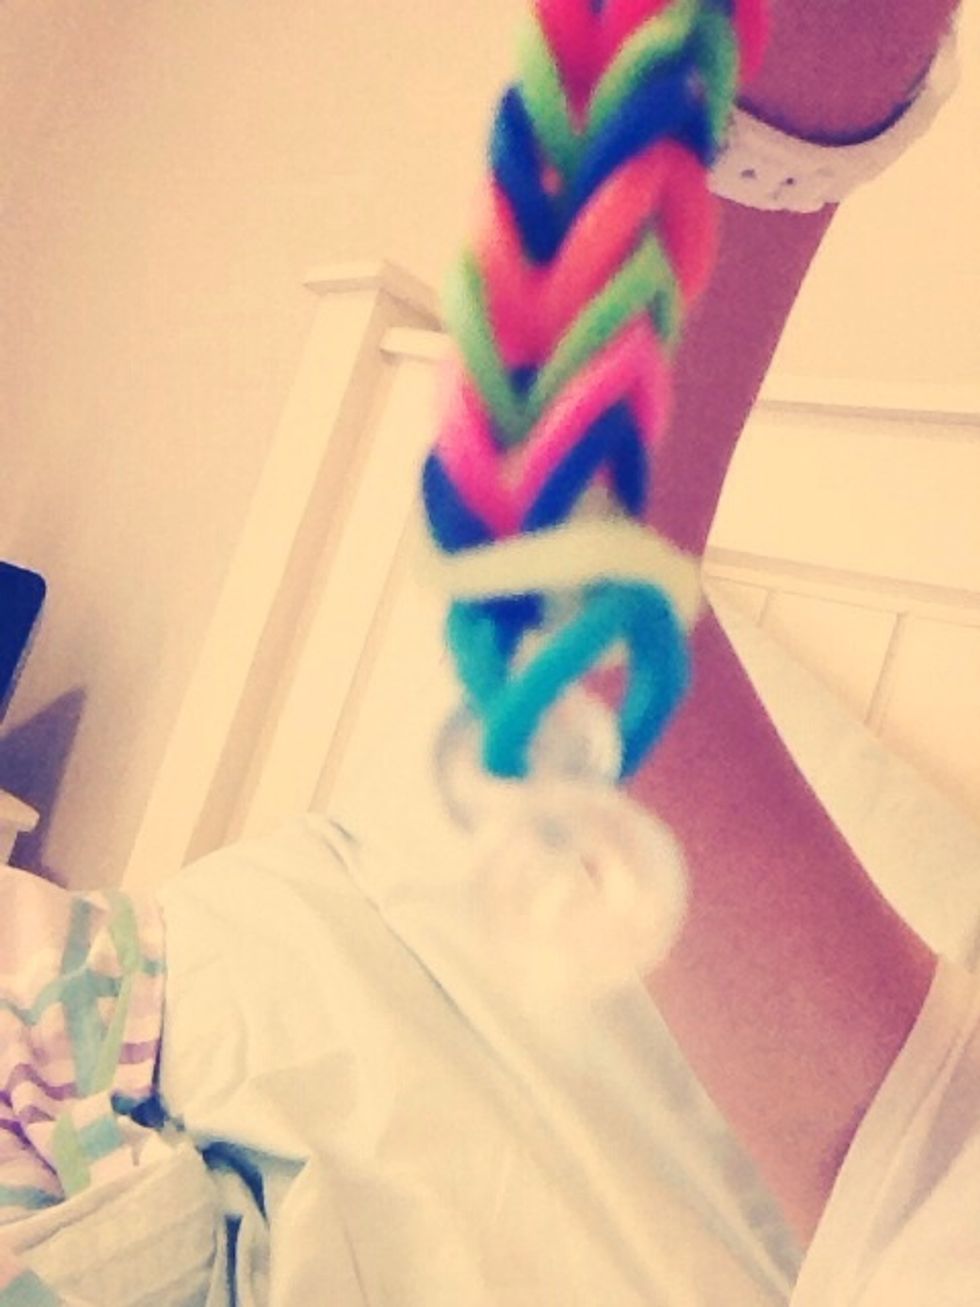
Repeat these steps, and after a while it will take shape, like this.
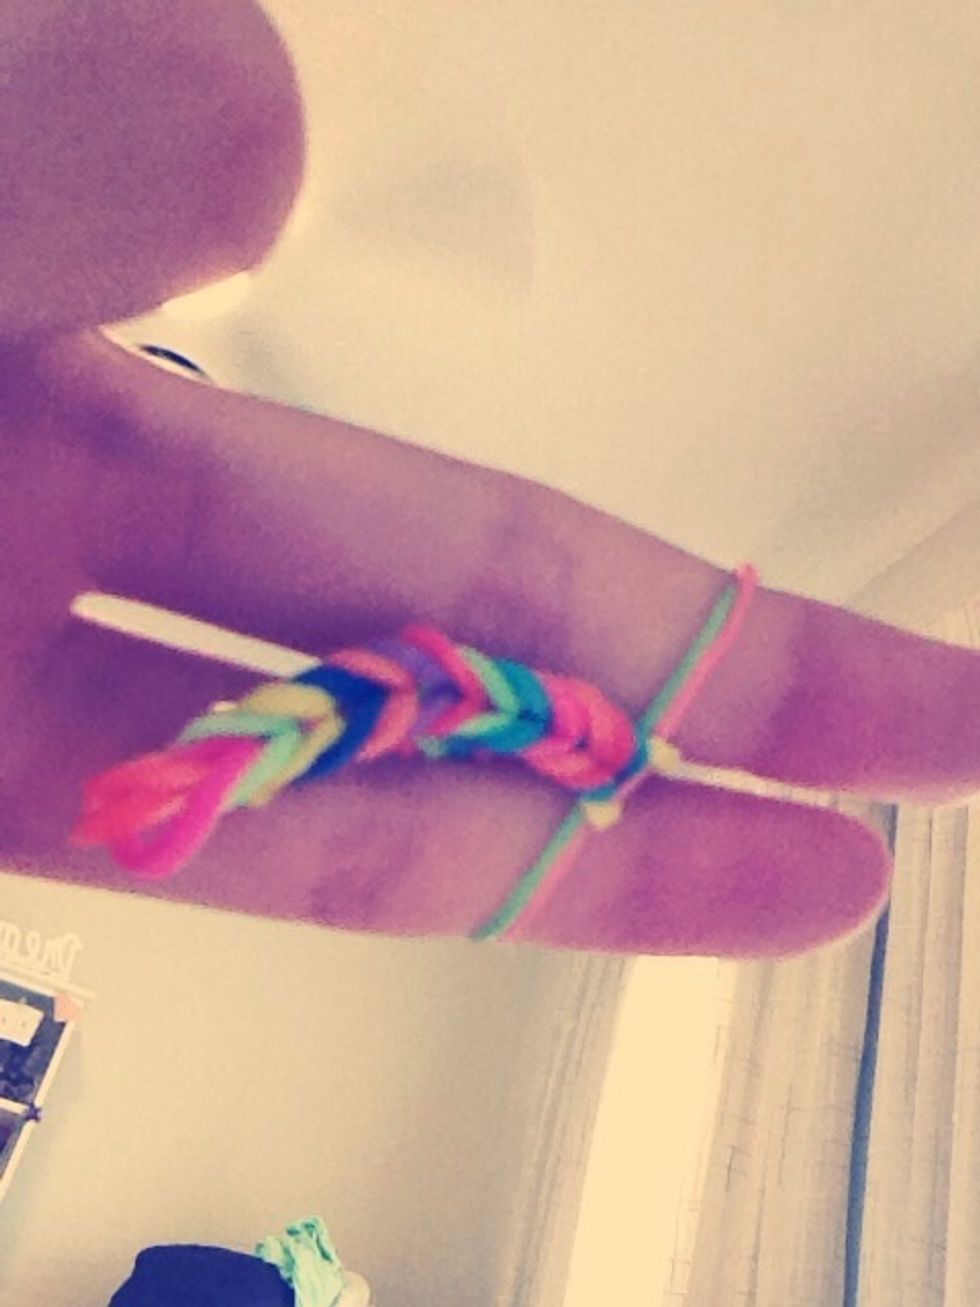
When the bracelet that has already formed is too long, let it fall out from between your fingers.
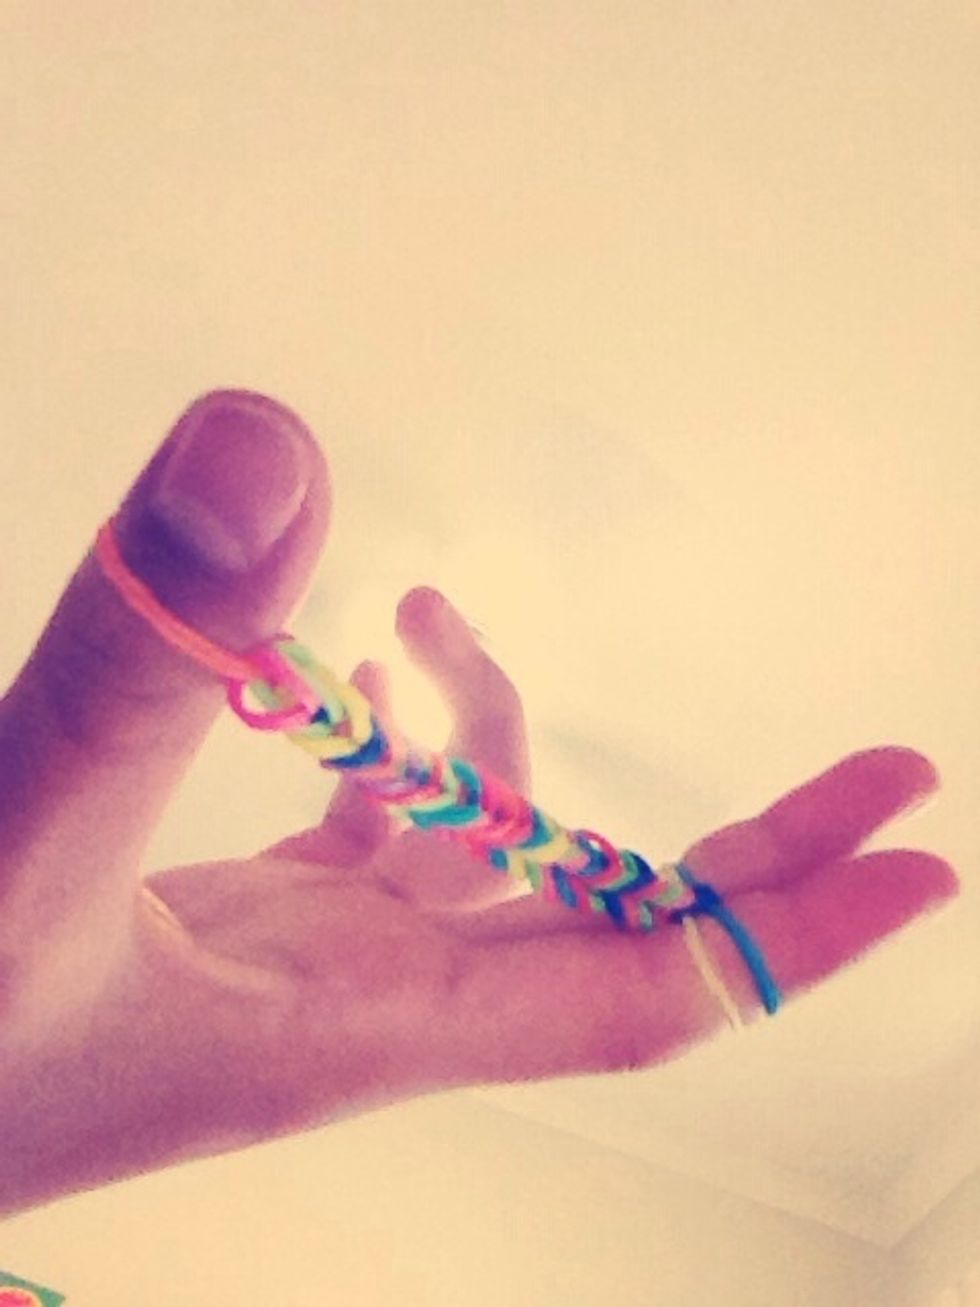
You can see the beginning band. Mine is orange. (Obviously it doesn't have to be)
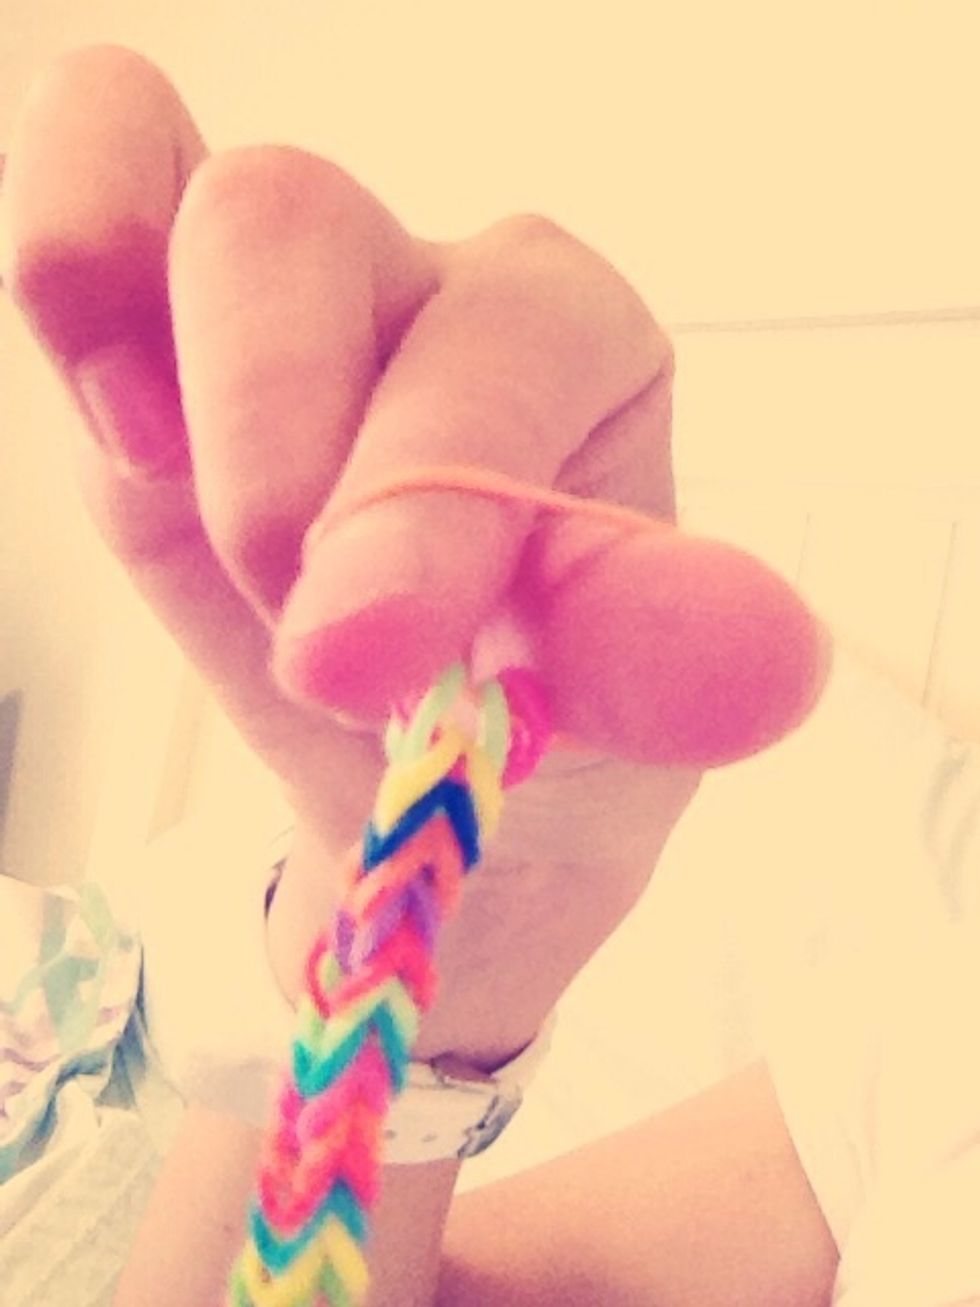
Grab onto this band, making sure you have both ends.

Put these over your thumb to hold it out of the way while making the bracelet.
Like this.
Like this... One too many photos there aha.
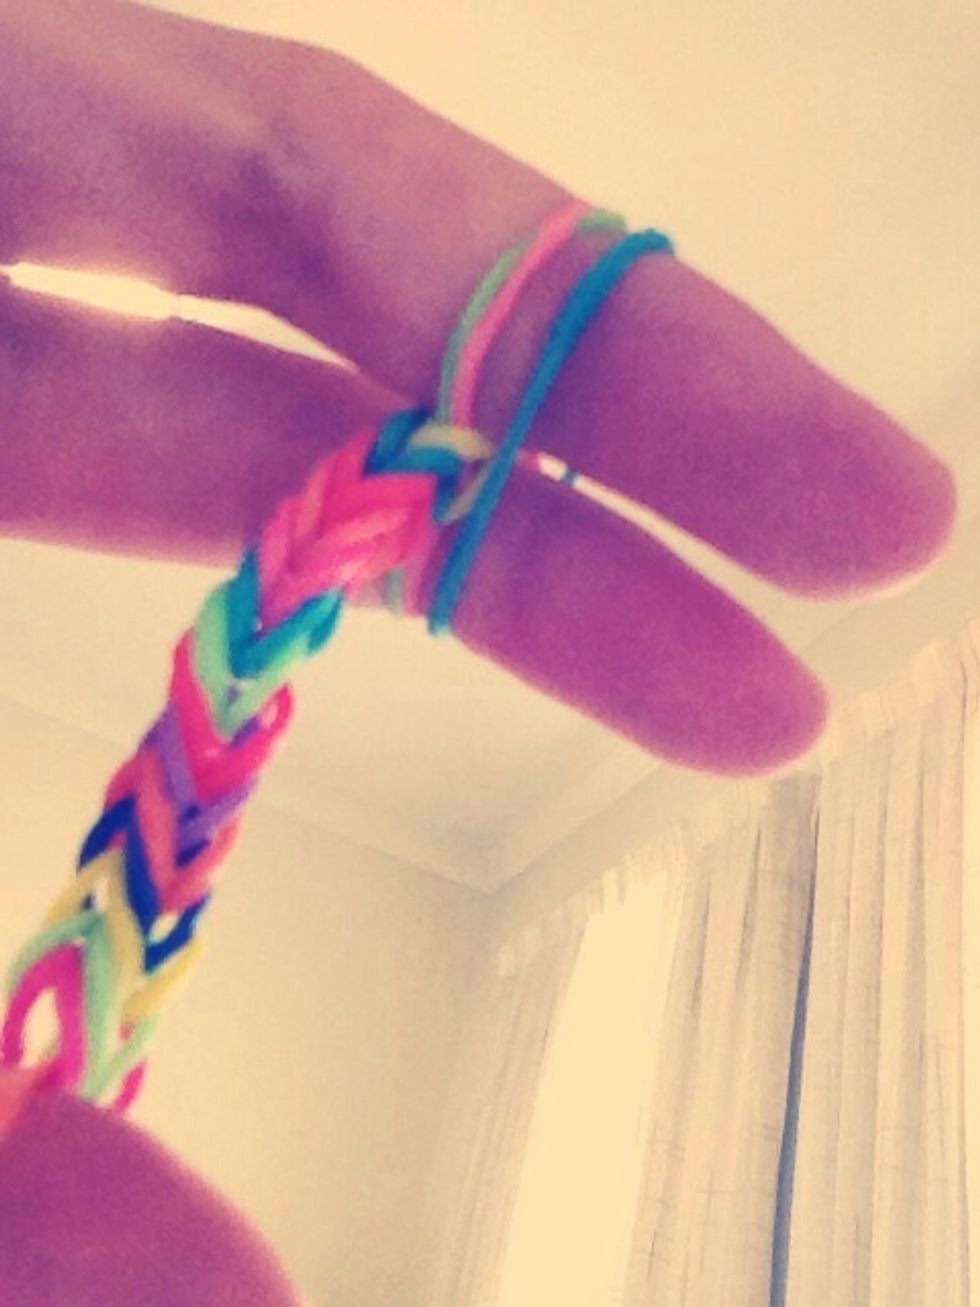
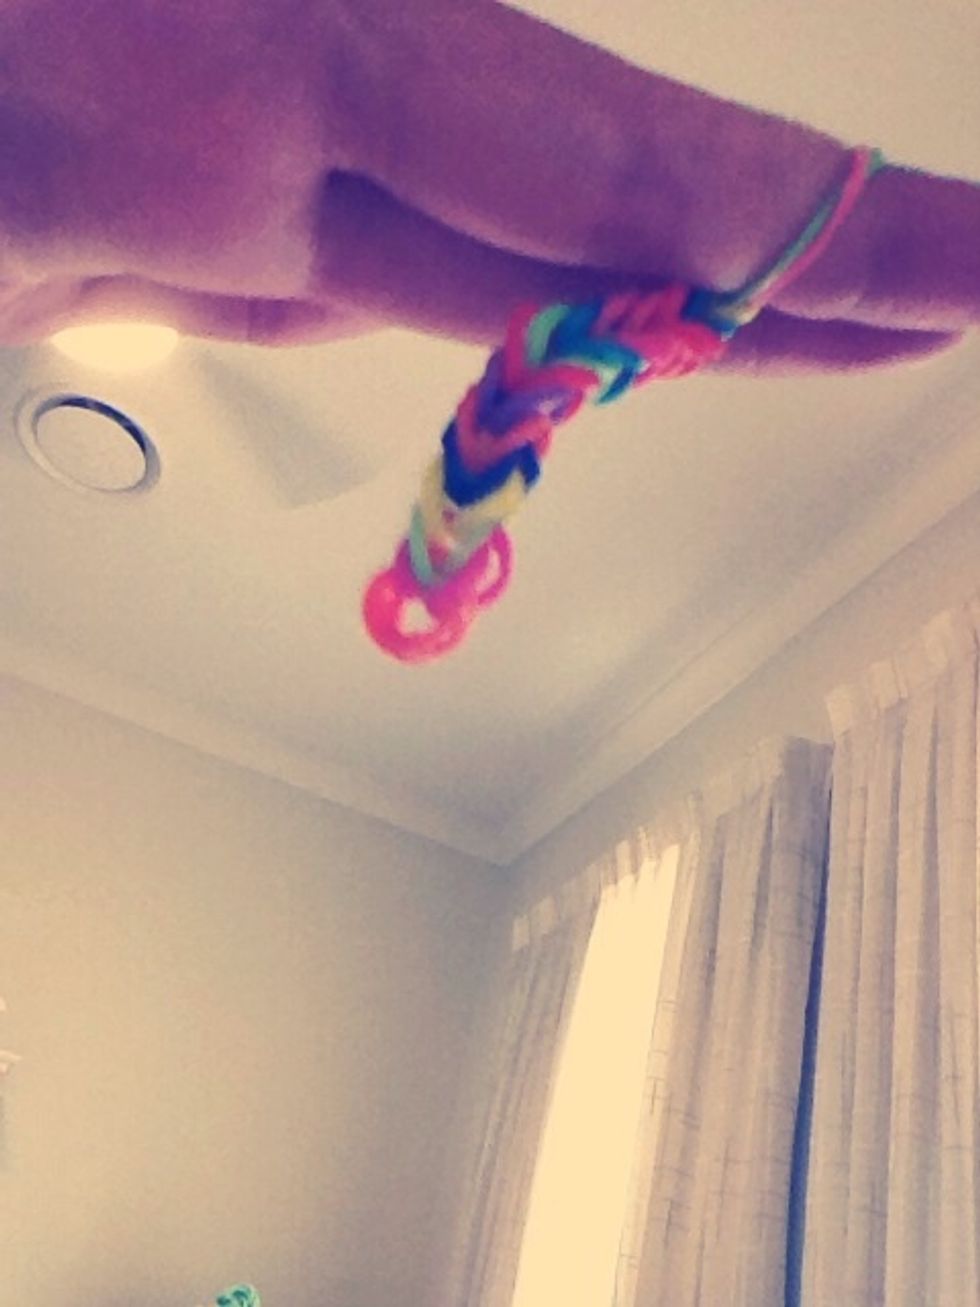
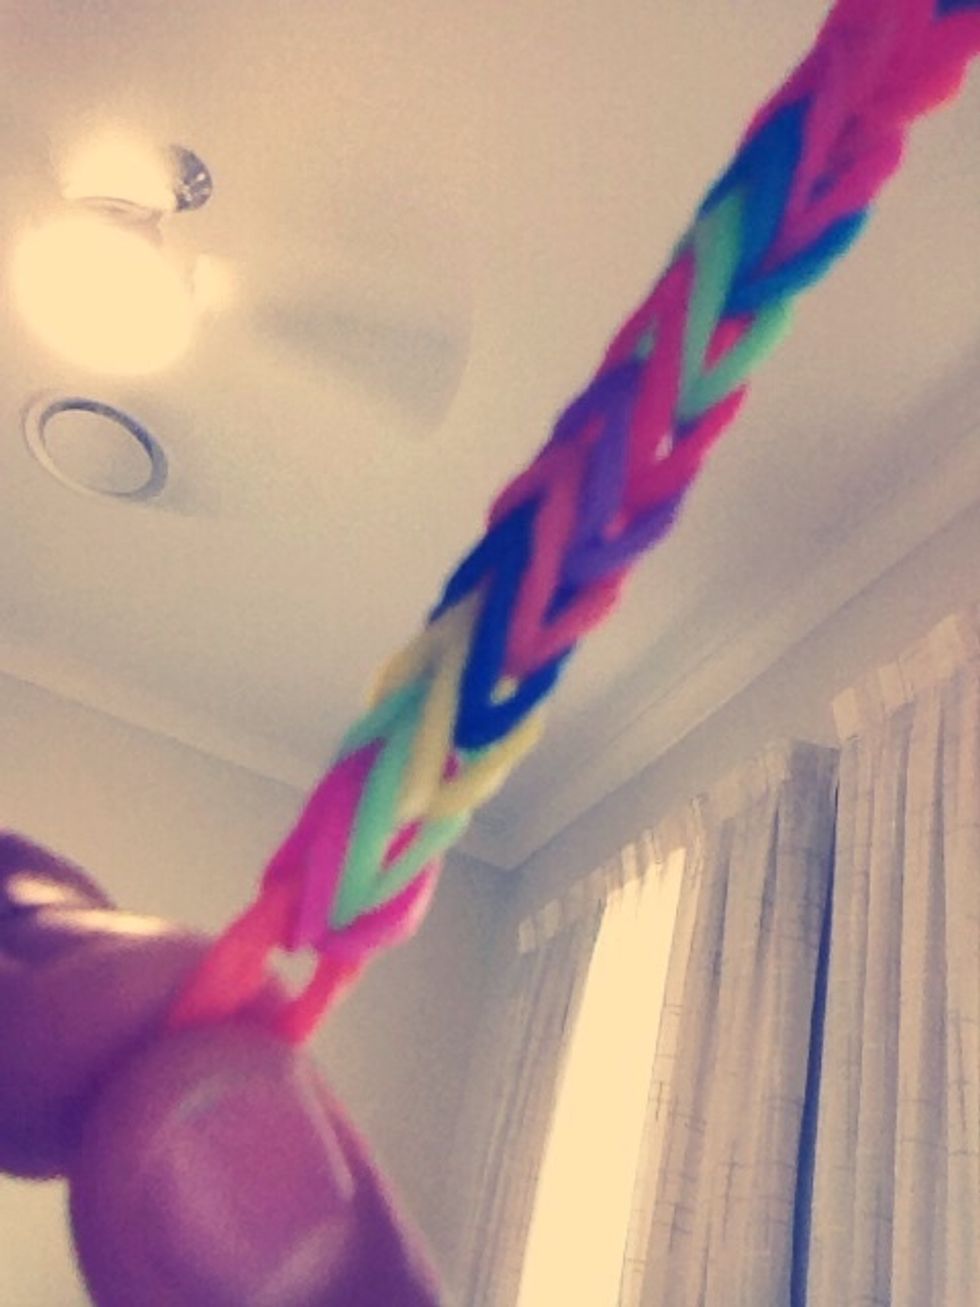
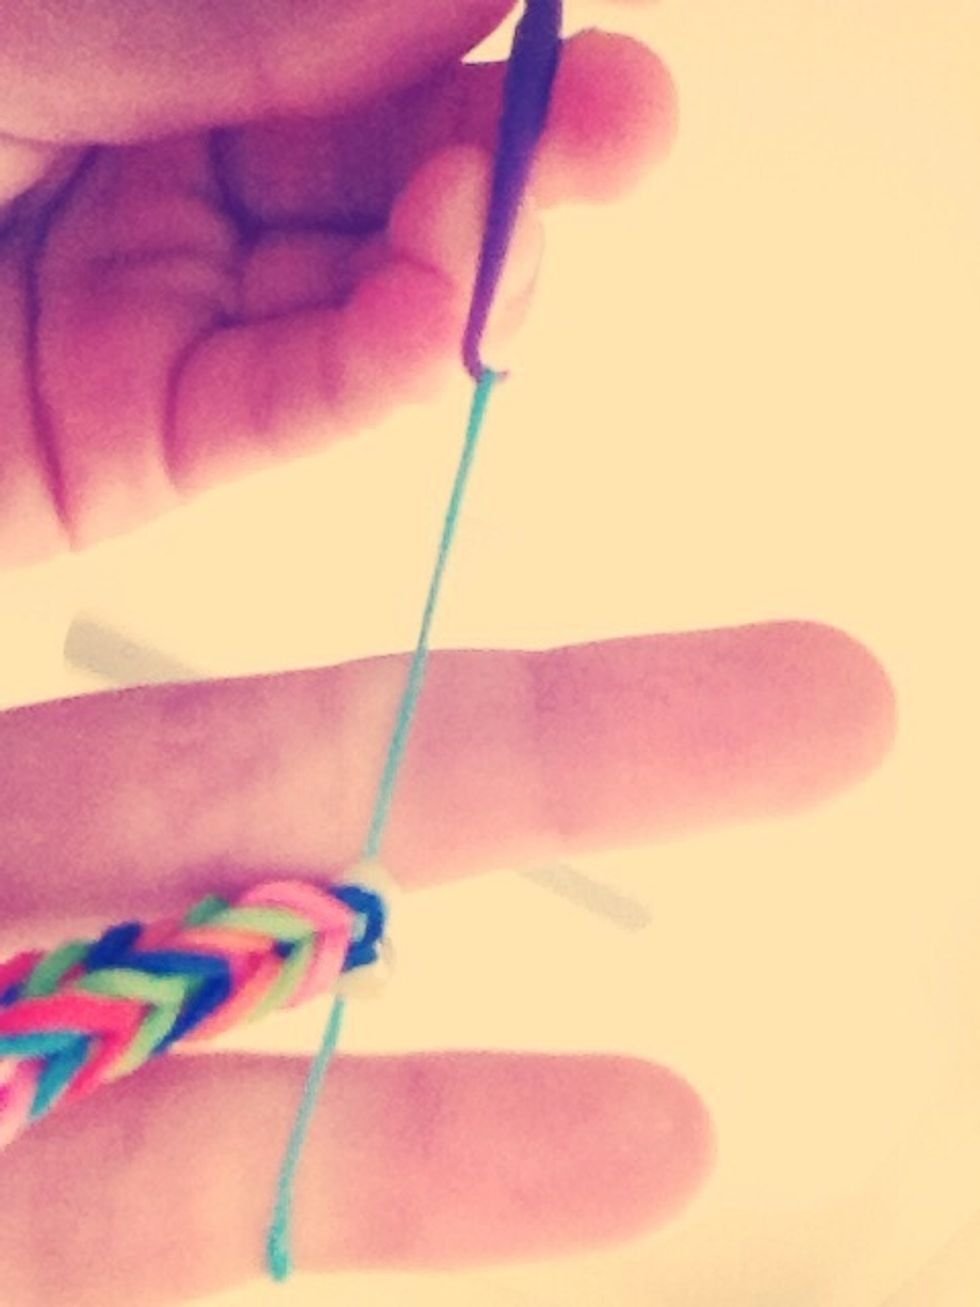
Continue adding bands and making the bracelet.
It gets to look like this!
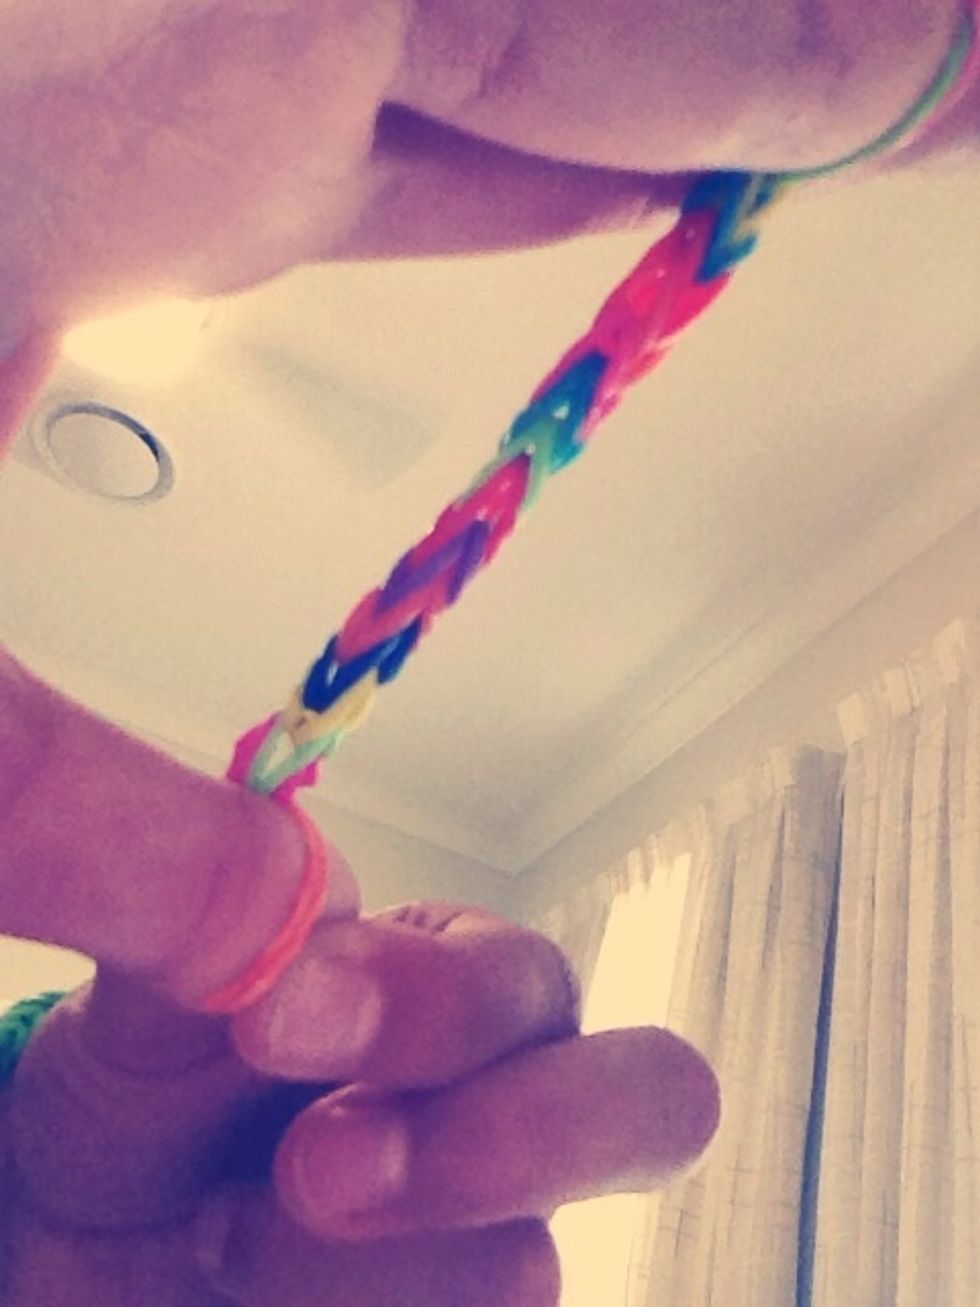
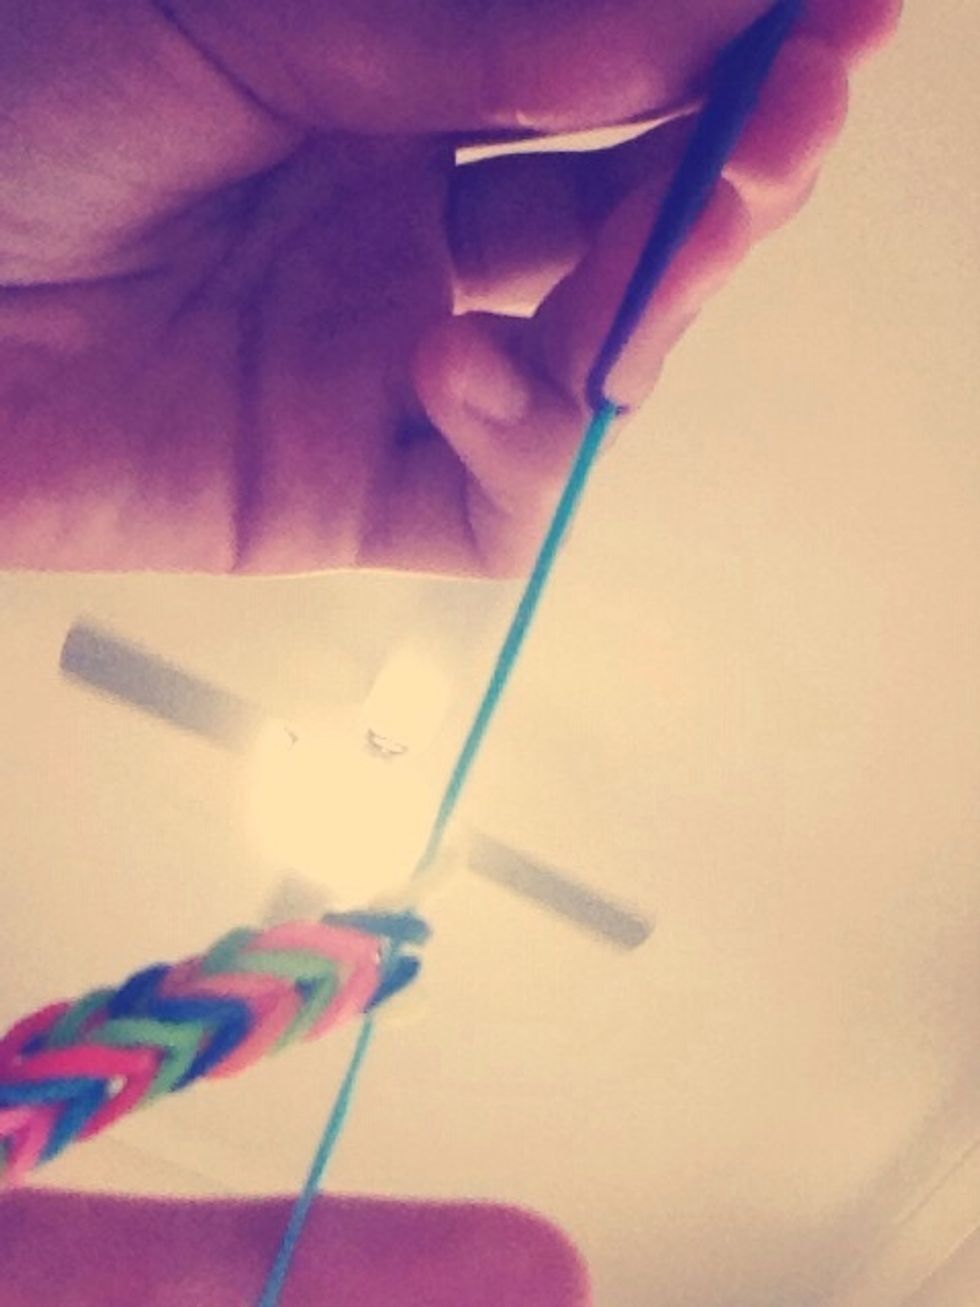
After you have pulled one band over your fingers completely, you should be left with 2 bands. This is how to finish the bracelet.

Hook underneath the bottom band. (Sorry you can't see it very well)
Pull it over your finger.
Repeat on the other side so there is now only one band left.
Hook underneath one side of the remaining band.
Take it off your finger.
And put it onto the other finger so both ends of your band is on the one finger.

So it looks like this.
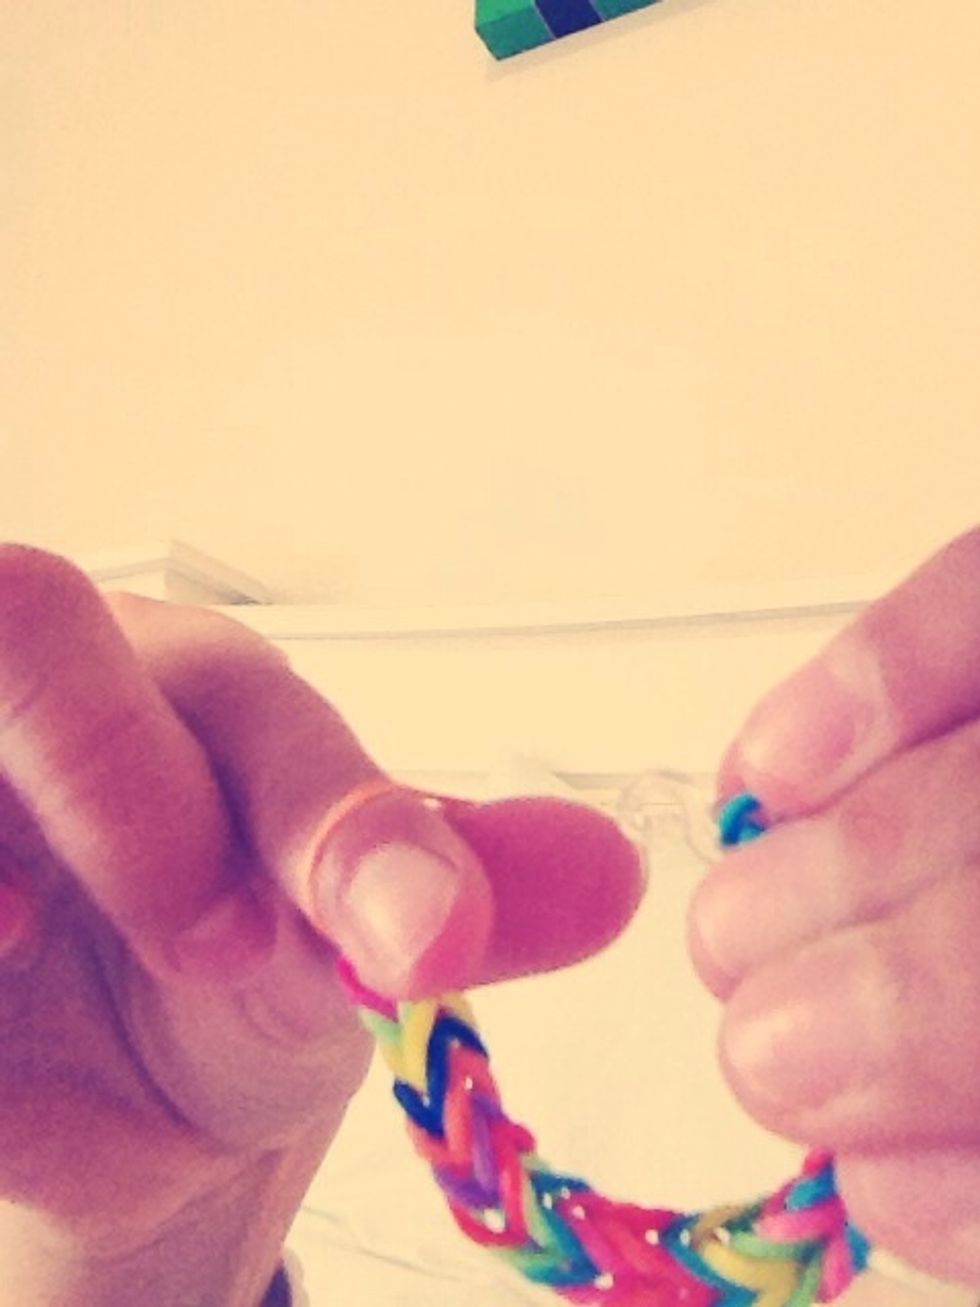
Put a second finger into the loops and stretch it out so there is a gap. (The rest of the bracelet is hidden behind my finger sorry)
Take a clasp, or whatever you want to call it.
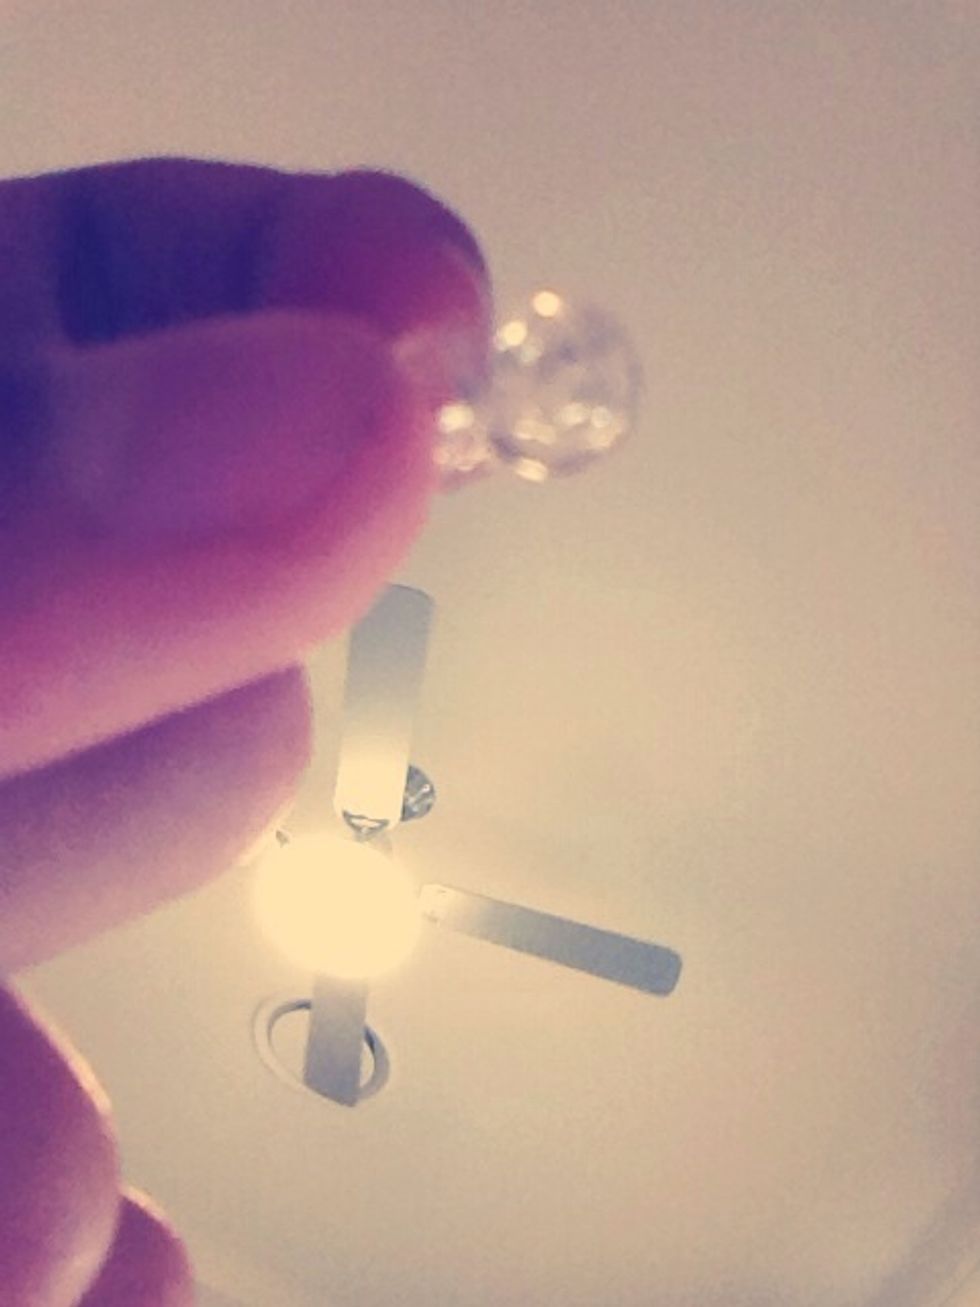
Mine is an S shaped clasp.

Put the band into one end of the clasp. Note that this can be a bit difficult, but don't give up!
Should look like this. Again with a bad photo very sorry!

Now with the other end that is over your thumb.
Put another finger into the loop and stretch it so there is a gap.
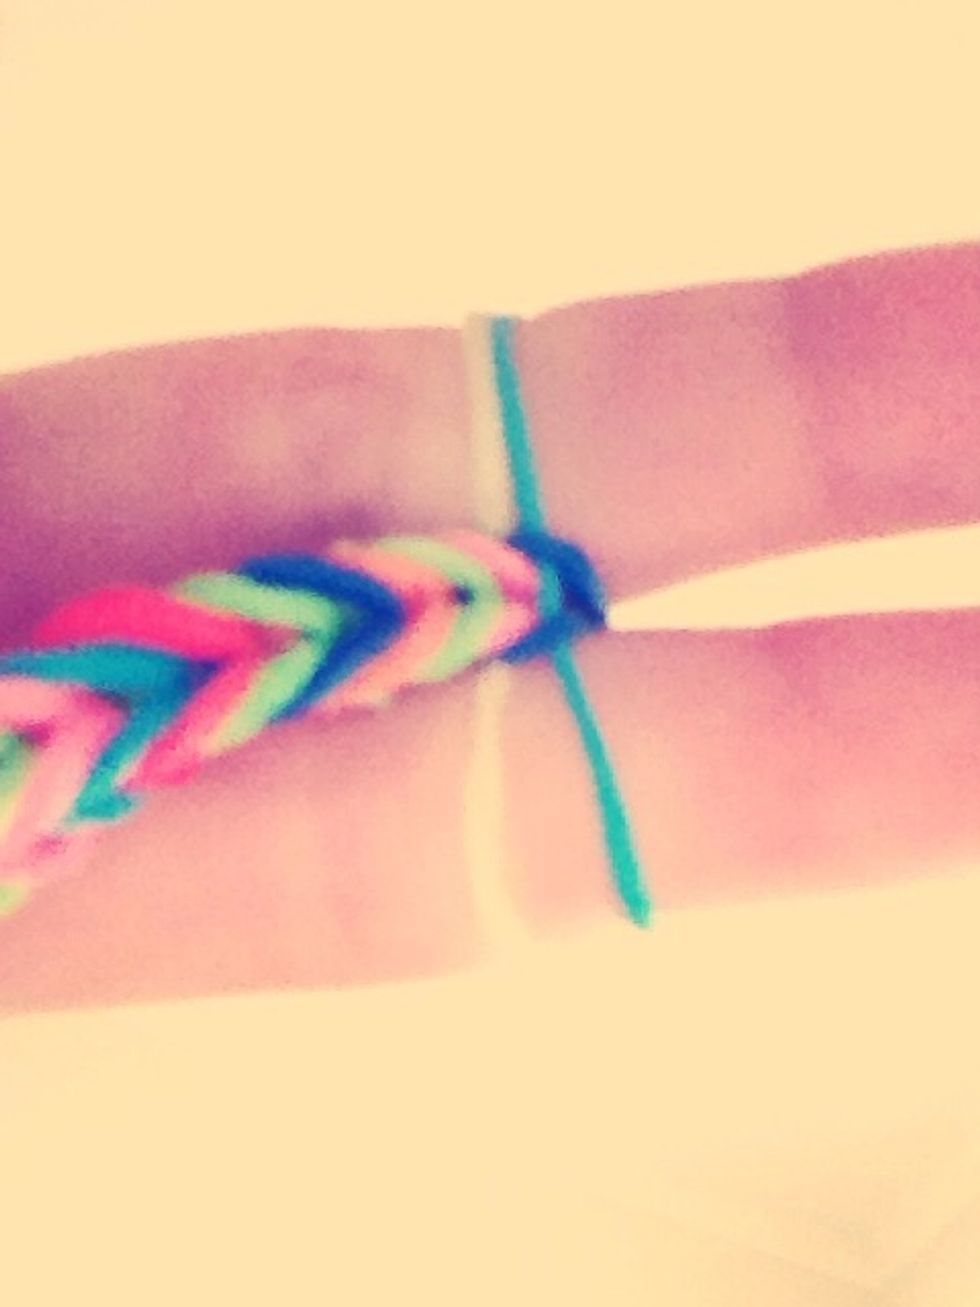
Attach the other end of the clasp to join the ends. Again, it can be difficult.
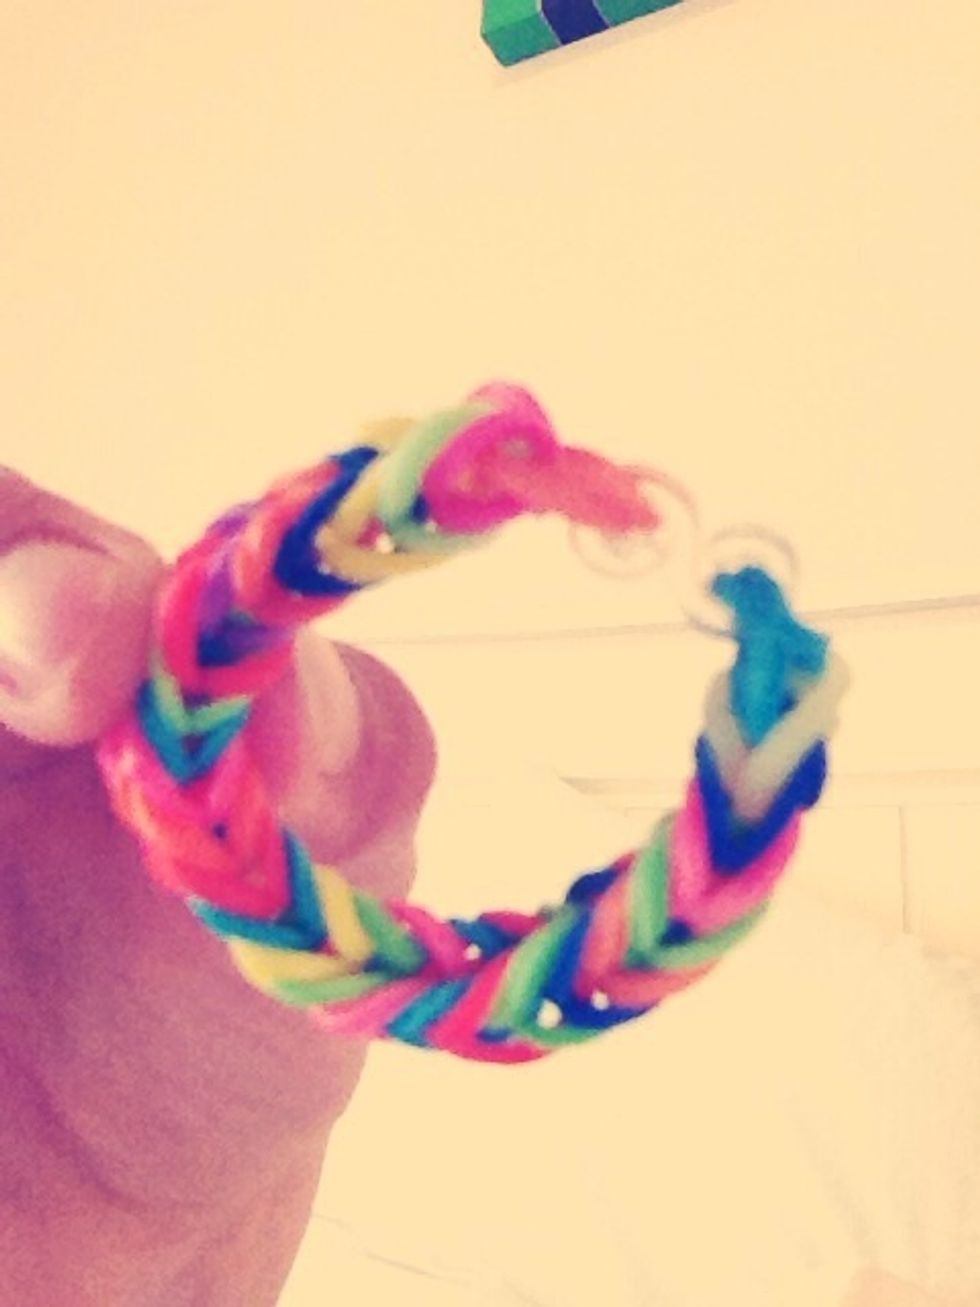
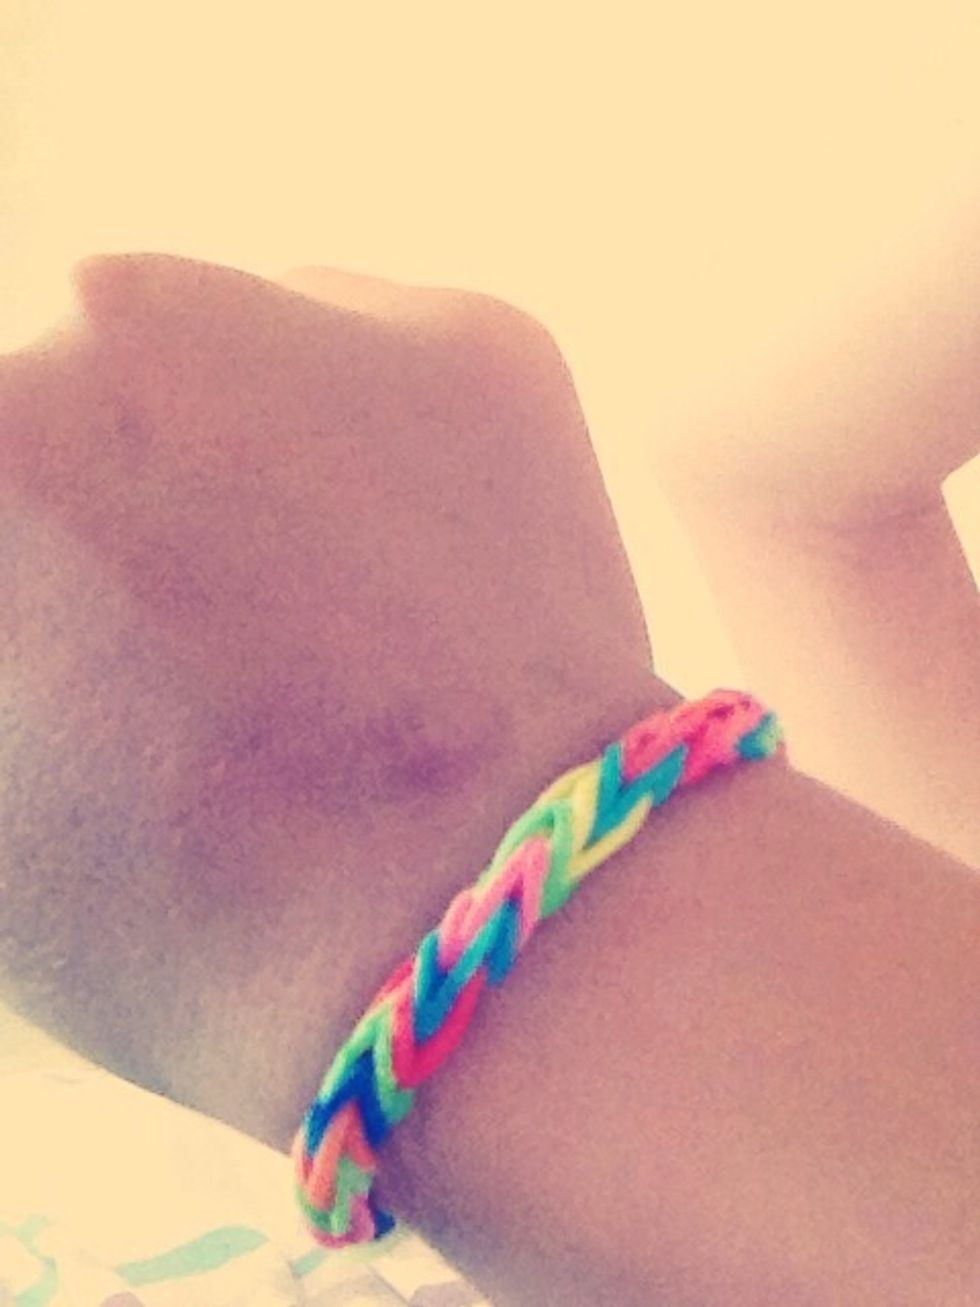
Finished product! Turned out the colours don't look that bad:)
Congratulations! Thanks for watching this guide, please like it!