The Conversation (0)
Sign Up
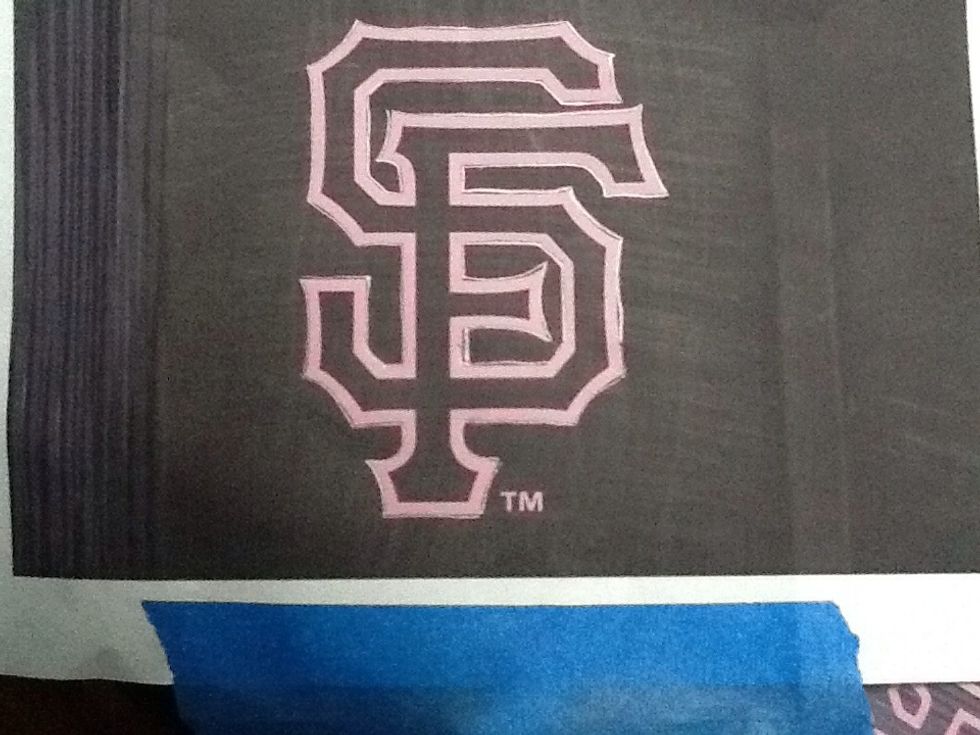
1. Print out your desired teams logo, resized to the size you want for the pendant. I chose the World Series champs, SF Giants.
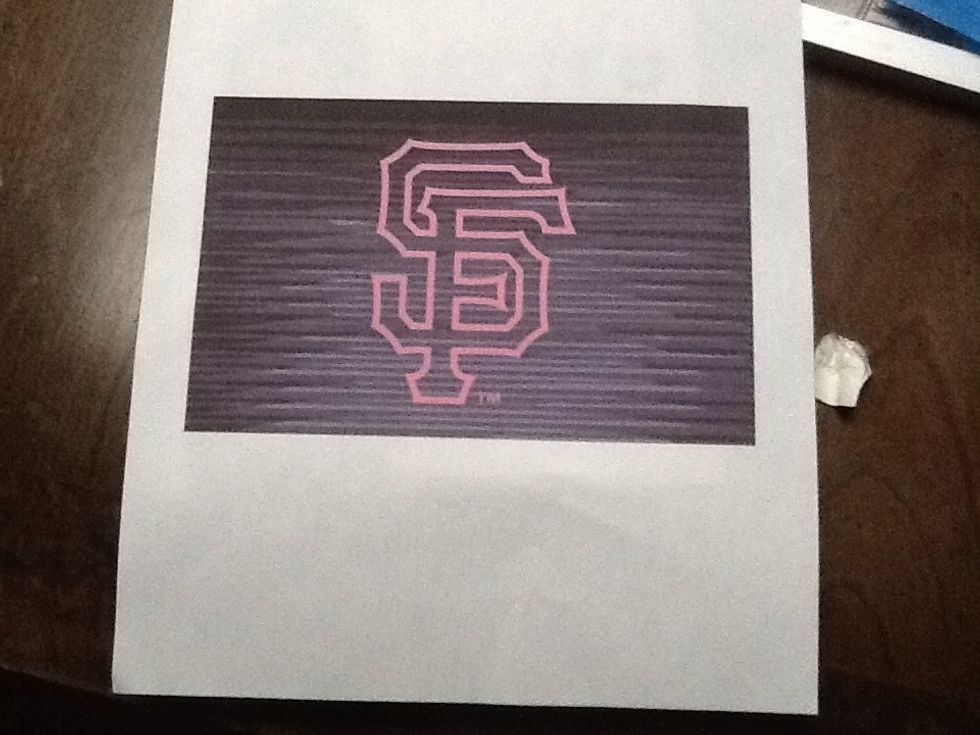
2. Blacken backside of your logo with a pencil. This will create a transfer paper effect.
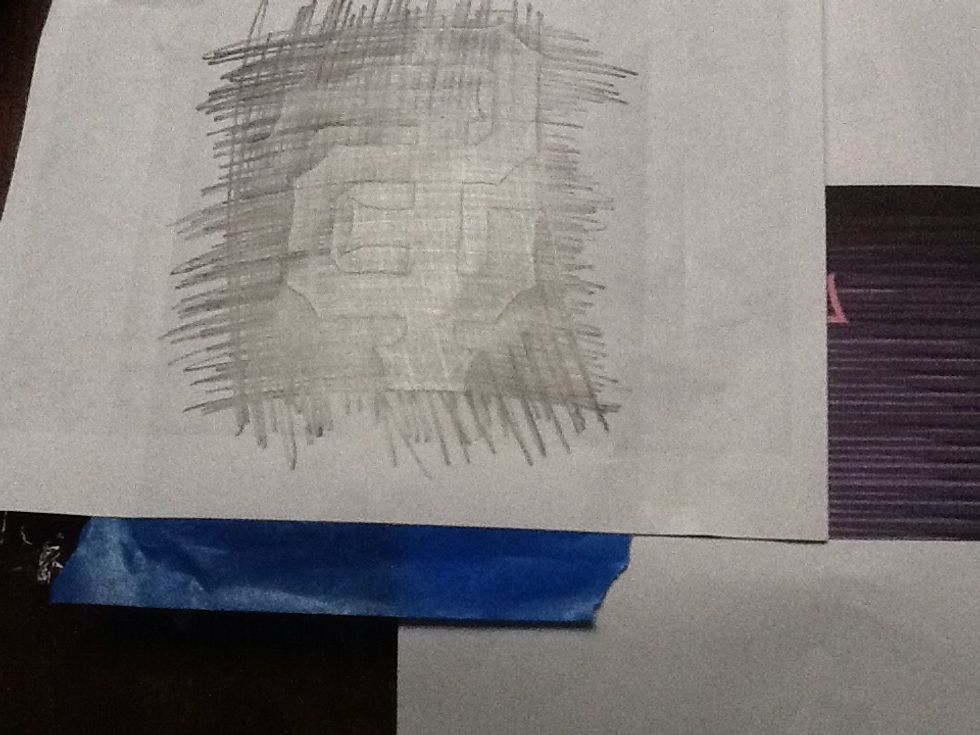
3. Place paper, blackened side down, on your board. Tape in place.
4. Trace the outline of your logo. Remove paper and darken the lines.
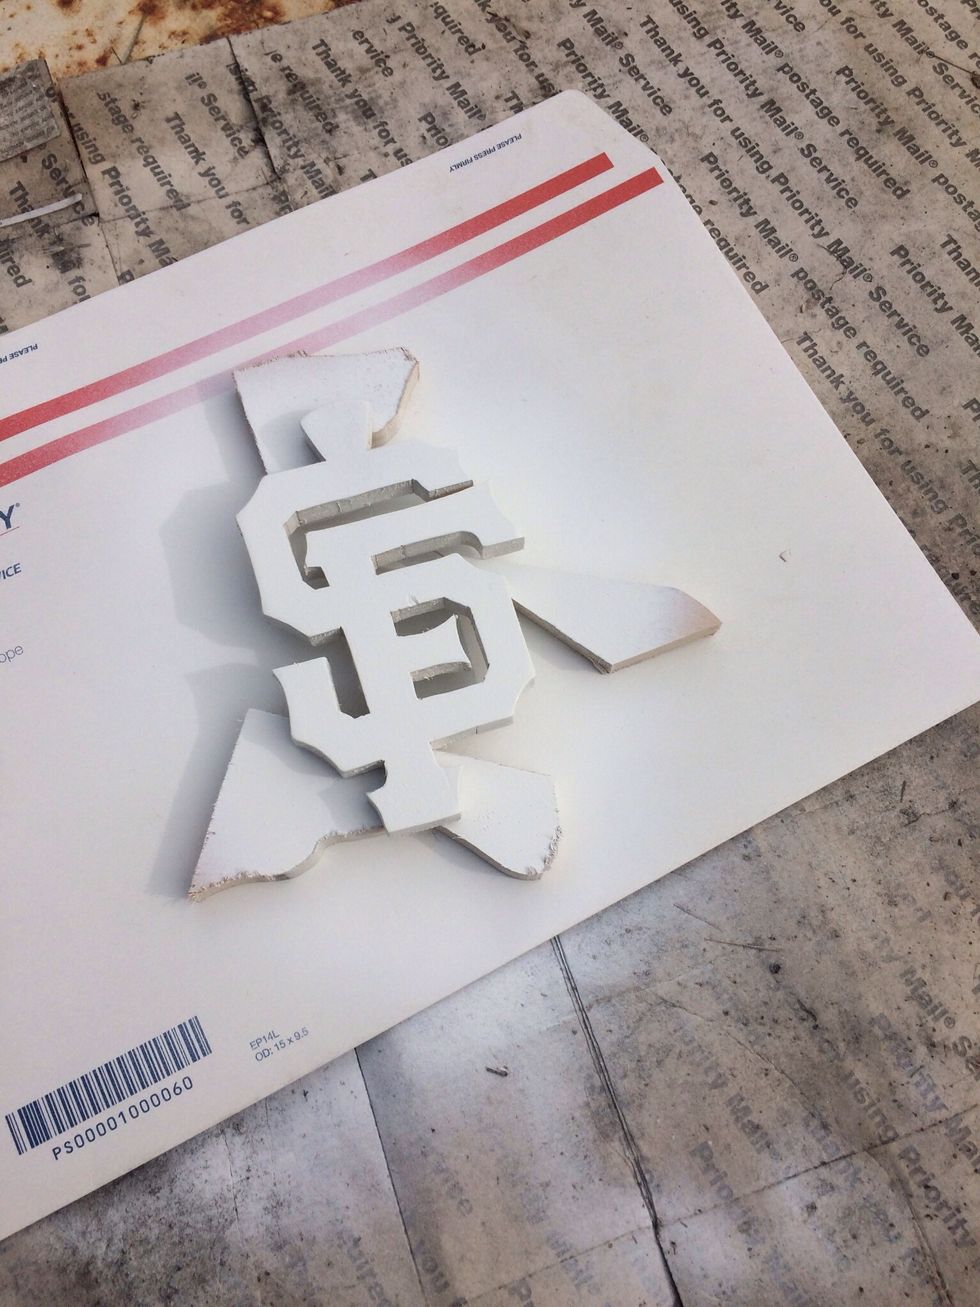
5. Cut out shape using an electric scroll saw or coping hand saw.
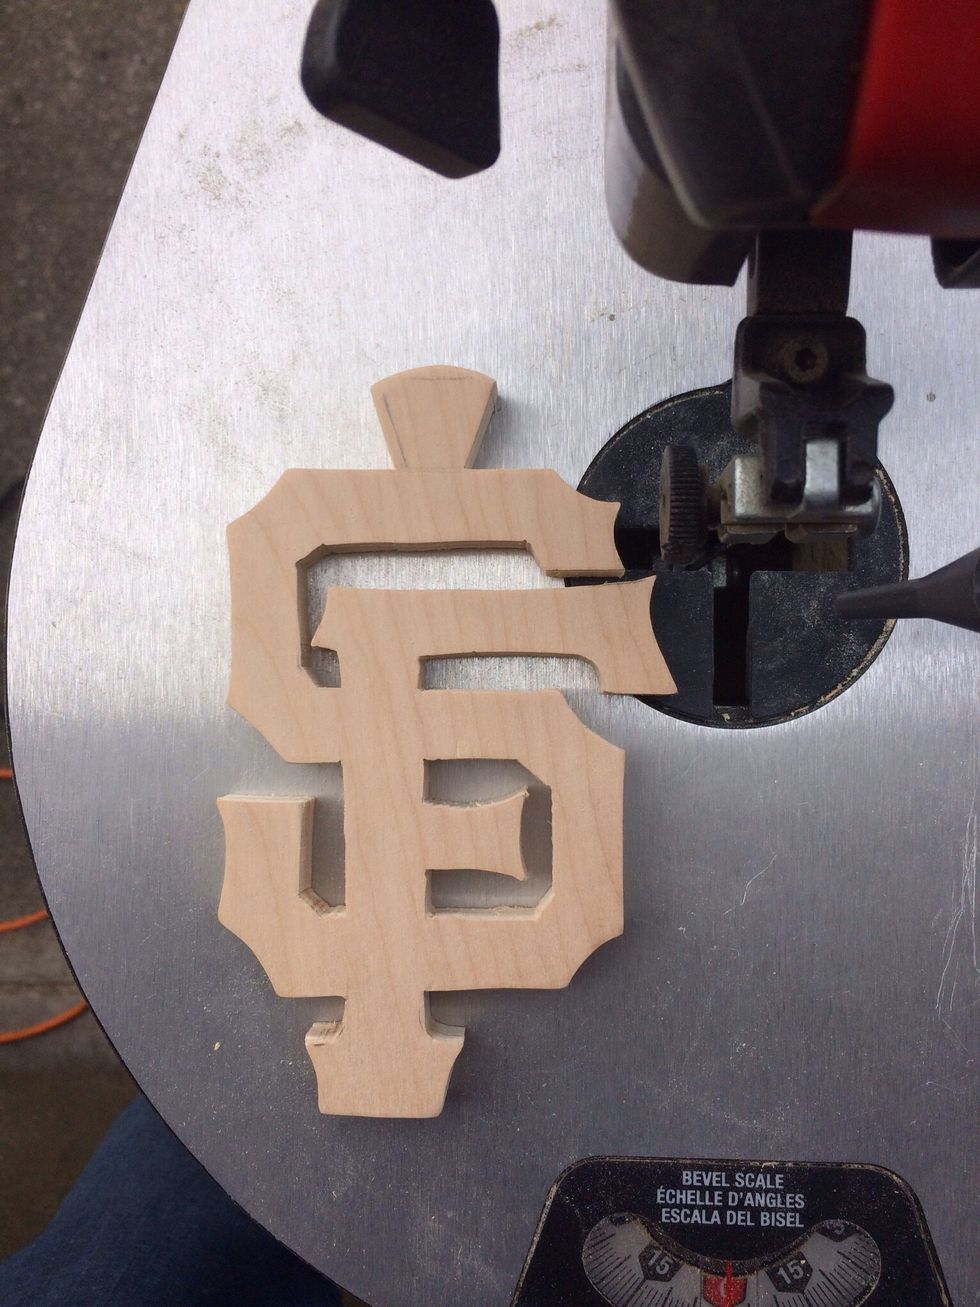
6. Sand all edges with 220 grit sandpaper to remove rough edges.
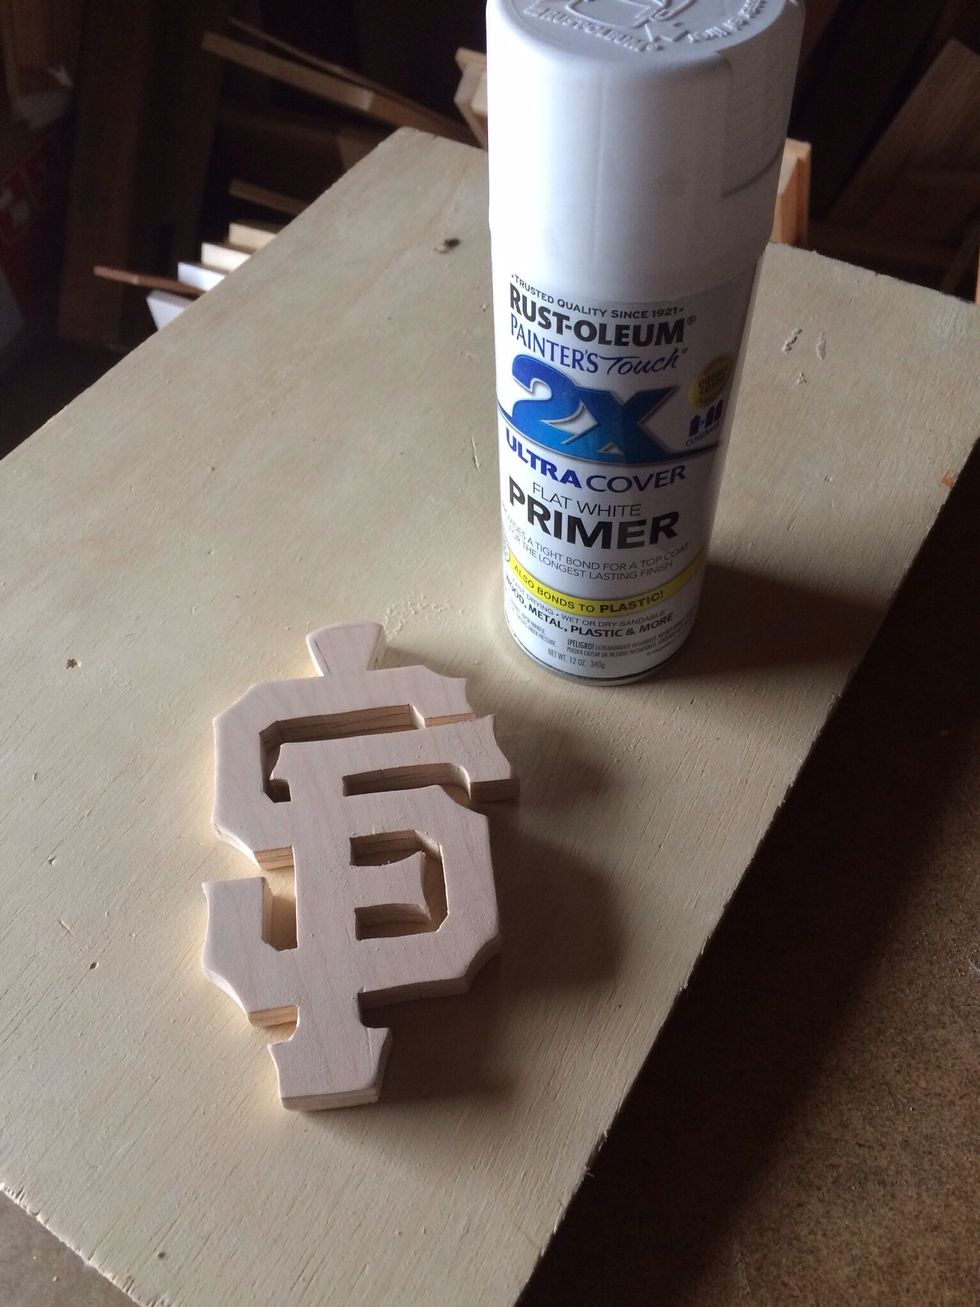
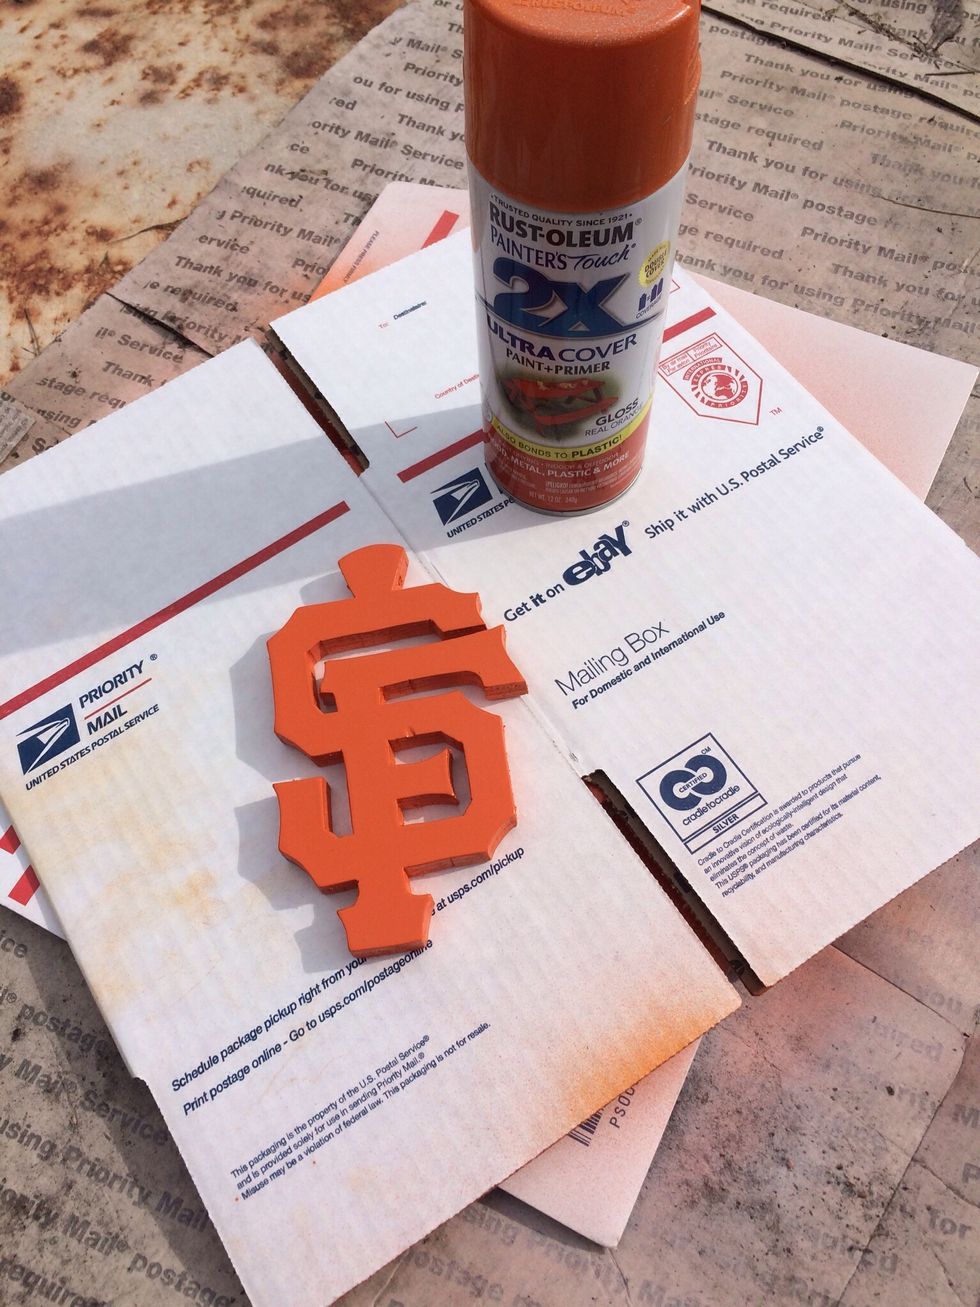
7. Prime the logo.
8. Paint the logo.
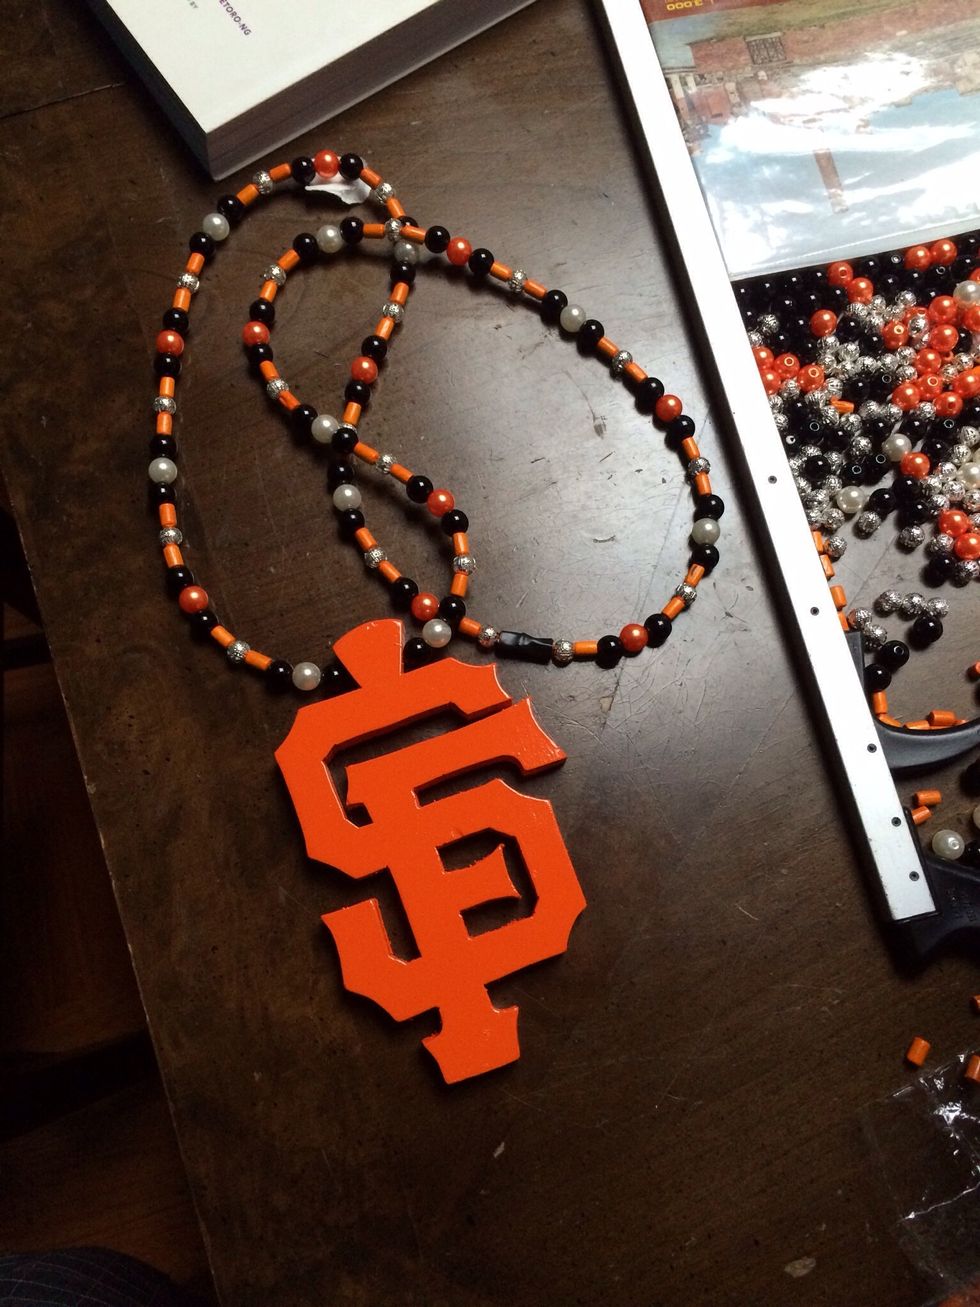
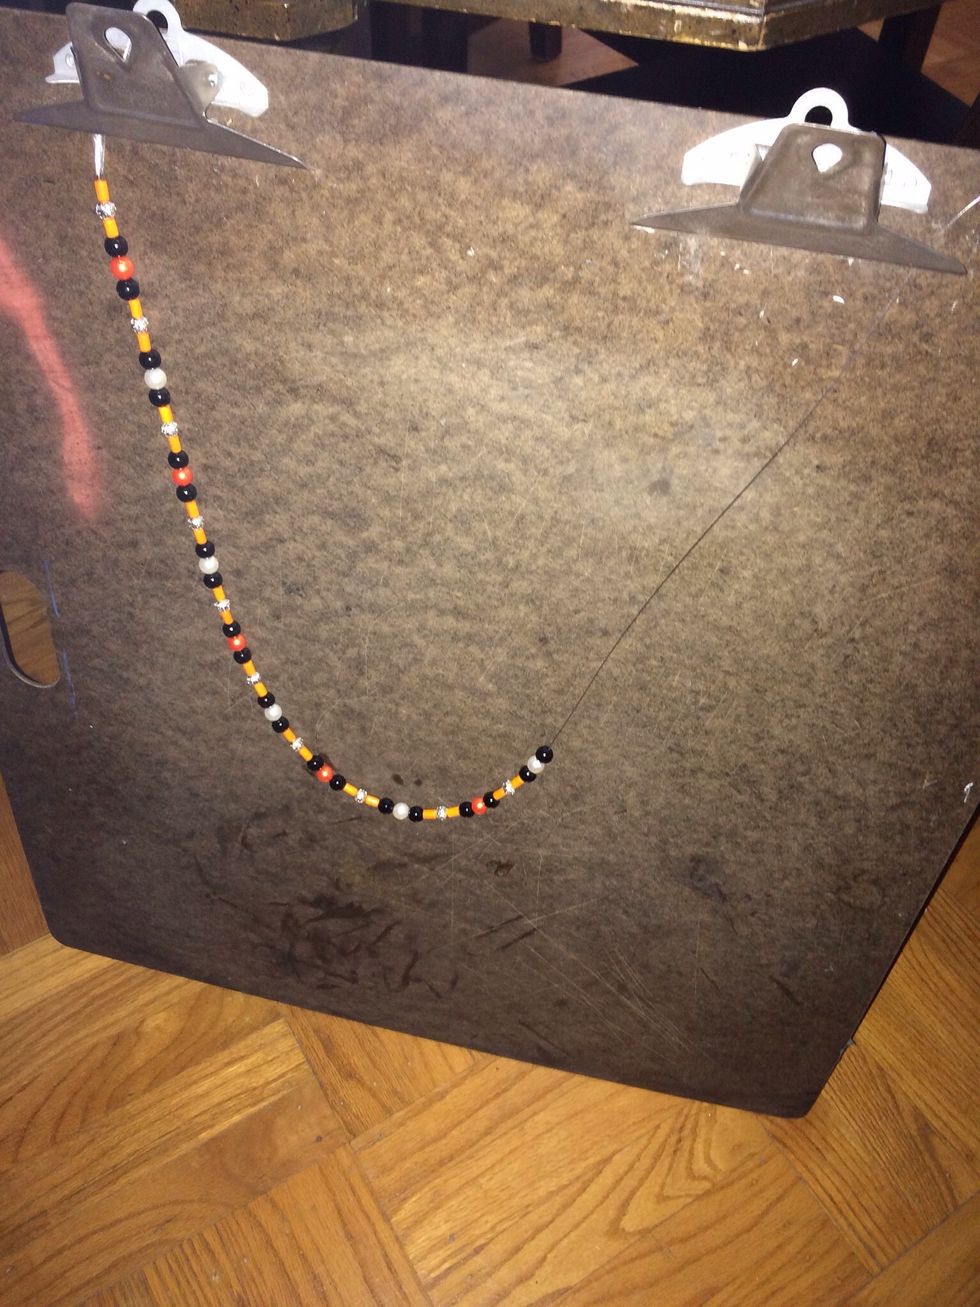
9. Drill hole to run string through. I added a tab to the top of mine so the string could run through and still lay flat. Some logos will not need to.
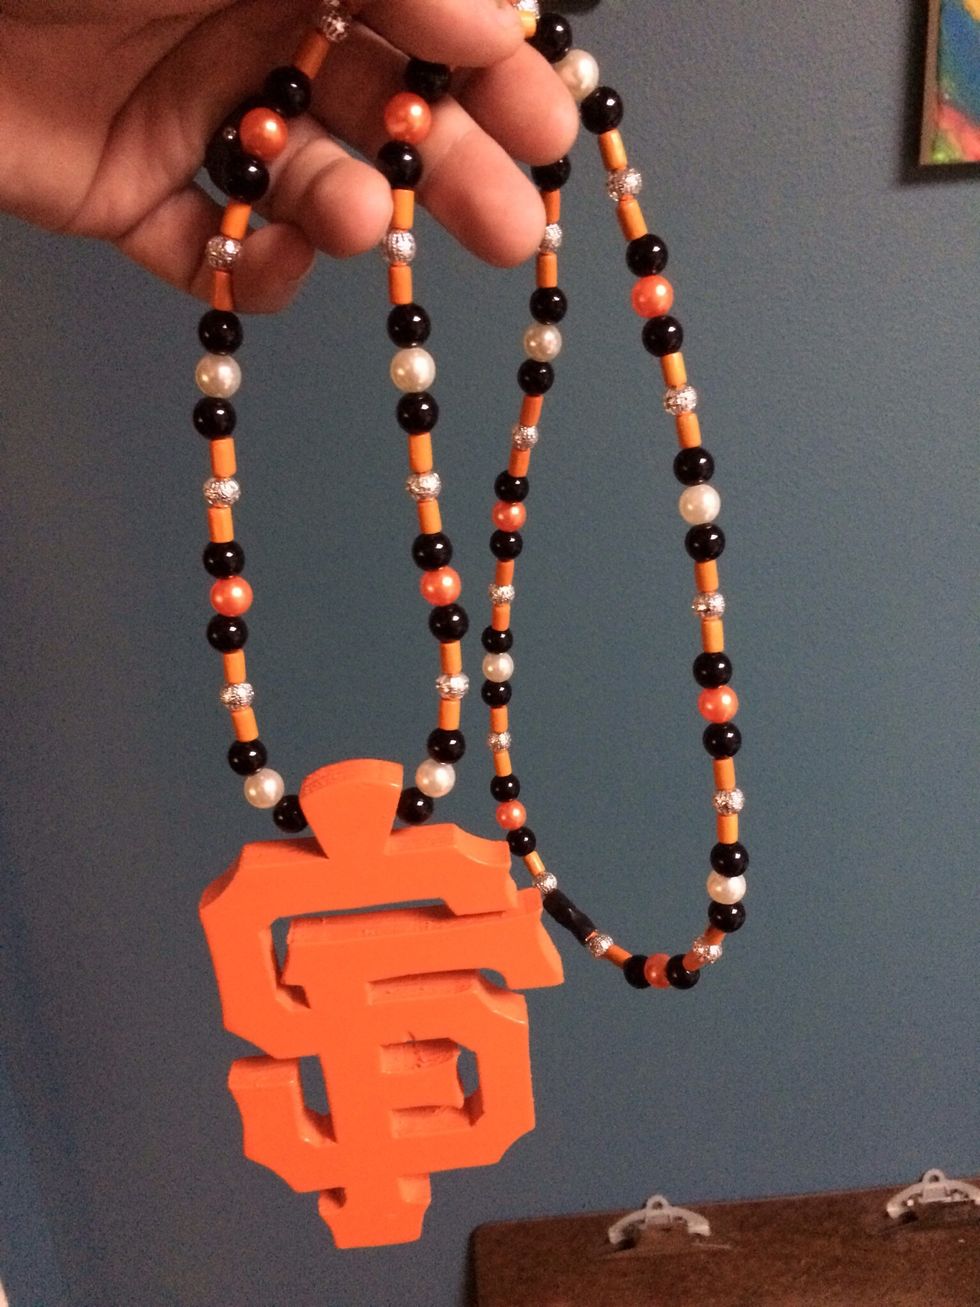
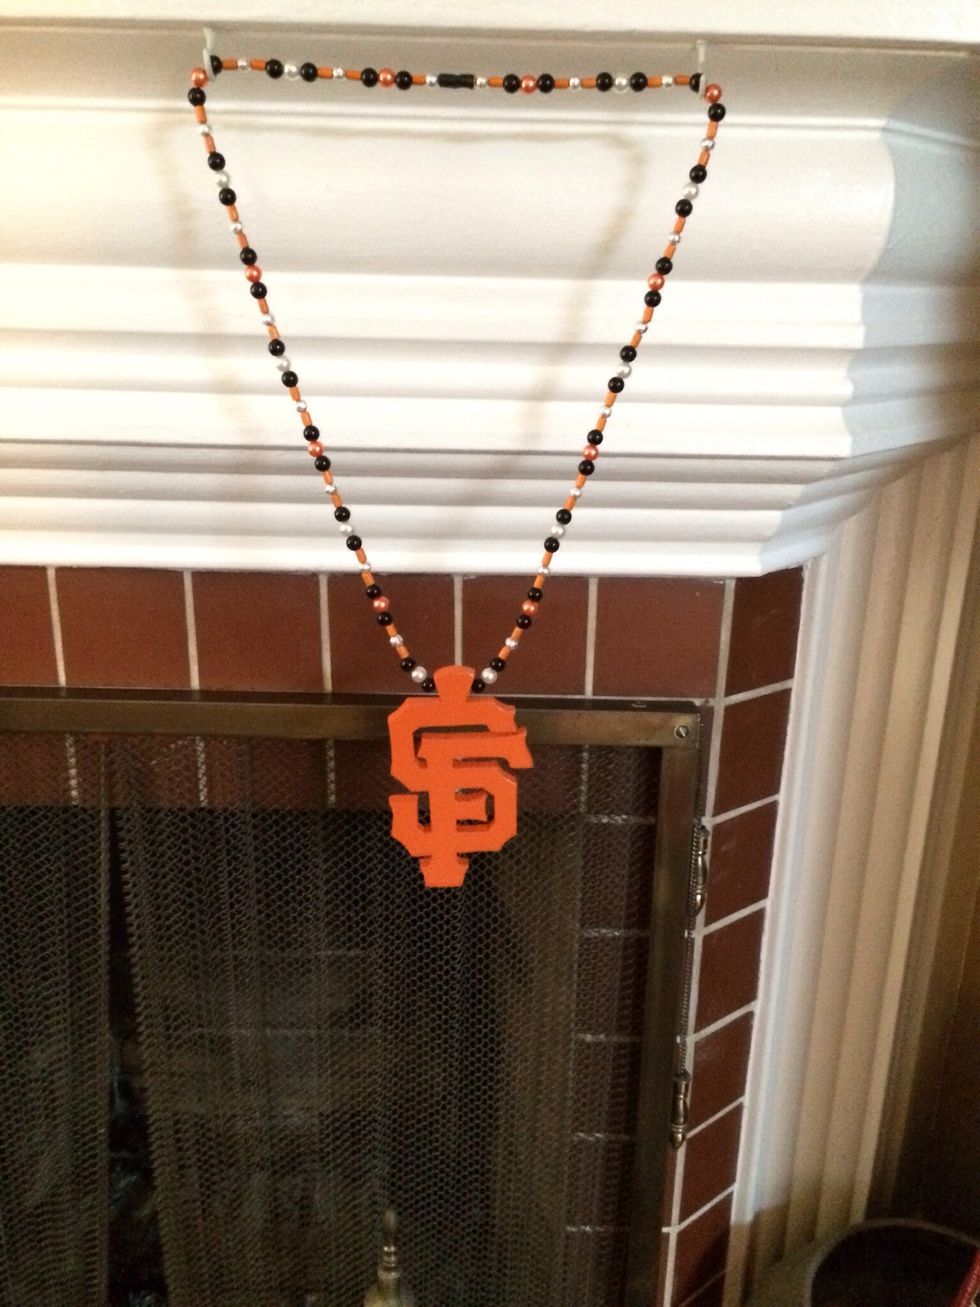
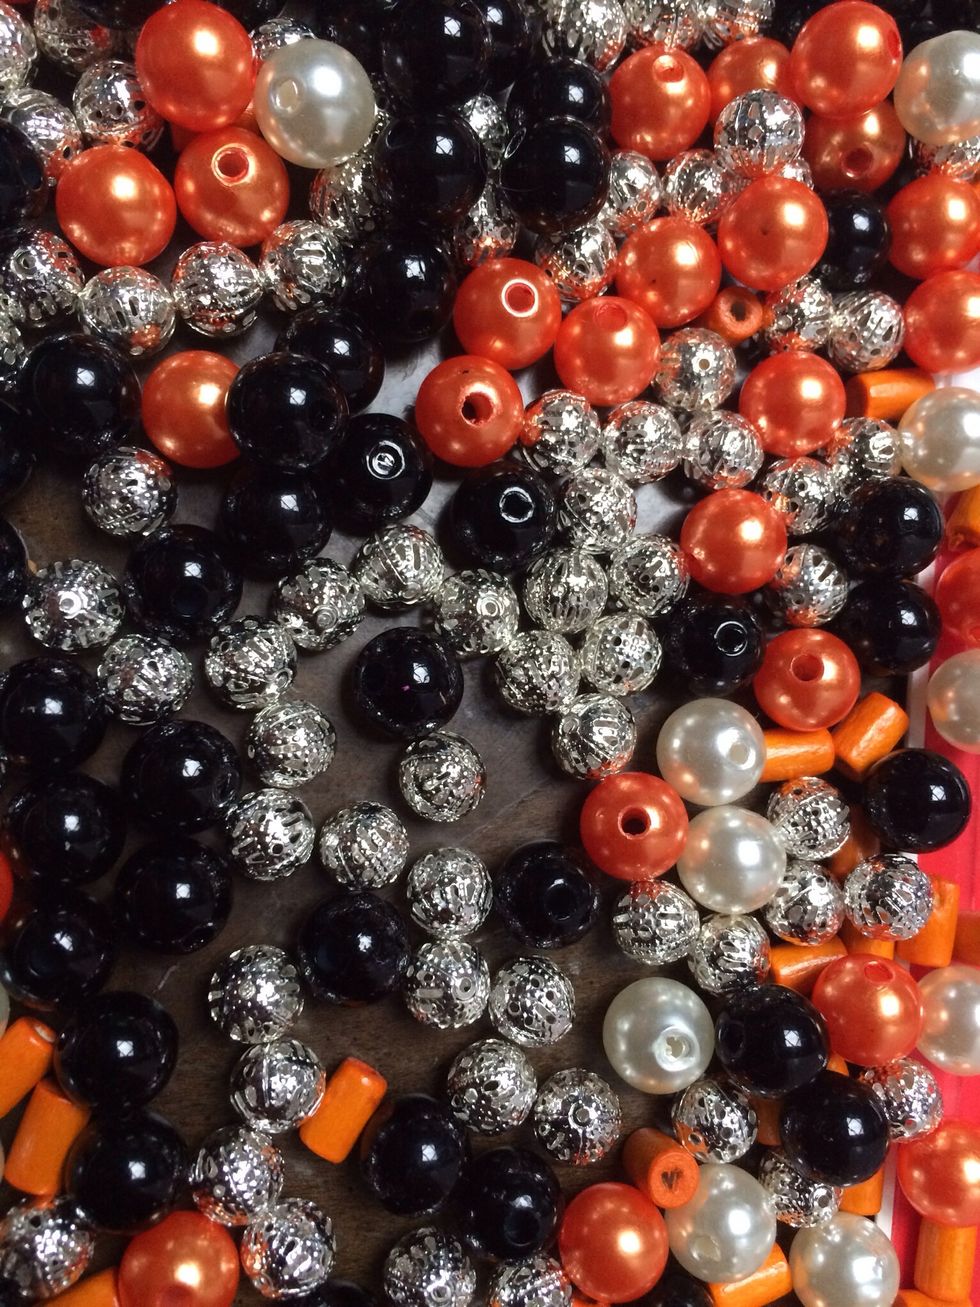
10. Run string and start adding beads that complement your logos color scheme. I use a clip board to hold the ends and keep the beads from falling off. A clothes pin works too.
11. Tie of the ends or add a clasp. And that's all it takes. Enjoy your finished piece. Go Giants!