STEPS
TOOLS
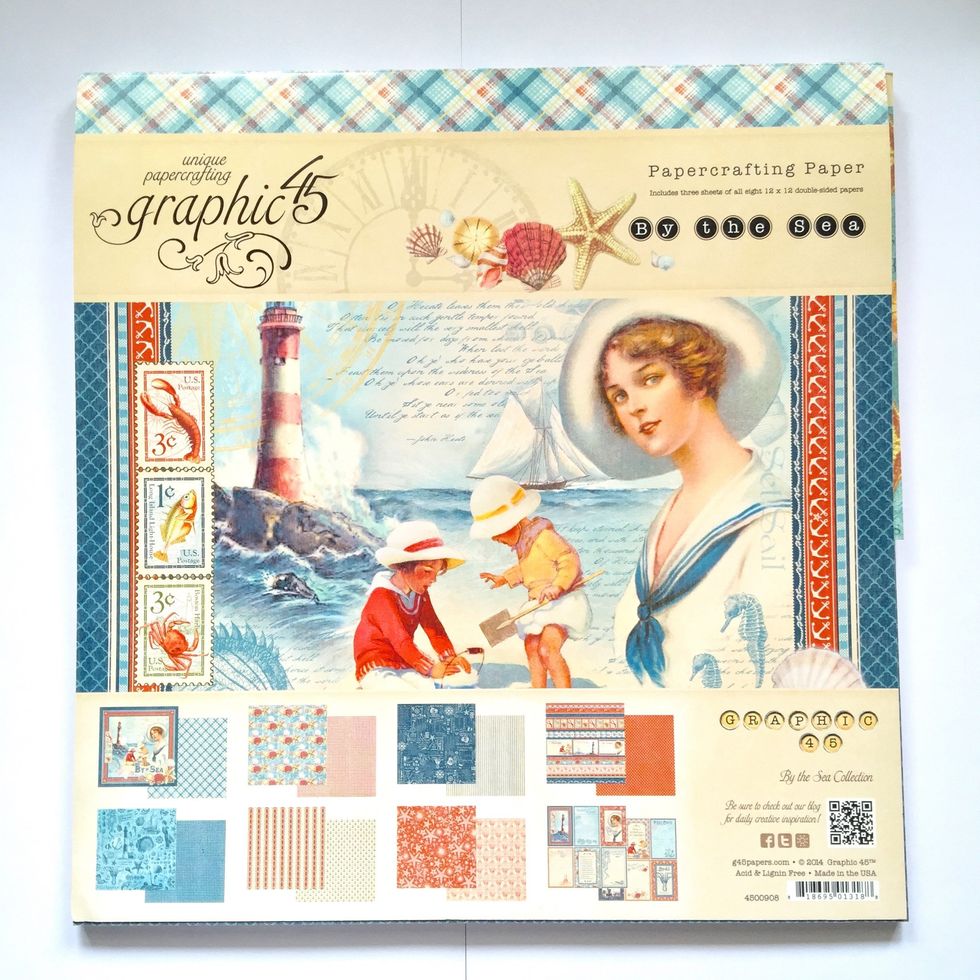
By the Sea Graphic 45 12" x 12" paper pad.
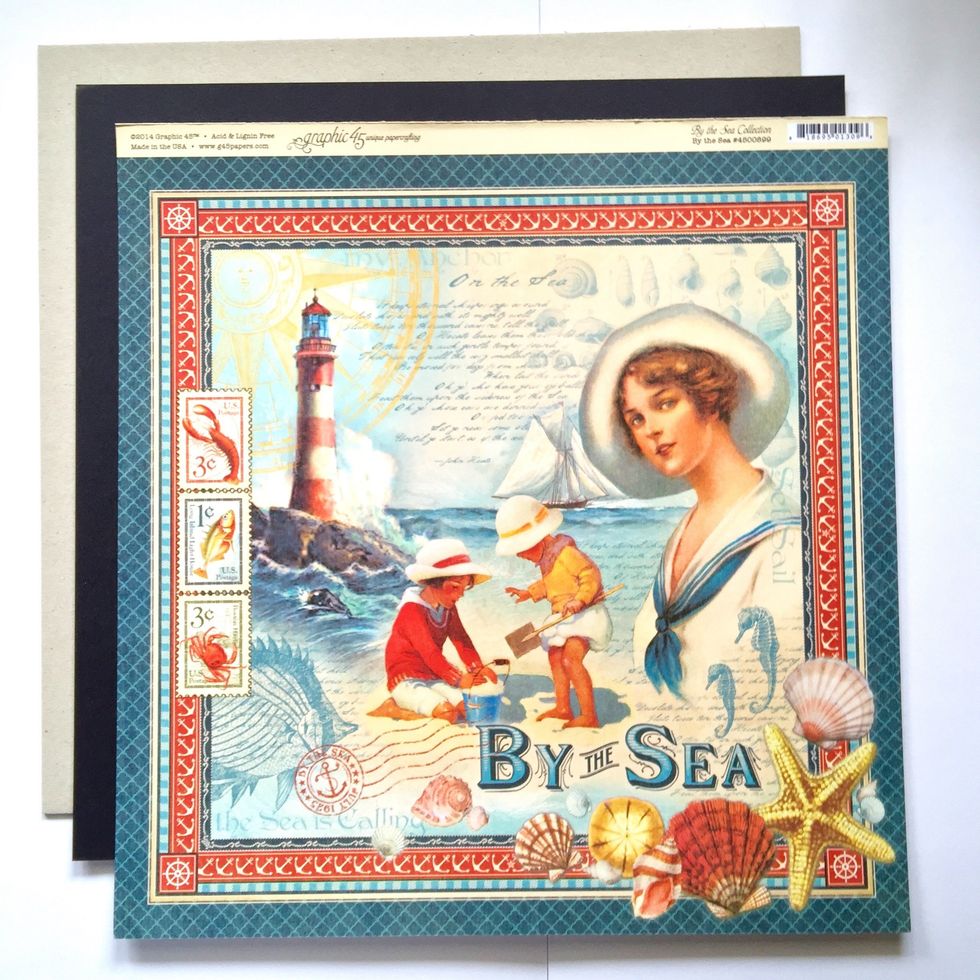
You'll need a 12x12” cardboard, a black cardstock and this decorated G45 paper #4500899. Use double sided tape to stick the black cardstock on one side and decorated paper on the other side.
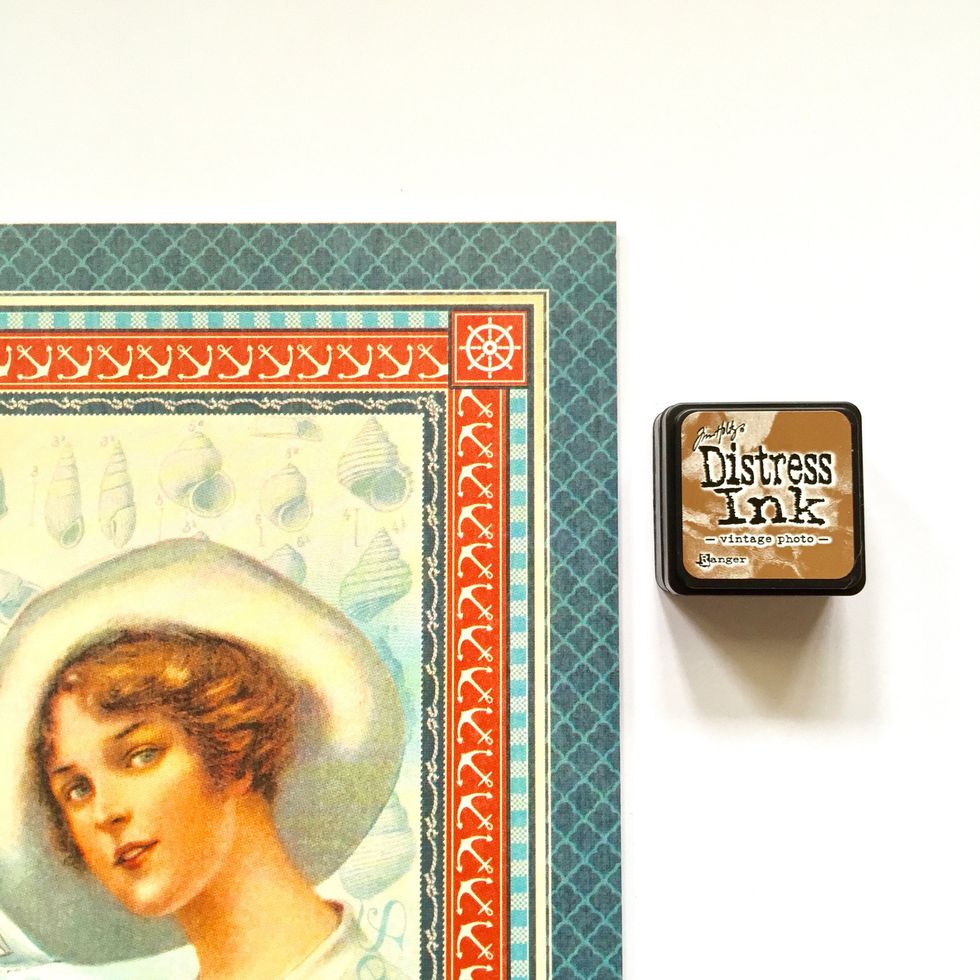
Ink the edges.
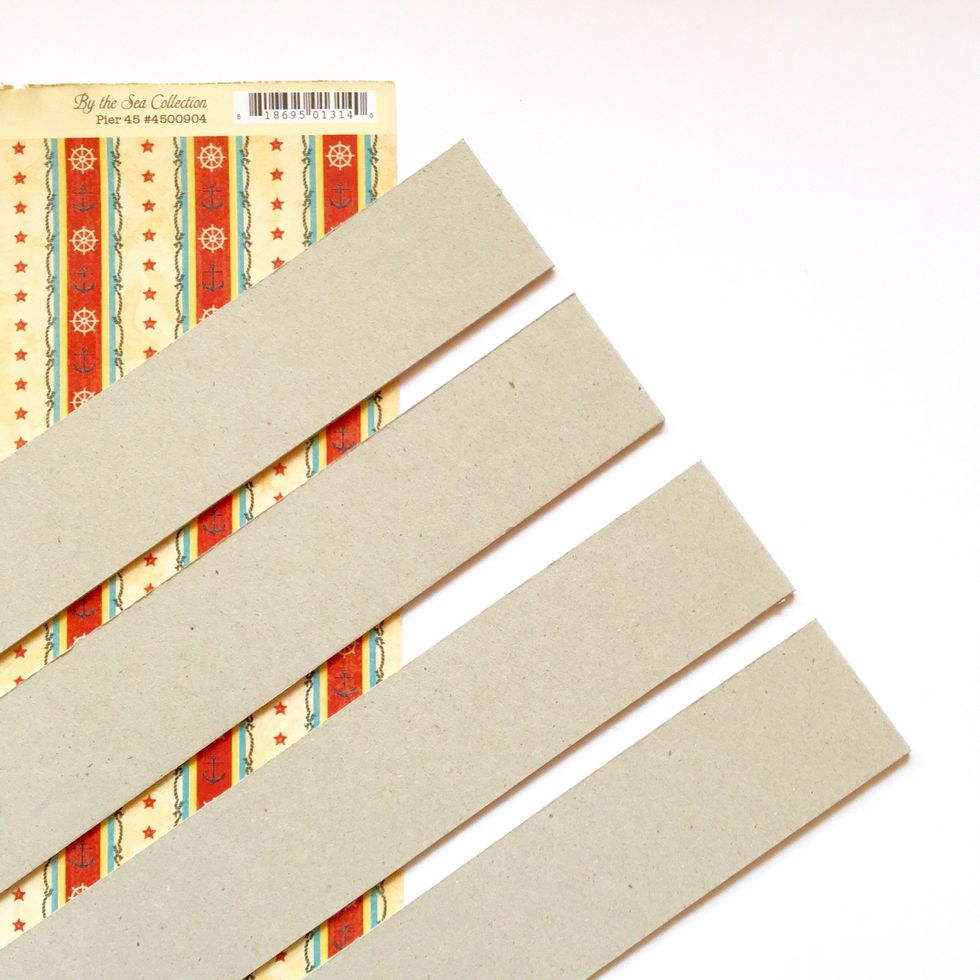
Cut four pieces of cardboard 1 ½" x 12”.
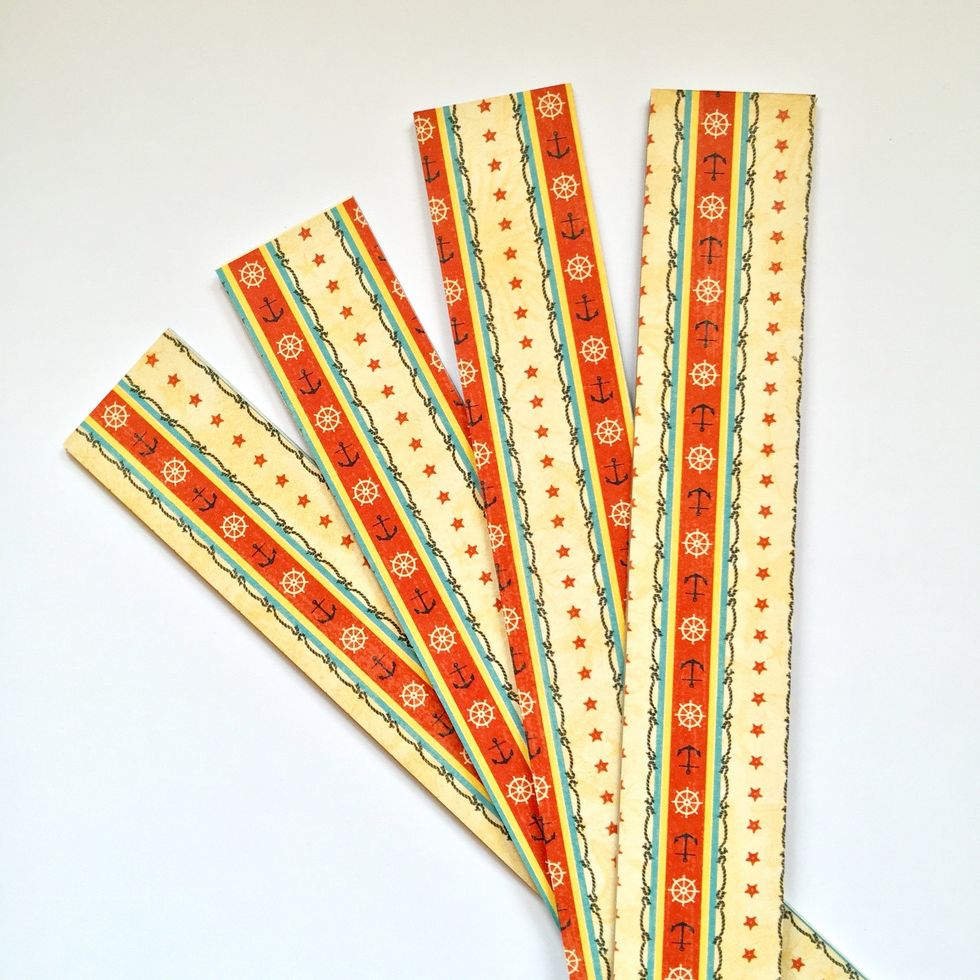
Use double sided tape to cover both sides with decorated paper.
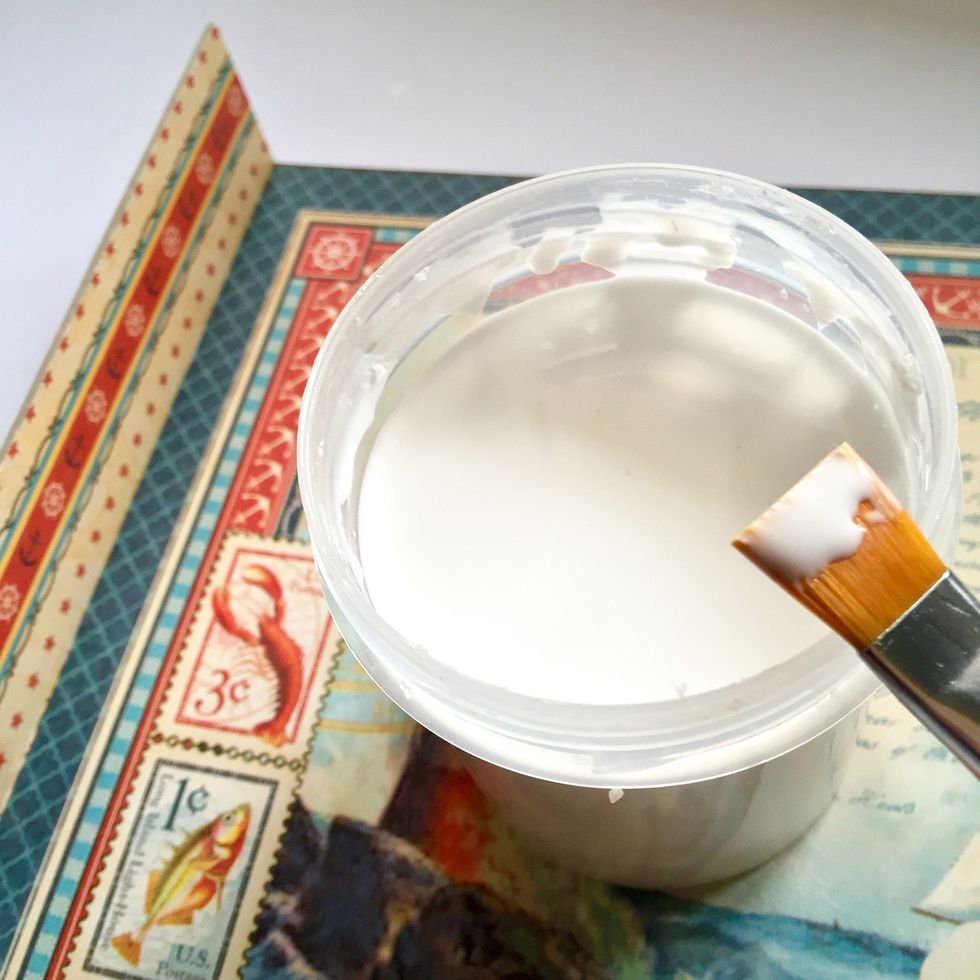
Use a strong glue to asemble the pieces to the background
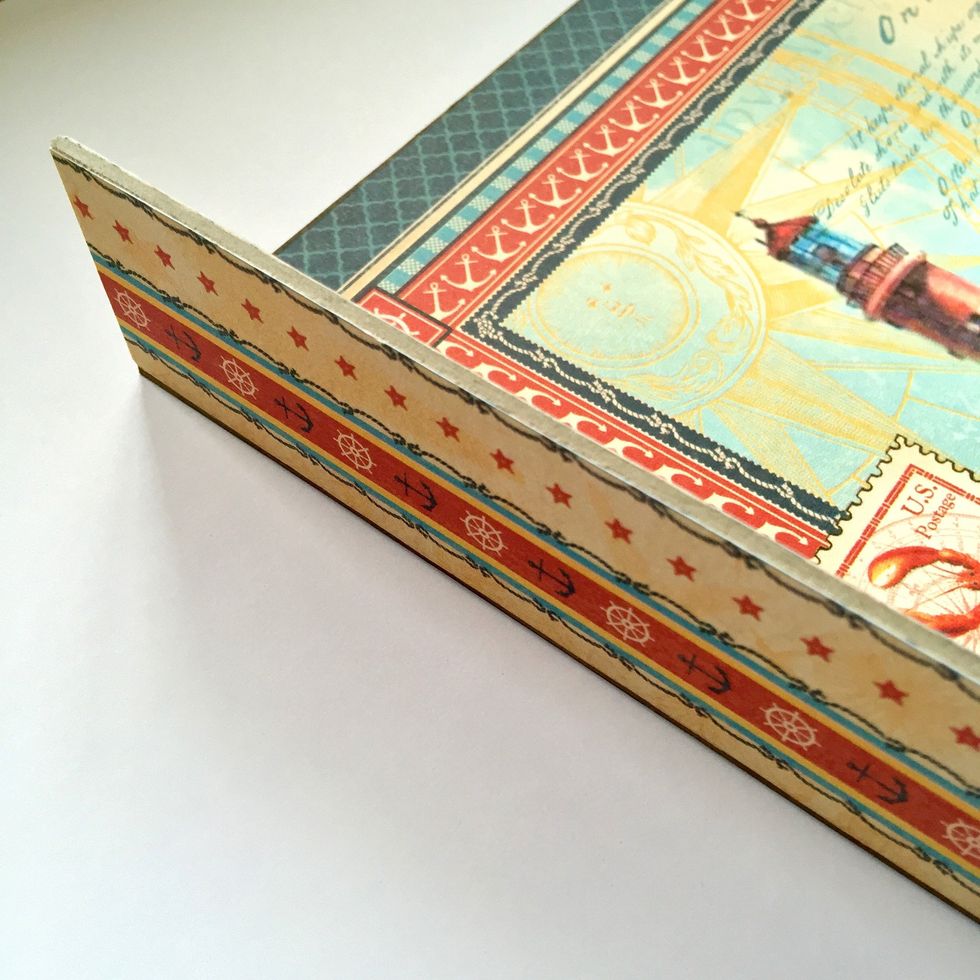
Repeat the process on all the four sides.
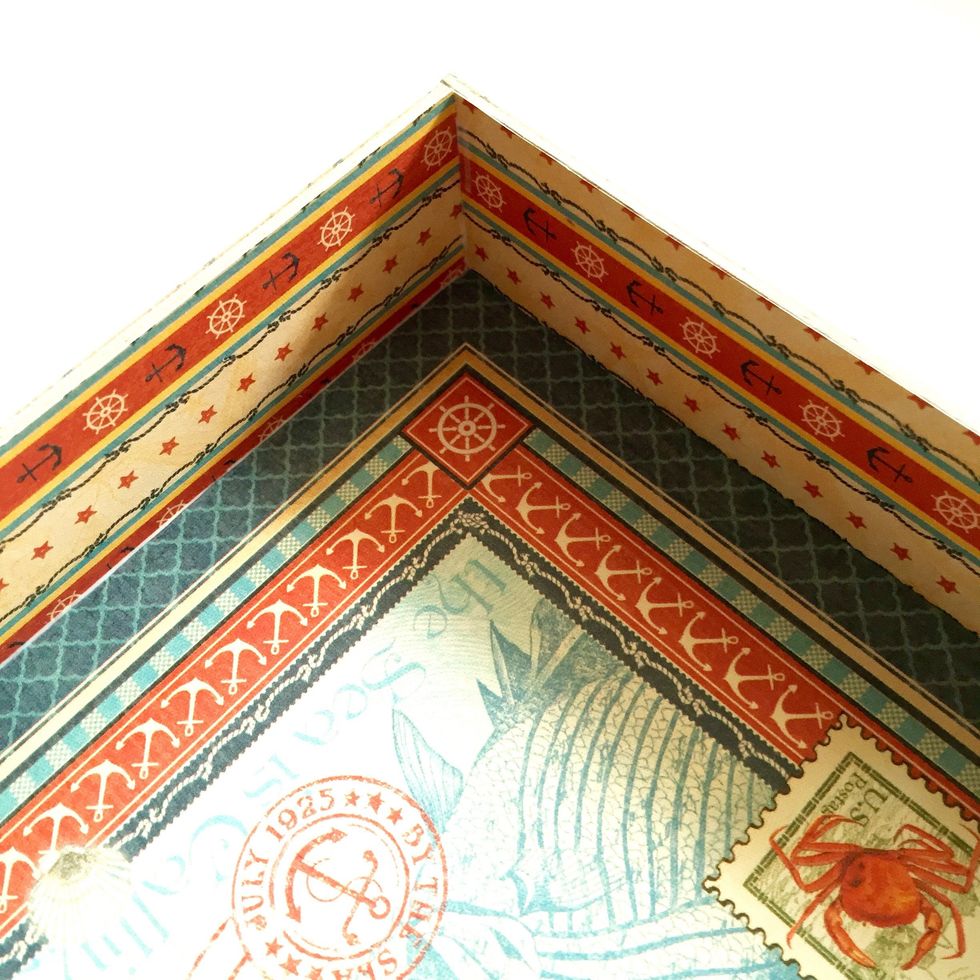
Cut the little excess of the length of cardboard before glue all the pieces. It depends of how thick is the one you use.
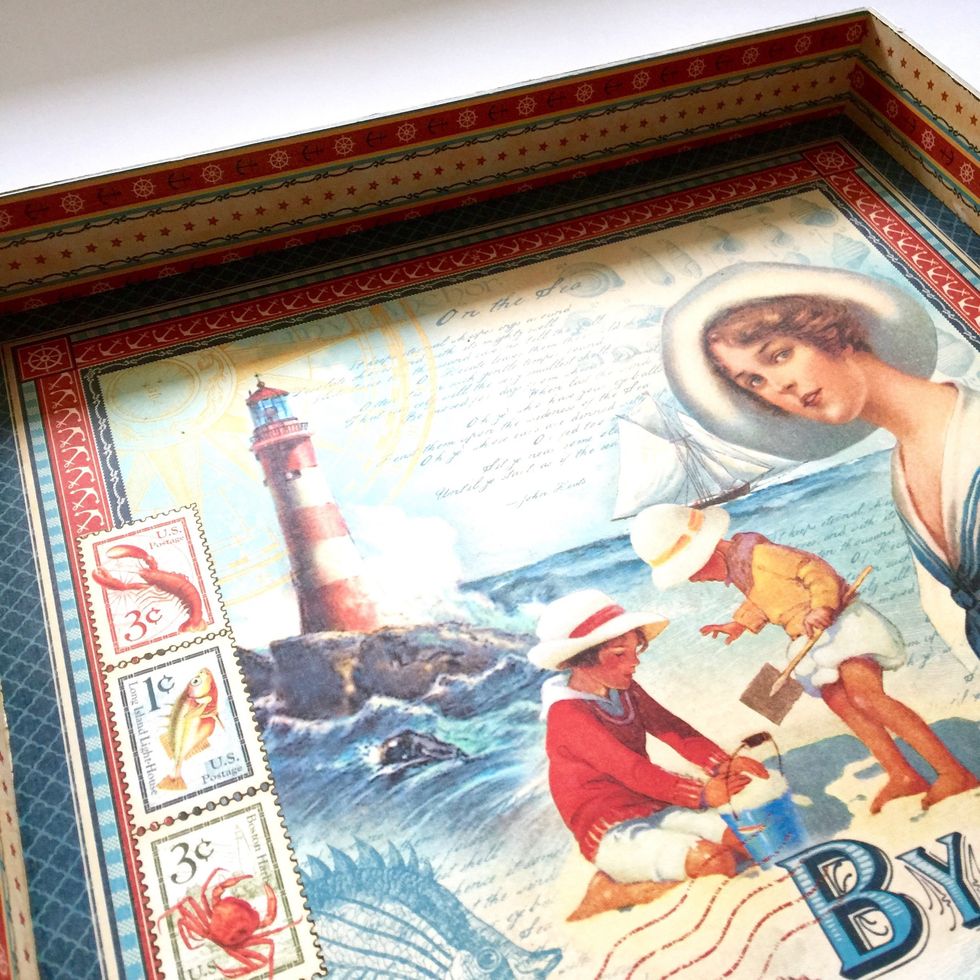
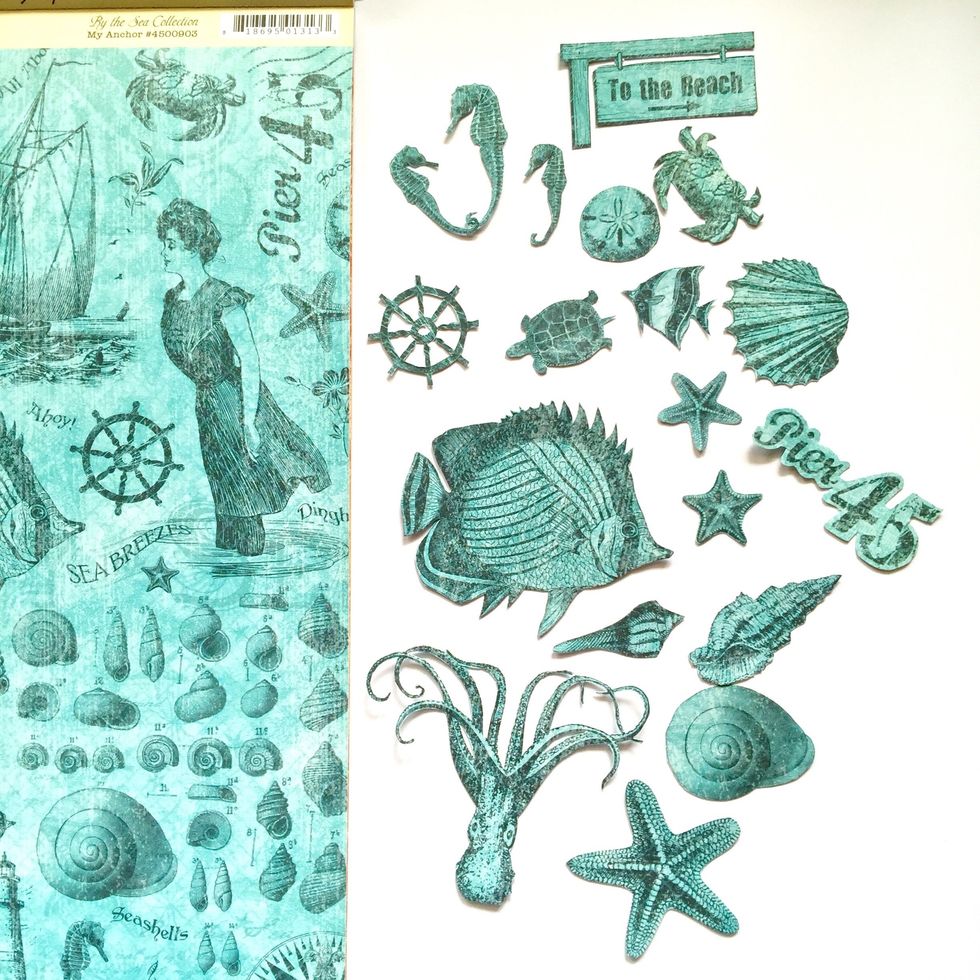
Fussy cut the elements you like from lovely Graphic 45 papers.
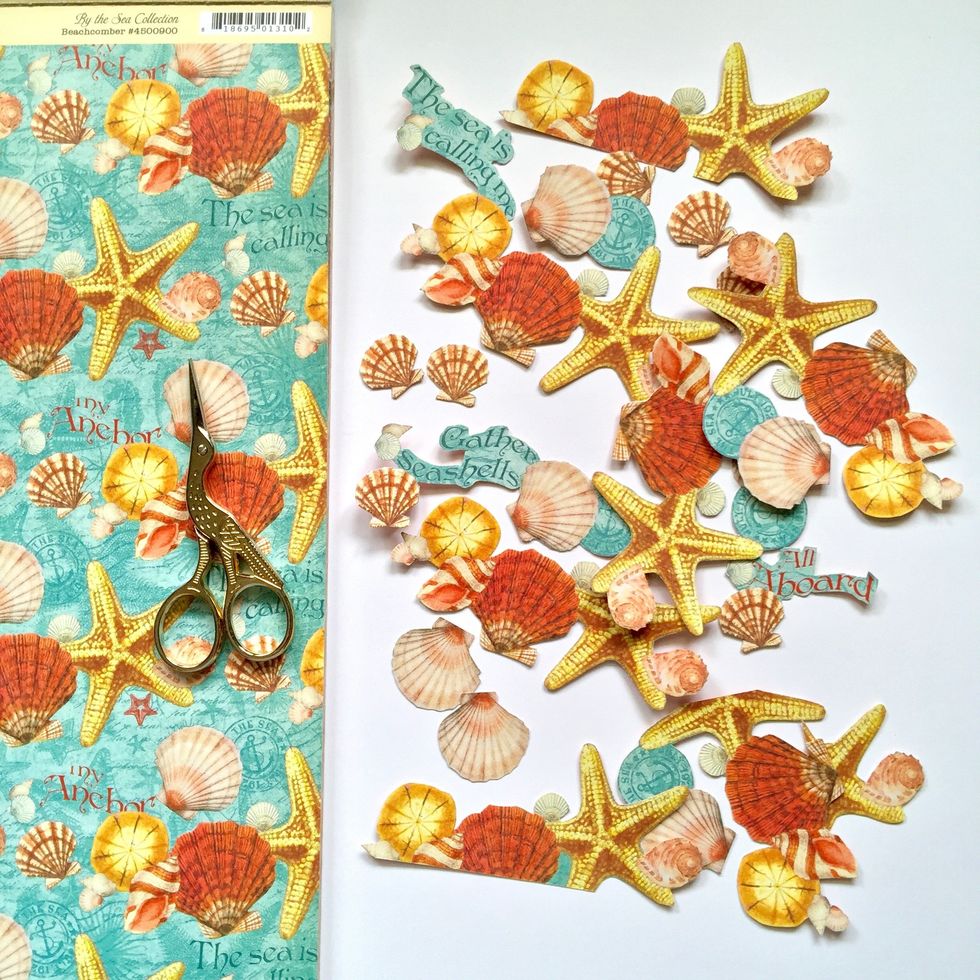
More fussy cutting.
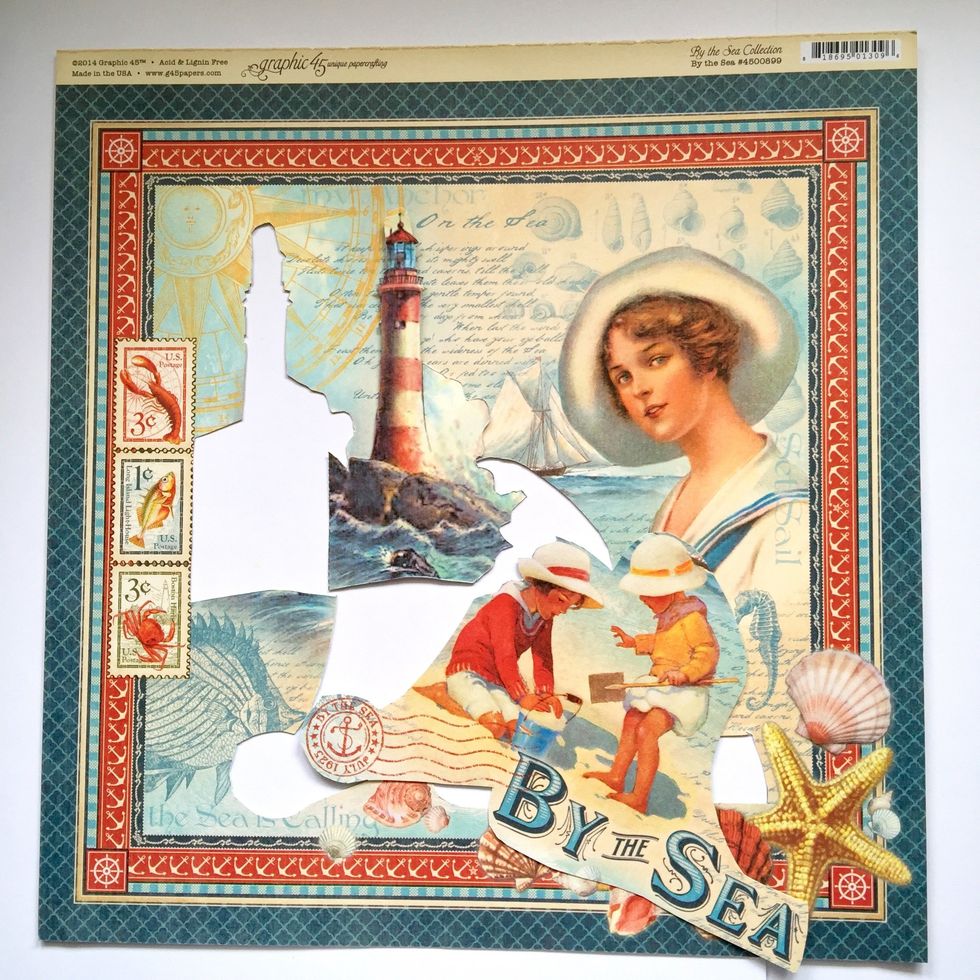
Cut some elements from another page #4500899
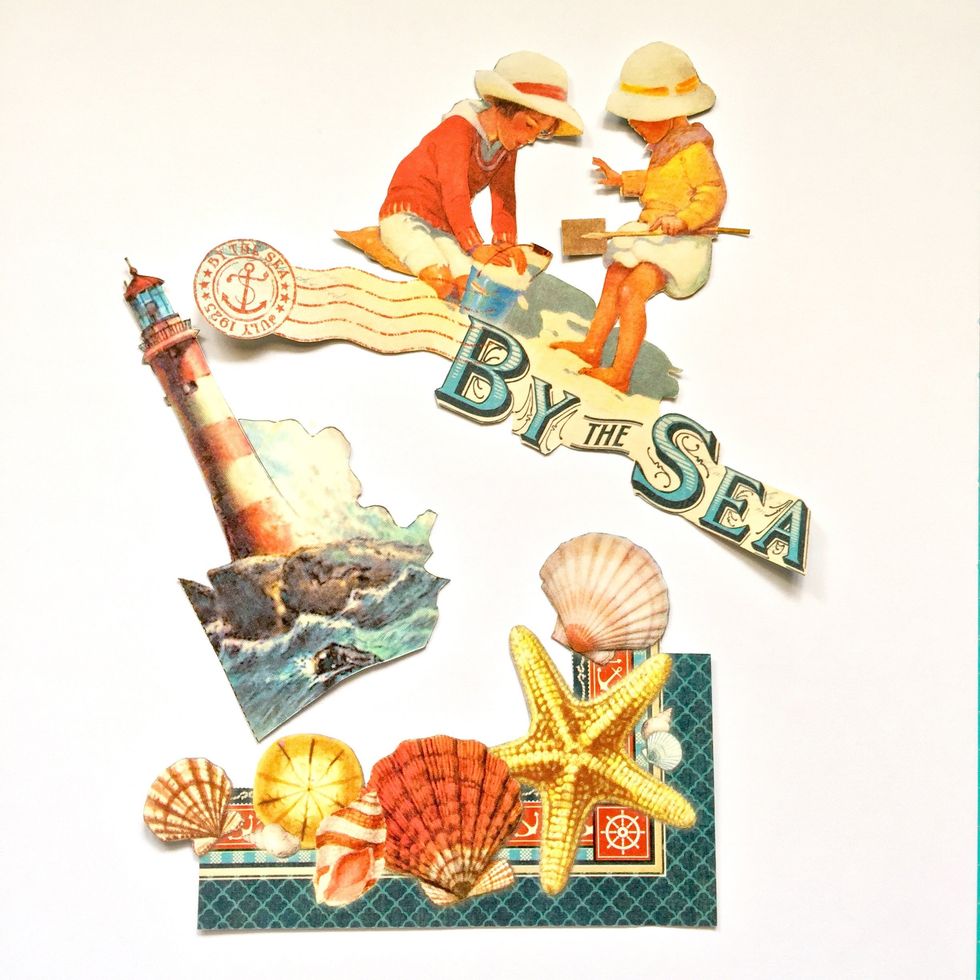
These are the elements.
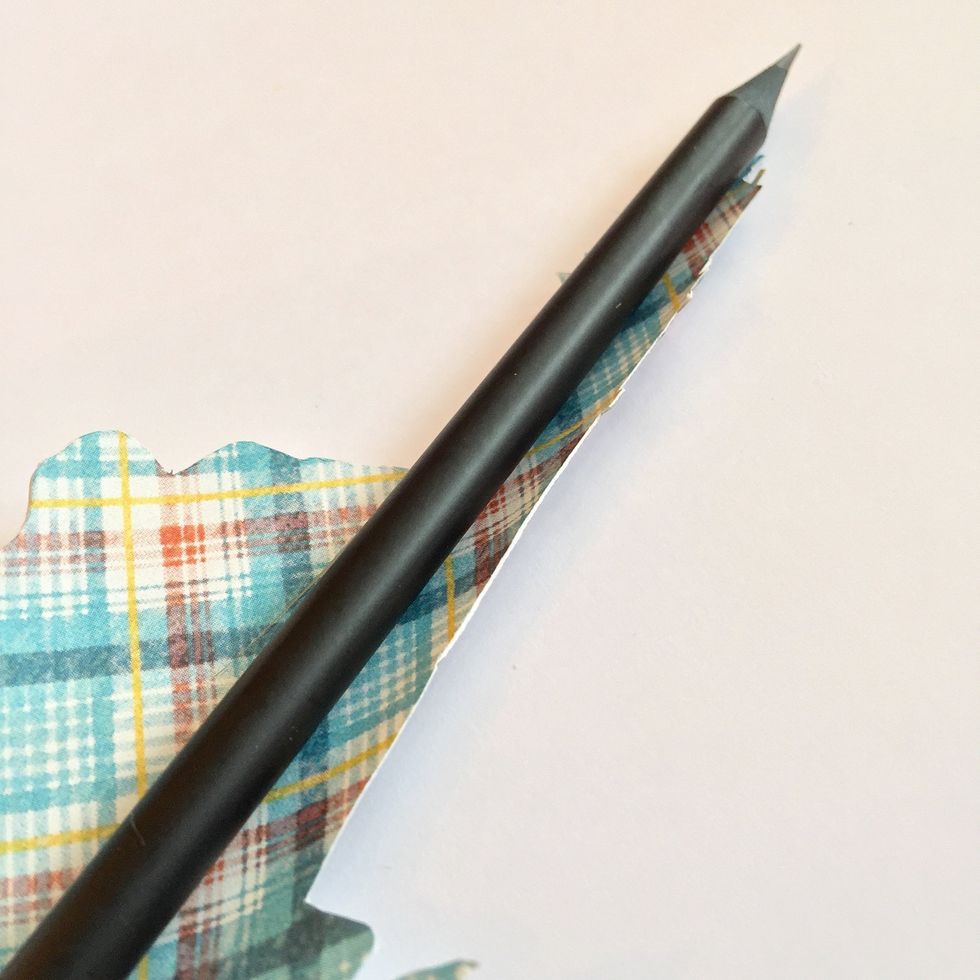
Curl lighthouse element with the help of a pencil as shown.
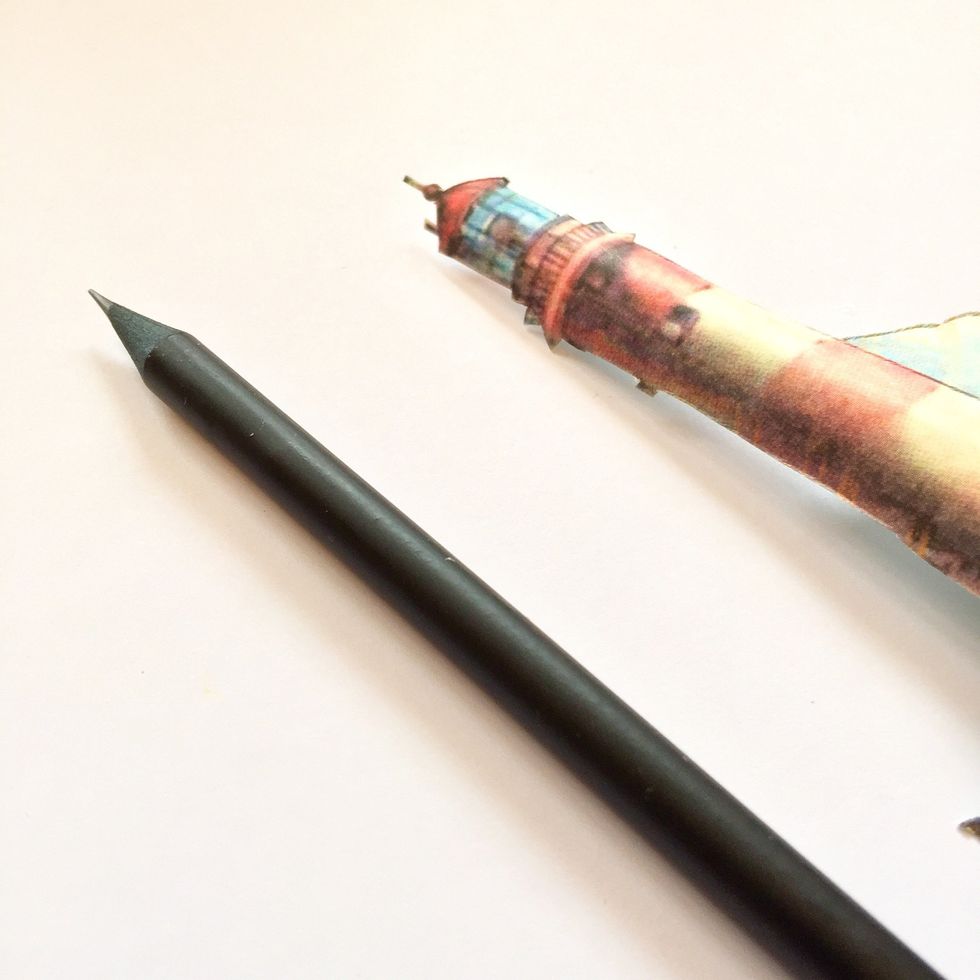
This is the result.
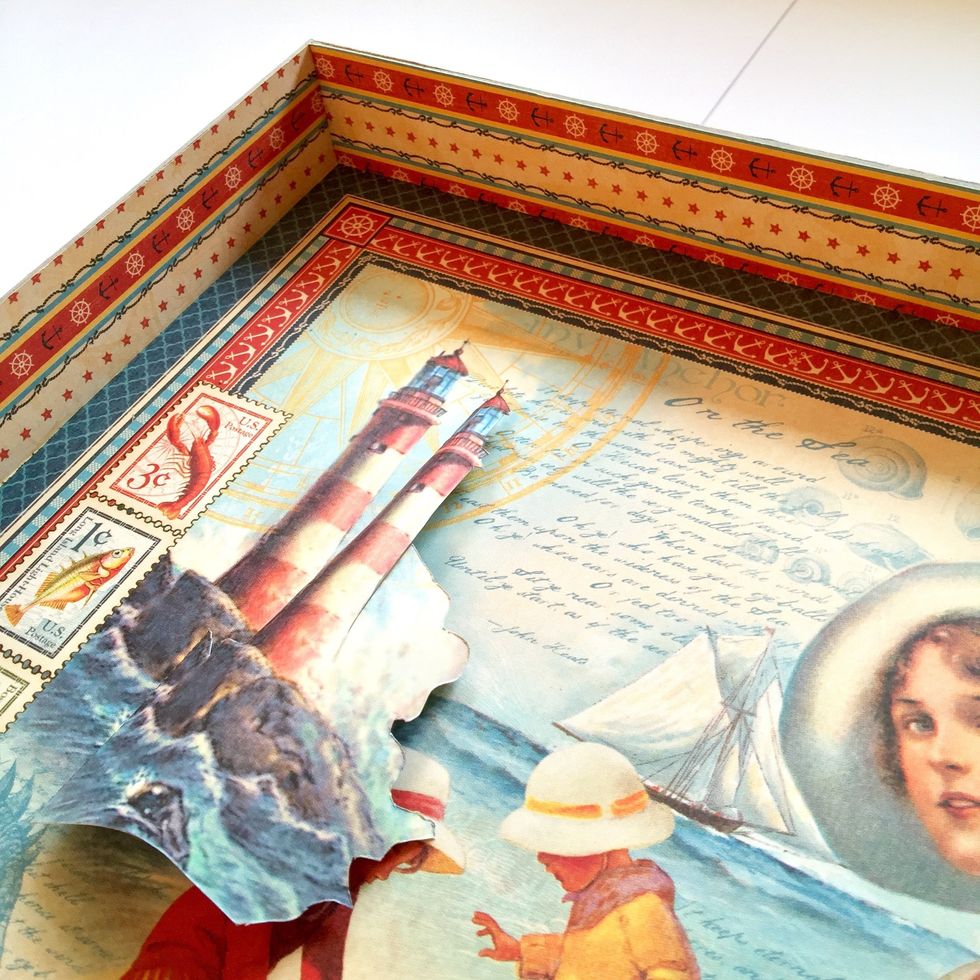
Glue the lighthouse on the background as shown.
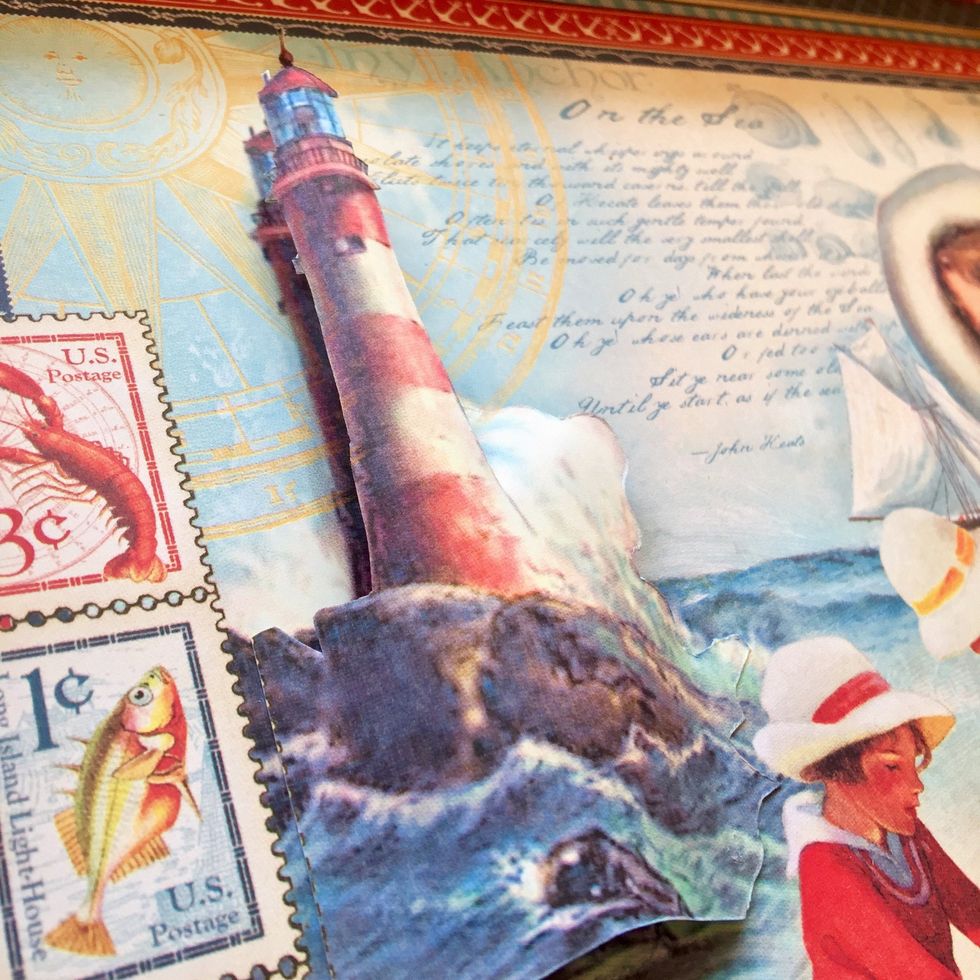
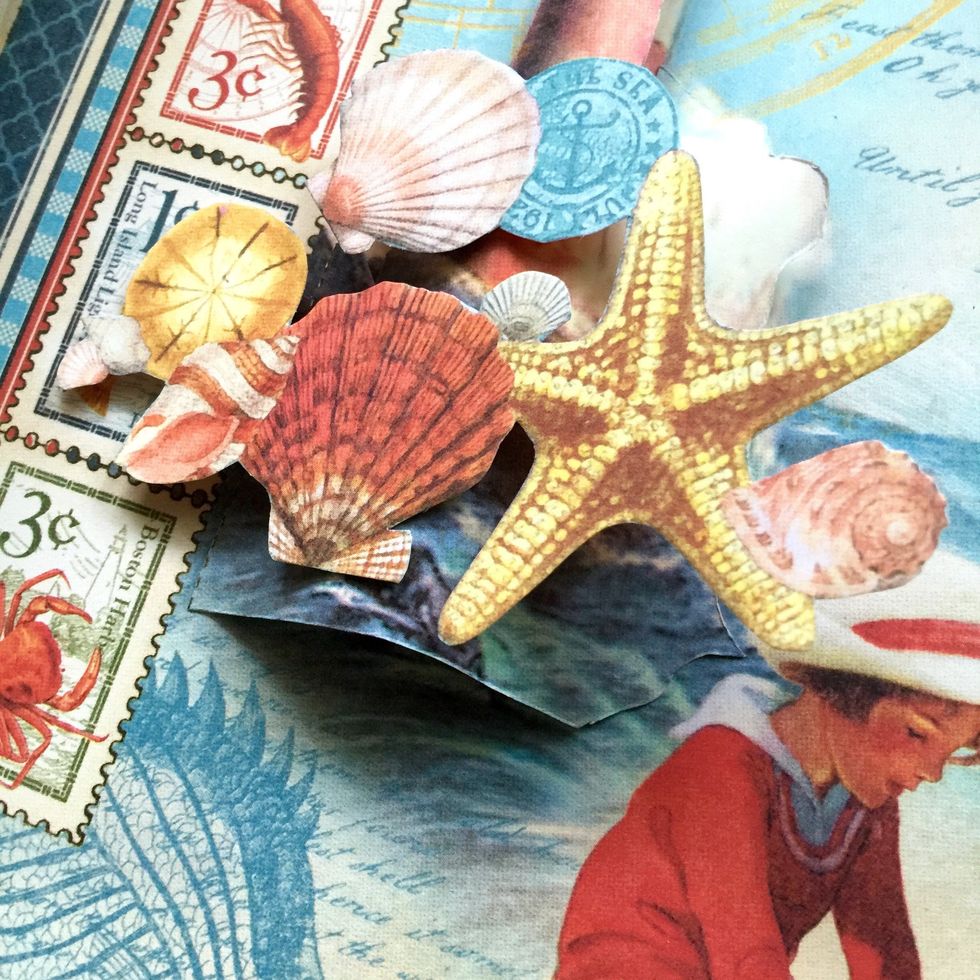
Use some cutout elements to hide the bottom side of the lighthouse.
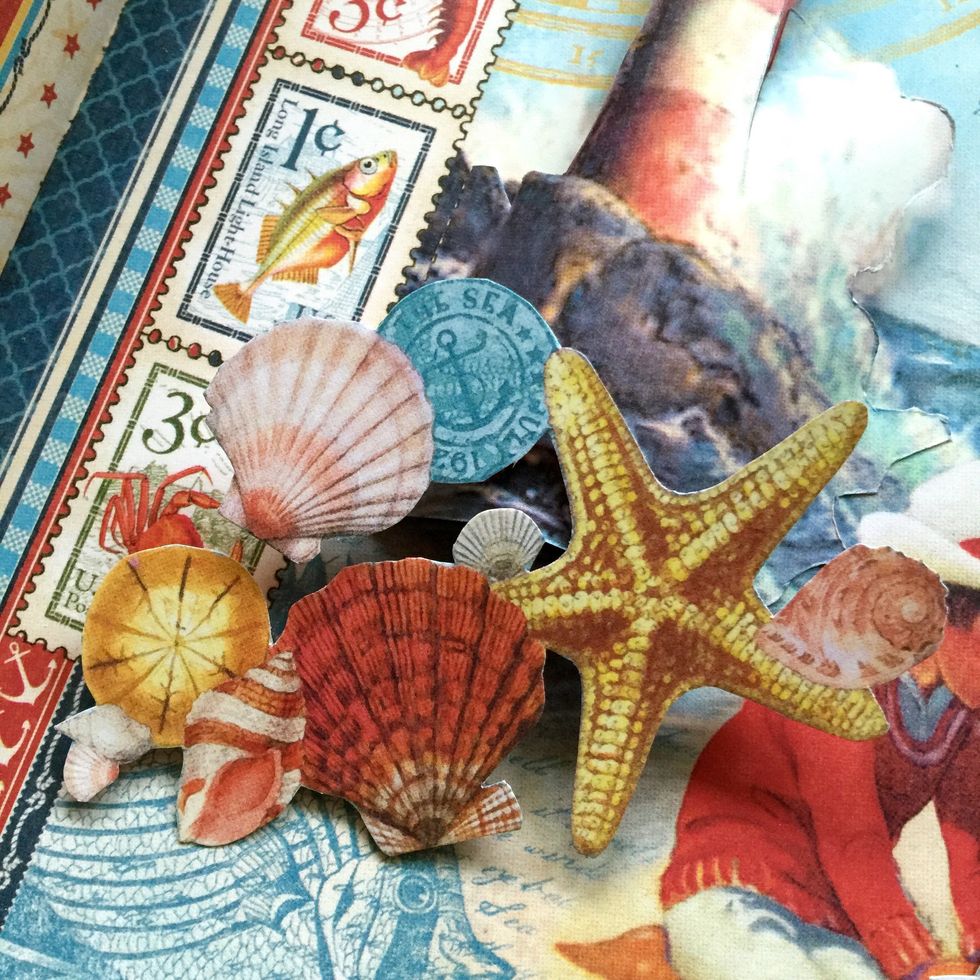
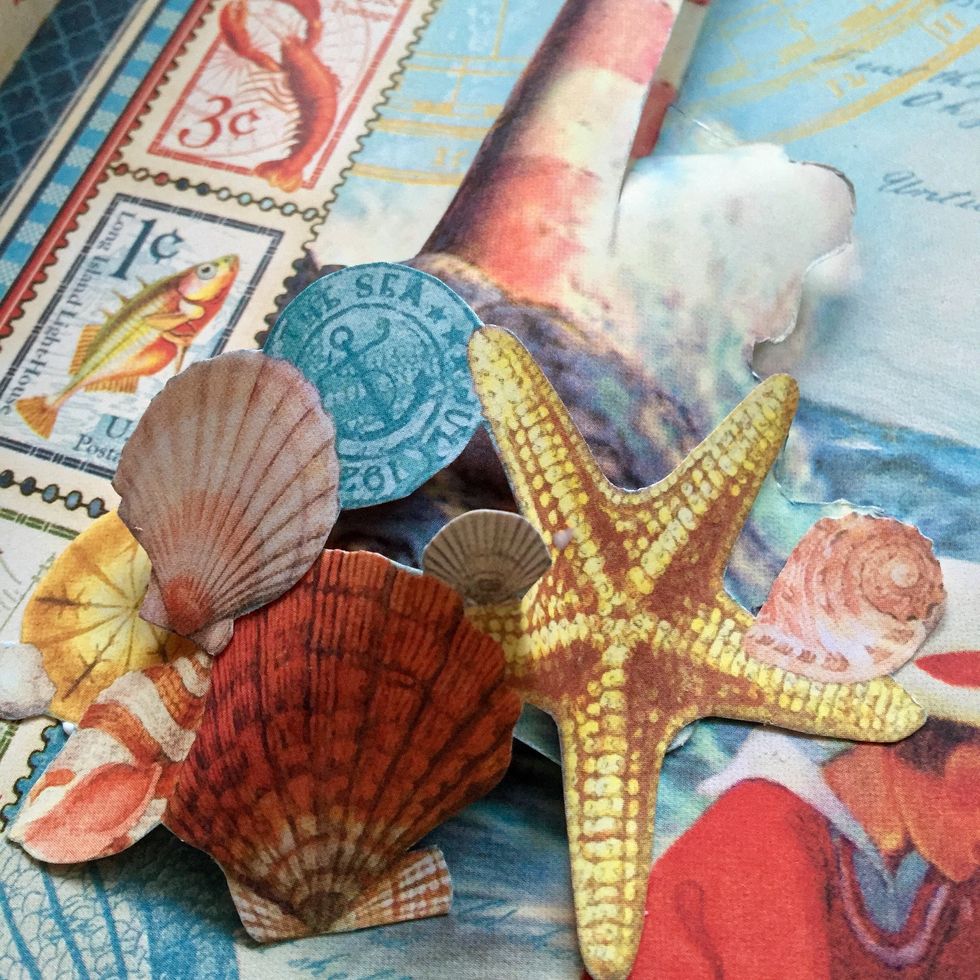
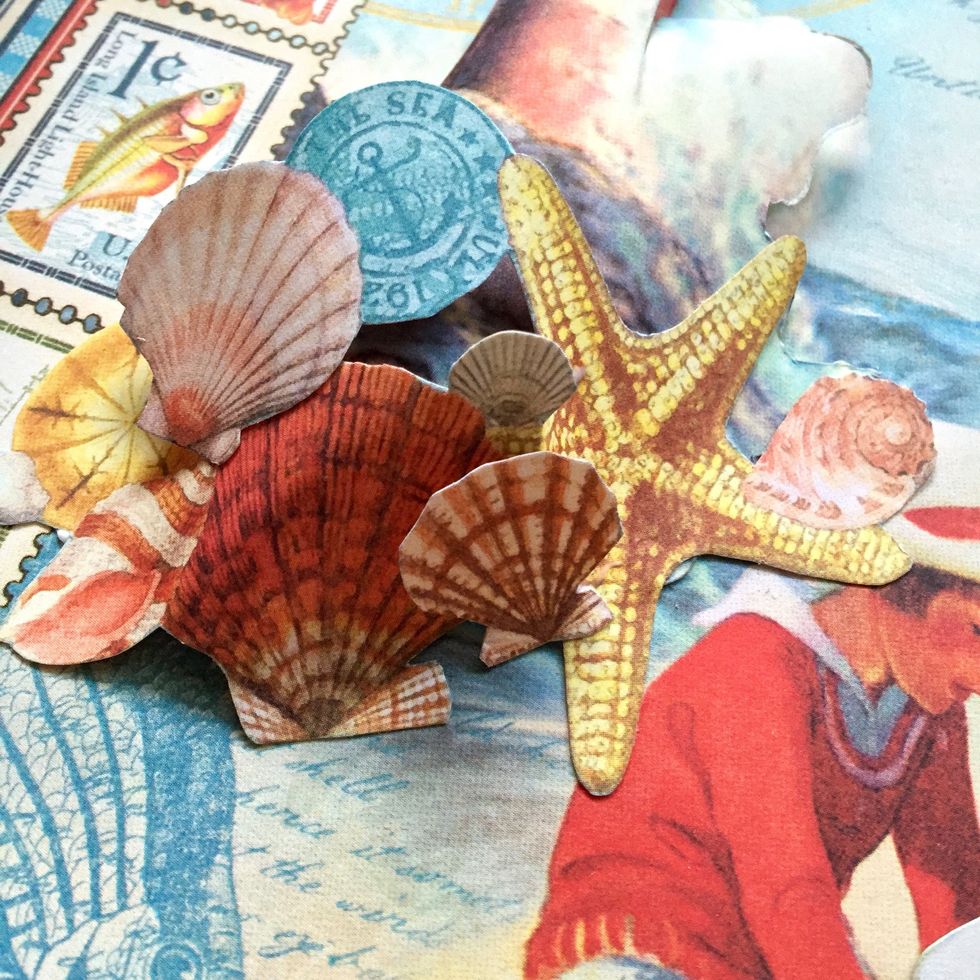
Glue one more piece of fussy cut elements.
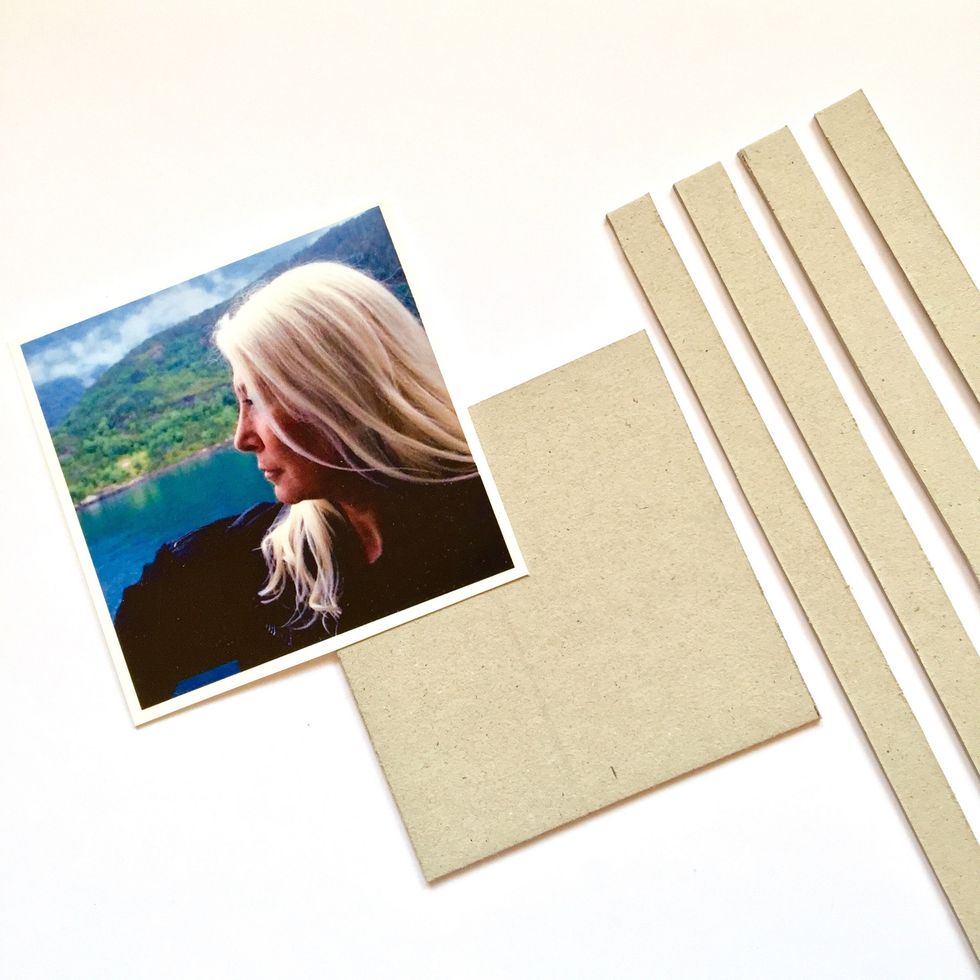
Cut a piece of cardboard the same measures than your photo and four ½” strips to make a base for the photo.
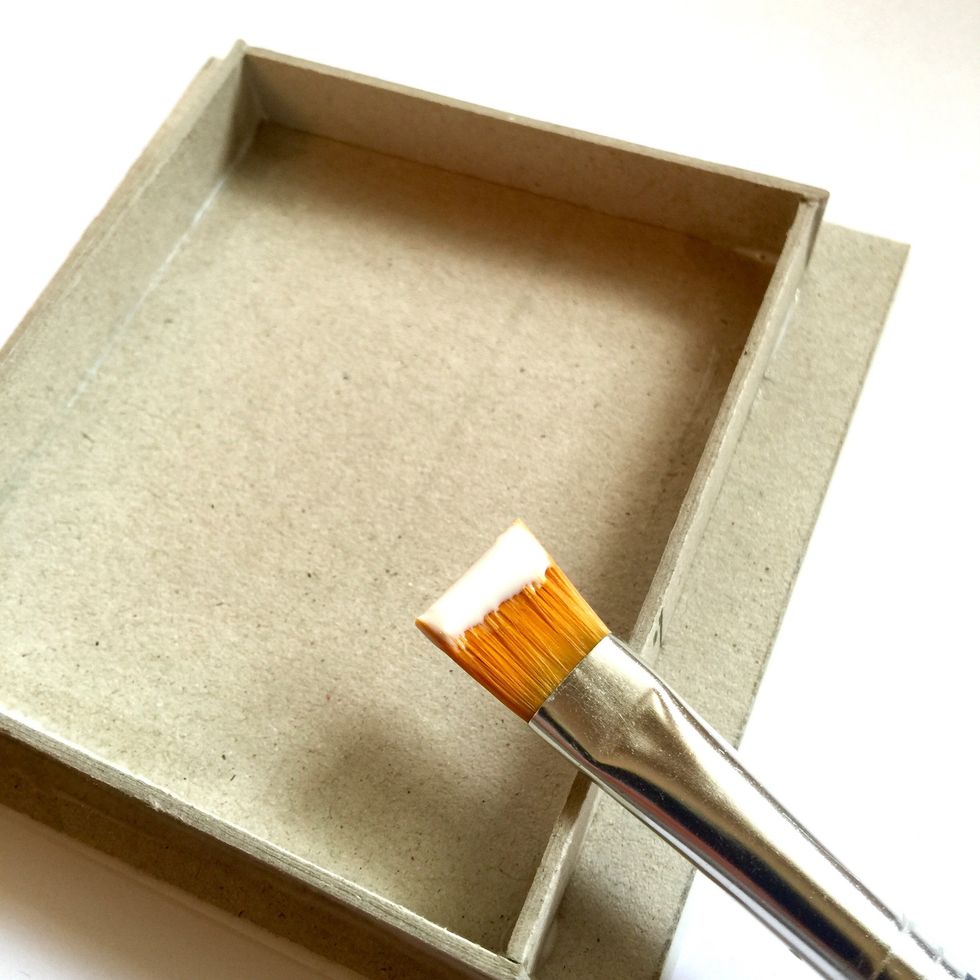
Use double sided tape to stick the photo to the cardboard and strong glue for the four strips. Let them dry.
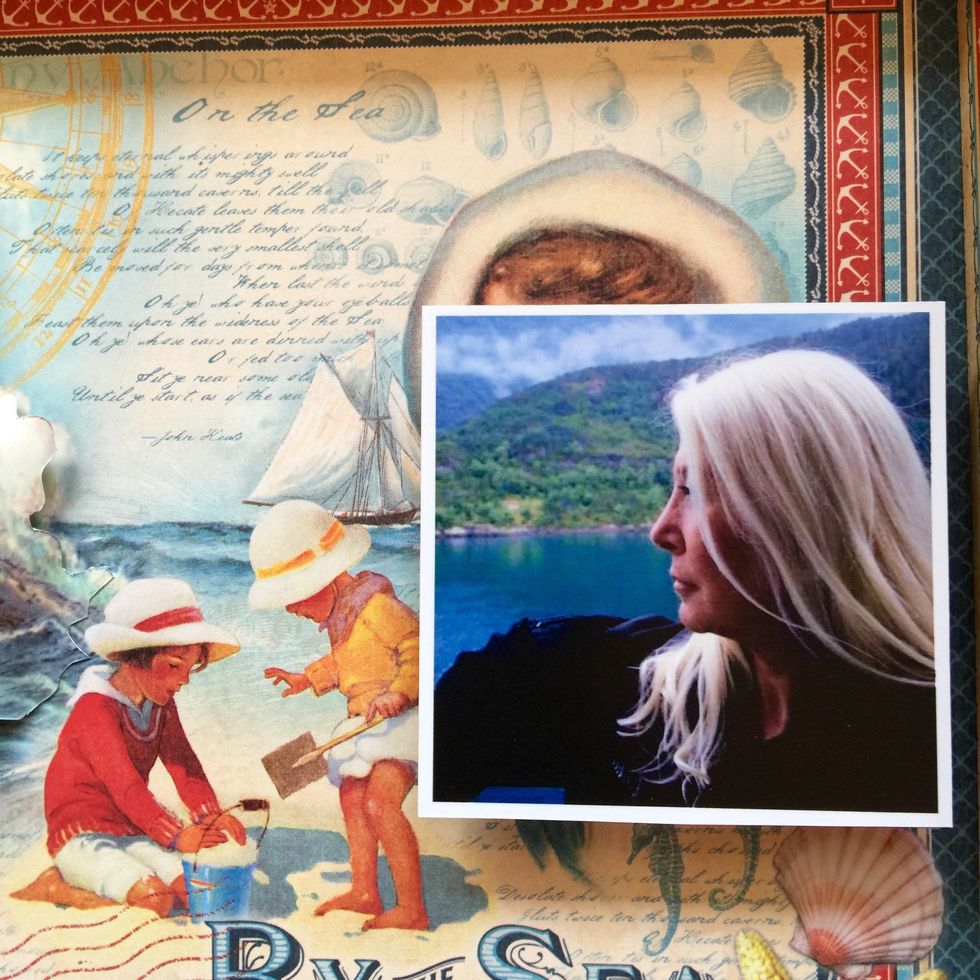
Find an appropriate place to glue the photo.
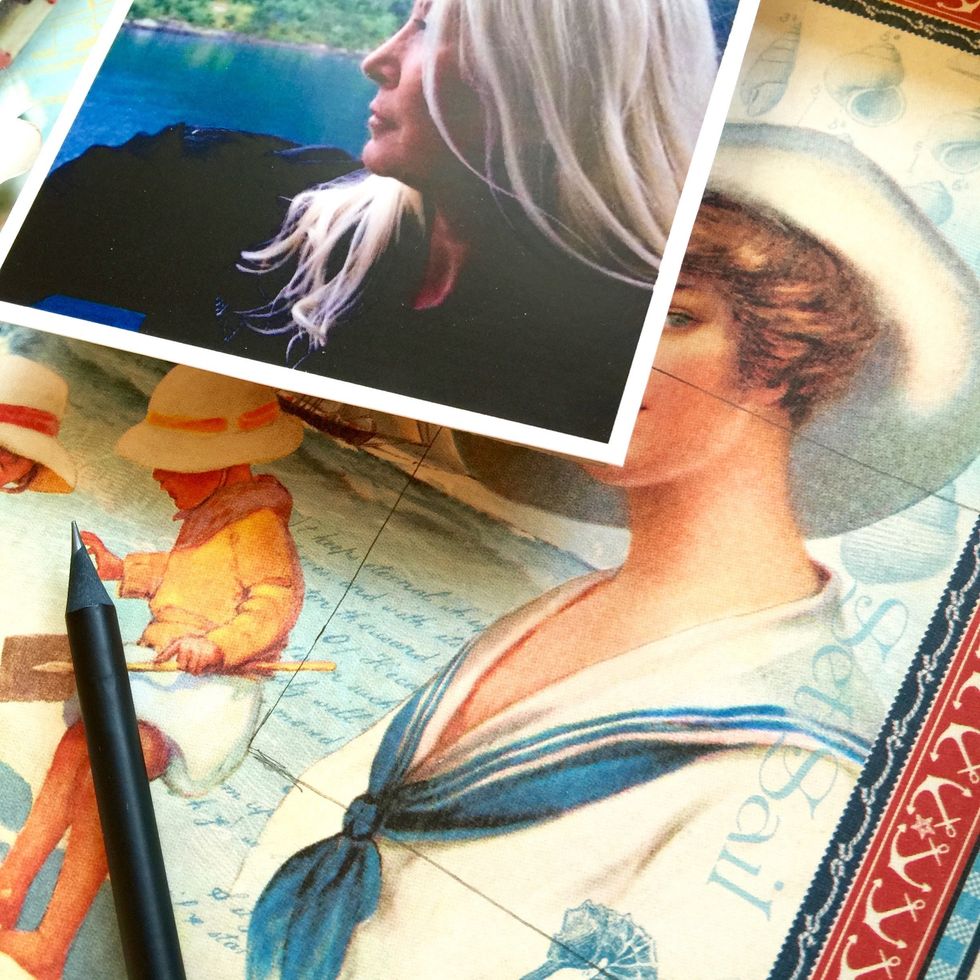
Mark a line with a pencil on the place where you are going to place the photo.
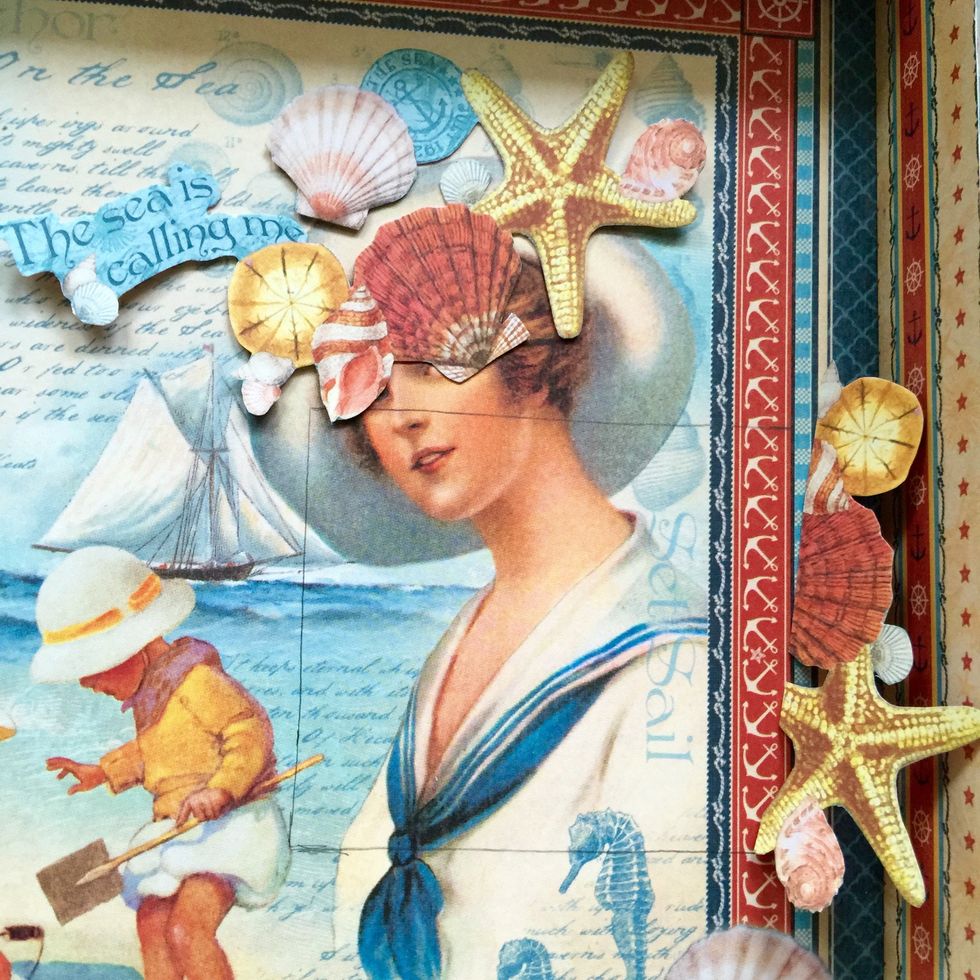
Glue some cutout elements on the upper side of the line and right side.
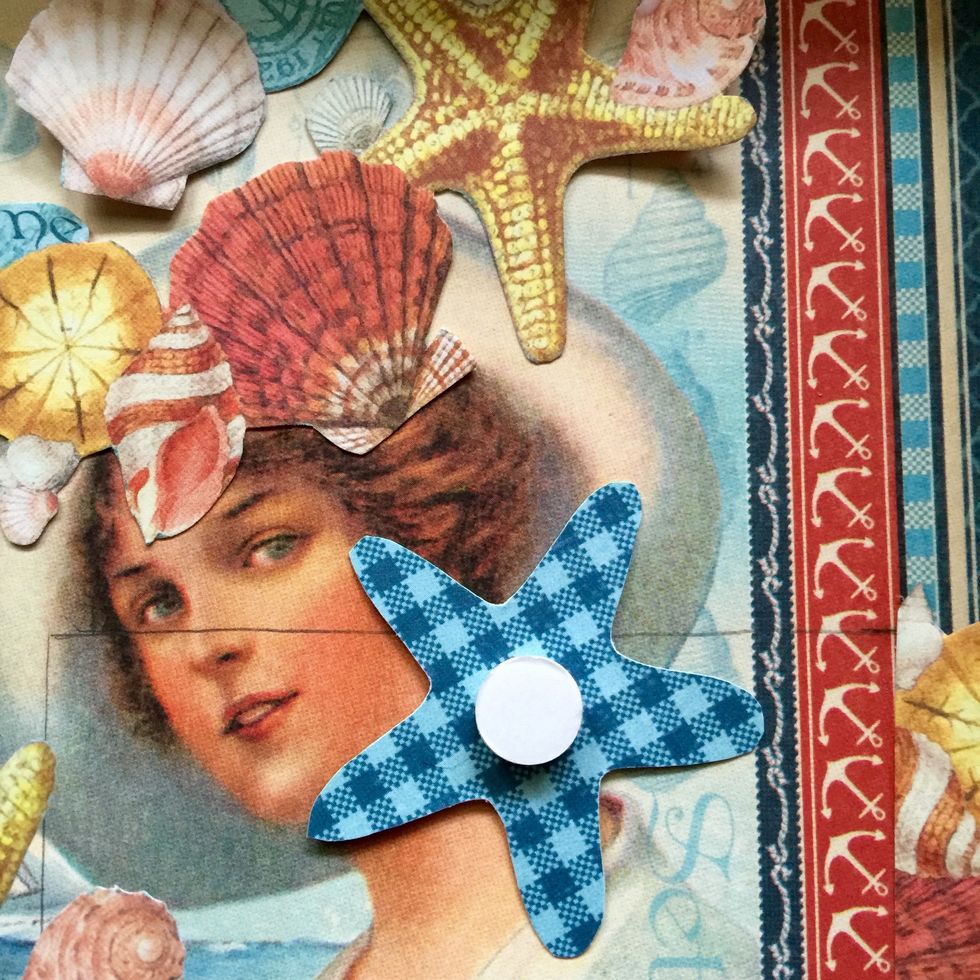
Use some 3D foam to stick some pieces so they will add dimension and depth.
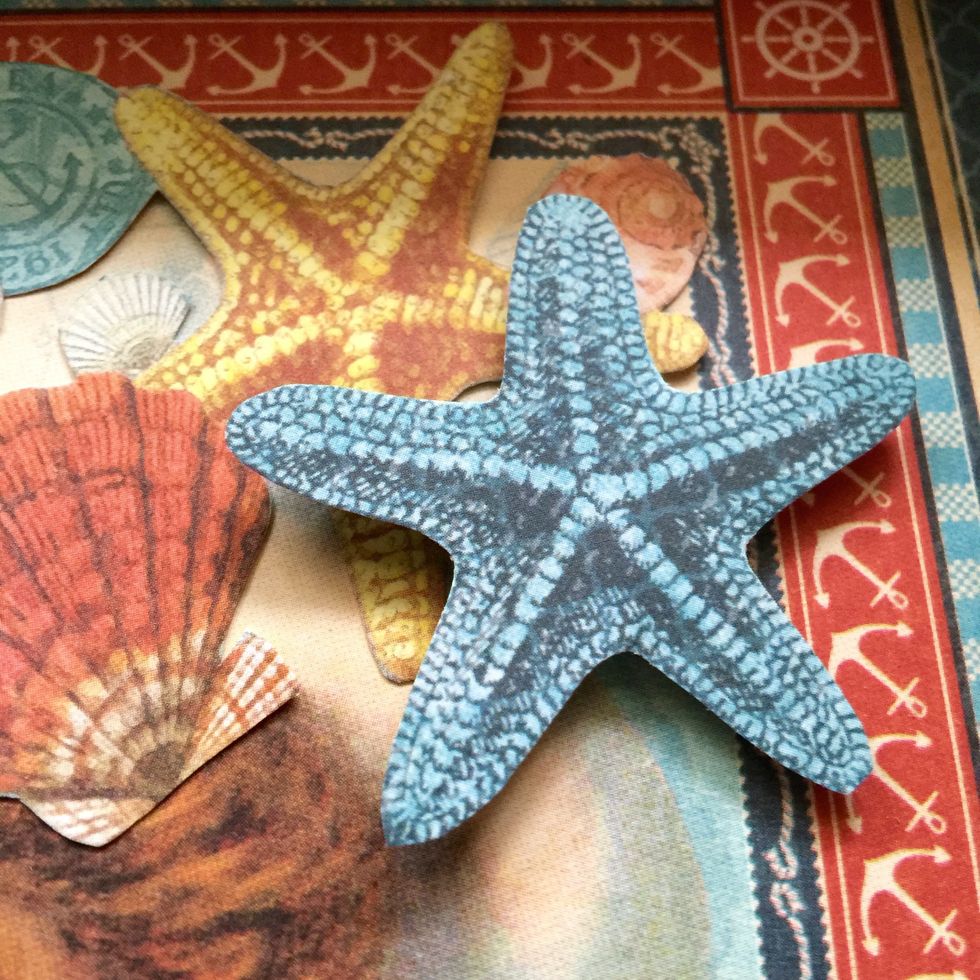
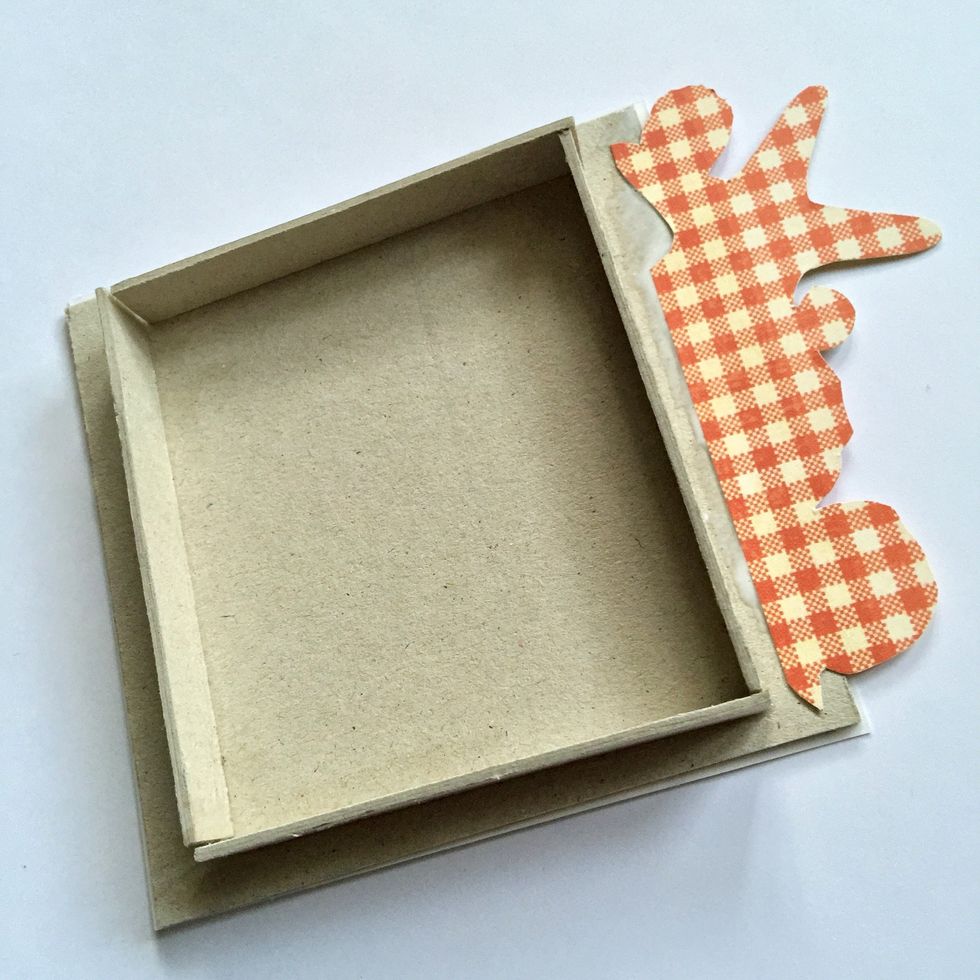
Glue elements on the upper side of the photo frame.
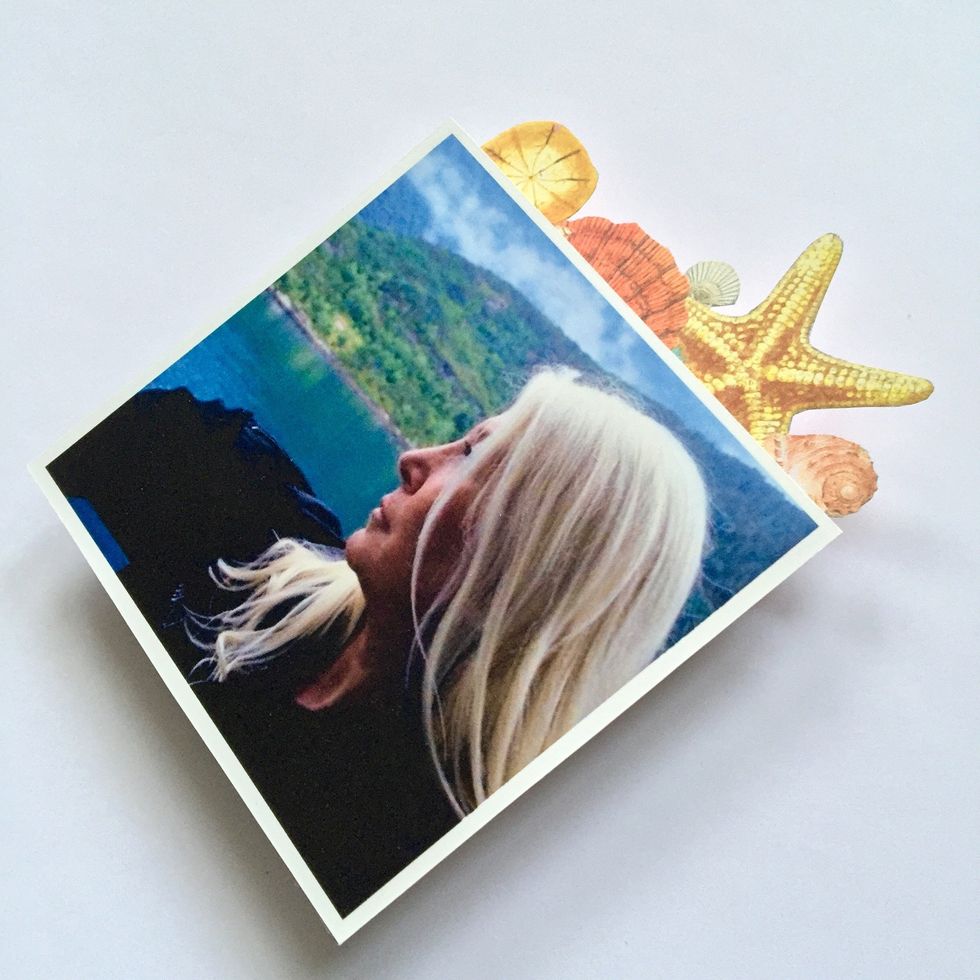
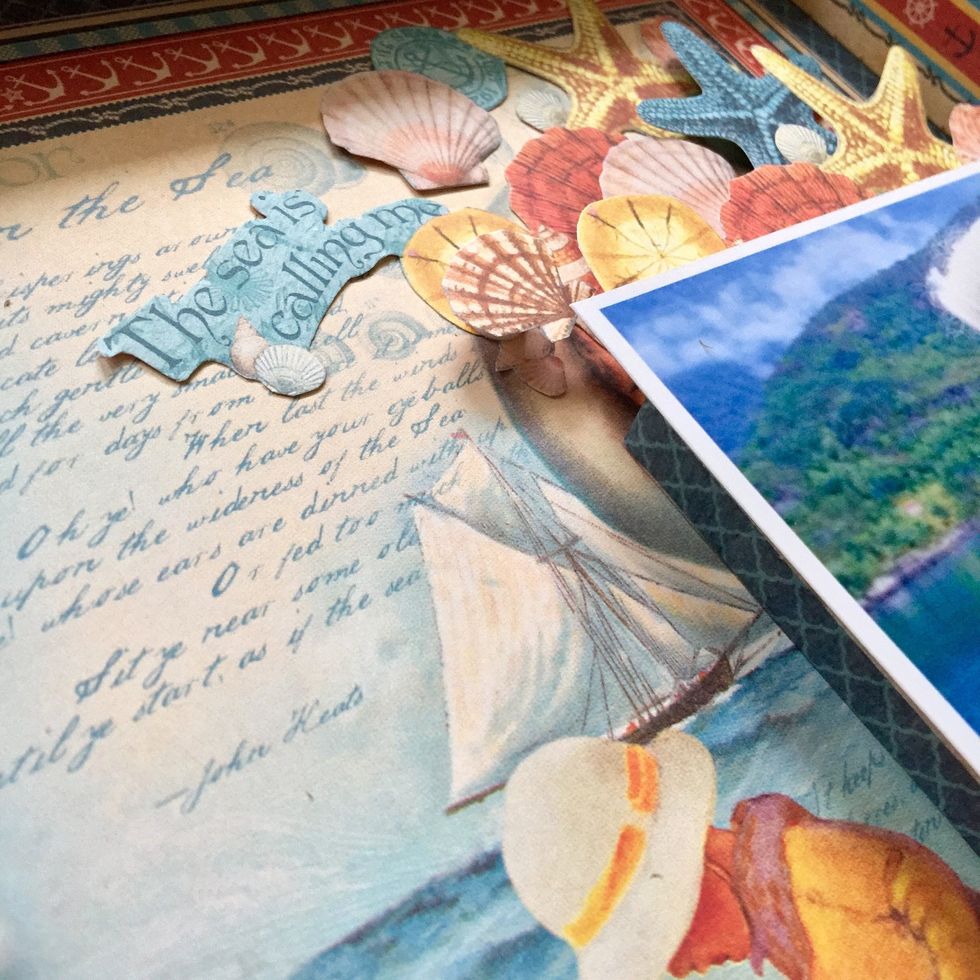
Glue the photo base to the background.
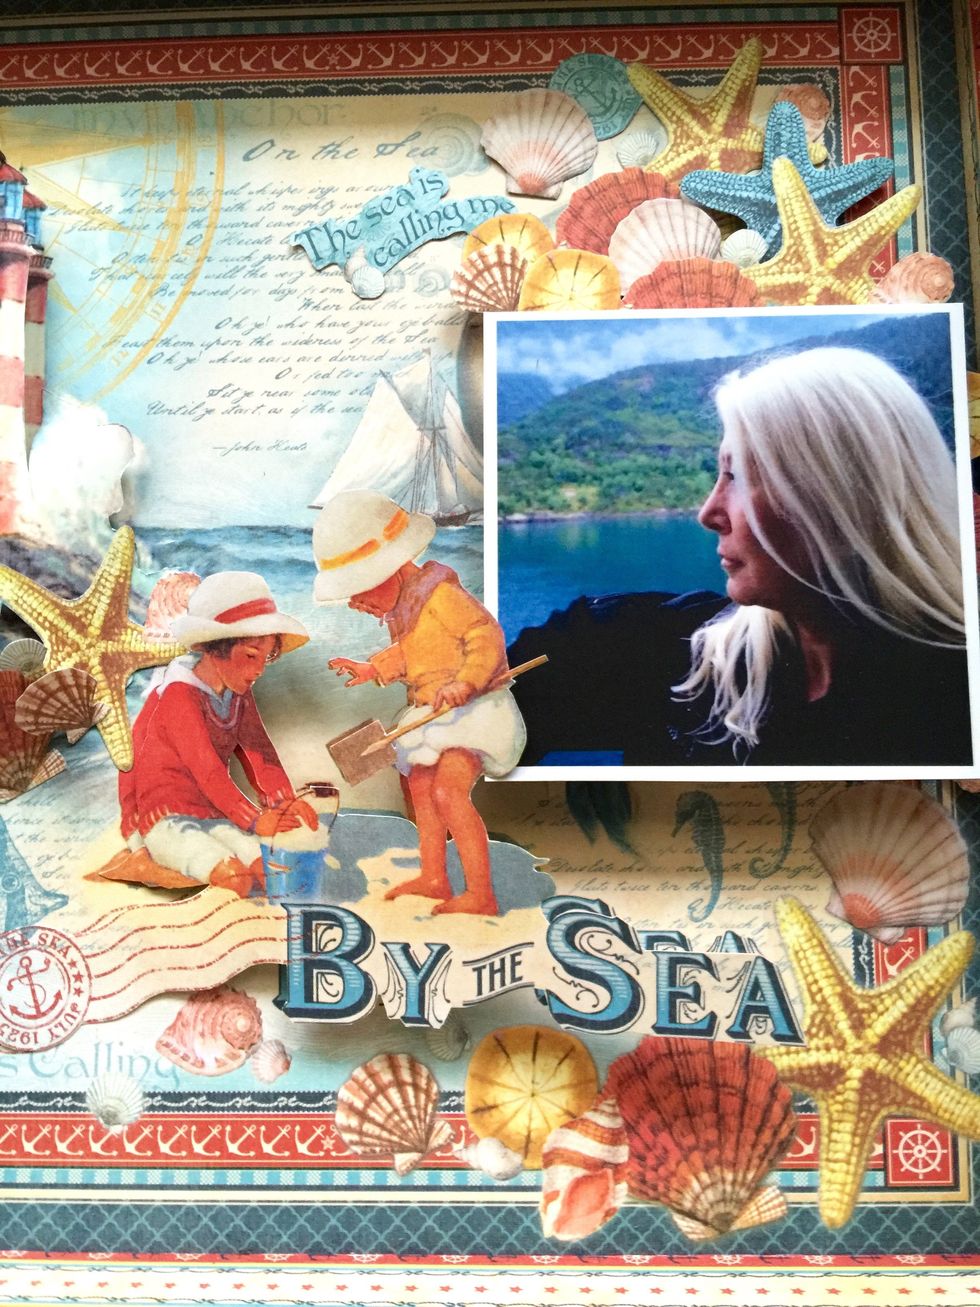
Glue this cutout element starting from the right side and curling a little the element to remain it in an upper layer.
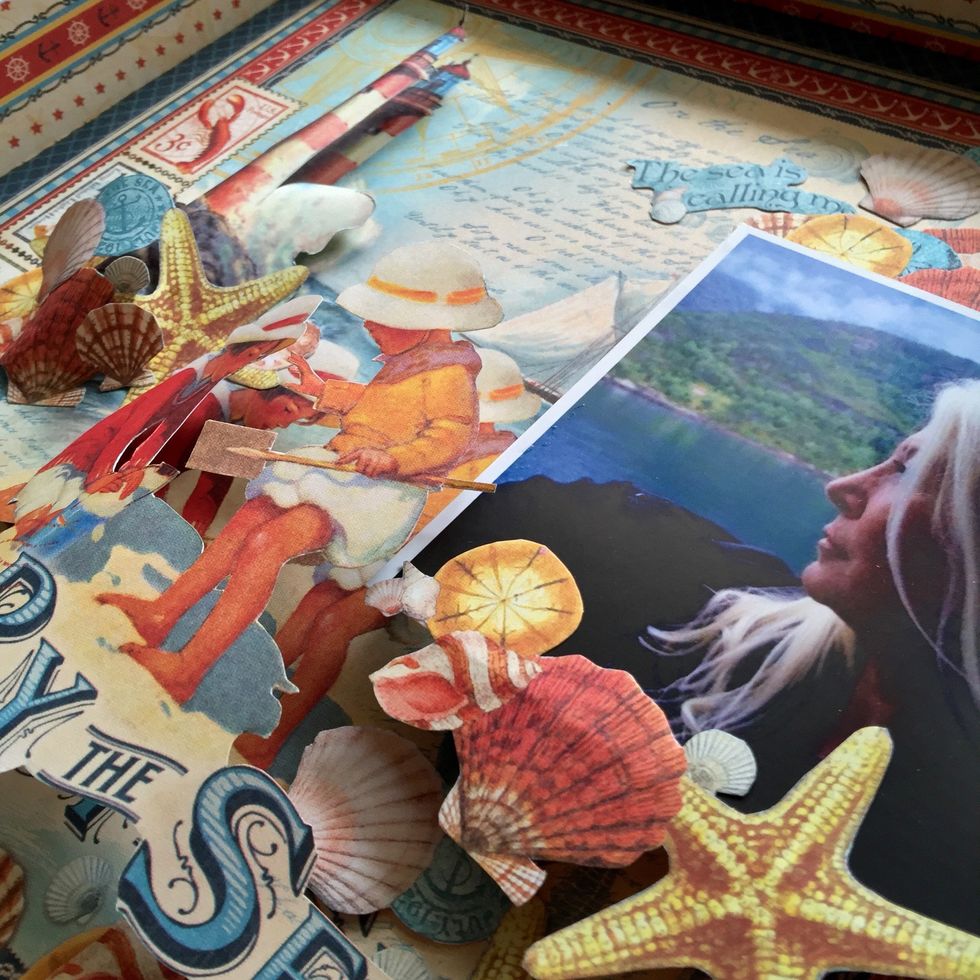
Glue more cutout elements on the lower side of the photo.
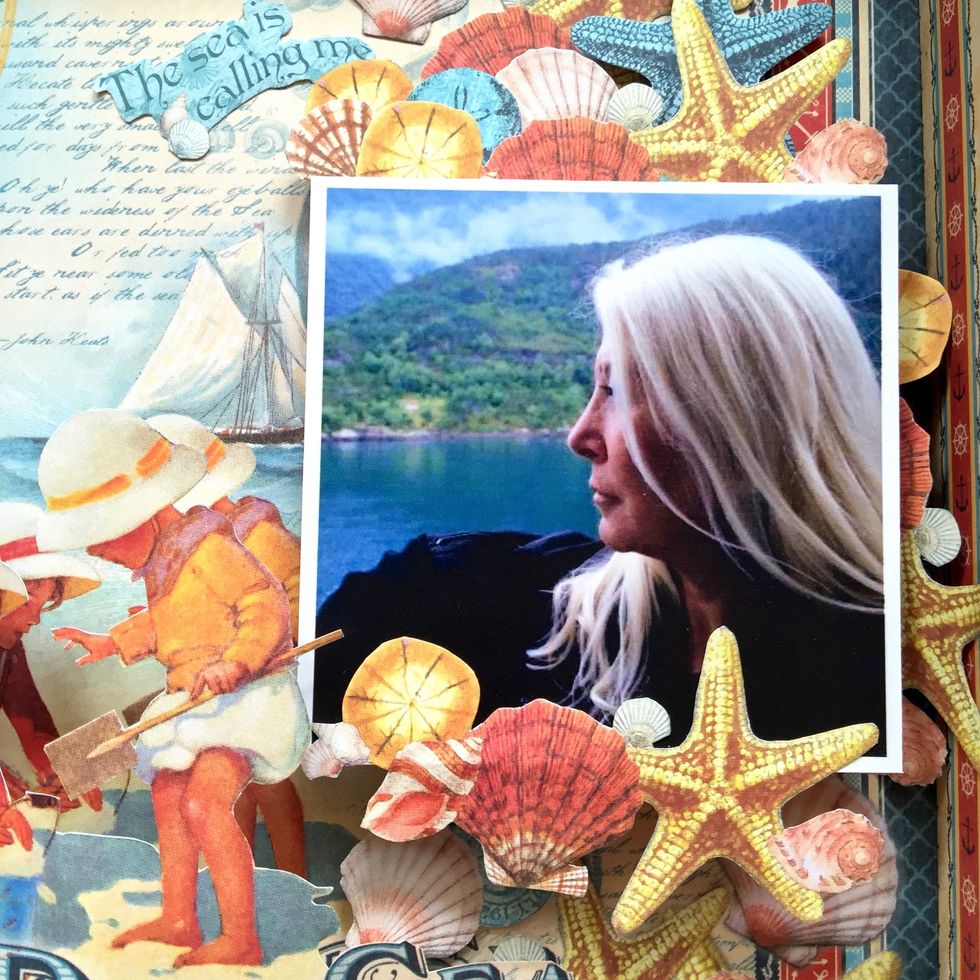
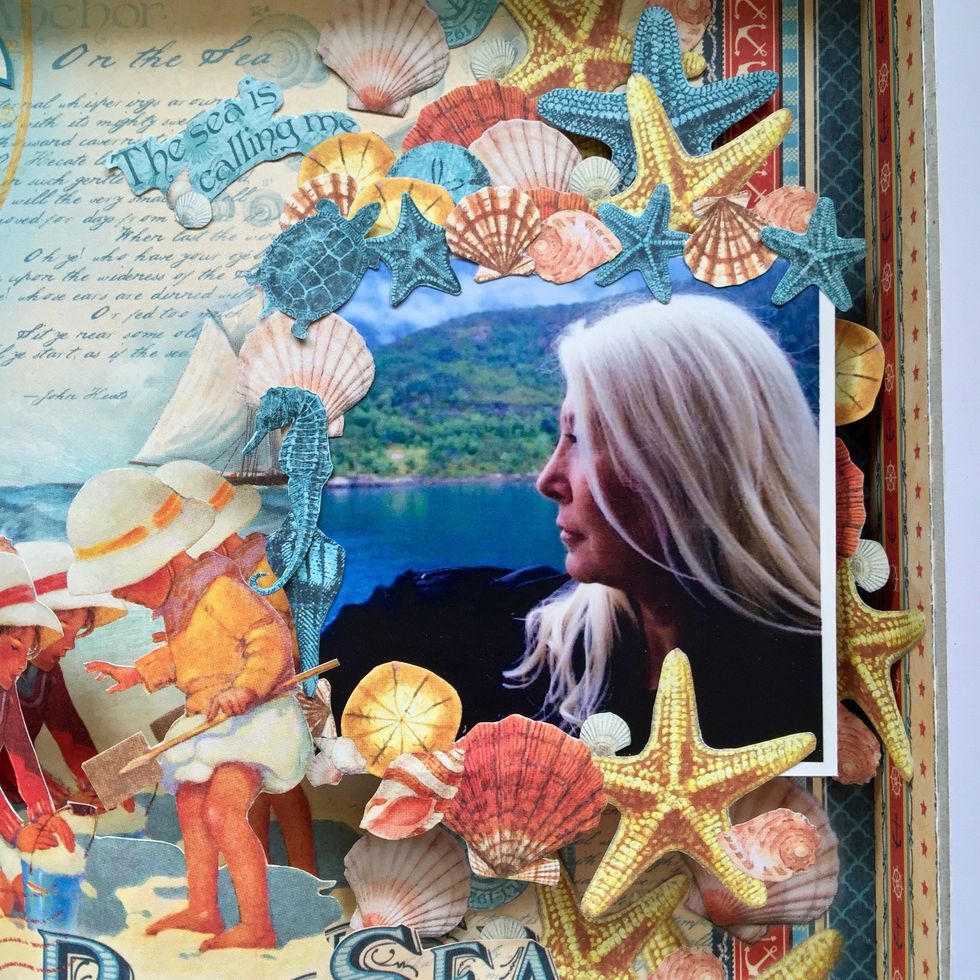
Glue more elements on the left side of the photo. Elements surround almost the entire photo.
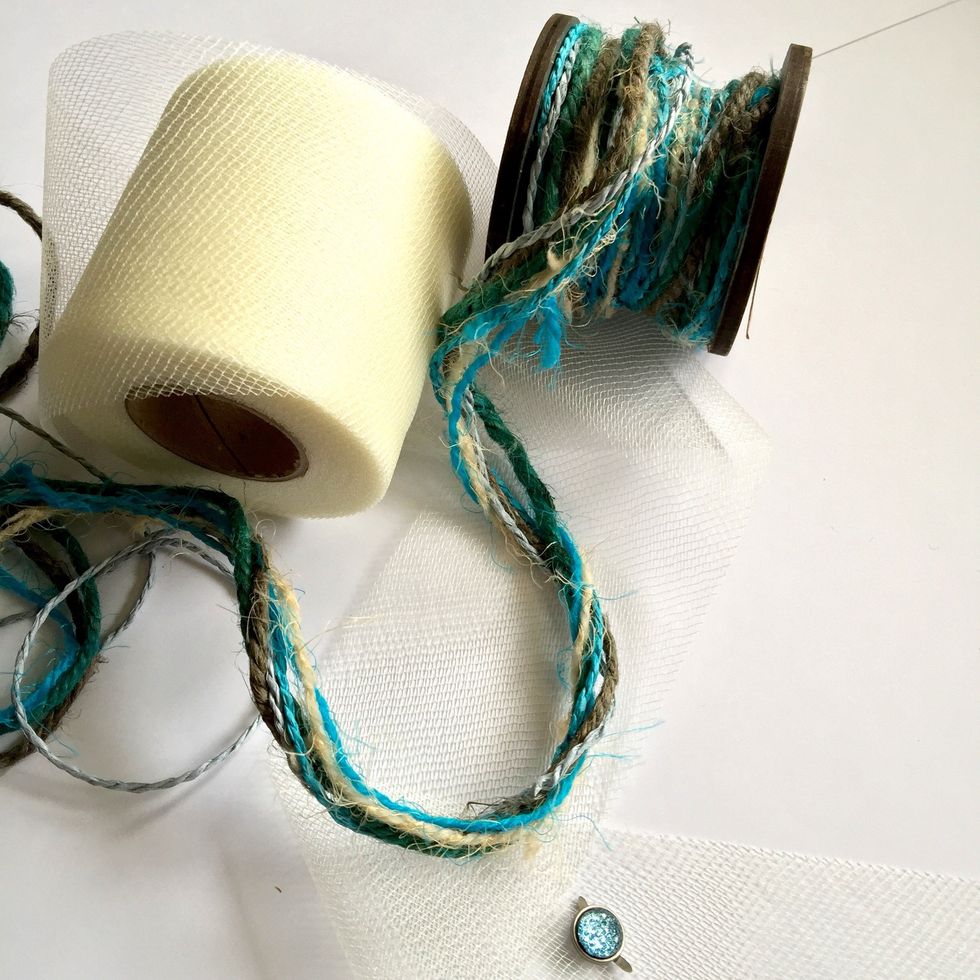
You will need some ribbon and cord to make a decoration for the box.
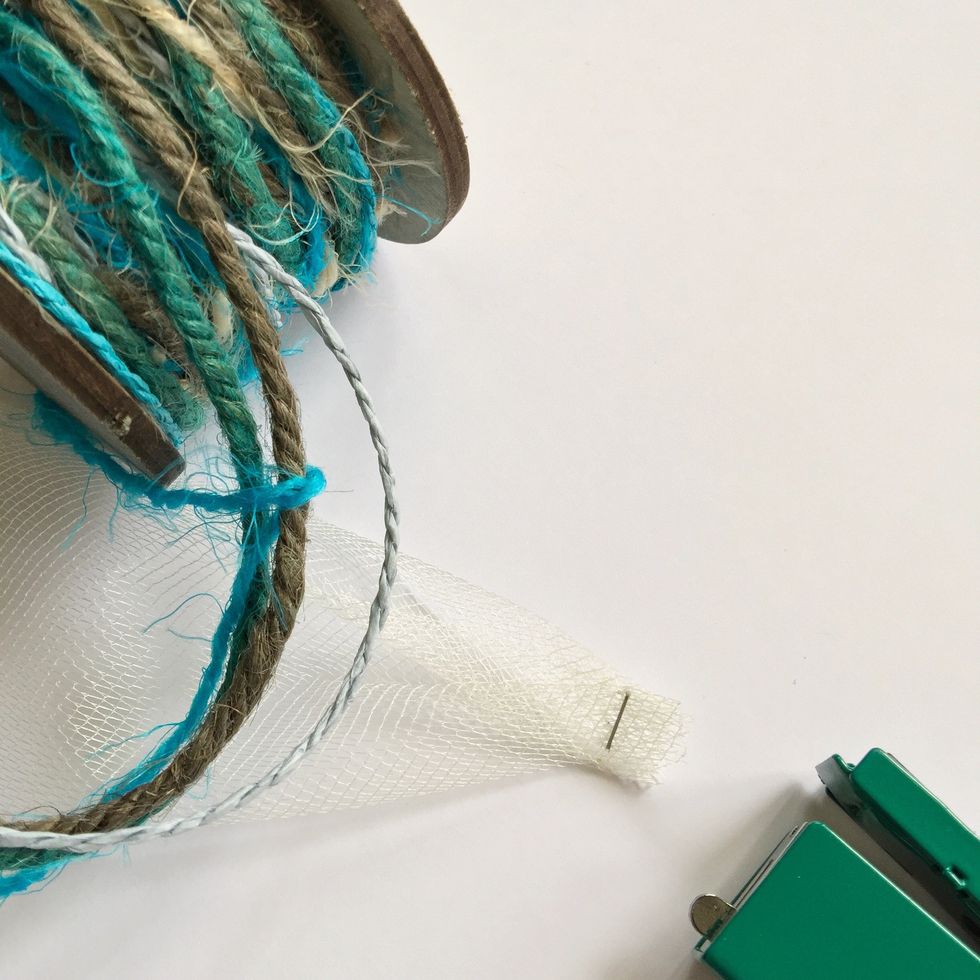
Start putting a clip on the ribbon so you'll glue it easily, then tie cord on the ribbon each 2” or 2 ½ “ to keep it together.
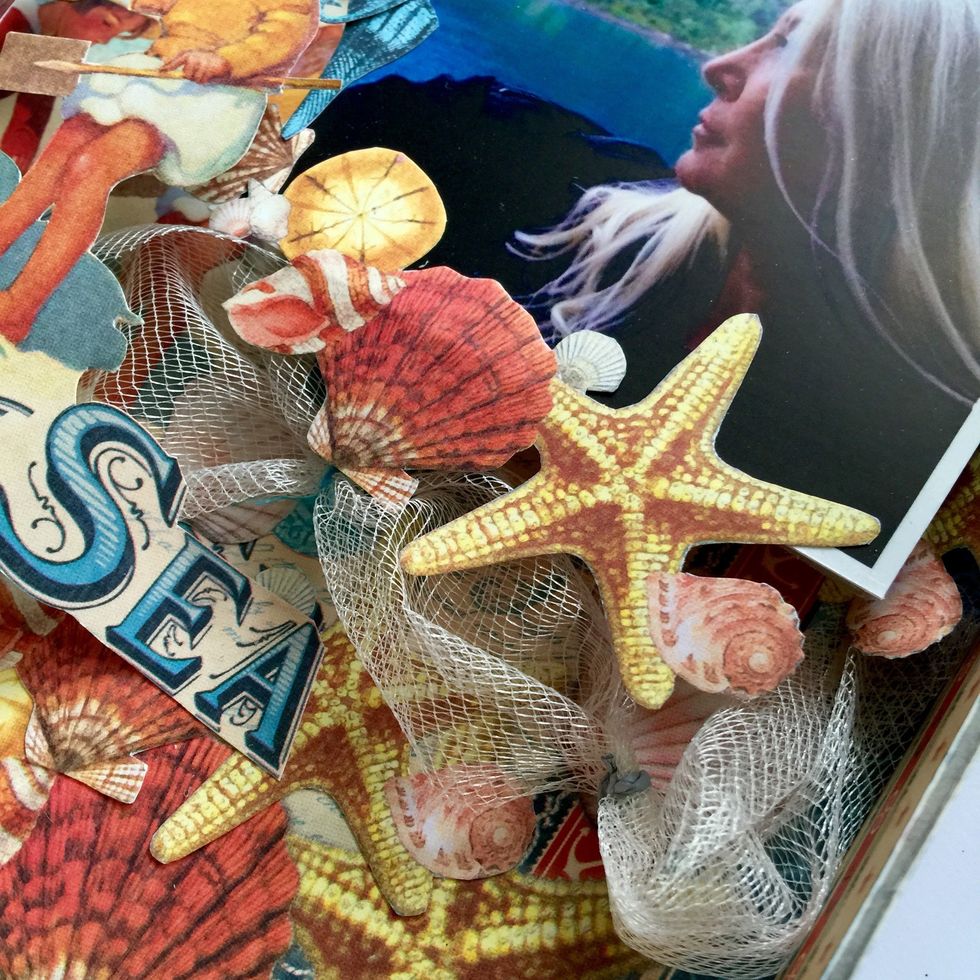
Start gluing from right to left following the line of cutout elements.
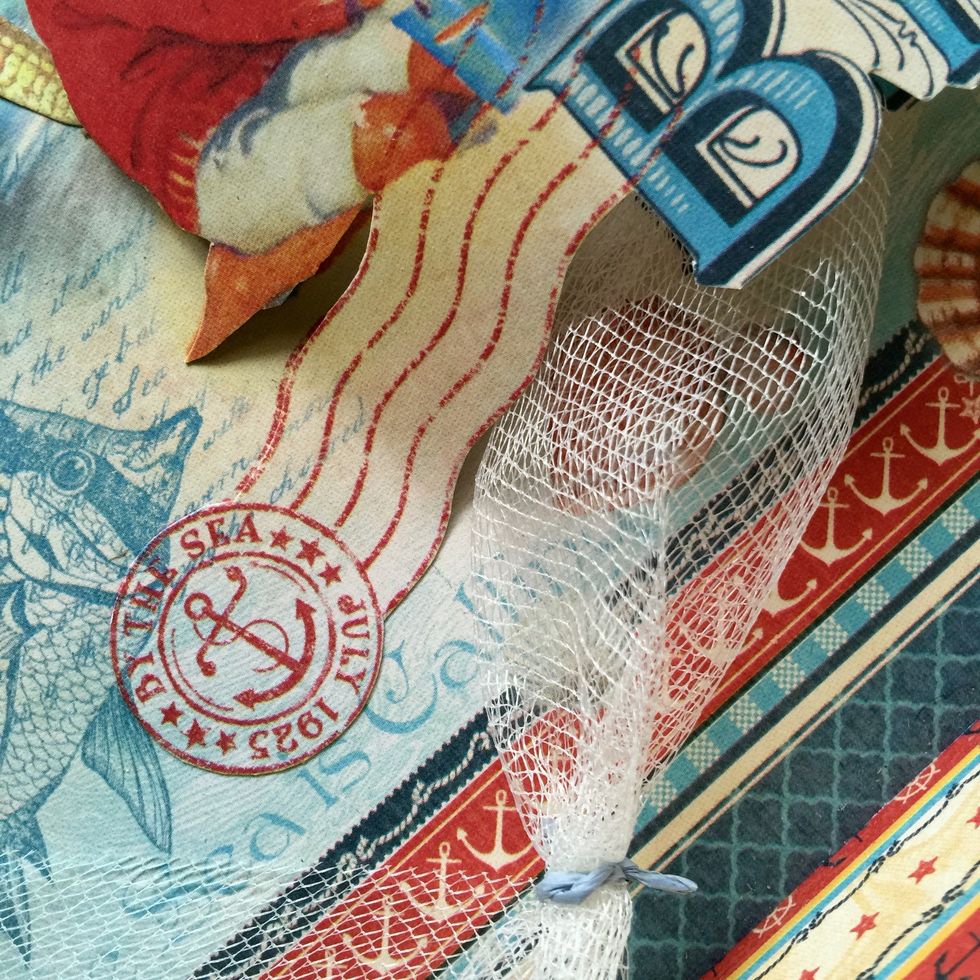
You better glue the ribbon with a heat gun tool.
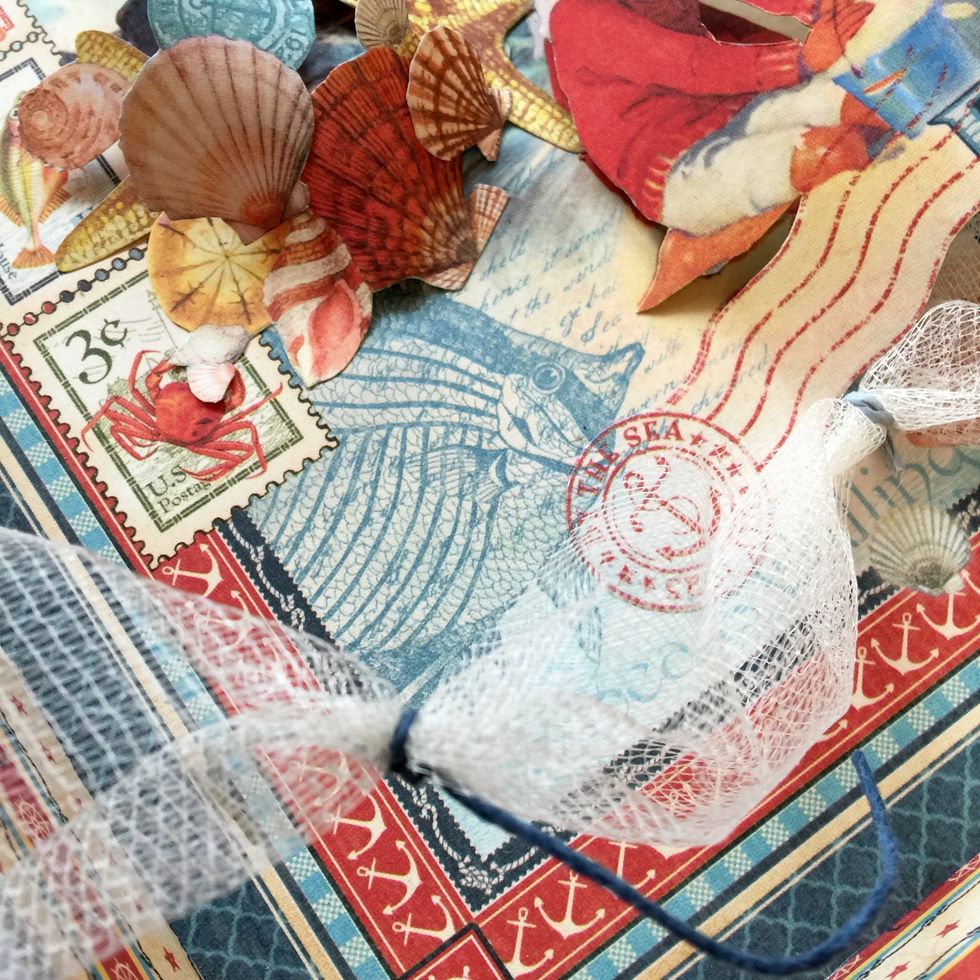
Repeat until reach the left side of the box.
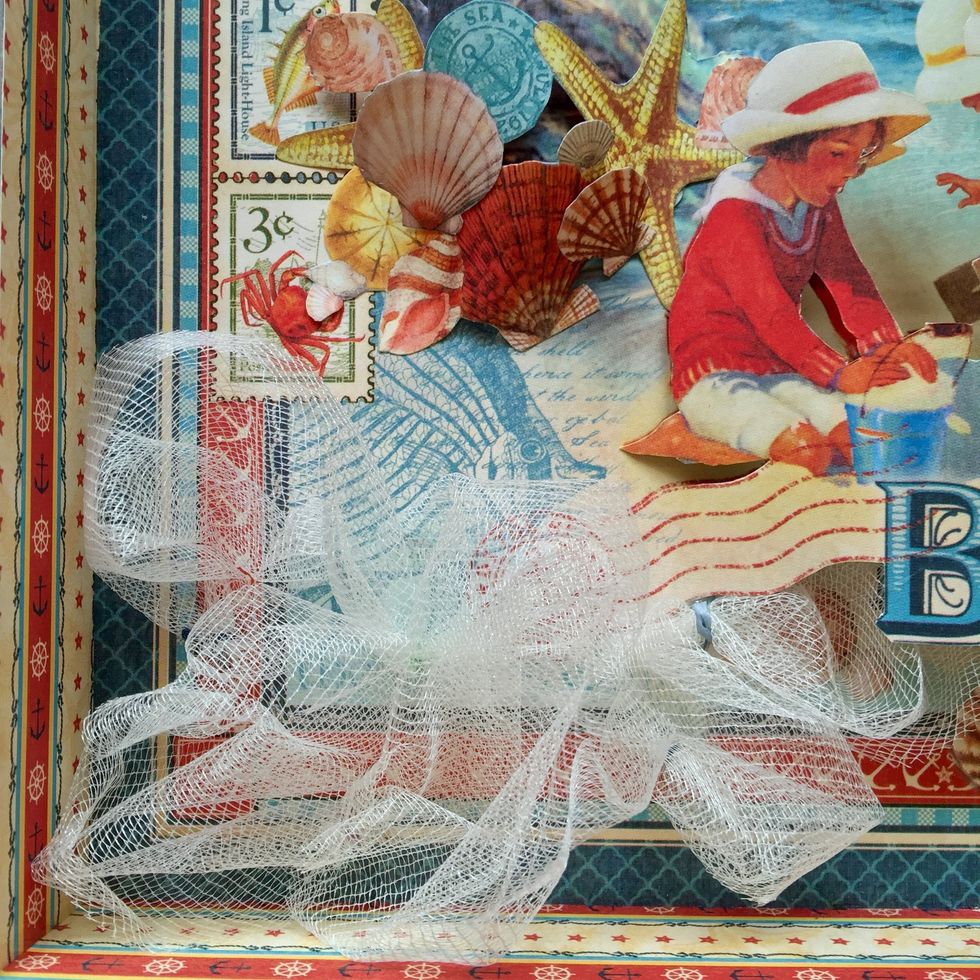
Left side view.
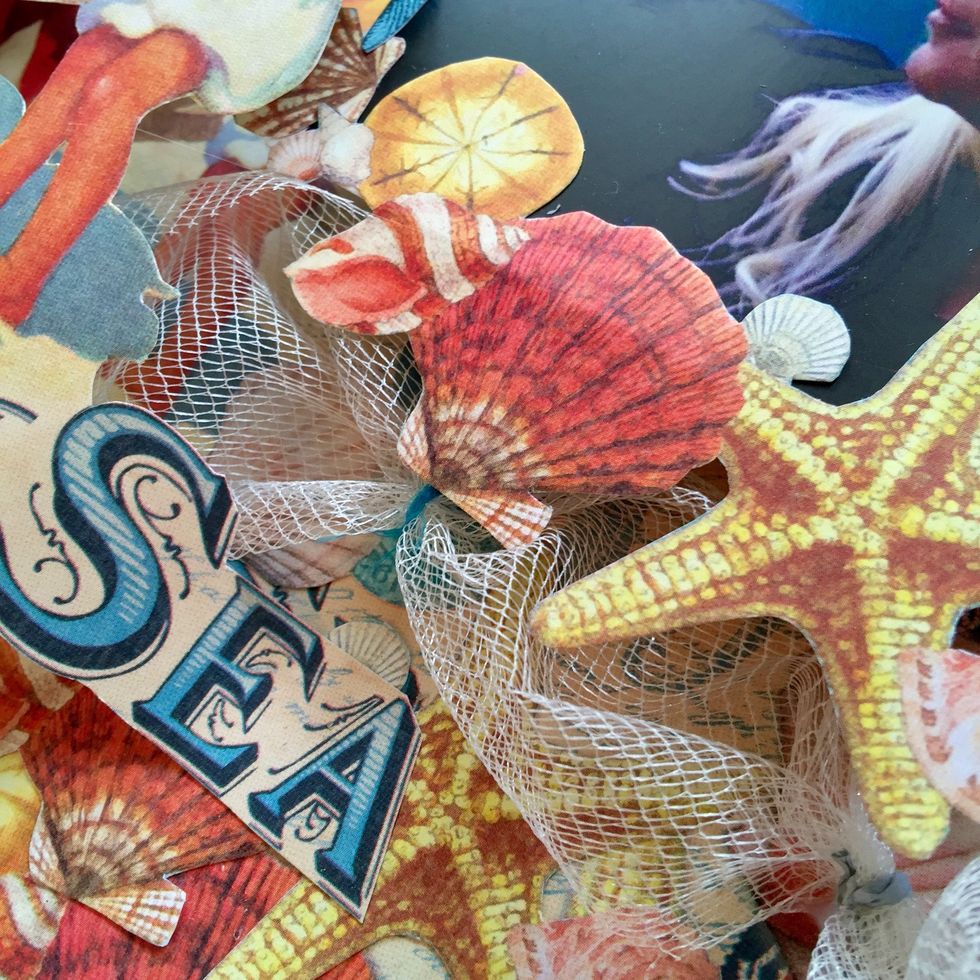
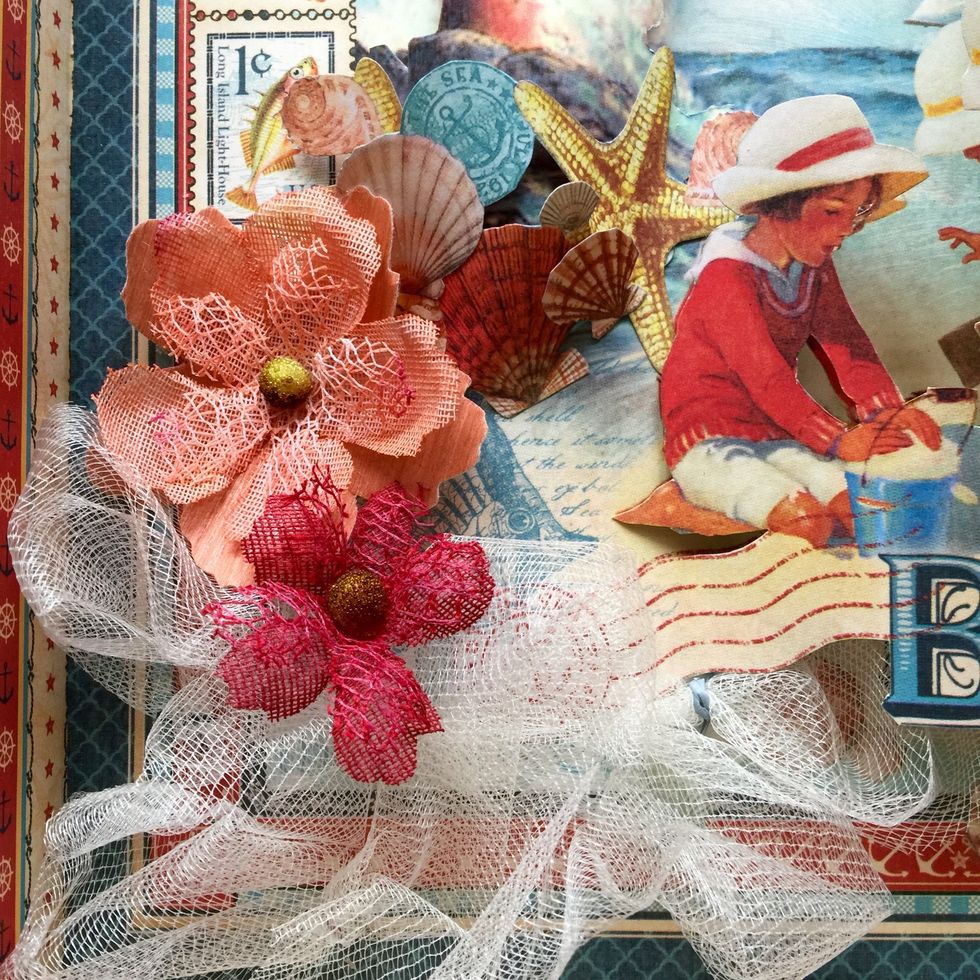
Add flowers or the embellishments you like.
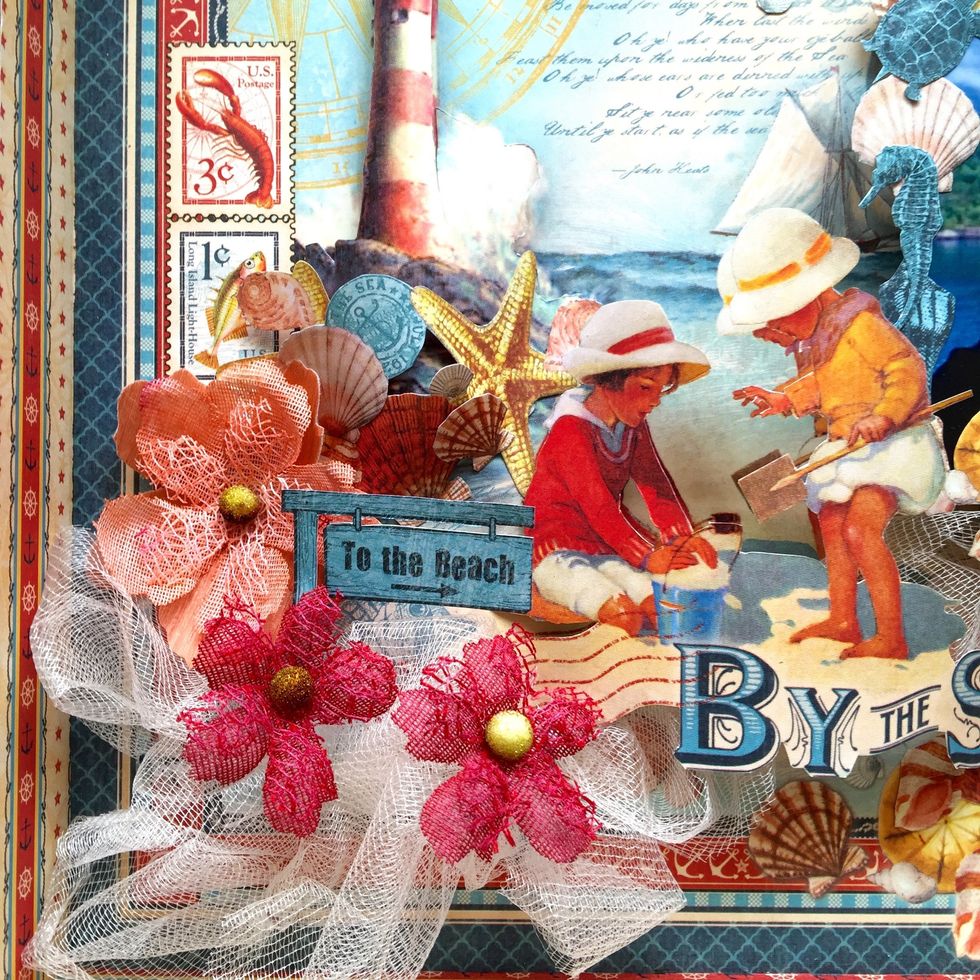
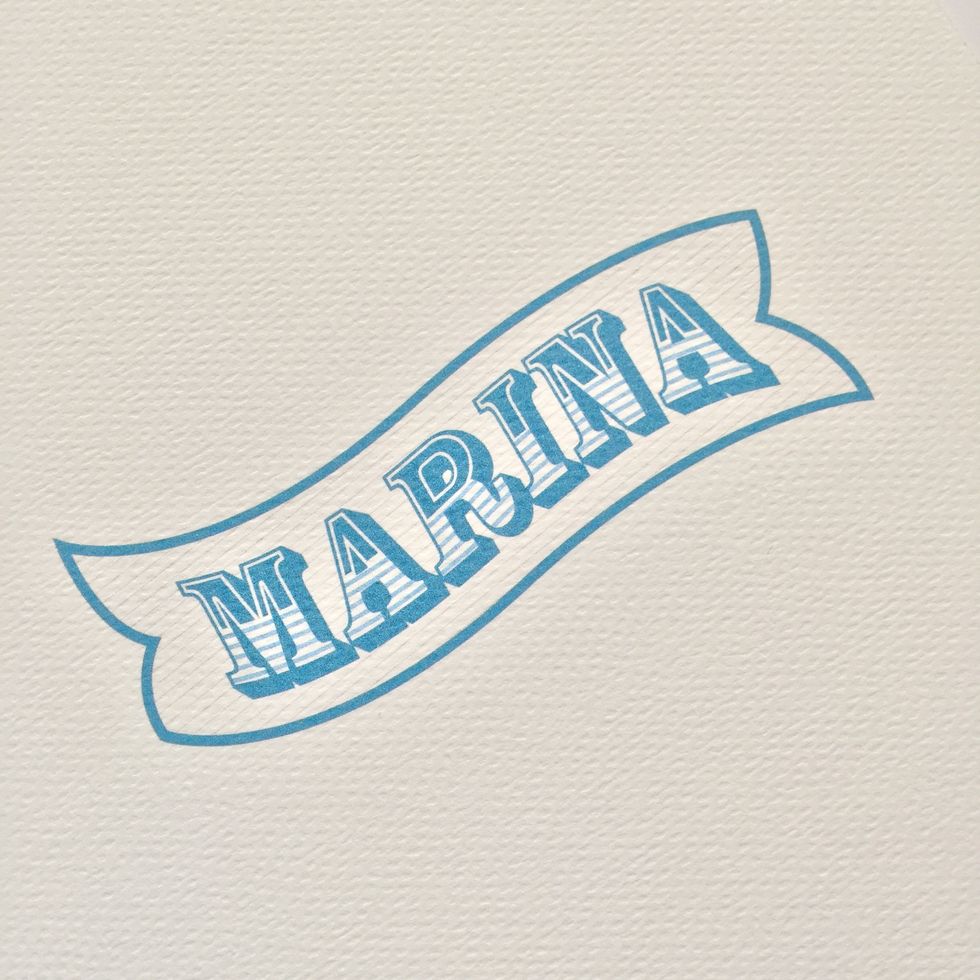
Print your name on a cardstock.
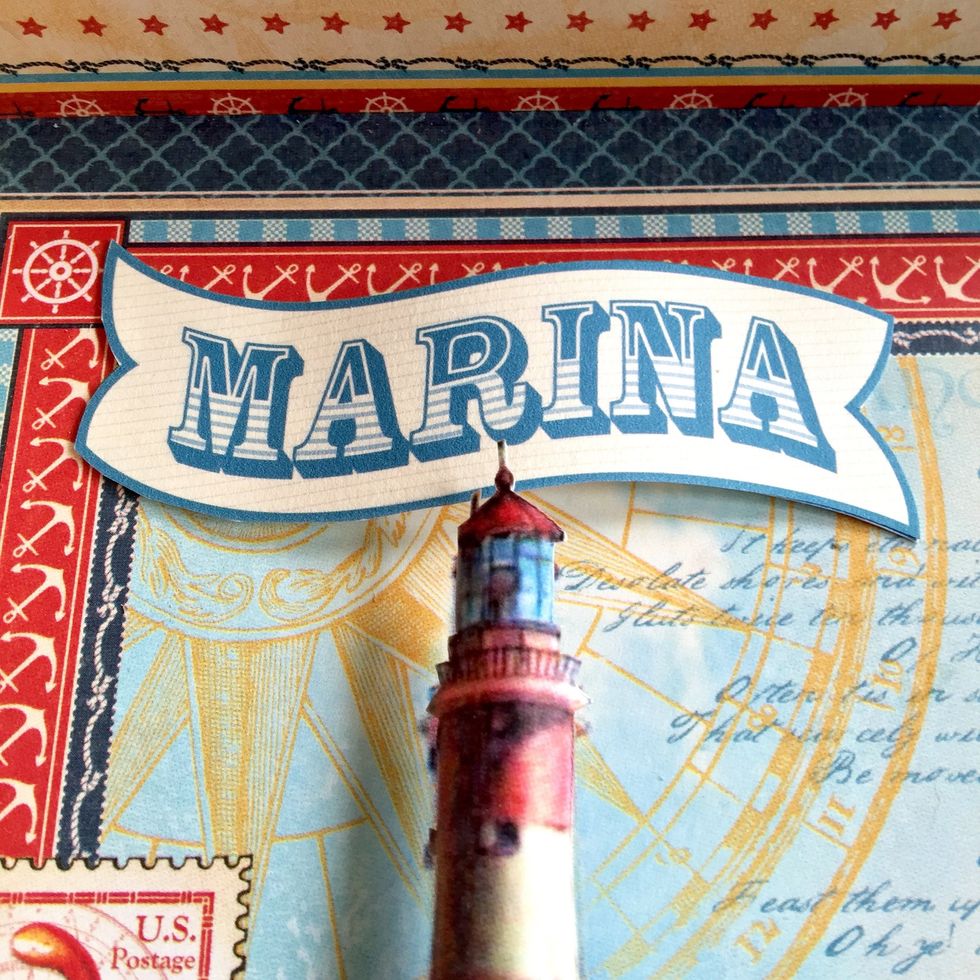
Fussy cut and glue on the background as shown.
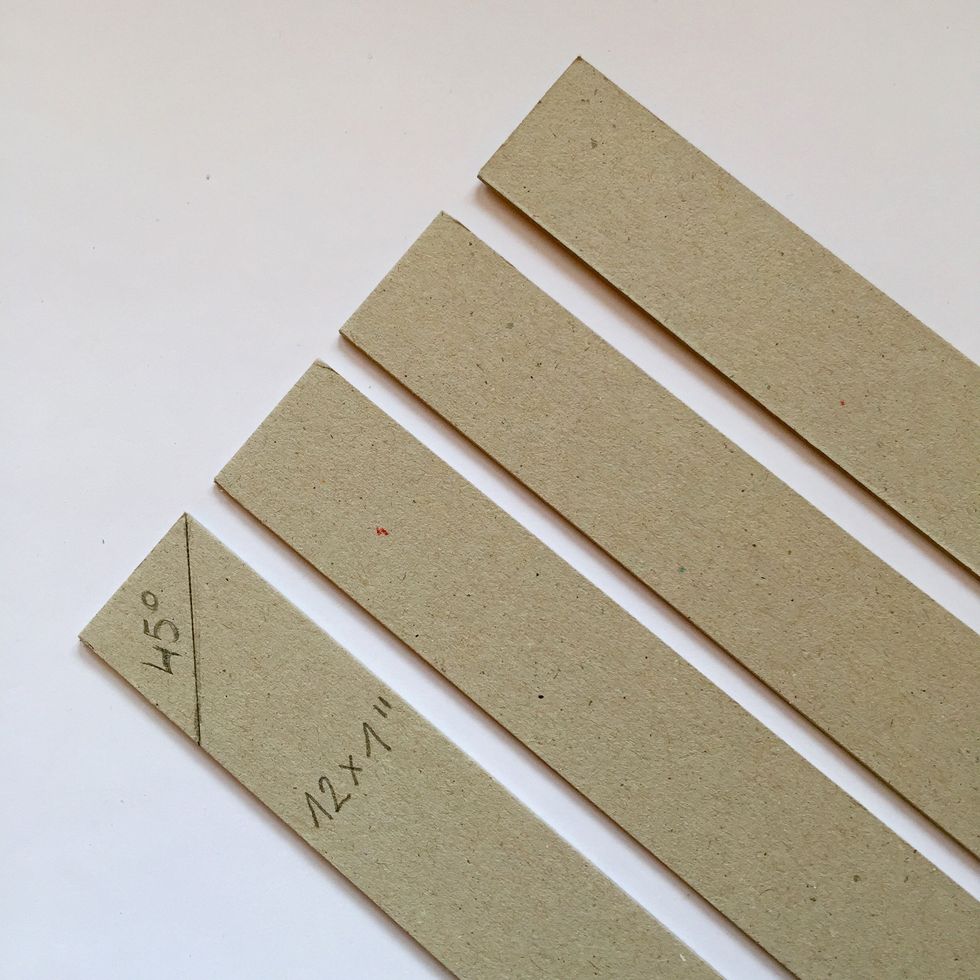
To make the box frame cut four pieces of 12" x 1” and make a mark at 45º.
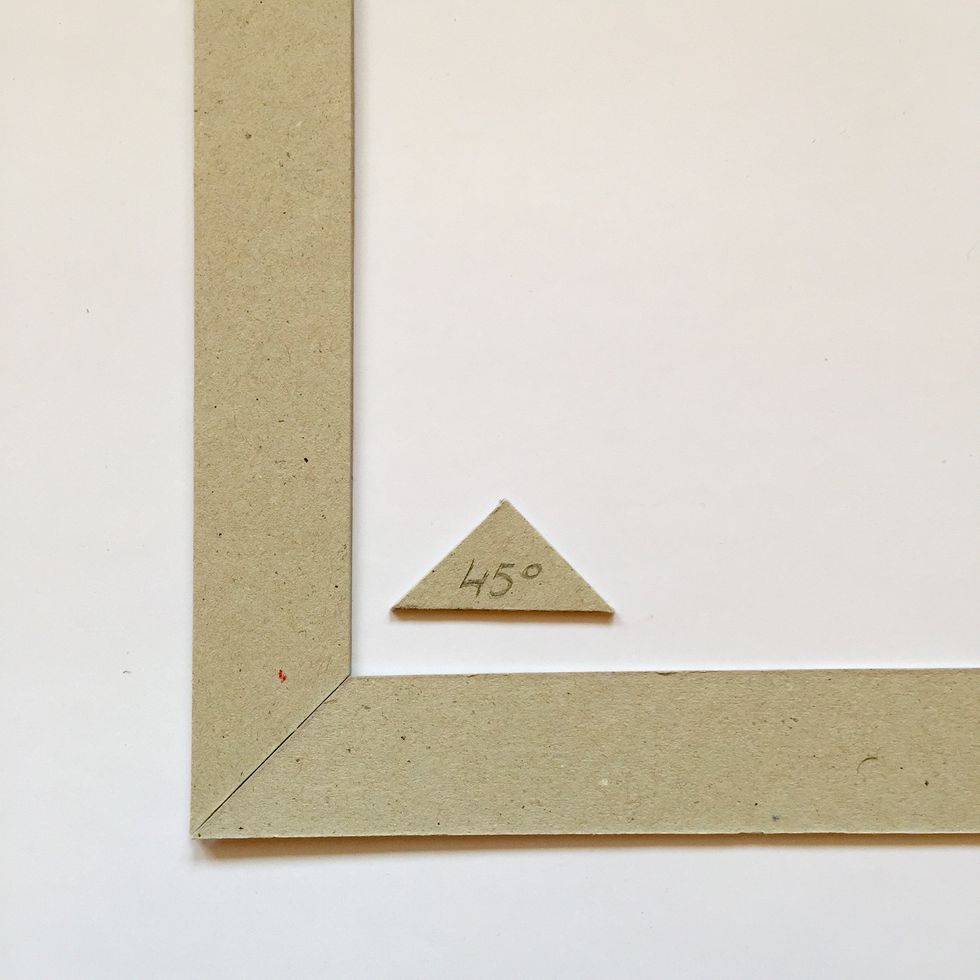
Cut the angle to form the corner.
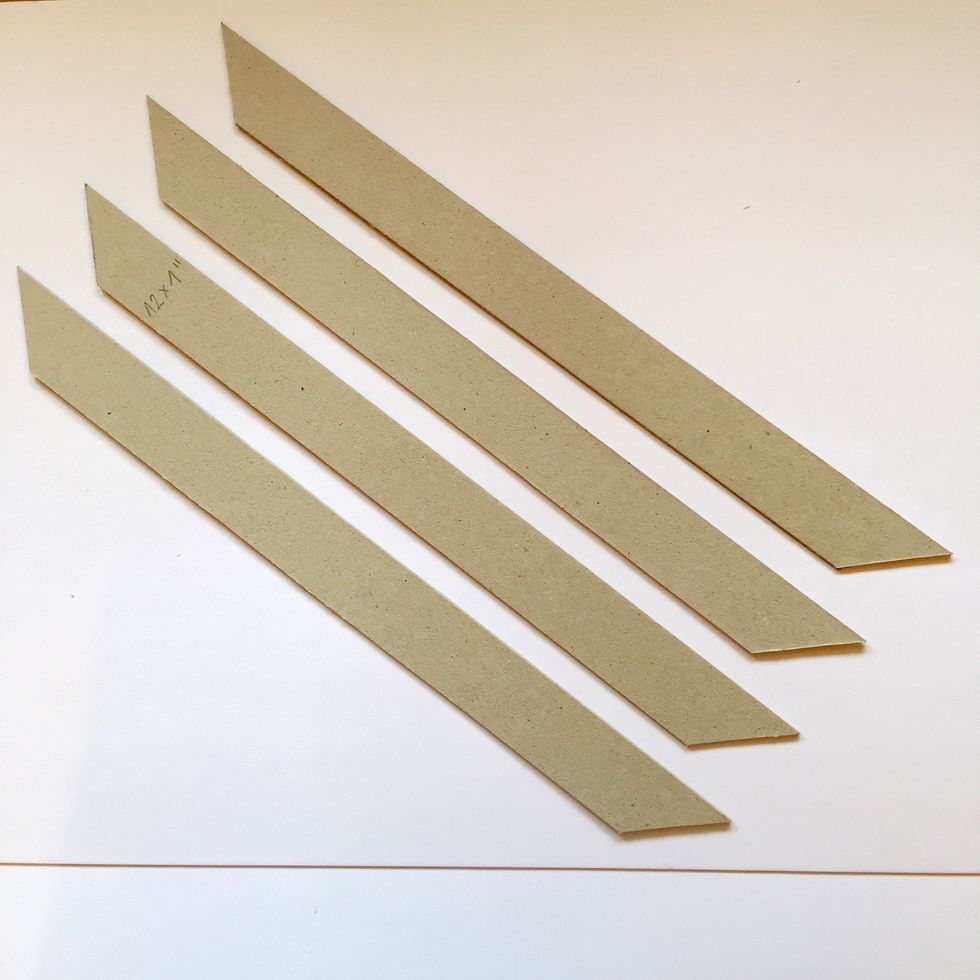
Cut all the four pieces.
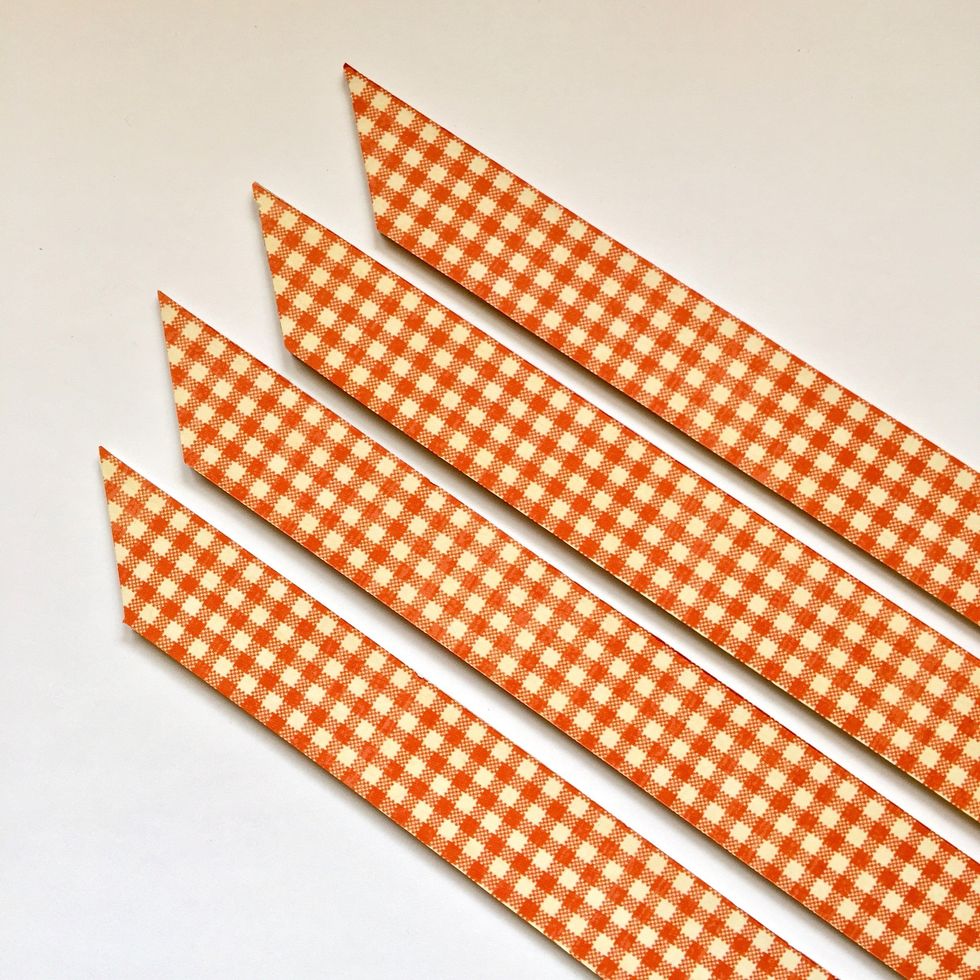
Use double sided tape to cover them with paper, only one side.
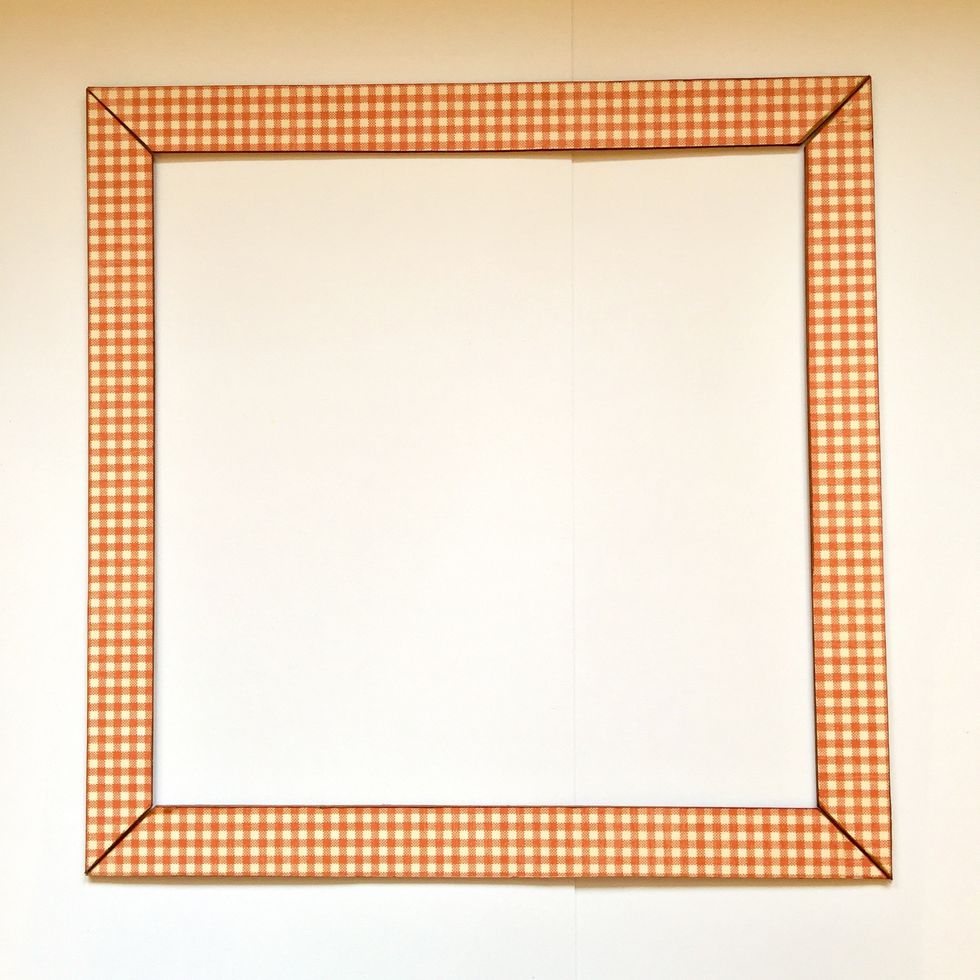
Glue the angles and let them dry.
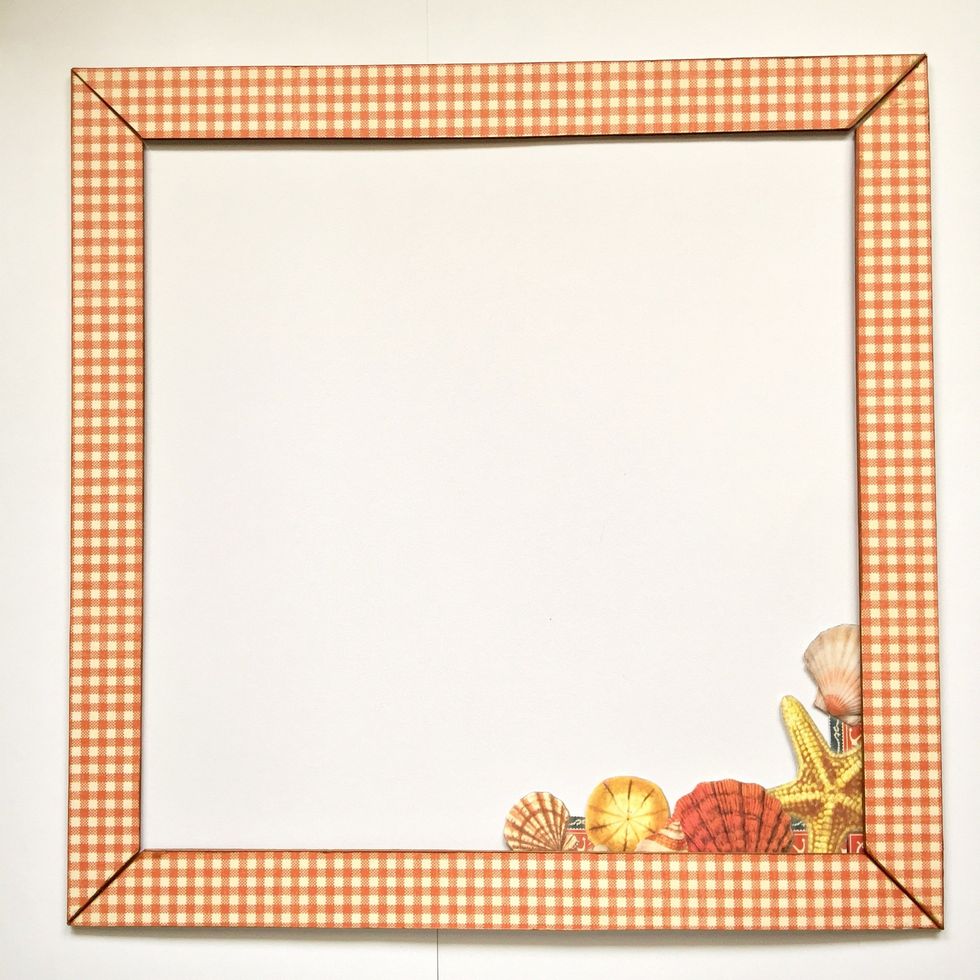
Add a cutout element gluing it on the inside of the frame.
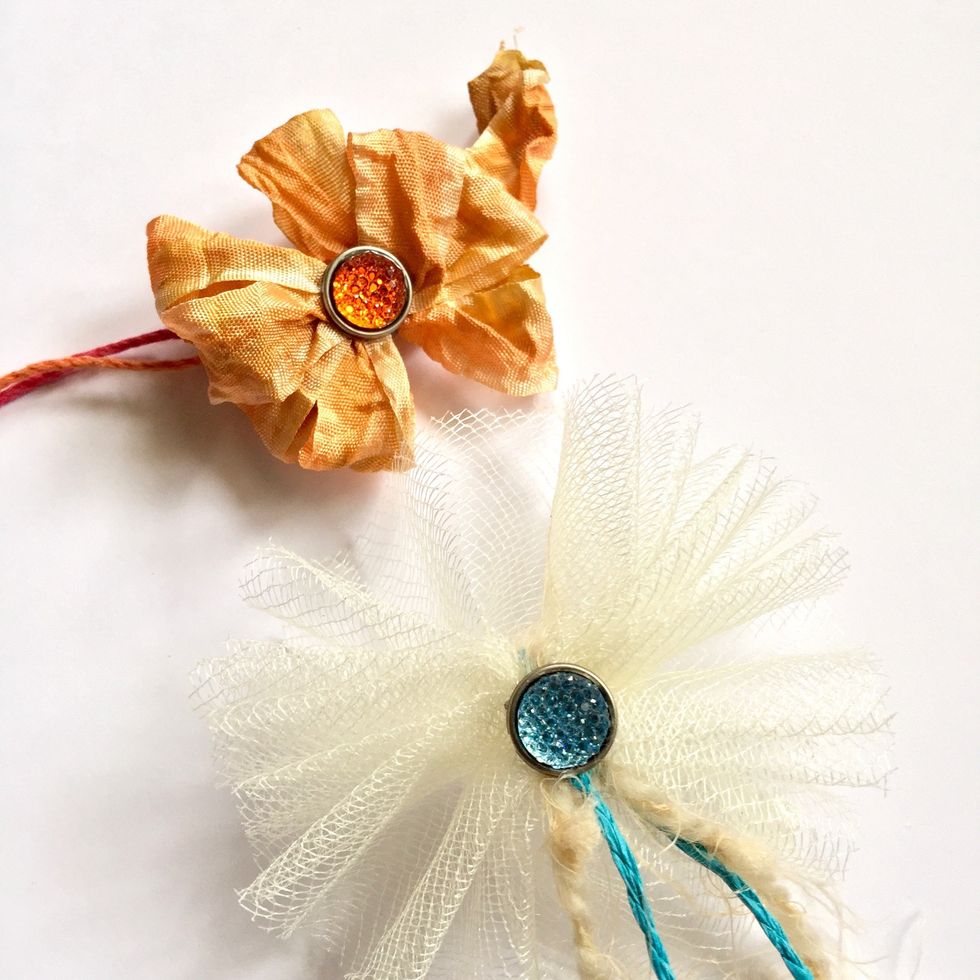
These are two embellishments with ribbons and brilliant brads.
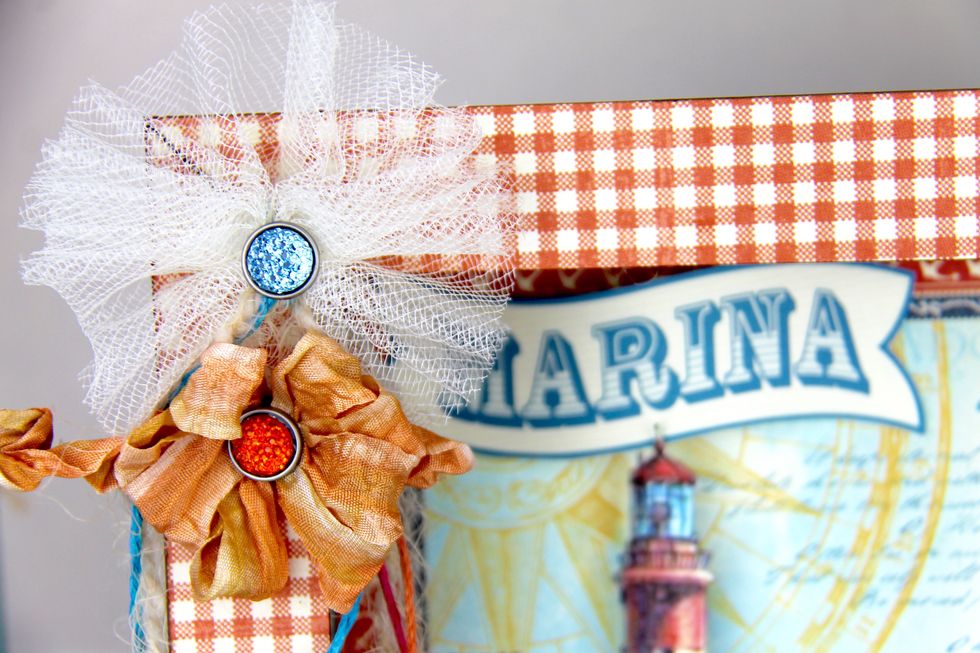
Glue the frame on the box and start gluing the embellishments. Left upper corner.
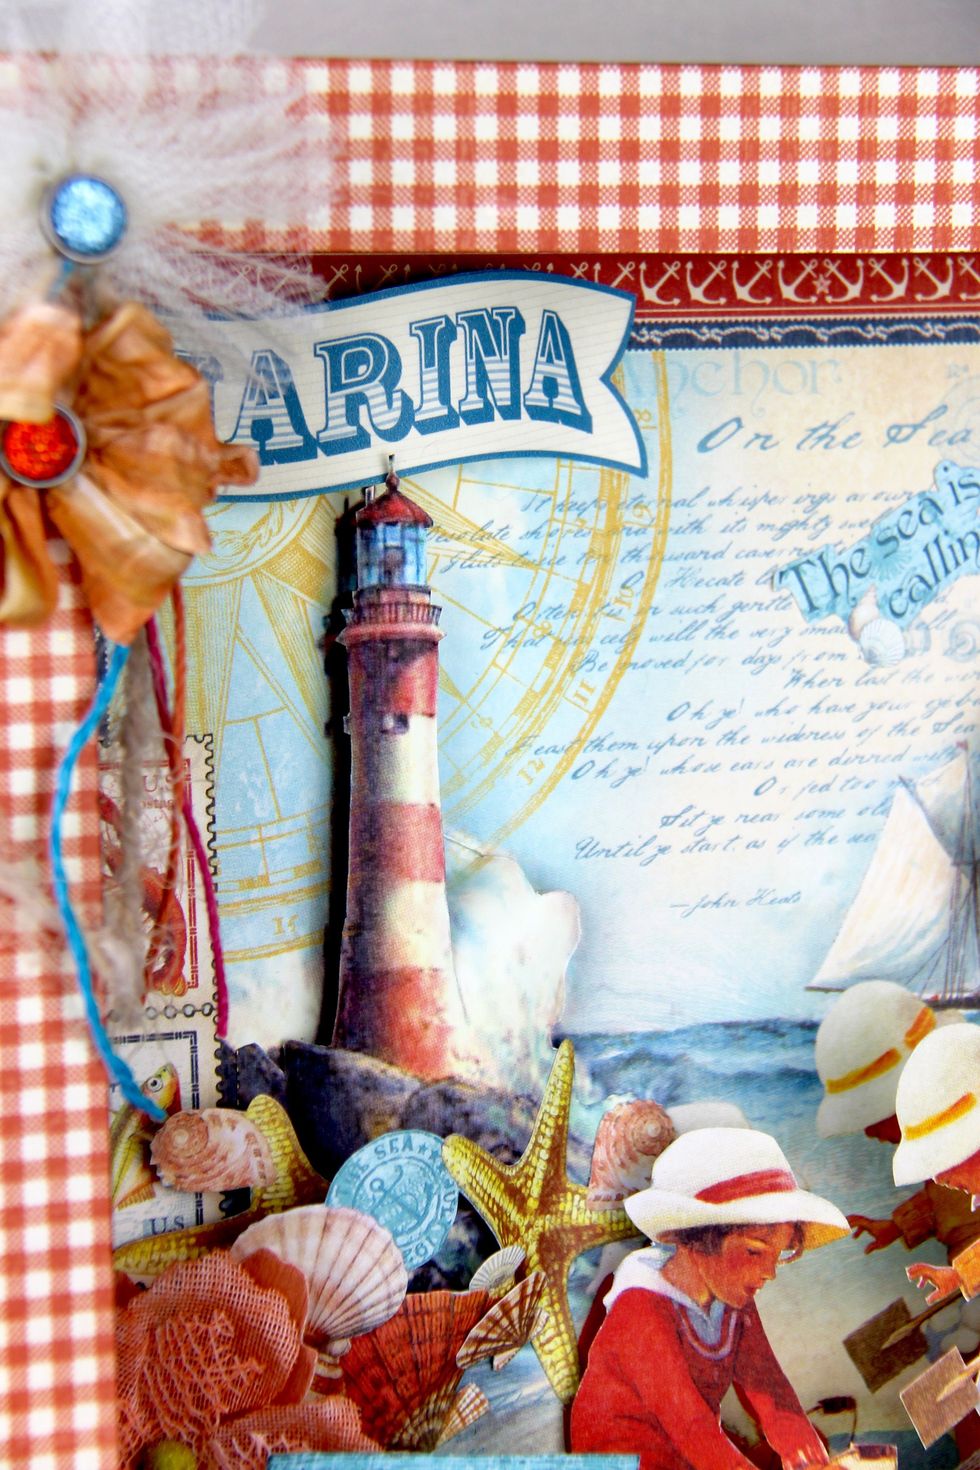
Upper left corner.
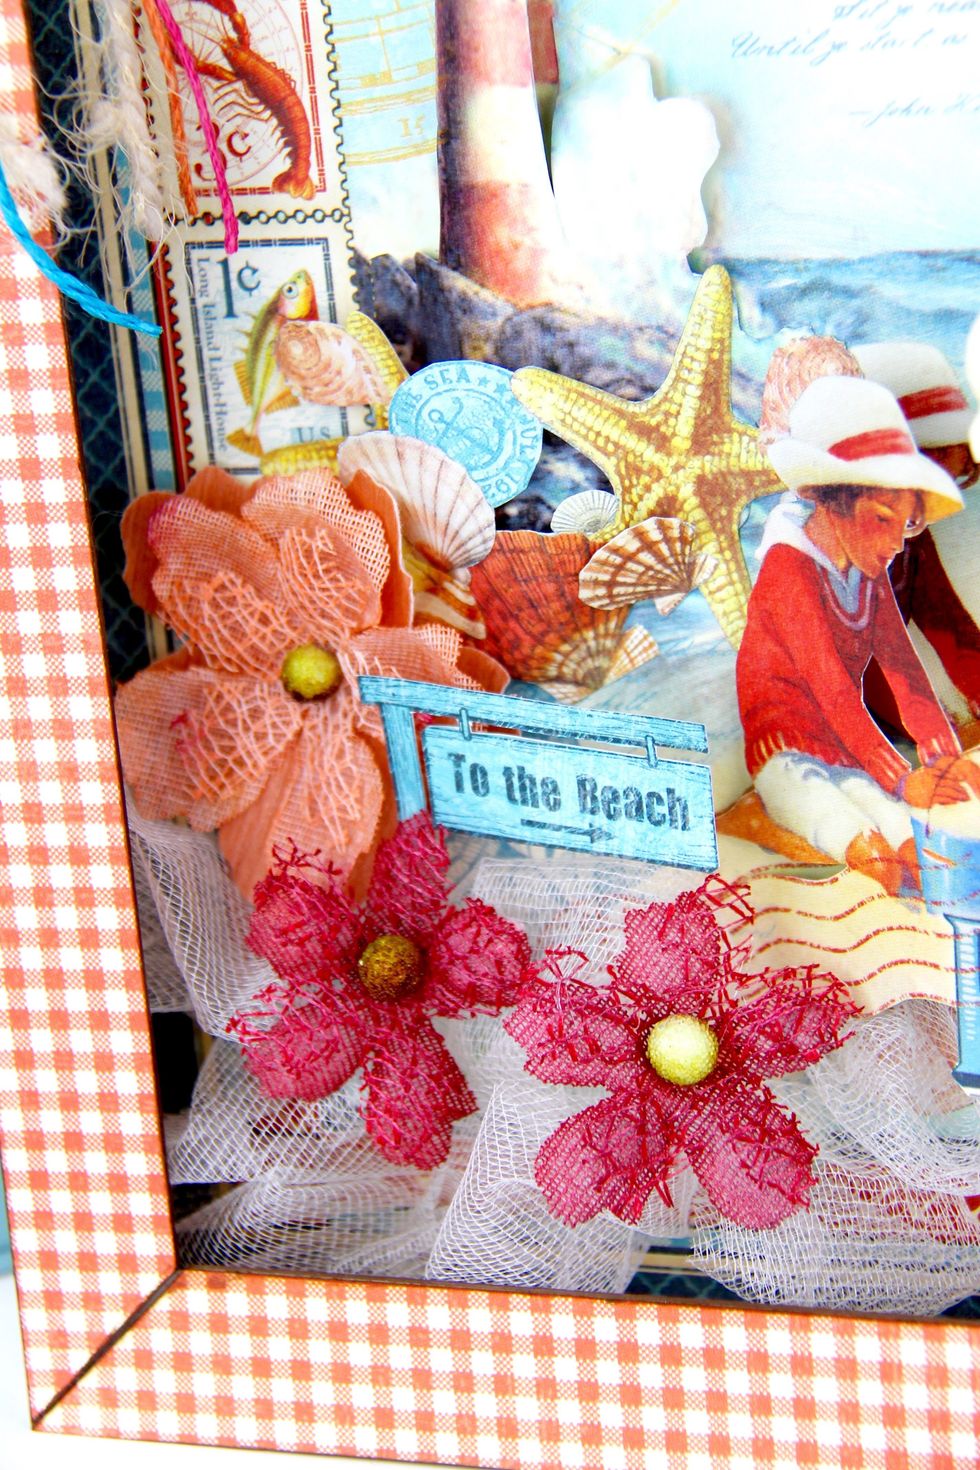
Lower left corner.
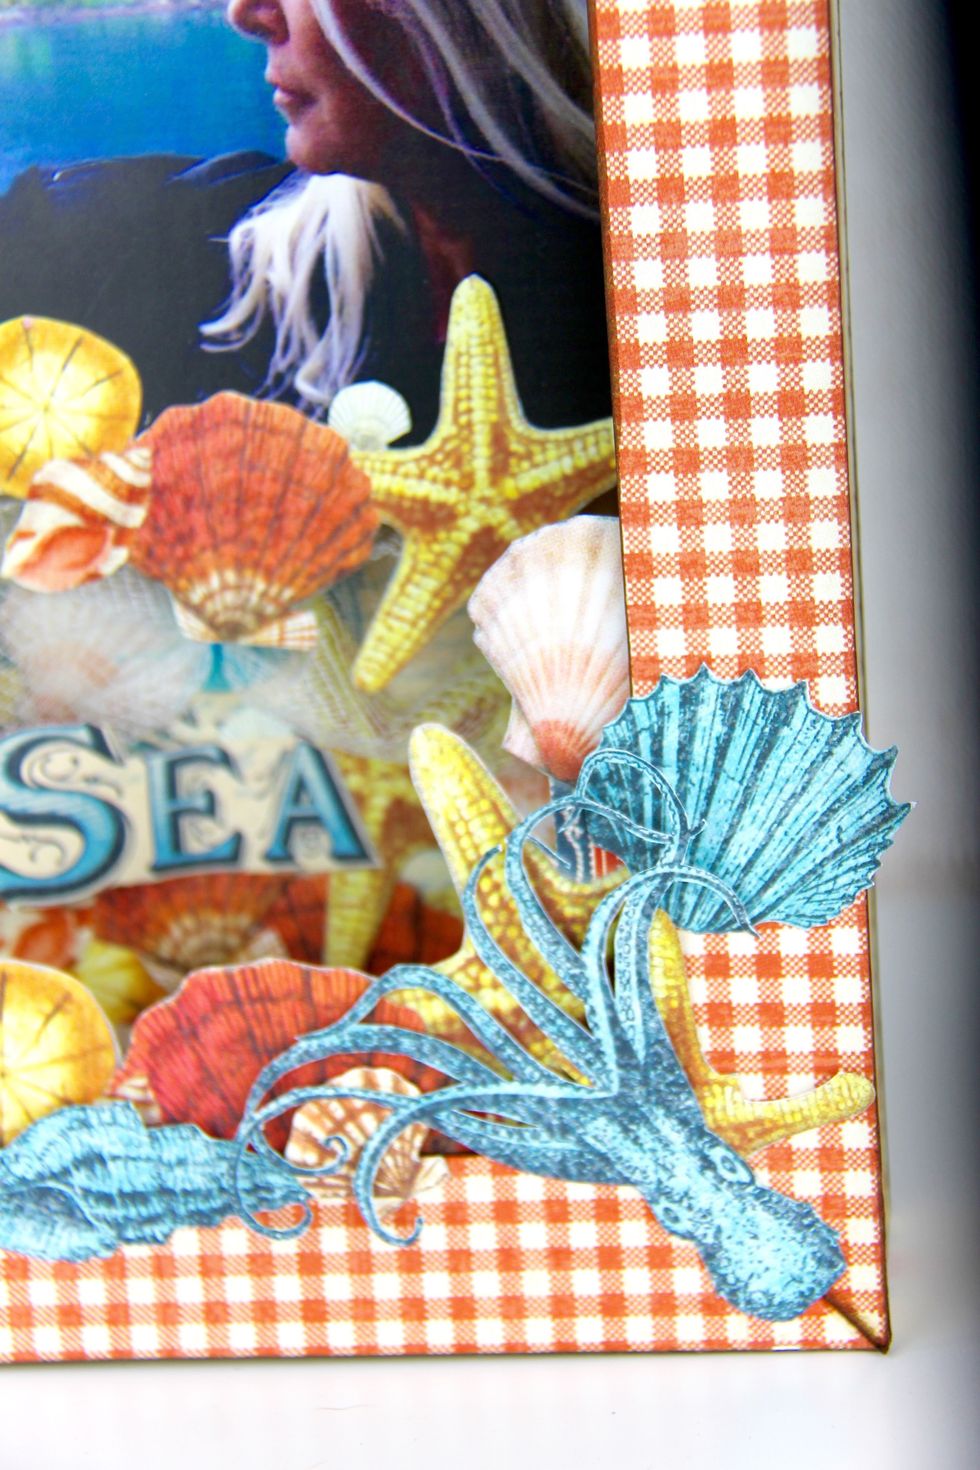
Lower right corner.
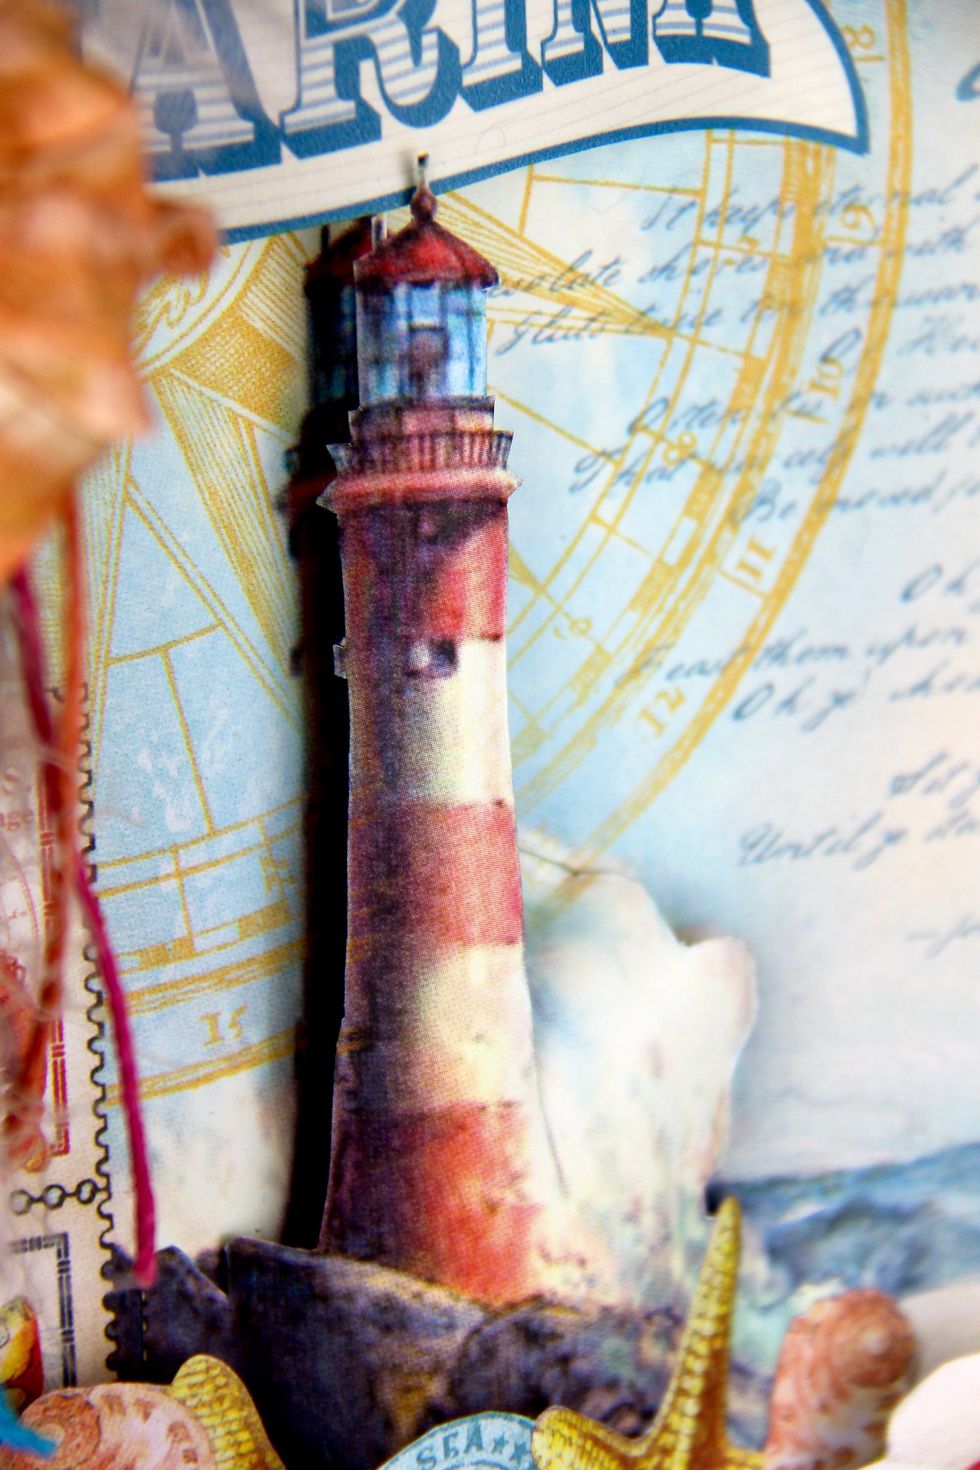
Lighthouse detail.
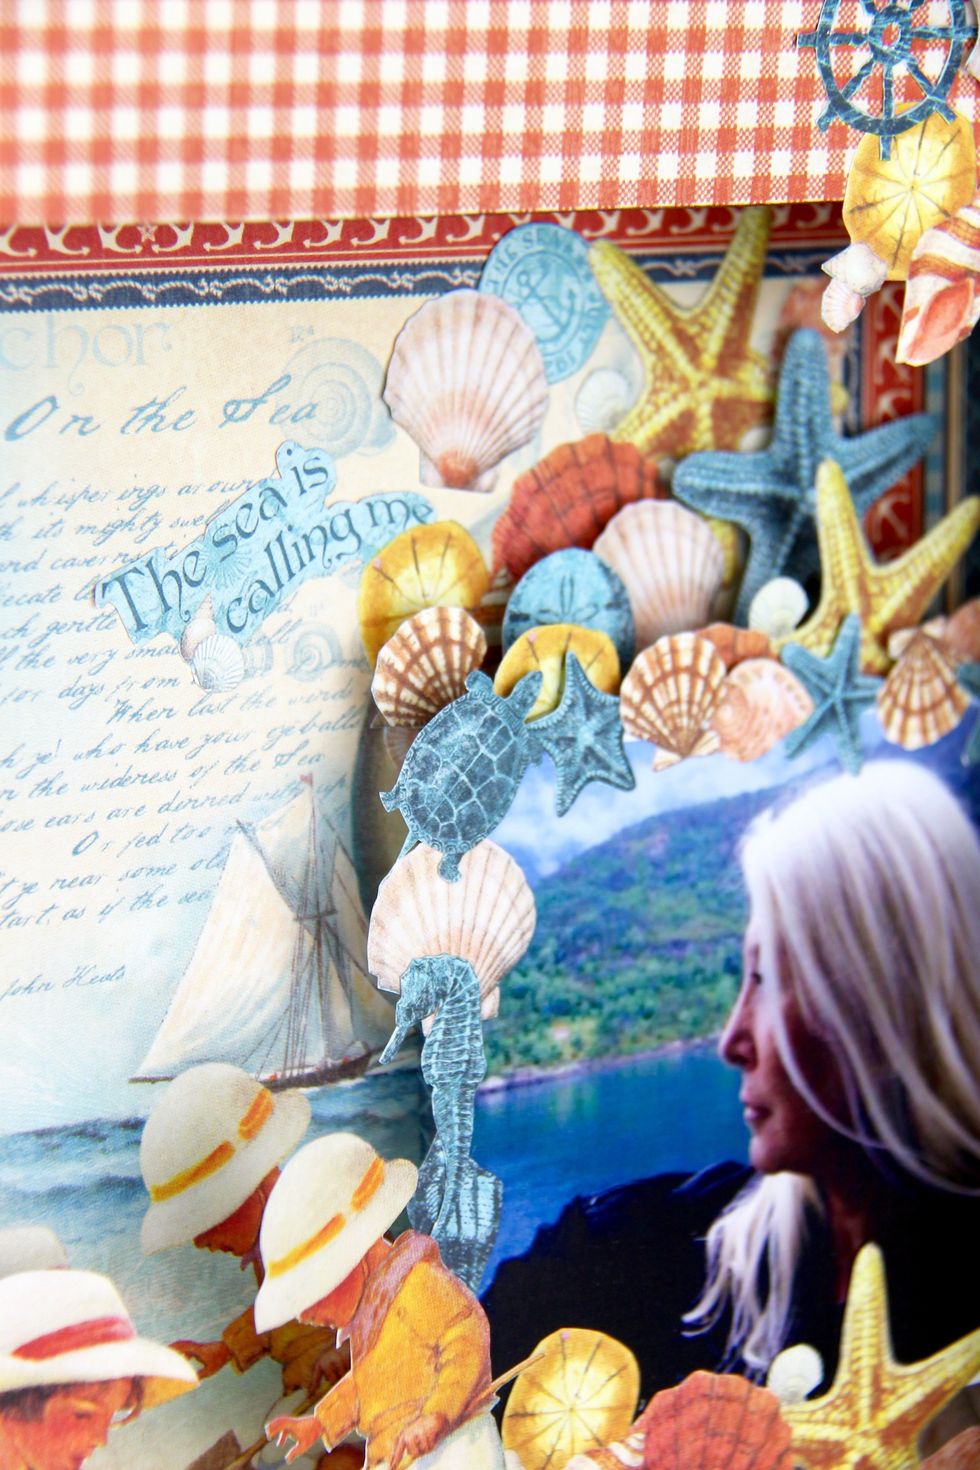
Photo detail.
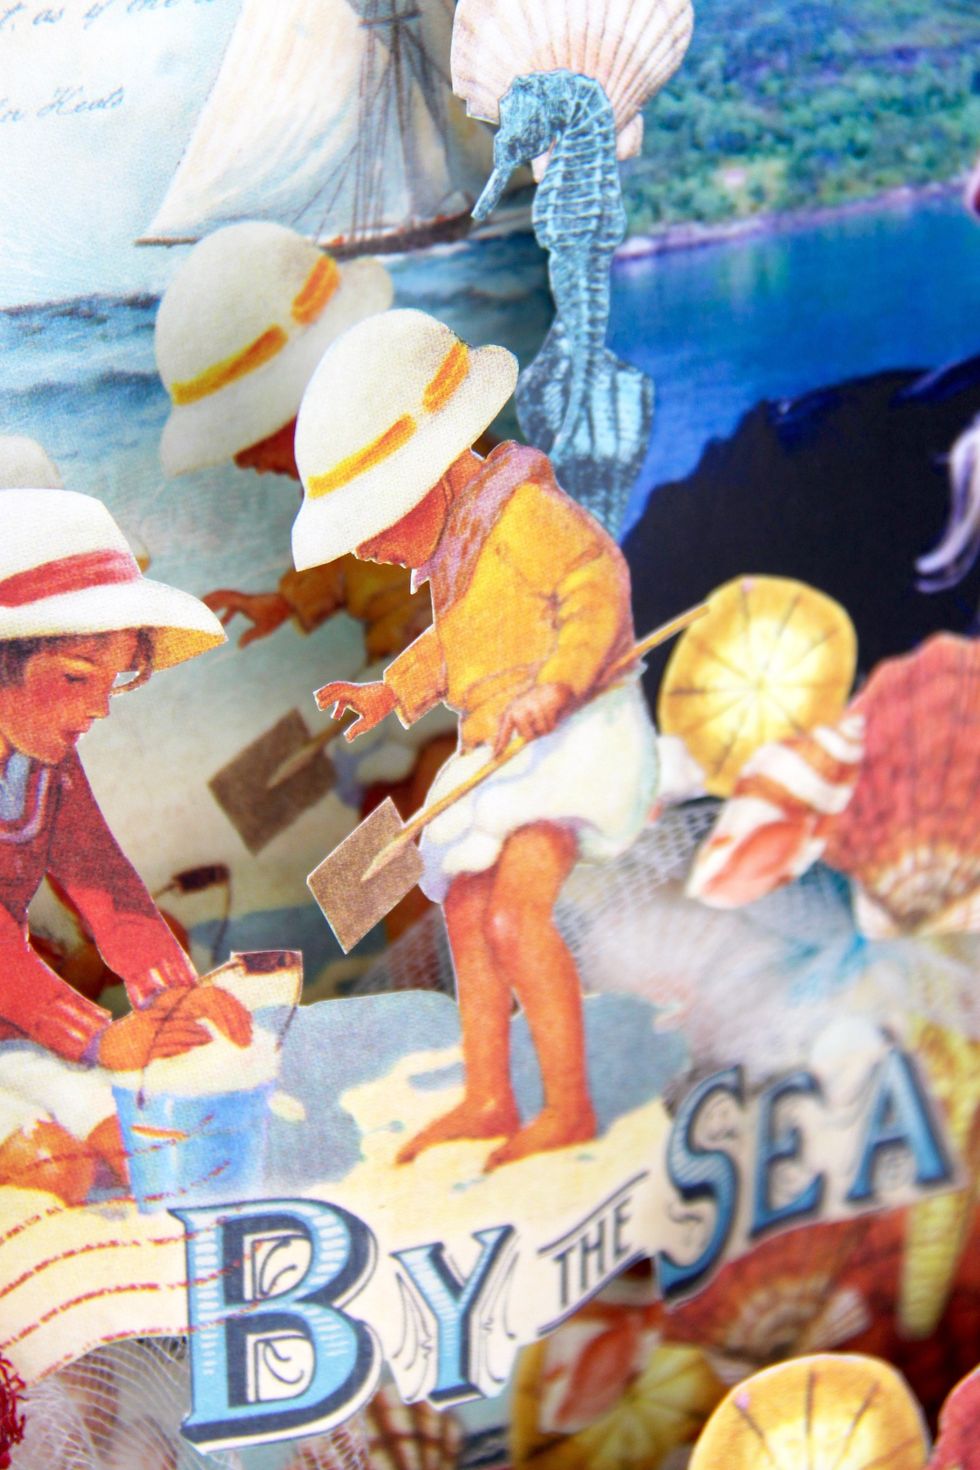
Children detail.
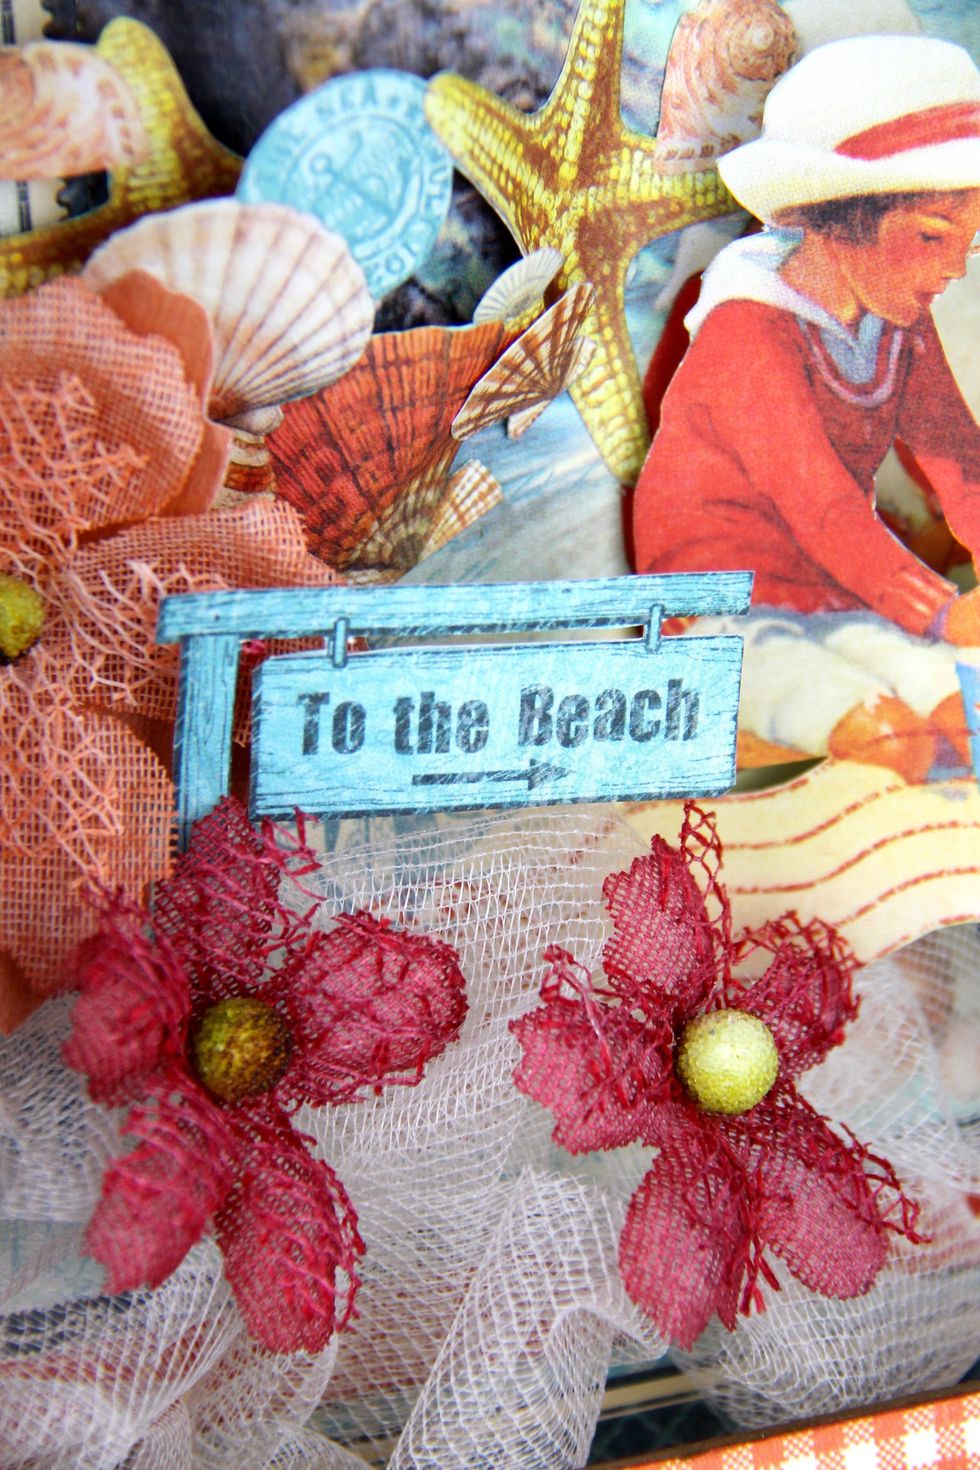
To the beach sign detail.
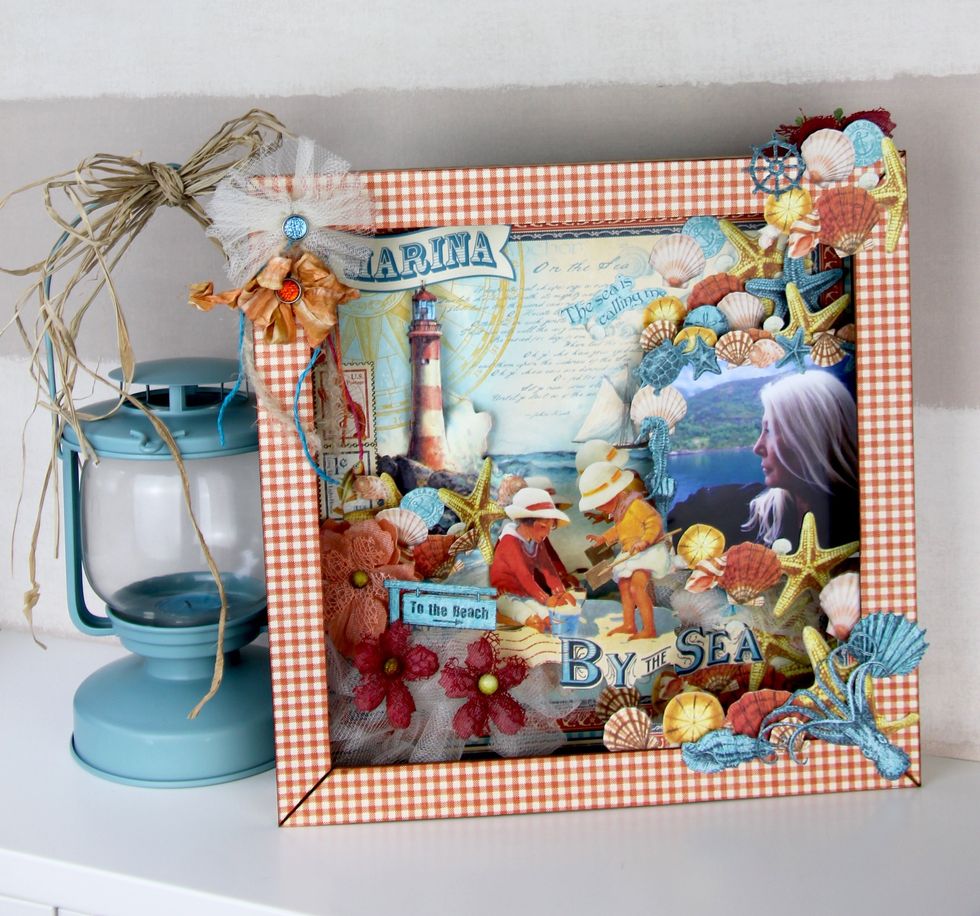
LO Box by the Sea Graphic 45 by Marina Blaukitchen.
- 1.0 #4500900 By the Sea Beach Comber Graphic 45
- 1.0 #4500903 By the Sea My Anchor Graphic45
- 2.0 #4500899 By the Sea Graphic 45
- 1.0 #4500904 By the Sea Pier 45 Graphic 45
- 3.0 cardboard 12x12”
- 1.0 cardstock 12x12"
- 1.0 #1257208 Petaloo mixed texture layers Apricot
- 1.0 #1257212 Petaloo textu red Blossoms Red
- 1.0 #588052 Gypsy cord Neptun Prima Marketing
- 2.0 Brads
- 1.0 Tulle ivory
- Ribbon and Distress Stain inks
Marina Blaukitchen
Scrapbooking lover. \nGraphic 45 Design Team Member 2016-2017\nGraphic 45 Brand Ambassador 2017-2018
Valencia (Spain)
The Conversation (0)
Sign Up