The Conversation (0)
Sign Up
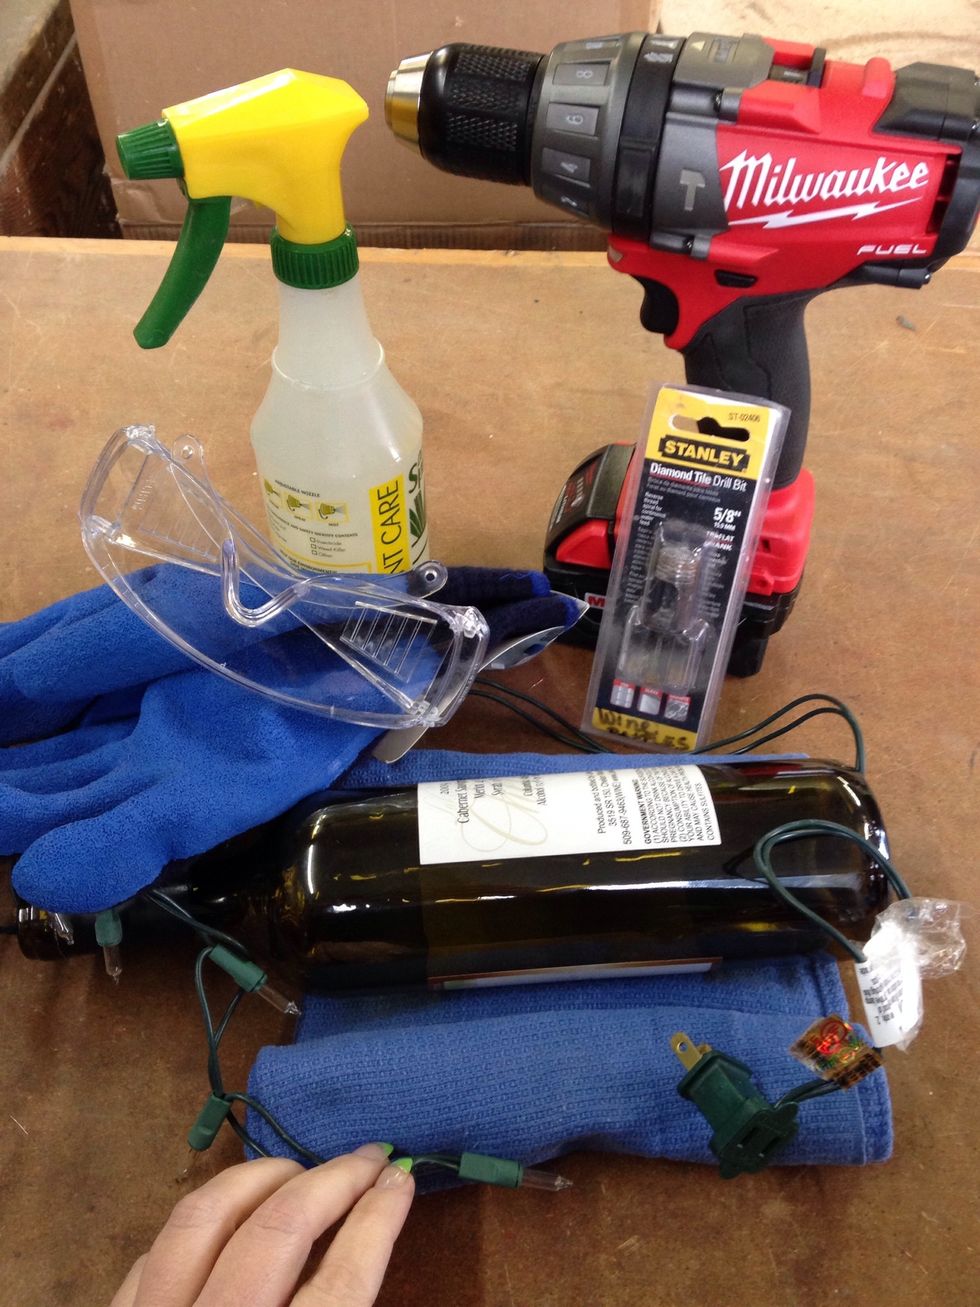
Gather your supplies. It is helpful to have 2 people/2 sets of hands. Note: Your string of lights should have a plug on ONLY one end.
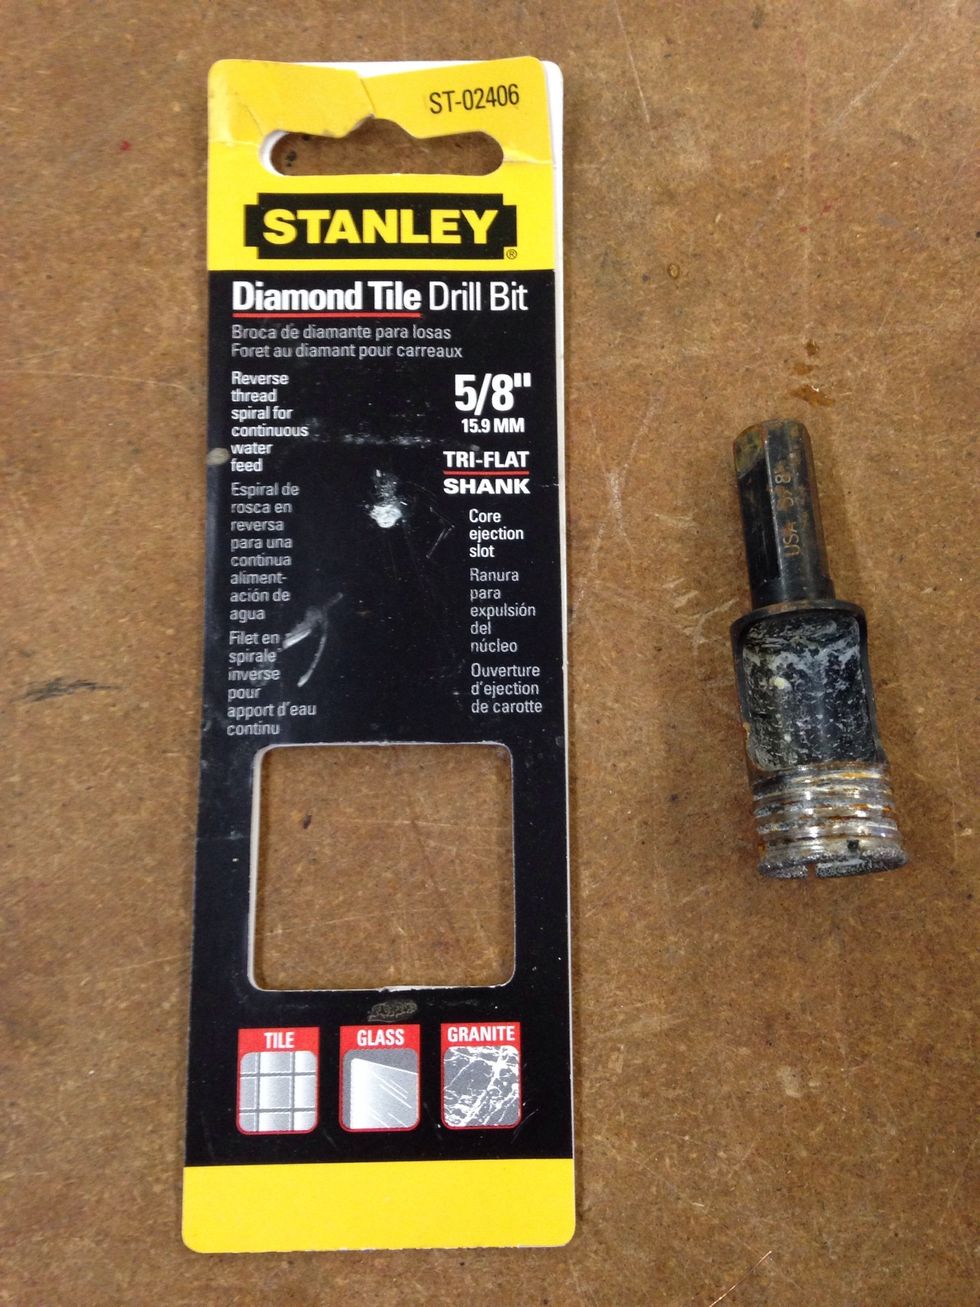
This drill bit is designed for use with ceramic tile and glass.
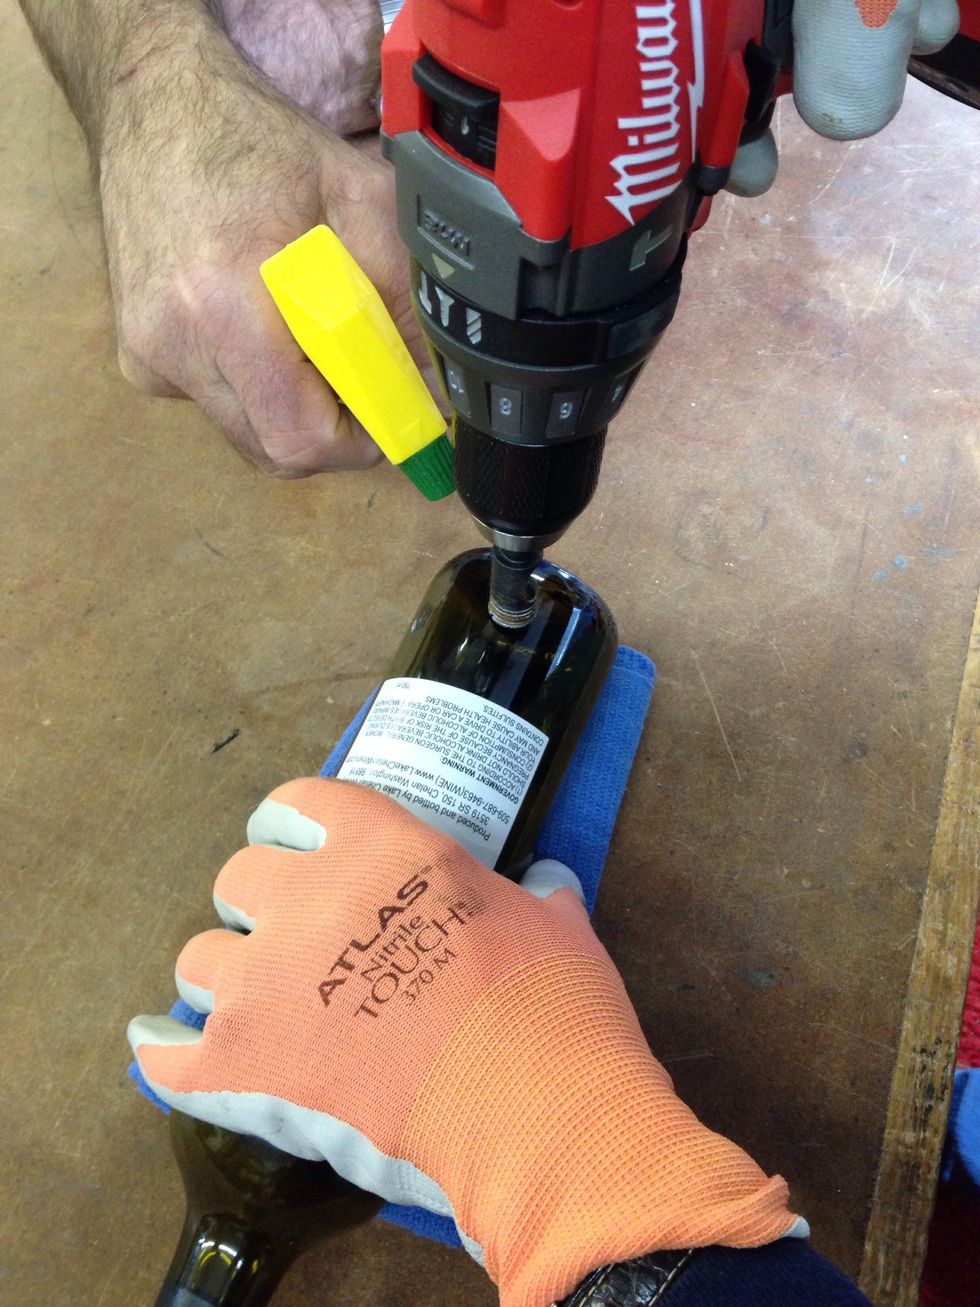
Roll the towel in from both ends to make a cradle. Position the bottle on the rolled towel for stability. One person sprays water (lubrication) while the other person drills down.

Using a drill press adds more stability to the procedure. It keeps the drill bit from drifting off-center.
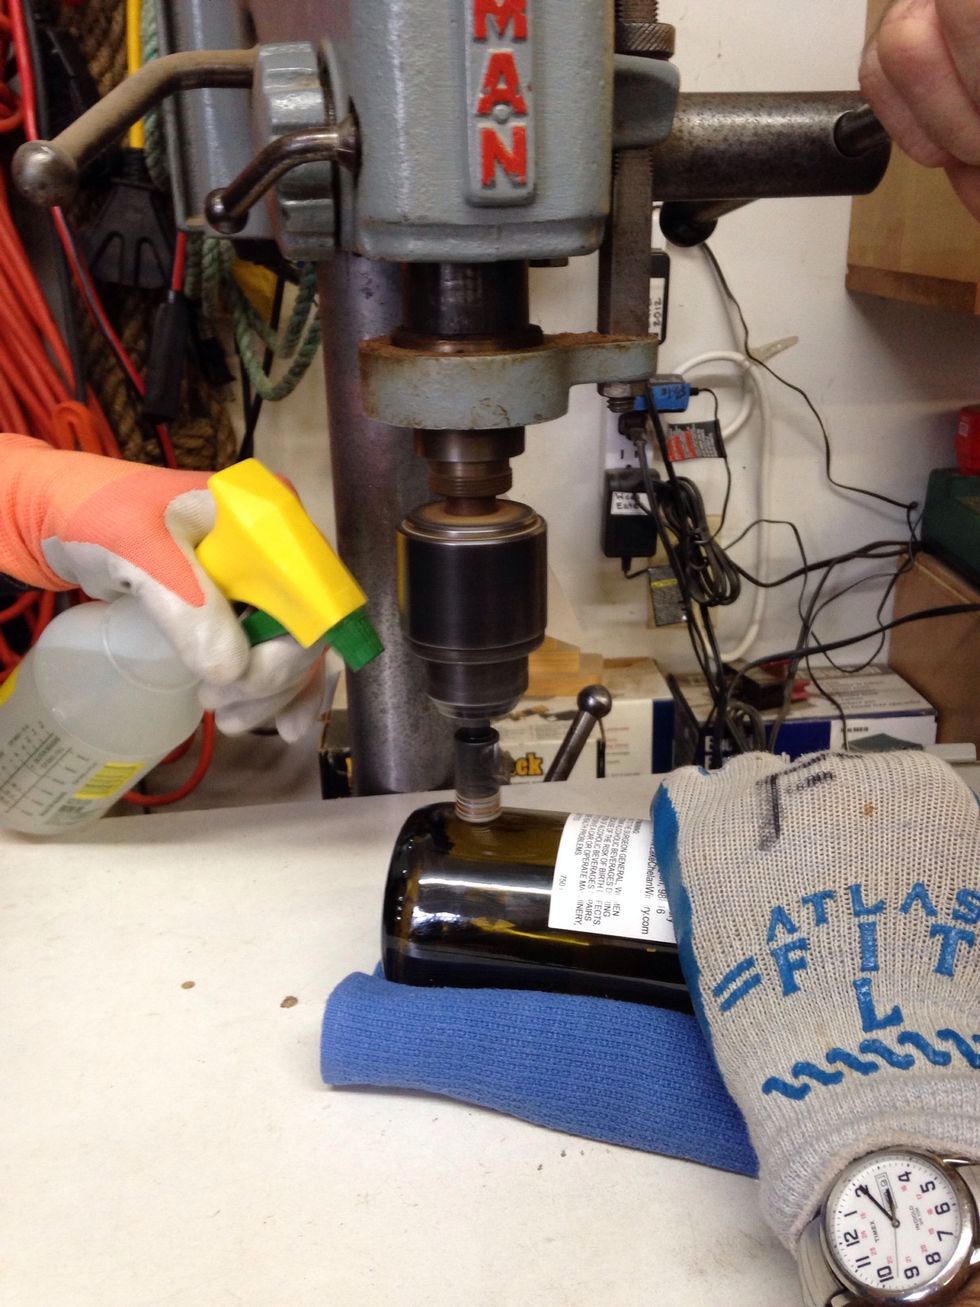
Once again, use water to lubricate the drill bit.

Finished hole.
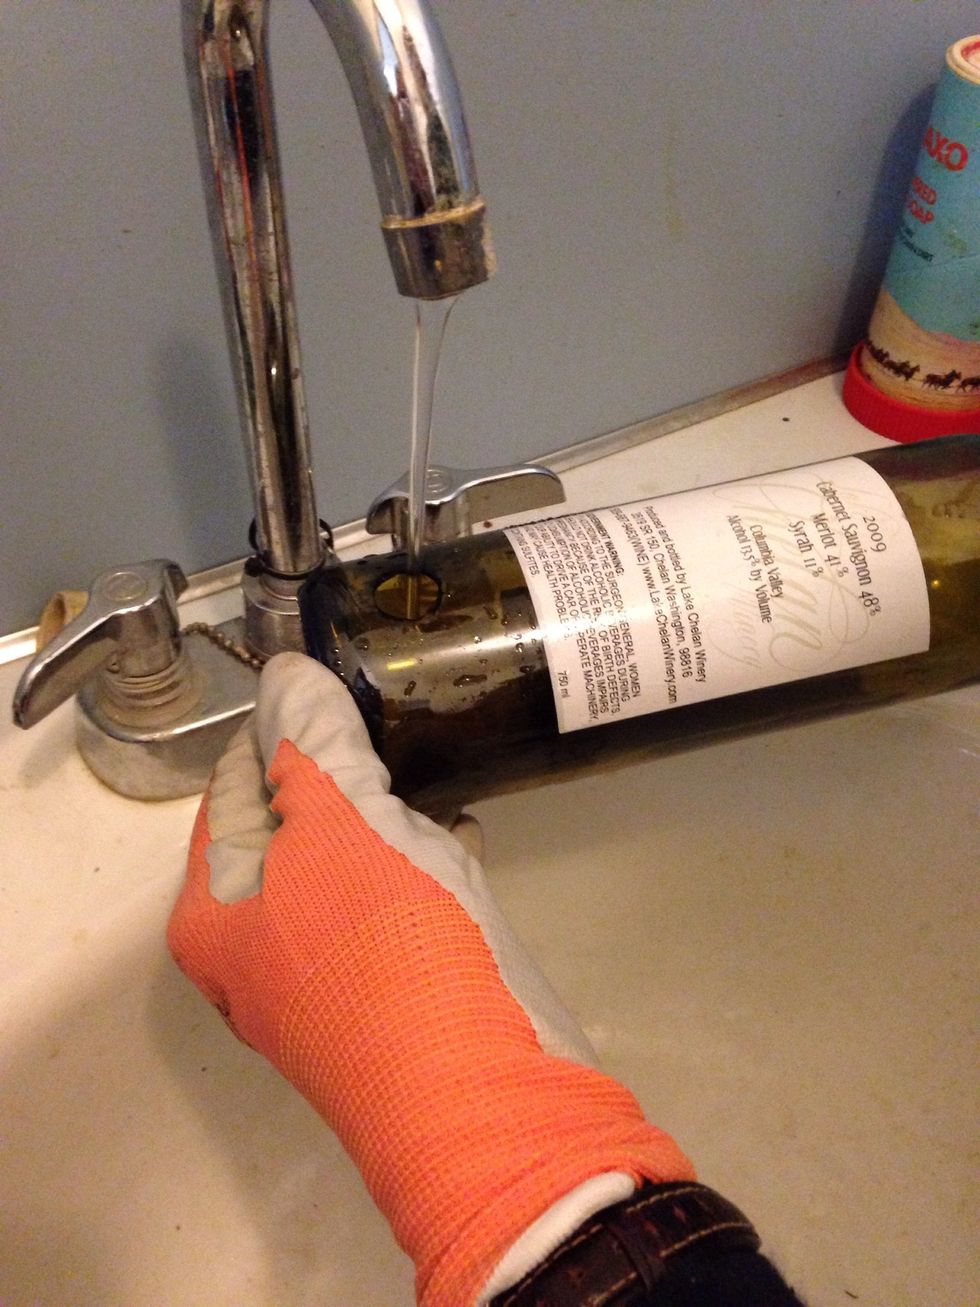
Rinse to clear any possible glass chips. Allow the bottle to dry completely before proceeding.
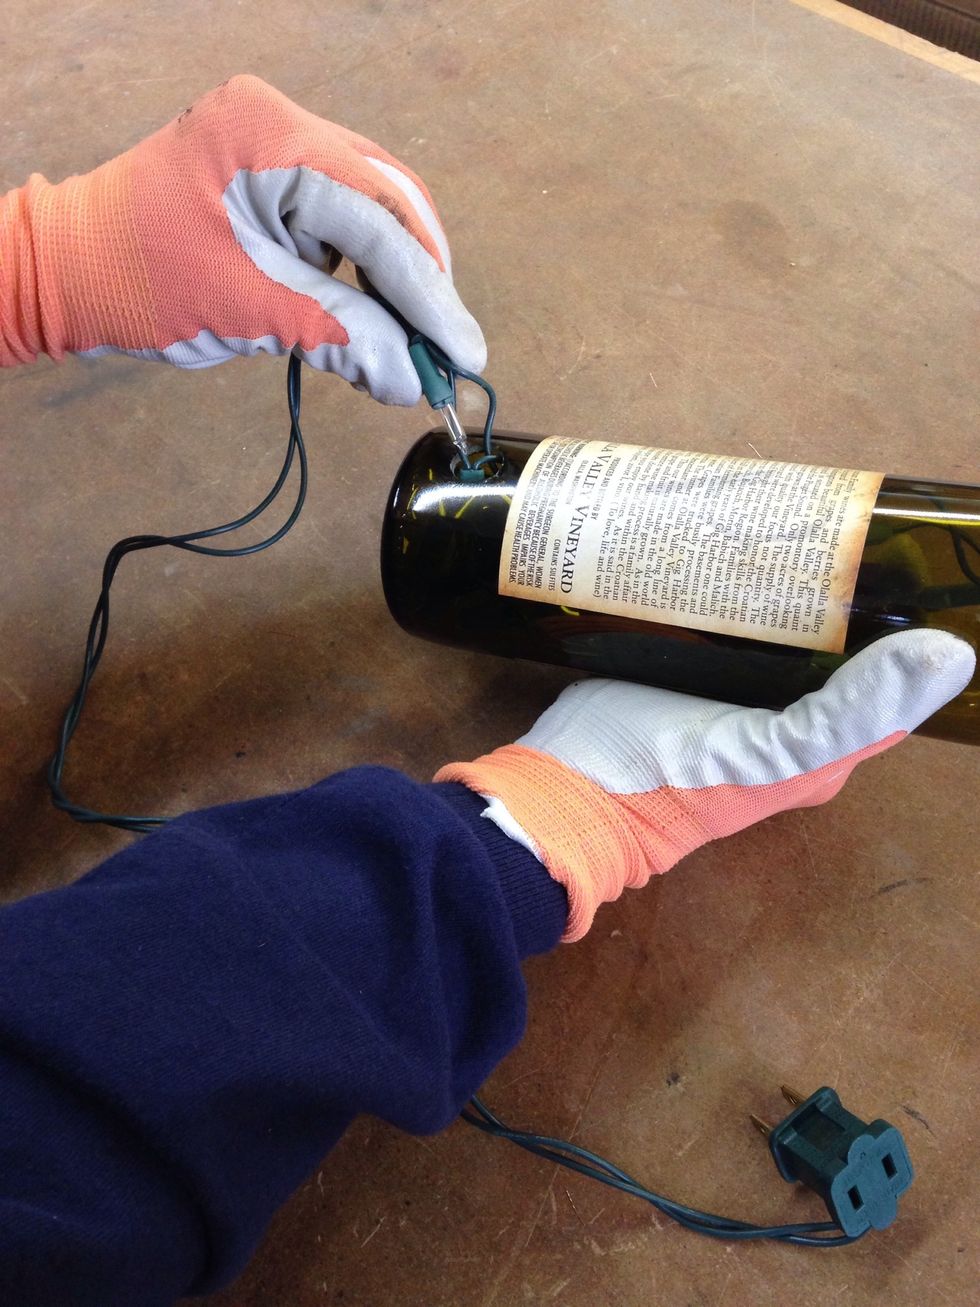
Gently pinch the wires and feed the lights through the hole.

(Close-up of pinch)
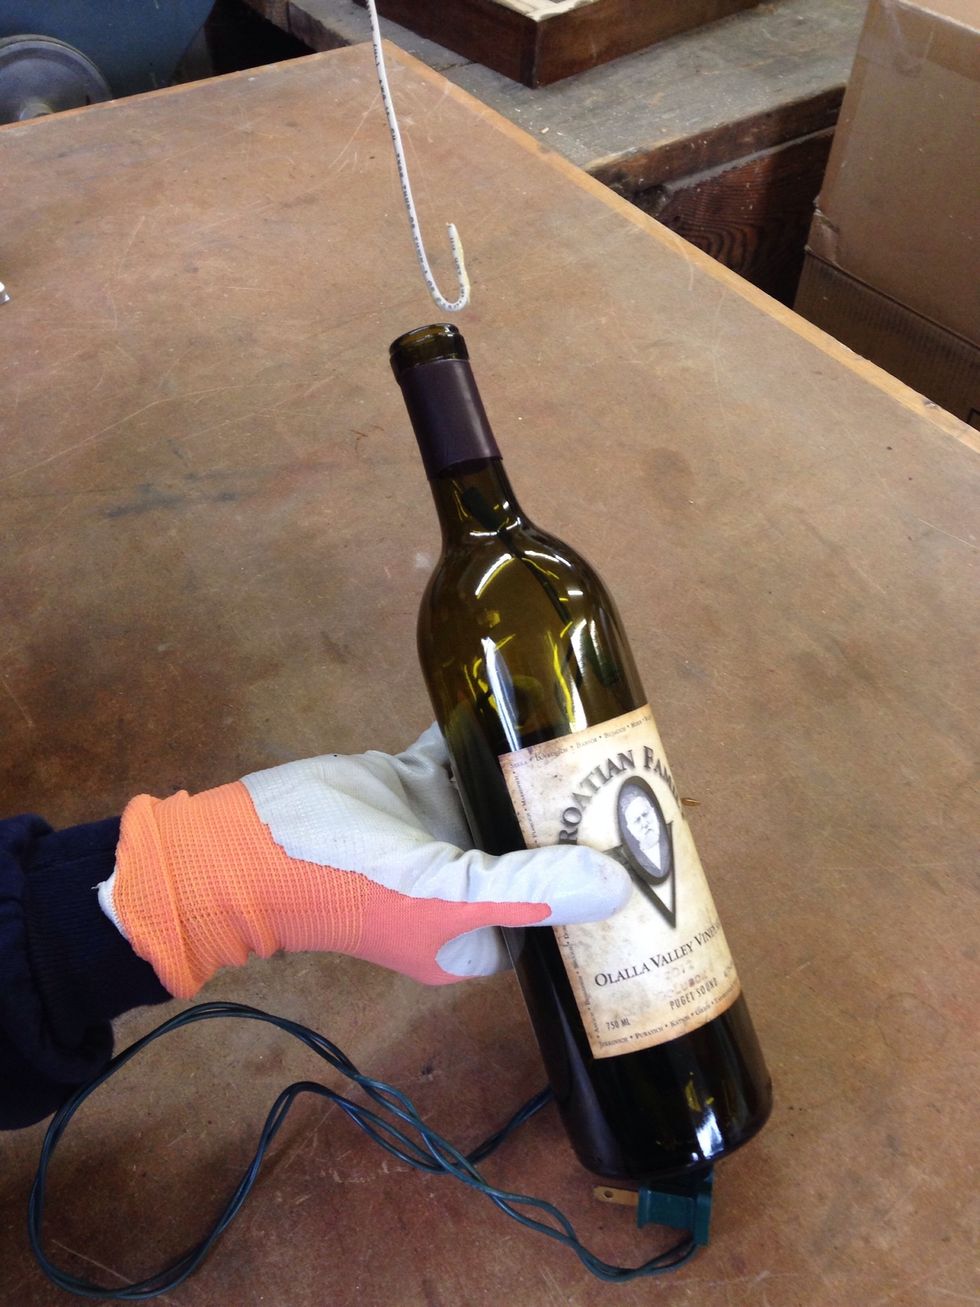
It's nice to have 1 light up the neck of the bottle. Use a bent coat hanger wire to gently pull up 1 light.
Hook the light and gently pull.
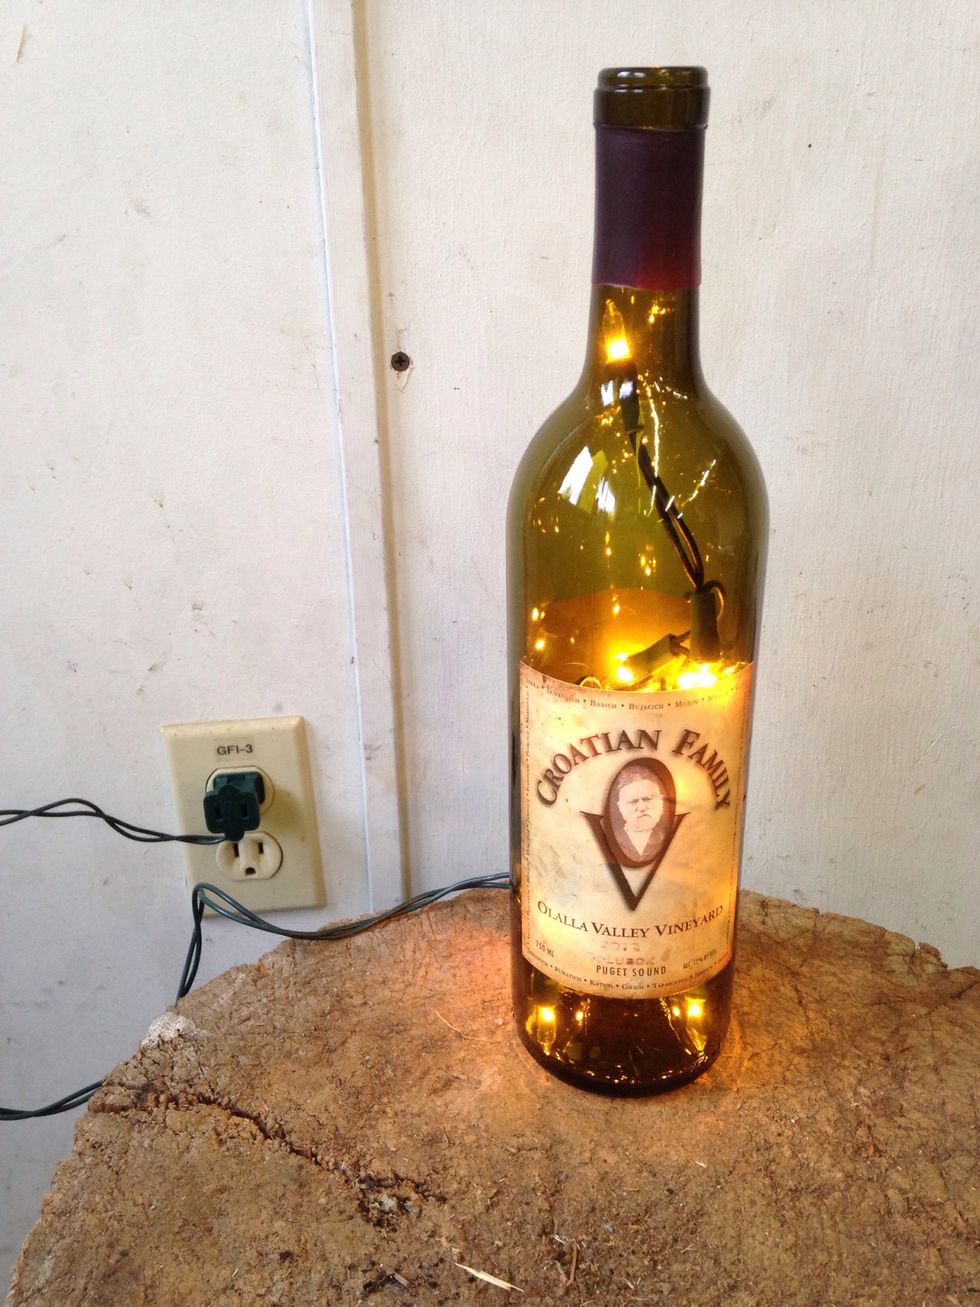
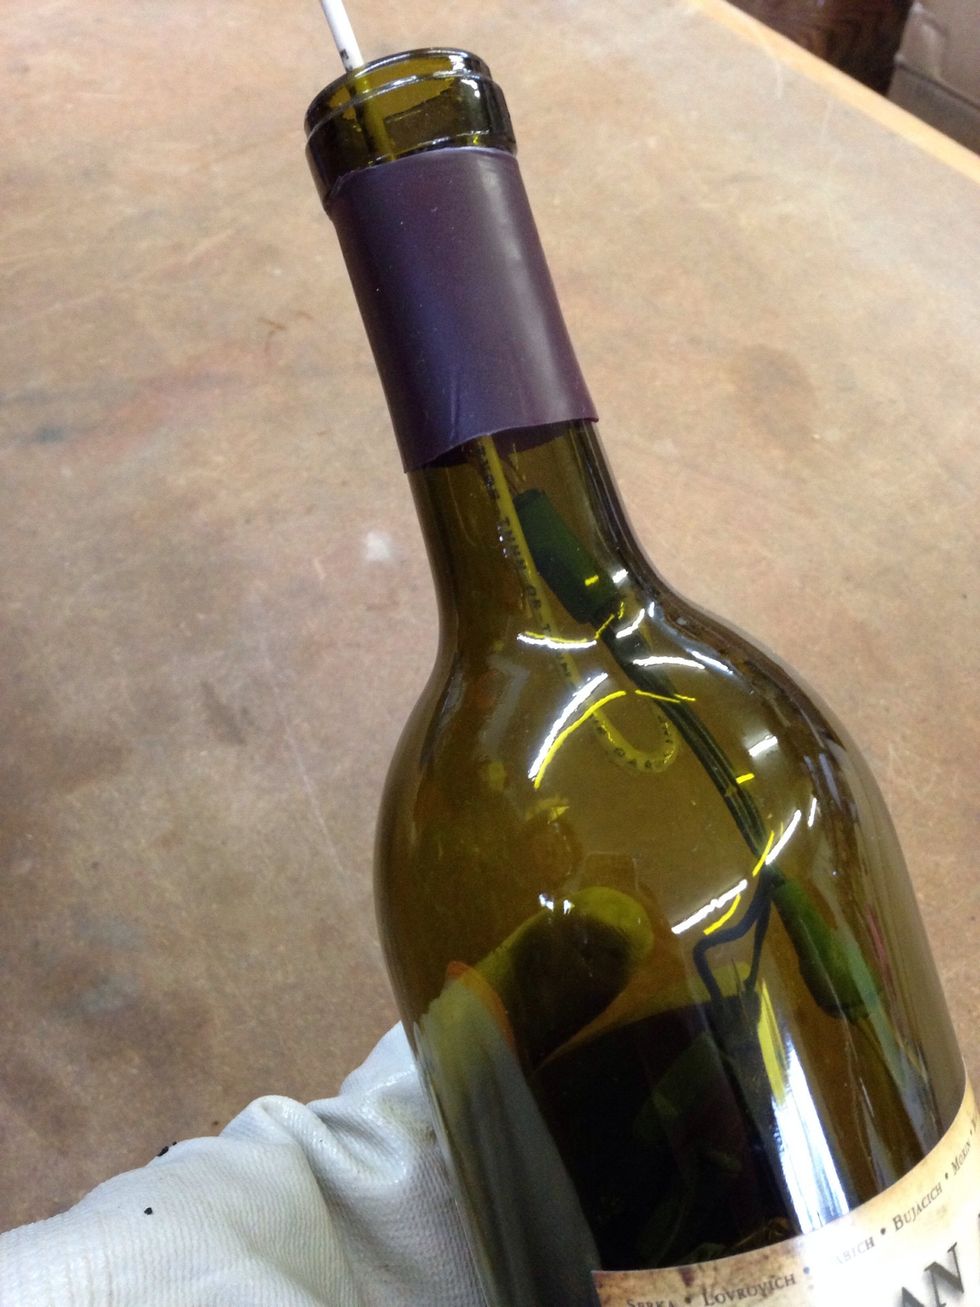
Depending on the bottle you selected, the lights will illuminate the label.

Ta-da!

A bottle could be a souvenir from a special occasion, a really good wine, or just a pretty label. (You may even consider visiting your local glass recycling center or your grocery wine distributor.)