STEPS
TOOLS
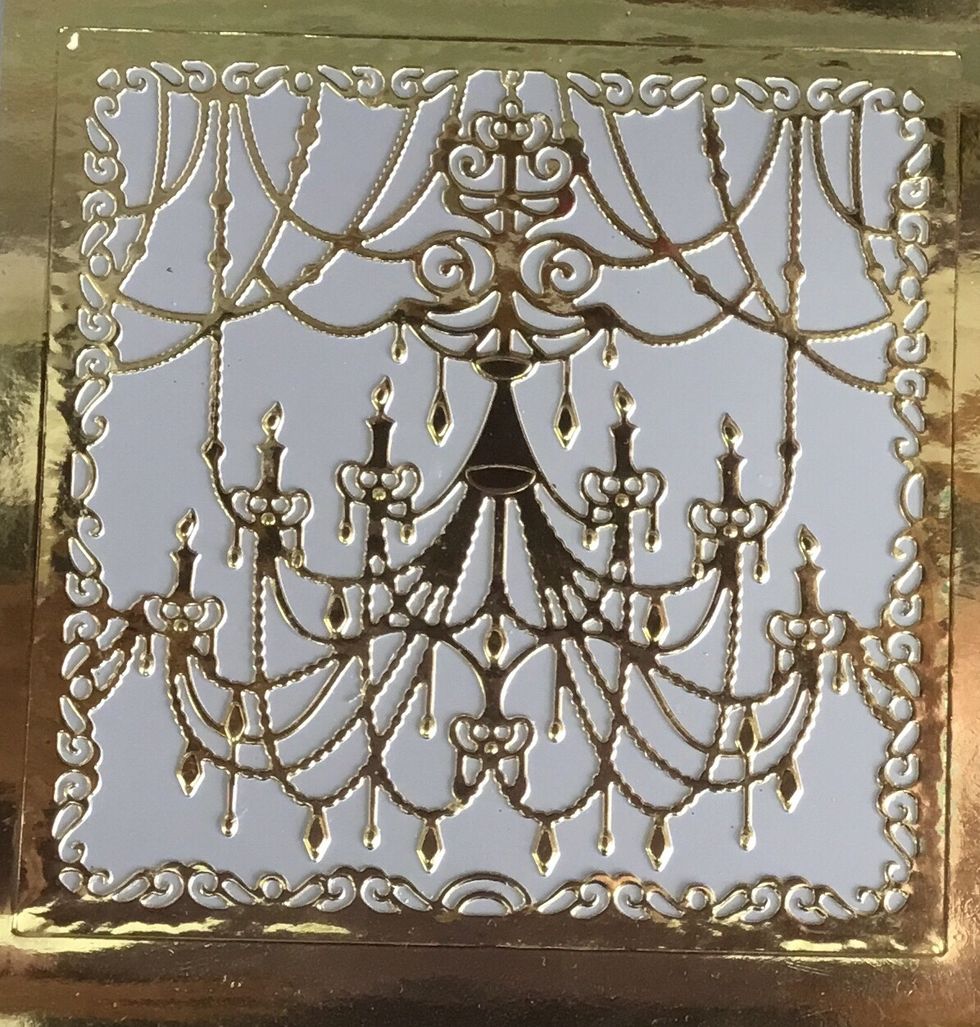
Die cut the design of your choice. As mine is delicate I had to stick my die cut onto a card backing. As I have to cut holes for the lights to show.
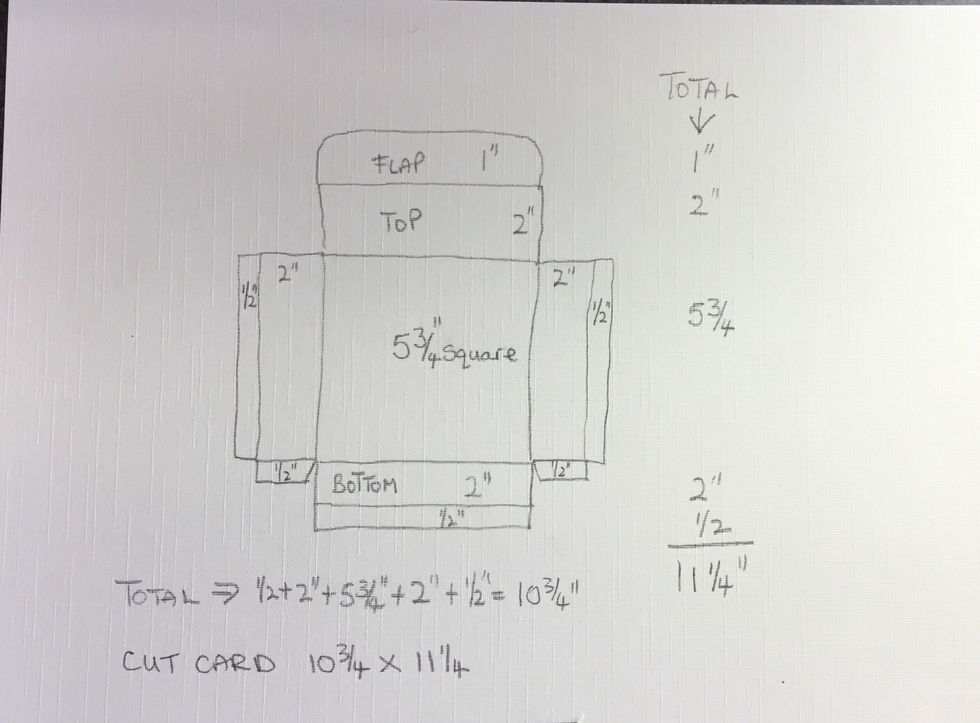
Measurements for this card. I Cut a piece of card 10 3/4 inches by 11 1/4 inches. Cut round the outside and score and burnish all the inside lines.
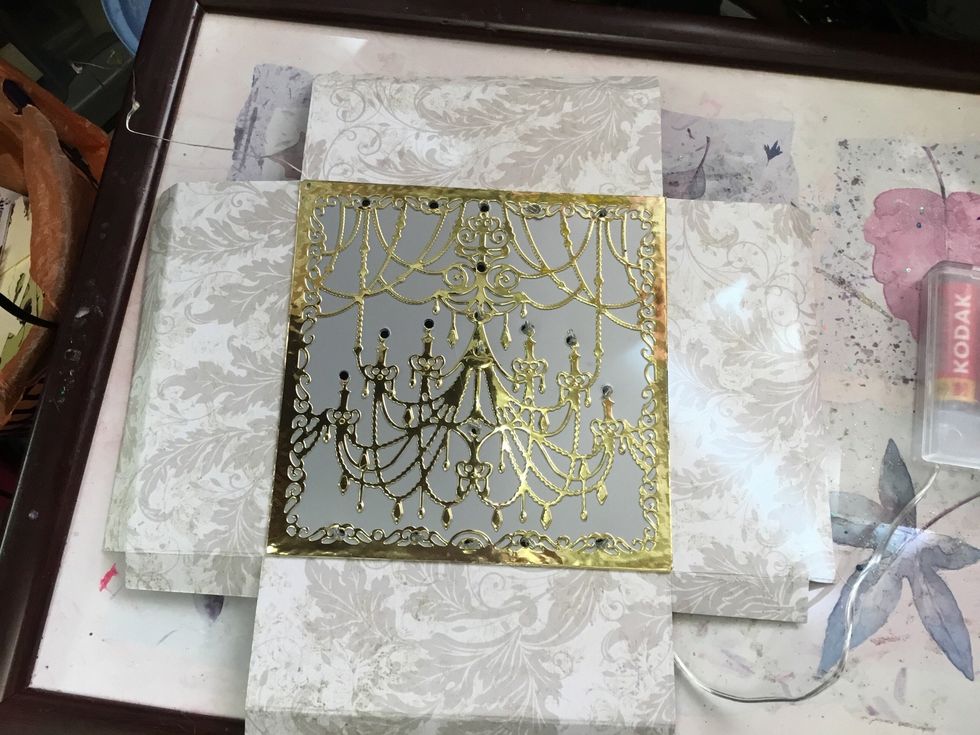
Here is the die stuck to the card that will form the box, which will hide the lighting wire and battery compartment.
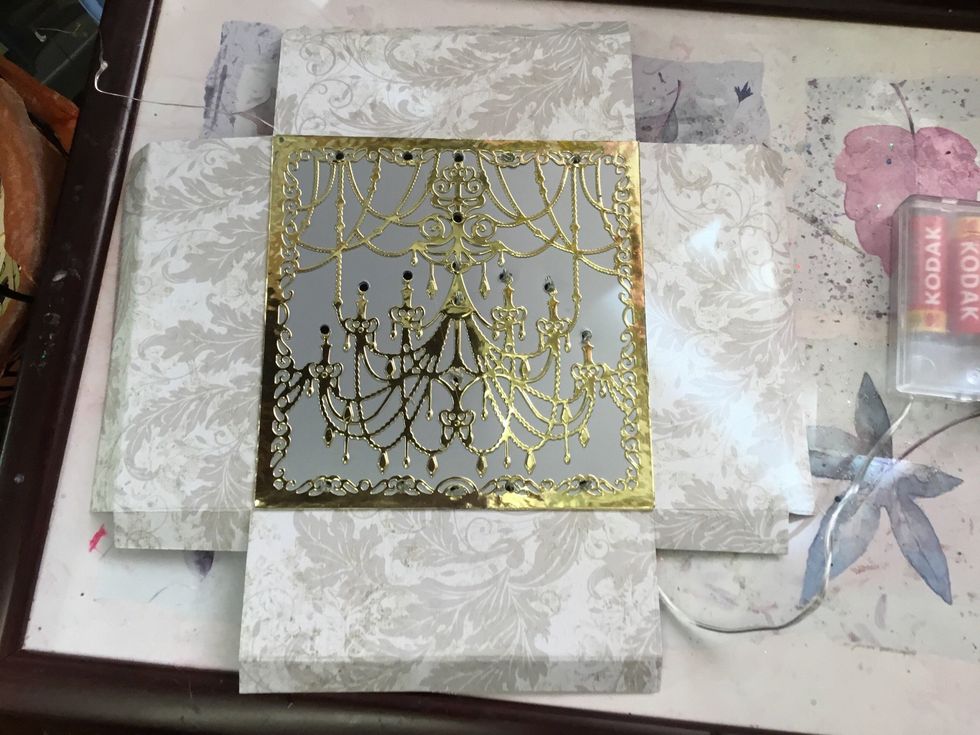
Punch holes where you want your lights to show through. Here I have already stuck some lights in position.
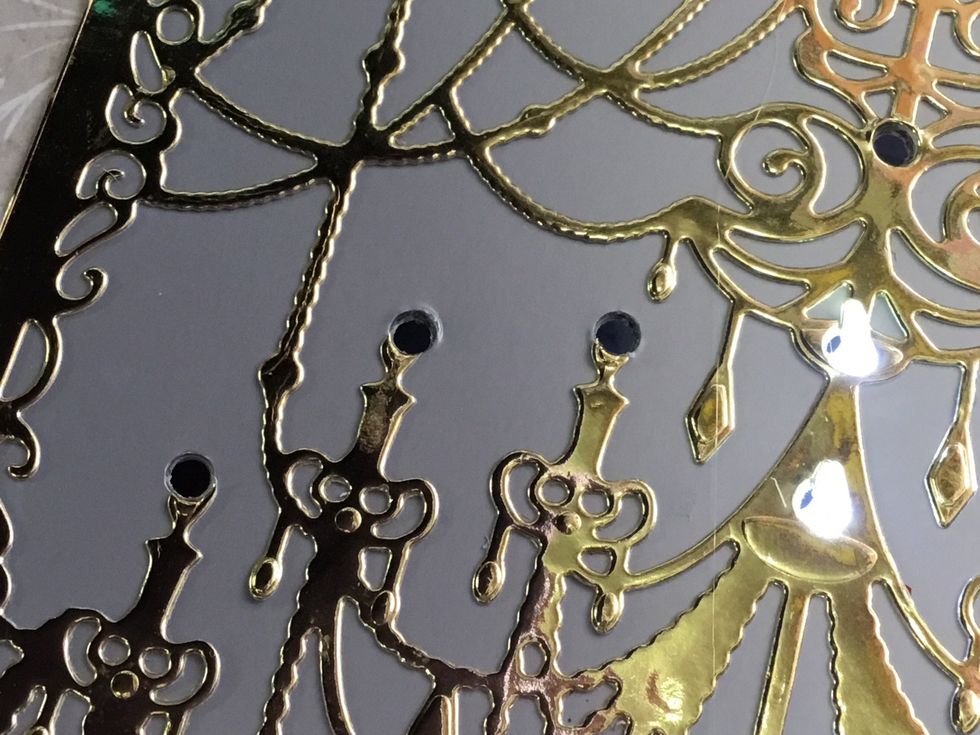
Hole close-up. (Front).
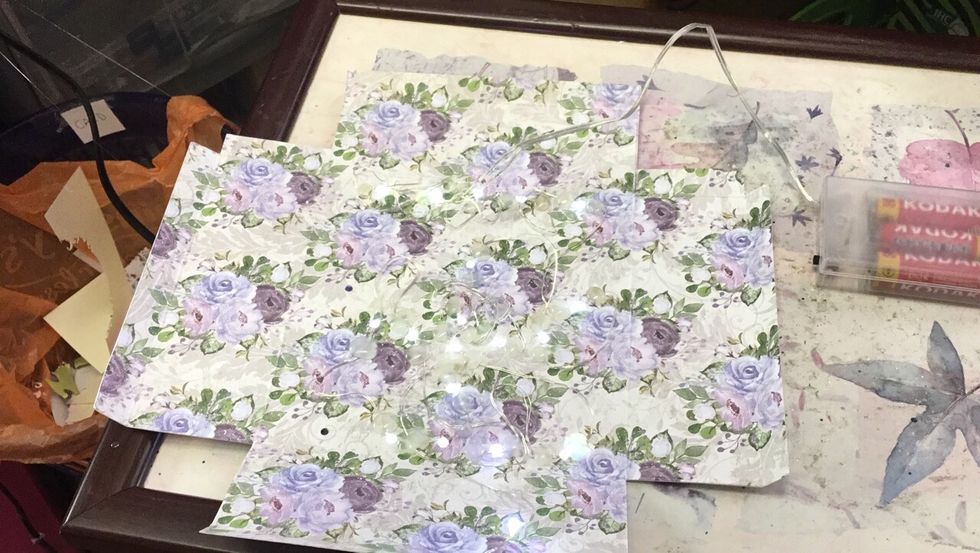
Card back, lights have been fixed in place with a glue gun, as the glue sets quickly.
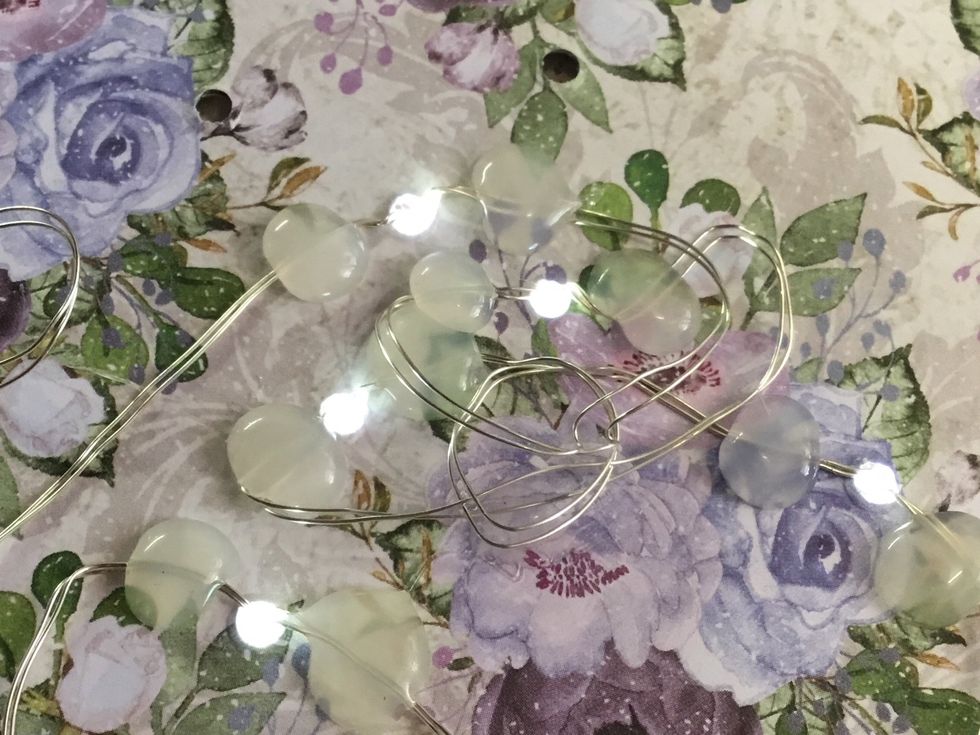
Close up of lights (on) glued into place.
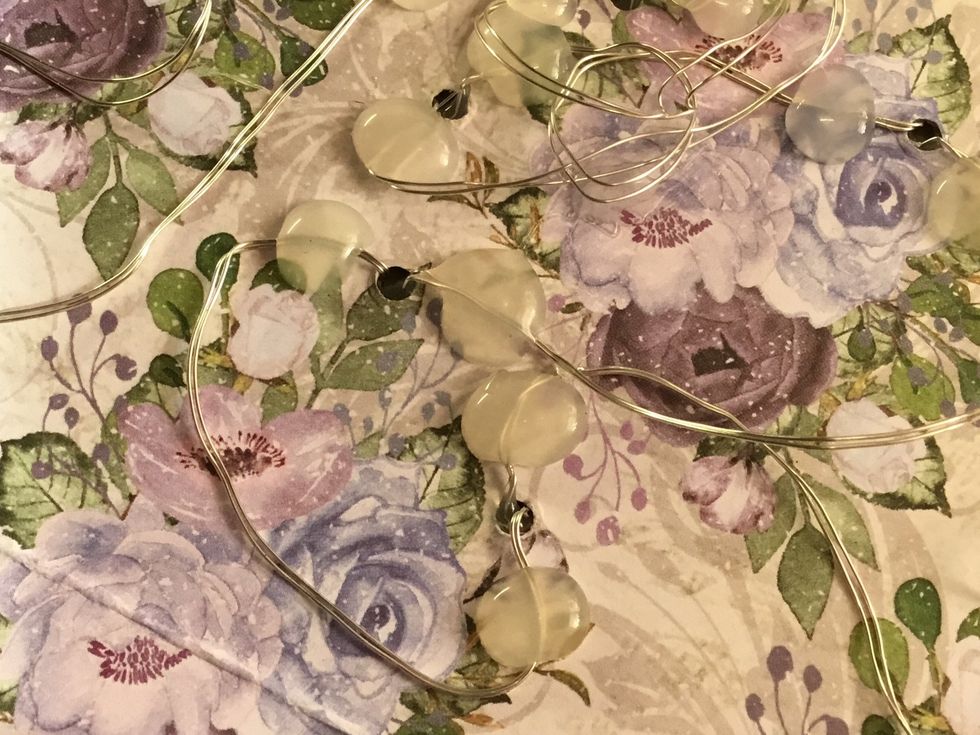
Close up of lights (off) glued into place.
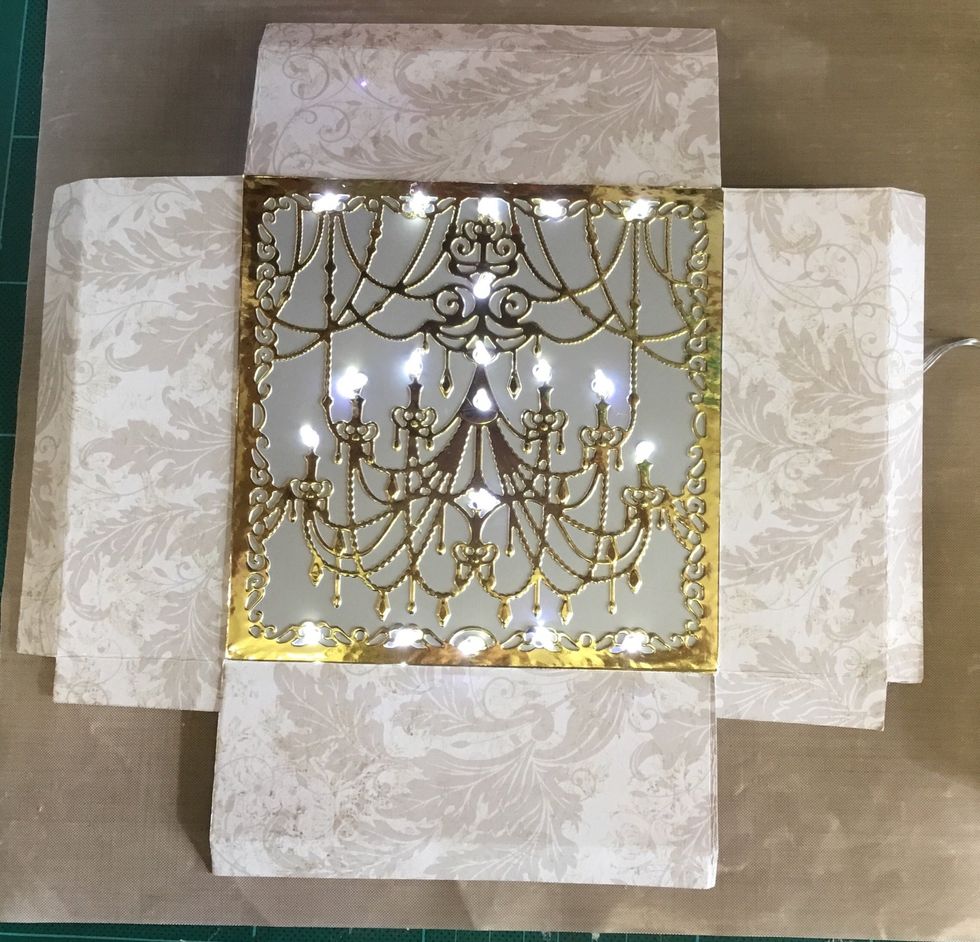
All the lights in position.
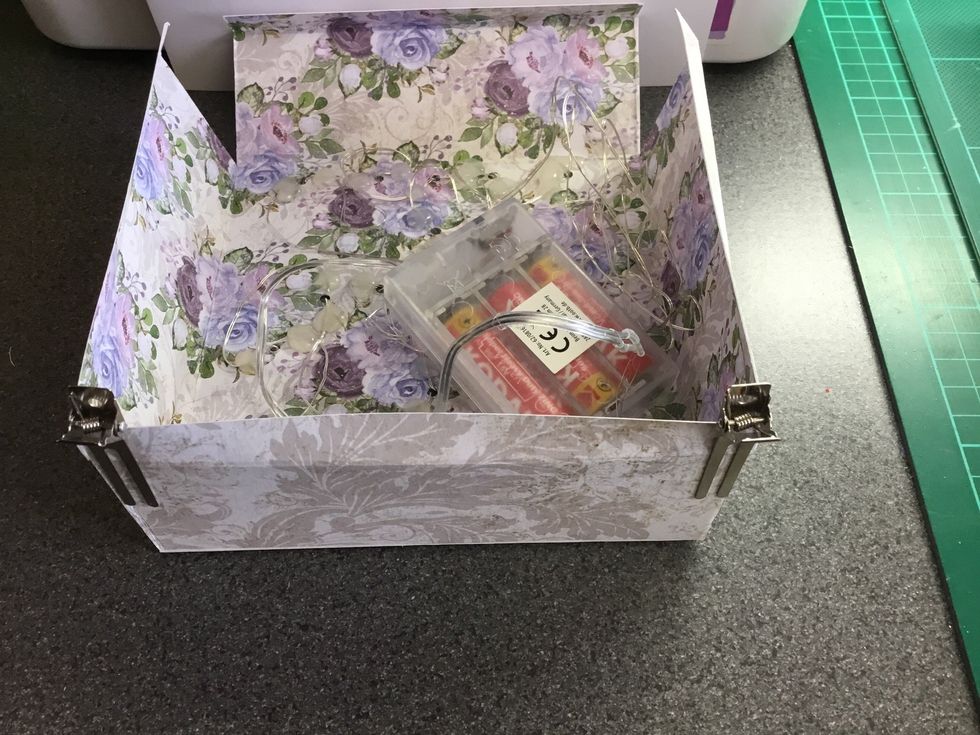
Card bottom sides being held in place whilst glue sets. Using wet glue here as I wanted a nice flat finish.
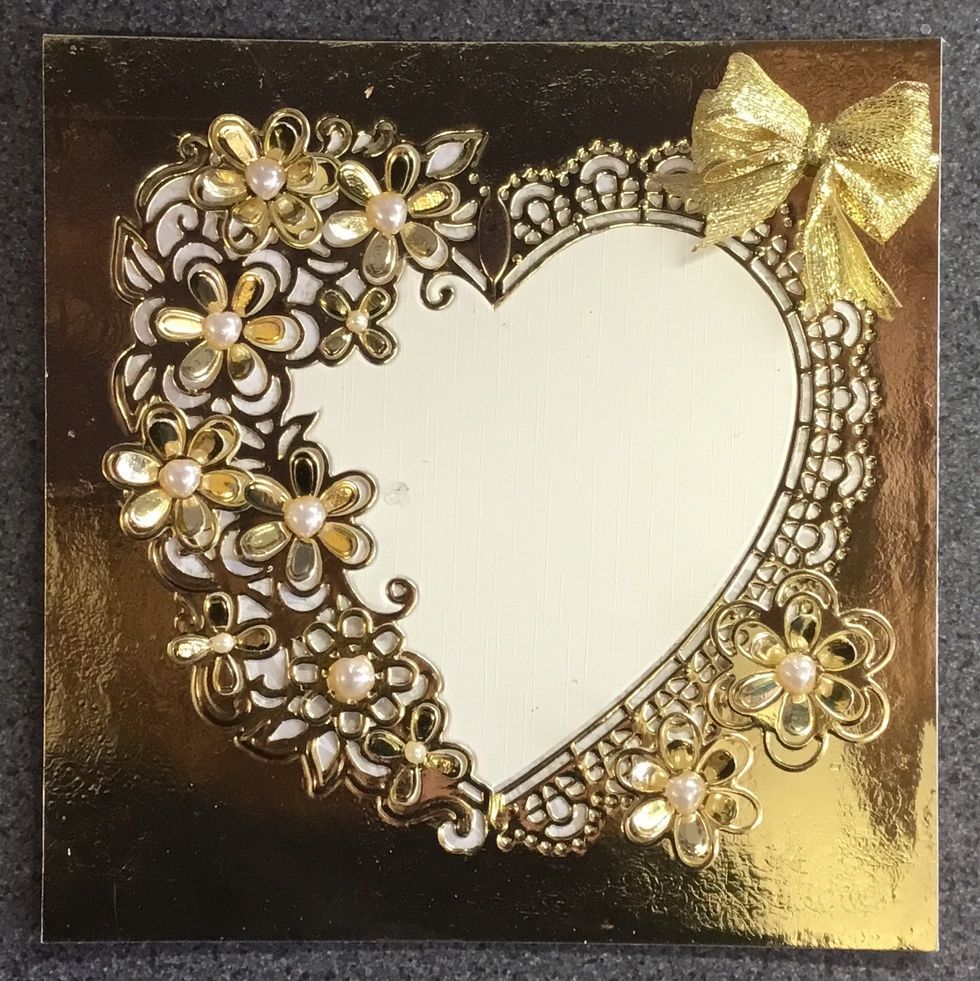
Cut a piece of card 5 3/4 inches square for the card back. Card back, ready to be glued into position.
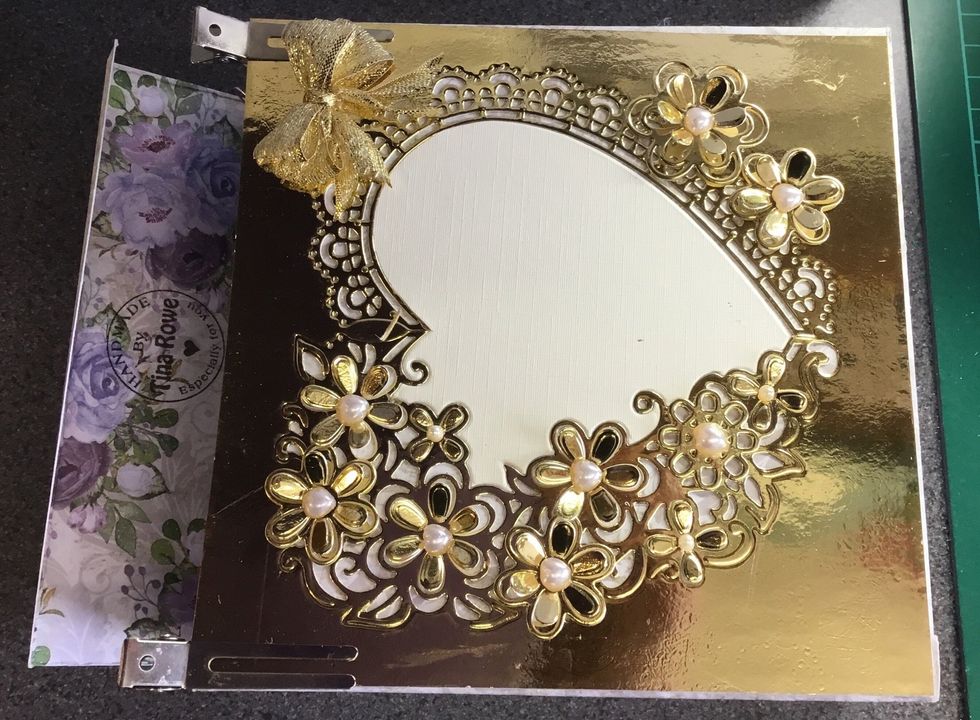
Card back glued into position.
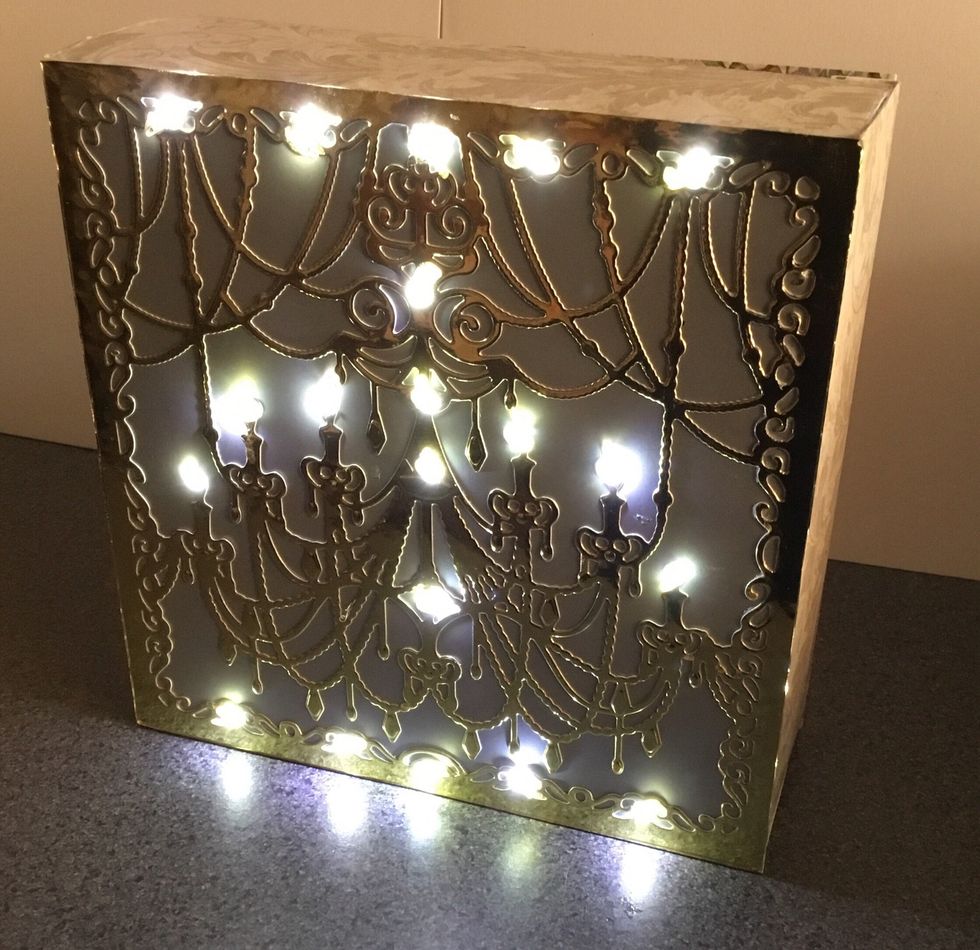
Finished front of card.
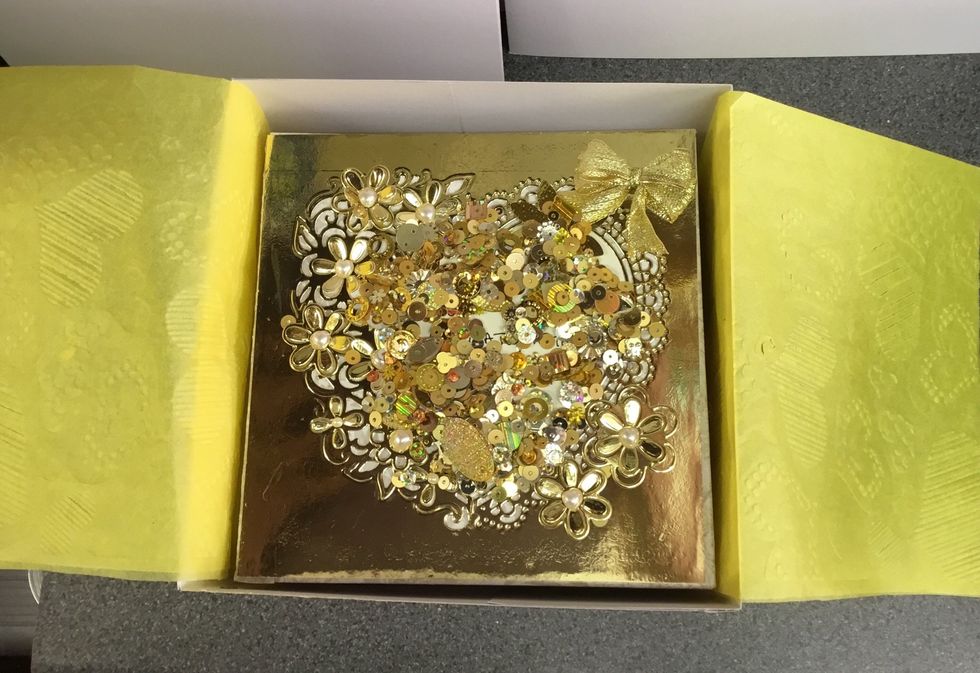
Packed in its box, gold sequins added!
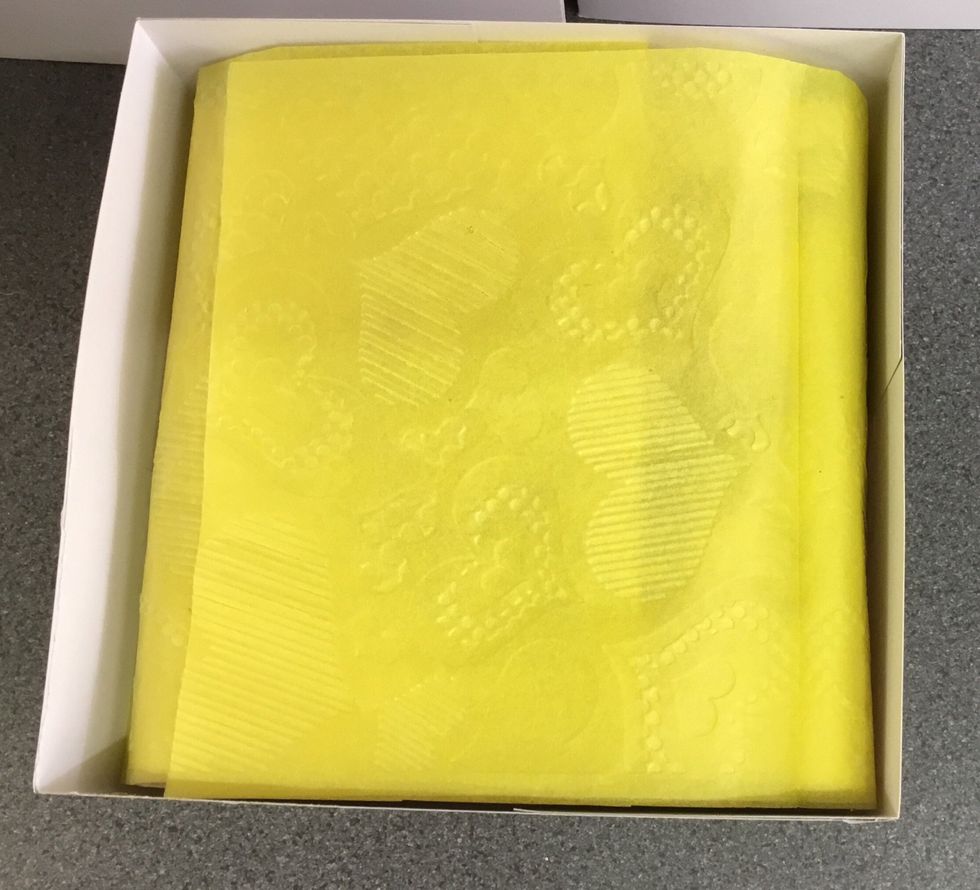
Heart embossed tissue.
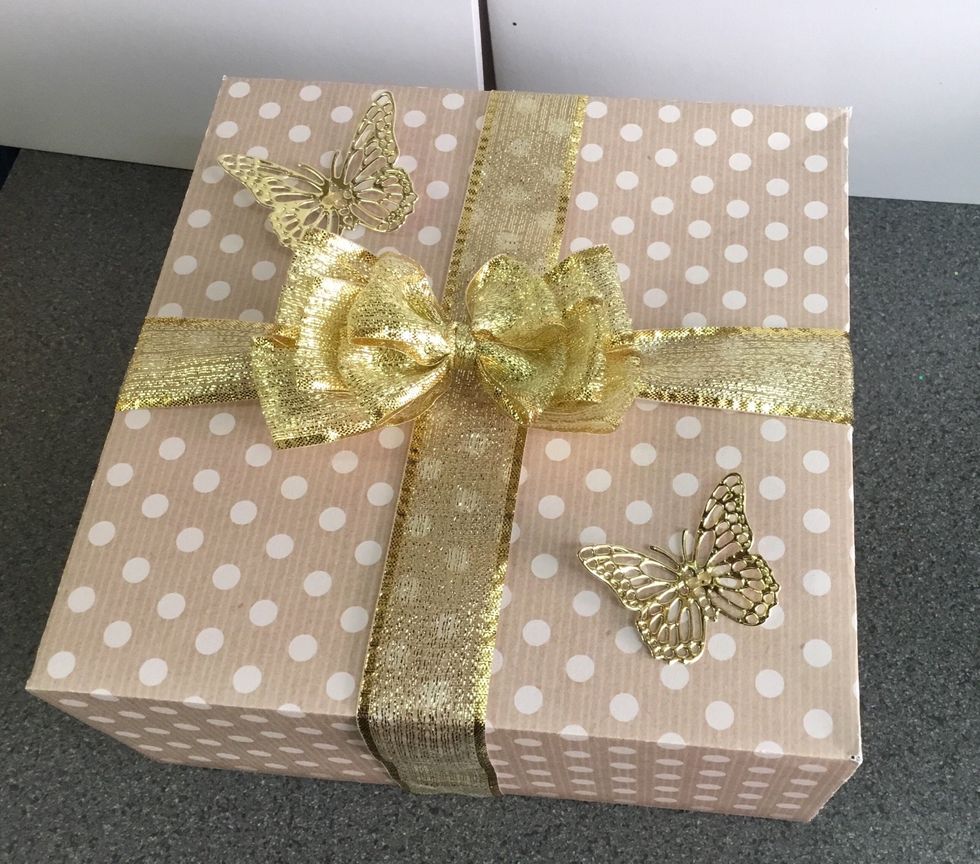
Card box.
- A3 card stock
- Stick on pearls
- Bow
- Tissue
- Sequins
- Heart embossing folder
- Battery powered lights
- Glue
- Die cuts
- Glue gun
- Hole punch