The Conversation (0)
Sign Up
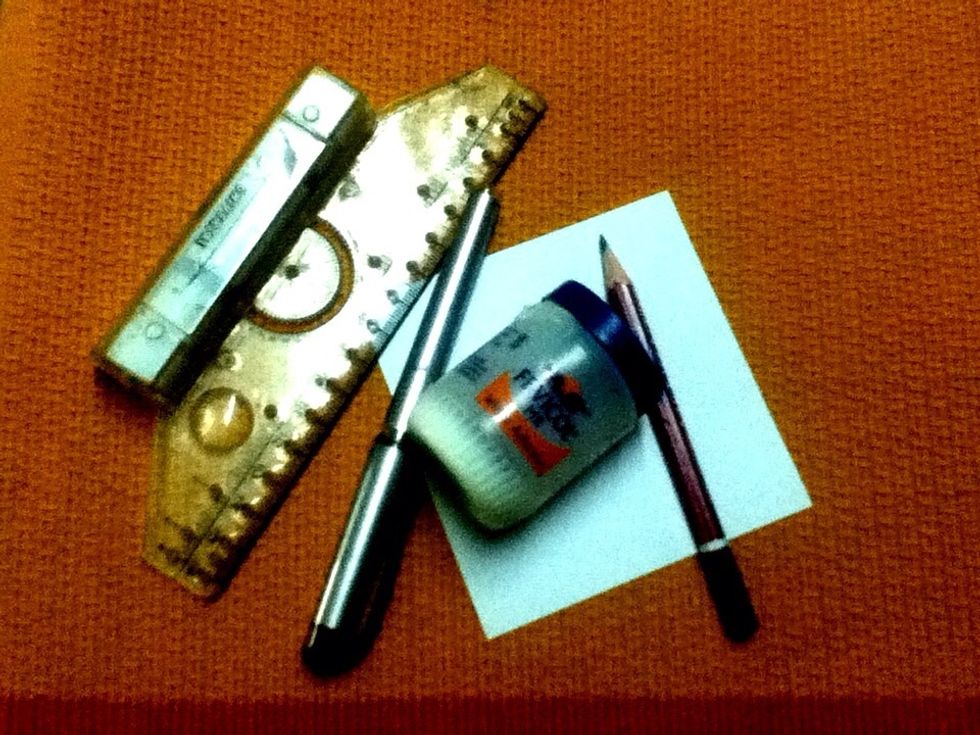
Here are your supplies..
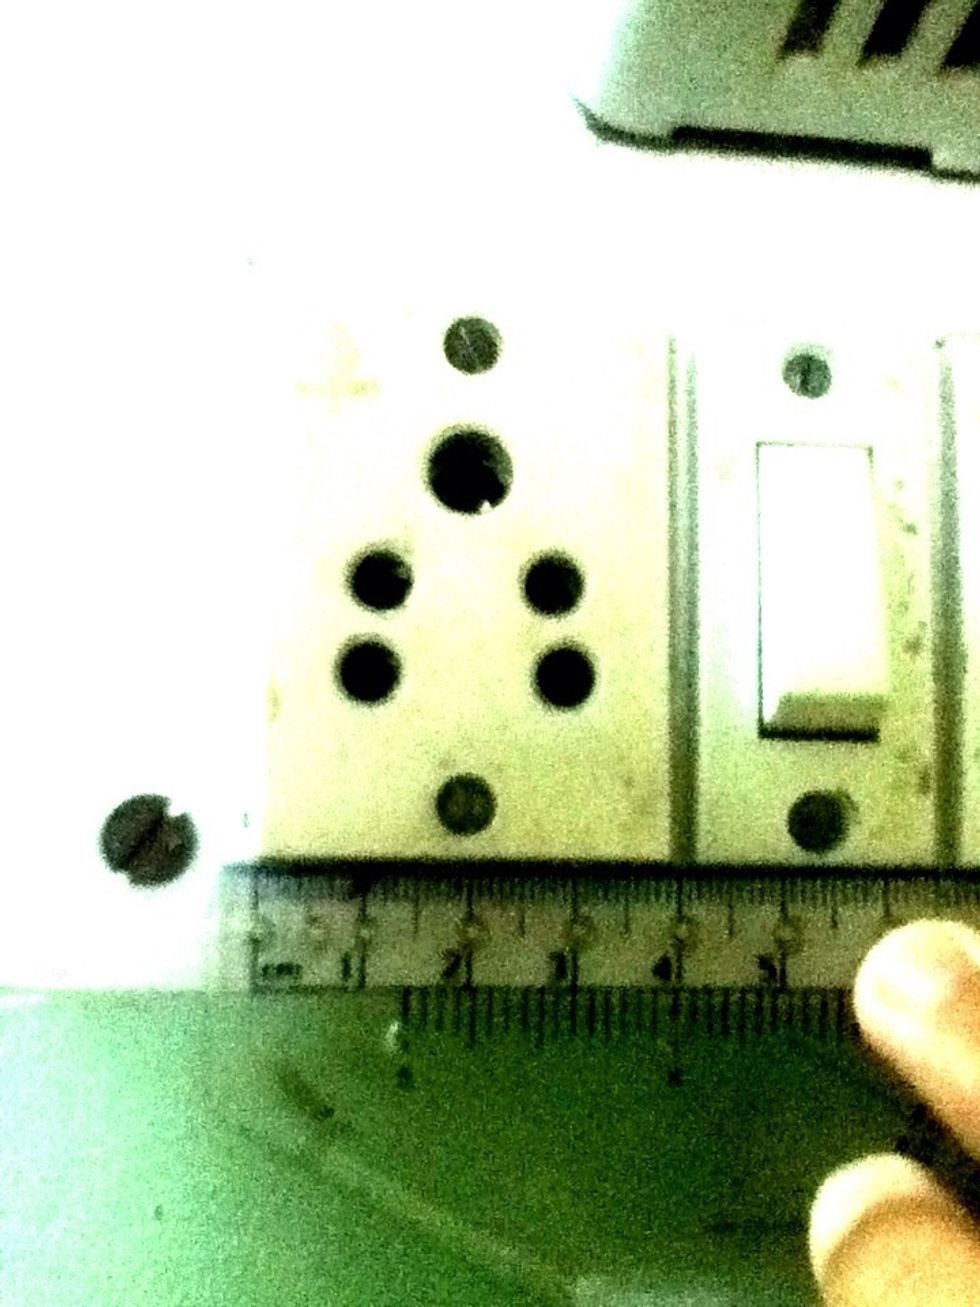
First measure the length and breadth of the light switch plug..

On a thick piece of craft paper draw a rectangle using the measurements of the light switch plug..
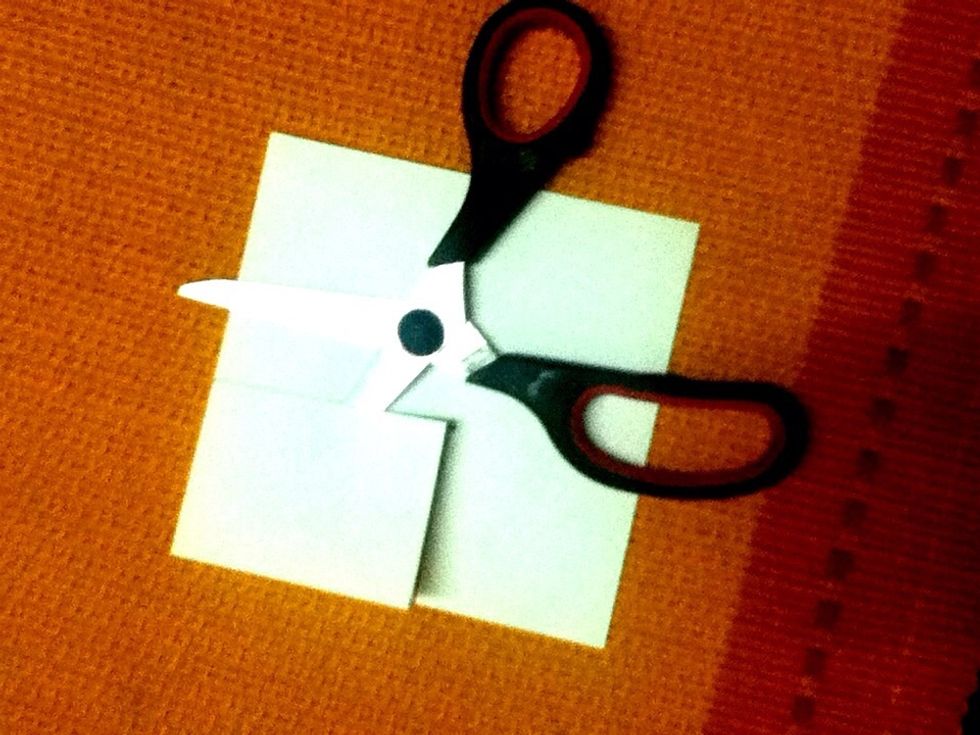
Cut it out using a scissor..
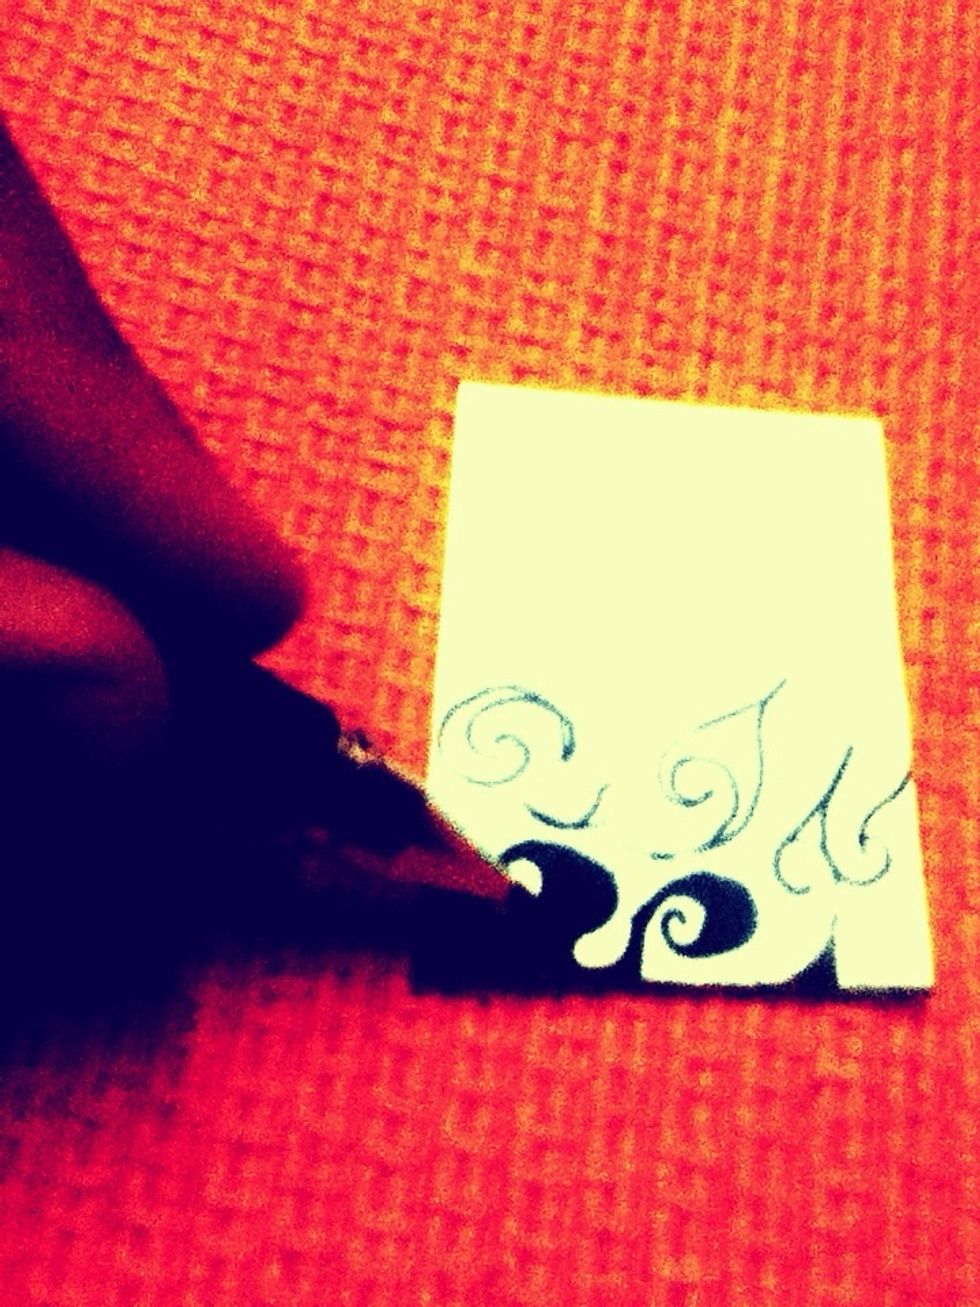
Draw any design in the small rectangle.. I am not that great at art but let your imagination run wild..
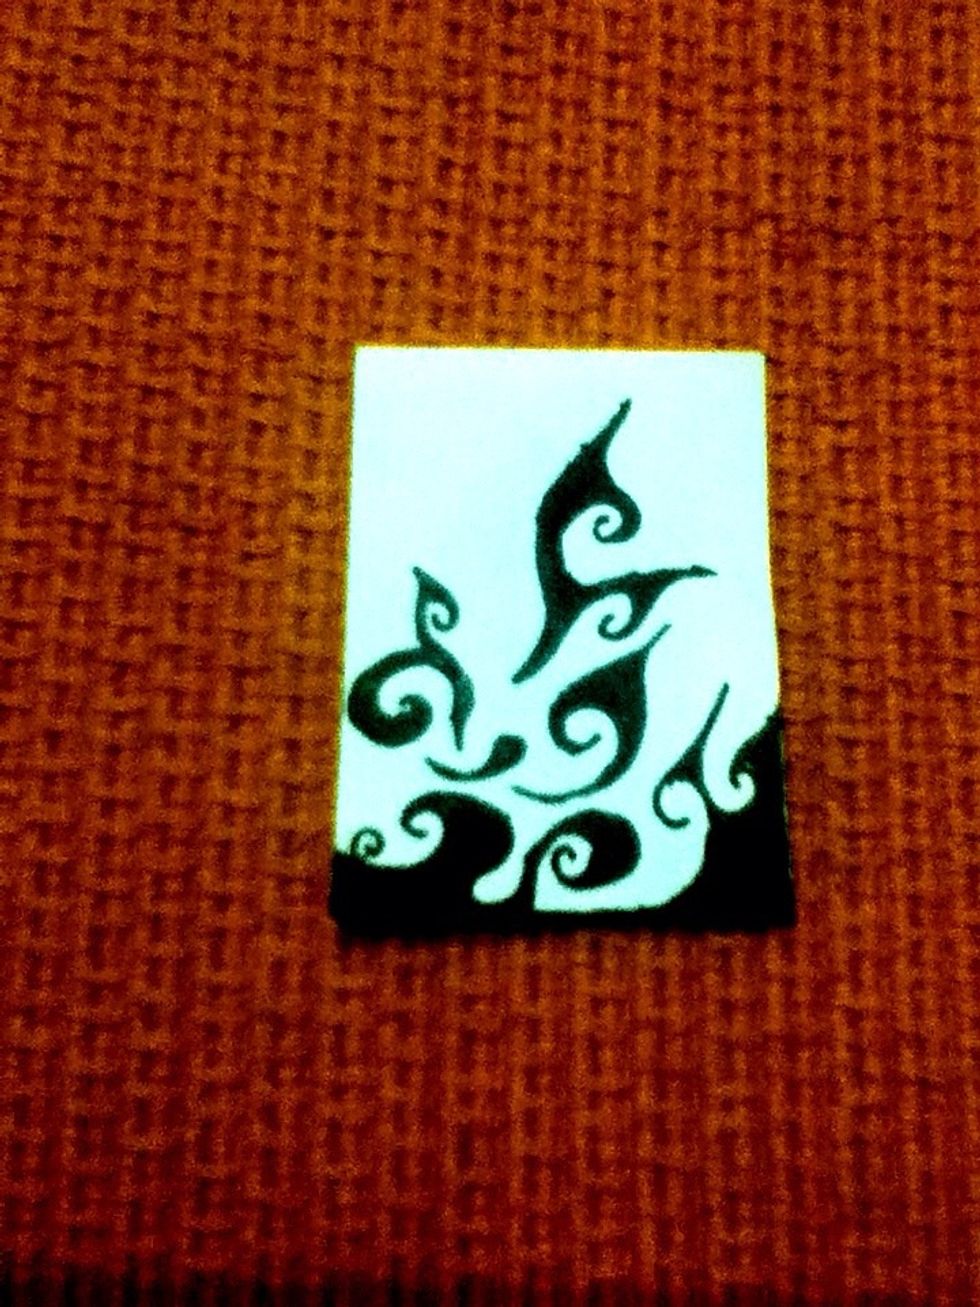
After I finished mine.. It looked like this ^
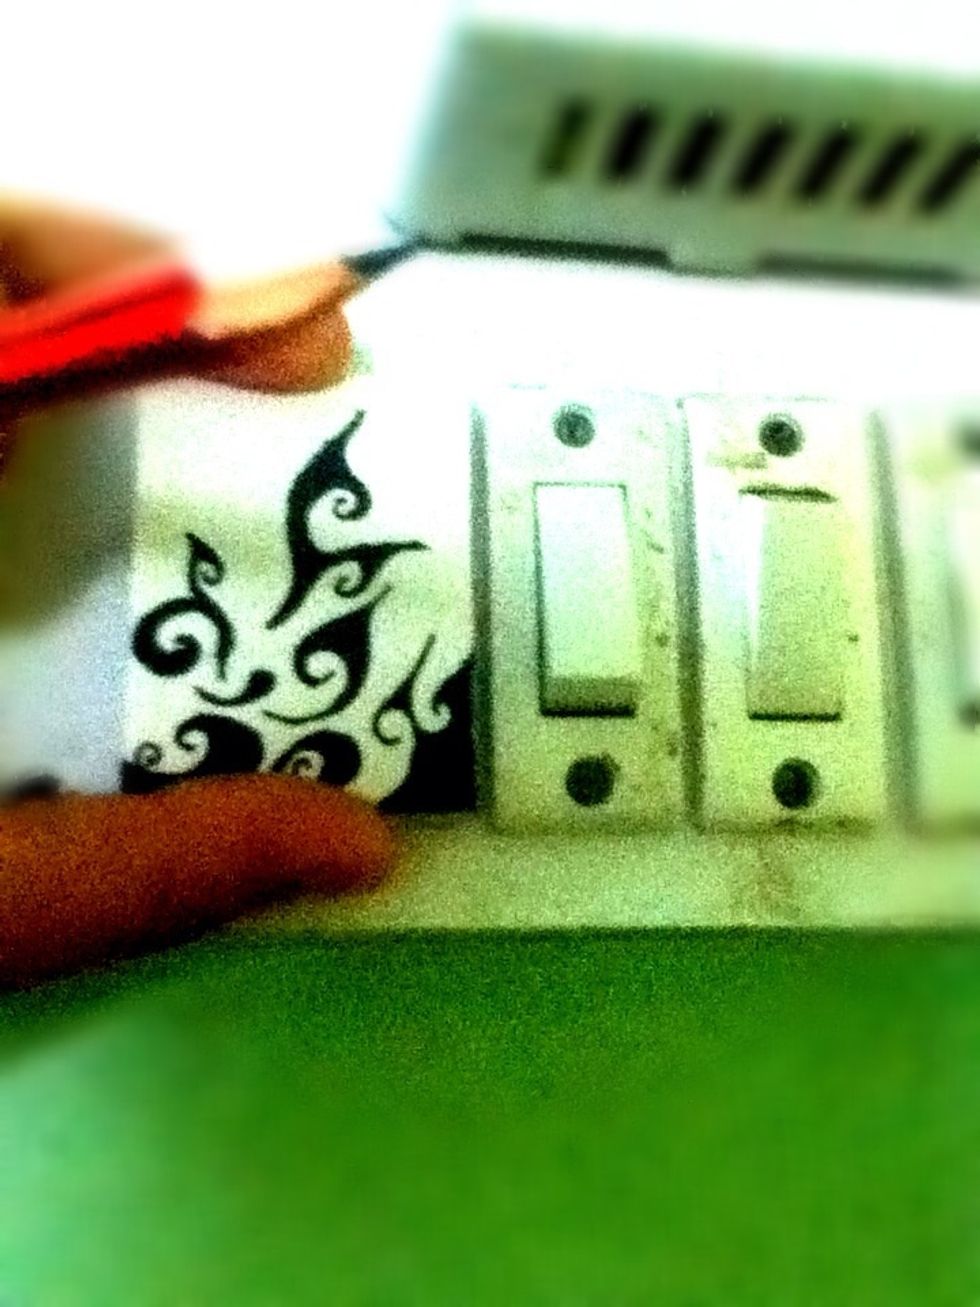
Place the rectangle on the on light switch plug and mark the places where the holes are..
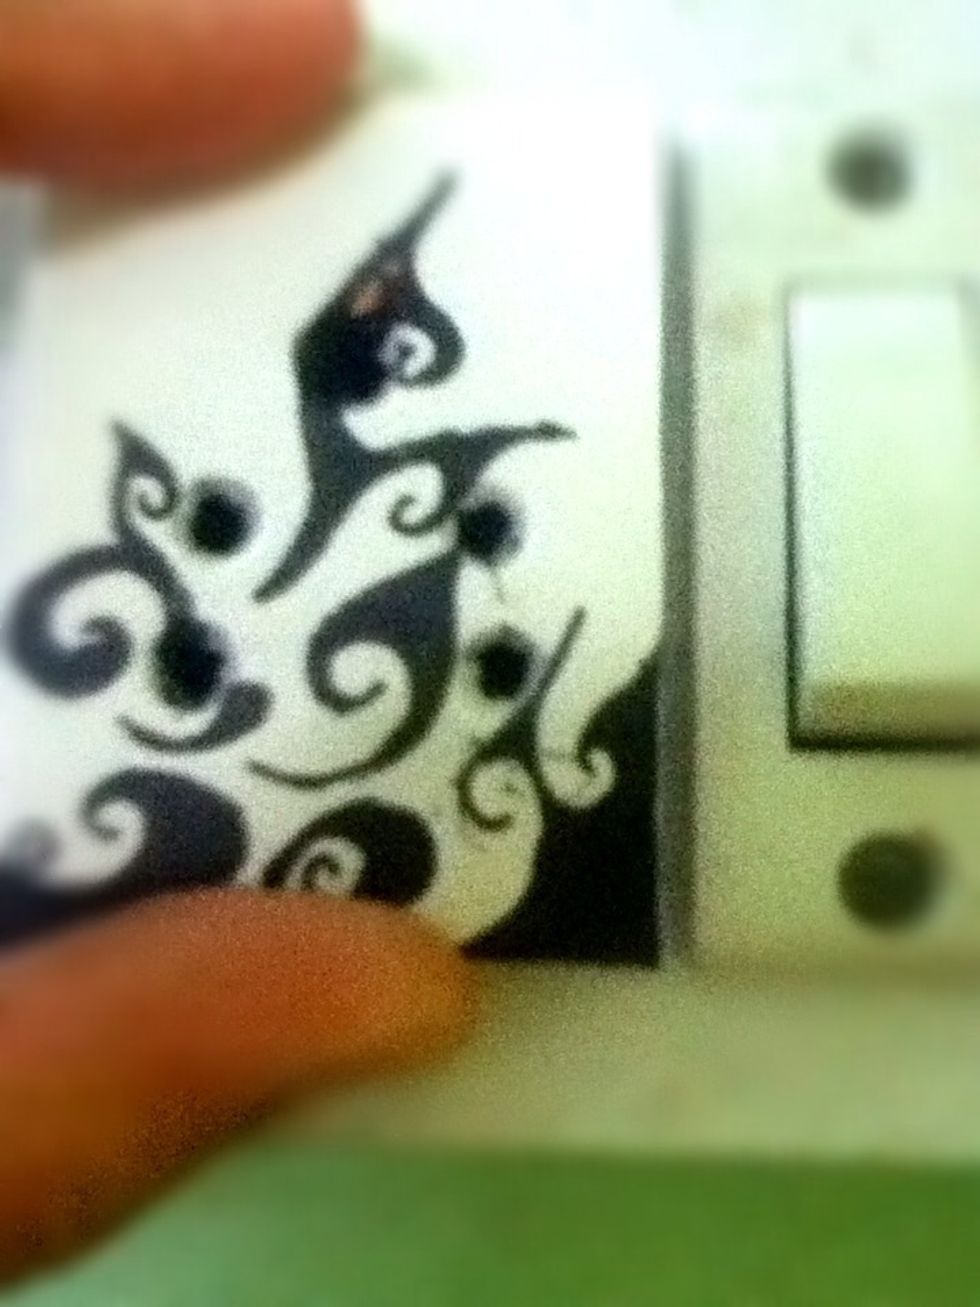
After cutting out the holes, place it on the plug to make sure it is in the exact same place.. Make sure that the light switch is off.. We don't want anyone getting an electric shock..

Add glue to the 4 corners of the rectangle
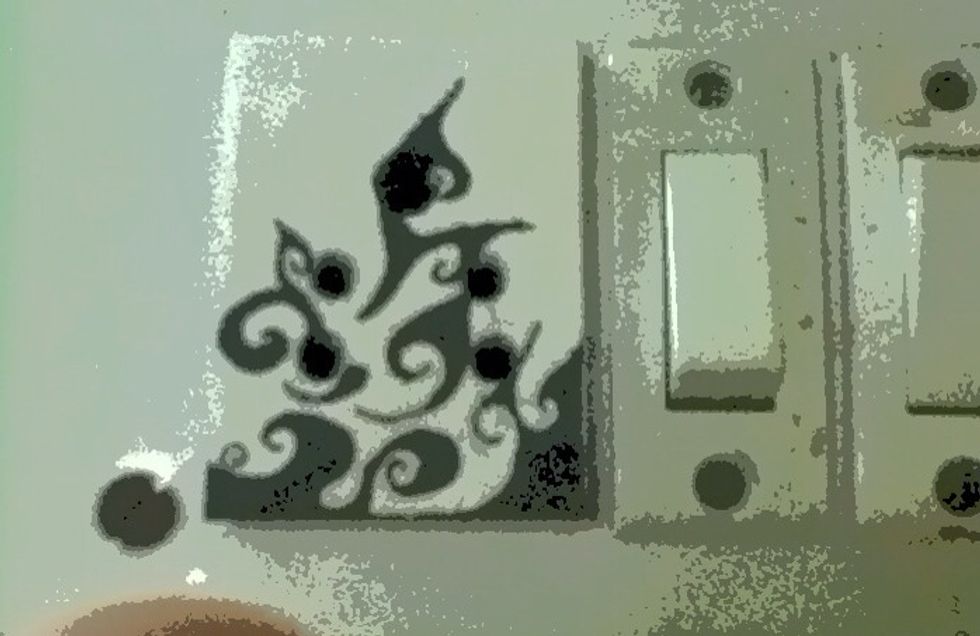
Place the rectangle on the light switch plug and voila! There you have your own personalised light switch plug cover! Go wild with your creativity!!