The Conversation (0)
Sign Up
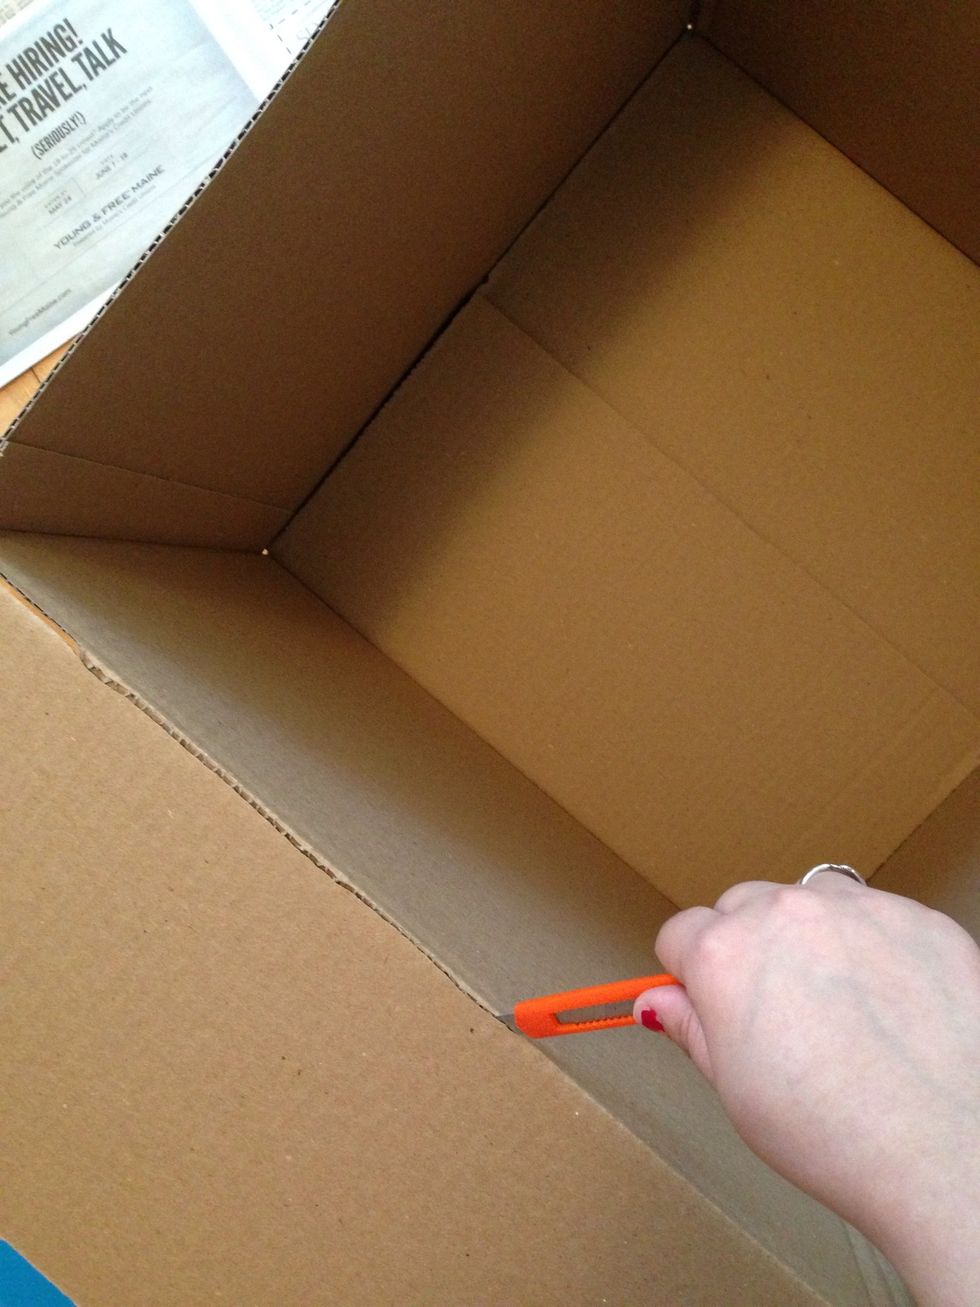
Cut off the flaps at the top of the box. The top of your box will be the front of your light box.
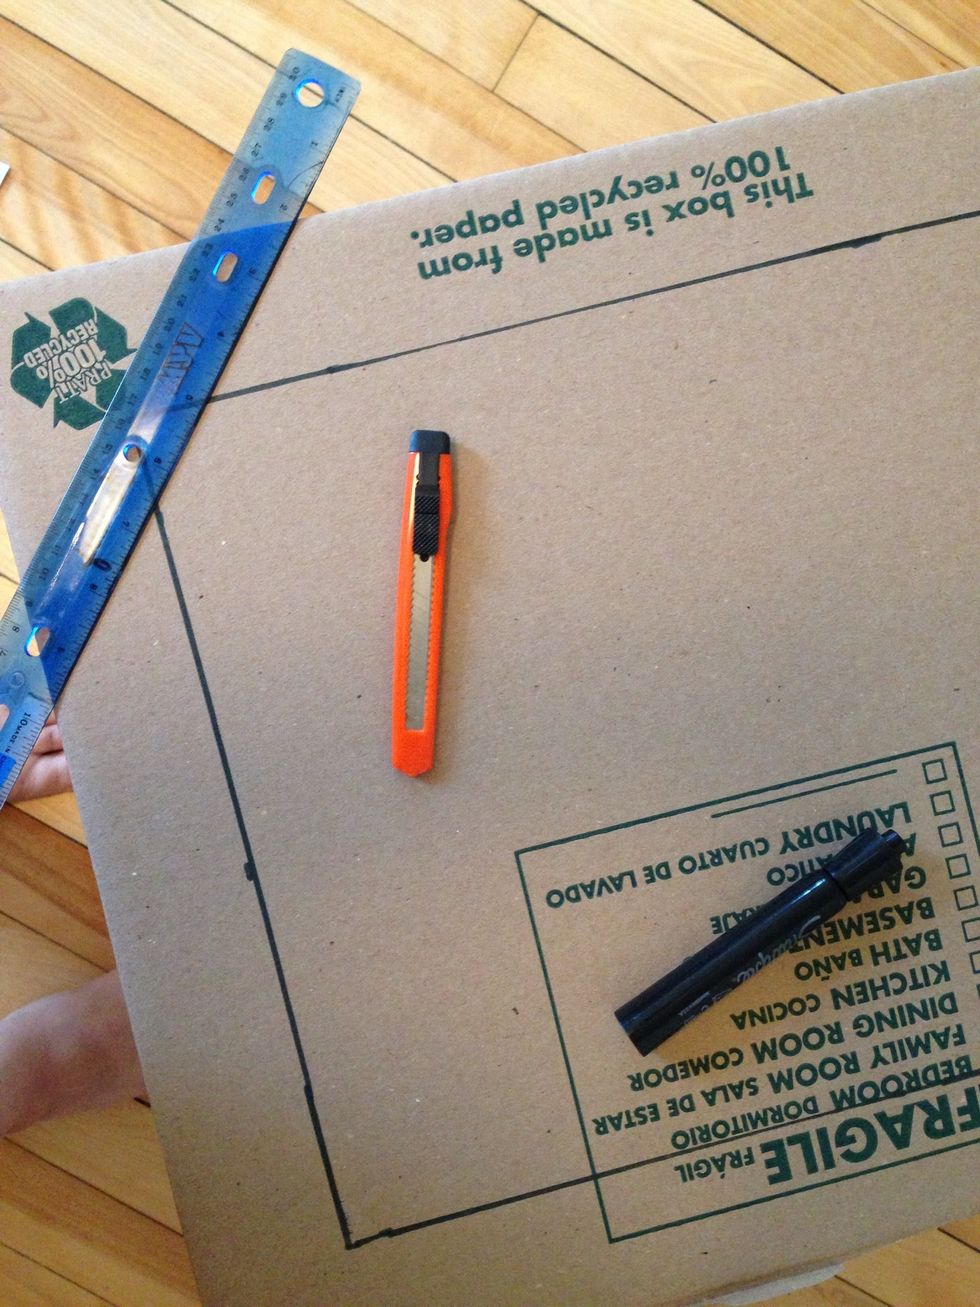
Measure two inches around 3 sides of the box and cut it out. Don't cut the bottom and one side of the box.
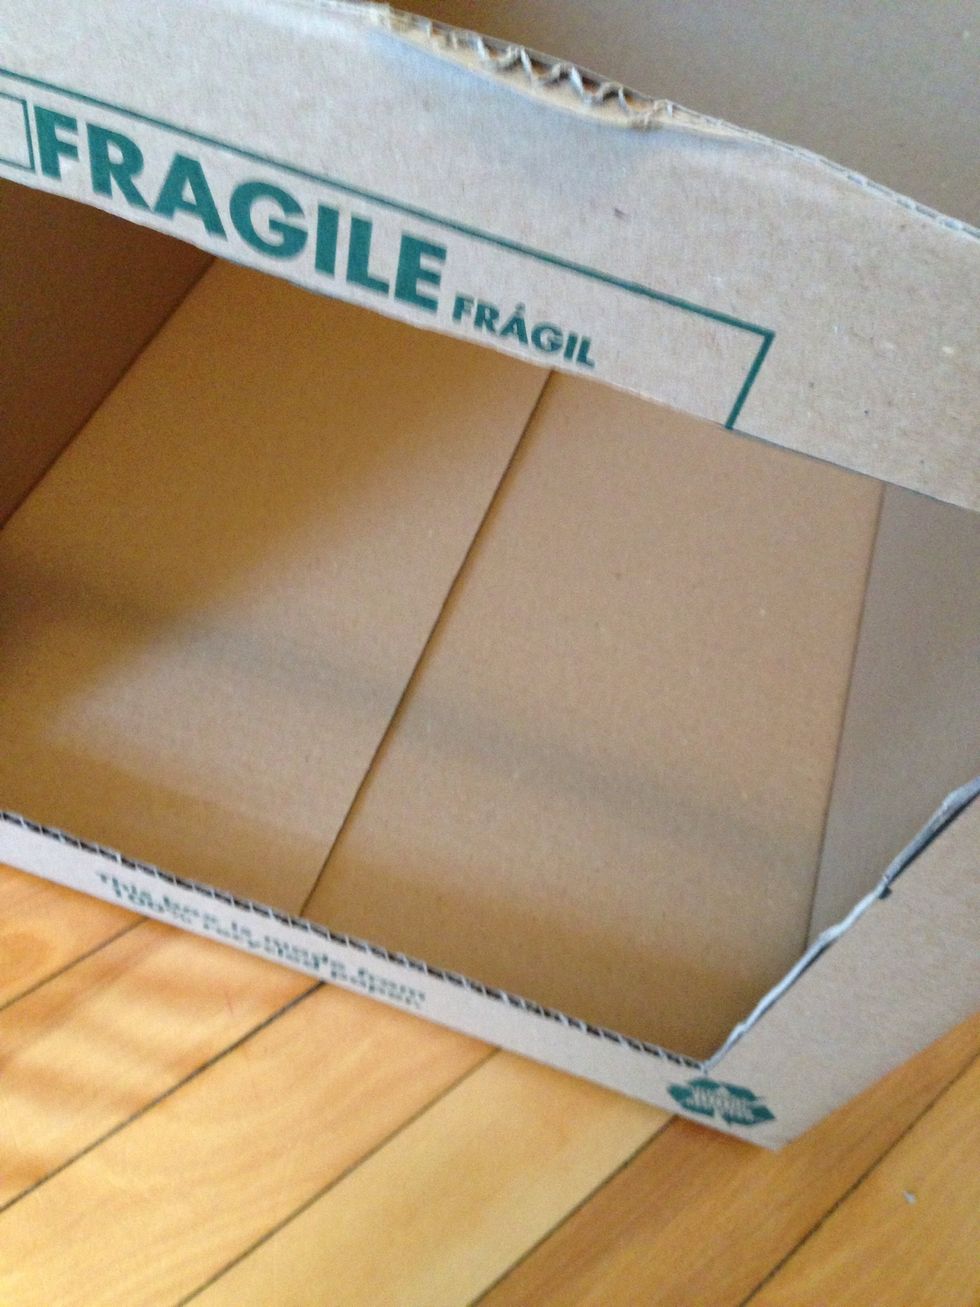
Each side should look like this after cut. (Only three sides should be cut). One side will be the bottom of your light box.
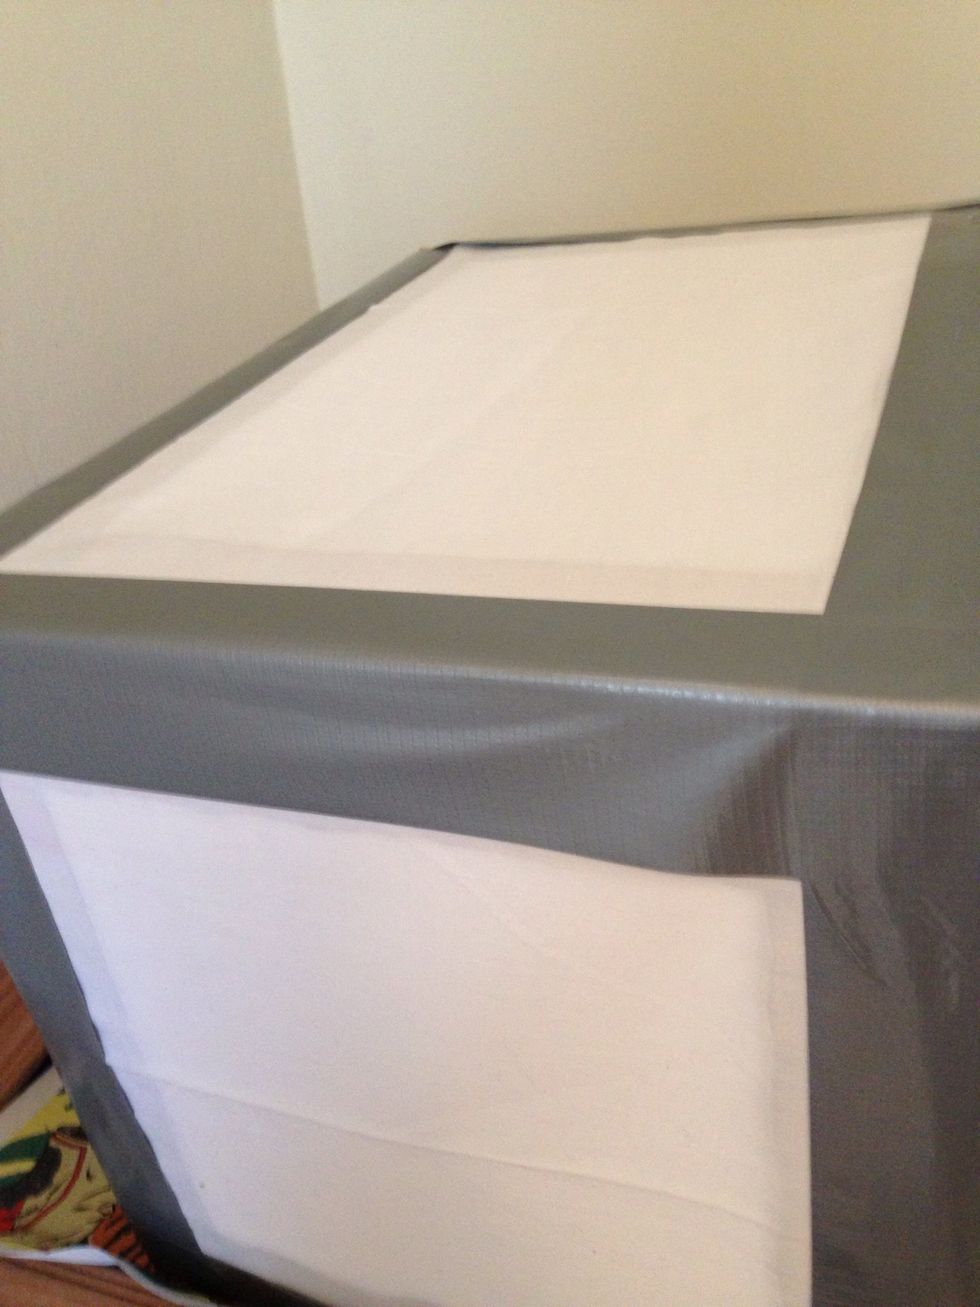
Duct tape your fabric over the open holes you cut. Try to stretch the fabric so it's nice and taut.
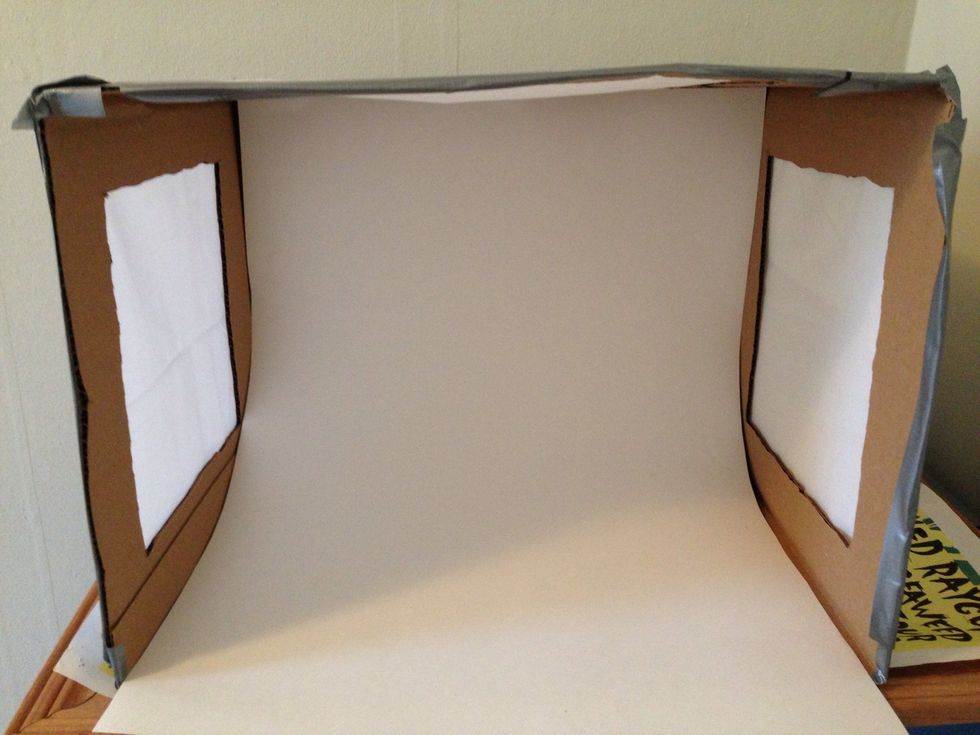
Tape or glue your poster board to the inside of the light box and allow it to bend out.

Place a lamp on each side and one on top. And you are finished. The lamps and the bulbs are from Home Depot, as well as the box. Each lamp was $8 and the lights were 4 for $5. The box was around $1.
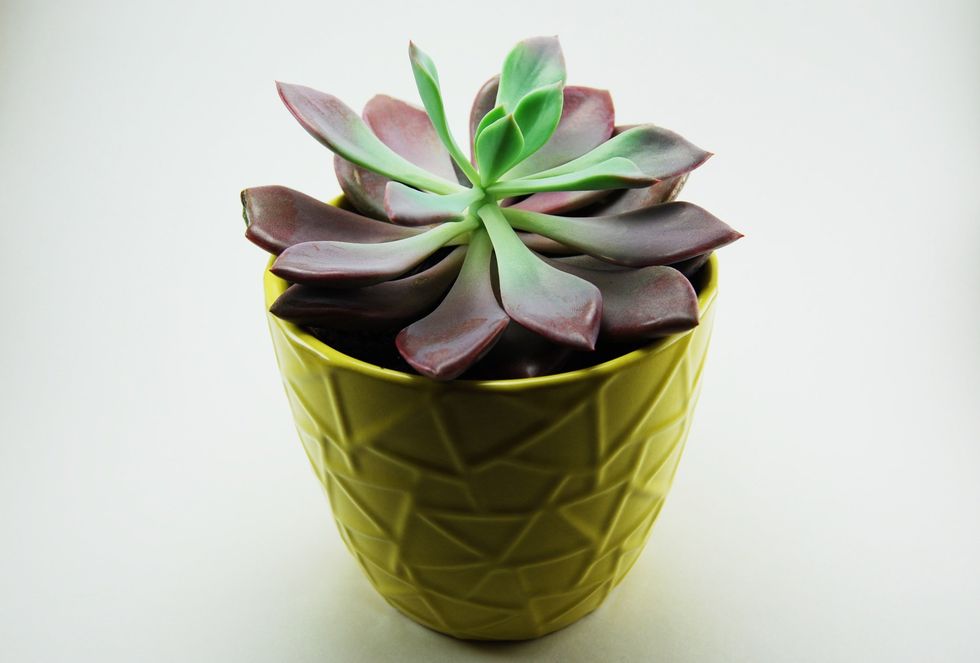
Final result