The Conversation (0)
Sign Up
First open up a new document in Microsoft Word. Then you need to put a logo in by going to Insert to Photo to Picture from File. Find your logo in your computer and select it.
Once your logo is on the page right click it go down to Wrap Text and select Square. Afterward move your logo around and resize it using the corner boxes.
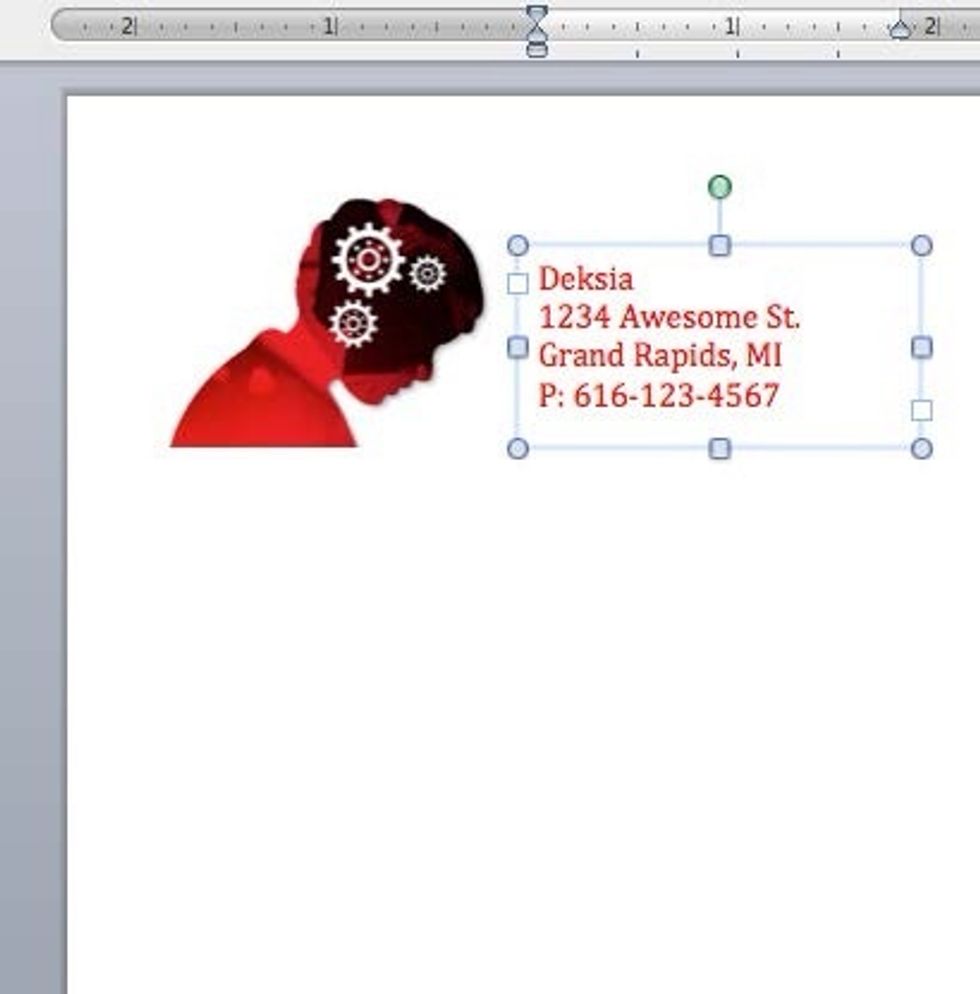
Next put in a text box by going to Insert and selecting Text Box. Then type your information into the box. Changing the text color can give the letterhead a more consistent feel.
Next space your text and logo as you see fit. You can add lines and shapes to add another design element. You can find these in the Insert to Shapes. You can change the color and size of these also.

Then go to File and Save As. Give your letterhead a title and then change the format to Word Template (.dotx). Then save it!
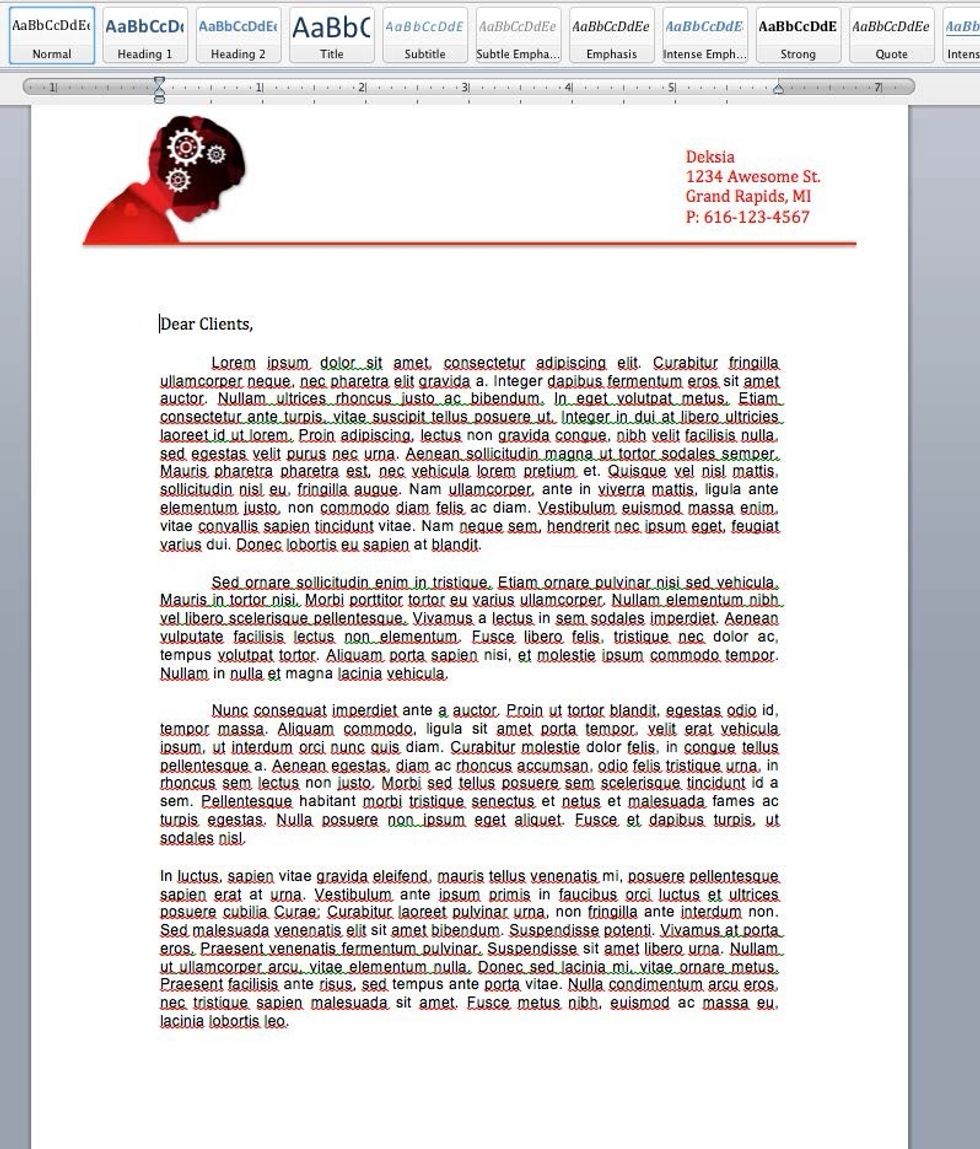
And now you have a letterhead that you can use again and again!