The Conversation (0)
Sign Up
First of all, you want to start with a scrap piece of leather about 2' x 11". You can pick up som leather at a local upholstery shop. It's about $7 bucks a pound. This scrap cost $5.

I got mine at the local Tandy leather shop. I think this leather was actually scraps from a seat cover. Its not to strong, its flimsy. But we will Reinforce it.
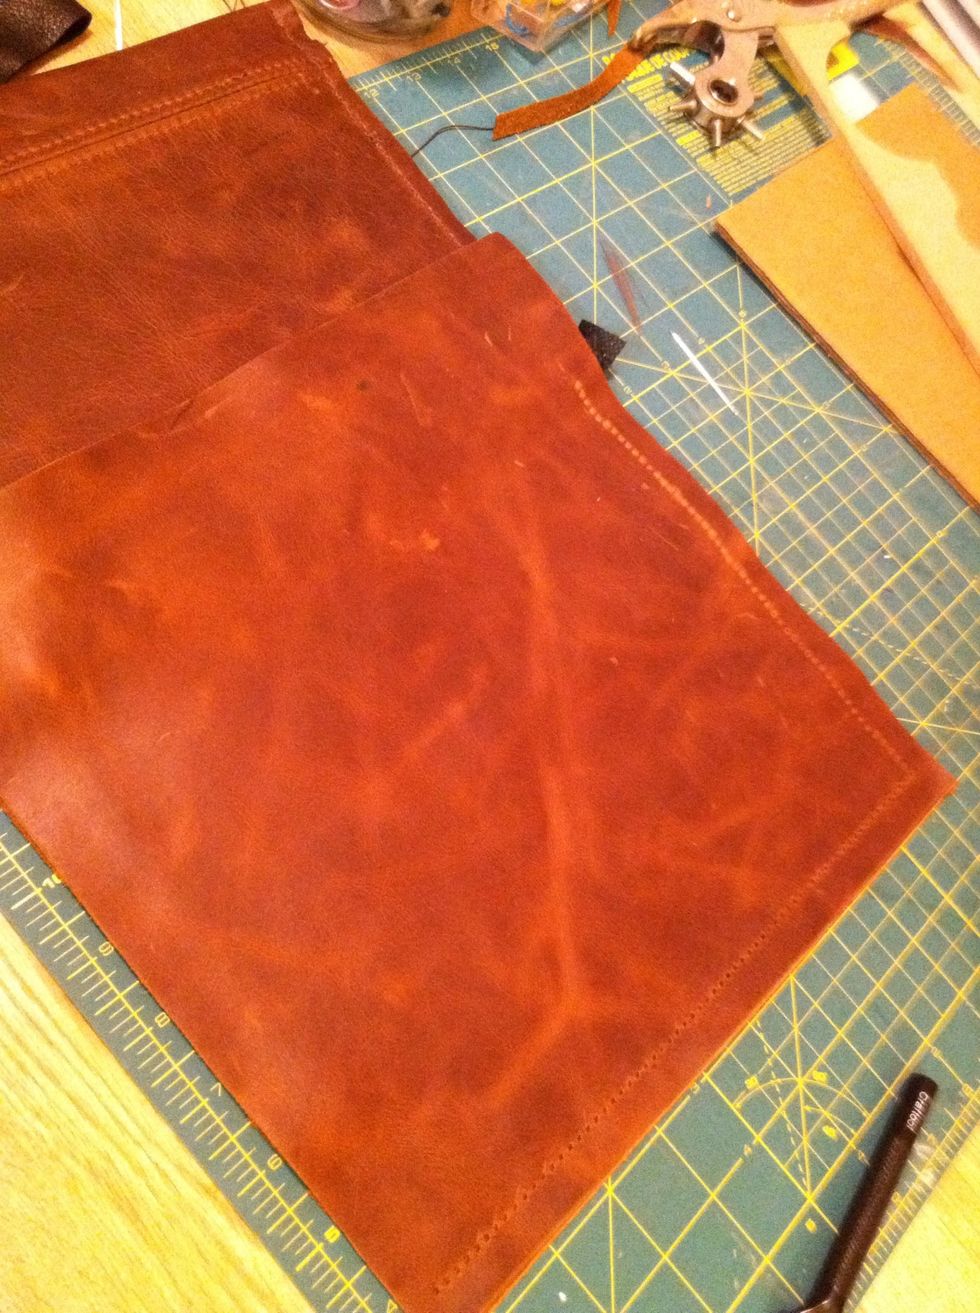
Go ahead and get your base measurements. My measurements for the case are: (2) 16.5x10.5 Then mark your stitching holes 1cm from the edge, for the top and side... Don't mark the bottom ones yet!!
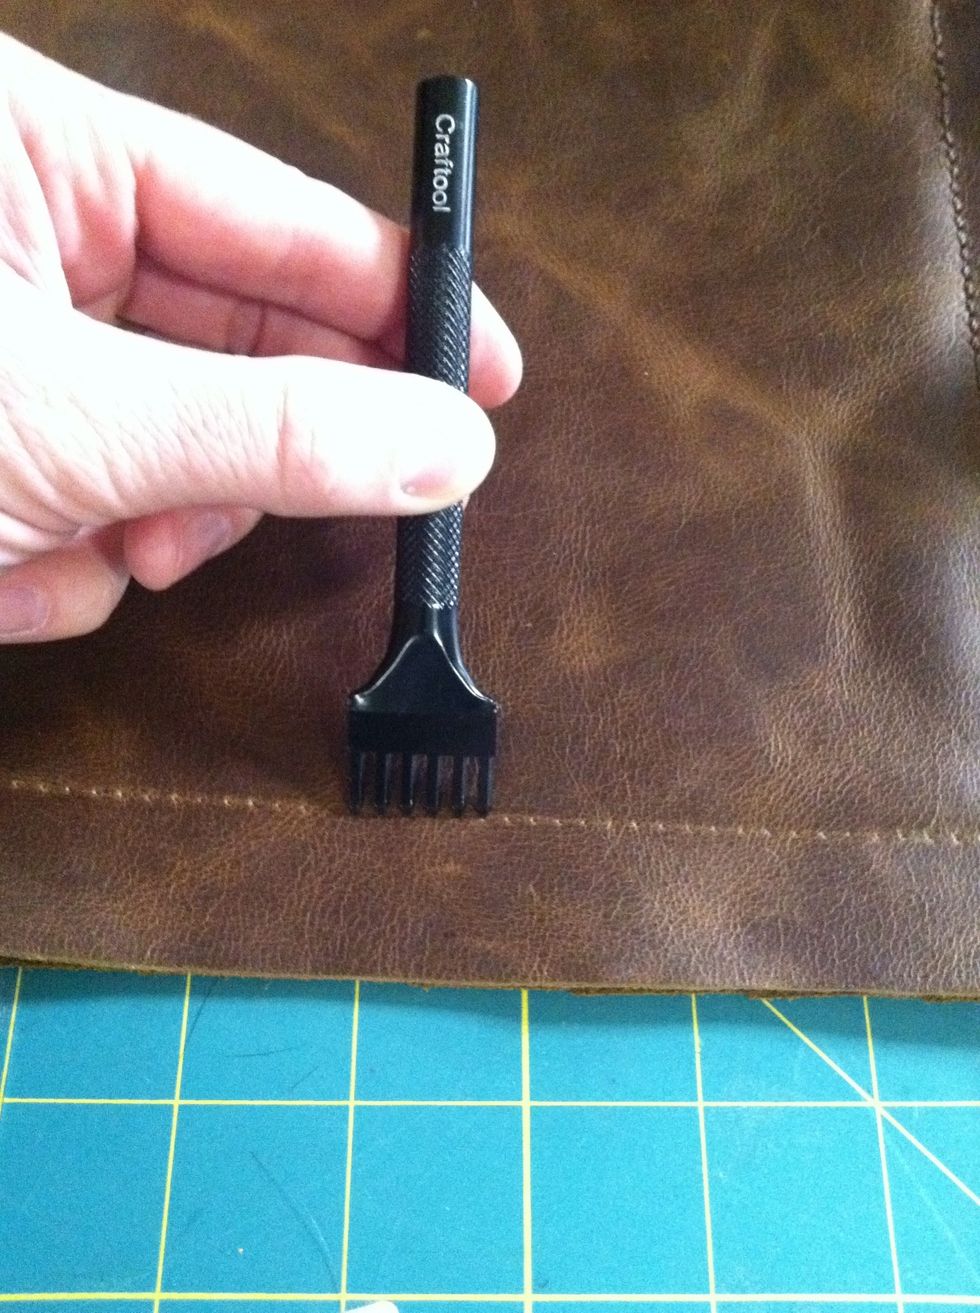
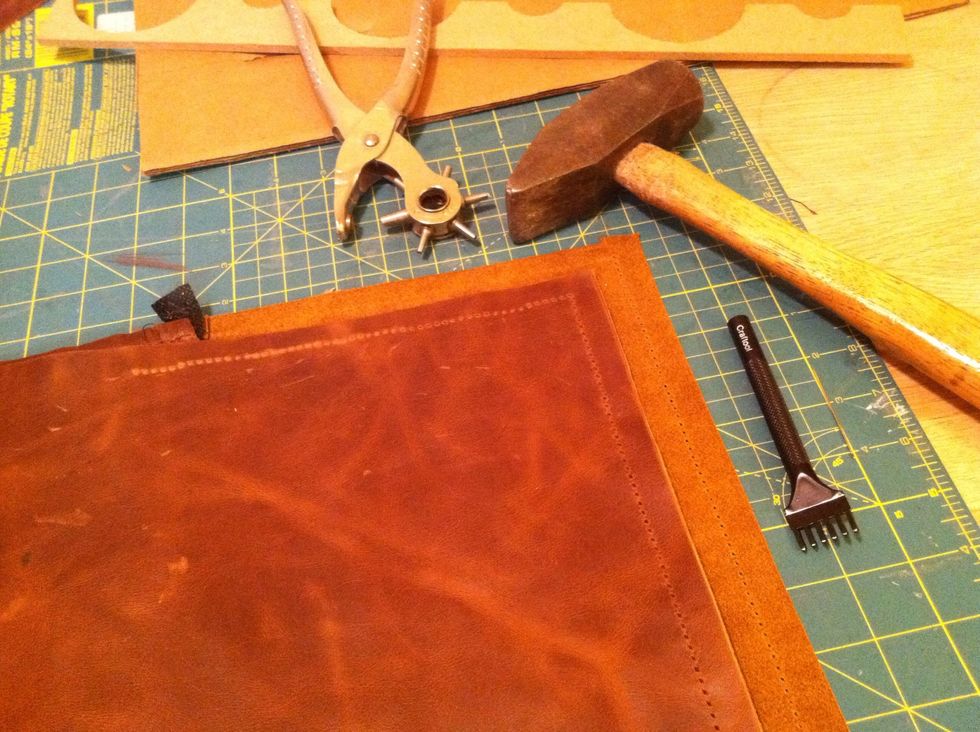
Then punch the holes with a leather hole punch. I punched through both leather pieces at once so they would line up perfectly.
Now we're ready to sew.
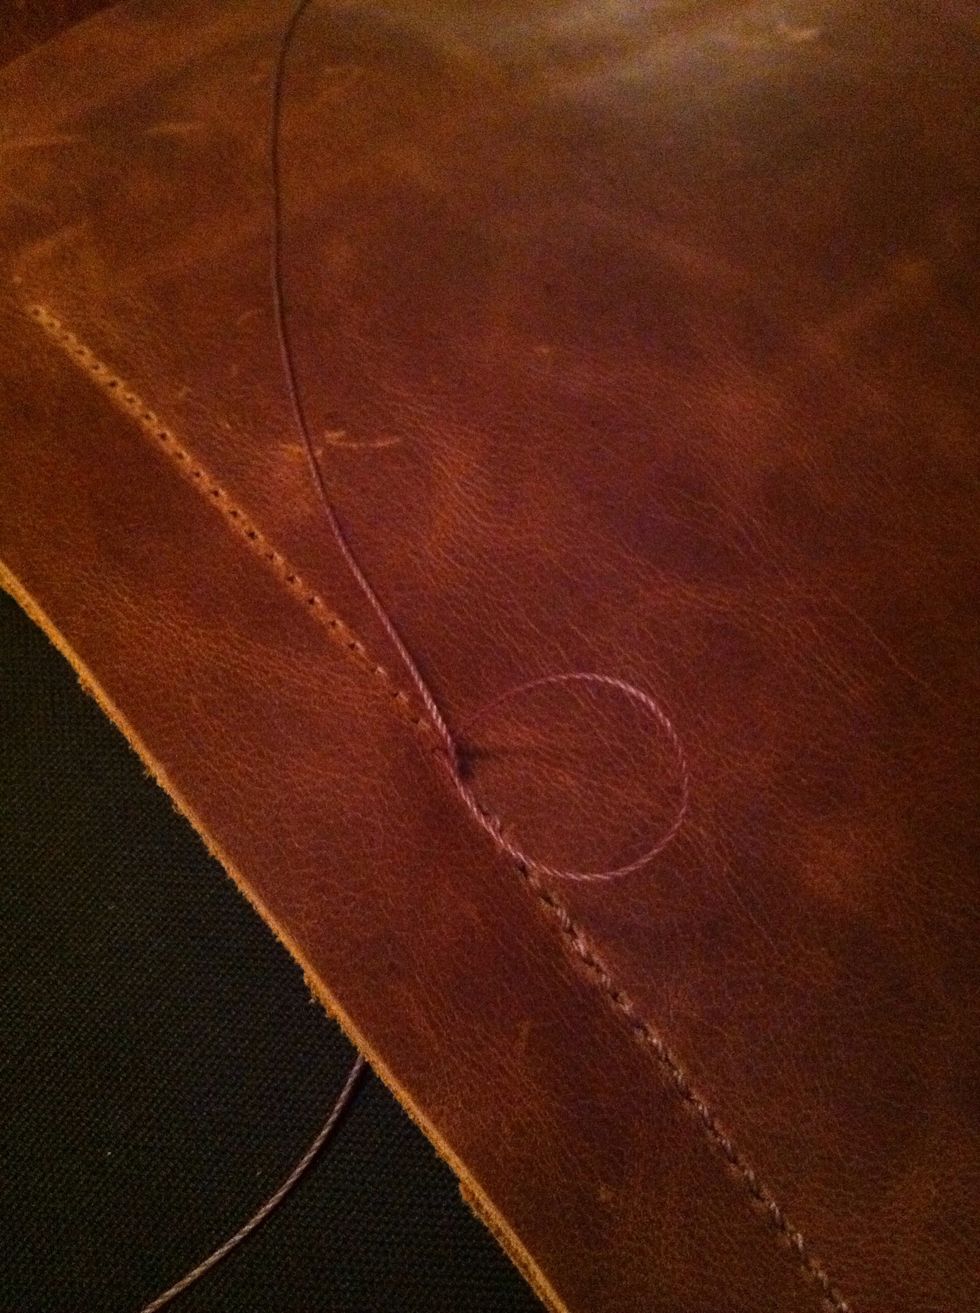
For sewing i used a basic sewing machine technique. Or you could even use a saddle stitch method. You can google saddle stitch videos for good techniques.
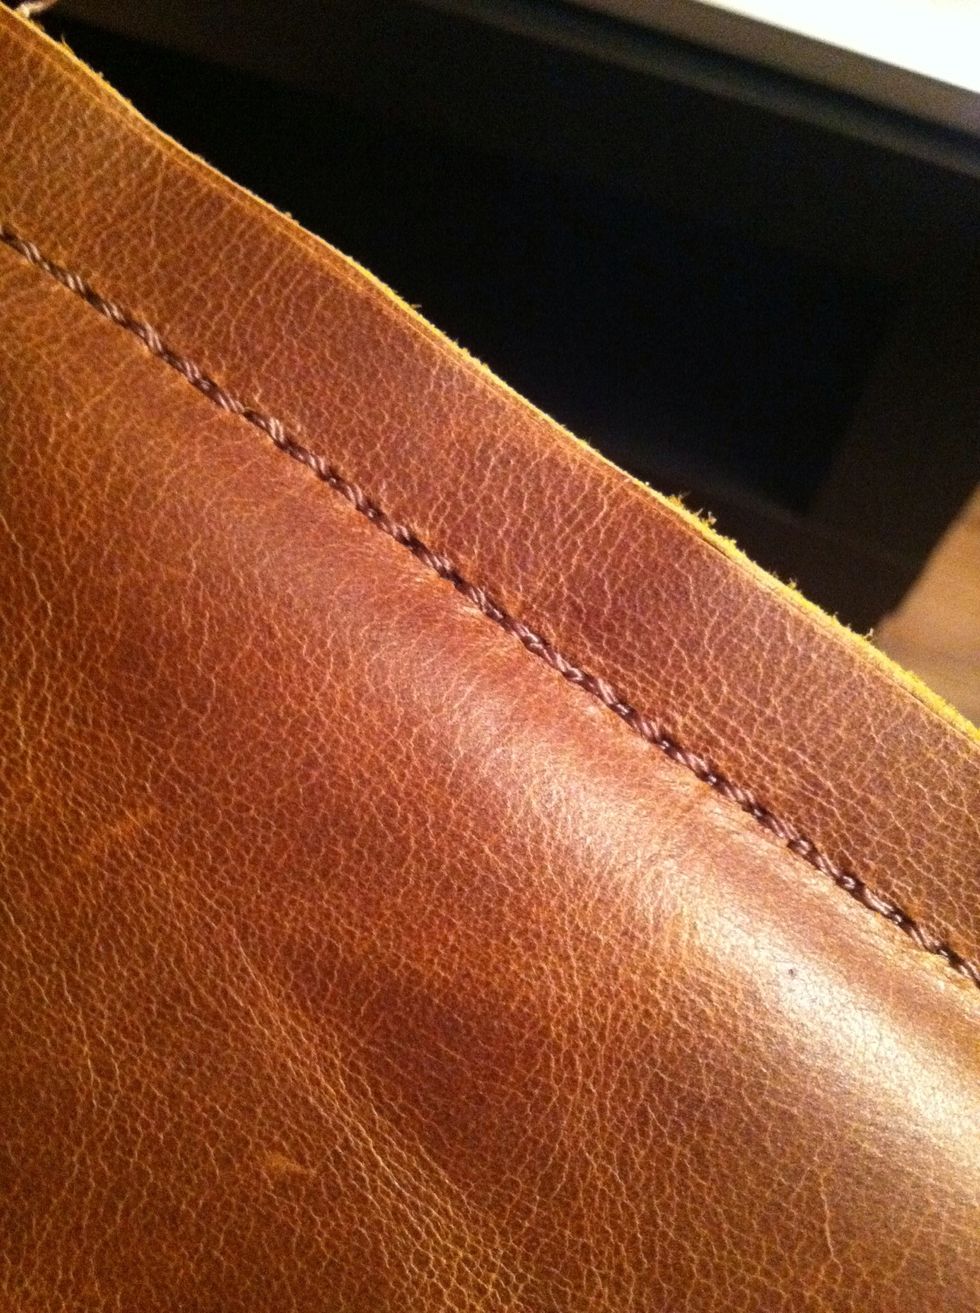
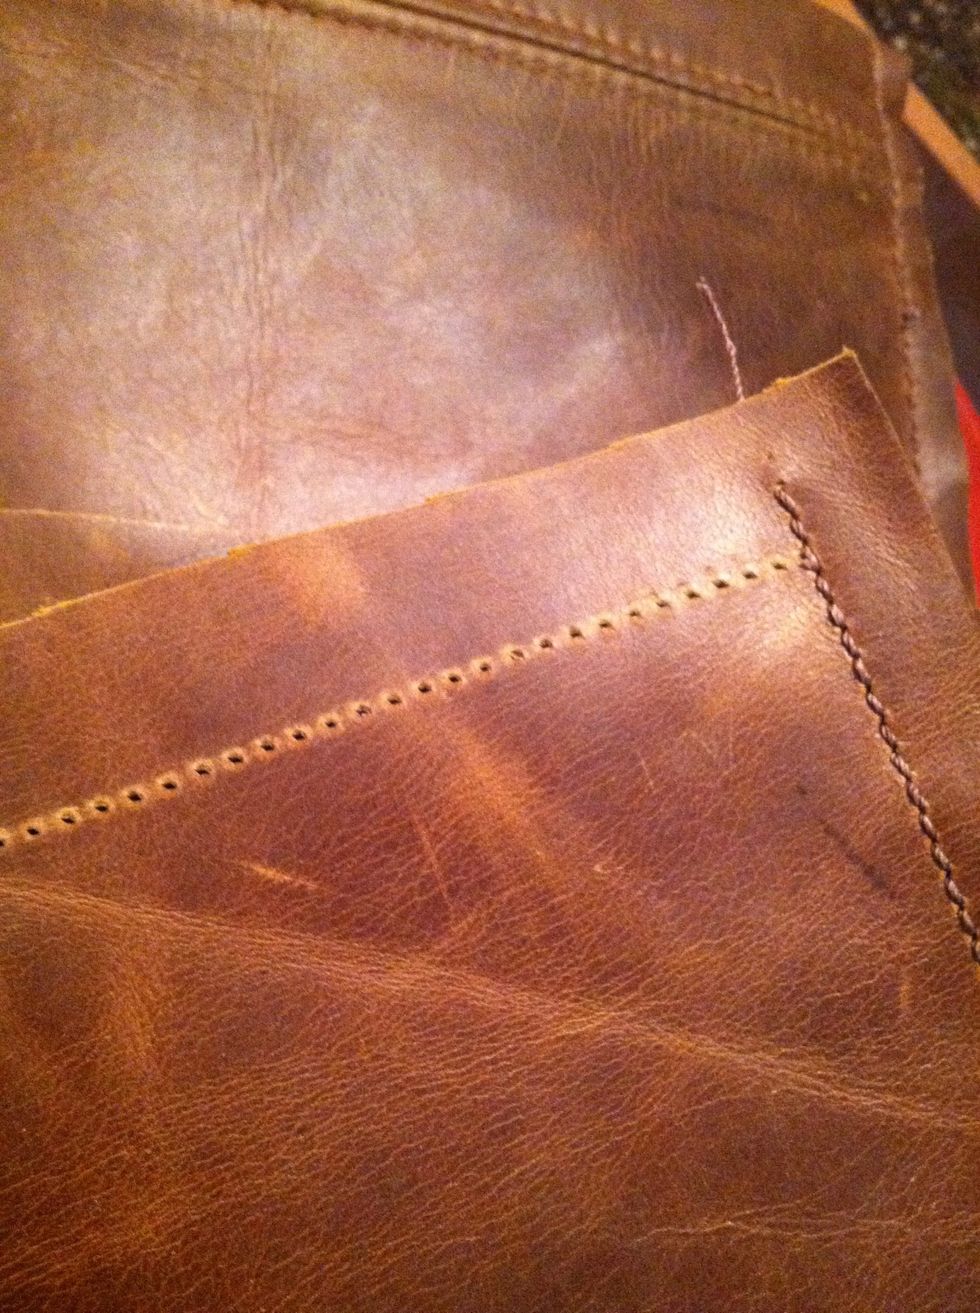
Here's a close up of the stitch on the outside cover.
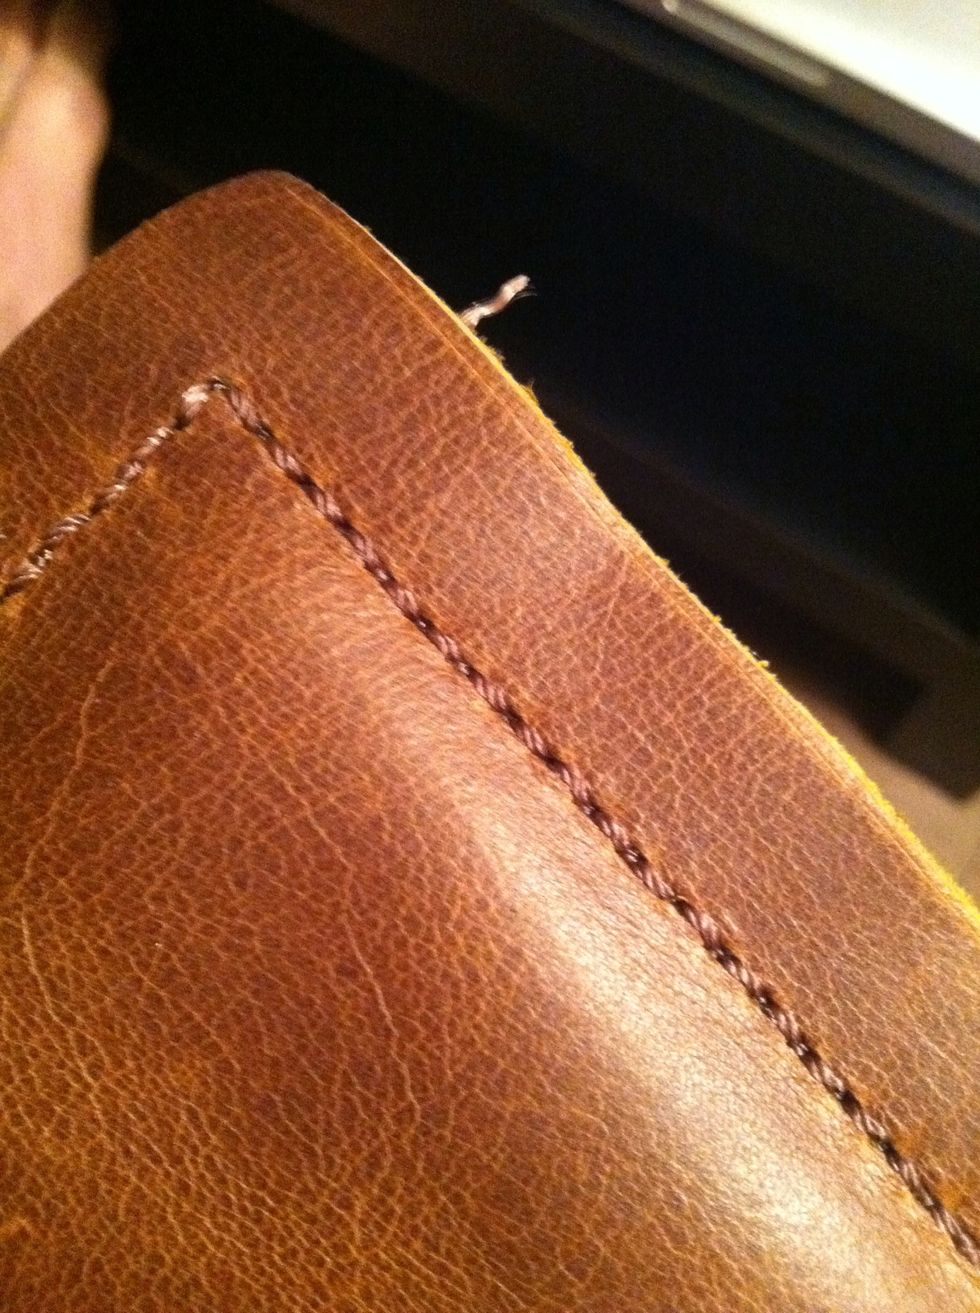
Close up of the stitch on the outside corner.
After stitching the top edge you need to find out just where the iPad will sit once in the case. Measure 9.75" from the top stitch an that is where your bottom stitch line will be.
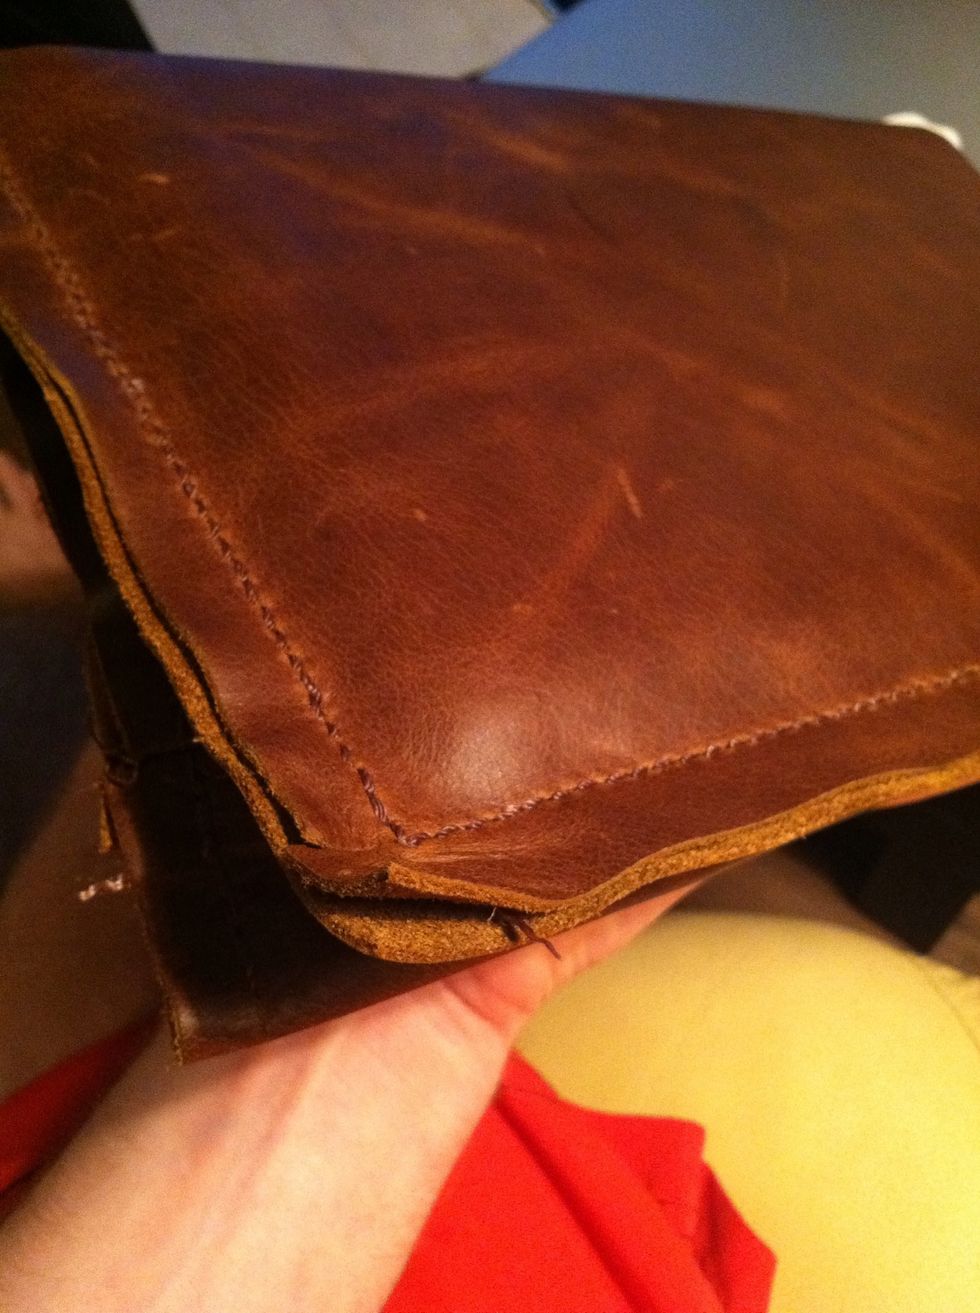
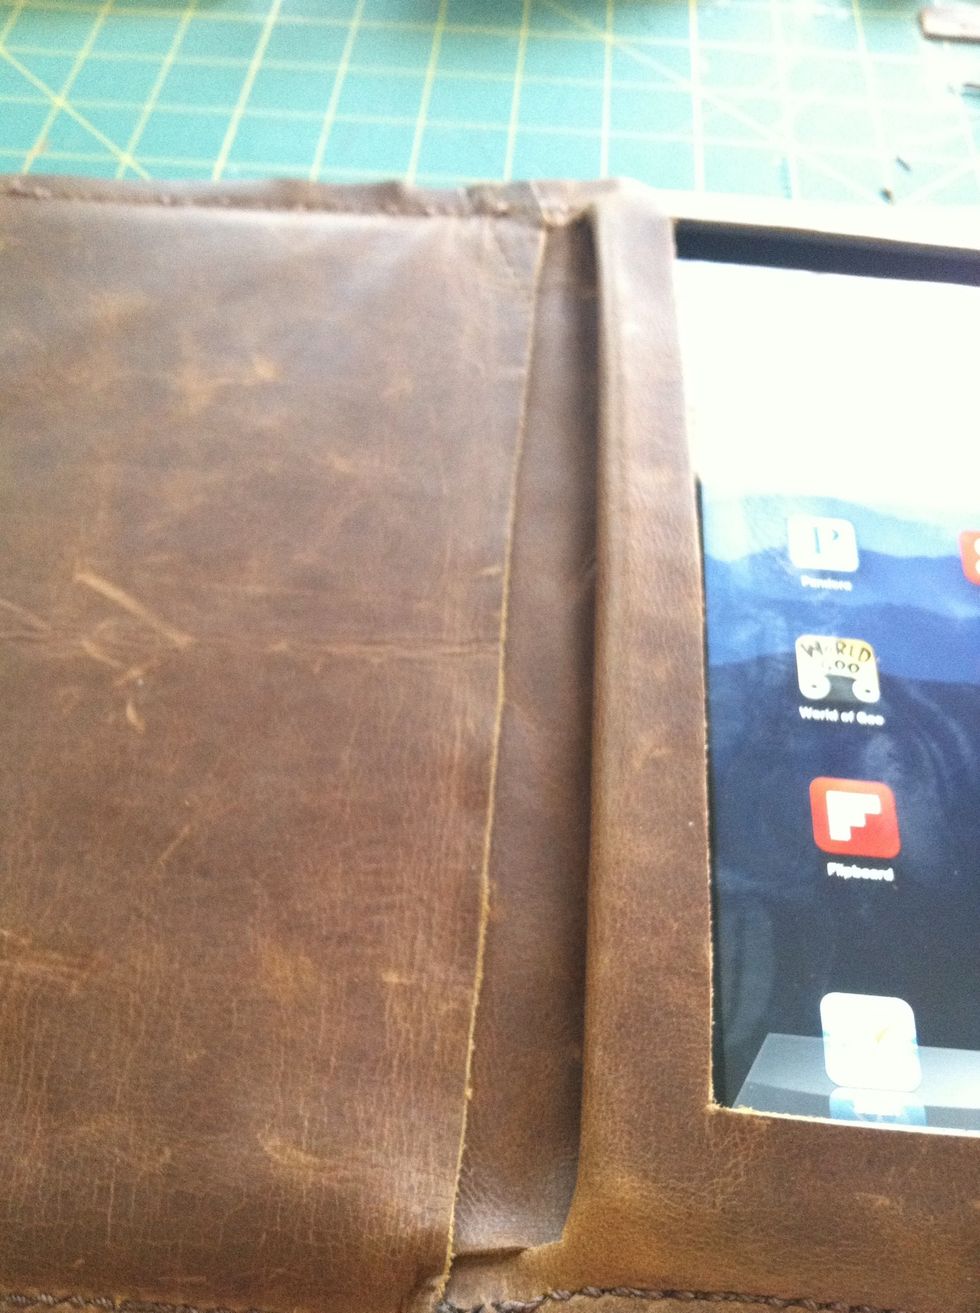
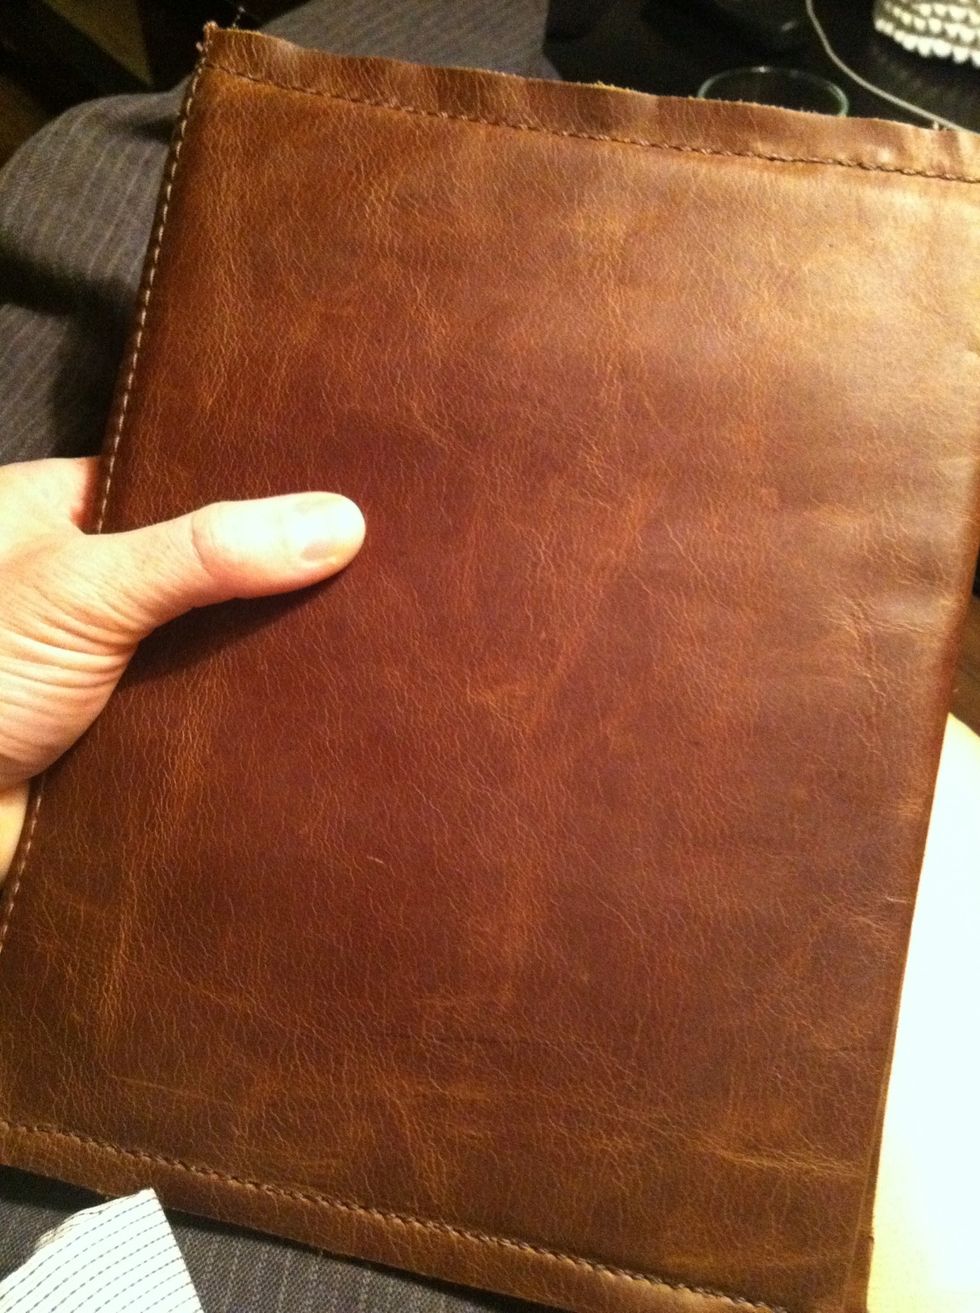
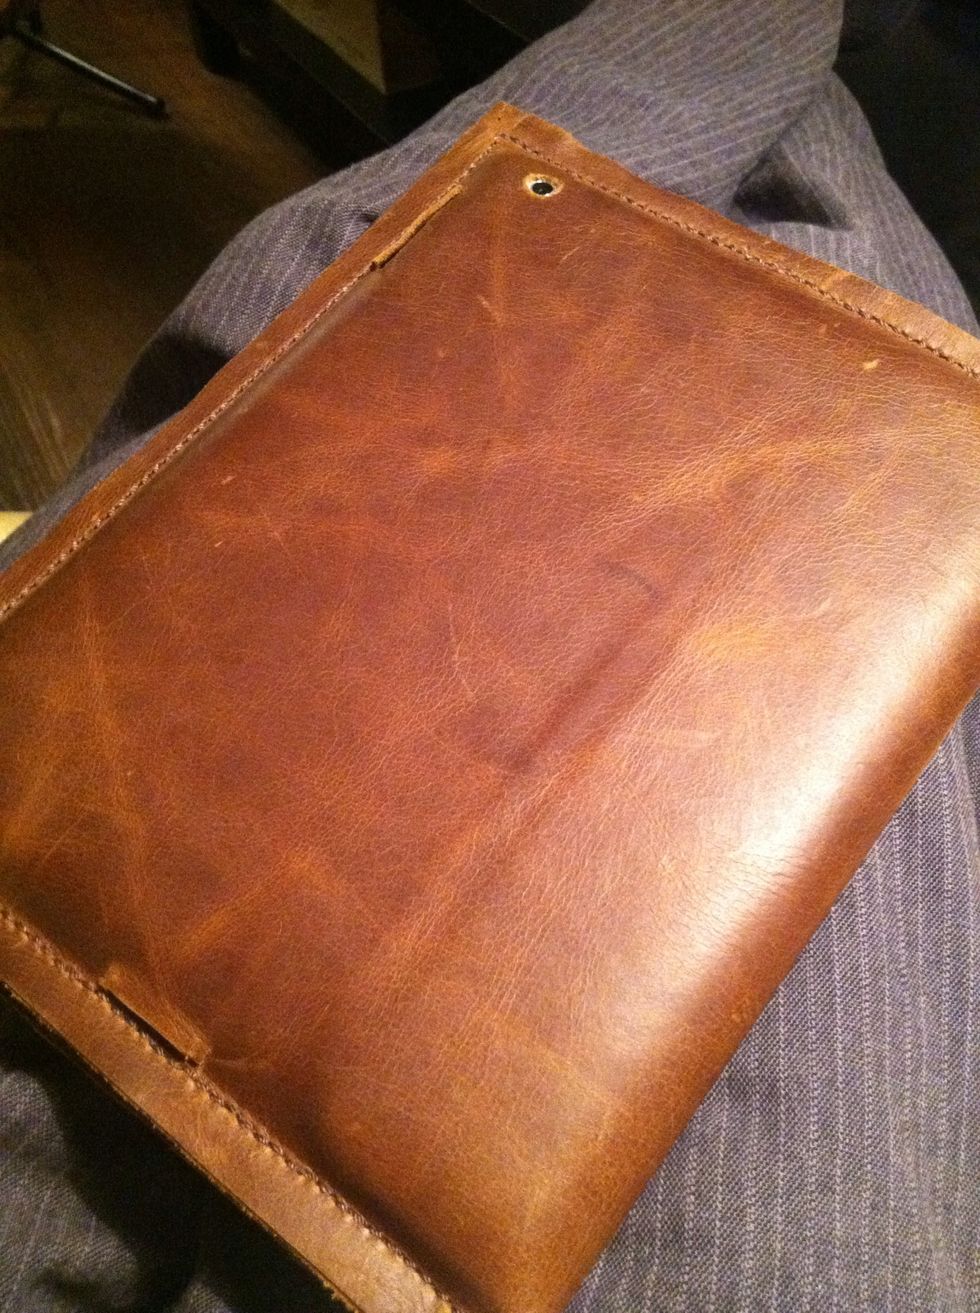
Here's a shot of the back with the iPad inside. I like the used rustic look, so I wasn't too worried about the mangled edge ;) see how tight the leather is around the iPad! That's what you want.
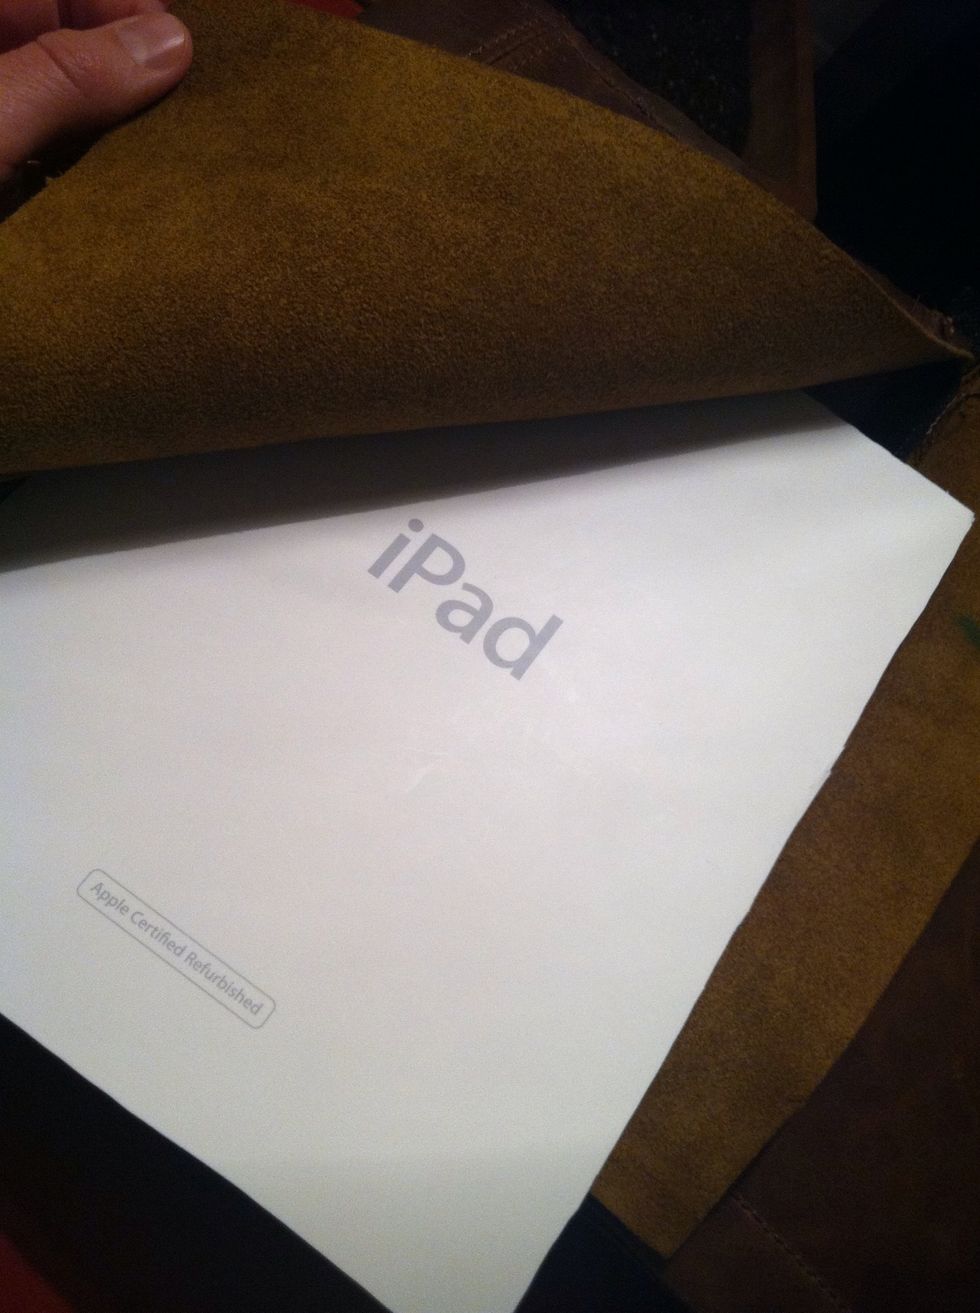
Now we need to make the front cover sturdy. So I cut out the top if the iPad box and inserted it into the front cover. It's quite firm and on the back side it has some cloth for padding.
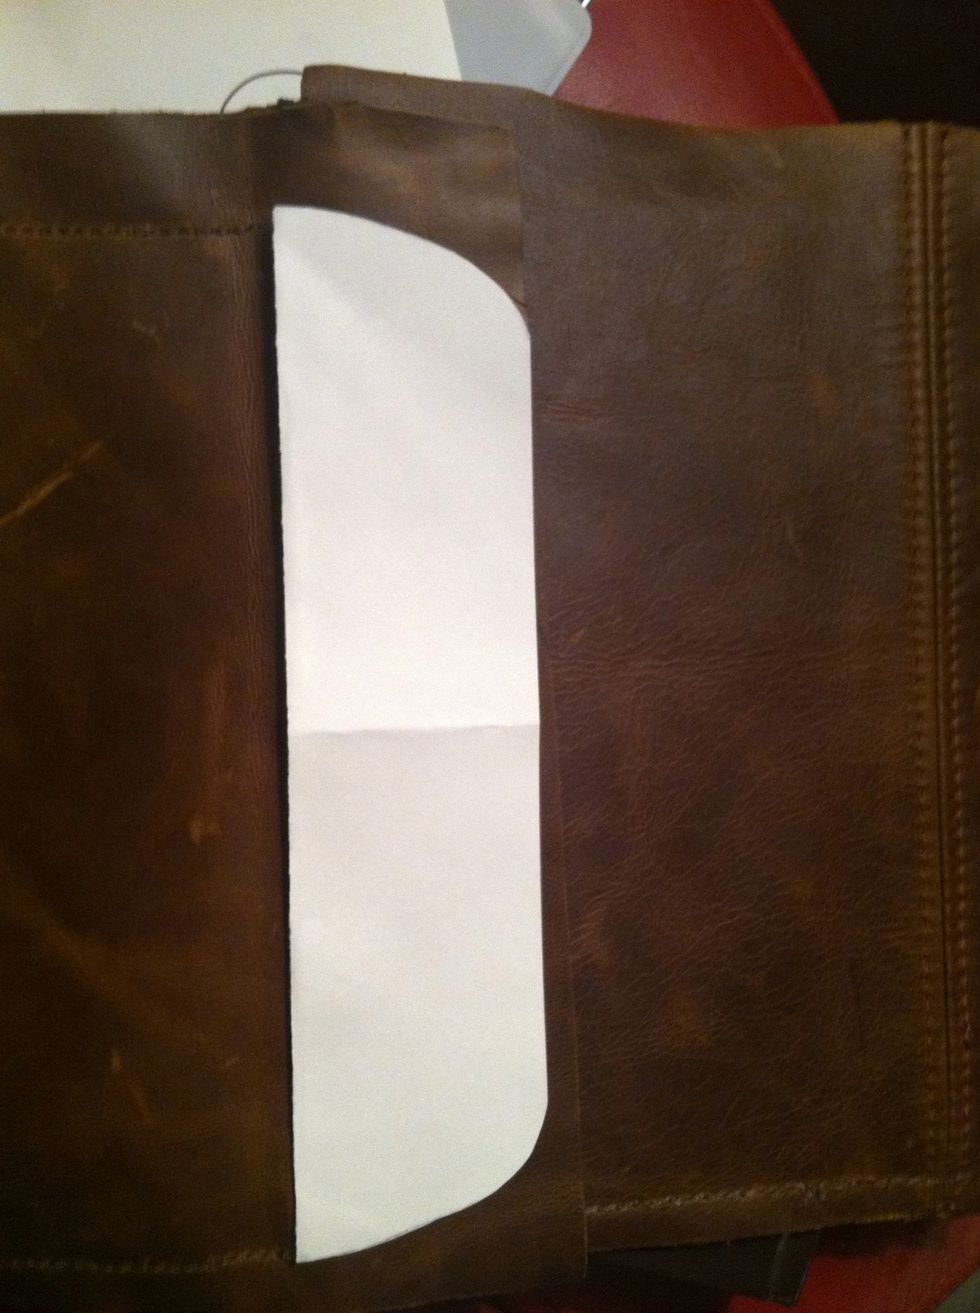
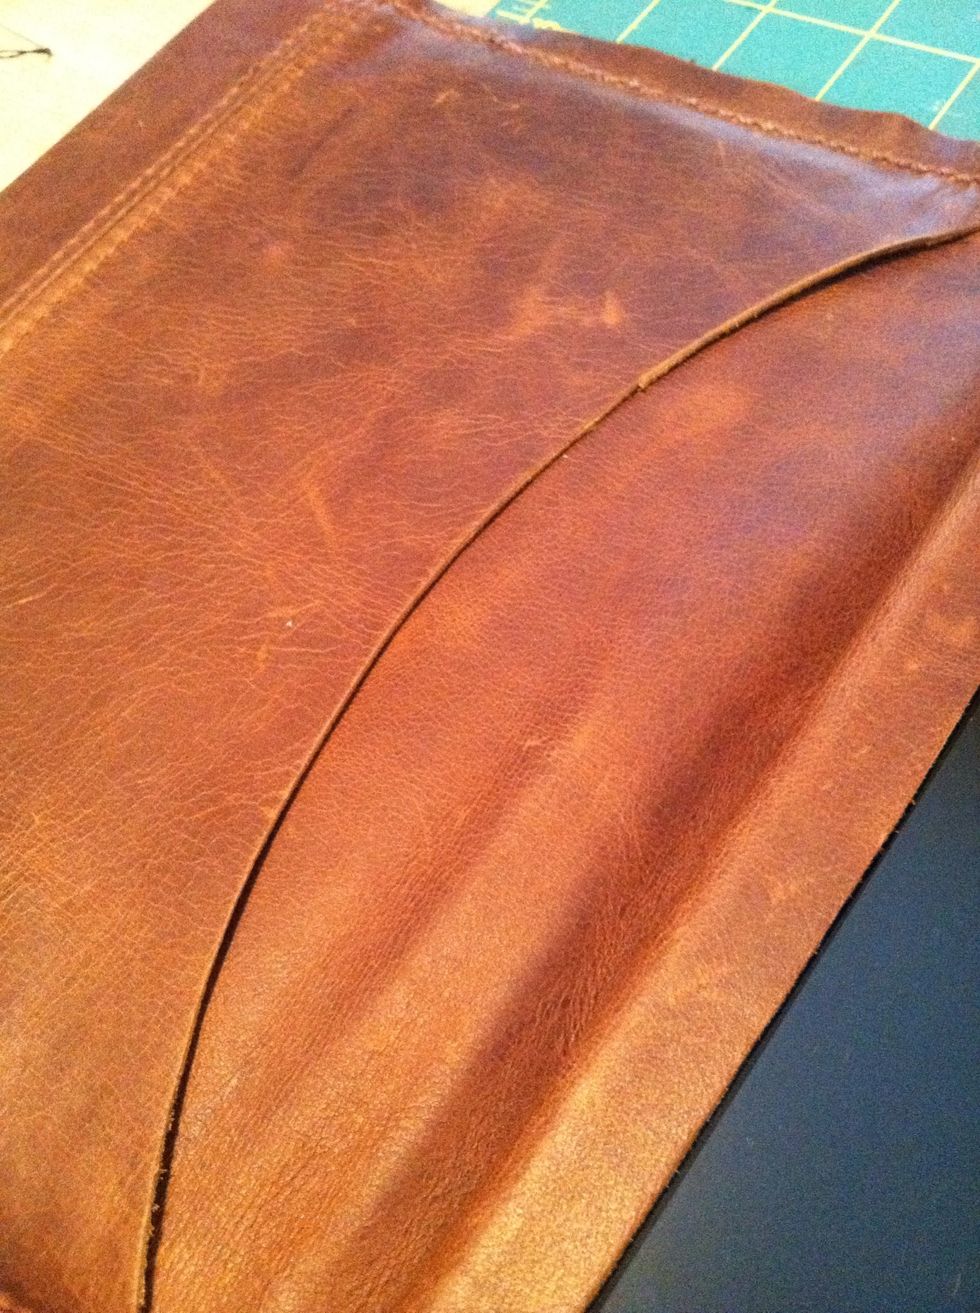
Not we need to cut the flap that will fold under the iPad to keep It inside the case. I cut some paper to use as a template.
Then I just traced the template with a neetle.
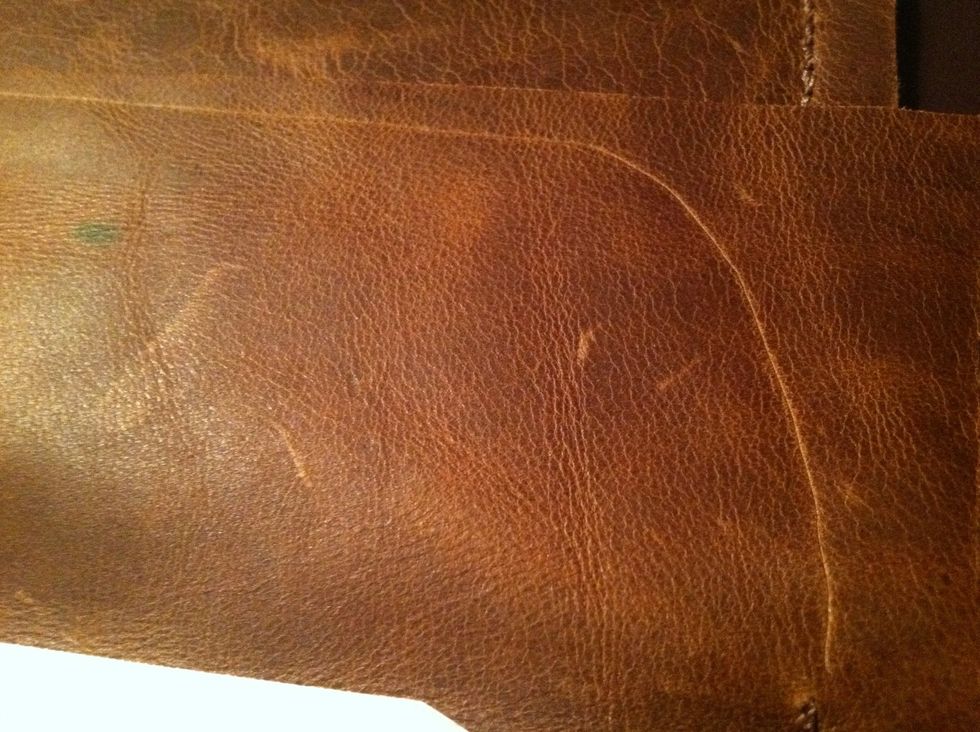
Go ahead and cut out the flap. Make sure you don't get too close to your stitch line. I got a little close.
Then fold it under an see how it fits.
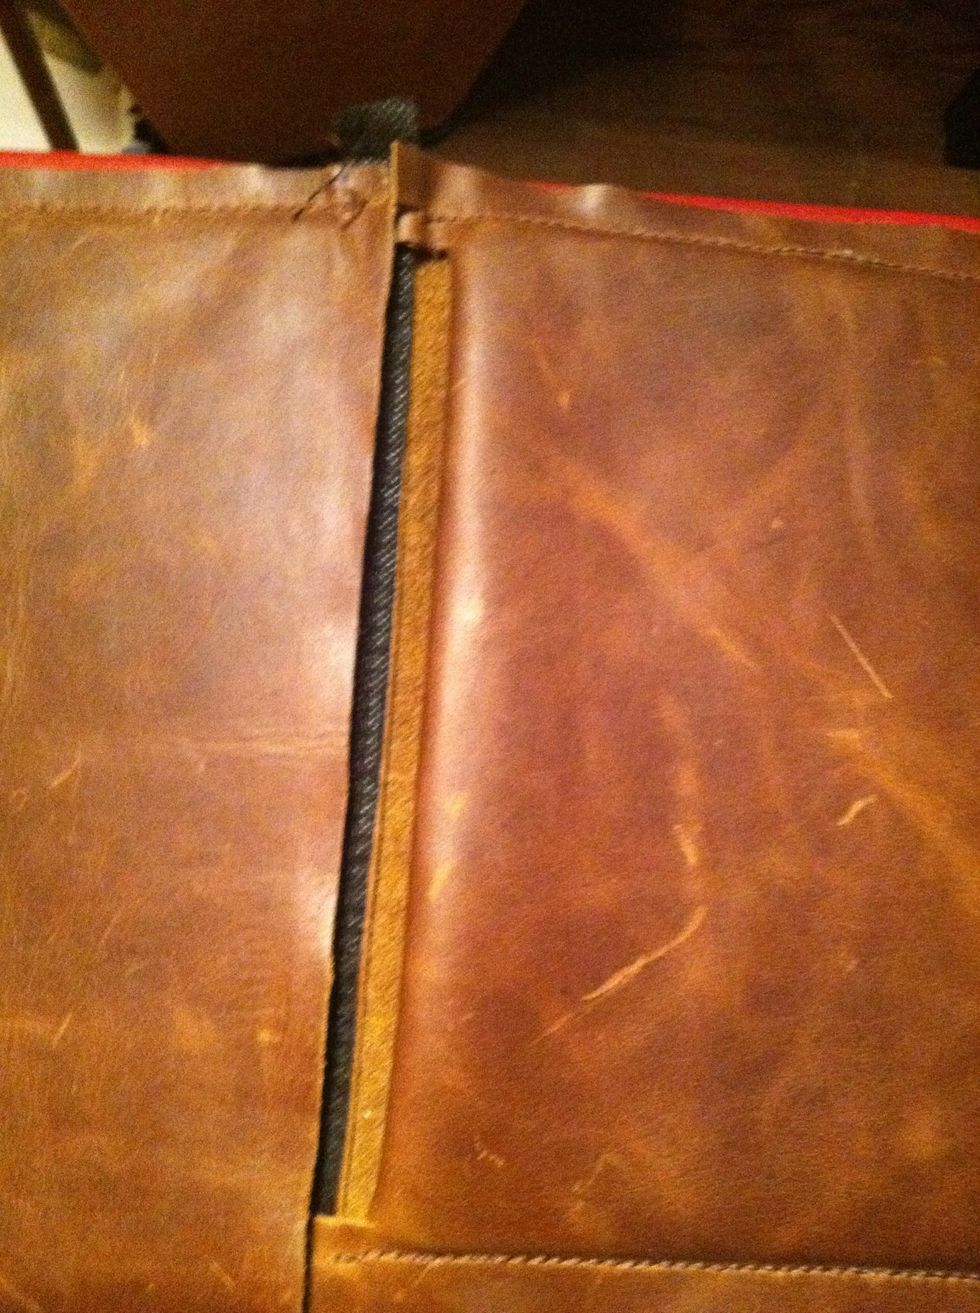
I was thinking I could add some nice black felt or leather to cover the inside spine.
After cutting the flap, there's some extra leather. I will sew this into the spine just to tighten things up.

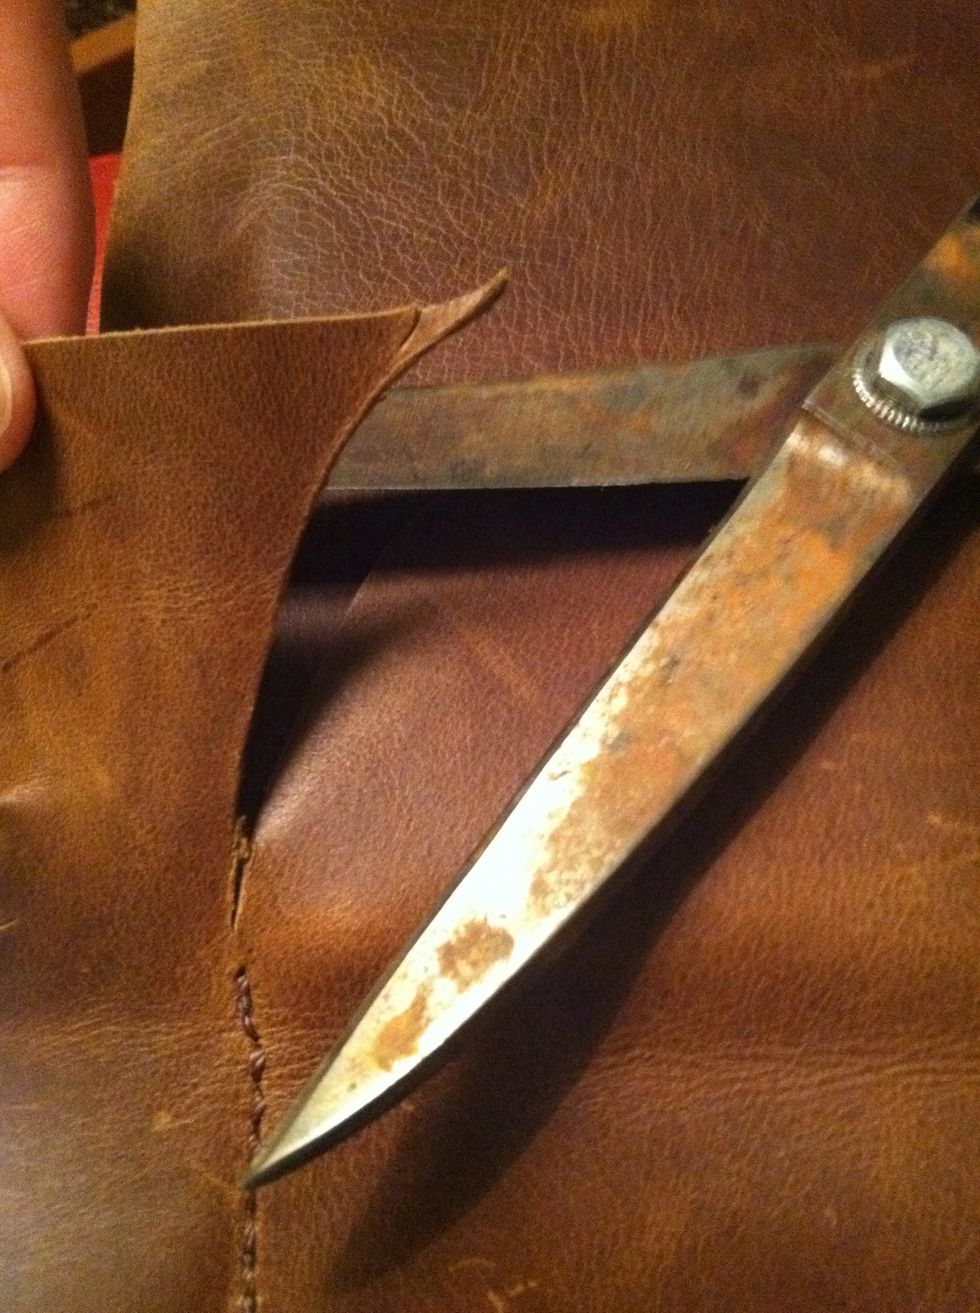
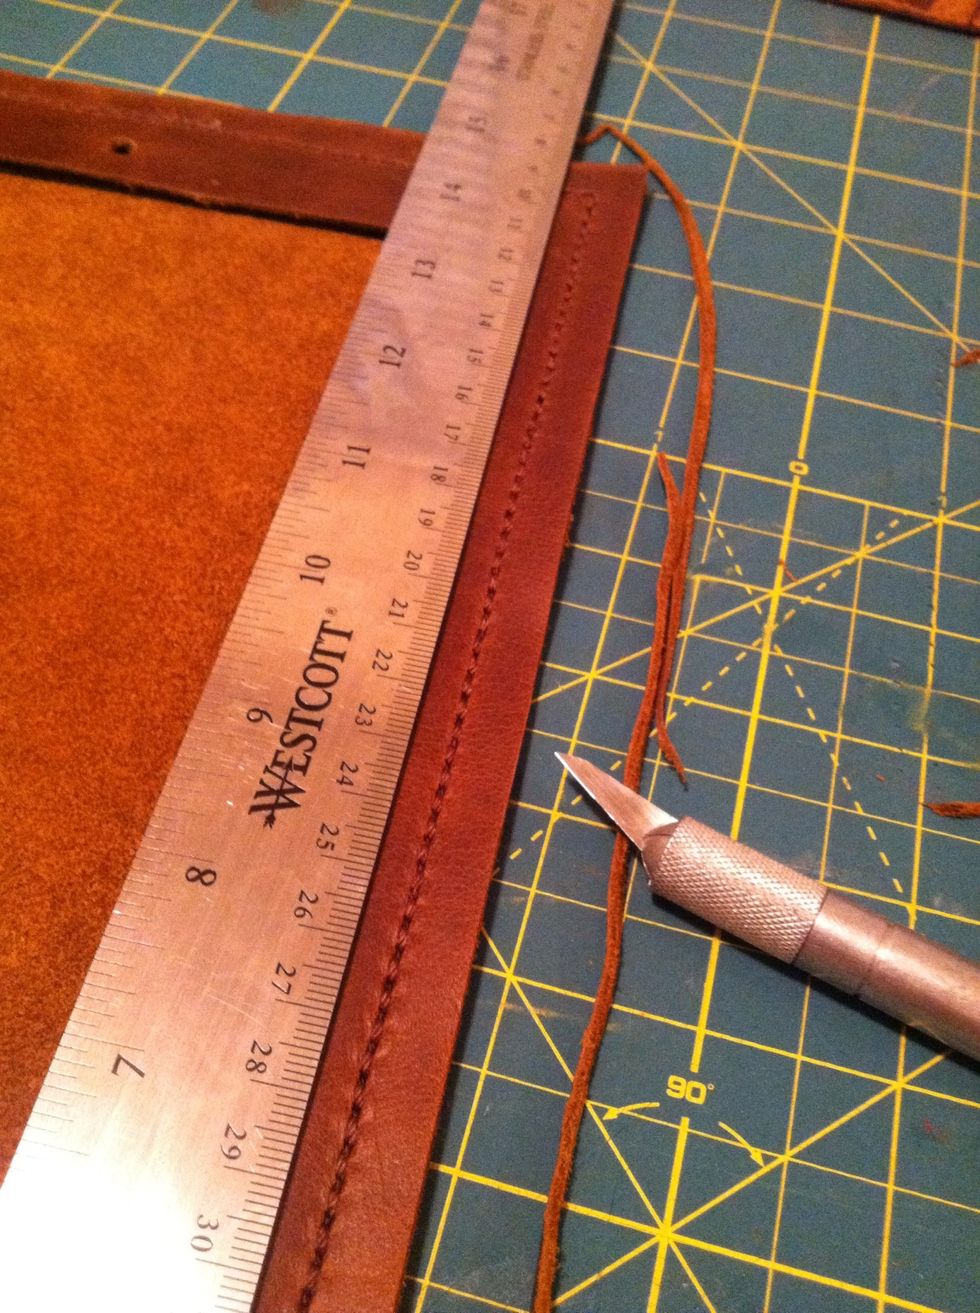
Now it's time to cut the view hole for the iPad, i had the measurements all market now I just need to cut. The screen measurements are: 8"x6".

Try to use the sharpest knife you can, in this case, I'm using an Xacto knife with a NEW blade.
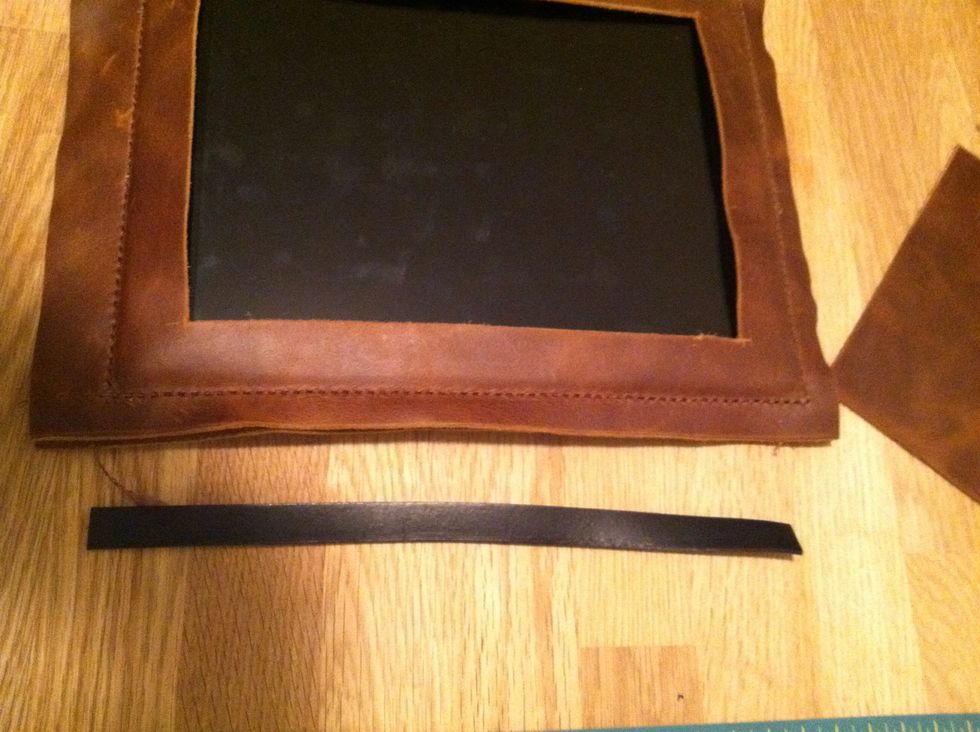
As you can see the porthole leather is a little floppy. So, we need to reinforce The border. I found some leather that is pretty thick. I will cut it to fit around the view hole. It's about 1cm wide.
After cutting the pieces and putting them in here's what it would look like. I havent glued it yet.
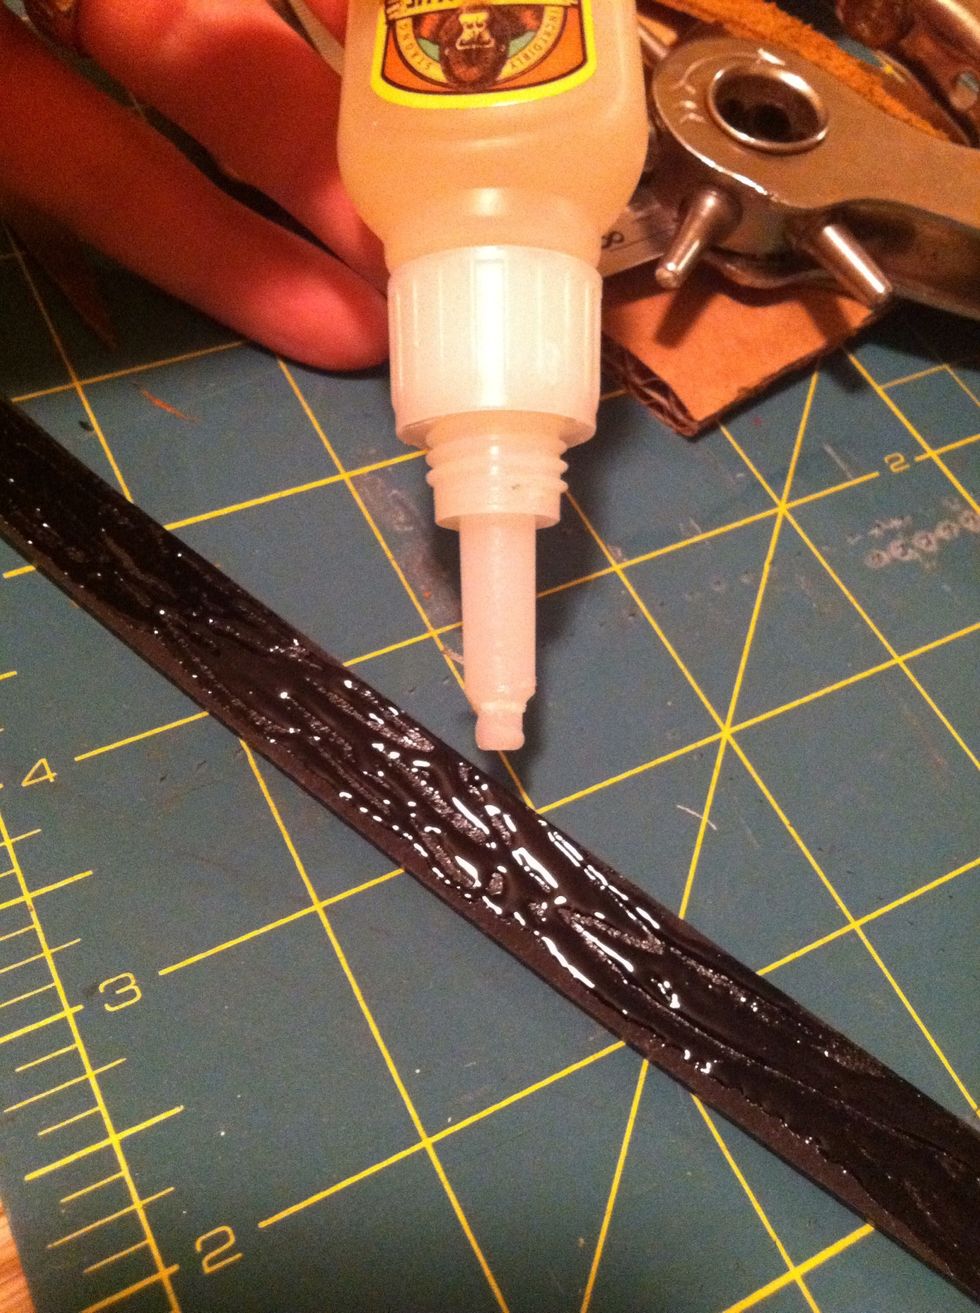
Now glue in the pieces. I will use gorilla glue. You can be pretty liberal.
After it they are all glued in let them dry as long as you can. Try not to mess with it or move it around a lot you want the leather to stick together.
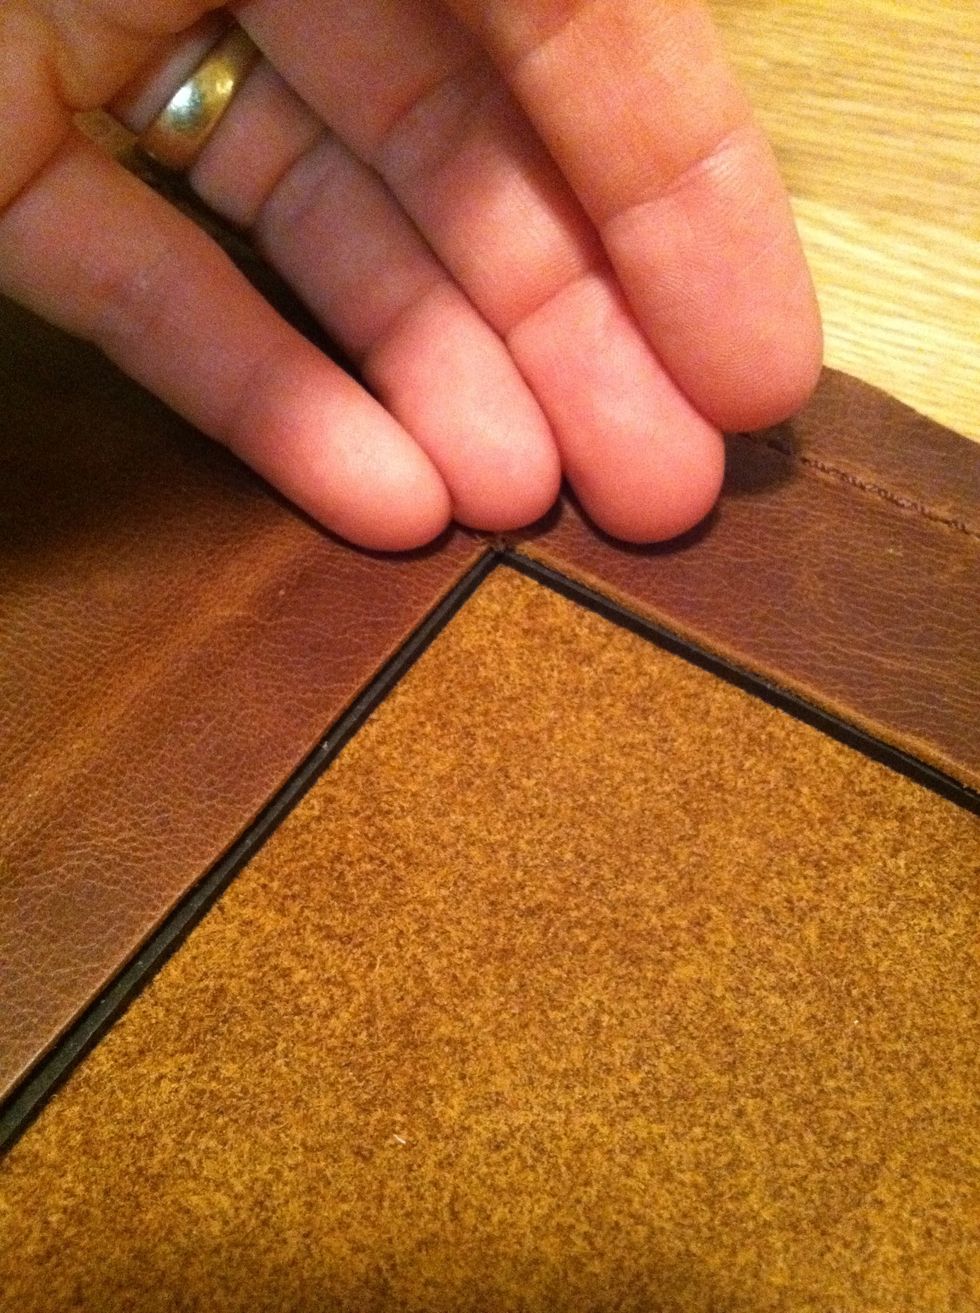
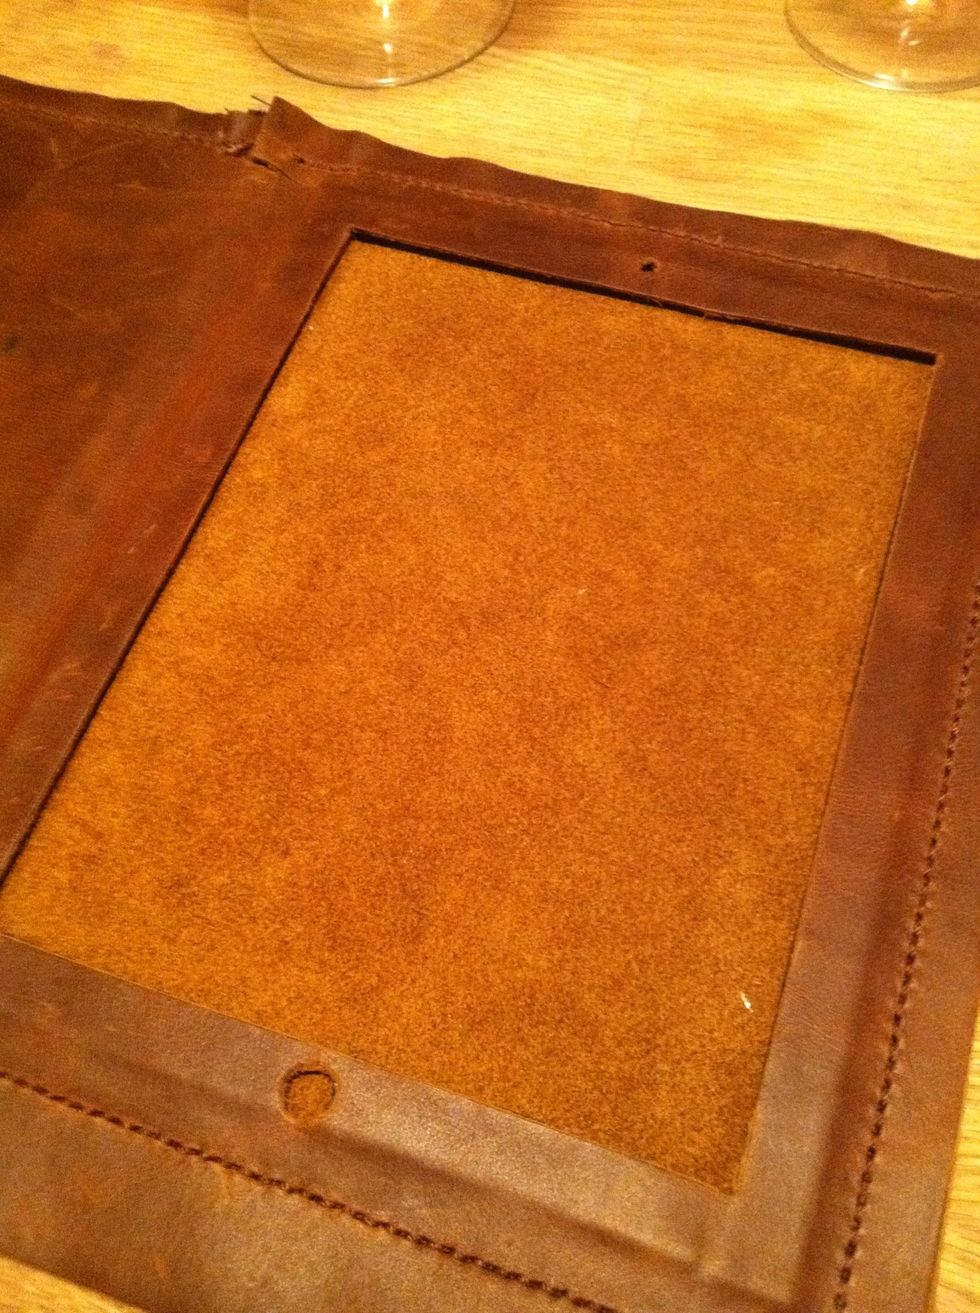
When you're already you can start trimming the edges. I measured 1 cm away from the stitch it seemed like a good border to me
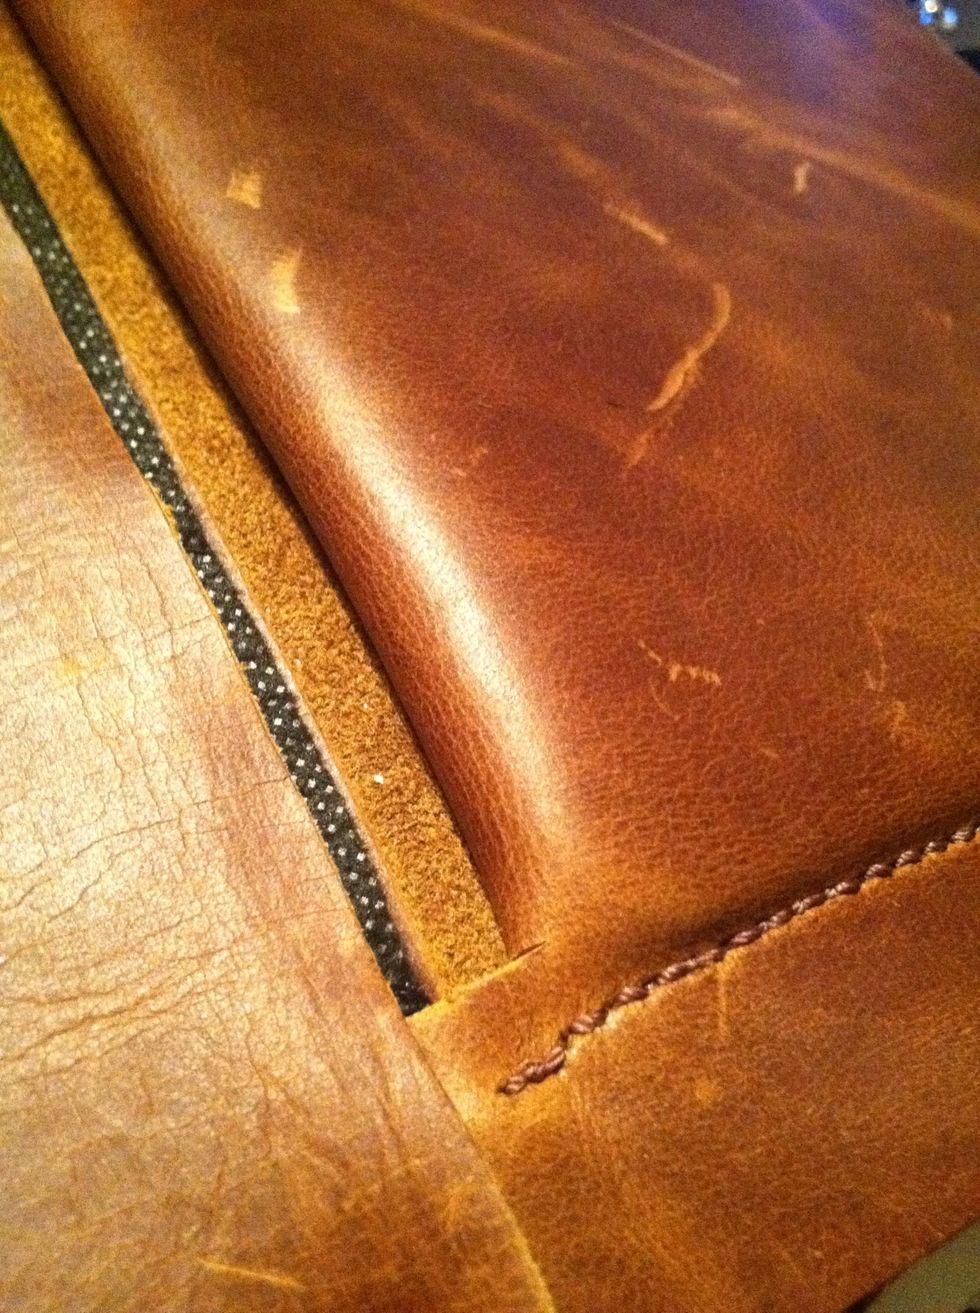
Go ahead and add some leather over the inside of the spine. This adds a nice finish. I just inserted it between the flap & the iPad. You could also sew it into the spine.
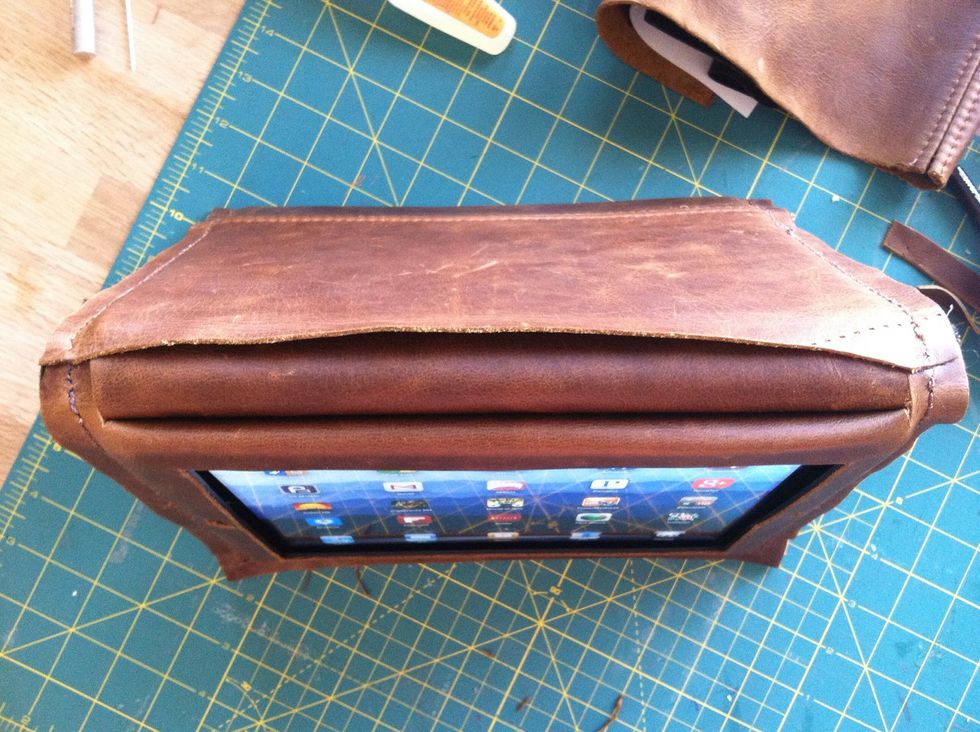
Here's a shot from the top.
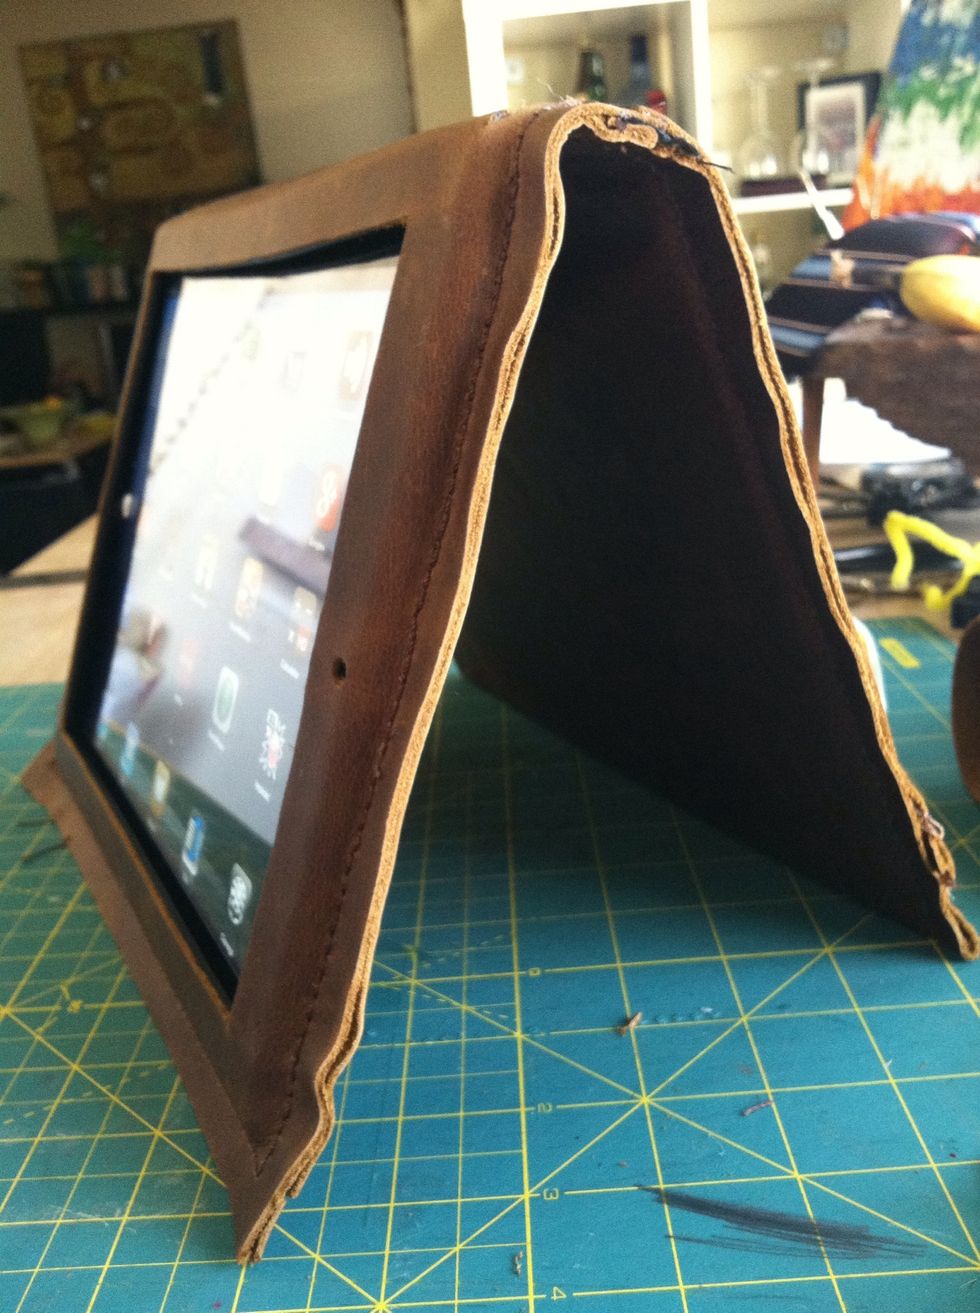
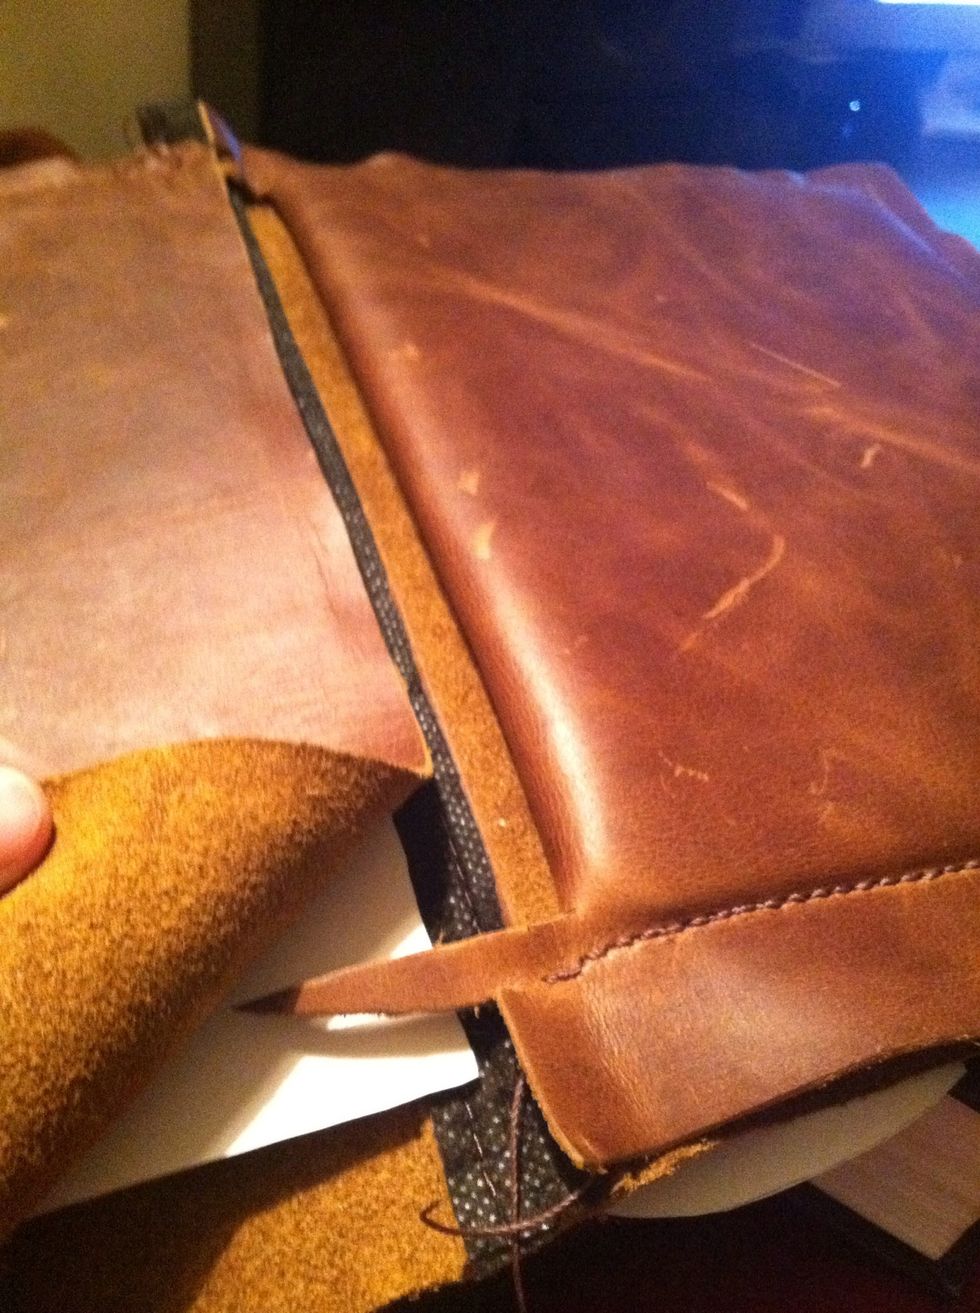
And from the side.
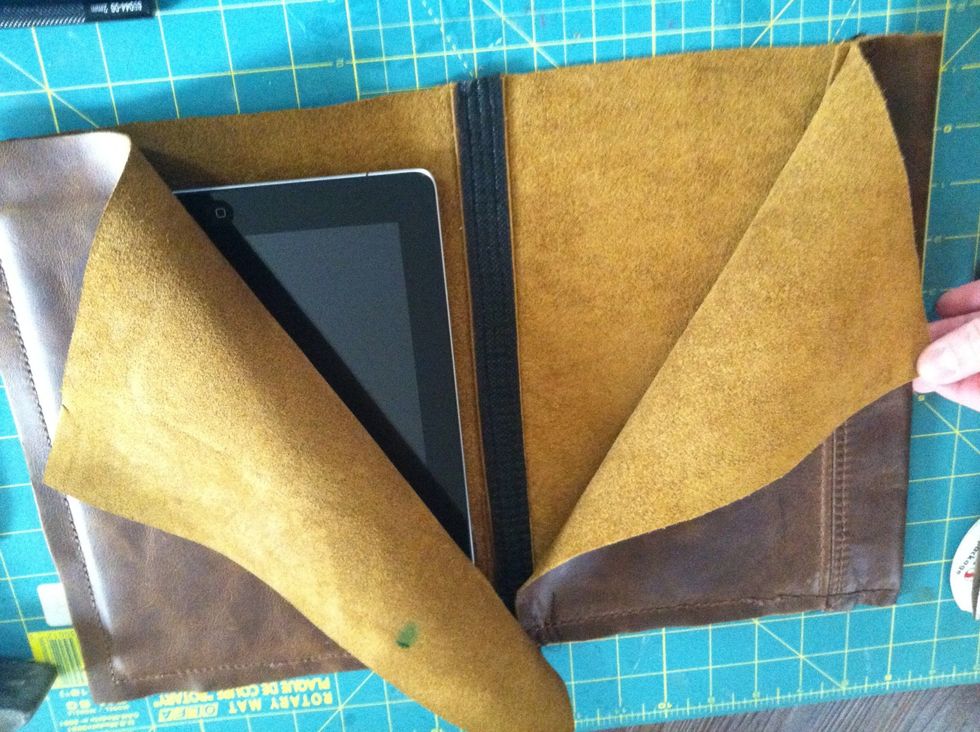
Not its time to trim the inside leather flap. I trimmed it about 3-4 inches in. You can use this pocket to hold papers and cards.
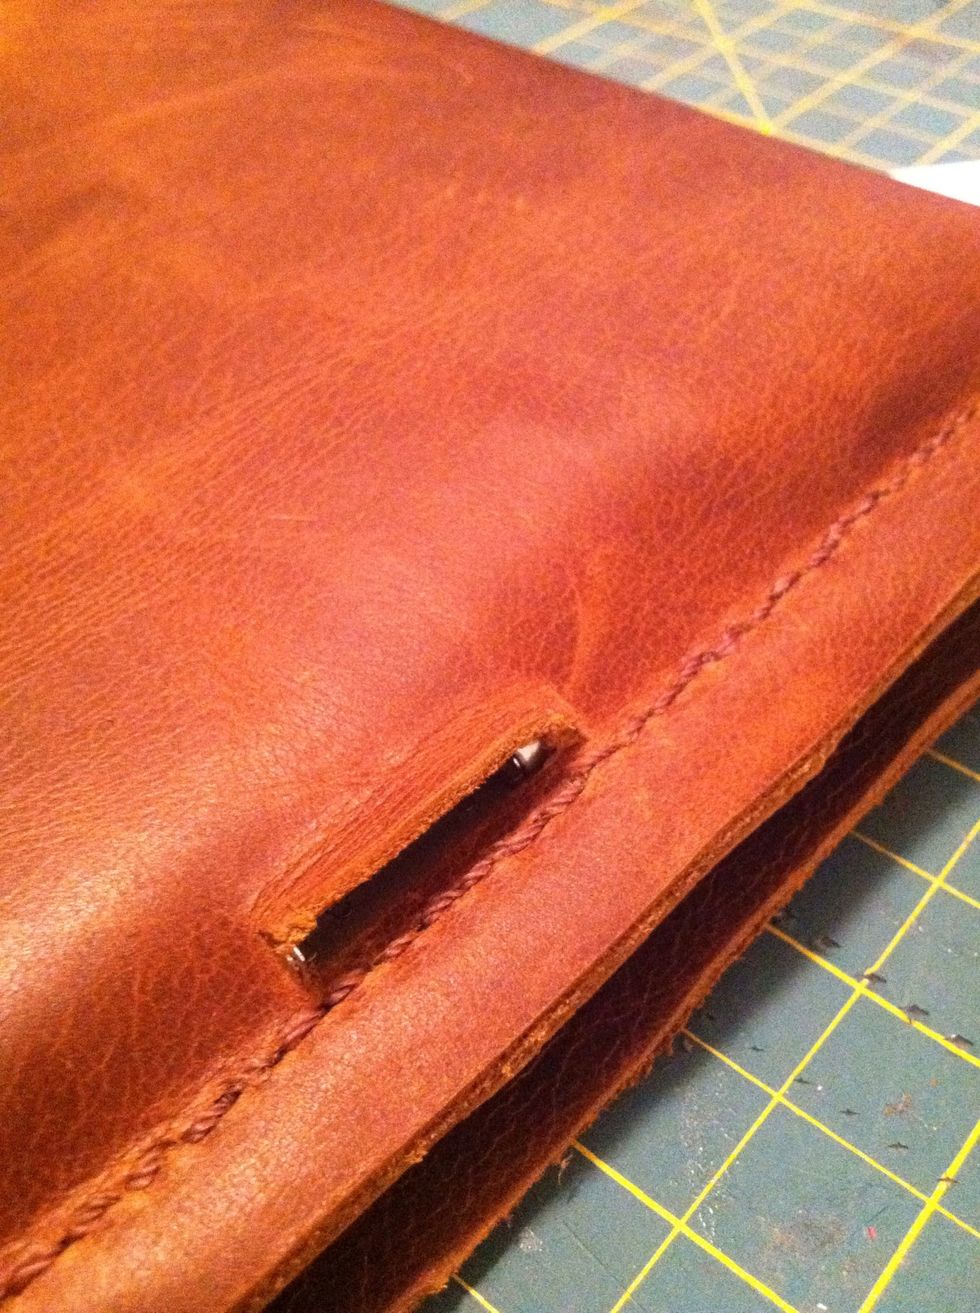
Cut a hole in the bottom for the charging plug.
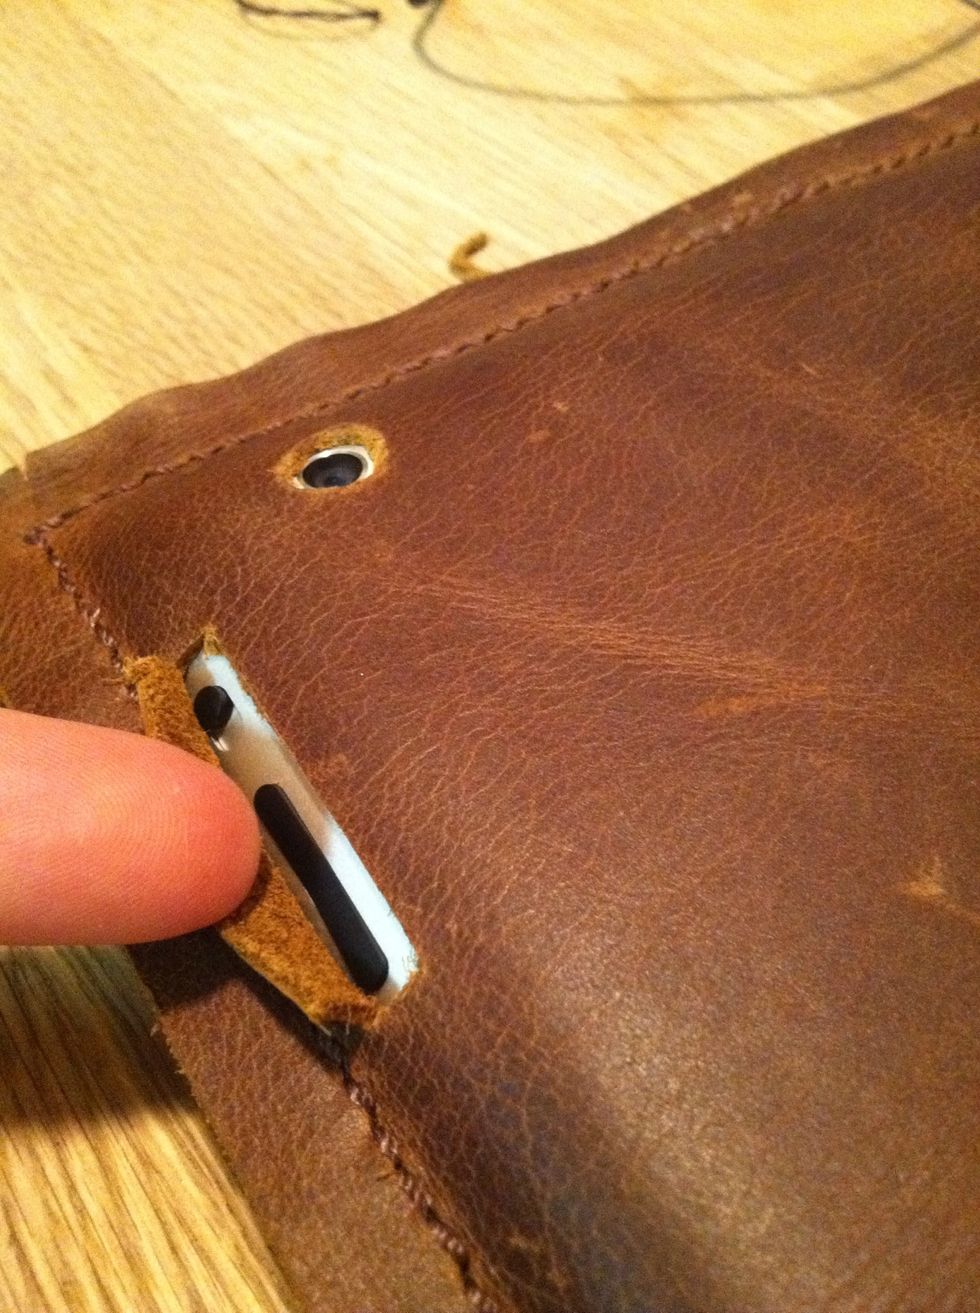
Also cut a hole on the side for the switch for the volume and also make sure you cut a hole for the camera
And there you go.
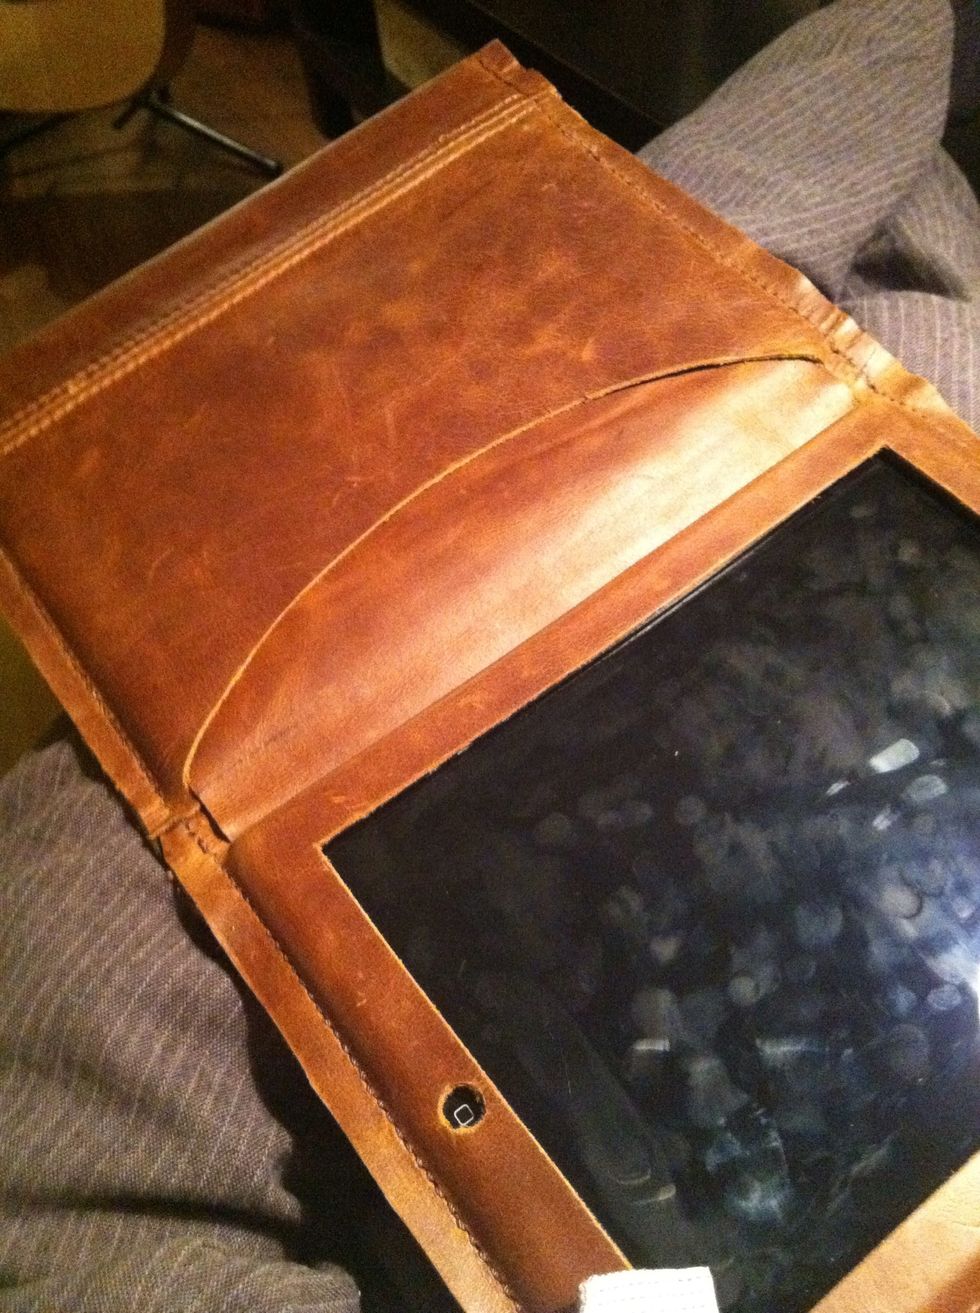
Shot of the inside.
Here's the back. You can also punch holes in the back for the iPad speaker.
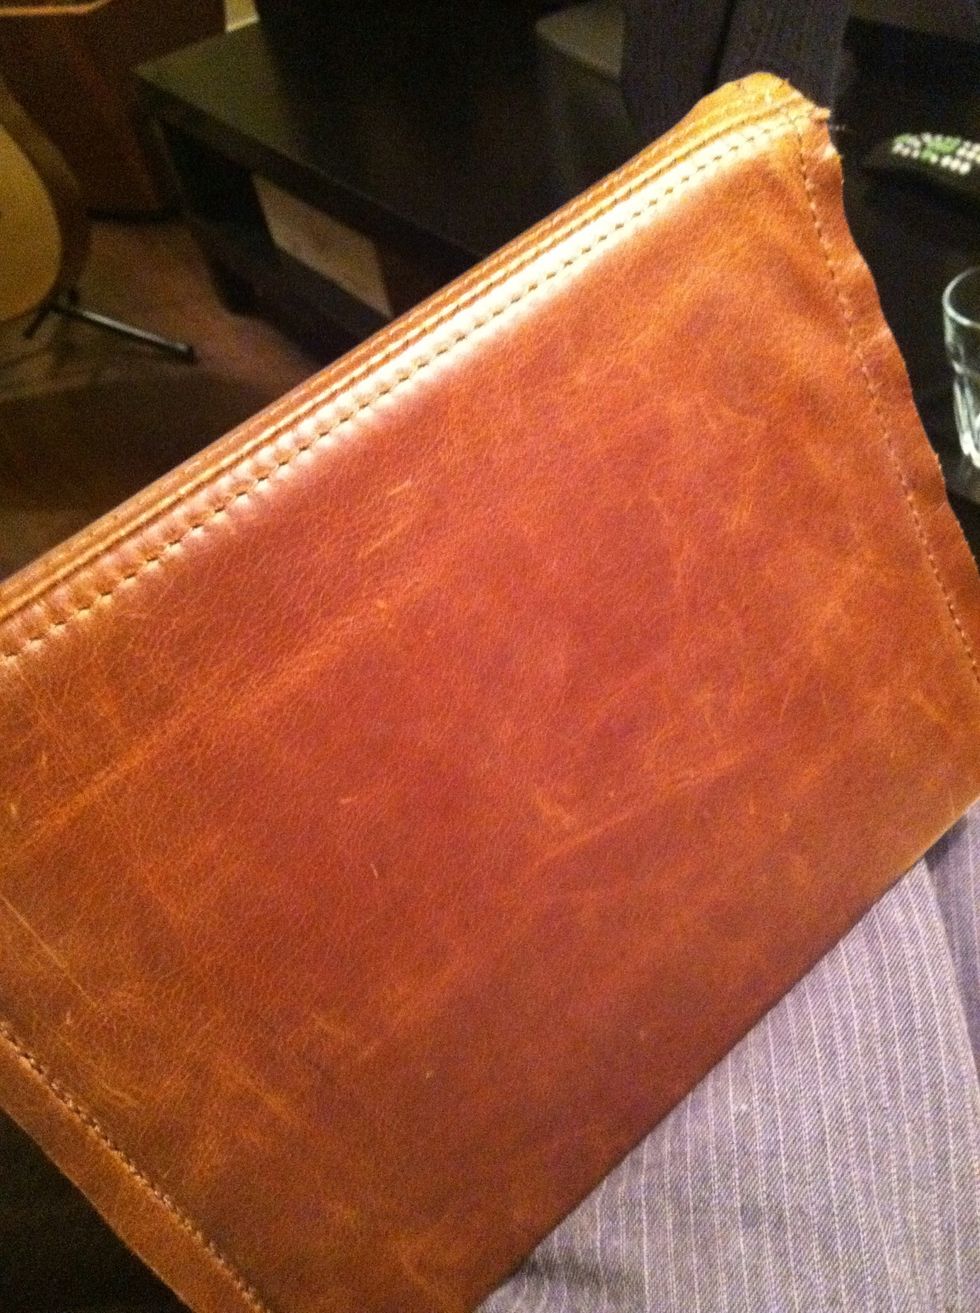
Bam! Your all done :)