The Conversation (0)
Sign Up
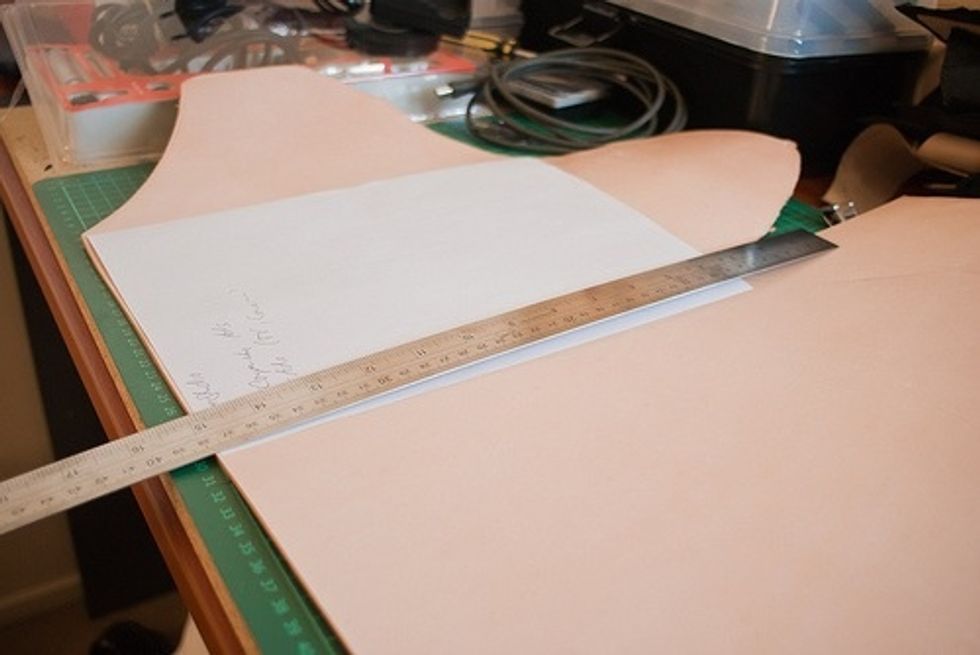
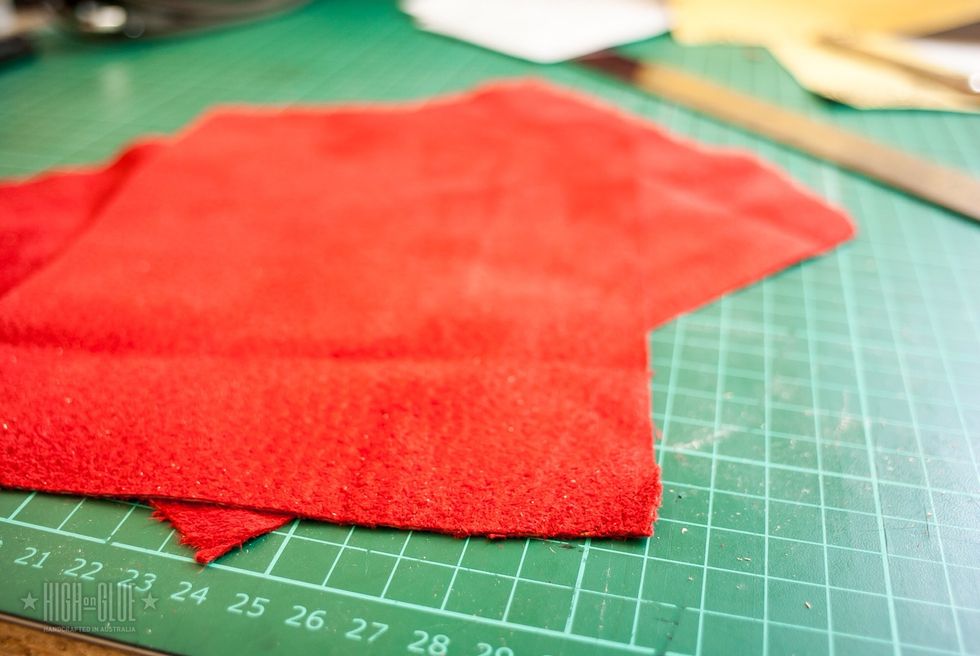
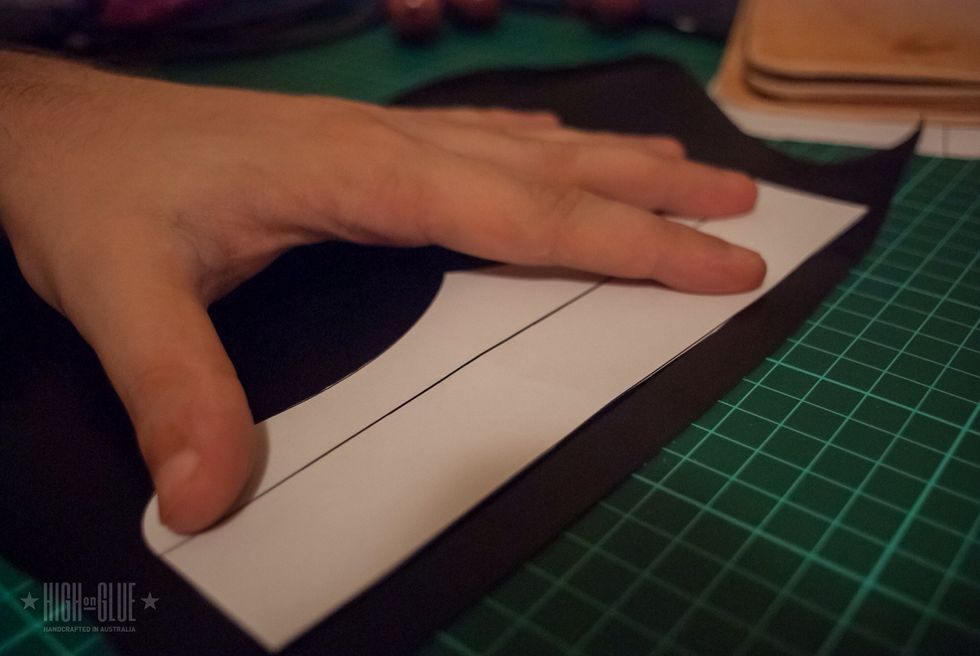
For the main part of the Kindle case (the front and back) you can use 3.6mm thick leather. Anything that’s thicker than 2.5mm will work fine. I use a standard A4 sheet of paper as a template
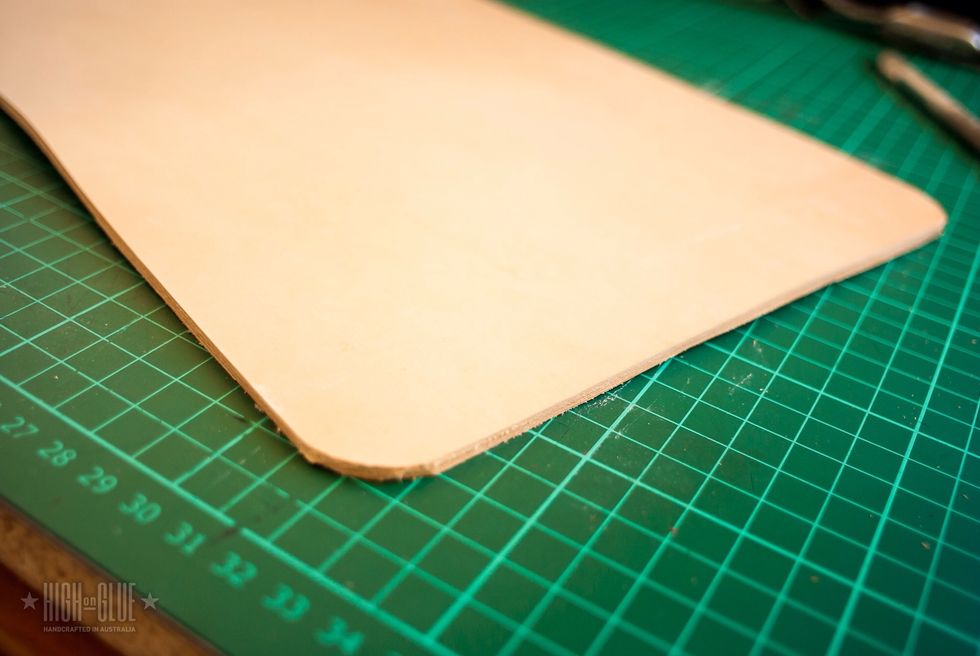
Use a round cap (or anything with a good radius that you can find around the house) to mark where you have to cut the corners. You have to cut all 4 corners and try to make them as even as possible.
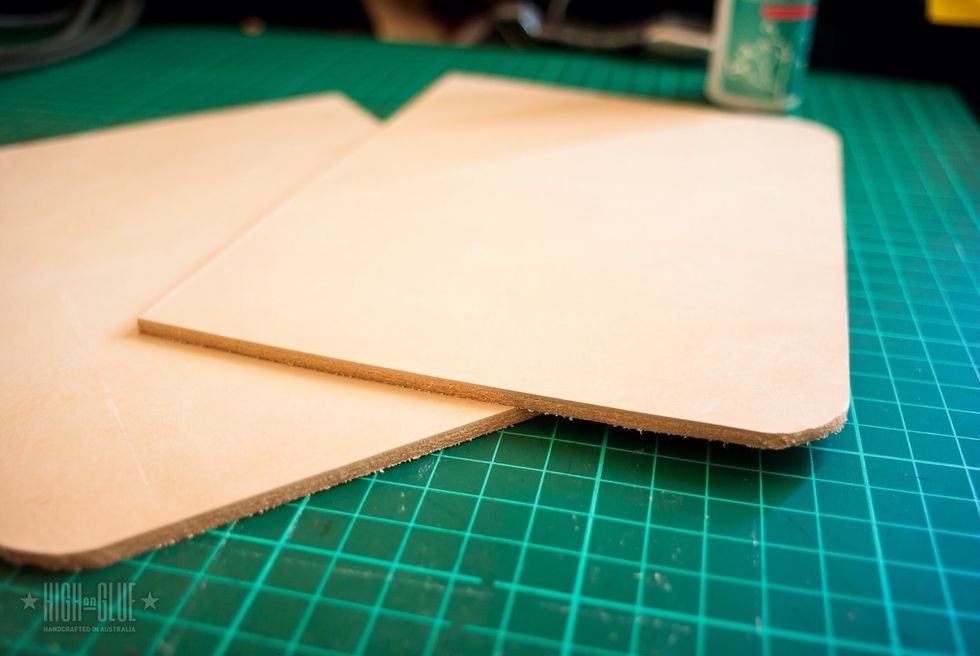
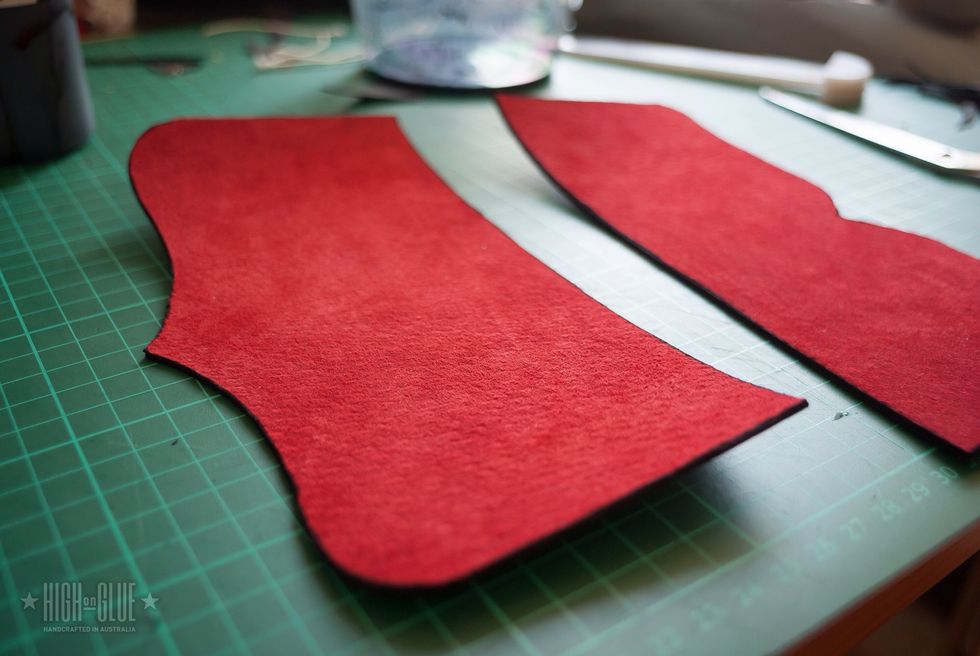
Cut the leather in half. We’��ll later insert a piece of thinner leather as a spine.
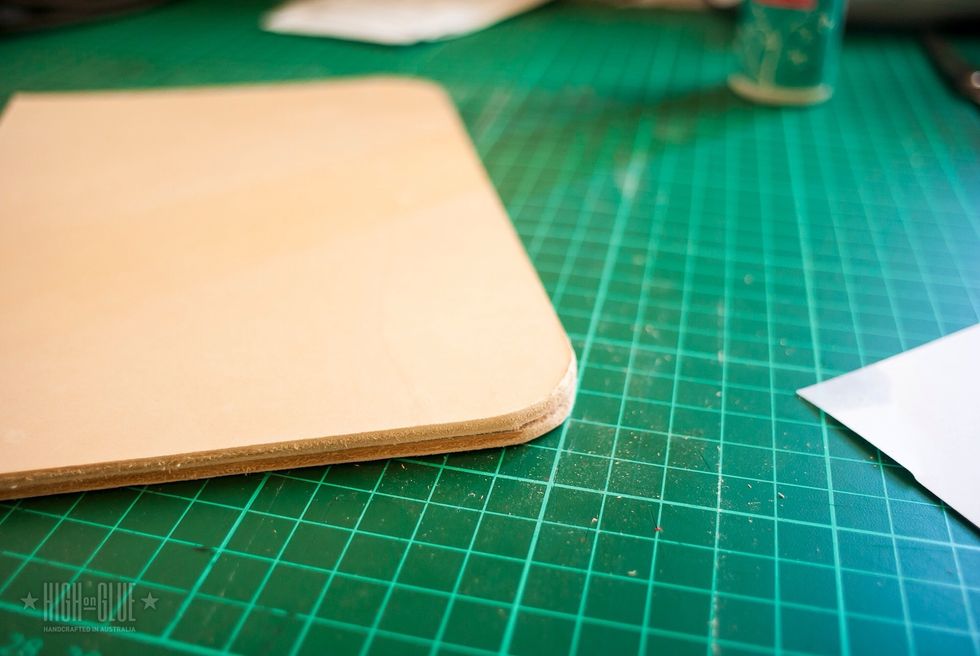
Put the pieces on top of each other and sand the sides and corners to even them out a little bit. It doesn�t have to be perfect but should be fairly close.
Loosely cut the lining material. I find it easier to cut the suede leather a bit bigger than I need it and then trim it after I glued the pieces together.
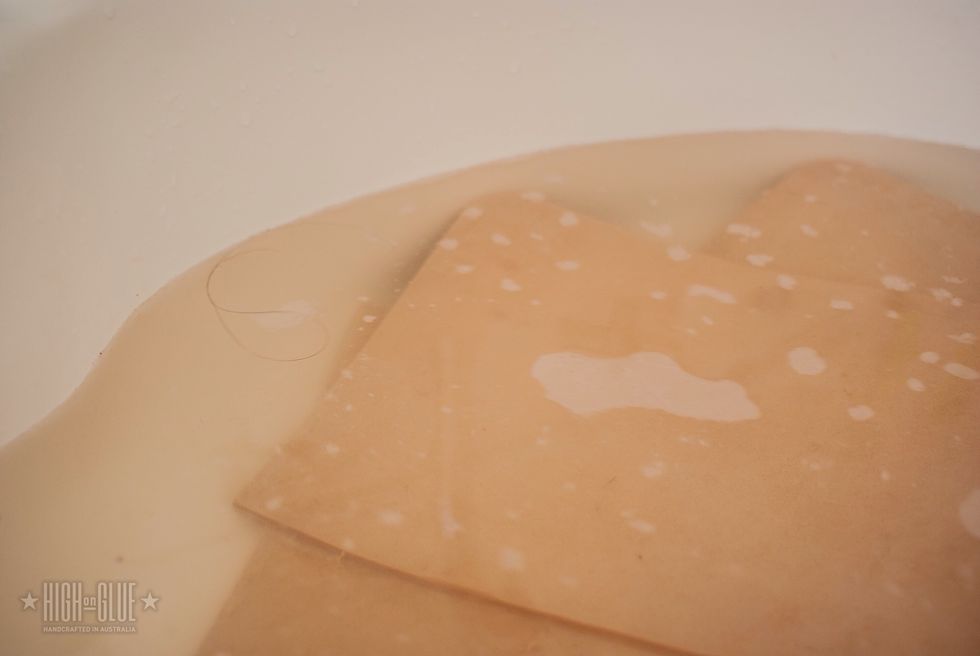
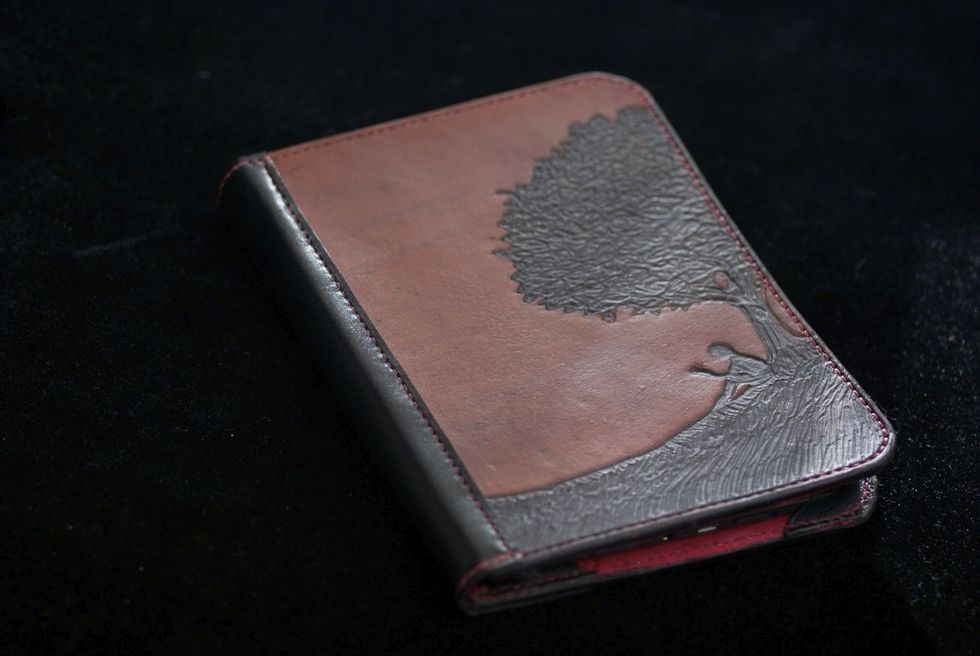
Put the leather in water for a bit and get it out to dry. While it dries it'll reach a point where it'��s almost completely dried through and it'll be ready for embossing.
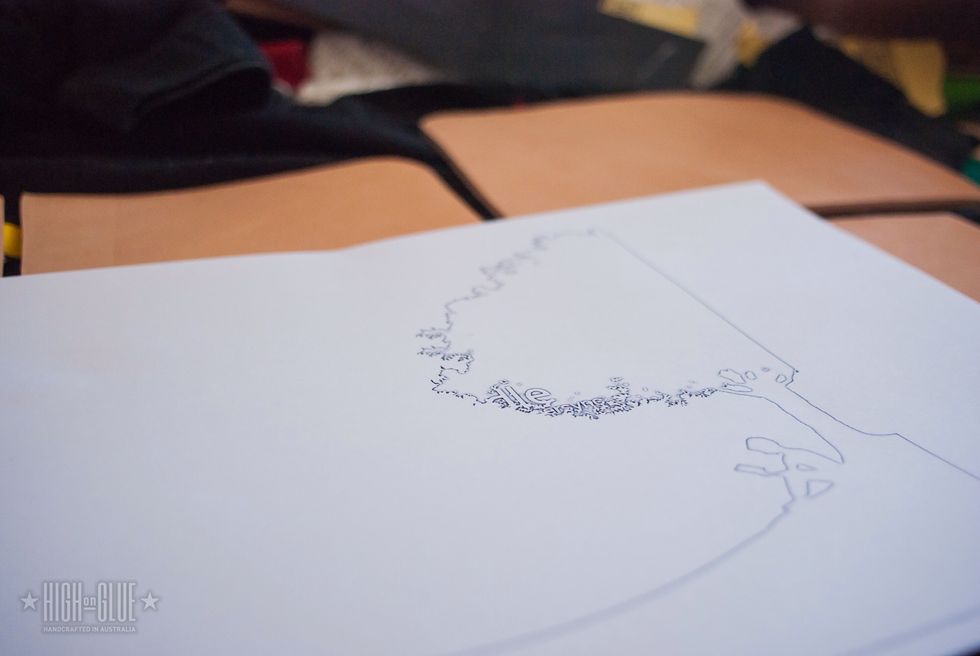
Use a printout as a template to transfer the design to the leather. I trace the lines lightly using a Wacom pen (hey! I'm a graphic designer :D ). You could get a proper tracing stylus or modeler too!
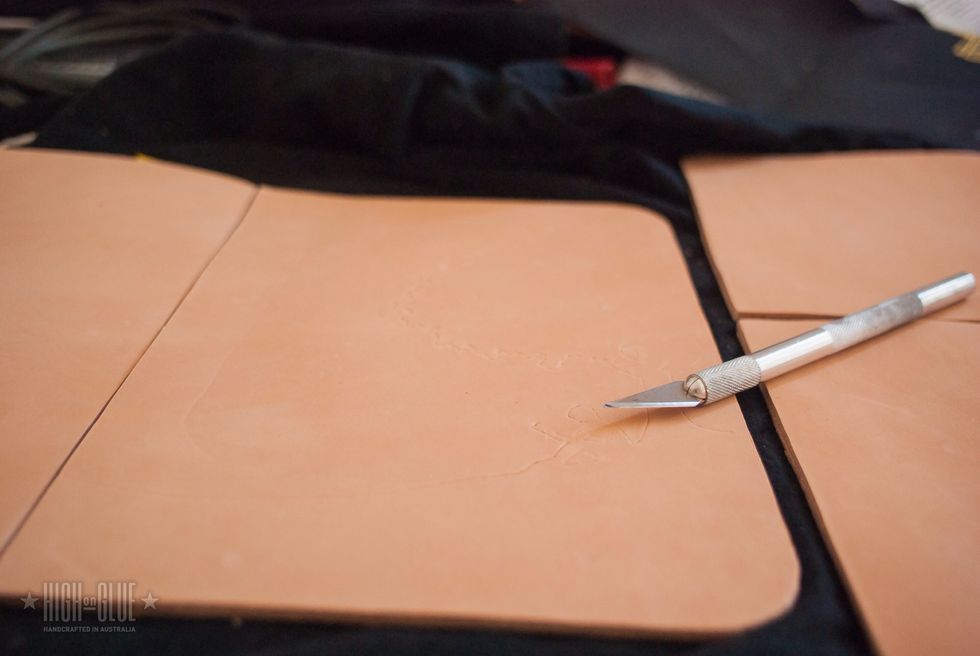
Use a scalpel to cut the design into the leather. If you have a Swivel Knife, you can obviously use that, but chances are that if you're reading this, you don'��t have all the leather tools at hand.
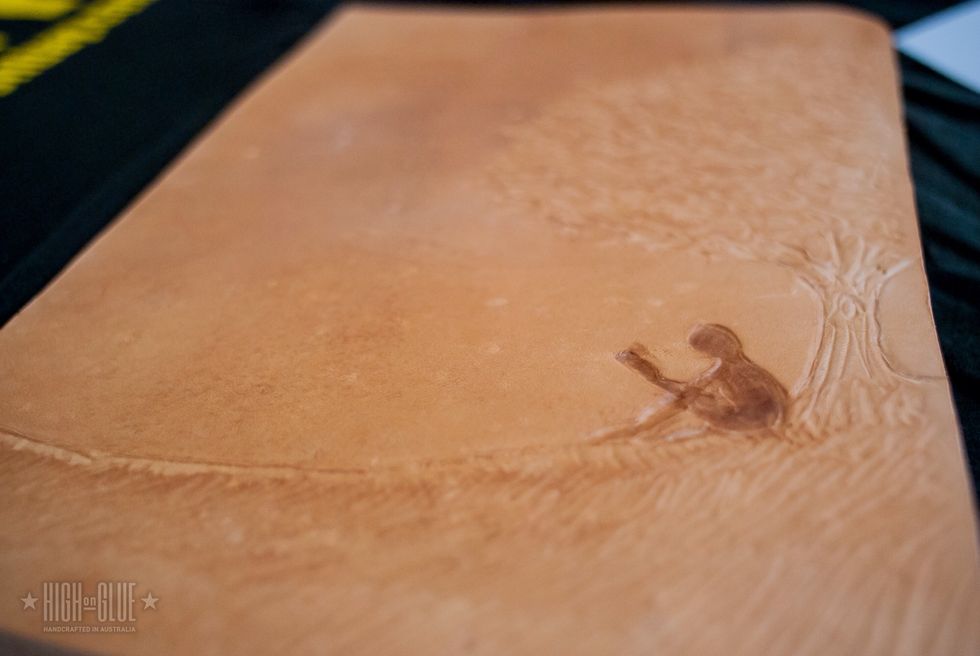
Disclaimer: I didn't use traditional techniques or the proper tools! I use a Wacom Pen (again) and any sharp or blunt object I can get my hands on to emboss the leather...
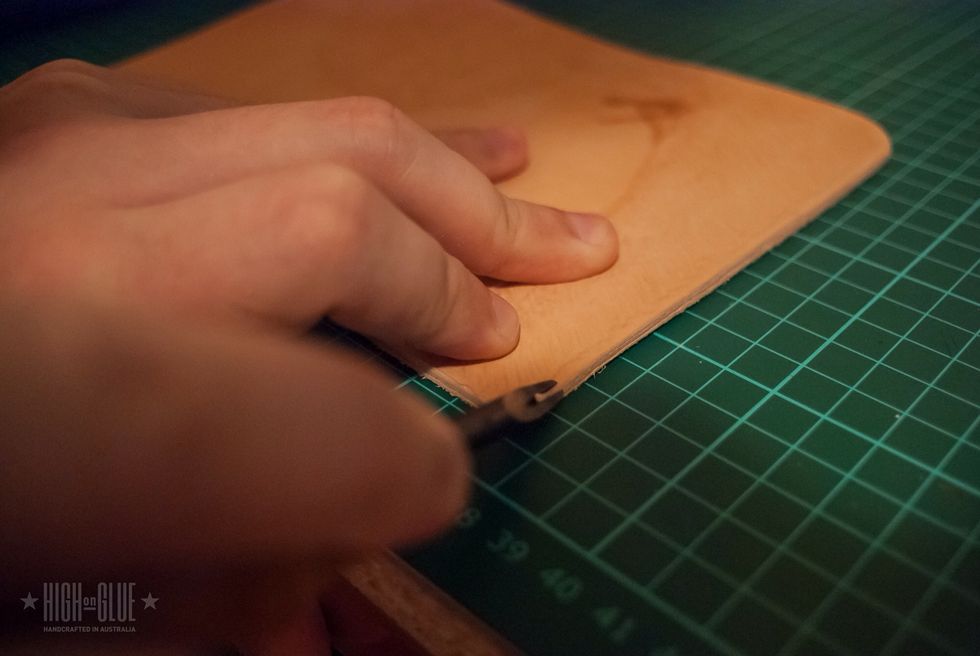
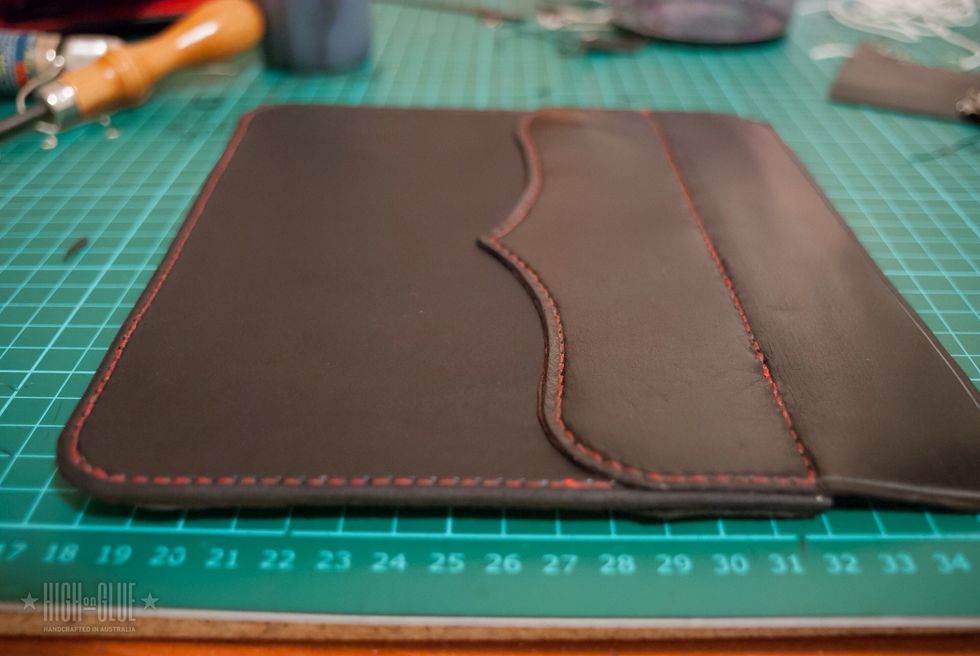
To round off the edges you can use an edge beveller. This will give the case a nicer, more professional looking edge. We'll refine the edge a bit later.
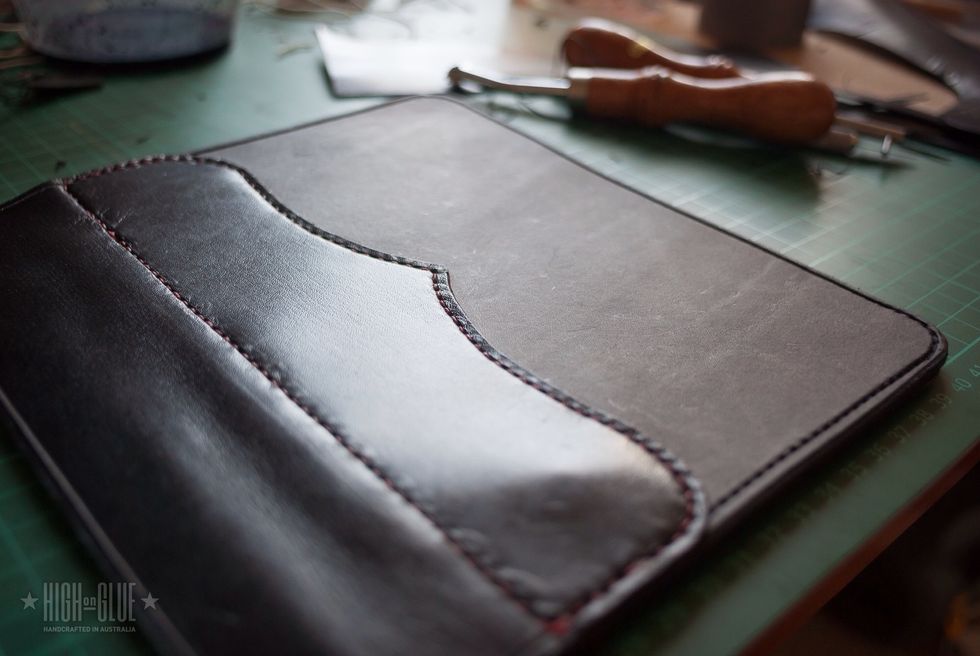
Use a stitching groover to create the sewing groove. Just slide it along the edge. You won't have to groove the side where the spine will be attached. We'll put some leather on top of that, later.
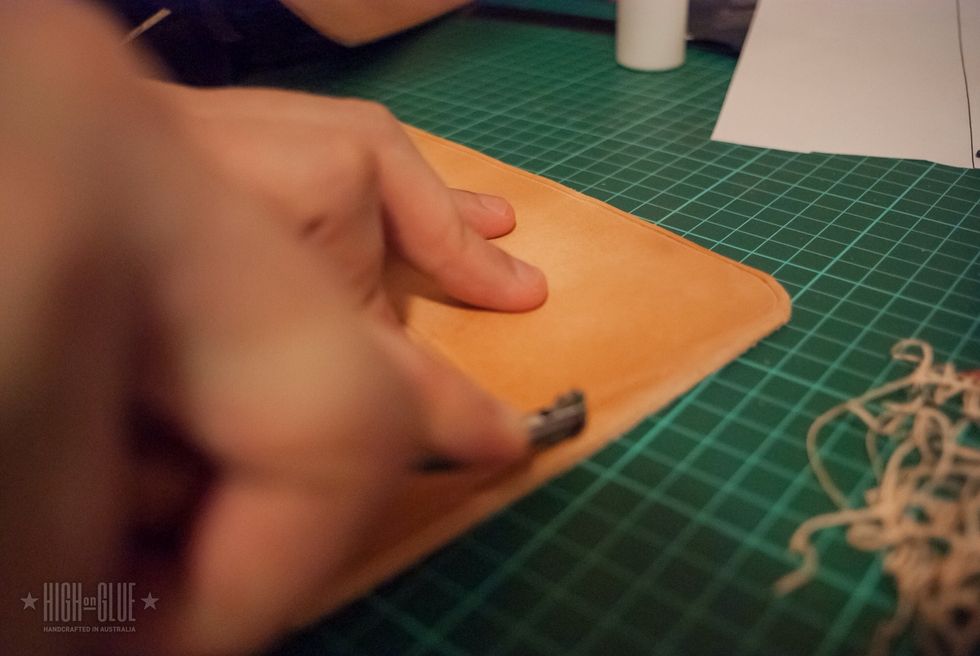
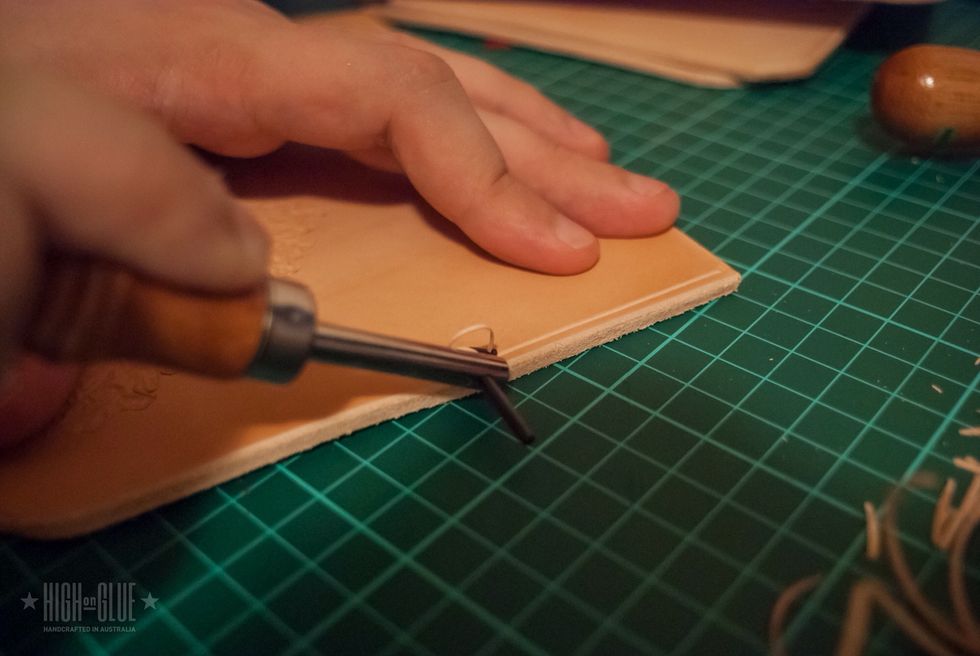
Use a stitch spacer (a tool with a "spiky" wheel) to make the markings for your stitches. This will help you to create even and nice looking stitches later on.
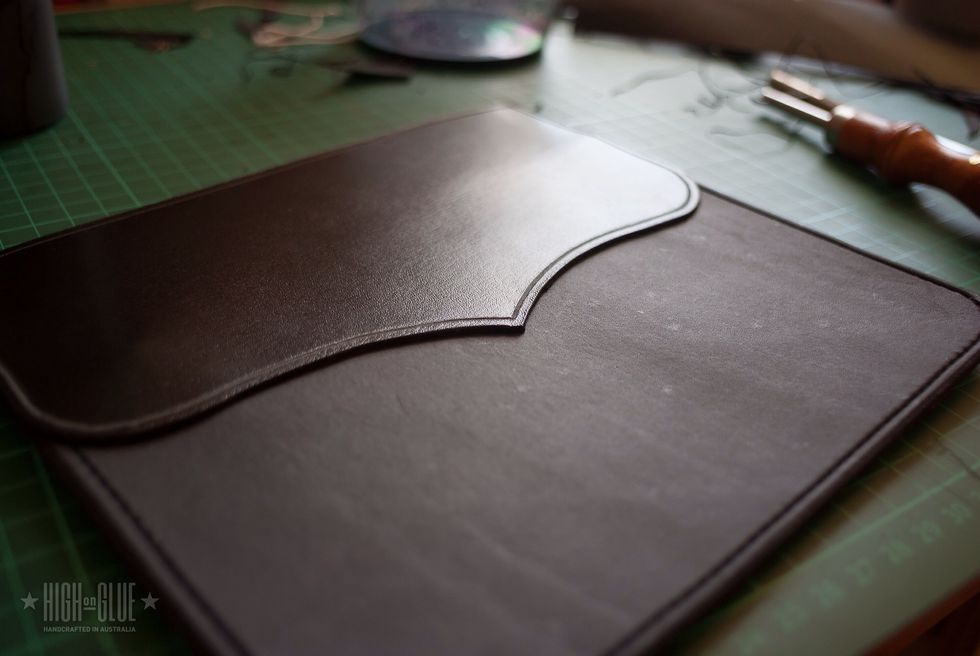
Create a template for the spine of the cover and use it to cut a thin but strong piece of leather. I use kangaroo leather because it is very strong and still flexible.
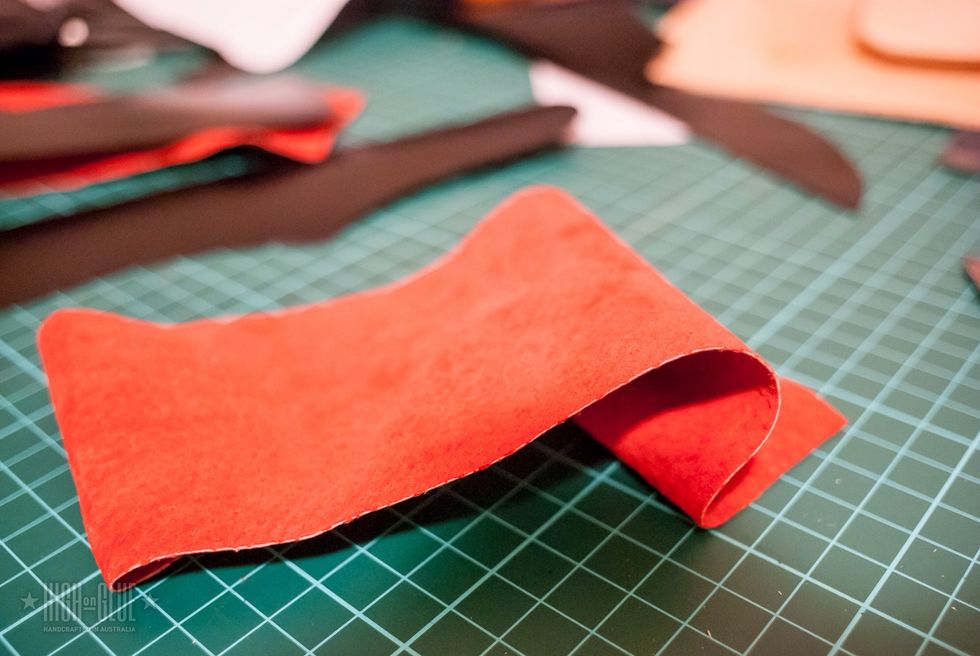
Here you can see the finished spine. I glued the lining on and then I cut the excess lining off. The suede lining I used had a white centre so I decided to hide that by dyeing the edges black.
We'll need the lining for the spine part that we just cut out. Cut a piece that's larger than the spine and you'll be able to trim that once you glued it in place.

Apply the leather dye to the cover.
I used 2 tones to set apart the background. The dye flows into the cuts along the edge, so separating the colours is not too hard.
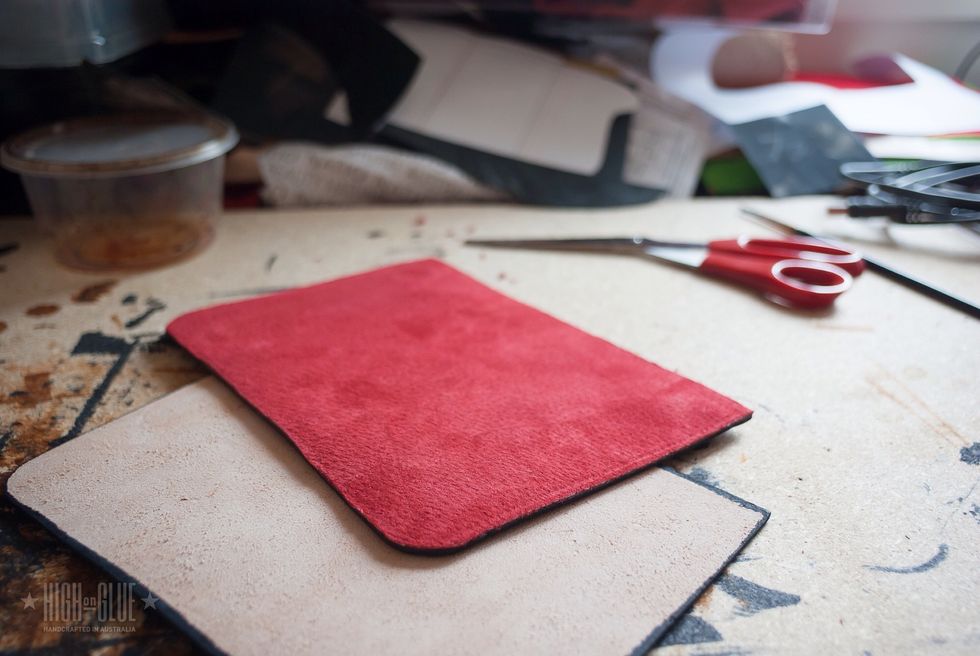
Once the covers are dry, you can glue on the lining using spray adhesive.
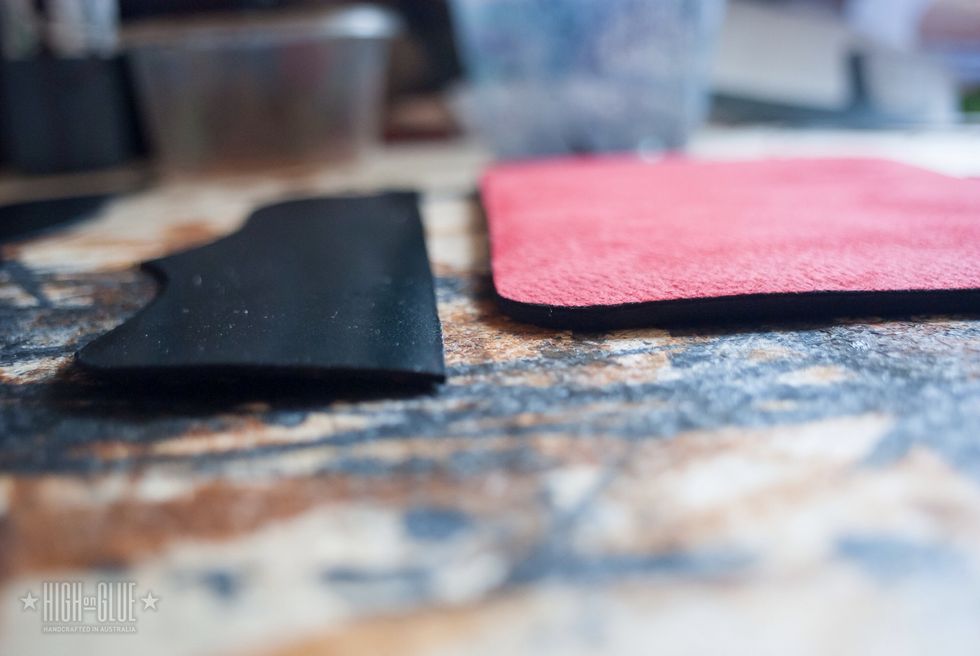
Cut the excess leather off and dye the sides of the lining black. Sponge brushes work very well for dyeing edges or larger areas.

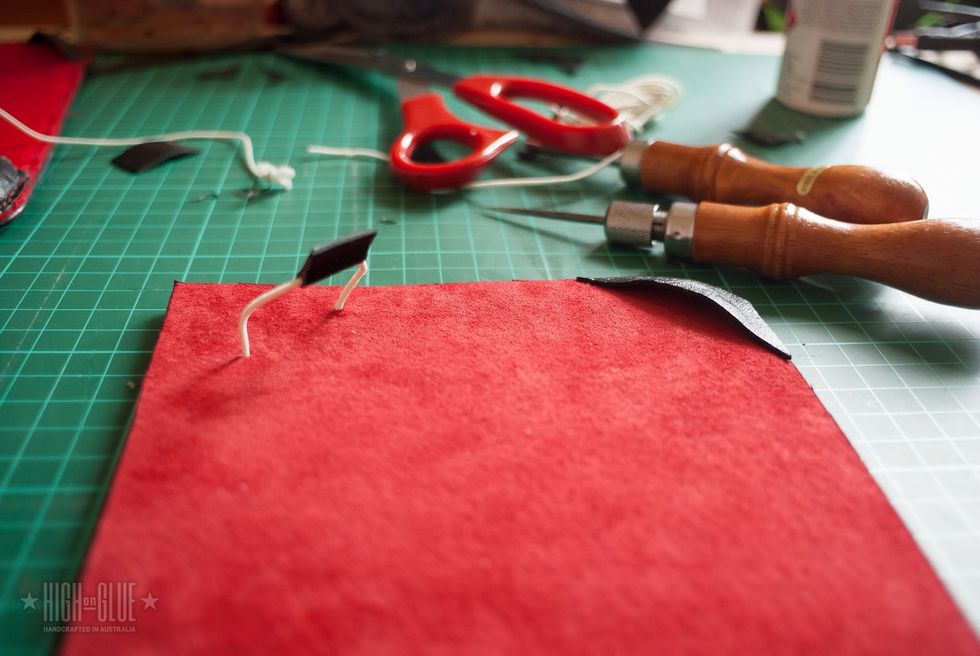
Cut 3 corners (from around 4.5cm squares) and one small rectangle from a piece of kangaroo leather
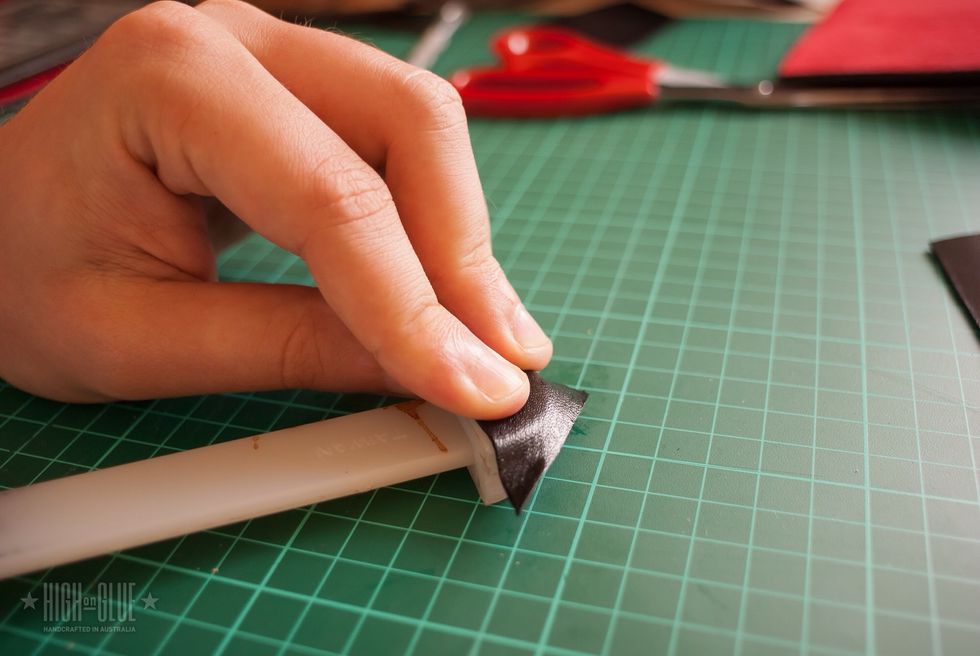
Slightly stretch them into shape using a bone folder (or bottle cap or similar)
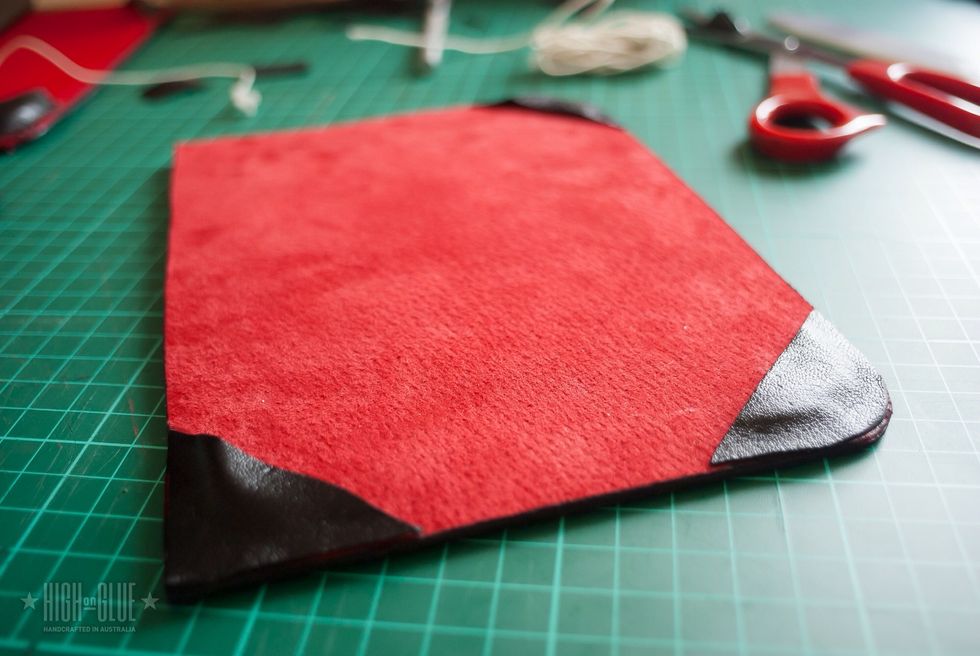
Glue the corners on the inside cover and cut off the excess leather at the rounded corners.
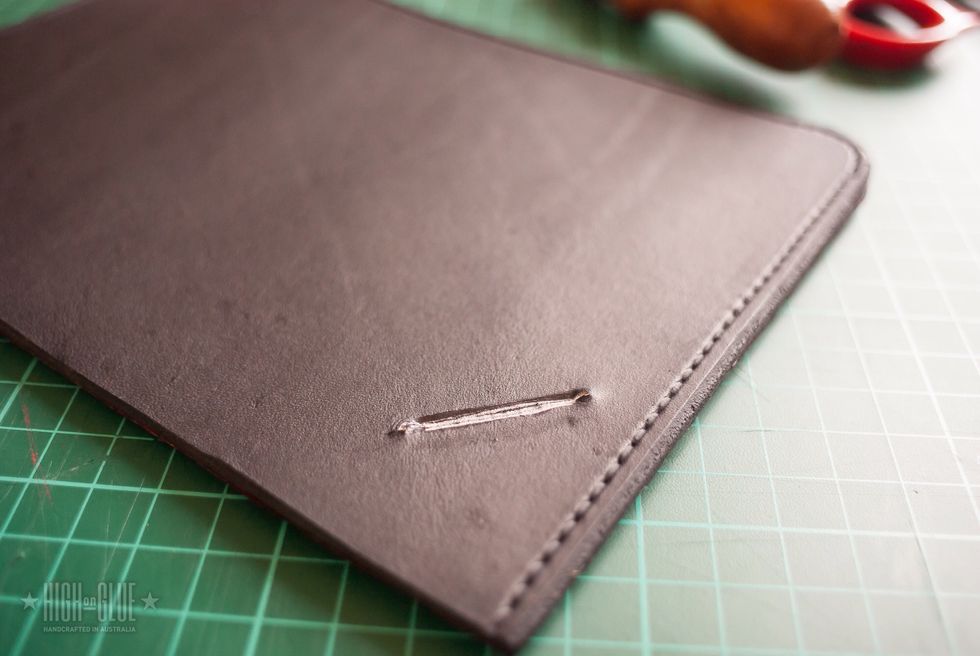
Punch holes at the top left of the back cover and create a space for the rubber band.
The rubber band will make it easier to put the Kindle in the case and the leather rectangle makes it easier to lift the rubber band and it helps keeping it in place on the device.
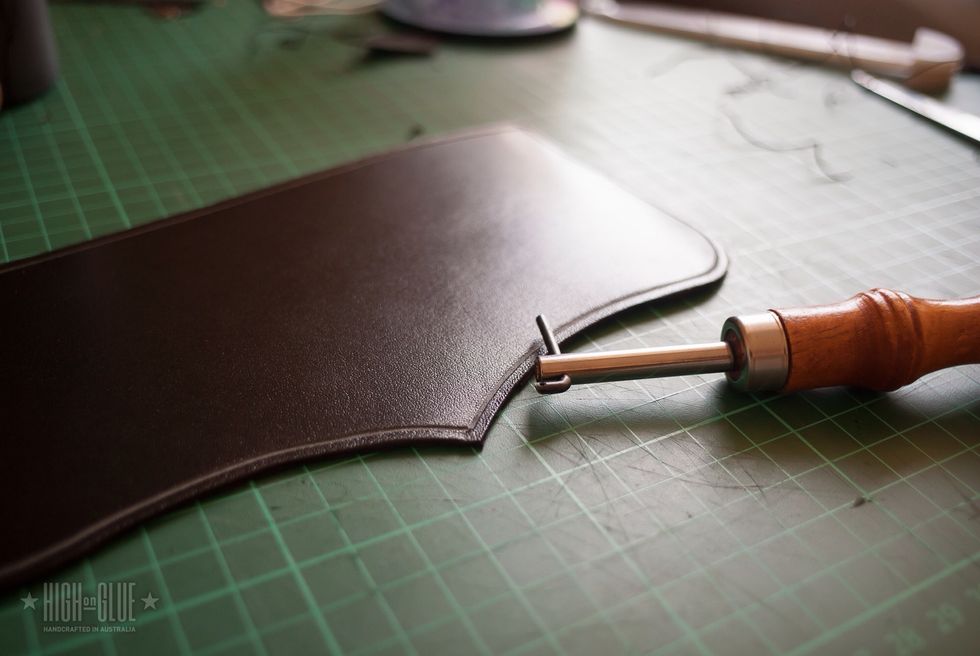
The spine needs a stitching groove as well.
Glue the piece of leather in place. It will cover the back of the rubber band and will also help make the back cover look a bit more interesting depending on what shape you're going for.

I use waxed thread, 2 needles (similar to these) and a sewing awl to sew these pieces of leather together. Check out my hand sewing tutorial if you don't know how to sew a project like this.
This is the spine (and corners on the other side of the piece) already sewn into place.
The corners are now also in place and you can stretch them nicely to make the kindle fit
Finished back cover. Now you just need to sew on the front cover, the same way
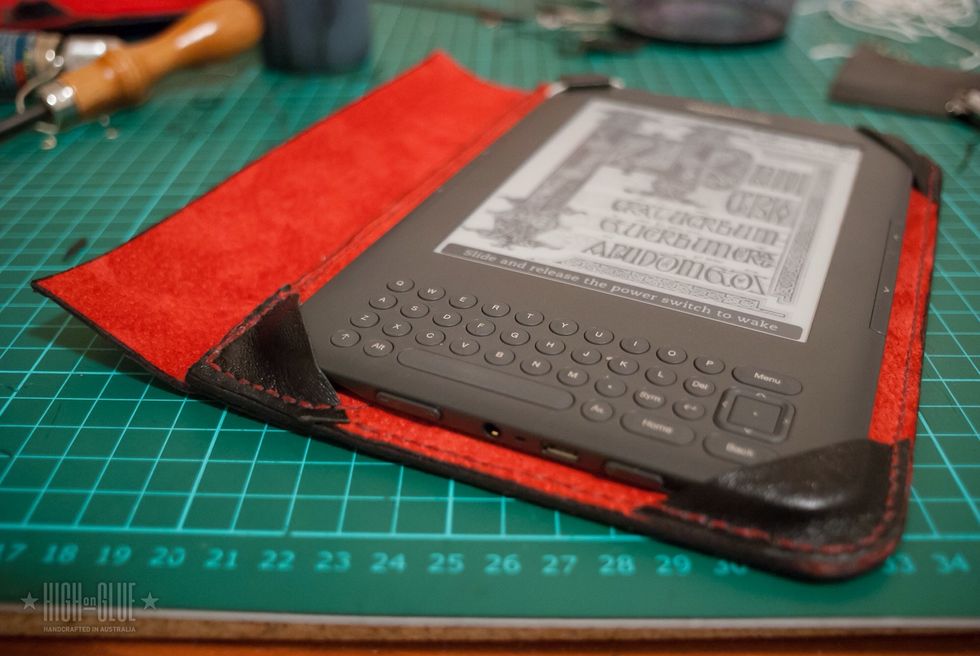
Finished case!

Inside of the case

The rubber band
Hope this guide inspires you to try and make one of these. Let me know if you have any comments, ideas or questions. If you make one, I would love to see what yours looks like, too!