The Conversation (0)
Sign Up
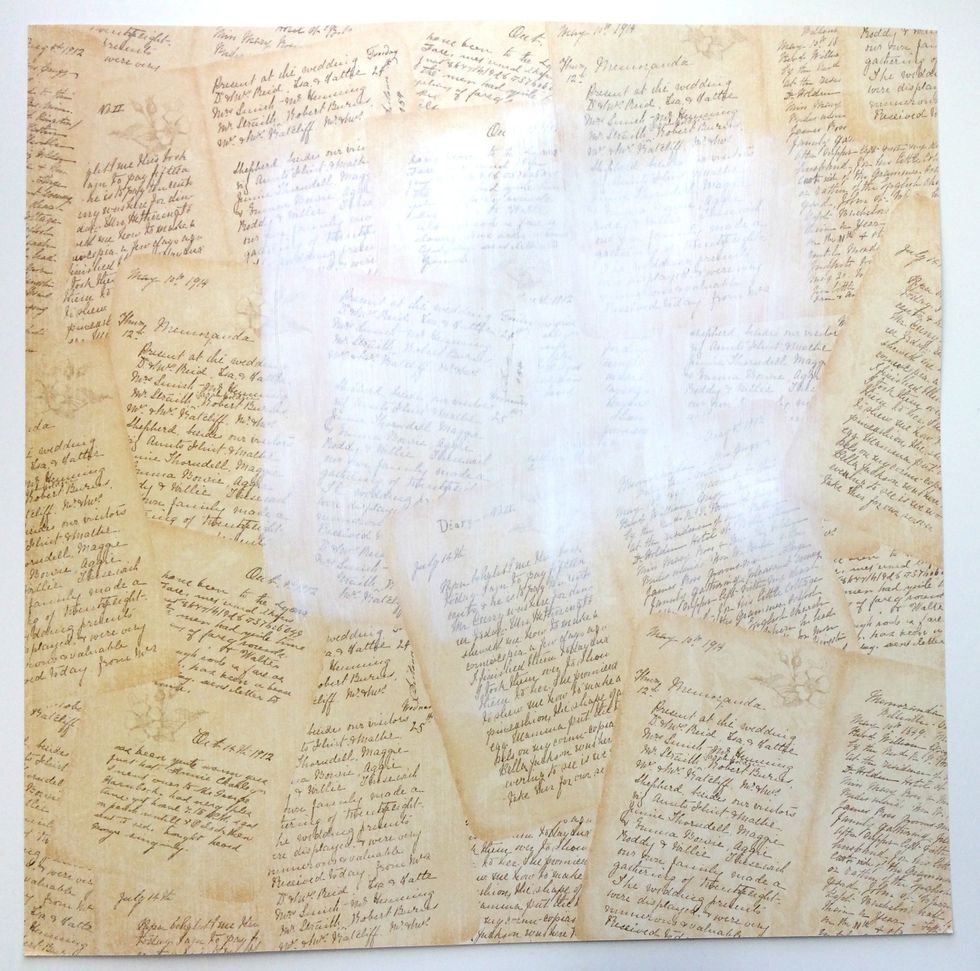
Apply a thin layer of White Gesso to the top middle of the A Moment in Time paper. Set aside to dry.
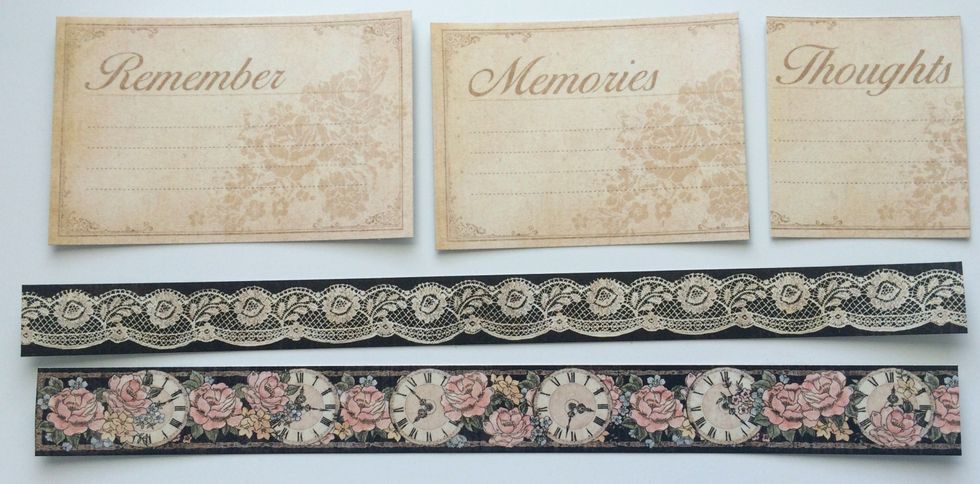
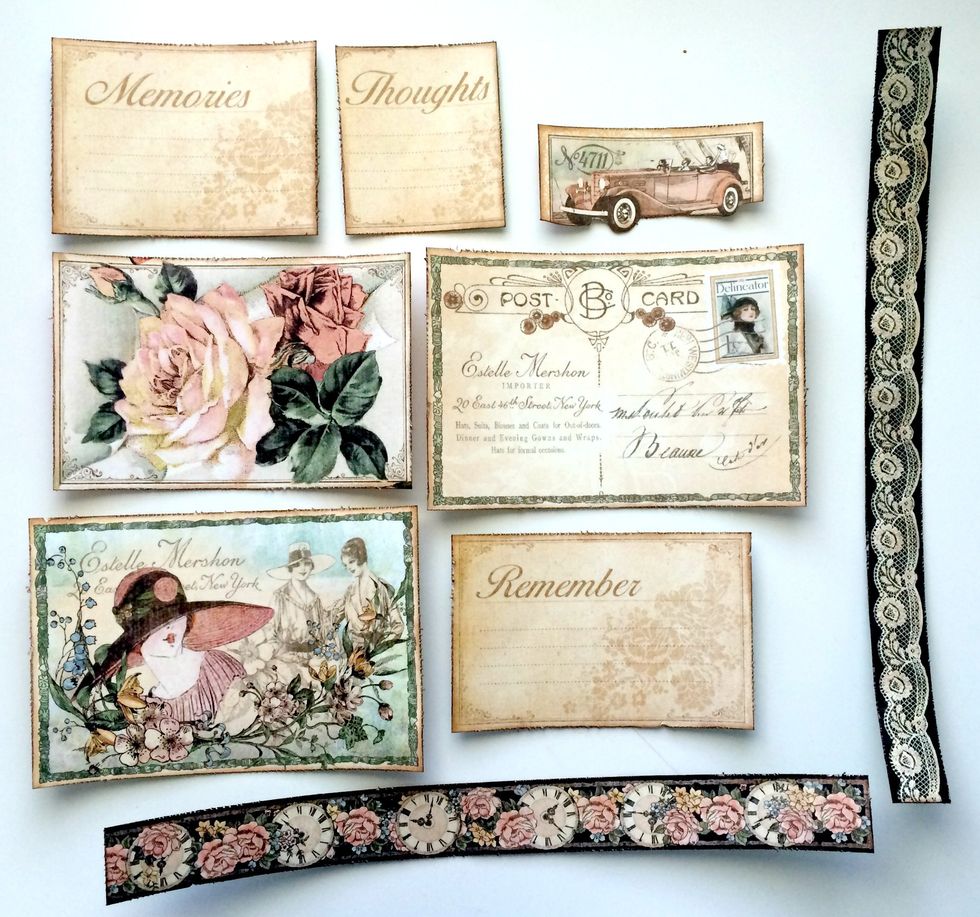
Cut out the lace border, clock border, the remember card, the memories card and the thoughts card from the Lasting Impressions paper with a paper trimmer.
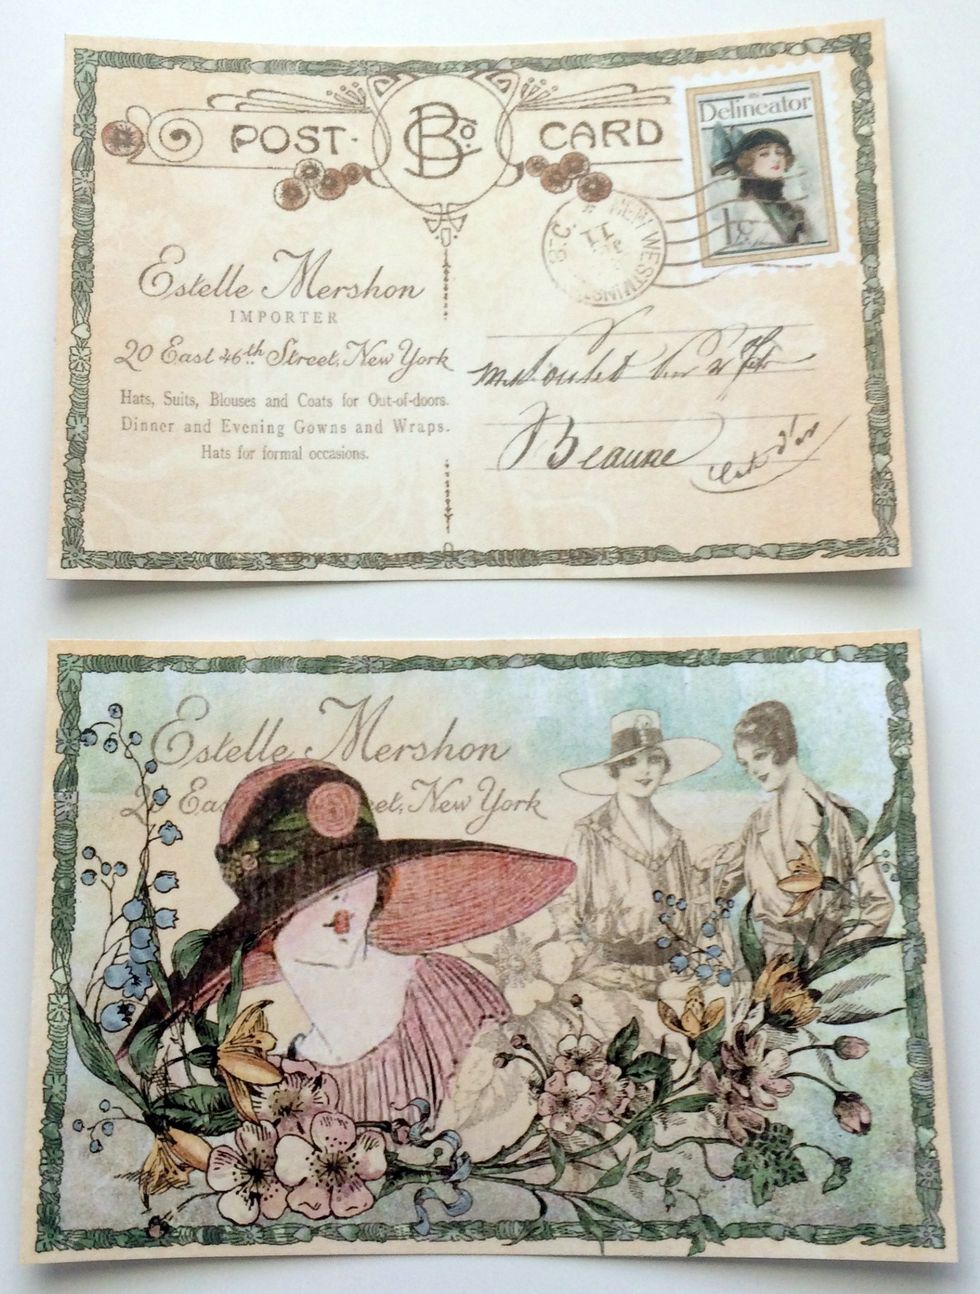
With a paper trimmer cut out the post card and decorative post card from the Ageless Beauty paper.

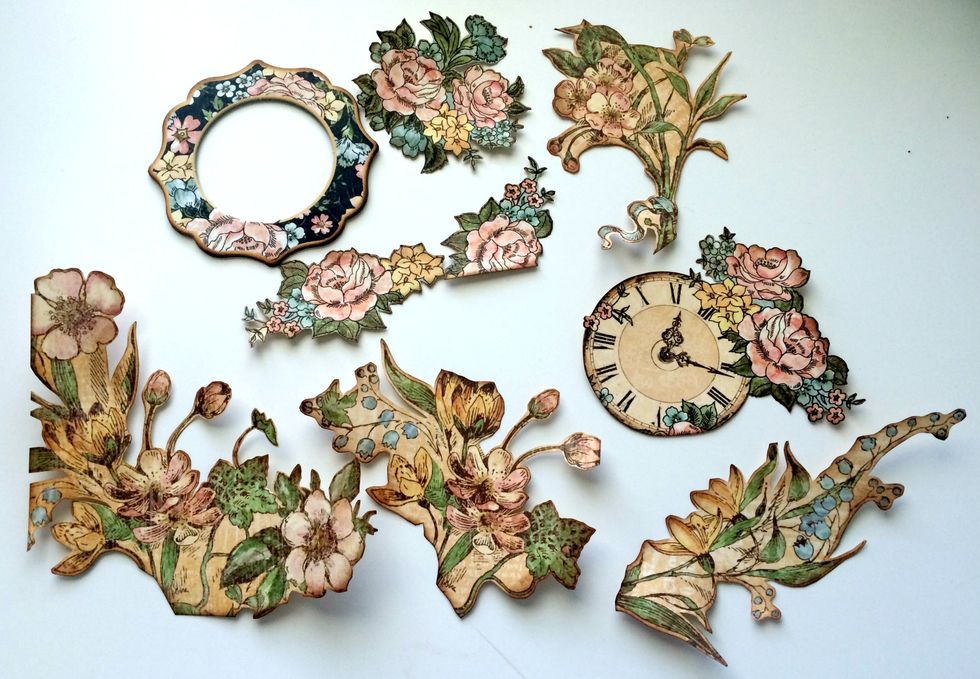
Punch out the floral frame from the Chipboard Tags. You won't need the inside of the frame.
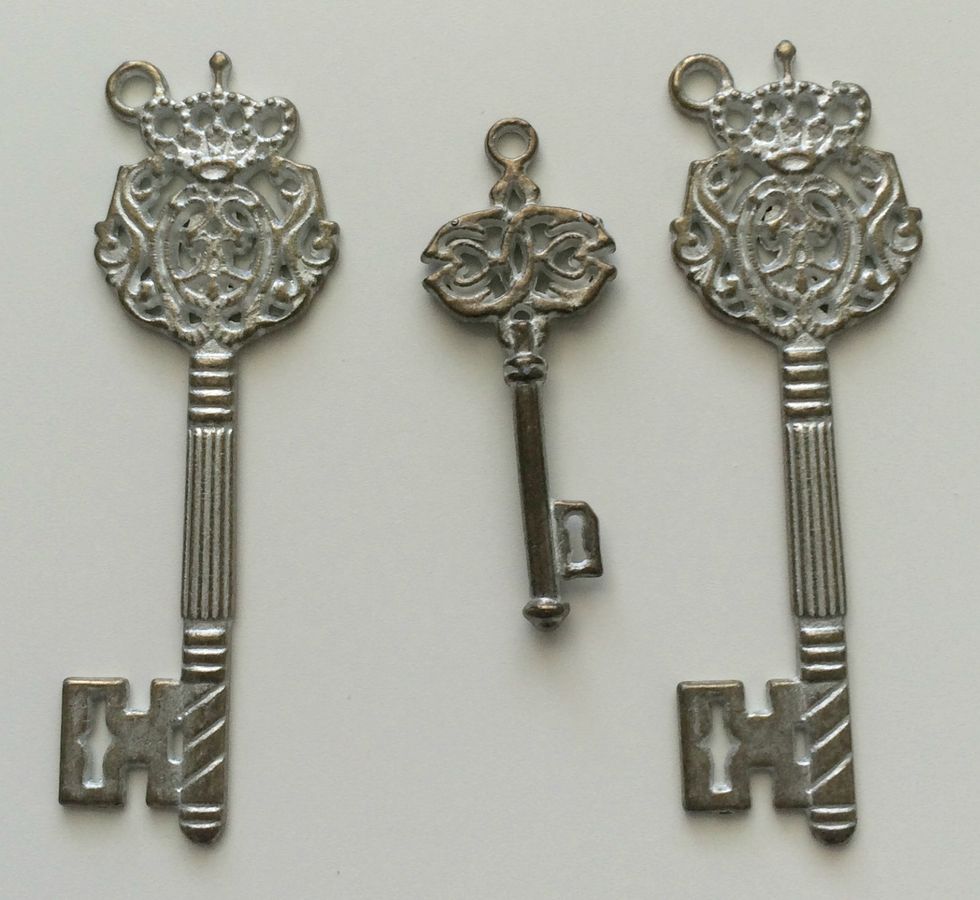
You will need to select three Shabby Chic Ornate Metal Keys to use on your layout.
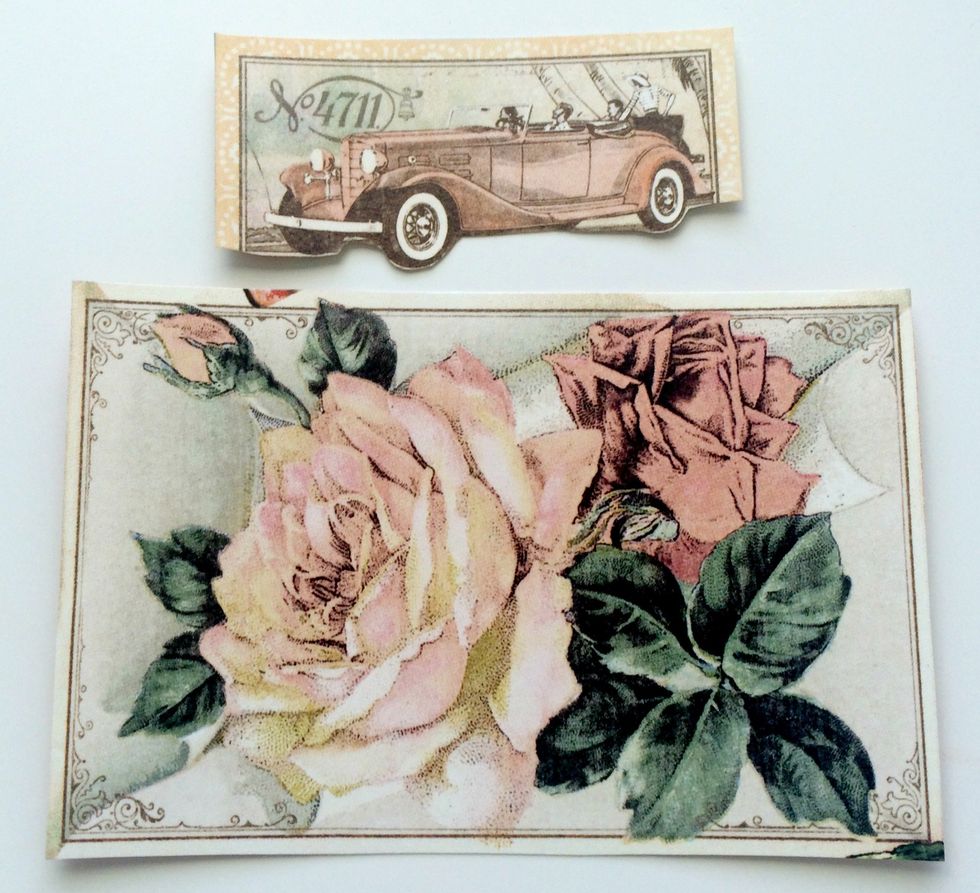
From the Ageless Beauty paper, cut out the postcard with roses on it and the rectangle with the car. You will need to cut around the bottom of the car so that it fits on the layout.

Precision cut a variety of three flower bunches and one clock with flowers from the A Moment in Time Paper.
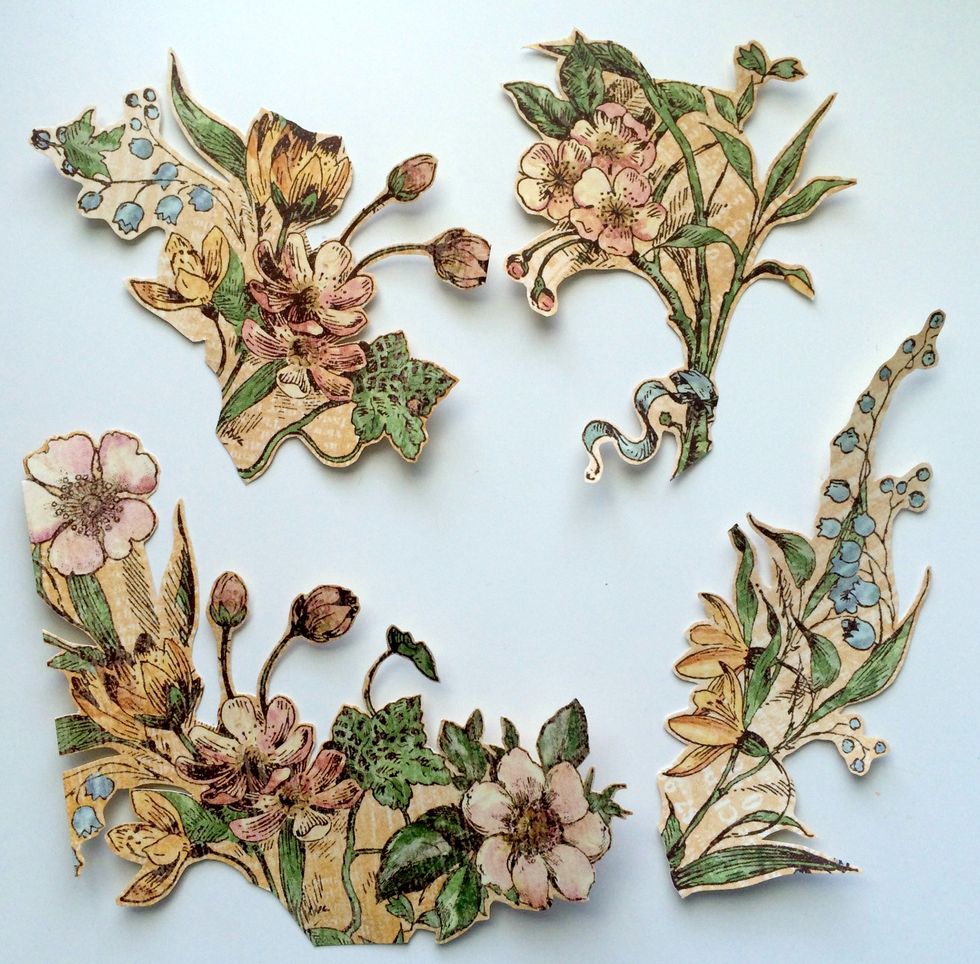
Precision cut around three flower bunches from the Delicate Details paper. You will cut two of them apart as desired to layer on your layout. The last floral bunch will stay whole.

You will need to trim the "Thoughts" card to 2 1/4" x 2 1/2". You will also need to trim the "Memories" card to 3 3/8" x 2 1/2".
With Vintage Photo Distress Ink, ink around all of the flowers, flower bunches, clock with flowers and floral frame.
Edges distress the postcards, the word cards, car and borders. Once the pieces are edge distressed, ink all edges of the cutouts using Vintage Photo Distress Ink.
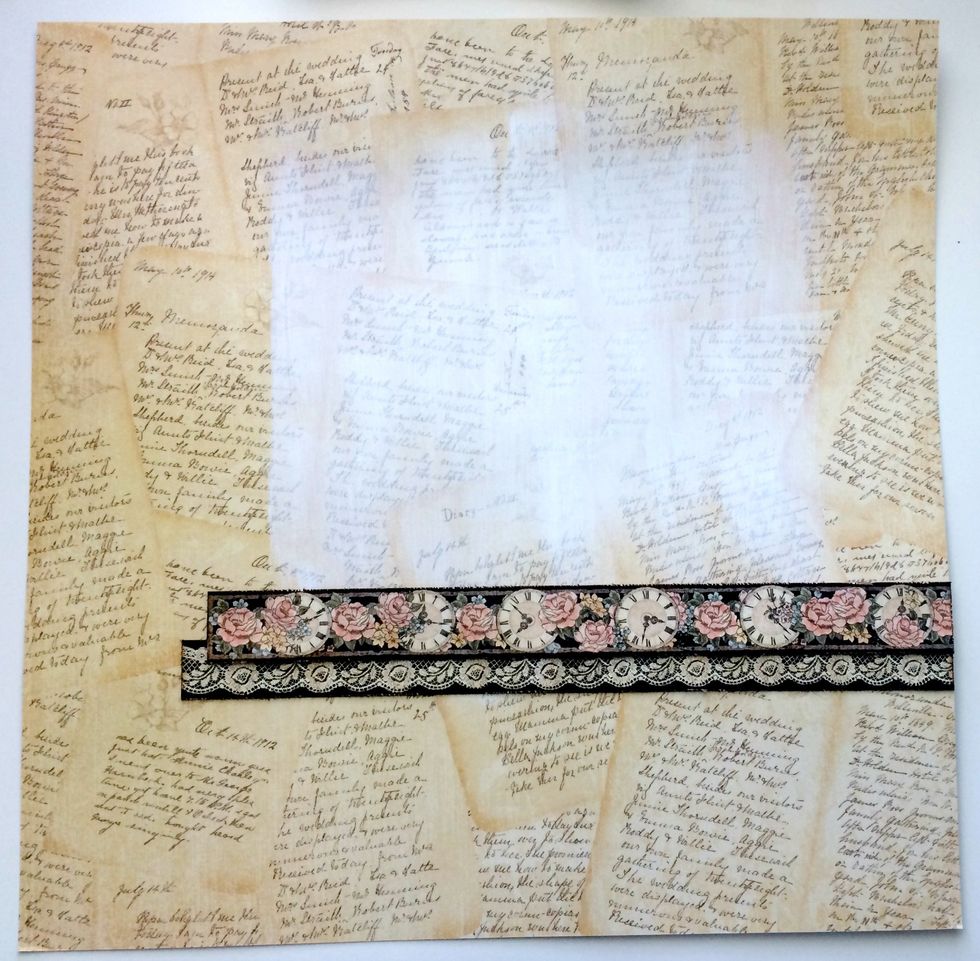
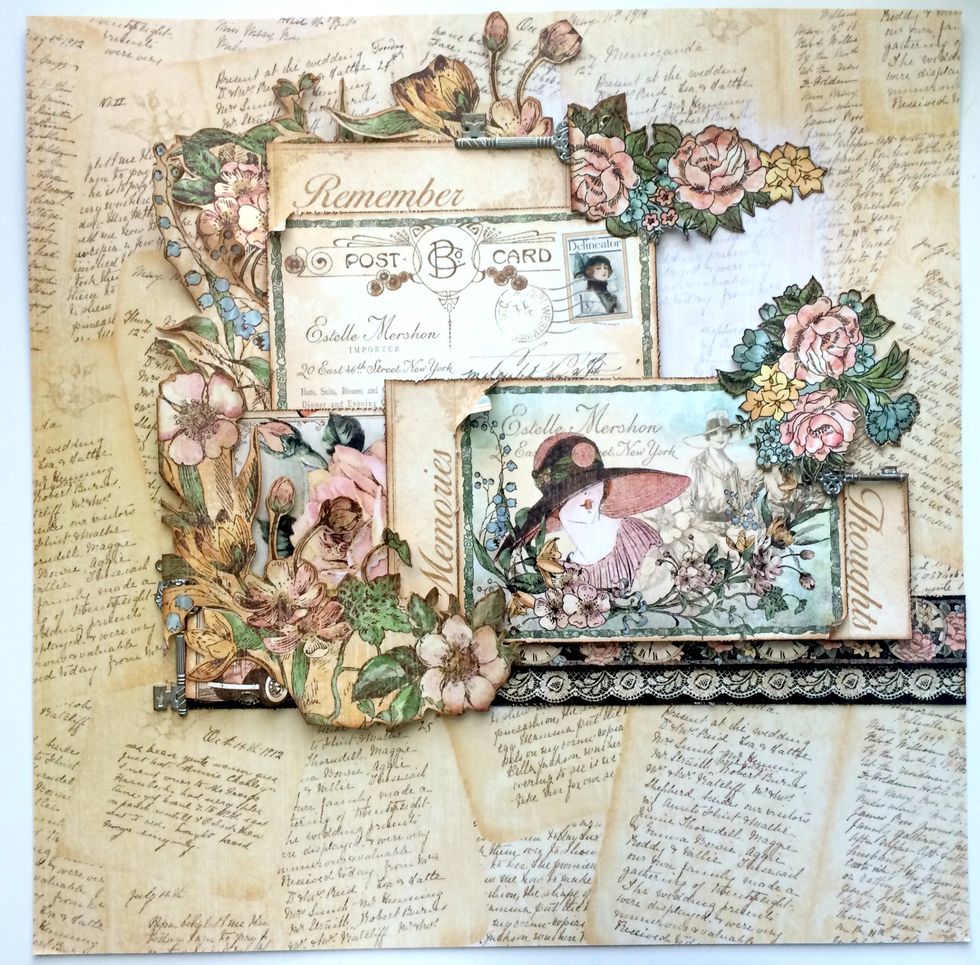
Adhere the lace border 3" from the bottom of the diary paper and right to the edge of the right of the paper. Adhere the clock border a 1/4" about the lace border and right to the edge.
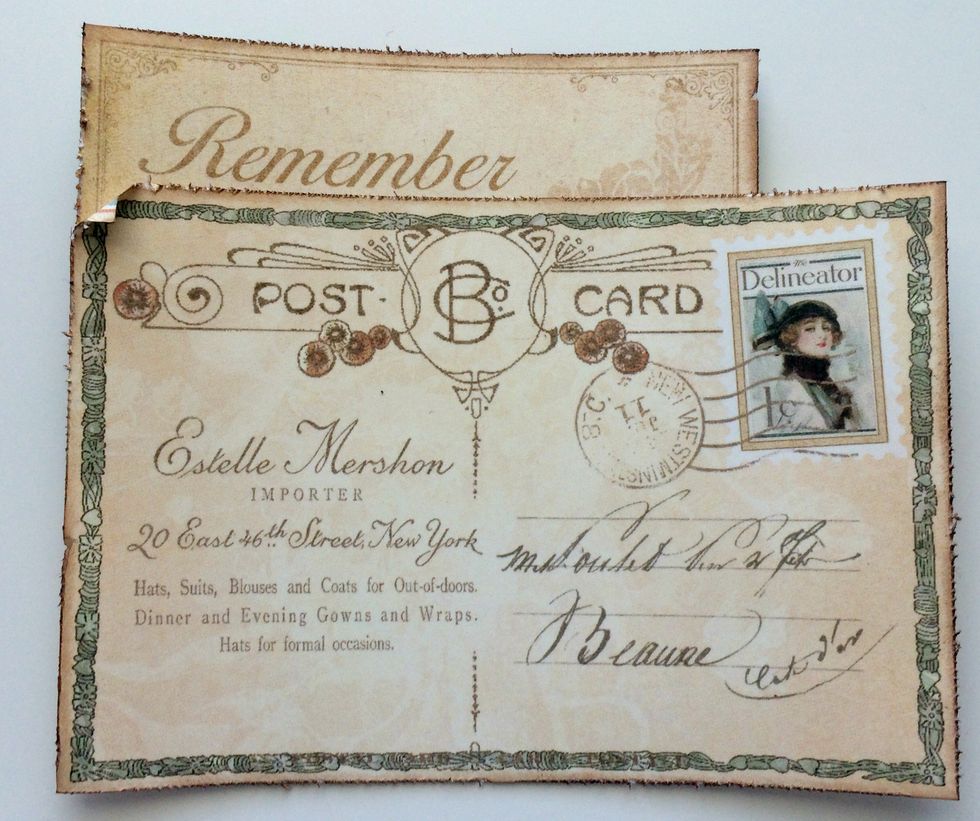
Adhere the "Remember" card to the top left hand corner of the postcard. Also curl the top left hand corner down.

Adhere the "Thoughts" card to the bottom right corner of the decorative card. Adhere the "Memories" card to the left side of the decorative card. Curl the top left and bottom right corners down.
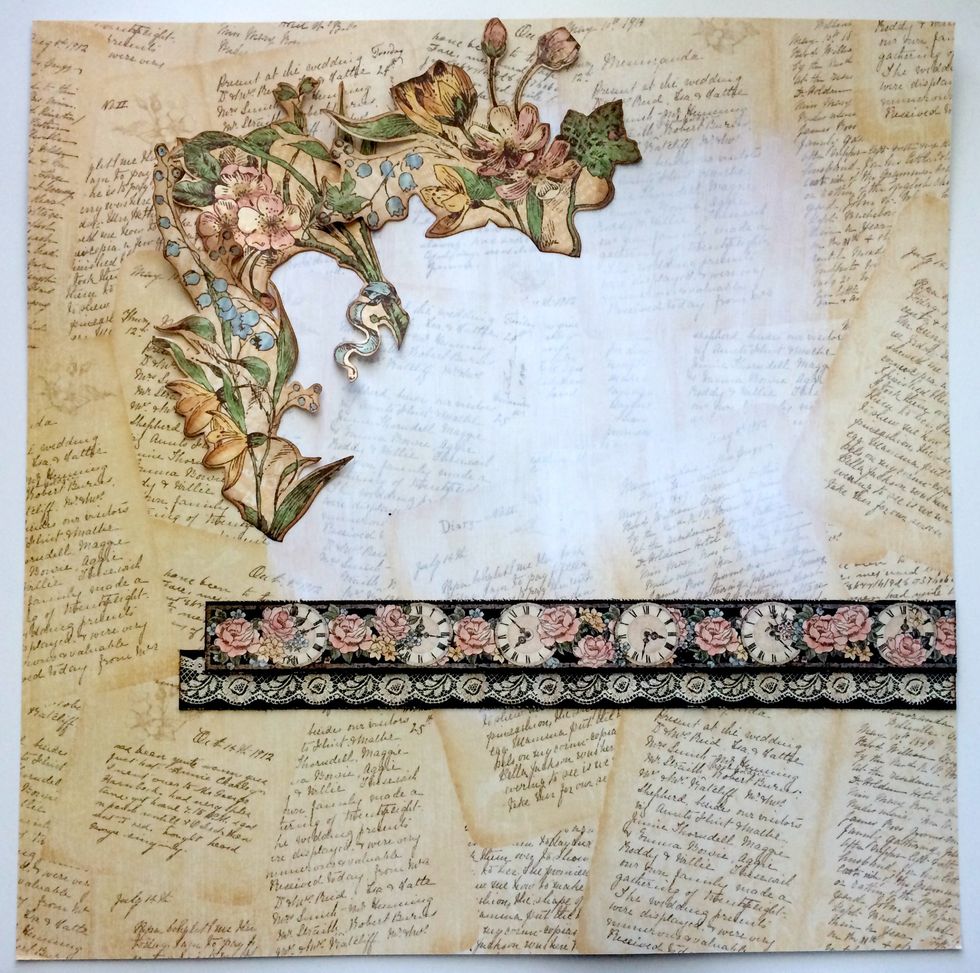
Adhere three of the floral bunches to the top left hand corner.
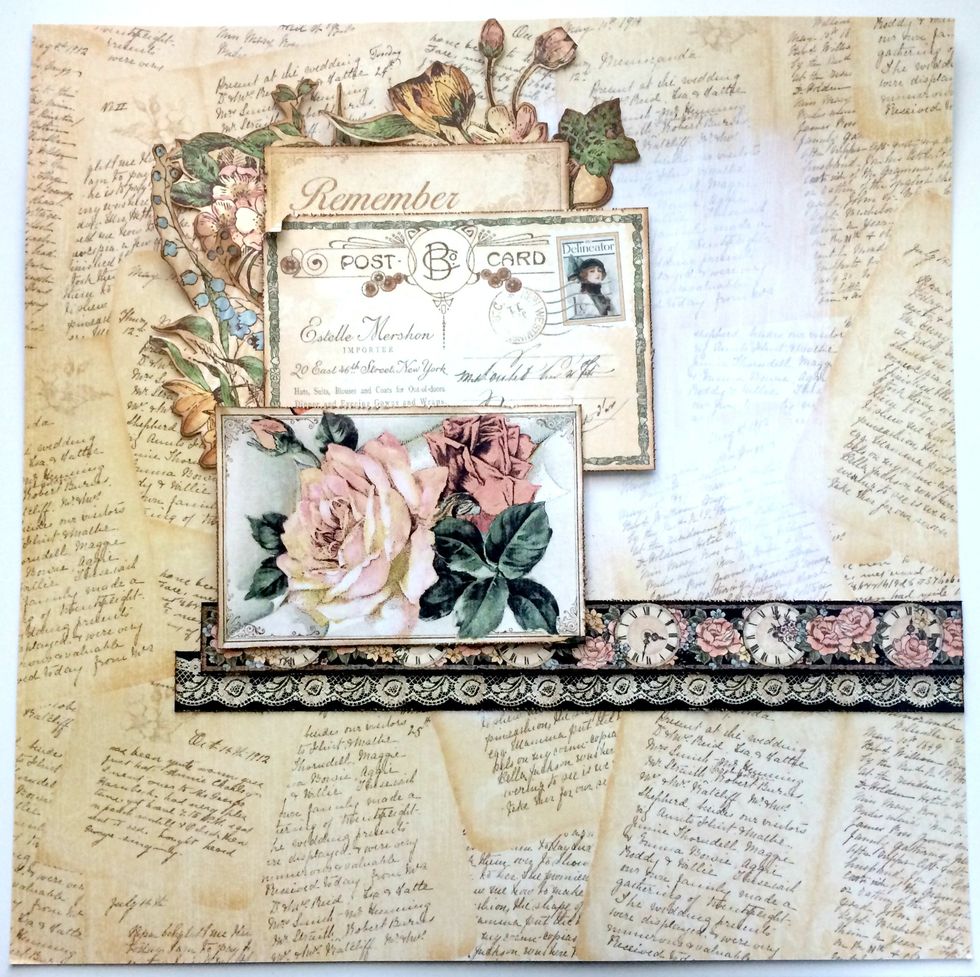
Foam Square the postcard with the "Remember" to the top left hand corner overtop of the flowers. Adhere the top and foam square the bottom of the rose card to the third line of the post card.
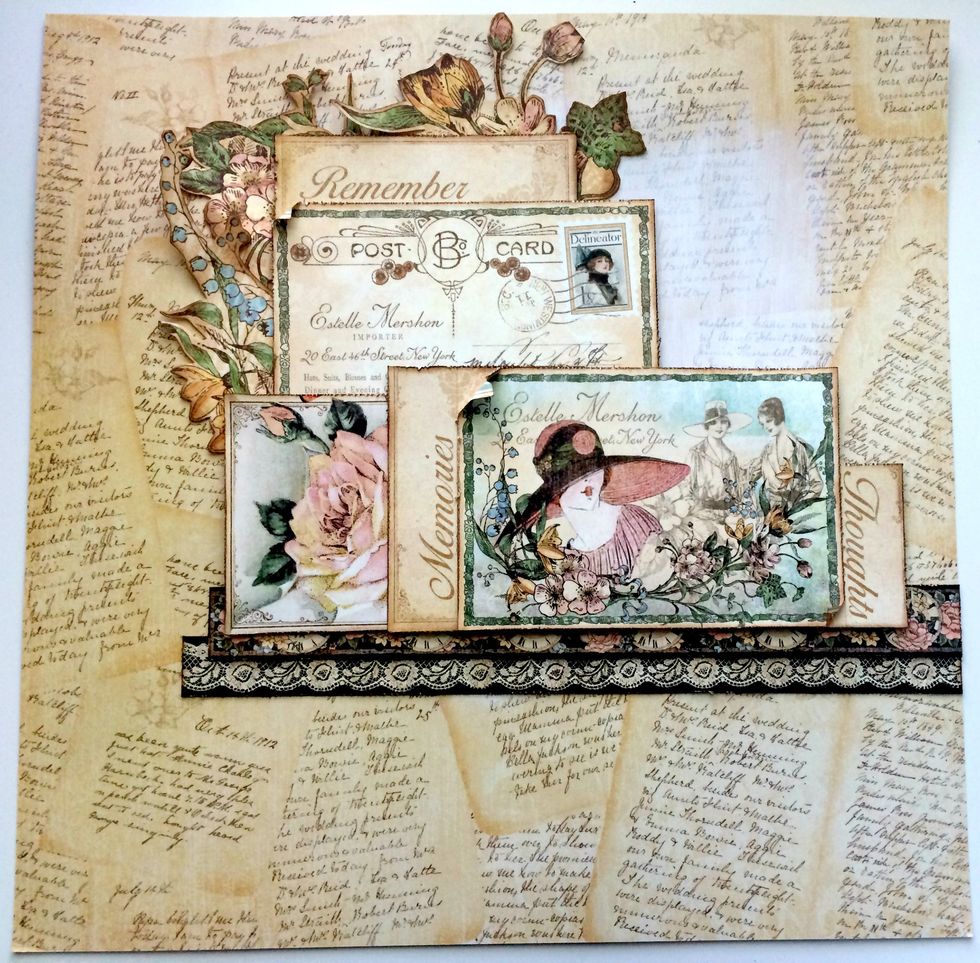
Foam Square the decorative postcard and adhere half of it underneath the second line on the post card.
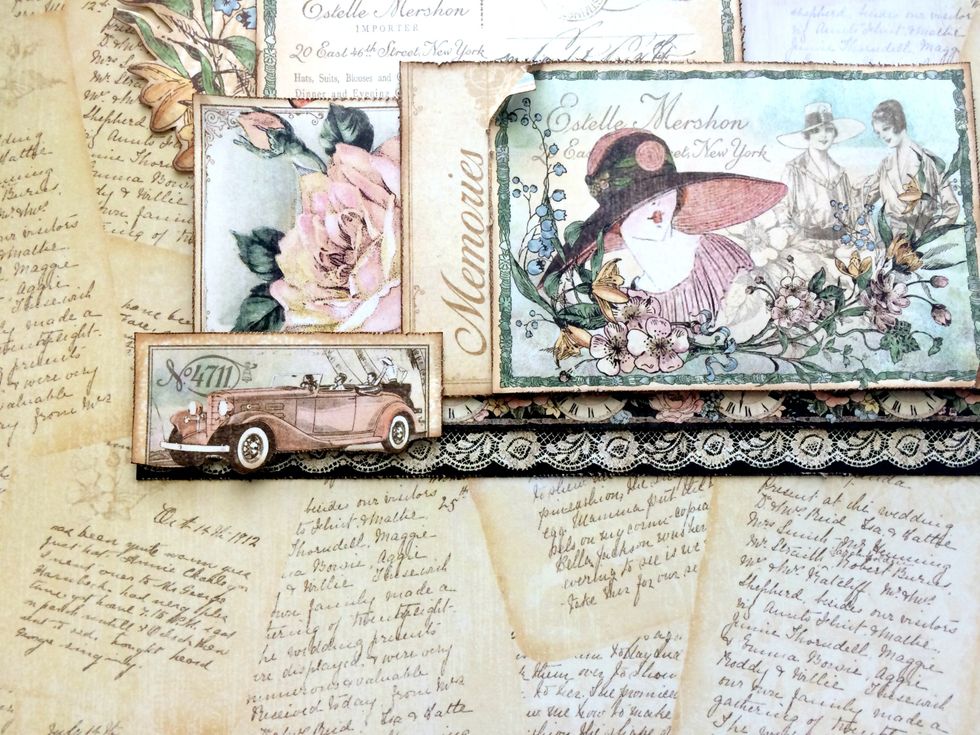
Foam square the car so that it slightly overlaps the memories card and the rose card. The excess of the car will go past the rose card.
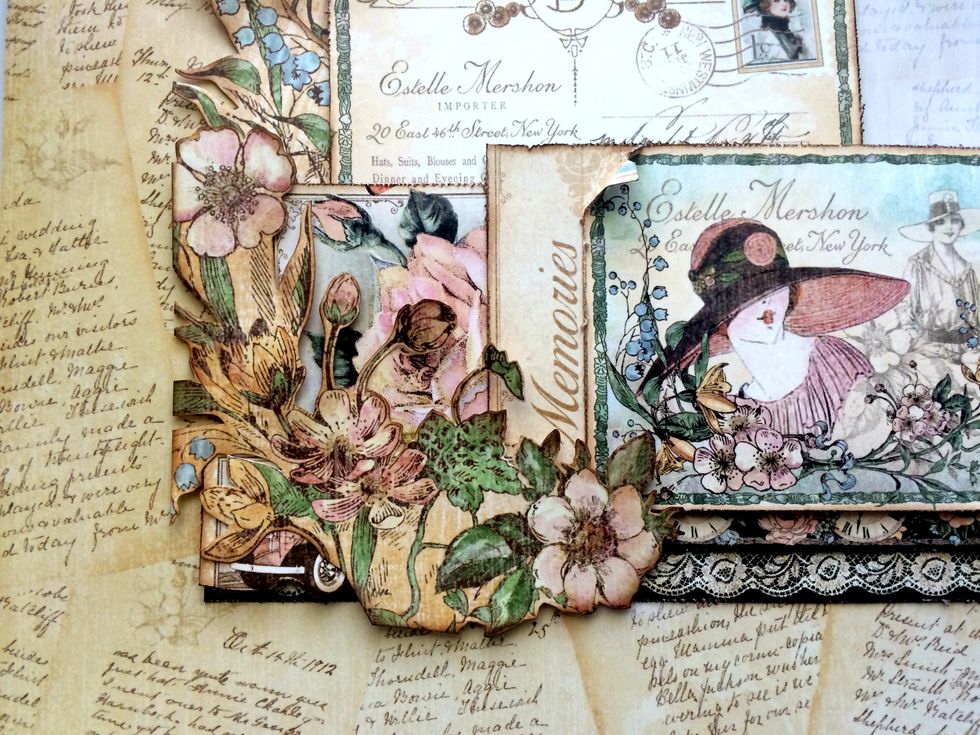
Foam square the last flower bunch partially overtop of the memories and rose card. It will cover the car, only showing parts of it as well the bottom of the floral bunch will go past the lace border.
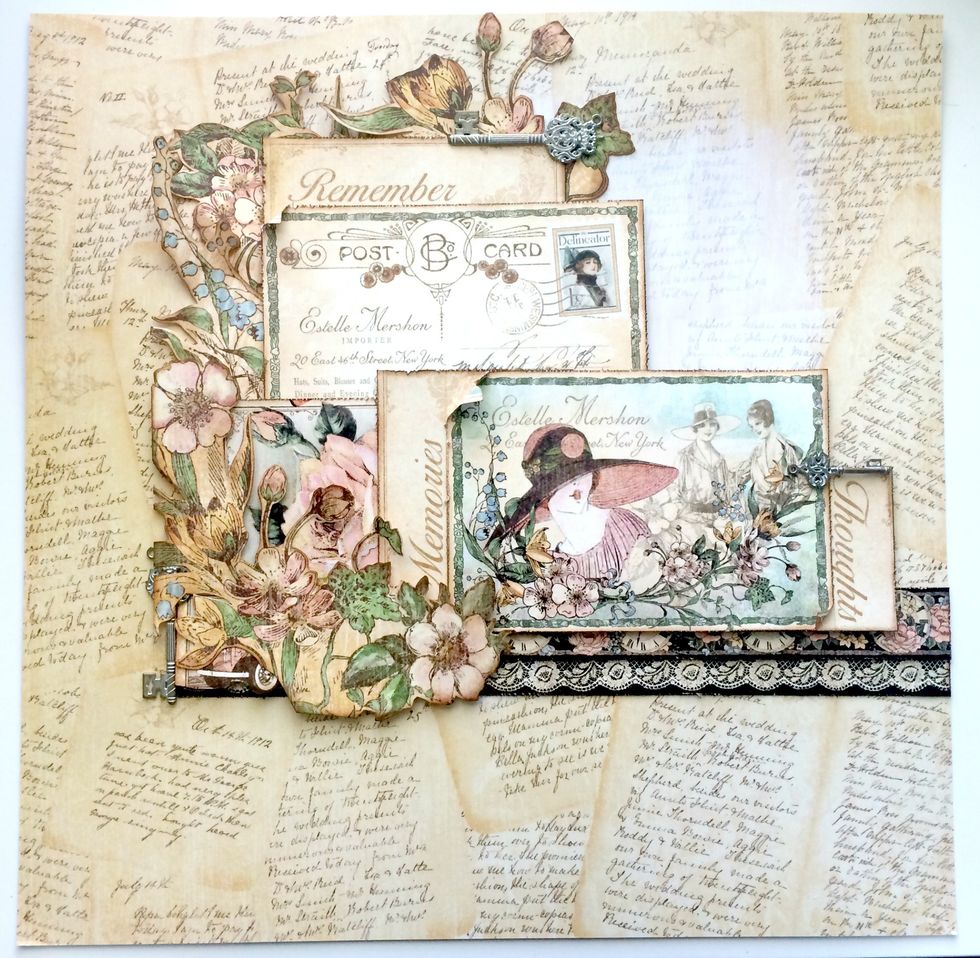
Adhere the first key to the left of the car, adhere the second key over top of the "thoughts" card and adhere the third to the top right corner of the "remember" card.
Adhere two floral bunches to the top right of the "remember" card. Adhere the third floral bunch partially overtop of the top right hand corner of the decorative card.
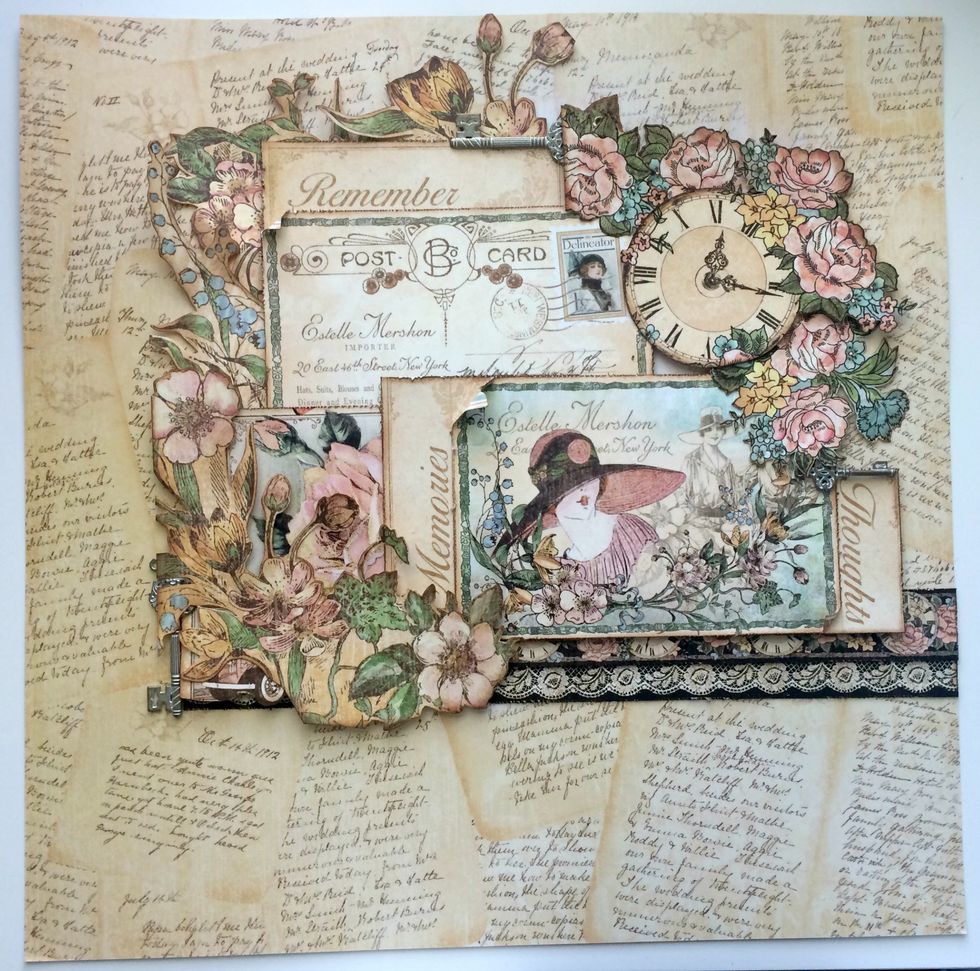
Foam square the clock so that it slightly over laps the floral bunches.
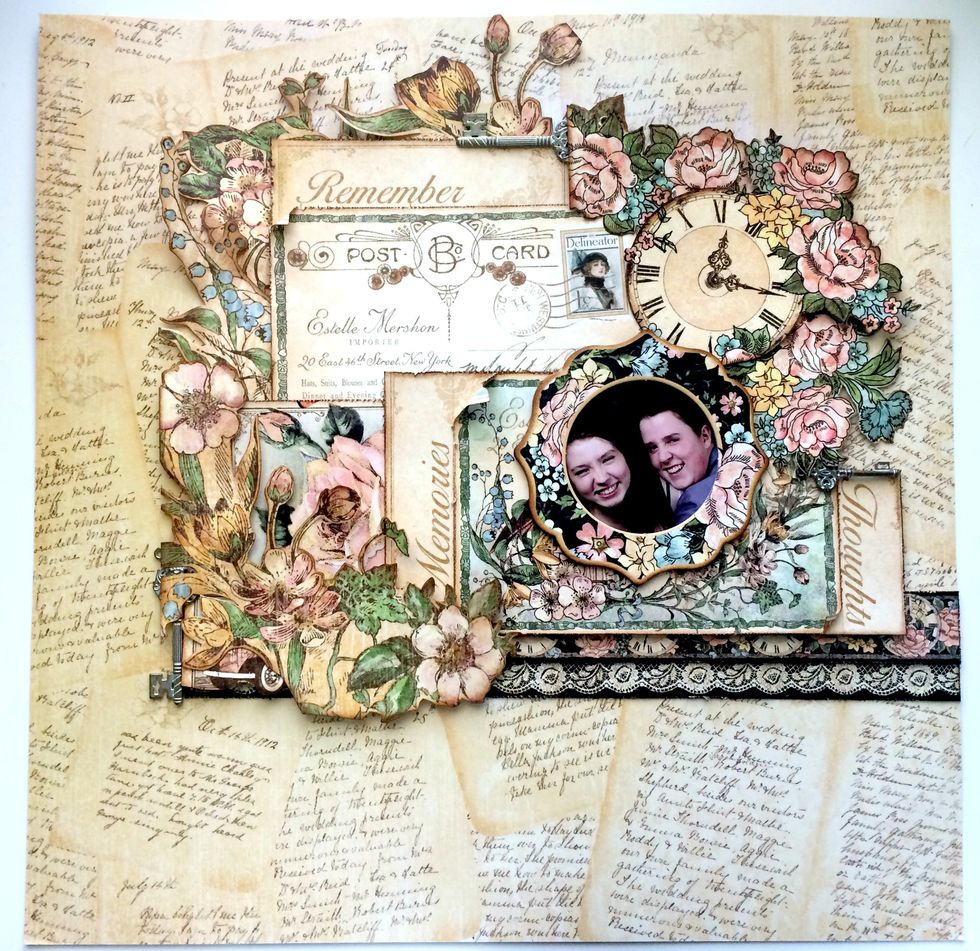
Adhere the photo to the top middle of the decorative card. Adhere the floral frame overtop of the photo, just showing the faces in the picture. Your layout is now complete!