The Conversation (0)
Sign Up
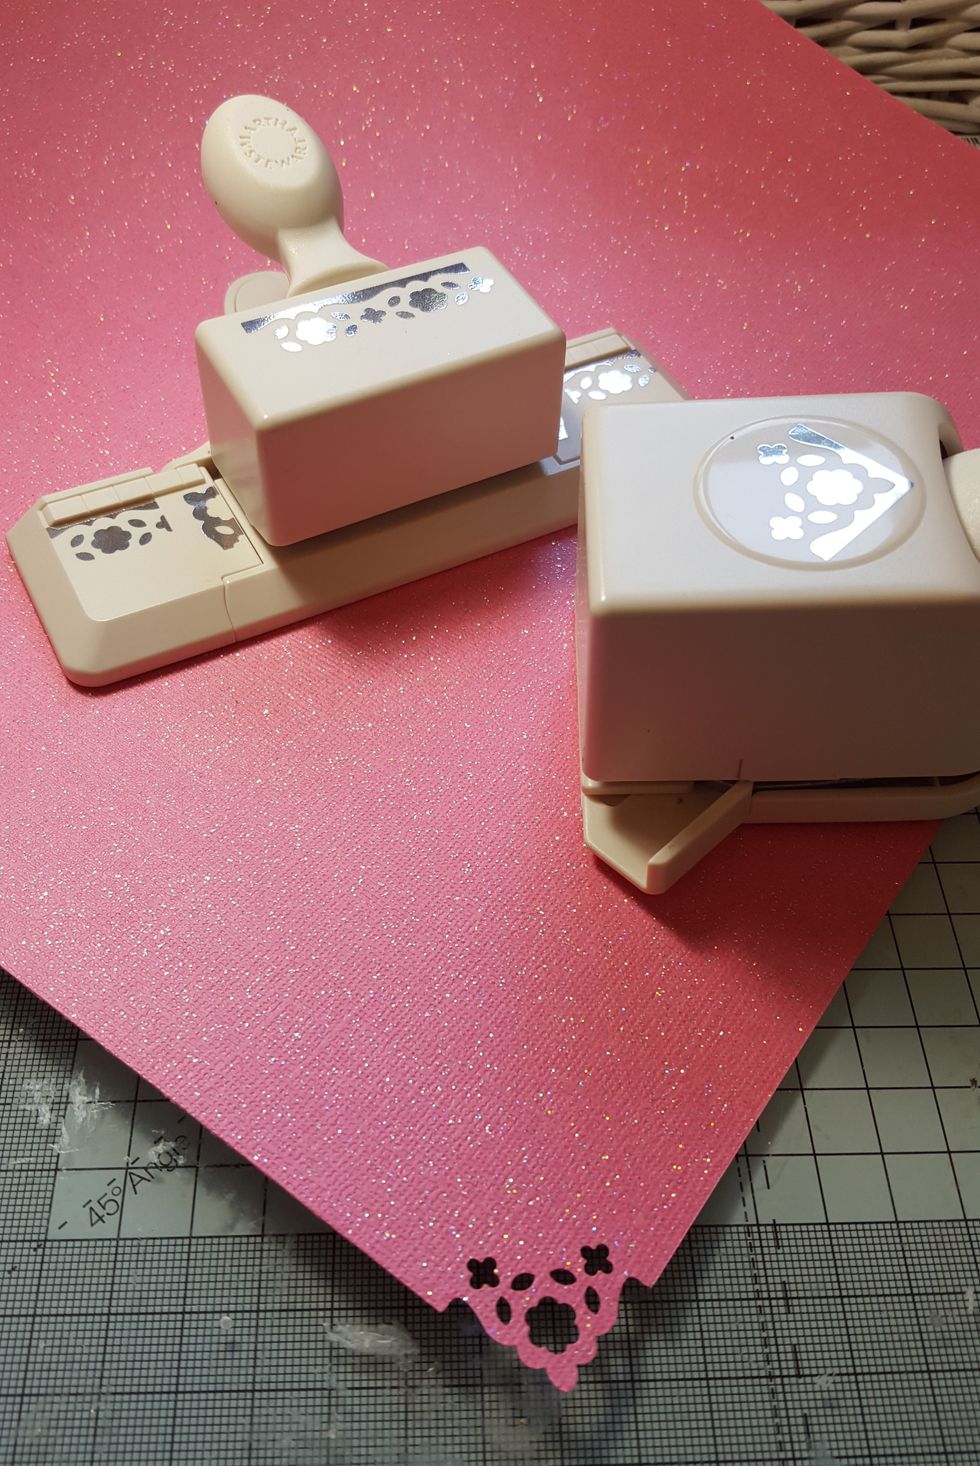
Punch around the edge of a chosen background cardstock. I used a Martha Stewart Punch around the Page punch.

Save the small flowers from the pieces that have been punched out of the paper.
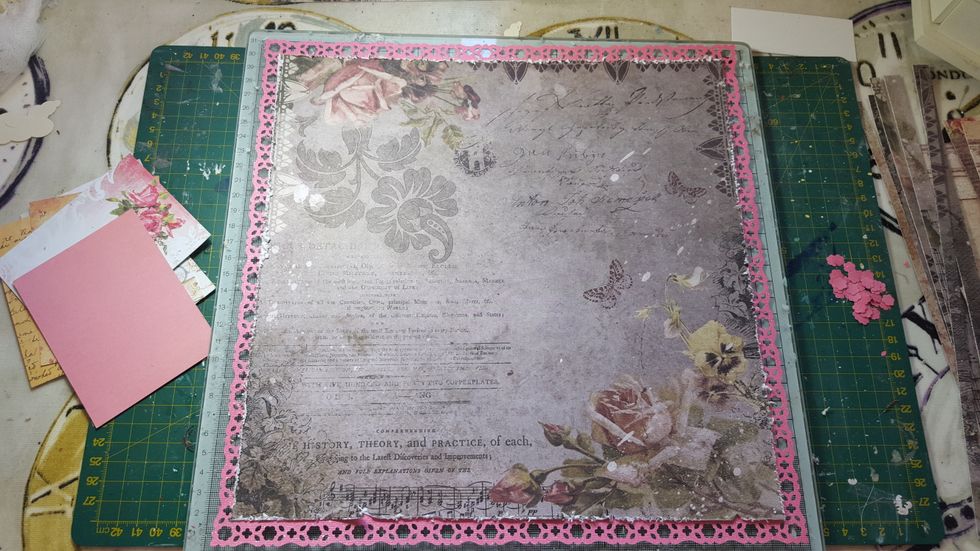
Cut down the pattered 'Timeless' paper to fit inside the punched border on the cardstock and distress the edges. Stick into place.
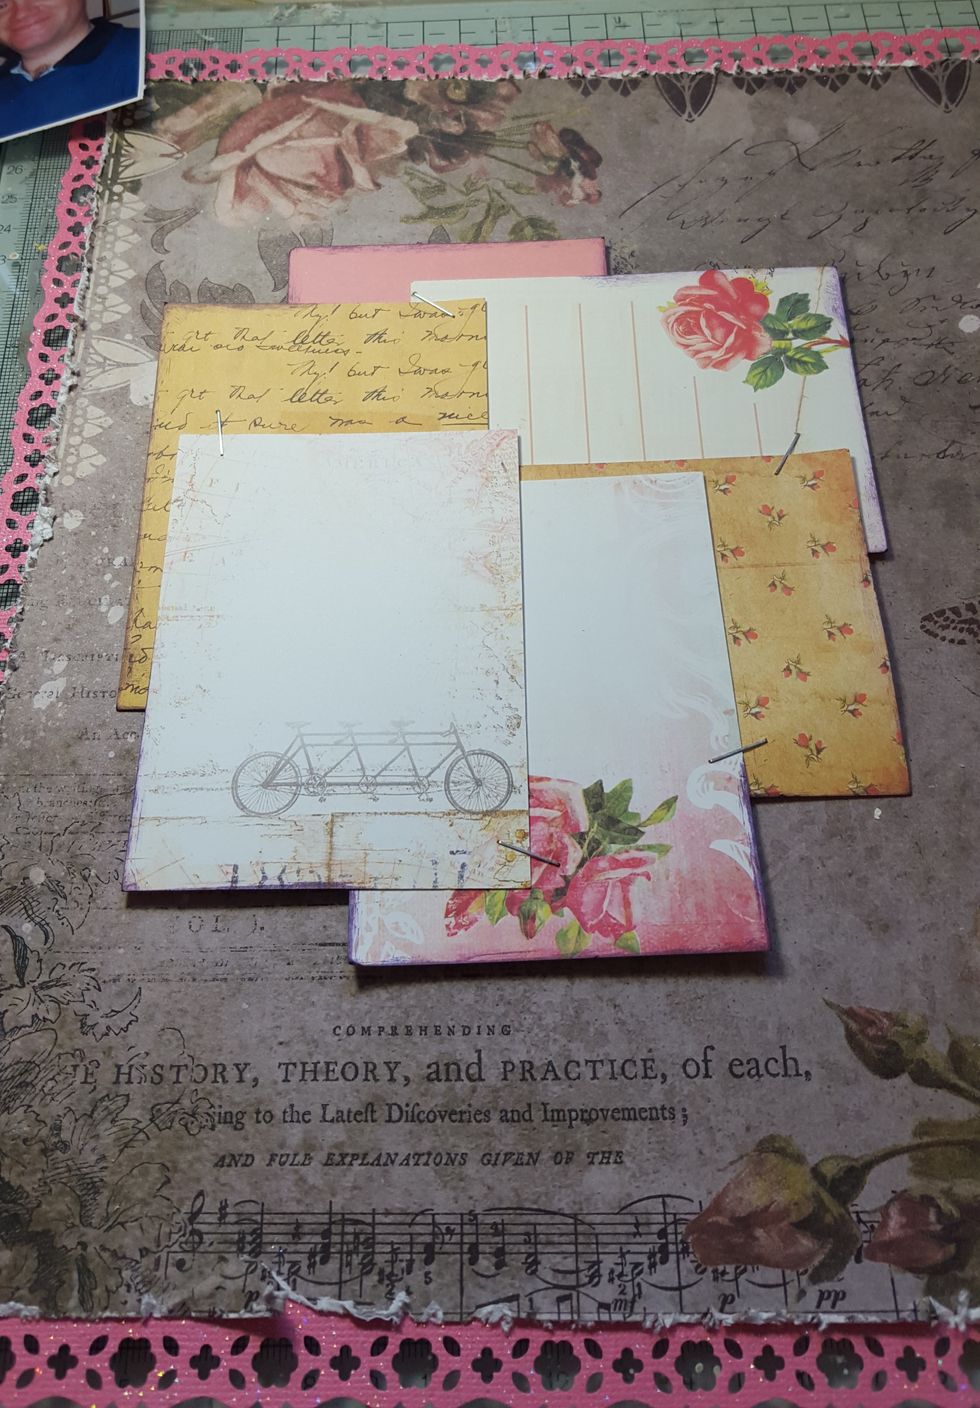
Arrange the 6 journal cards in an arrangement that fits around your photo. I secured mine with a few staples. I inked the edges with Distress Ink Dusty Concord & Walnut Stain.

Back your photo with some cardstock ( maybe not a nice piece like I used!) and then using a piece of cardboard to lift up, glue onto the journal cards.
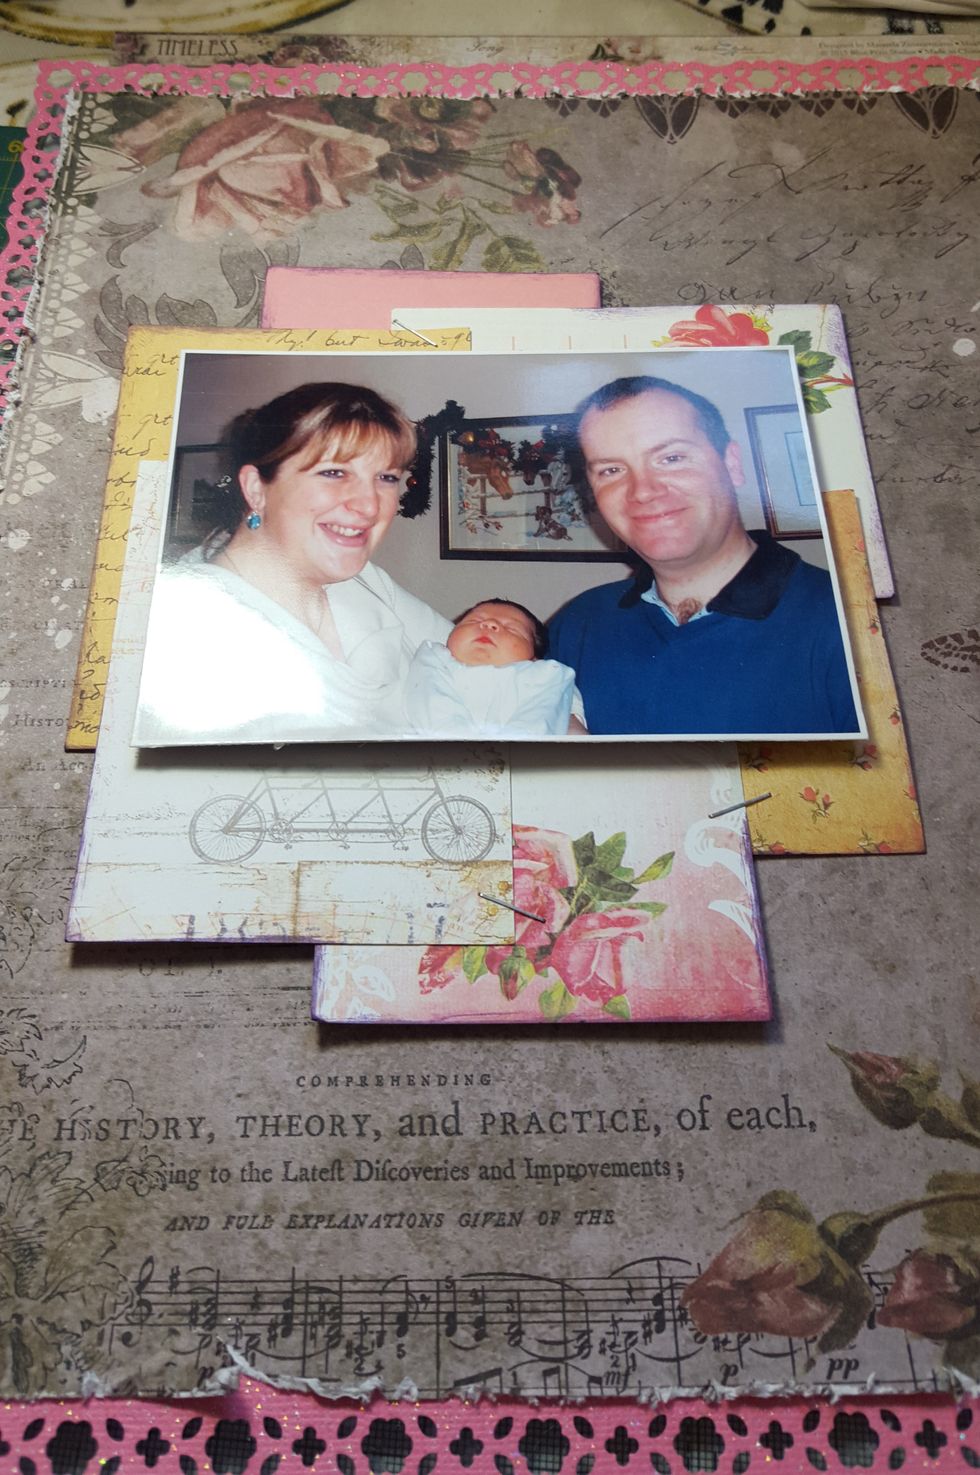
so it looks like this! Don't stick on your background yet! Decide where you are going to have your photo and mark with a small pencil mark so you know where to apply the texture paste.
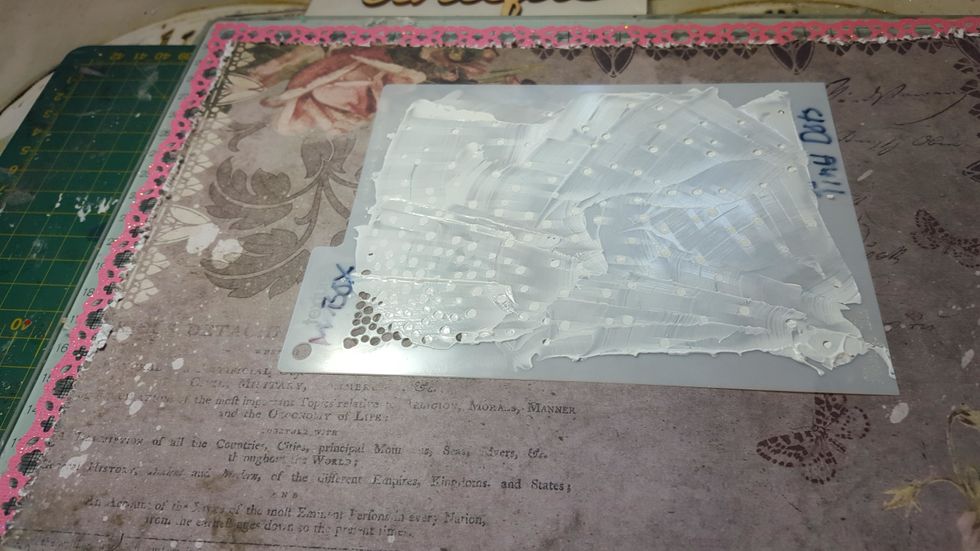
Using texture paste through the mask and add it to the top right and bottom left of the area where the photo and journal cards are going to go.
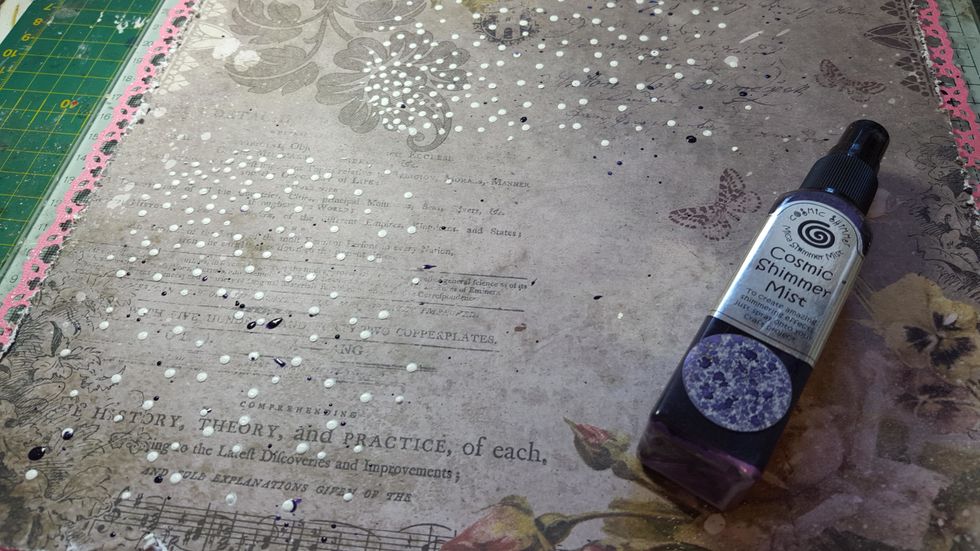
Then 'splat' some Lilac Night mist over the page
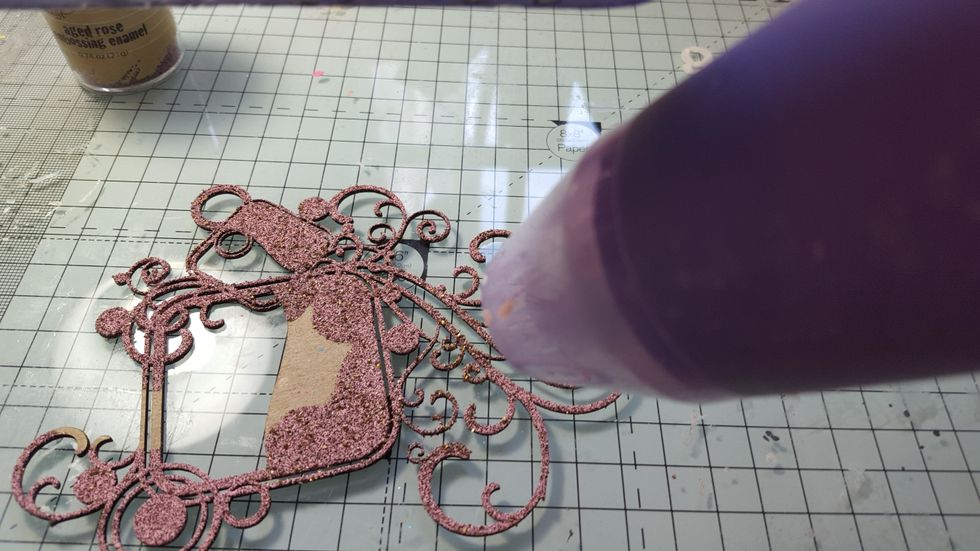
Cover the chipboard flourish with embossing powder. I didn't cover all mine as some of it was going to be covered and I didn't want to waste any embossing powder!
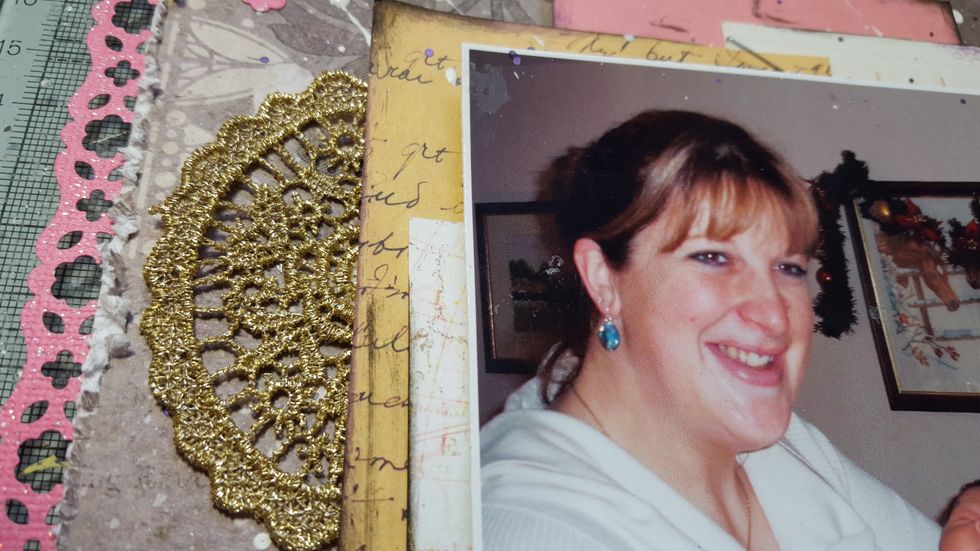
Now time for assembling. With your photo placed but NOT stuck in position on your background paper slot the gold lace under the journal cards on both sides and stick down.
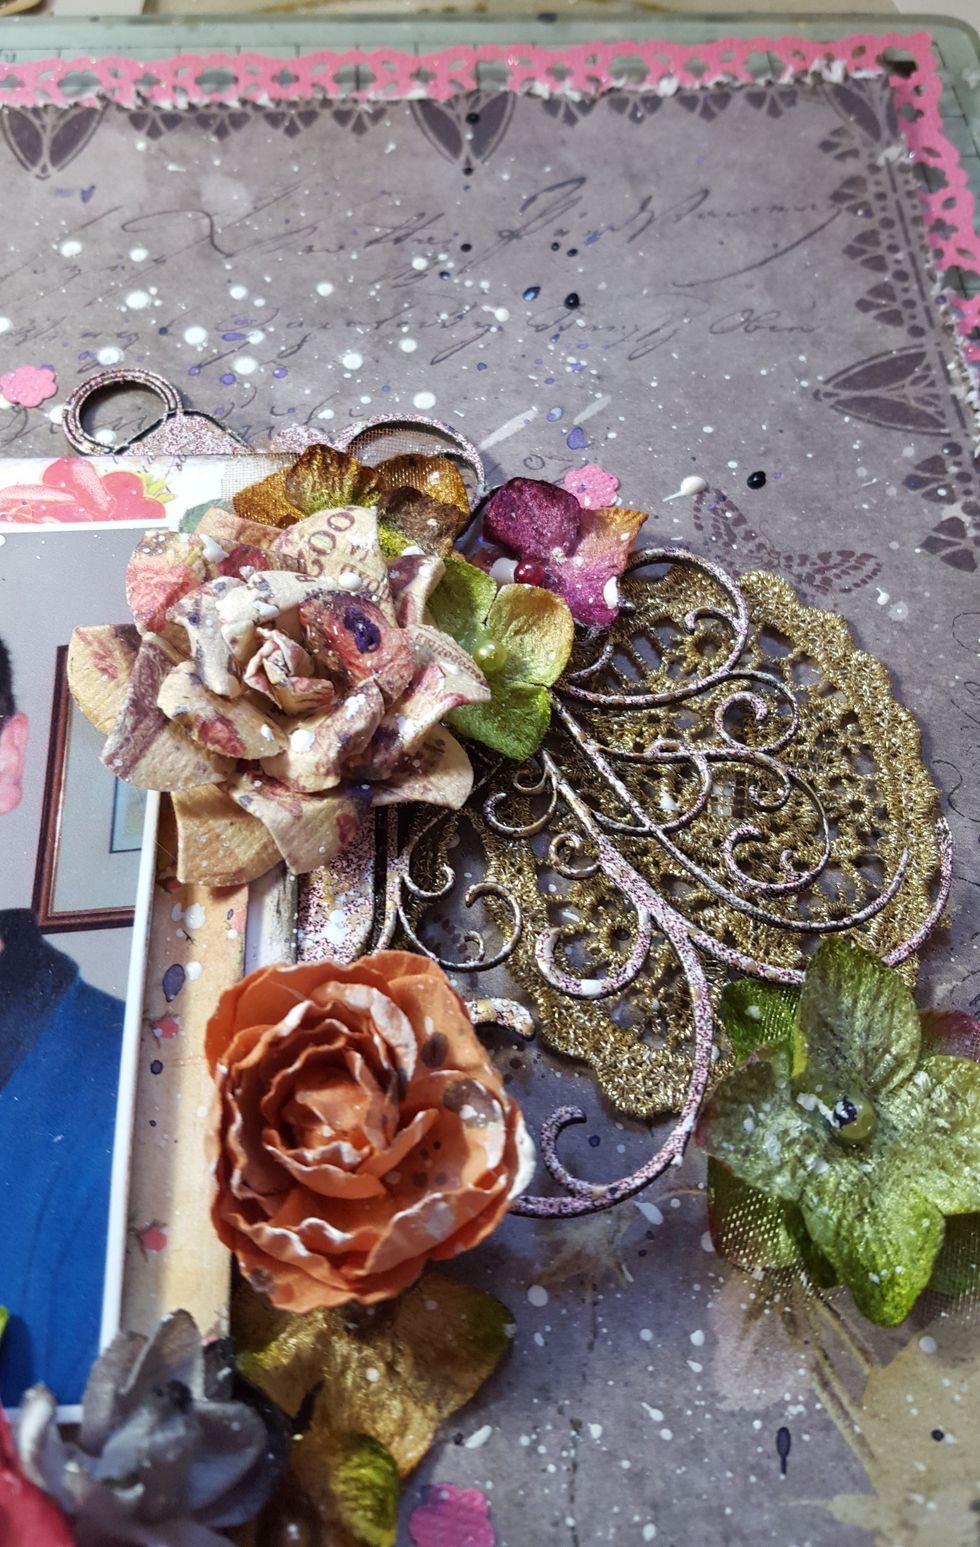
Slot the chipboard flourish under the journal cards but on top of the lace and glue in position on the top right hand side of the photo. Now you can glue the photo and journal cards down on top.
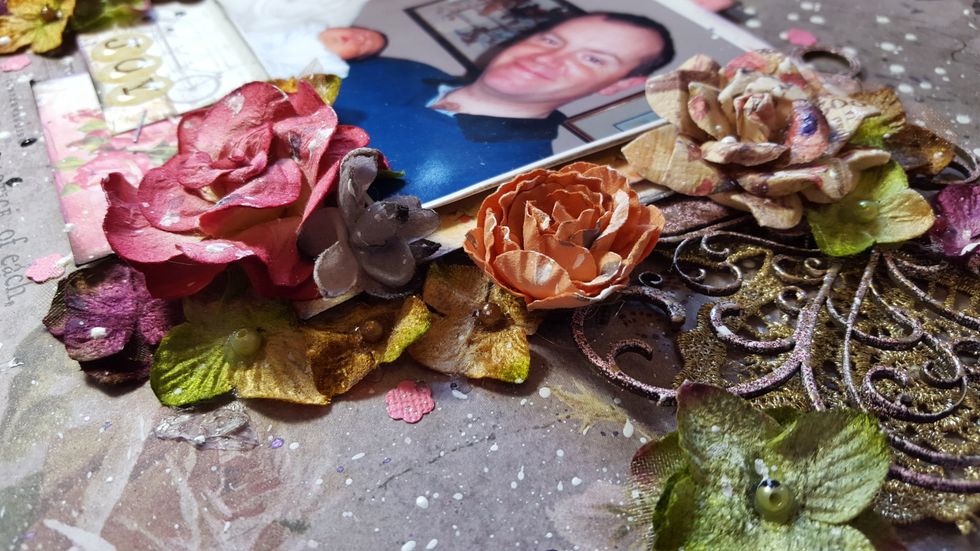
It's time to start adding the flowers. Add some under the journal/photo layers and some on top of them to add depth to the layout. And remember to overlap some to make it look a more natural cluster.
The bottom left corner of the photo slot/glue the Wood Icon between the photo and journal cards. Arrange some flowers below it. Add the title with Epoxy stickers.
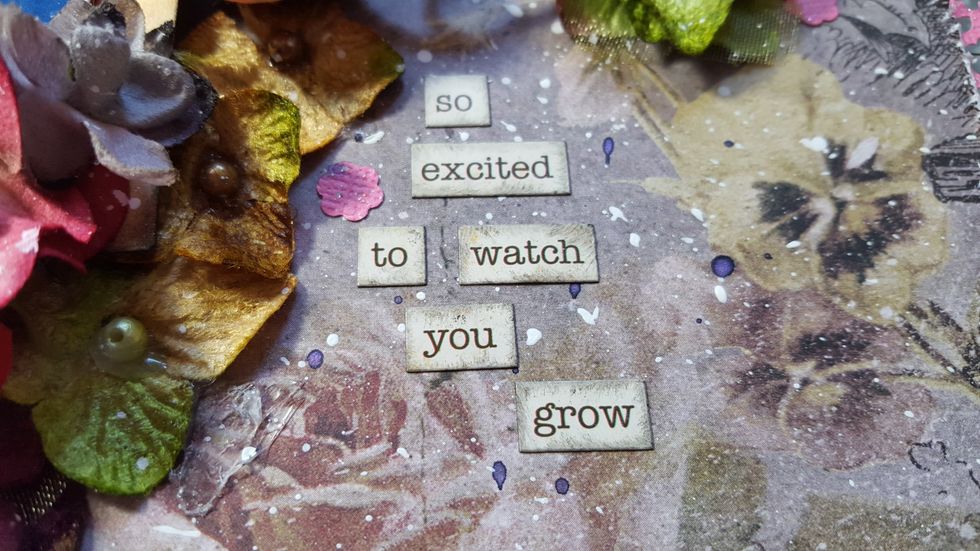
Ink the edges of the journal words and stick down. Add some of the small flowers saved from the punching, dotted around the flower clusters.
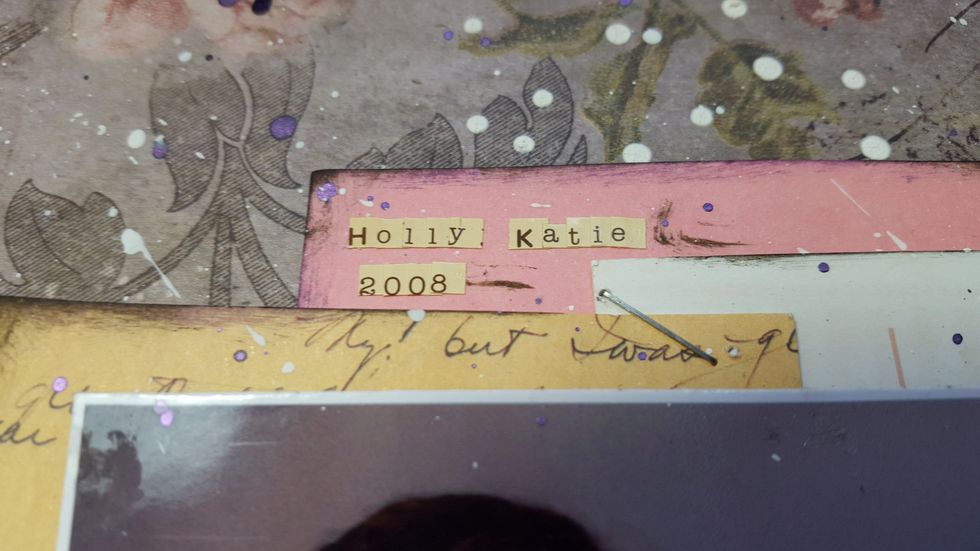
Add the mini alpha stickers to the top of the journal cards. At this point I did some more splatting with the Lilac Night mist(make sure your photo is covered up) and some gesso splats too!
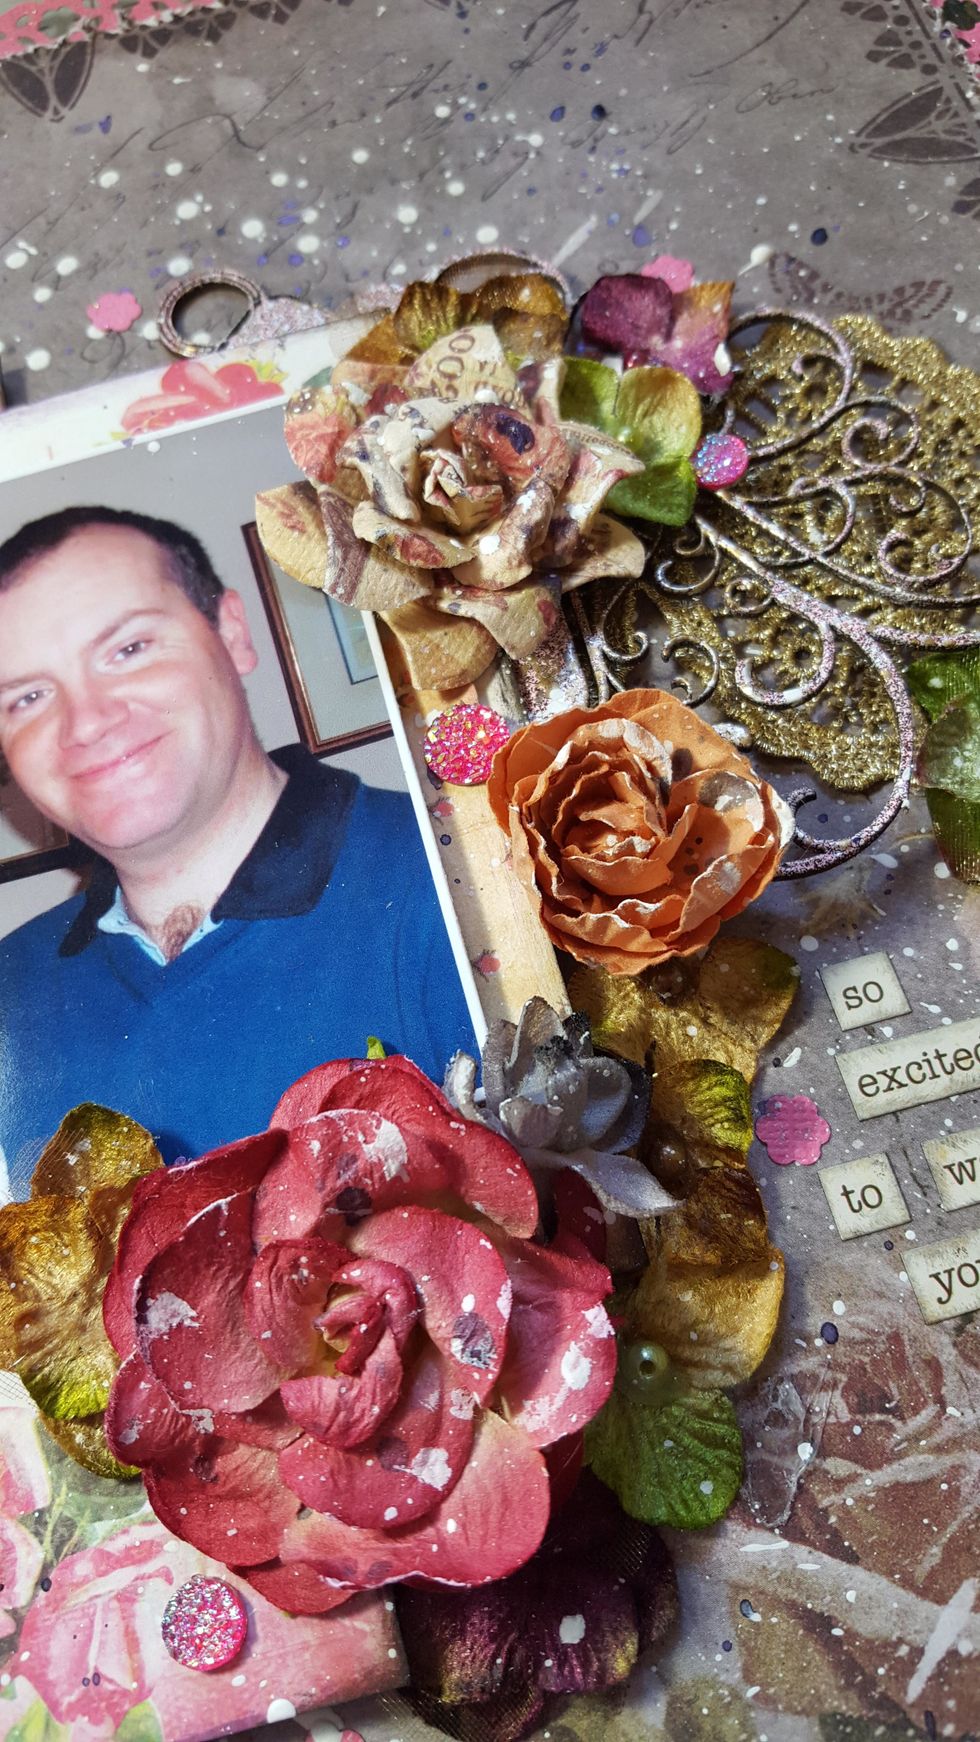
Lastly add the Princess glitter gems to finish off the flower clusters.
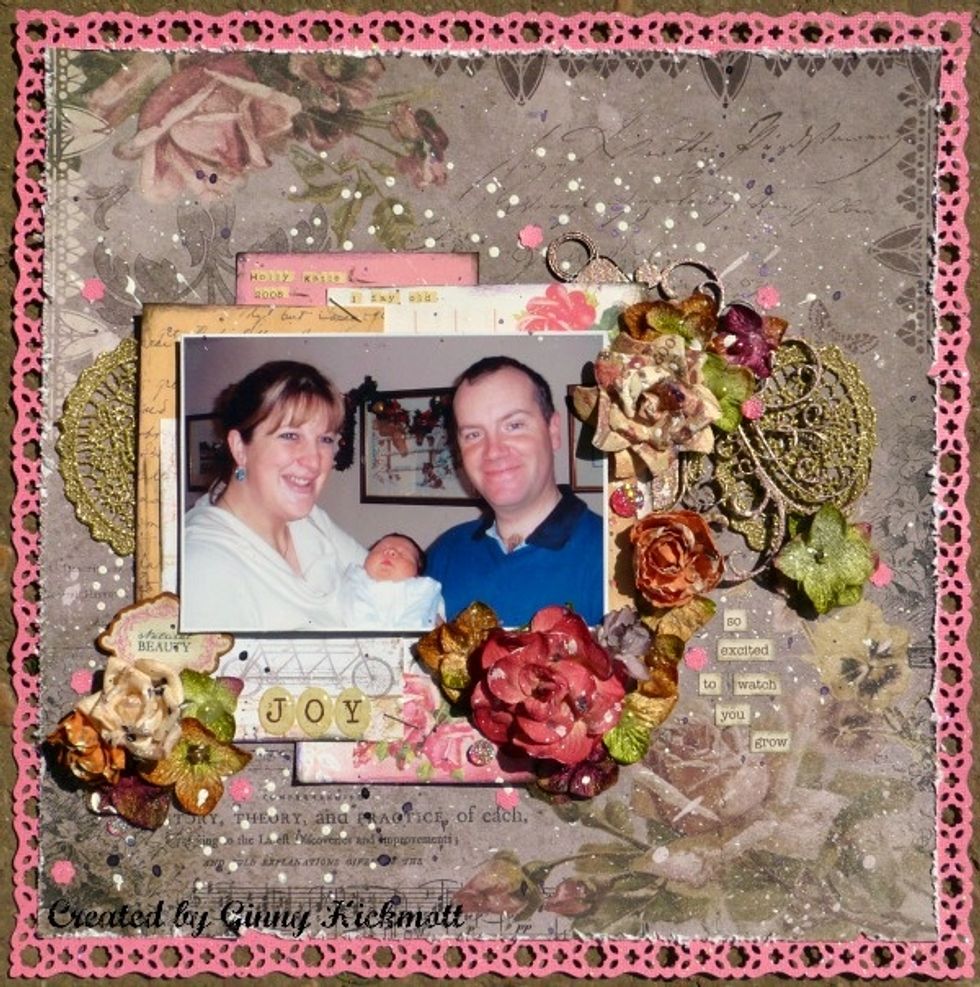
Here is the finished layout :)