The Conversation (0)
Sign Up
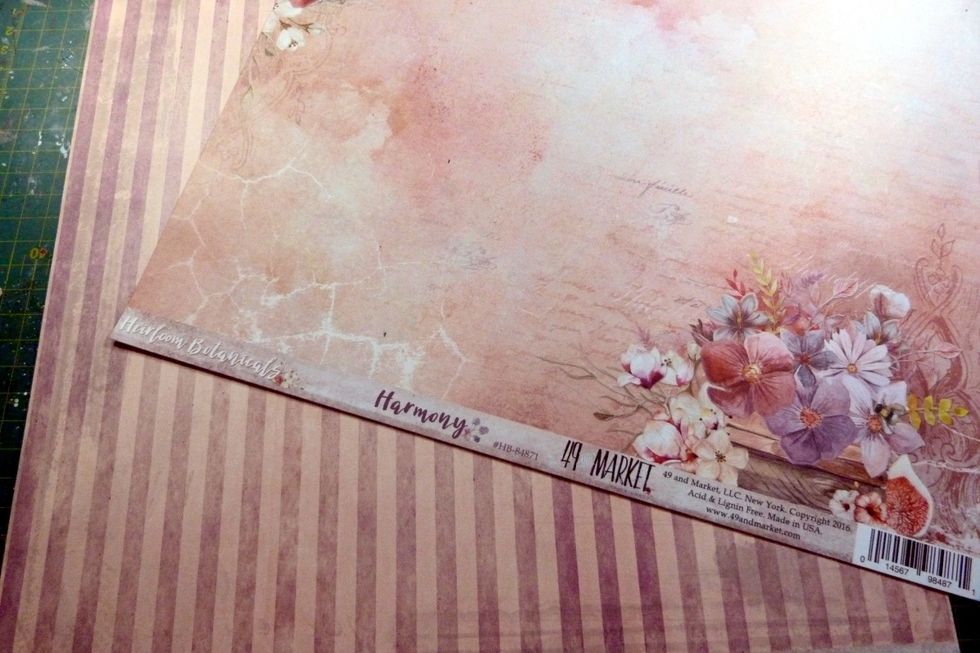
I used papers 'Harmony' & 'Passage' from 49 and Market Heirloom Botanicals collection in the Swirlydoos Main Kit.
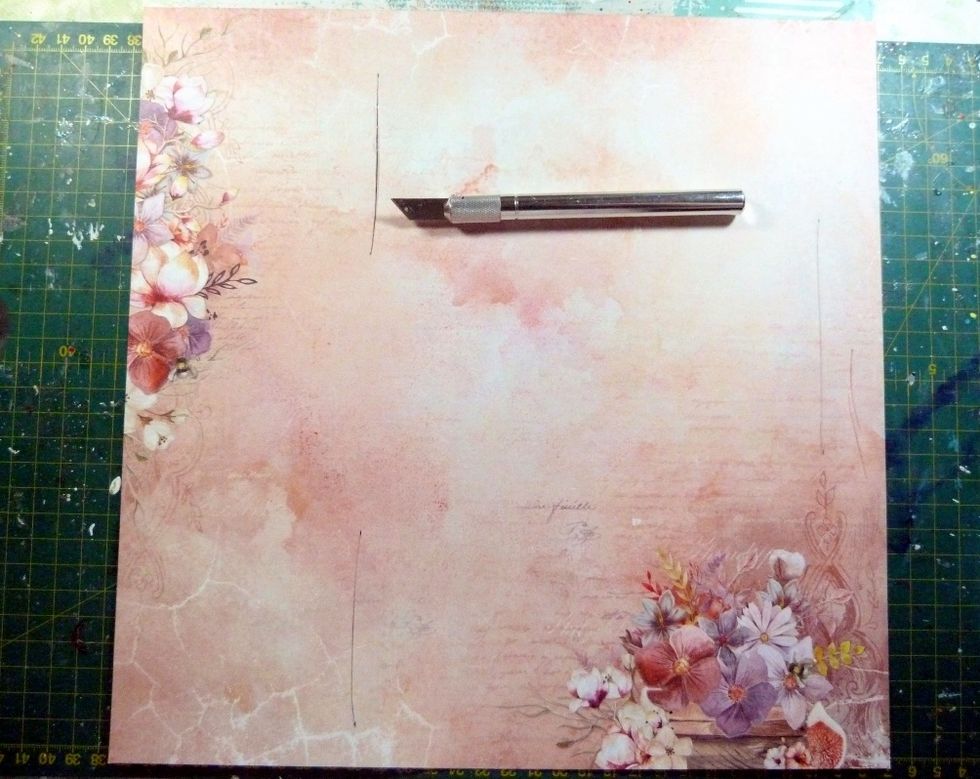
With a craft knife cut three slits in the 'Harmony' paper, two on the left and one on the right as shown in the photo.

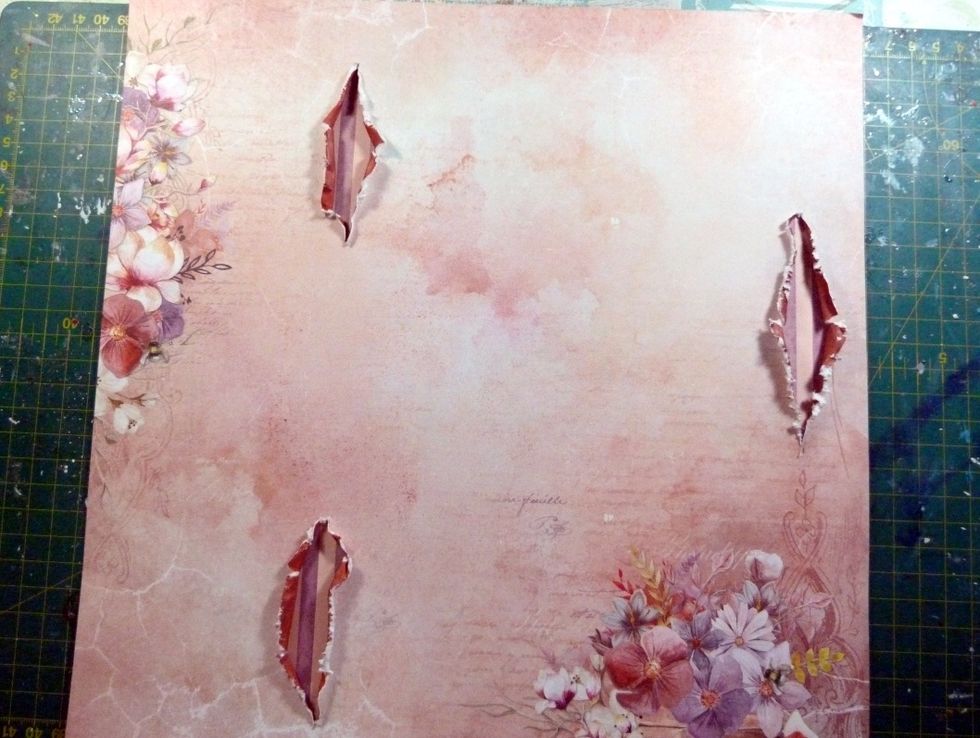
Open the slits and then distress heavily to really open them up!

Cut 3 pieces from the 'Passage' paper big enough to put behind your slits to cover the holes.
Tape to the back of the layout over the slits.
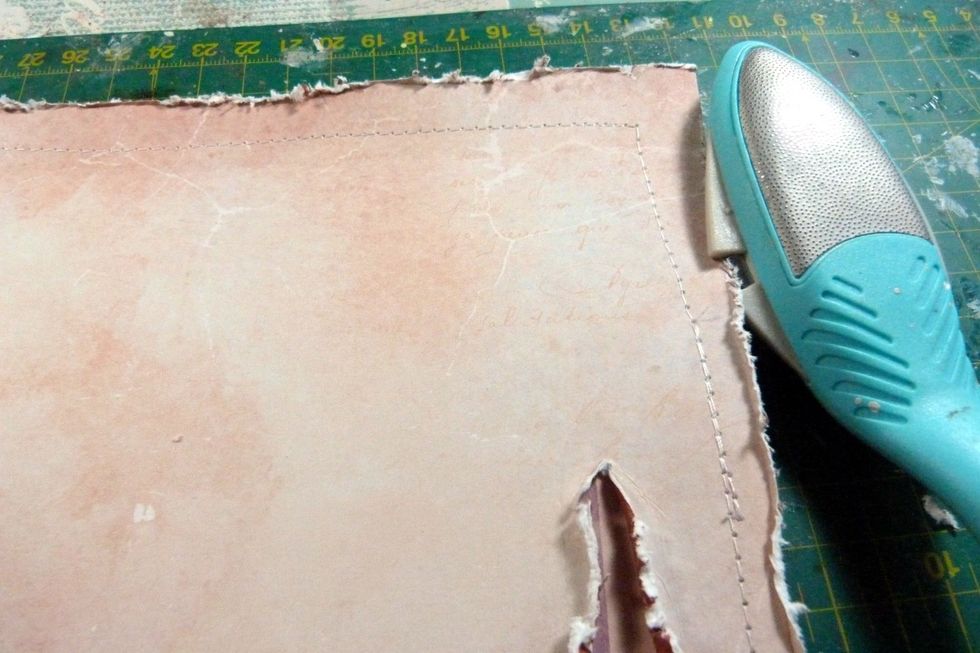
Next stitch around the whole 12x12 paper. If you don't want to use a sewing machine then do faux stitching with a white pen. Distress the 12x12 edge.

Cut two pieces from the 'Pasage' paper big enough to mount your photo on but to still show plenty of pattern. My PHOTO is 3 3/4"x 3 1/3". Use both sides of the 'Passage'. Stitch & distress card edges.
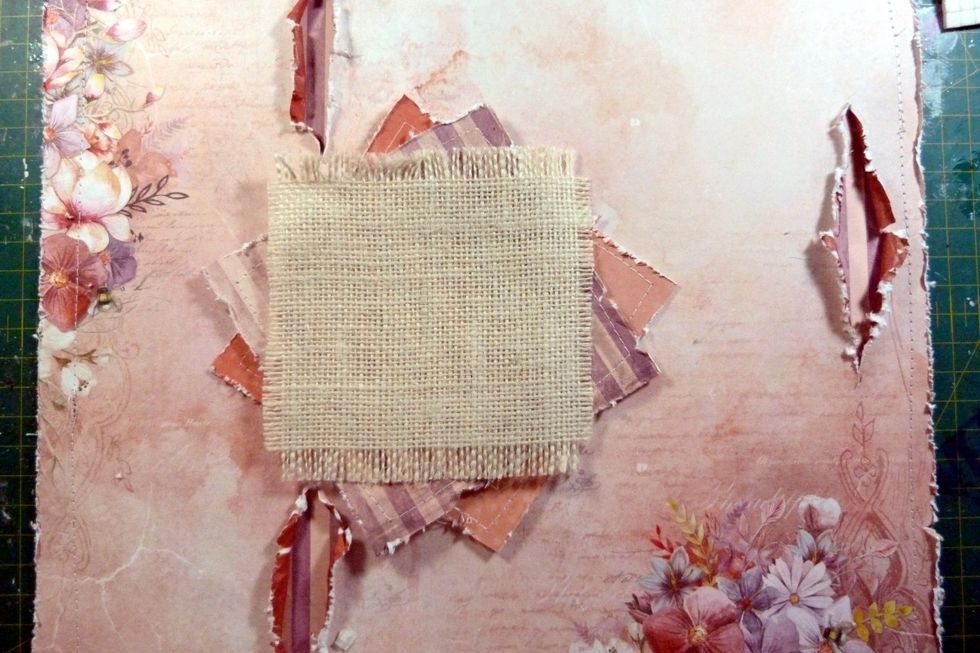
Layer up the 2 pieces of 'Passage' and the burlap square all slightly at an angle to each other between the two left hand slits.

Layer and stick your photo centrally onto the burlap. Emboss the Dusty Attic chipboard with embossing powder then layer & glue chipboard onto your photo, pushing it up against the sides of the slits.
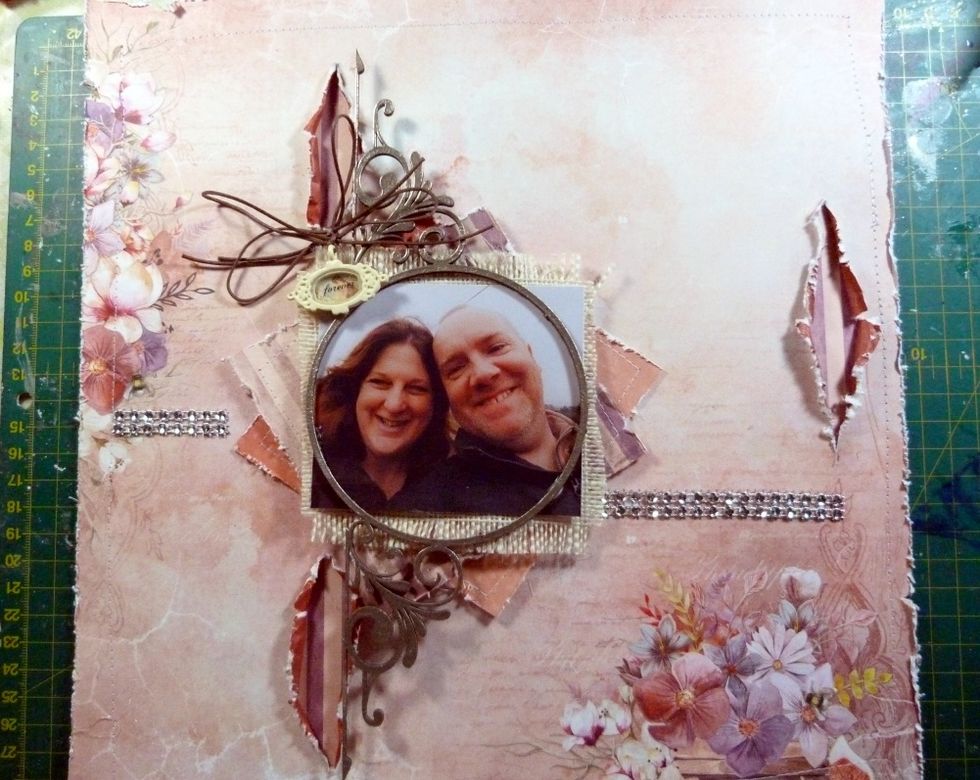
Tie 2 bows with the cord, one looping the Vintage trinket on whilst tying. Stick the bows on top of each other as shown. Cut thin strips of the crystal bling & stick a piece each side of photo layers.
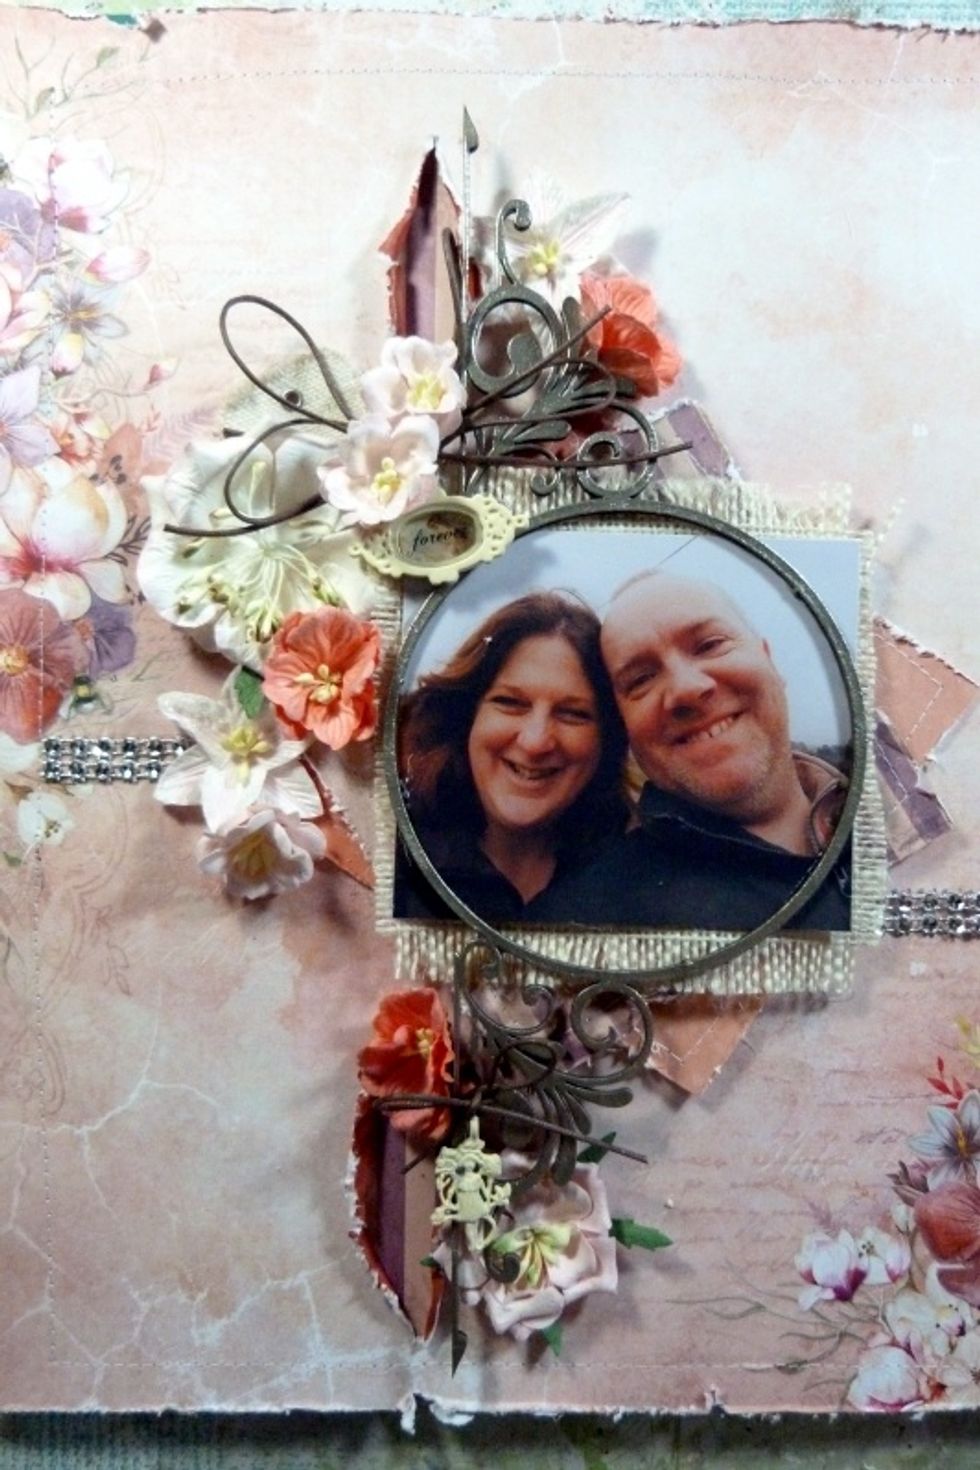
Add flowers in a cascading movement from the top right of slit, sweeping over the bows, round the photo down to the bottom slit and over it to the bottom right of the bottom slit.
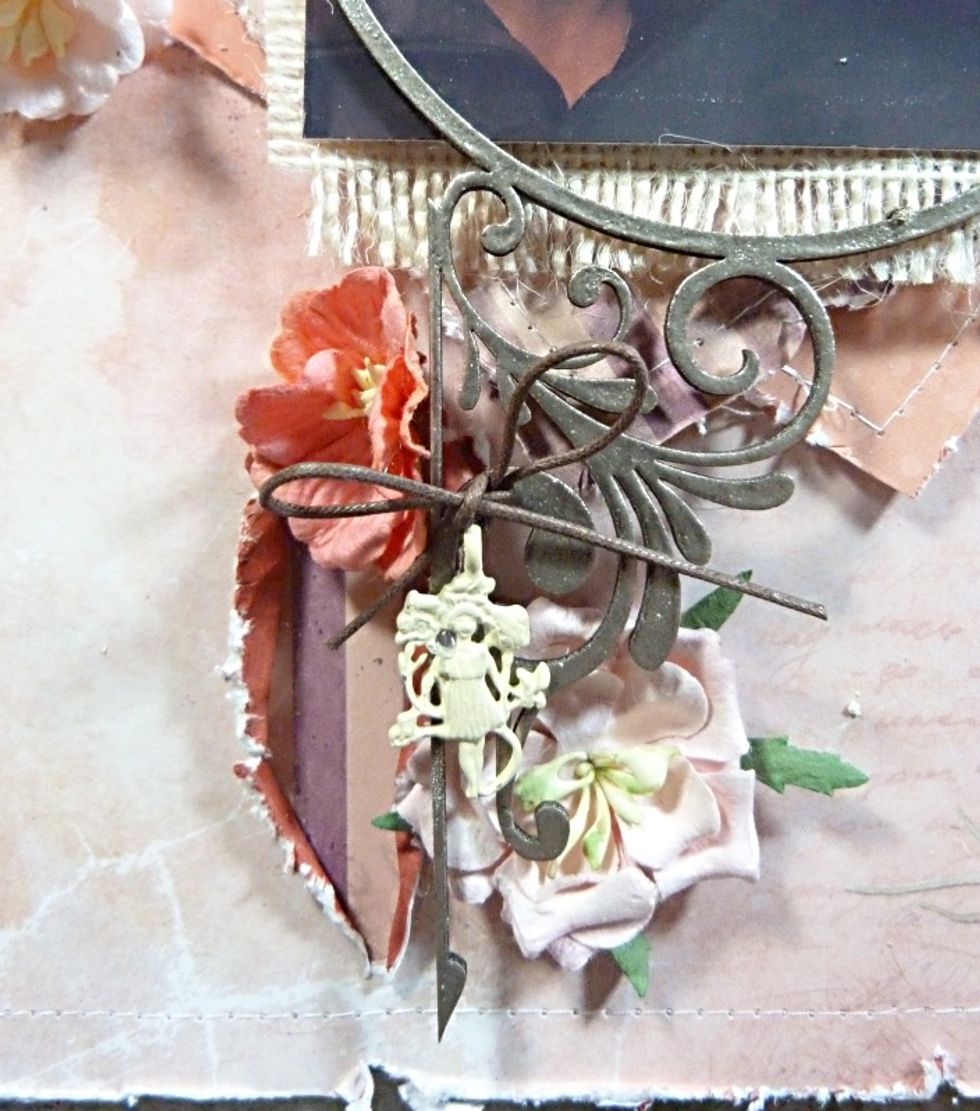
Add another cord bow with Vintage trinket hanging from it to the bottom cluster and slit.
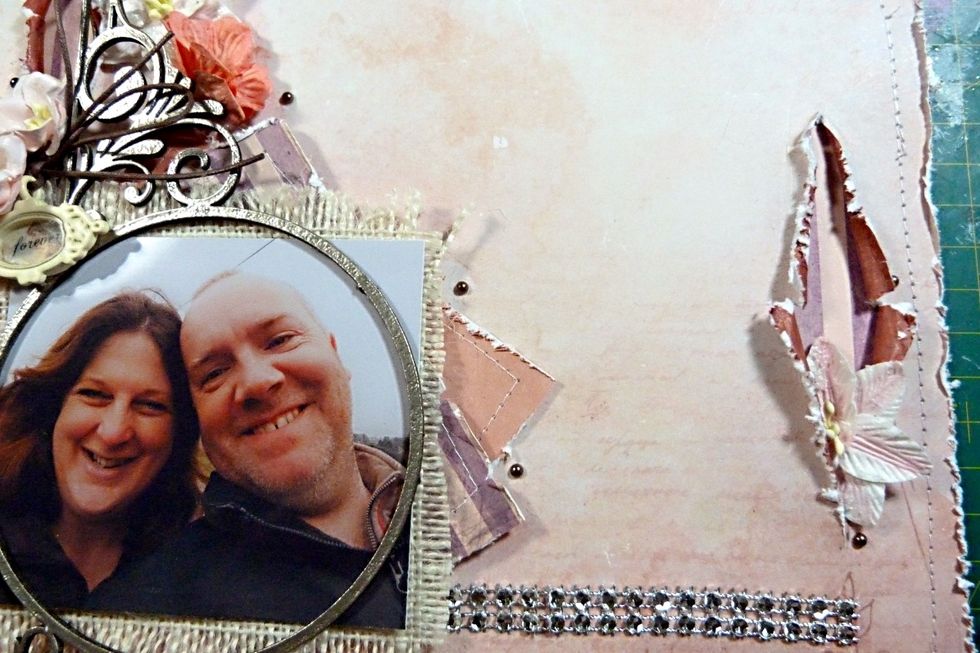
Add some brown pearl around the layout to finish.

This is a design team project created for Swirlydoos Kit Club. For more details on monthly subscriptions to Swirlydoos kits please visit http://swirlydoos,com