The Conversation (0)
Sign Up
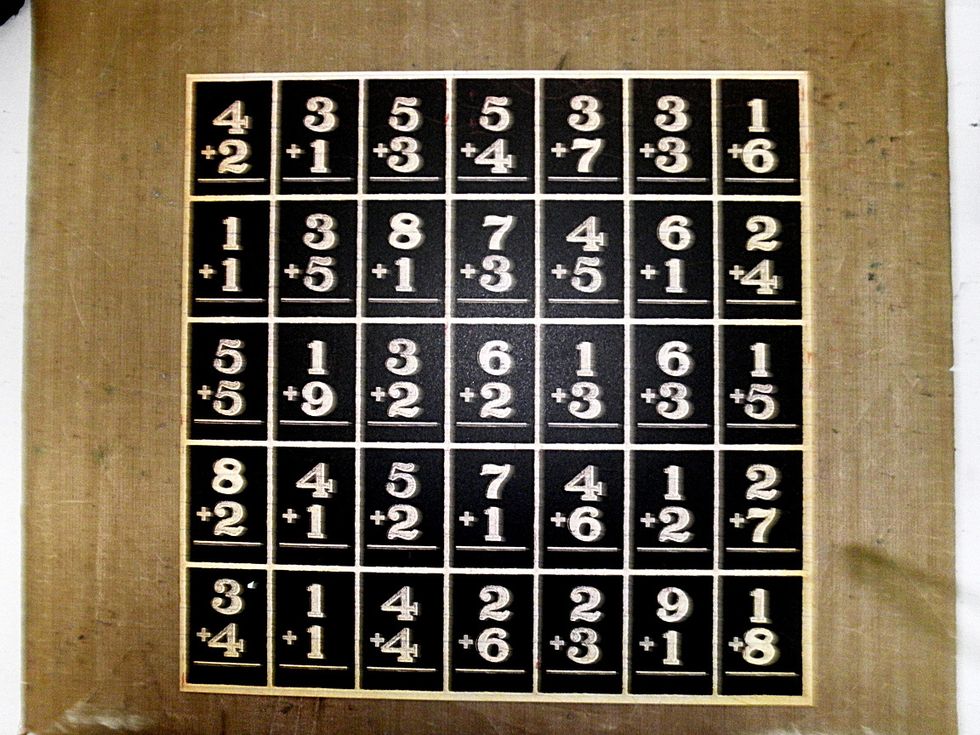
Ink the edges of 1-2 Buckle my Shoe, distress if you wish. This is the base page of the layout.
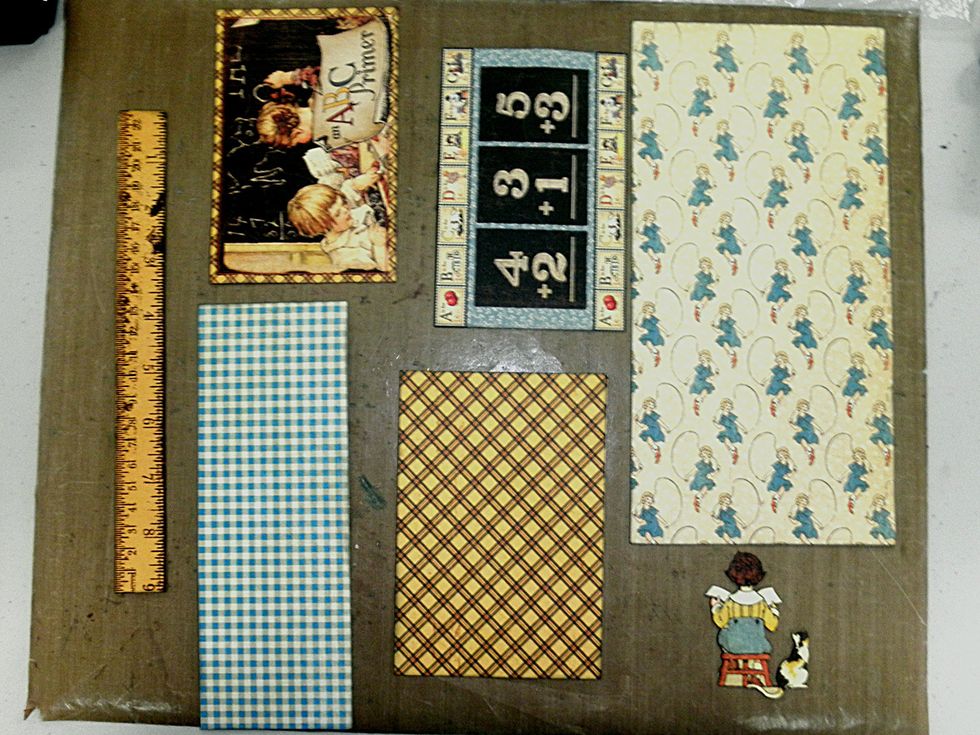
Locate the 2 cut-aparts shown on Calico Cut-apart paper. Cut rectangles: 5.25 x10.5" - Jumping Joan; 2.25x8.5" - Games & Playtime; 4.125 x 6" - ABC Primer, cut the ruler from ABC Primer. Ink edges.
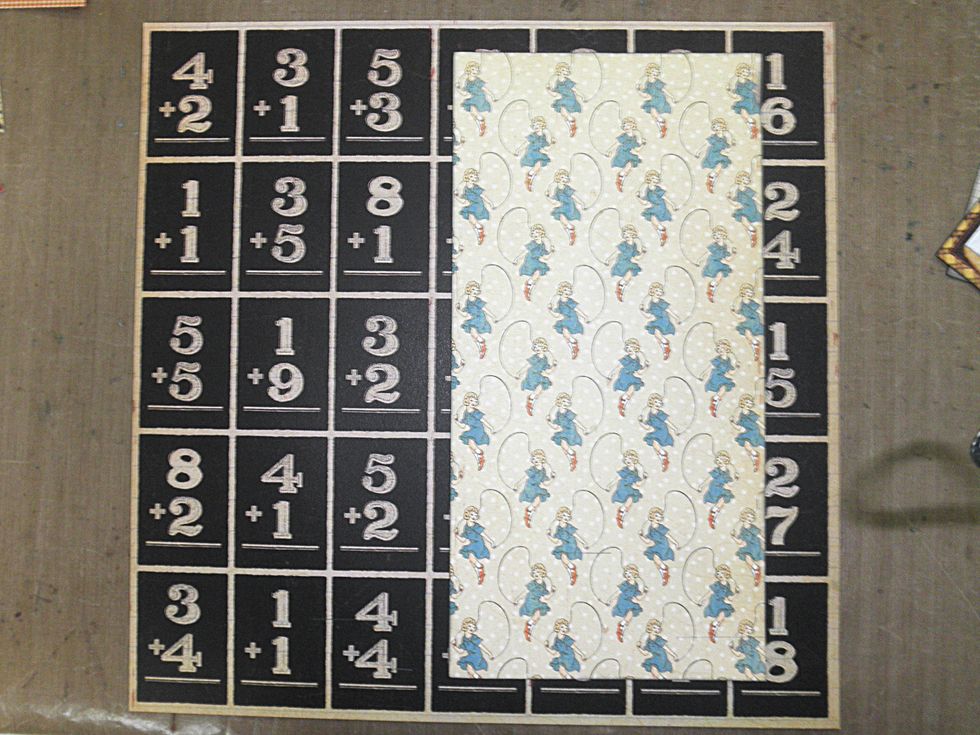
Adhere the Jumping Joan rectangle to the base about 1.25" from the right side and 1/2" from the top.
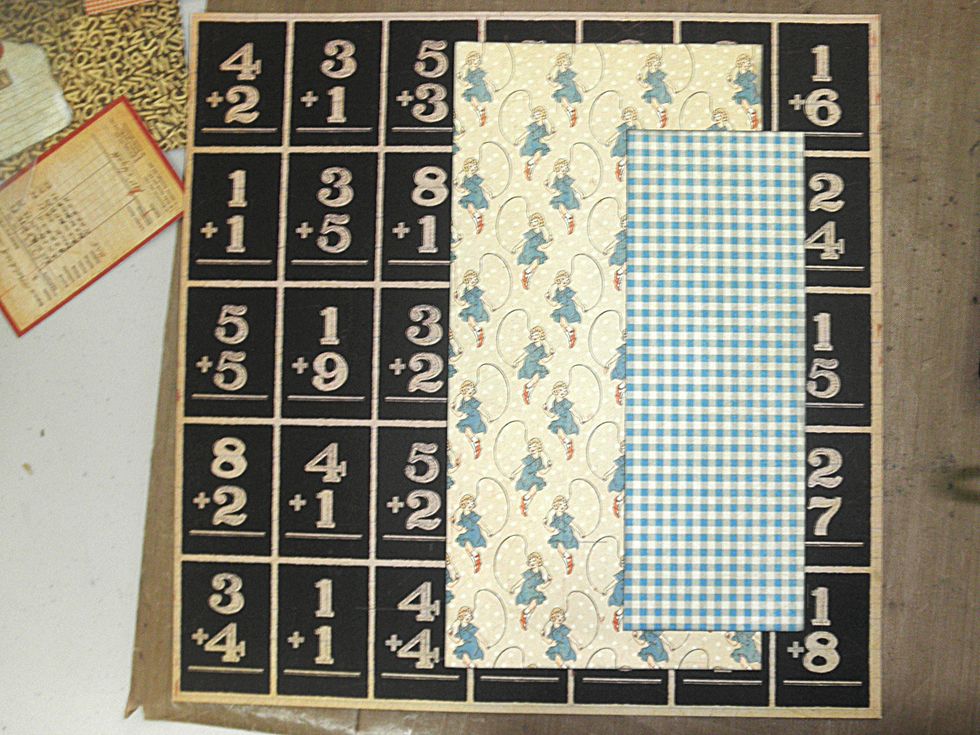
Add the blue gingham check piece 1.25" from the right side and 2" from the top.
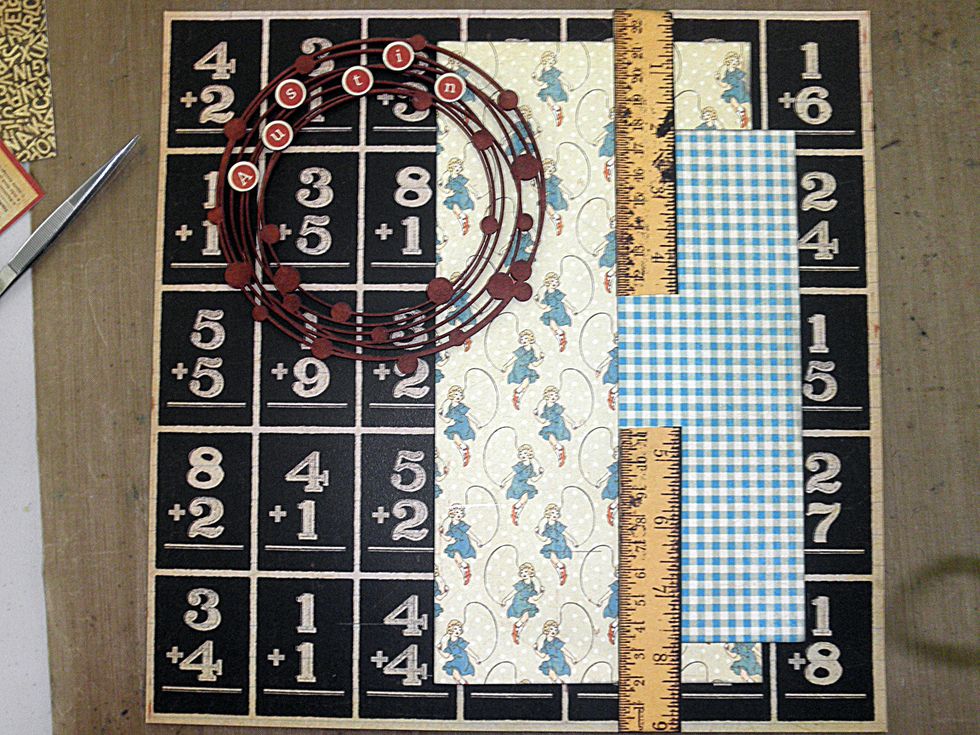
Cut the ruler in half and adhere as shown. If you are using chipboard similar to what I have used, ink it with Distress Fired Brick and add alpha stickers from the sticker sheet. (con't on next pg)
If you don't have a similar piece of chipboard, you could cut several narrow circles and layer them in a similar pattern and then add a title using the alphabet letters in the sticker collection.
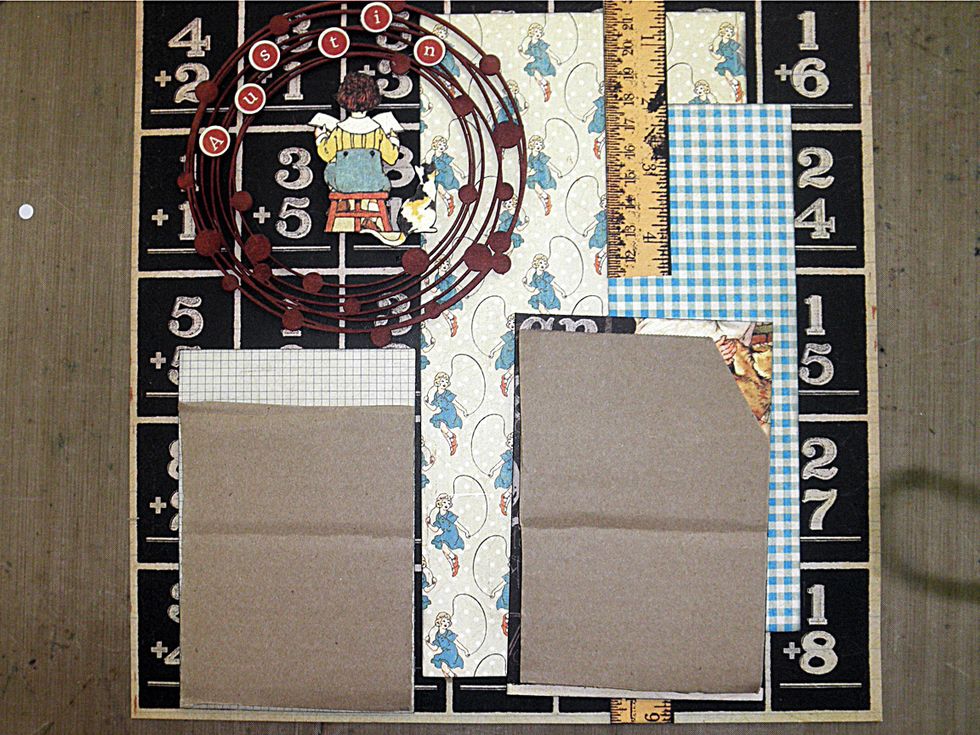
Fussy cut a child from Games & Playtime & adhere inside the circles. Adhere the flashcard cut-apart to the yellow plaid rectangle cut earlier. Pop up the cut-aparts with cardboard or foam tape.
Add your photos to the two cut-aparts and glue to the layout. The one on the right is 2.75" from the top and 2" from the side. The one on the left is 1.25" from the bottom & 1.75" from the side.
Tuck a 1 x 3.25" piece of Calico Cut-apart under the photo on the left as shown. Add 3 little apple chipboard pieces.
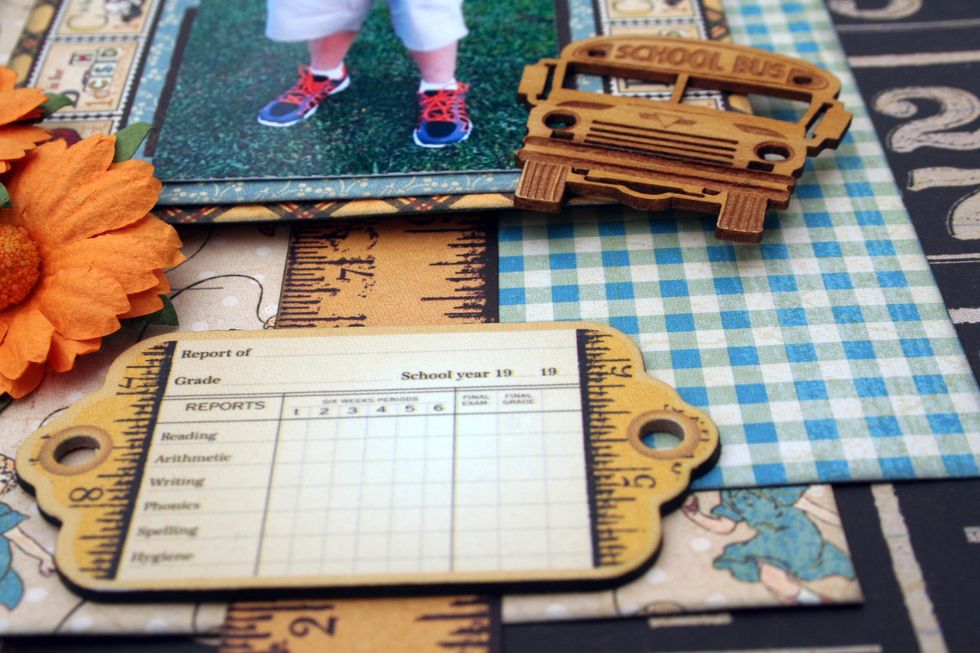
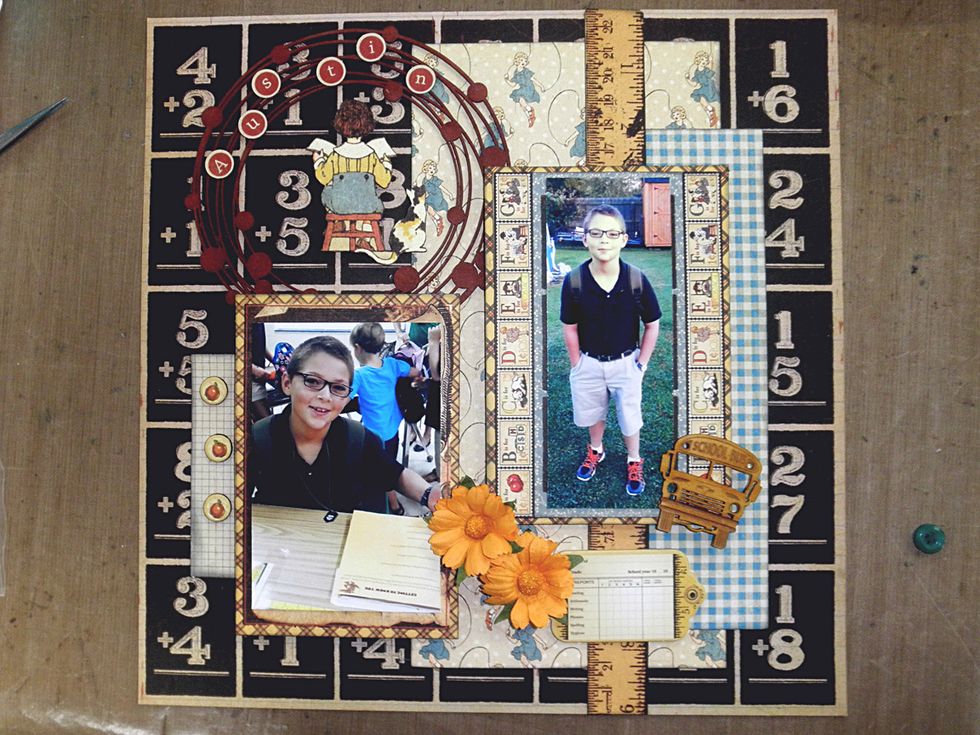
Add a chipboard piece over the ruler near the bottom. I've also added a wood veneer schoolbus from Creative Embellishments at the corner of the photo. You could add any embellishment you have.
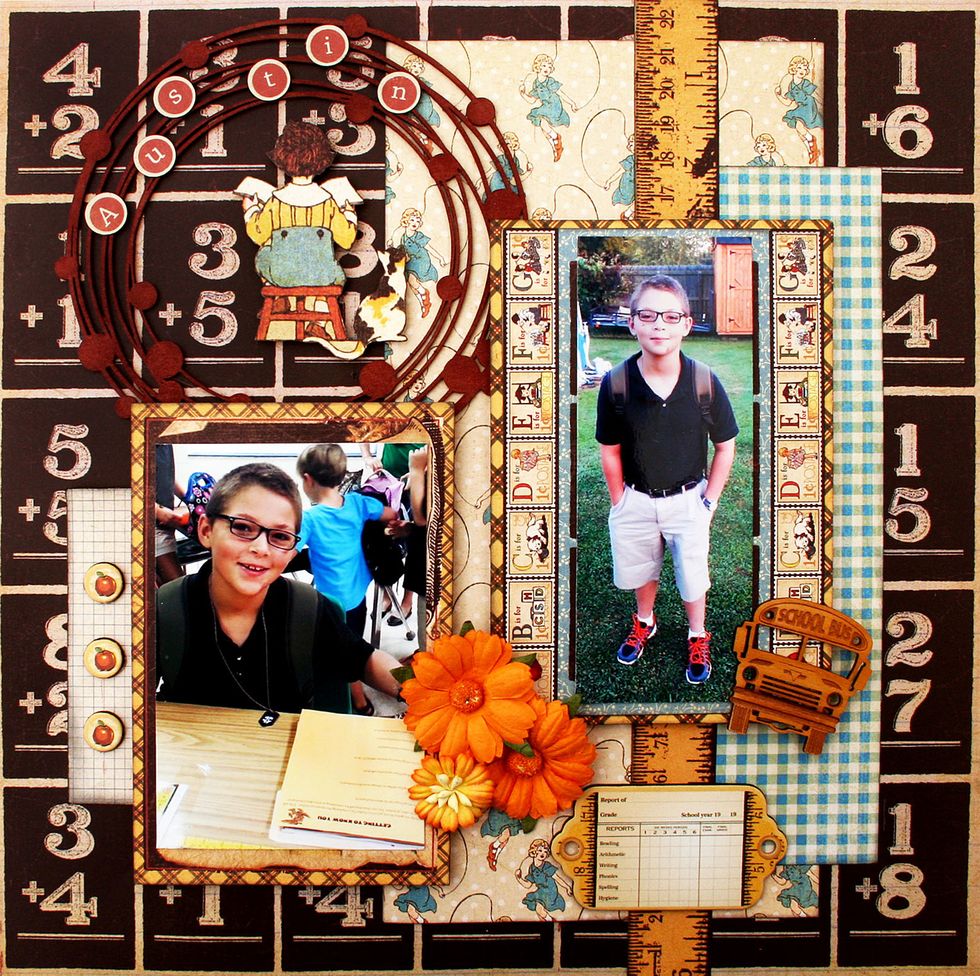
Finished page. You can embellish anyway you like. The chipboard pieces in the collection give you lots of embellishing options!
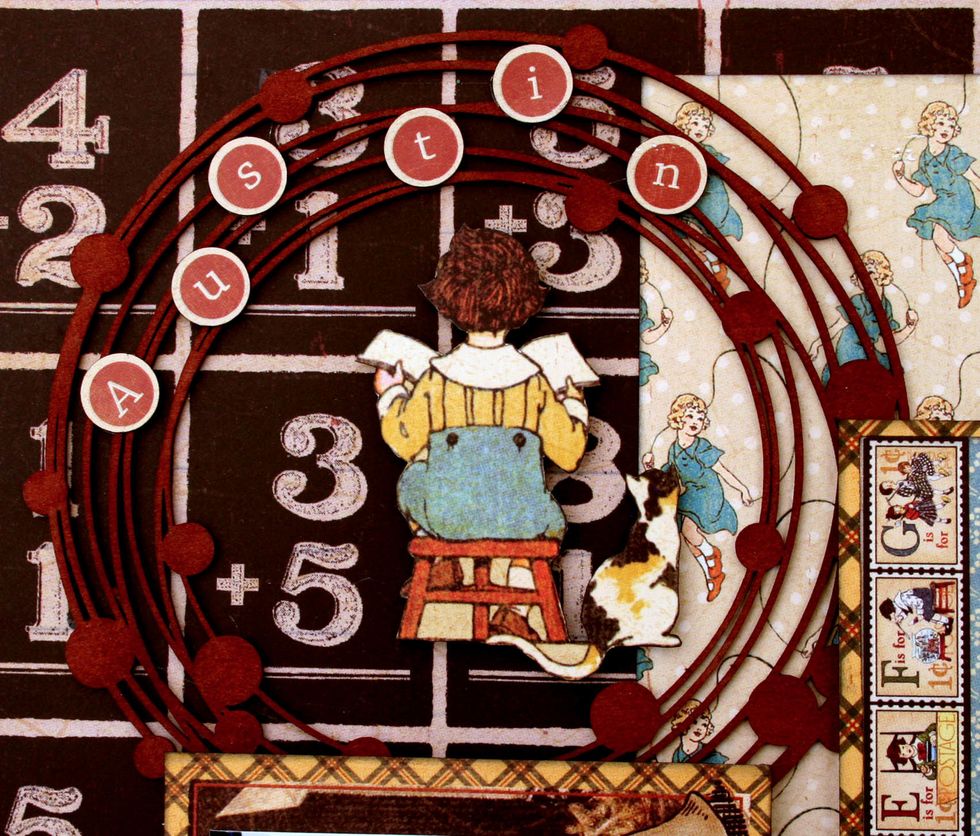
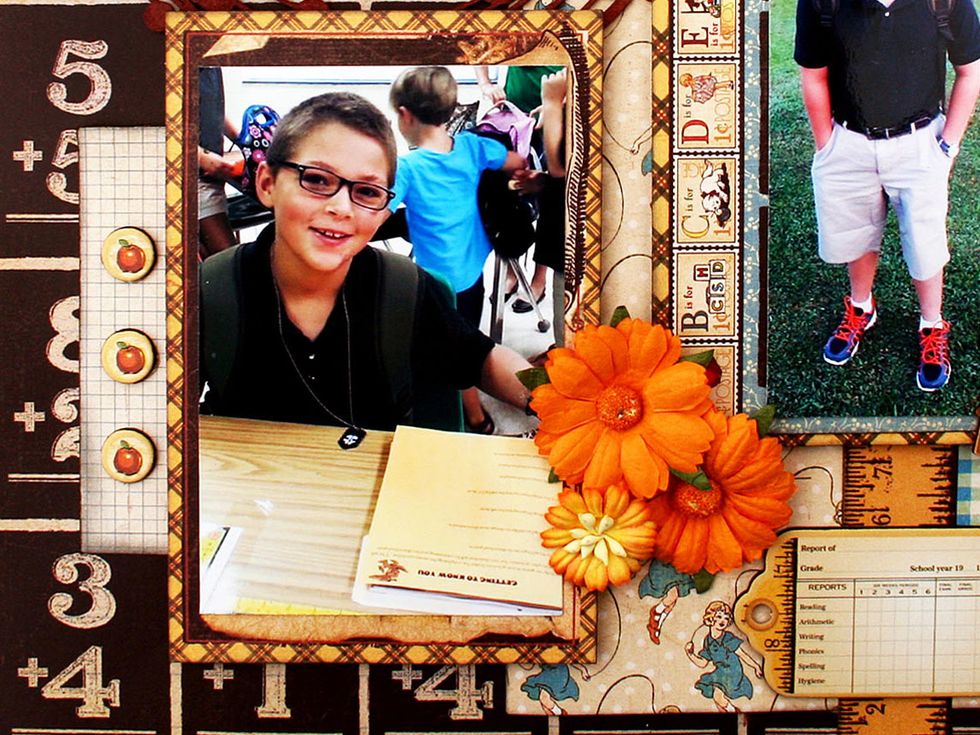
Detail of the chipboard and fussy cut image.
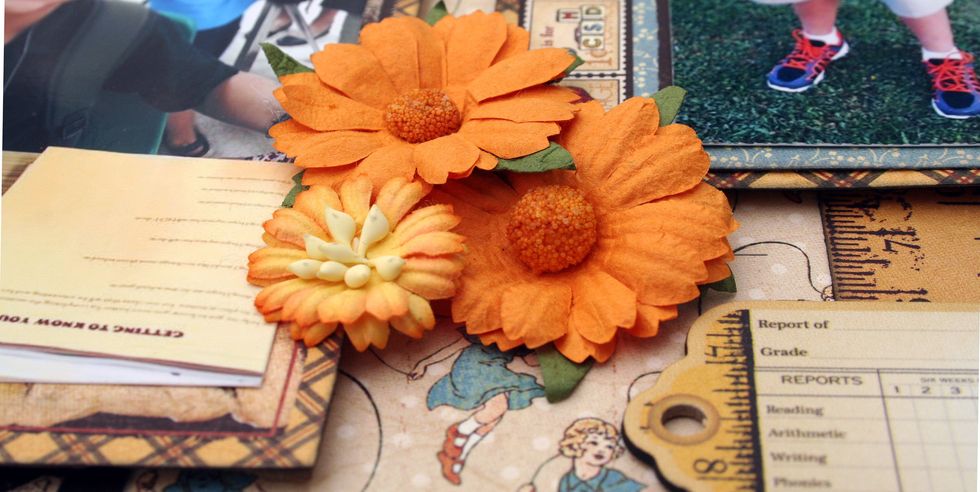
Daisies from I Am Roses. Thanks for viewing my tutorial!