The Conversation (0)
Sign Up

Graphic 45 A Ladies’ Diary Deluxe Collection 12" x 12" pad.
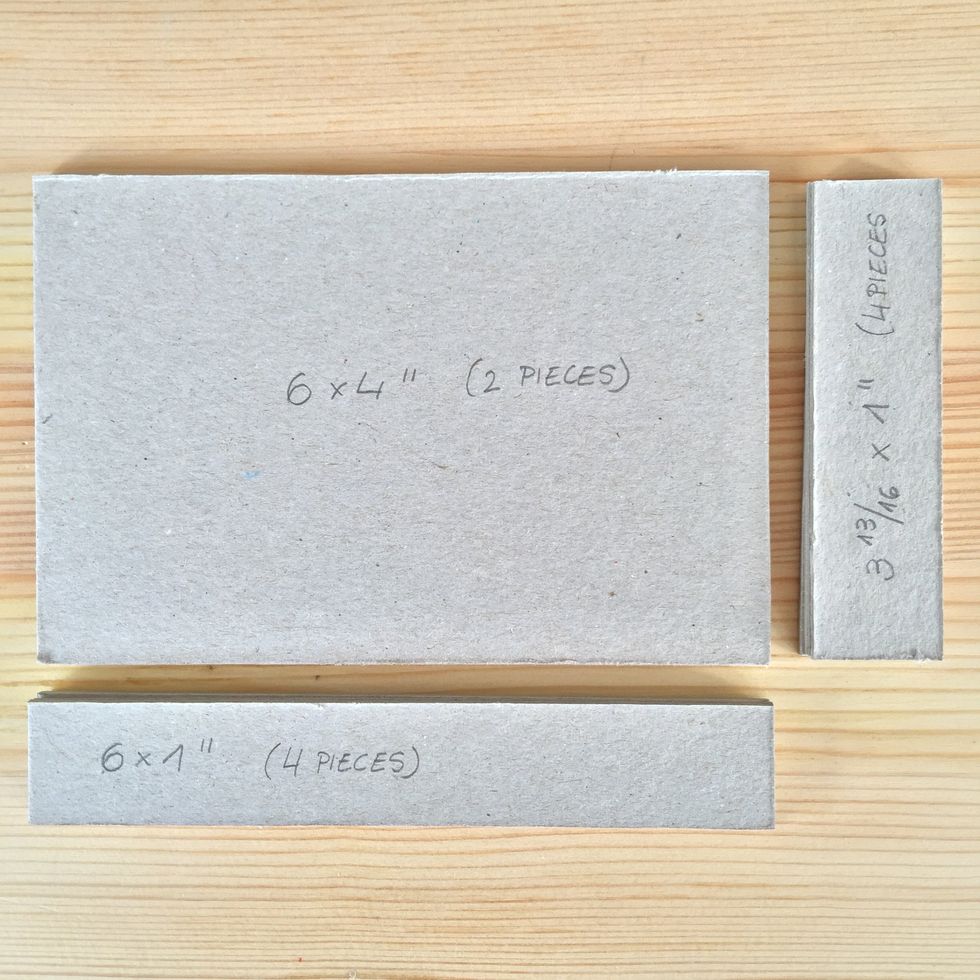
Cut two pieces of 6" x 4”, four pieces of 6" x 1” and four pieces of 3 13/16" x 1” of cardboard to make the box for the mini album.
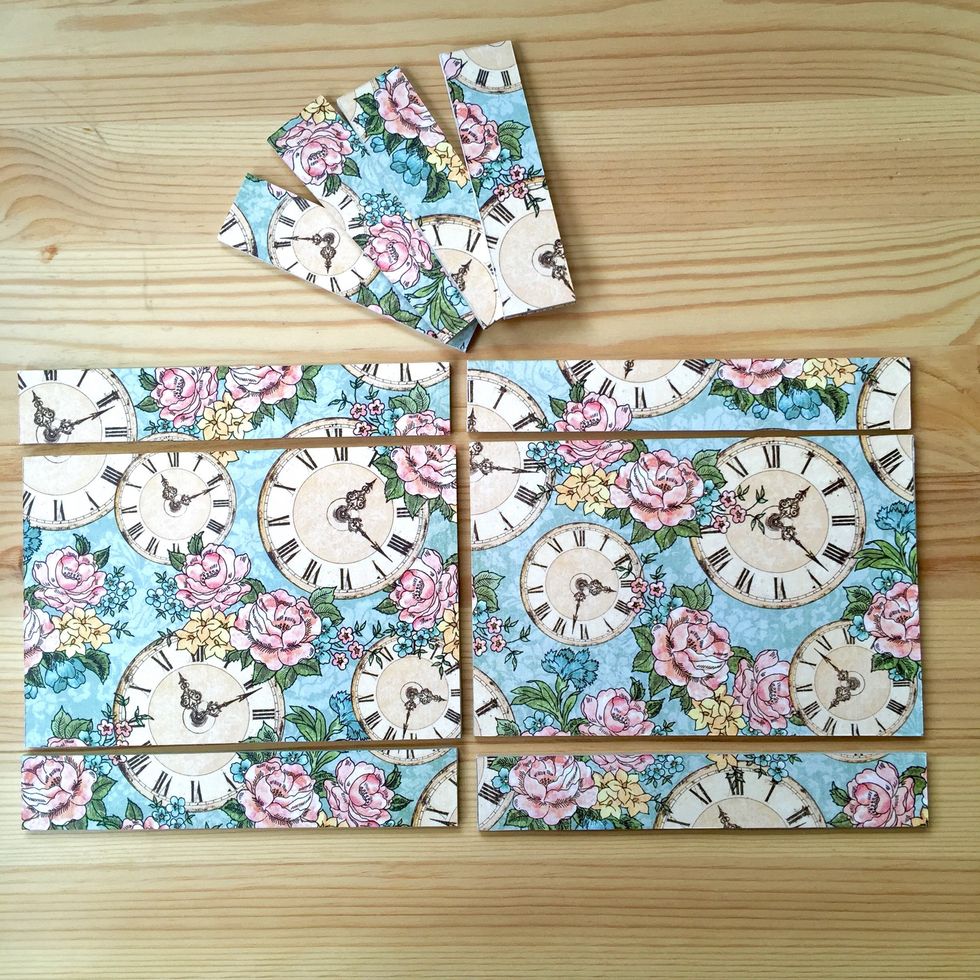
Cover one side of the pieces with decorated paper.
Then cover the other side of the pieces. Stick a piece, leave a space free of the same thickness than the cardboard you are using and stick the next piece.
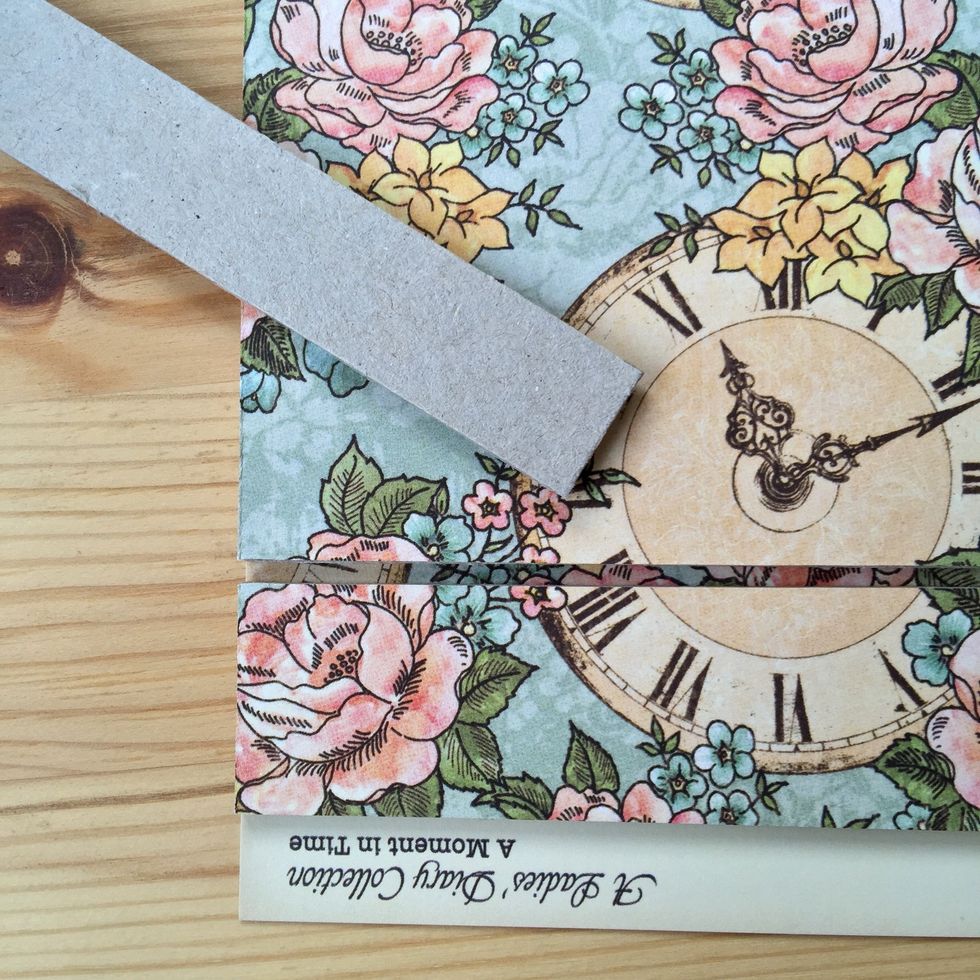
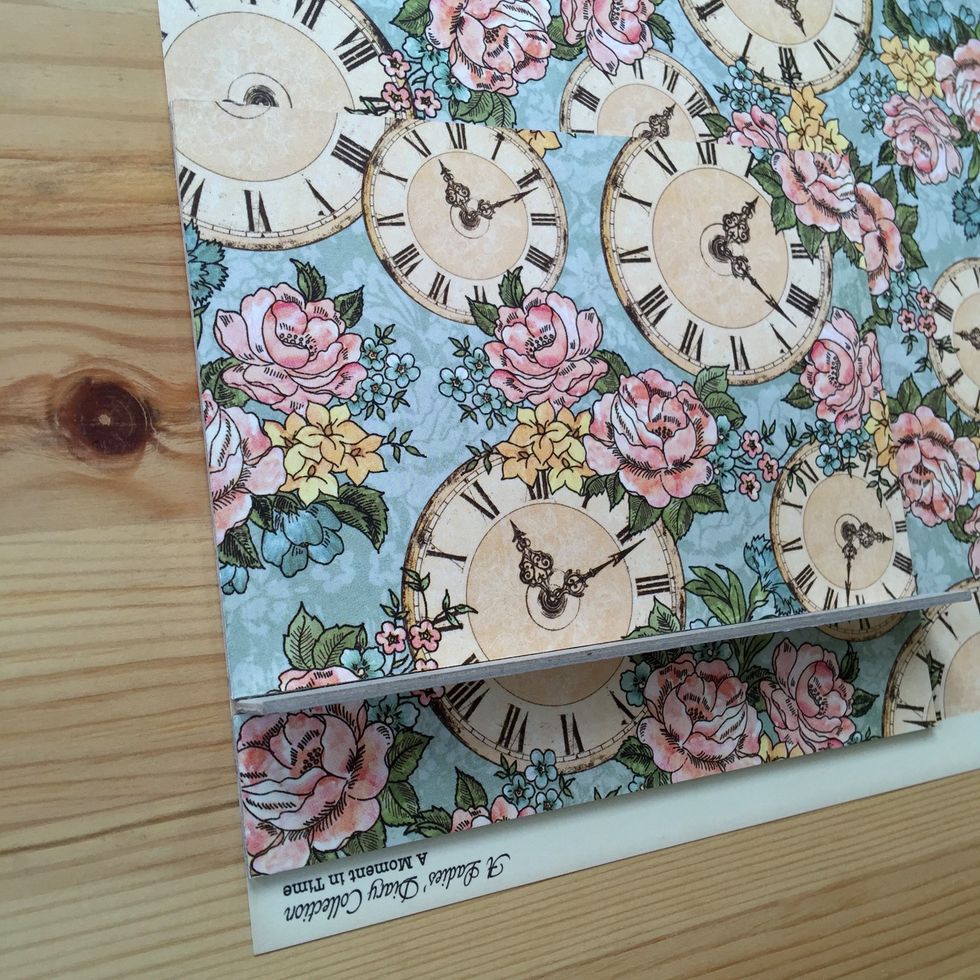
This is the space between the pieces.
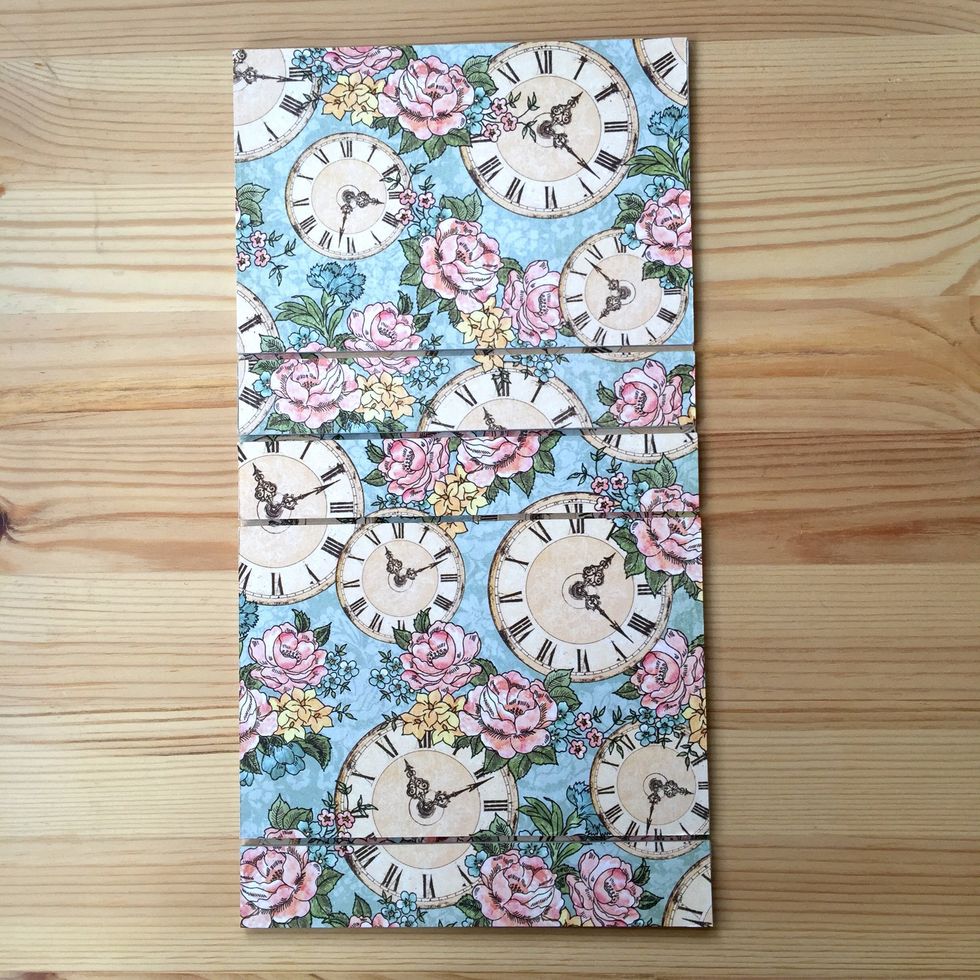
Continue sticking the pieces as shown to make a good use of paper. The missing piece will be added too.
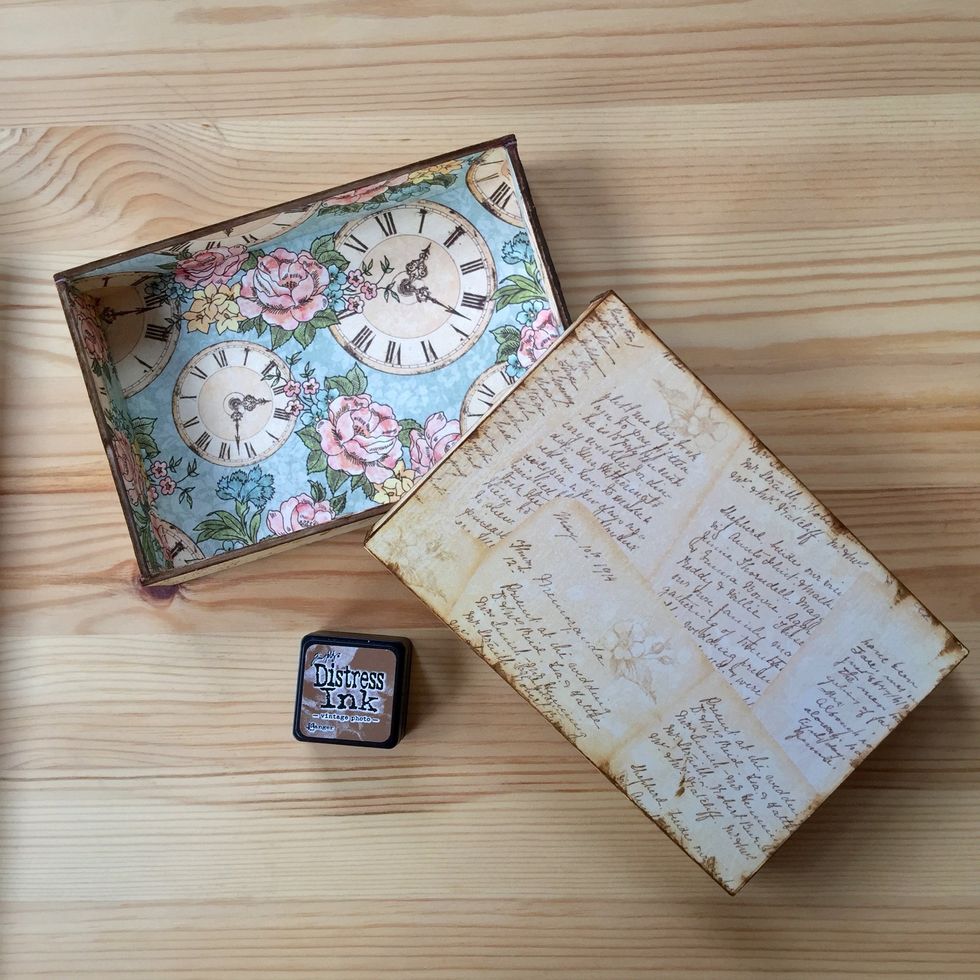
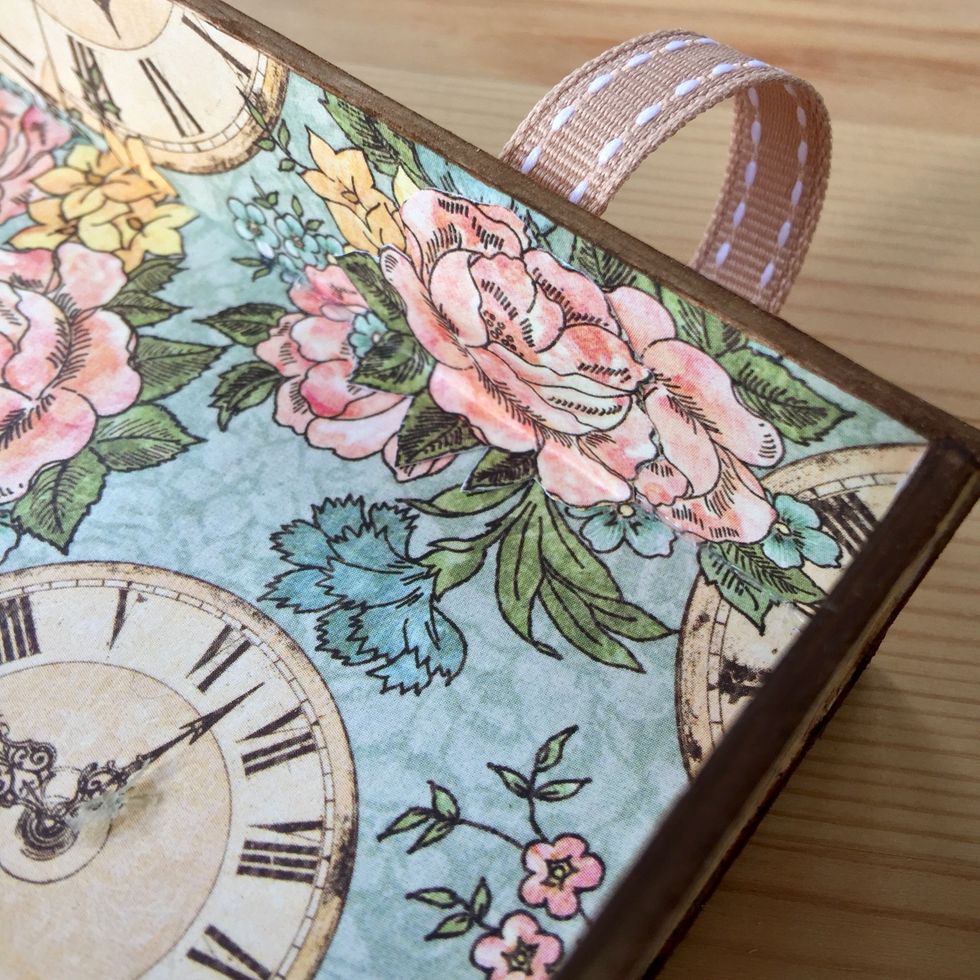
Glue all pieces to form two equal parts of the box and ink edges and corners.
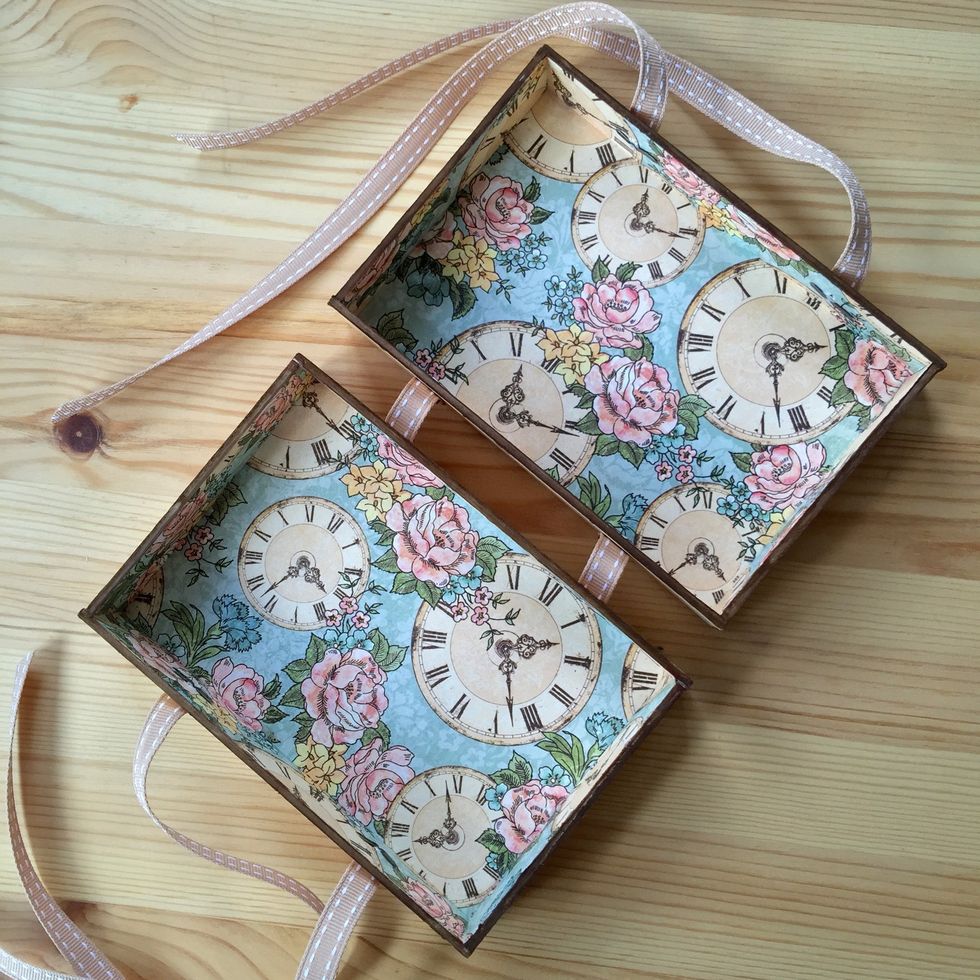
Use a ribbon and 8 brads to make the enclosure of the box.

Two brads in each side of the box.

Put them as shown.
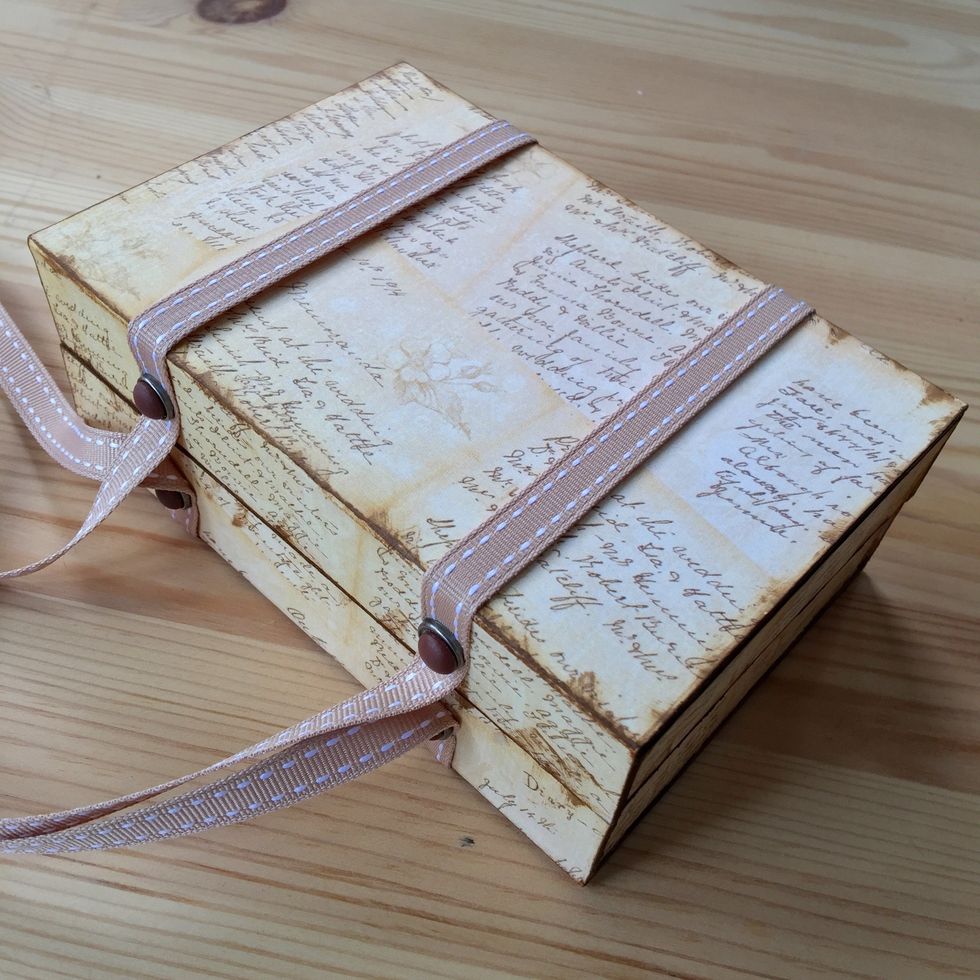
Put them as shown.
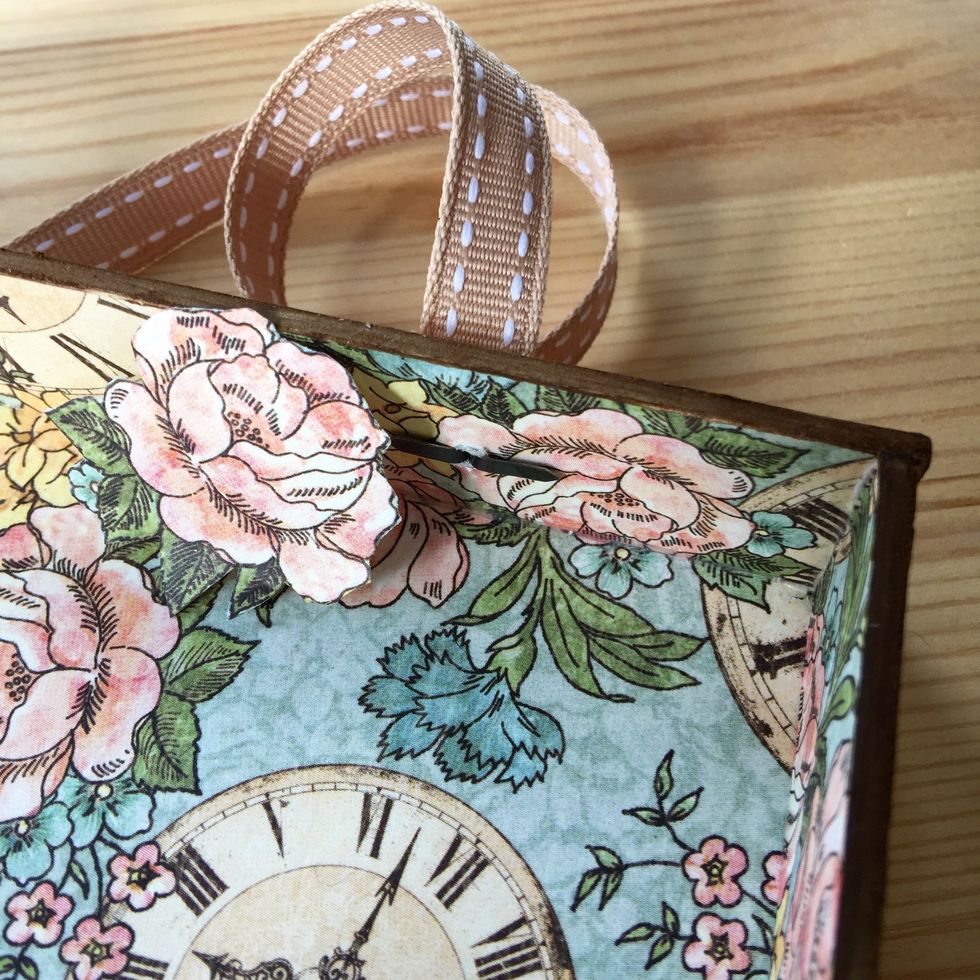
Tip: To hide the back of the brads fussy cut a small piece of paper, in this case a little flower, and adhere.
They go unnoticed.
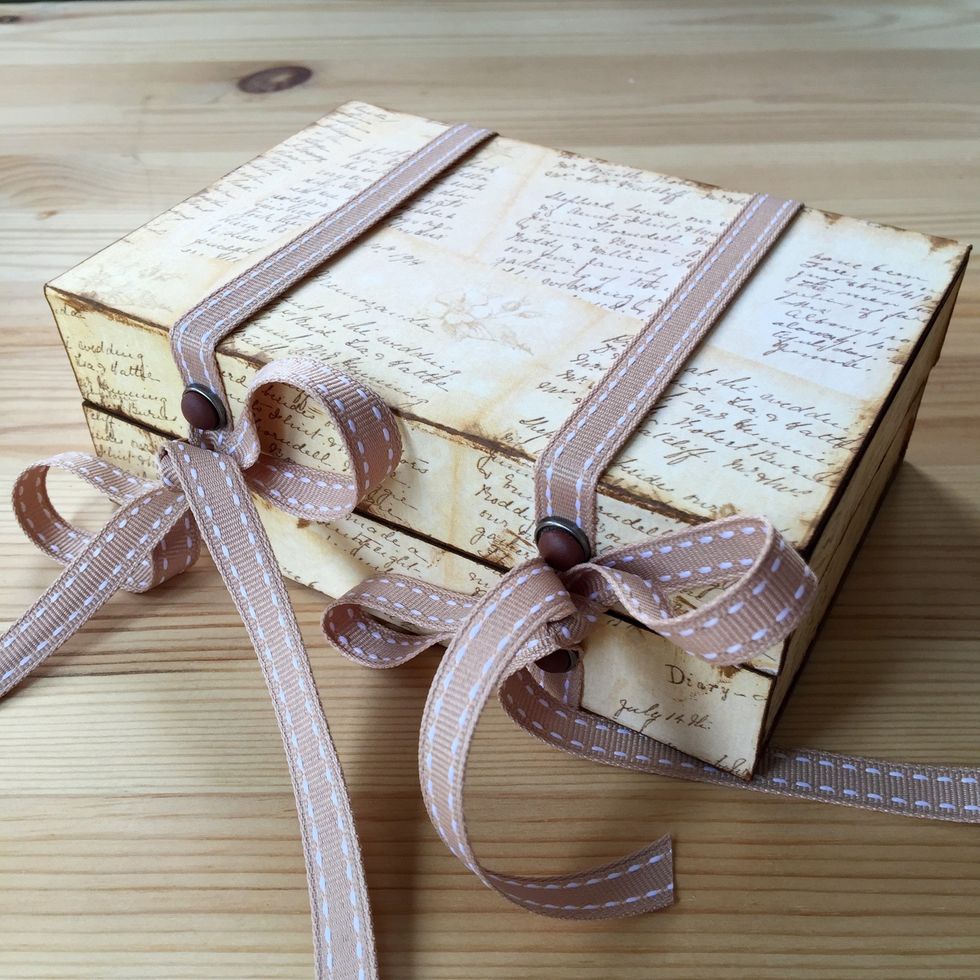
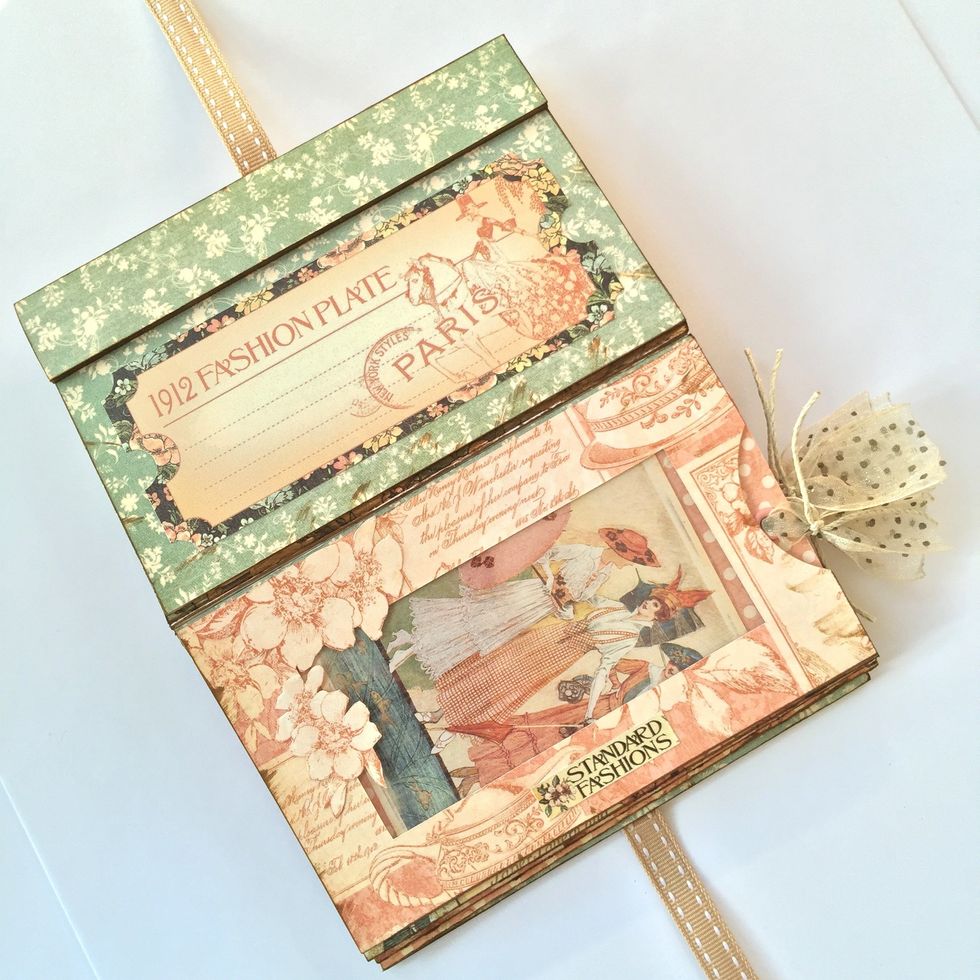
Close the box with a tie.
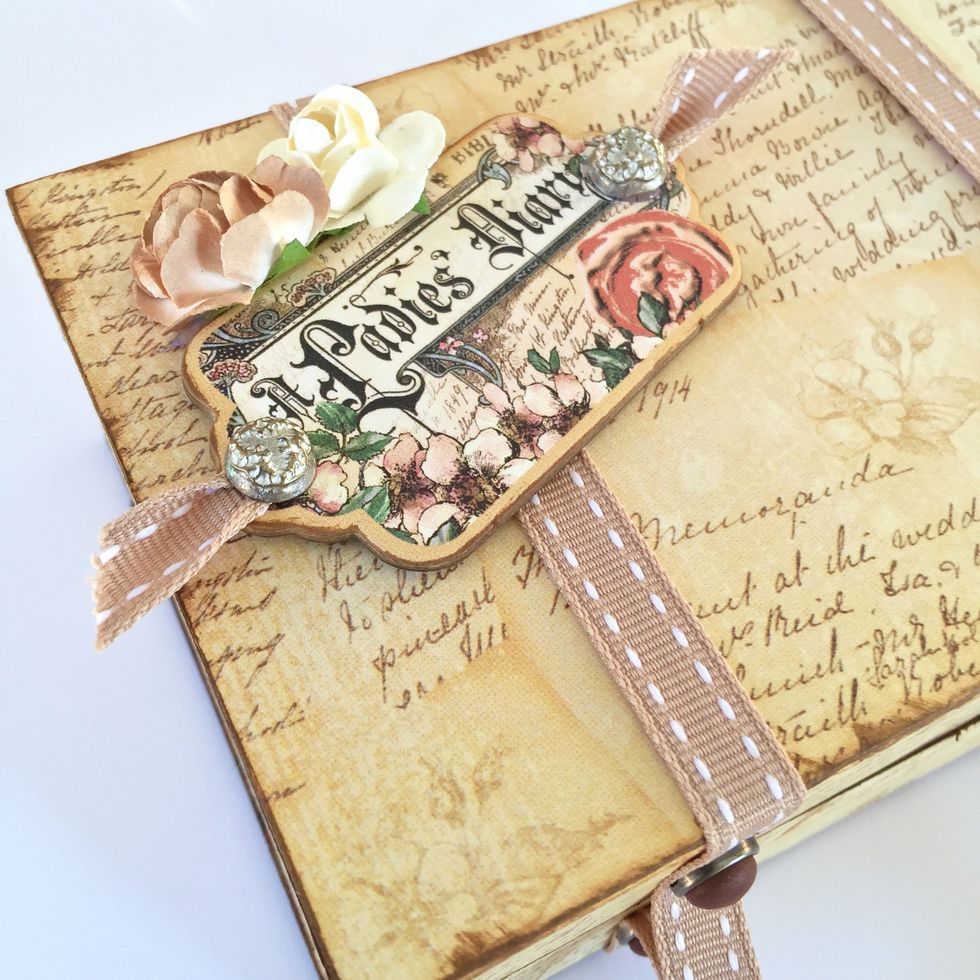
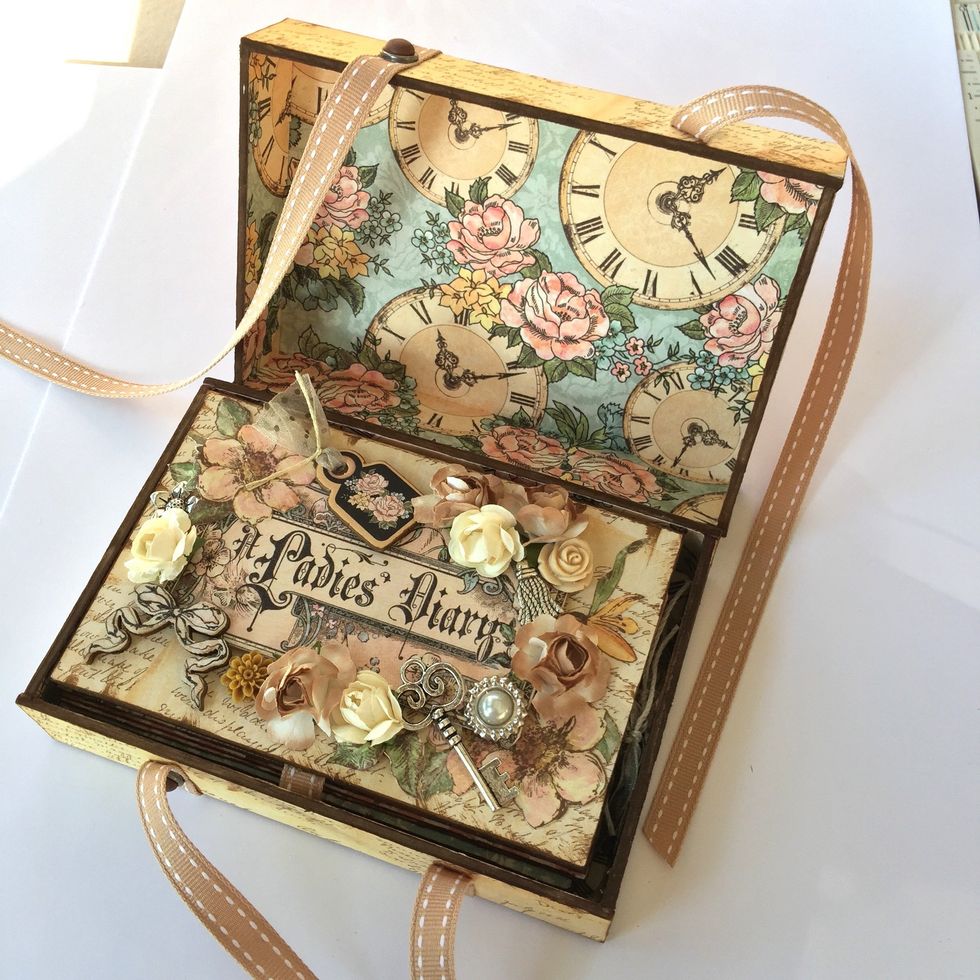
Then decorate as you like.

I have used a chipboard of the set, a piece of ribbon, two paper flowers and two wonderful Graphic 45 brads.
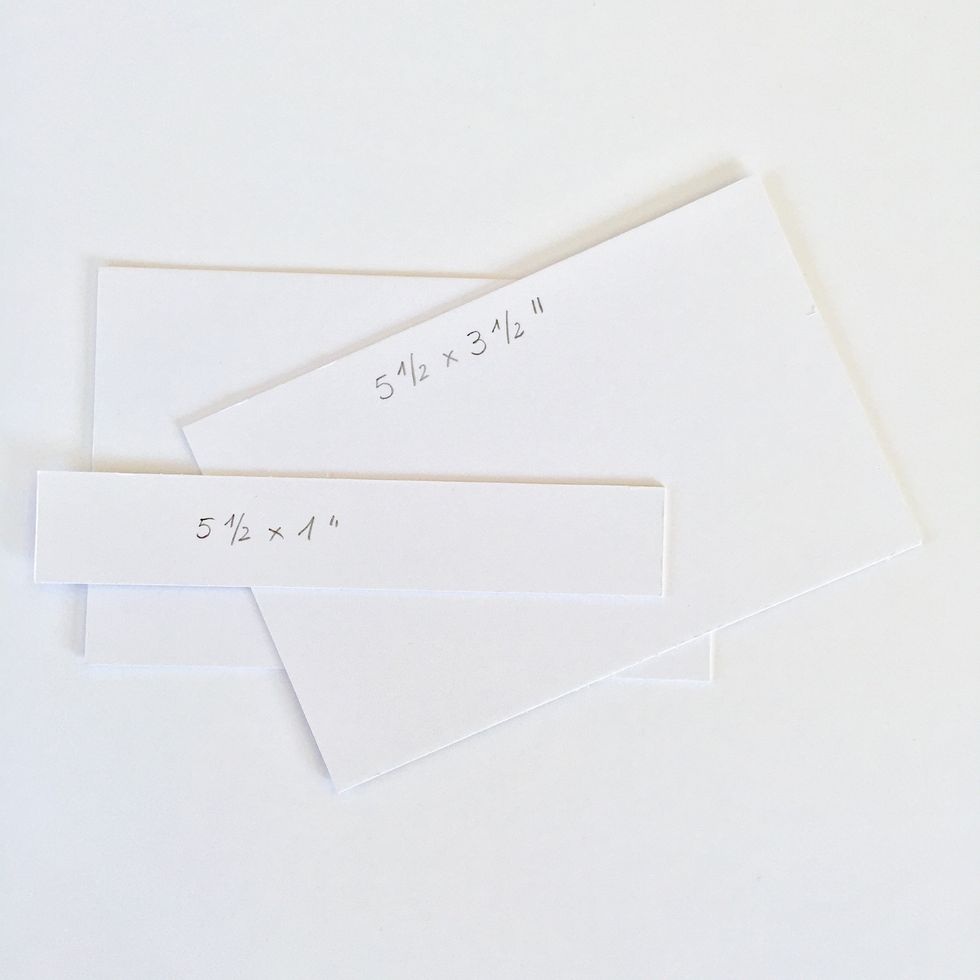
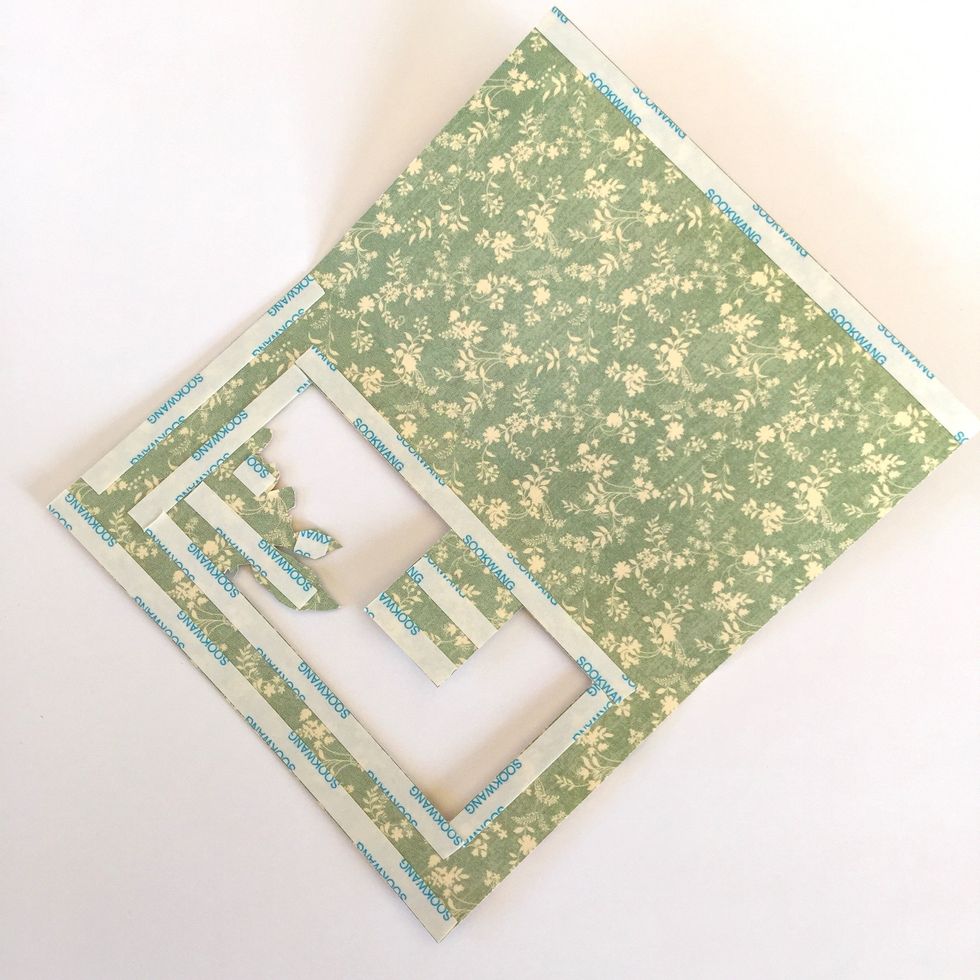
Cut these pieces, they will be the album cover.
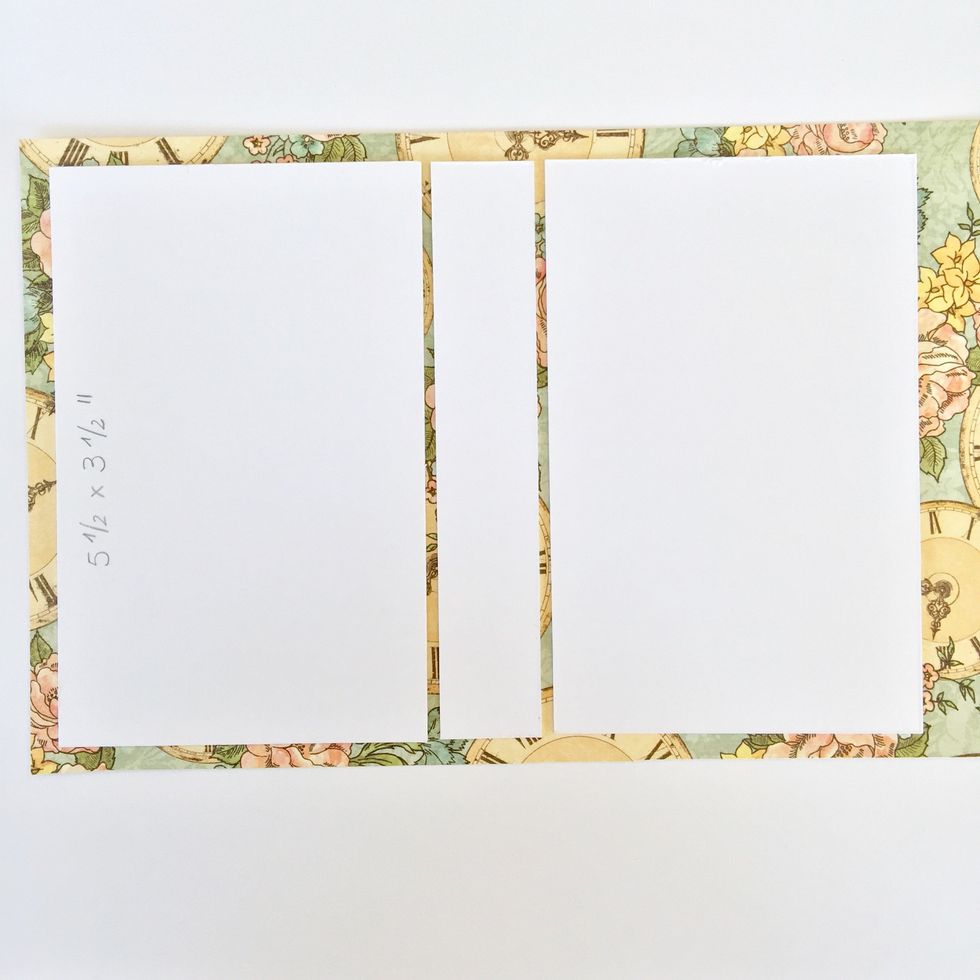
Stick them using double sided tape as shown leaving a space free of the same thickness than the cardstock you are using.
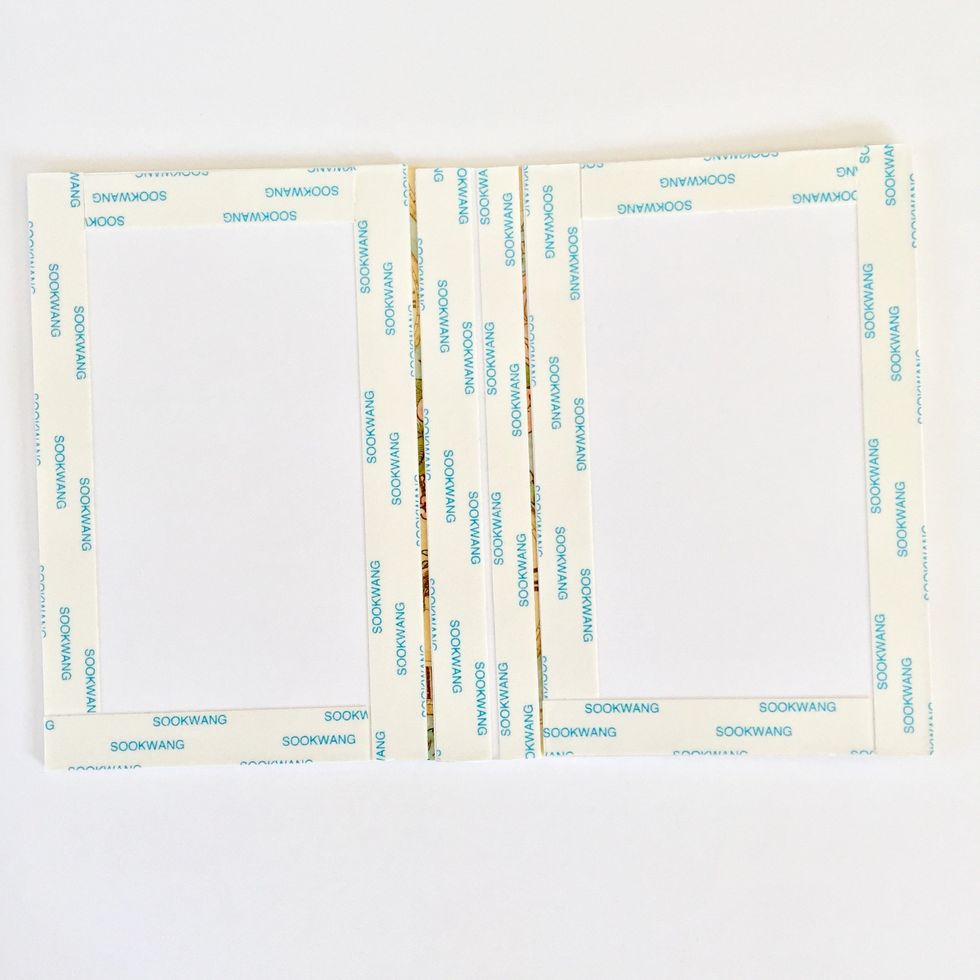
Cut the excess of paper and apply double sided tape on the other side.

This is the cover.
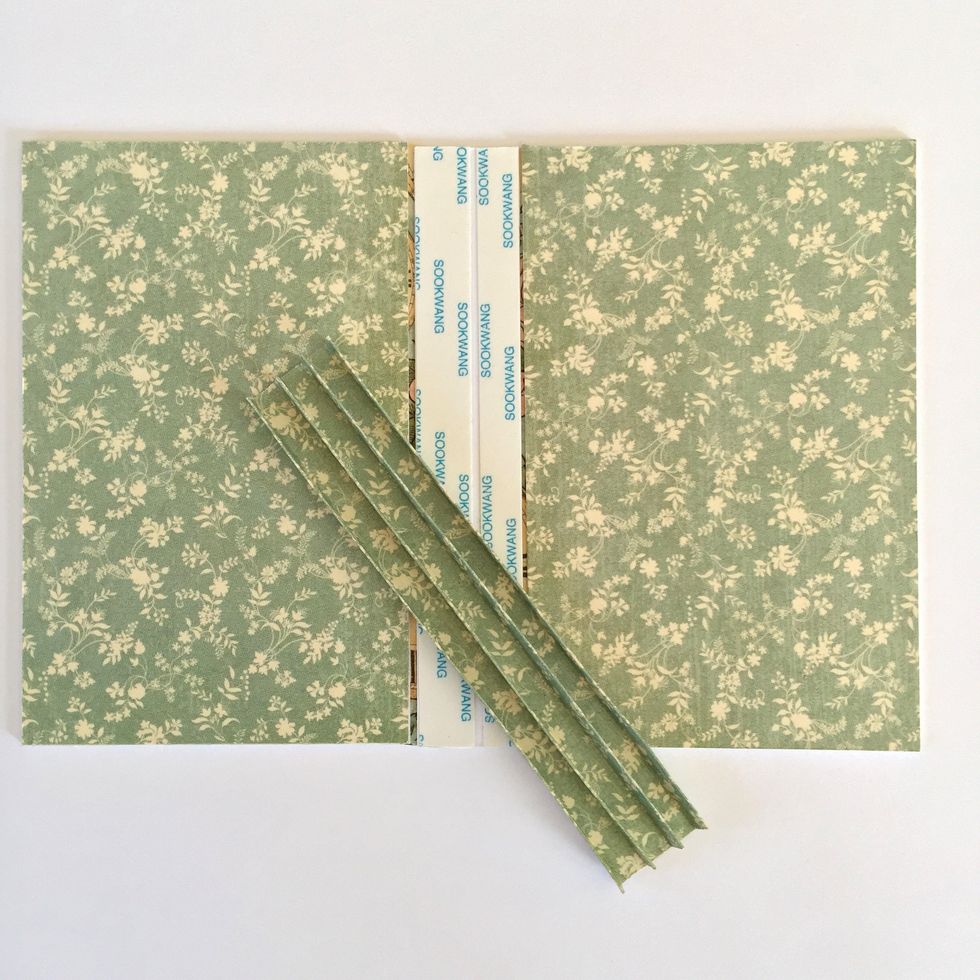
Make a spine for four pages.
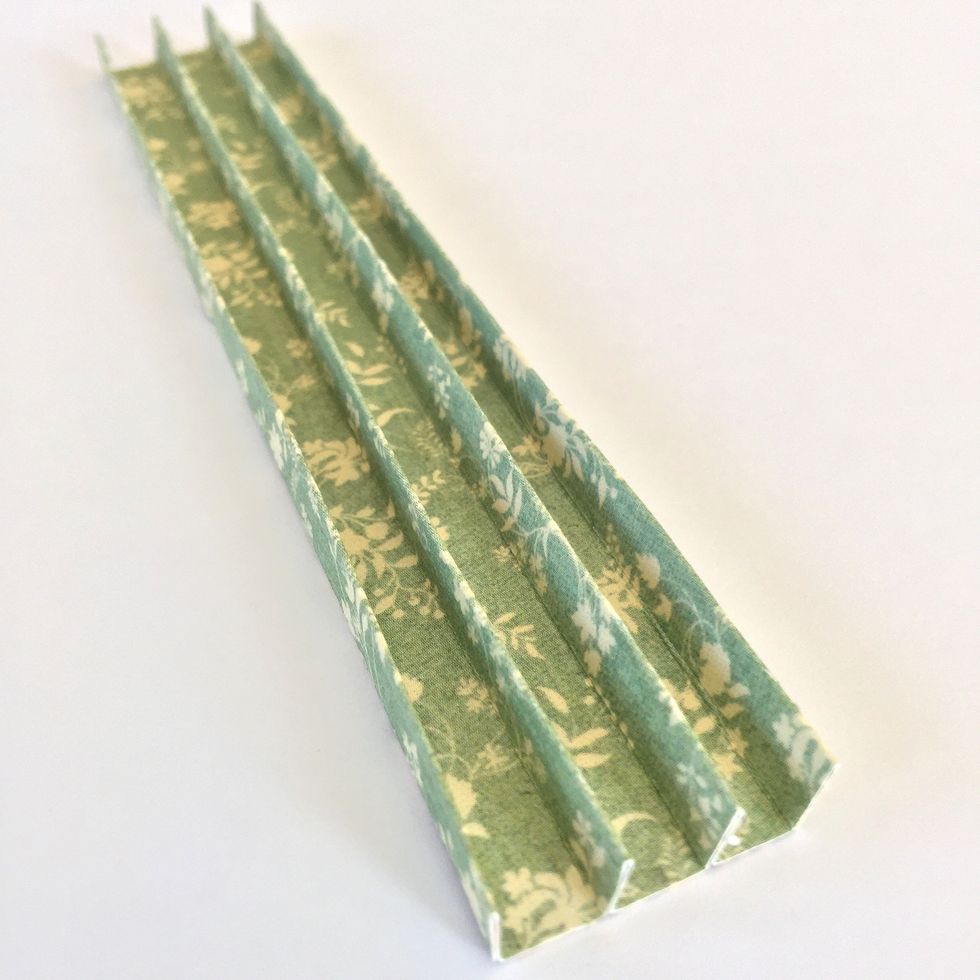
This is the spine to adhere in central space of the covers.
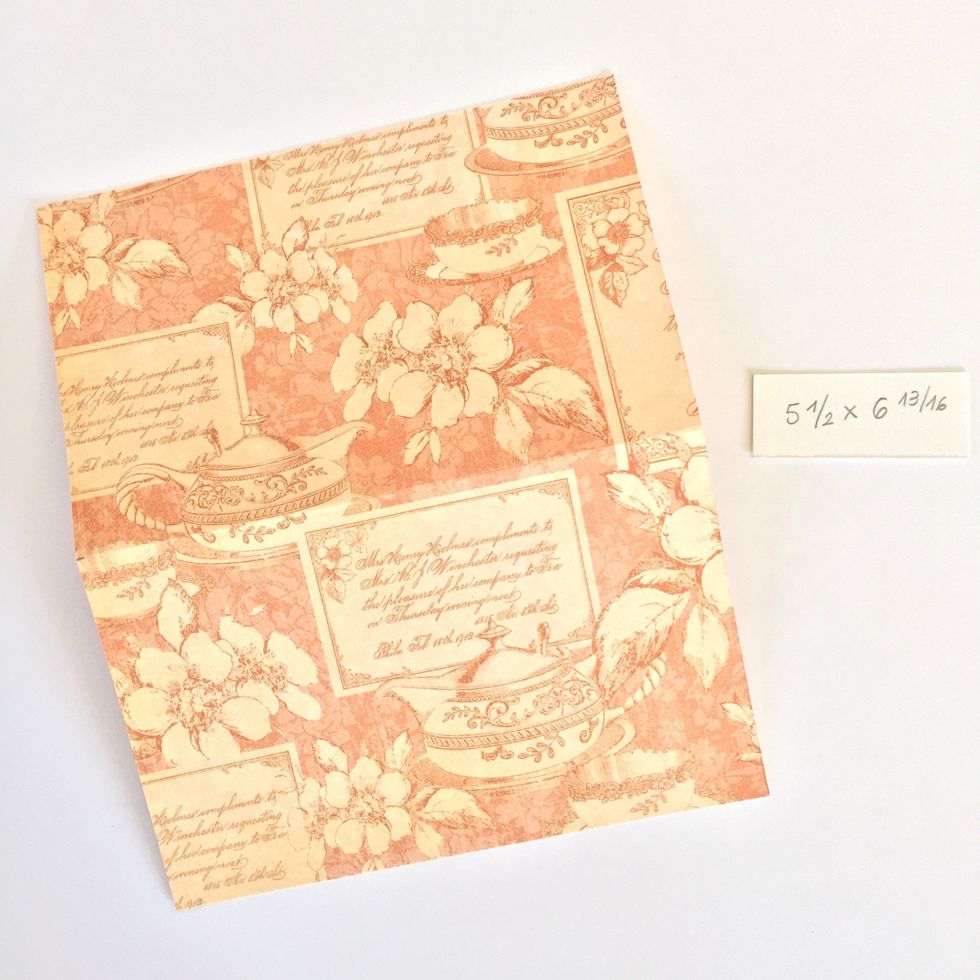
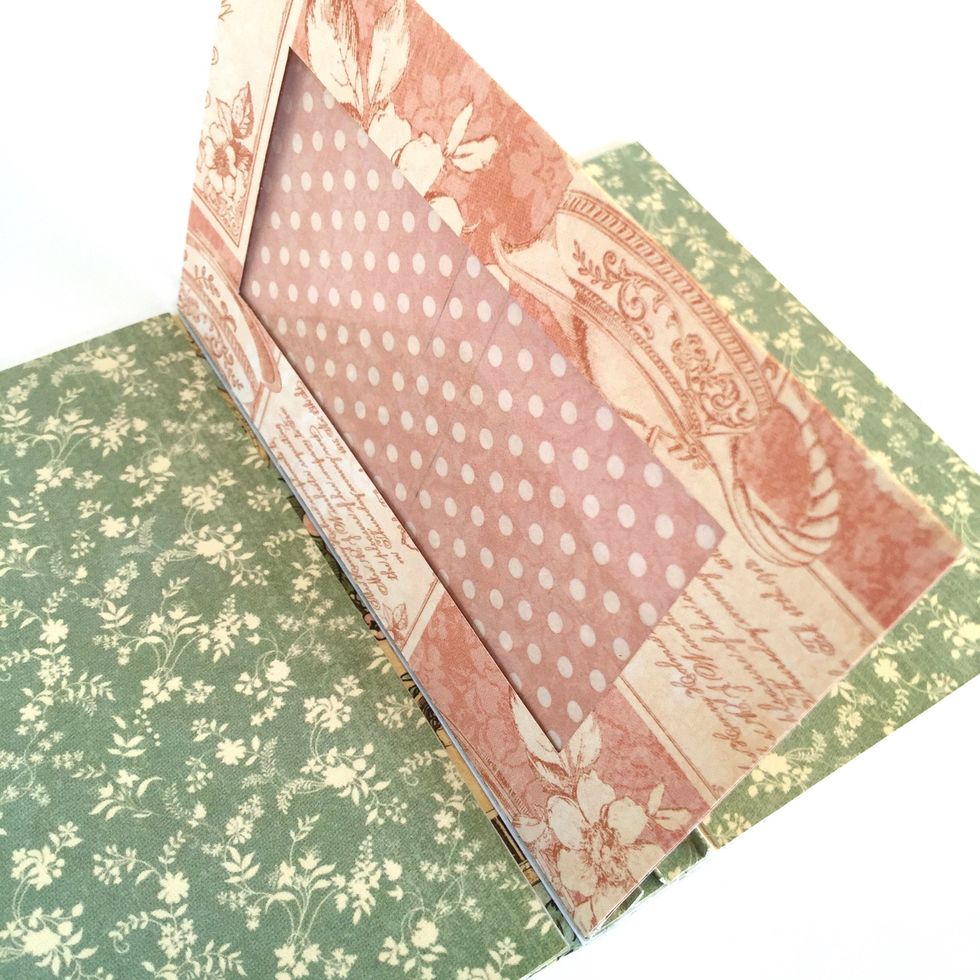
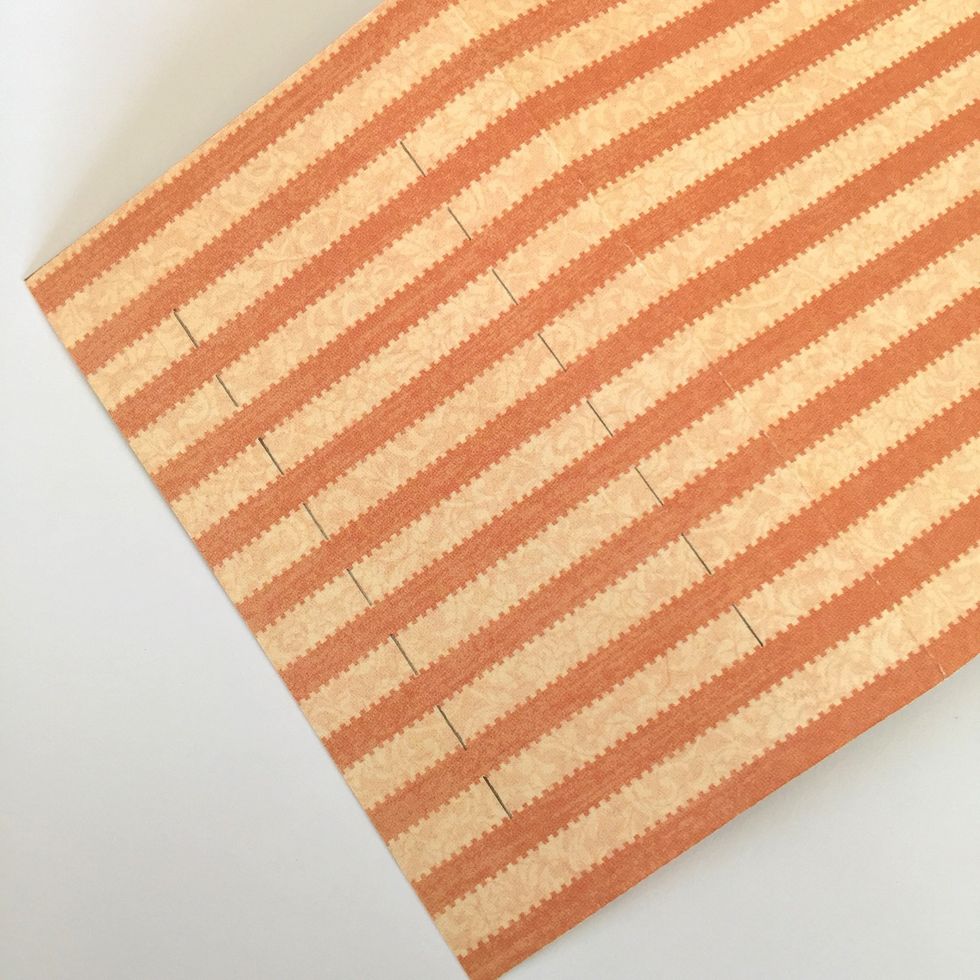
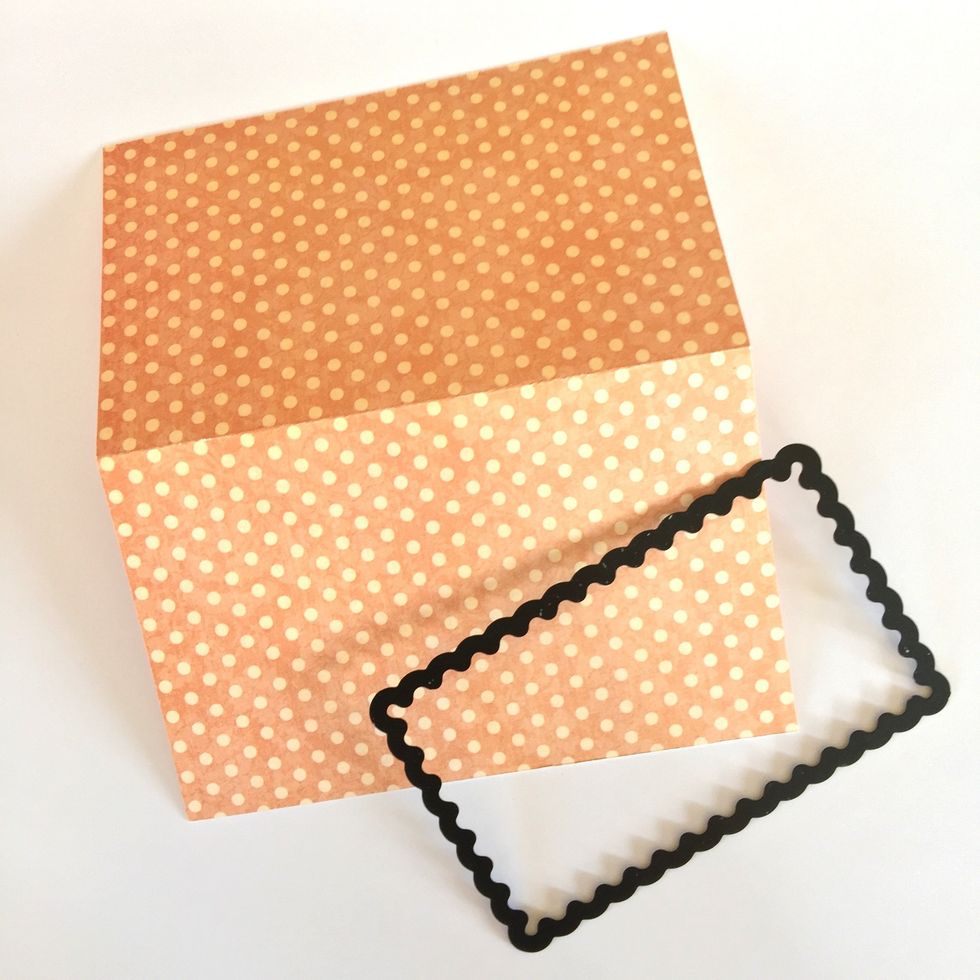
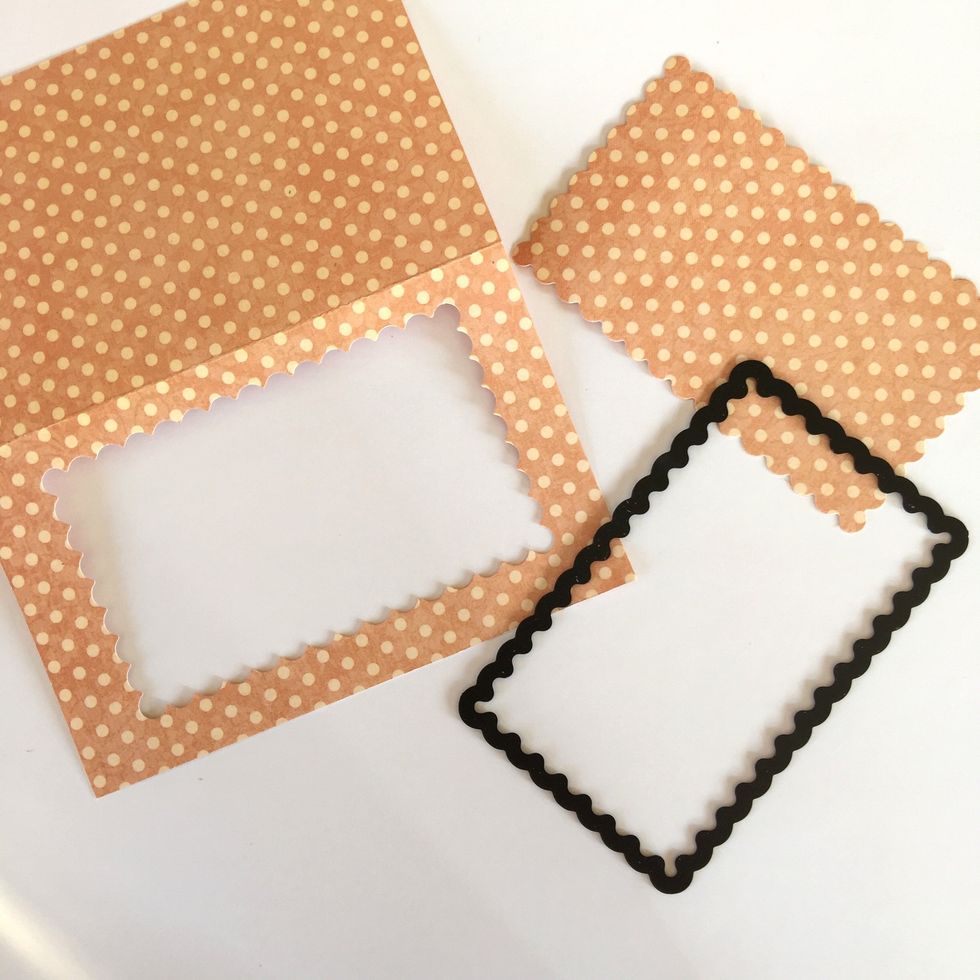
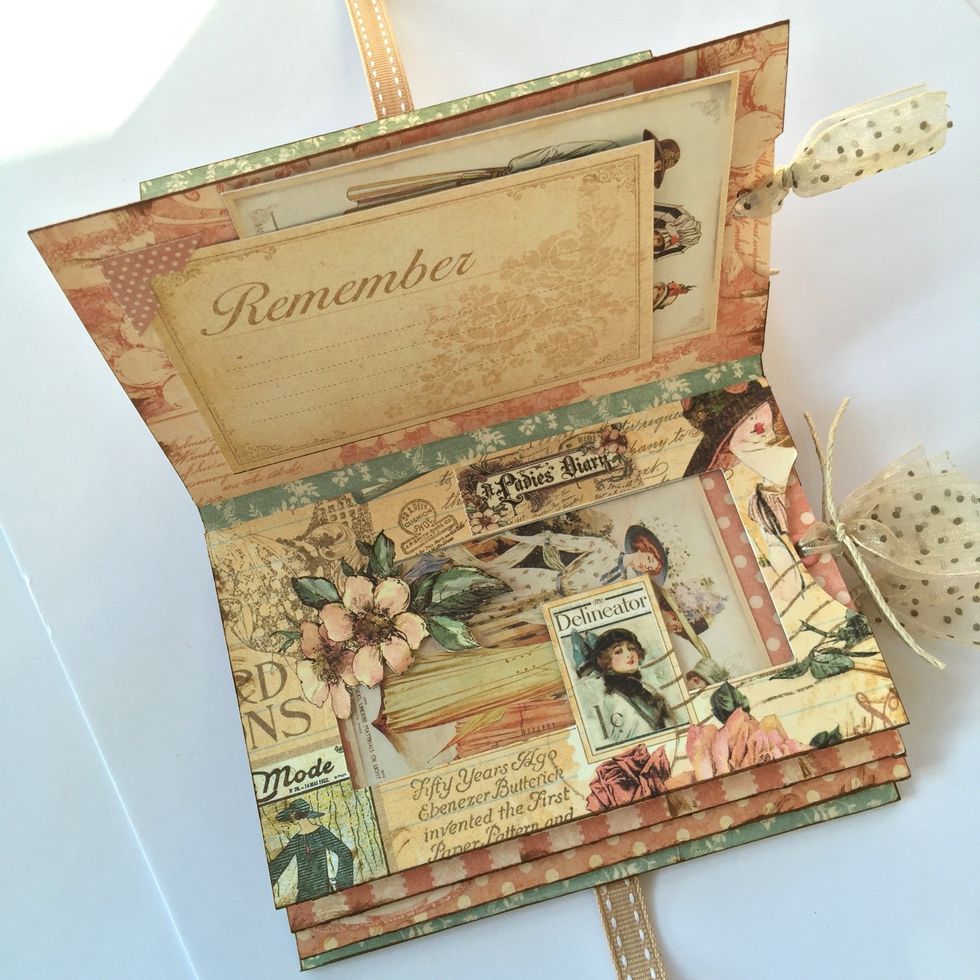
To make the pages, cut four pieces of different papers of 5 ½" x 6 13/16 “ and fold them in half.
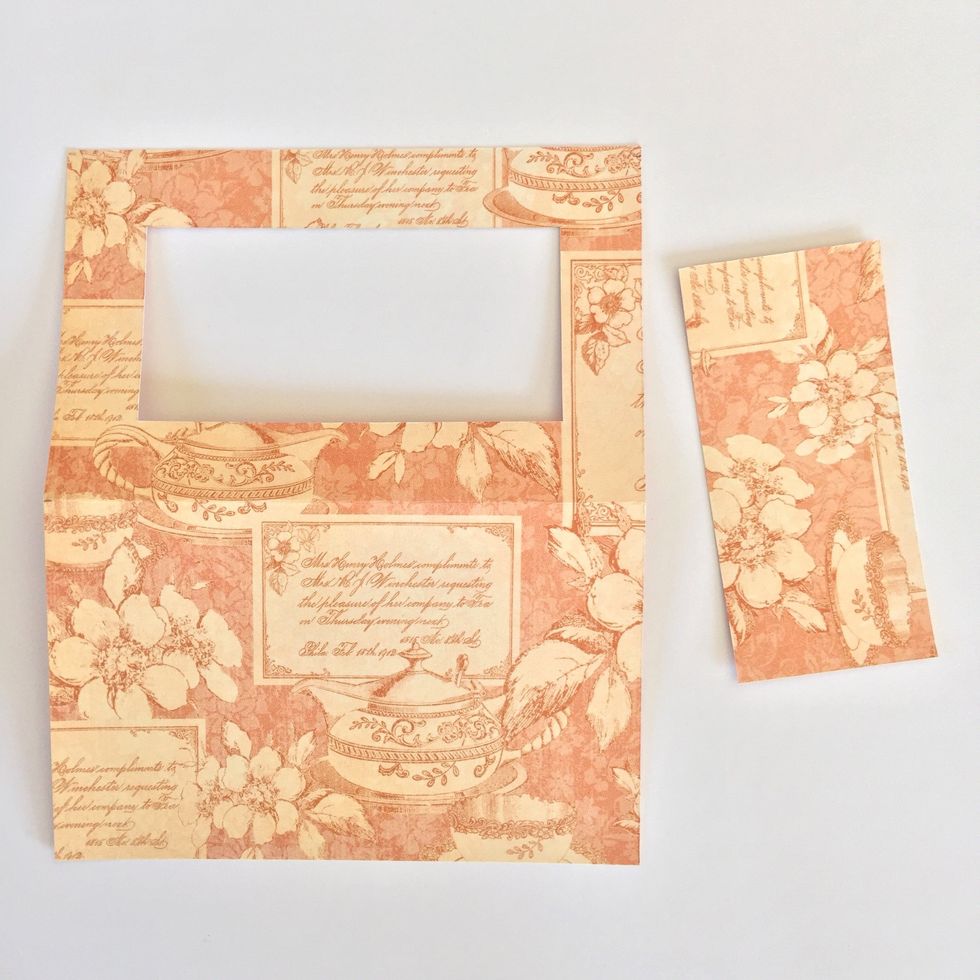
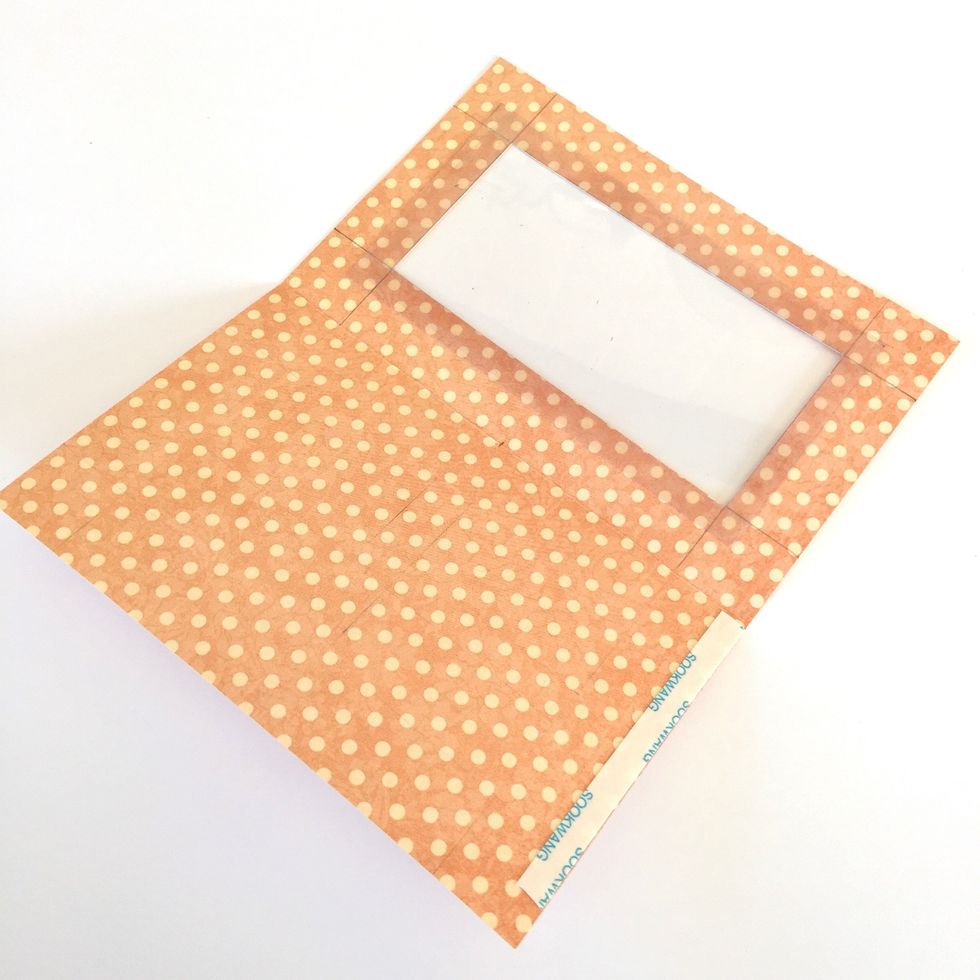
Cut a central piece in one side to make a window.
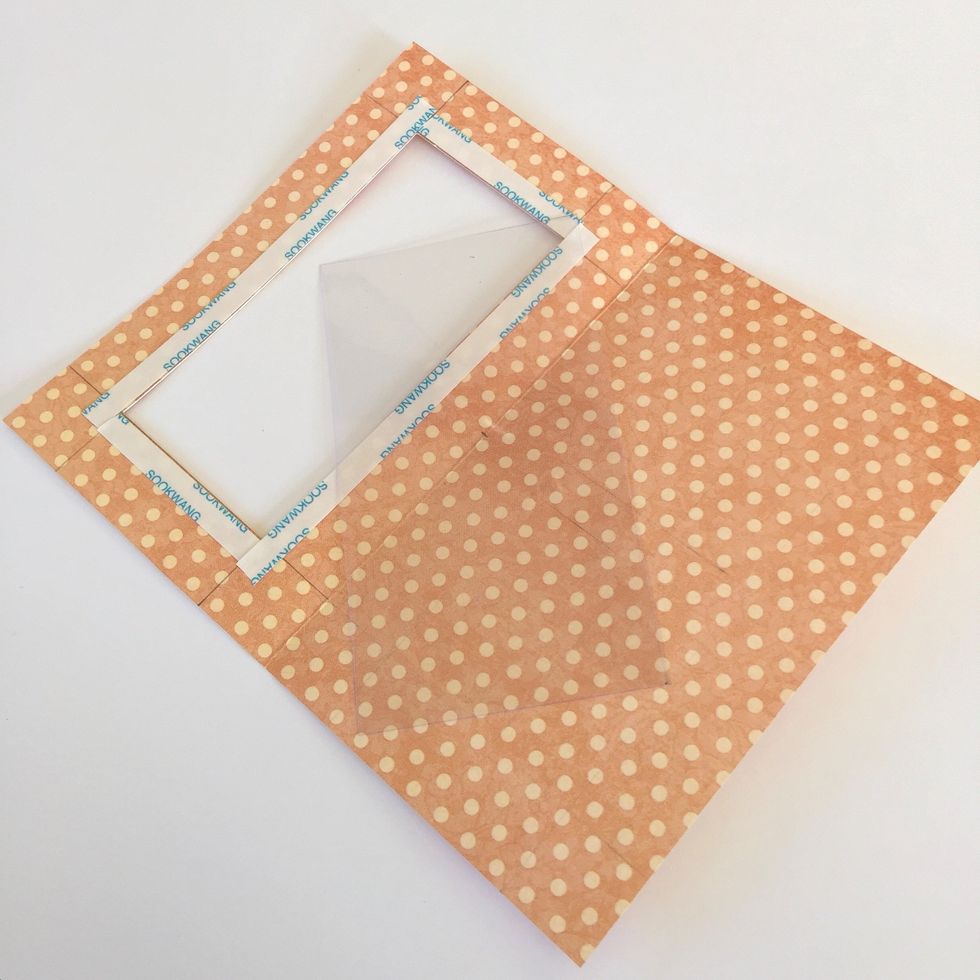
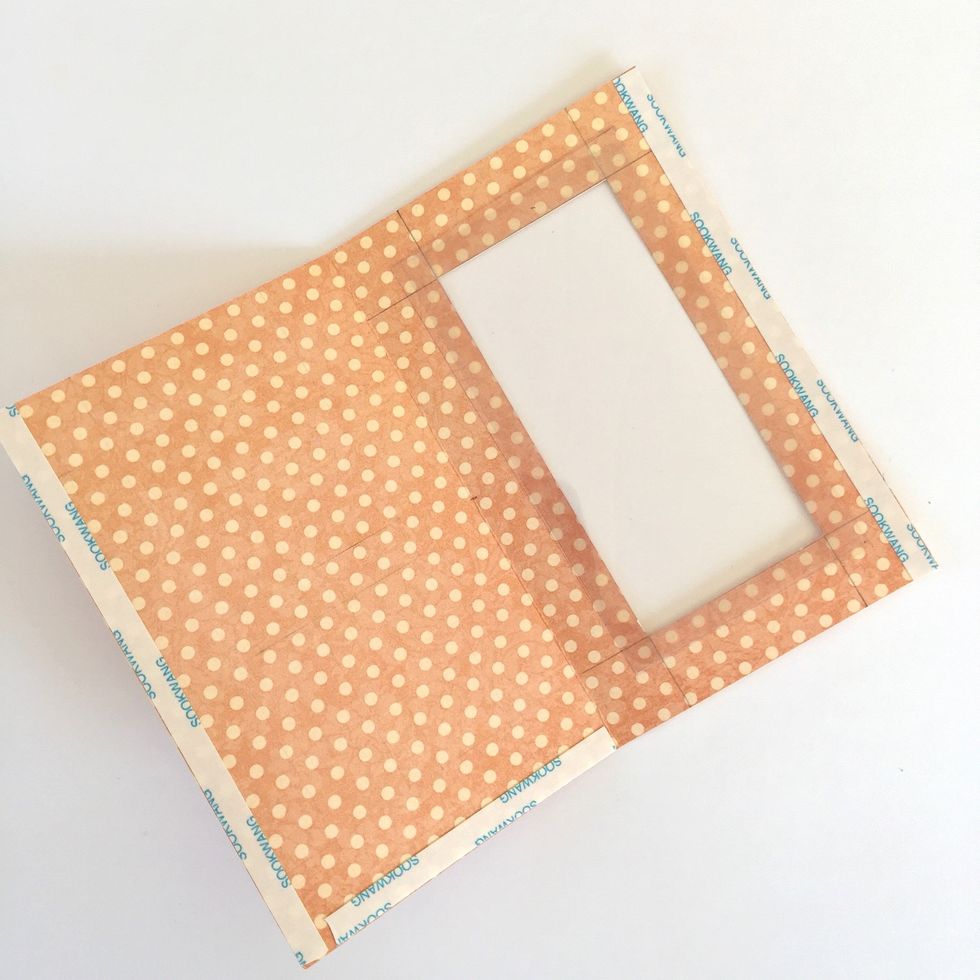
Use double sided tape to adhere a piece of acetate on the window.
Adhere some acetate and put double sided tape as shown.
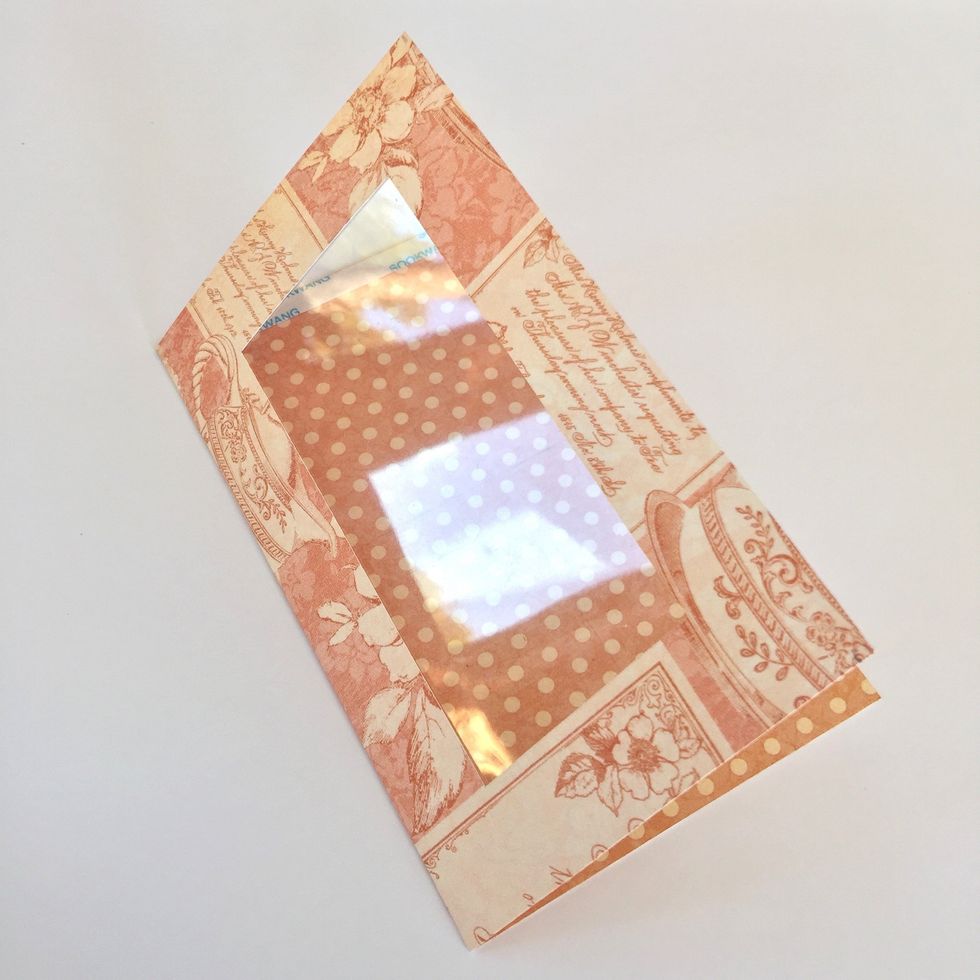
Adhere the page to the first line of the spine.
First page is done.
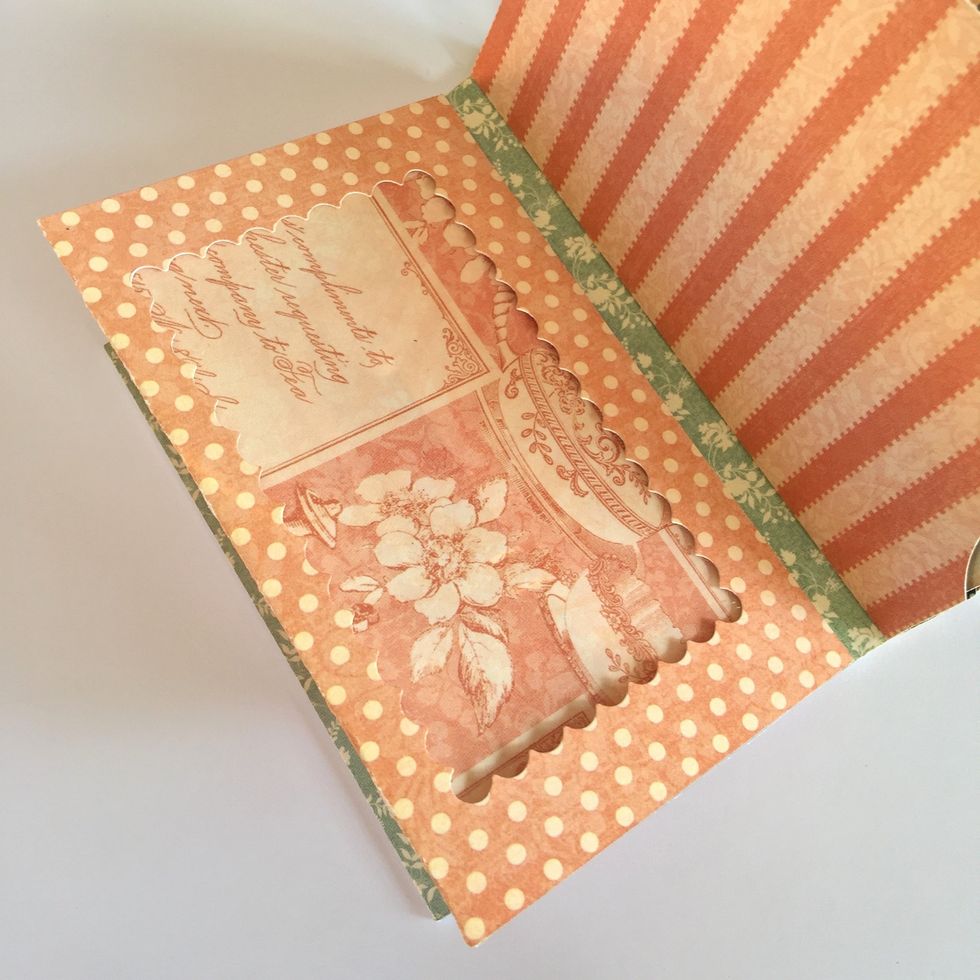
Make a window in the second page. You can cut it the way you like.
Put some double sided tape.
Adhere acetate.
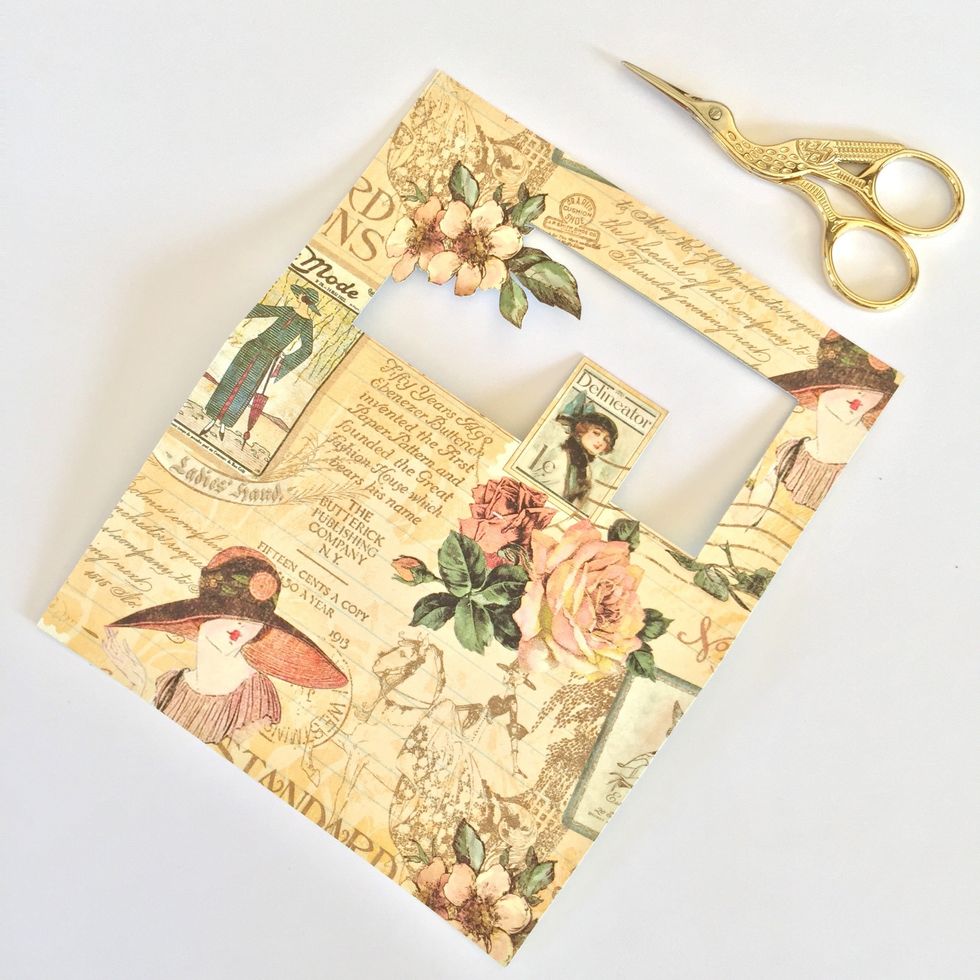
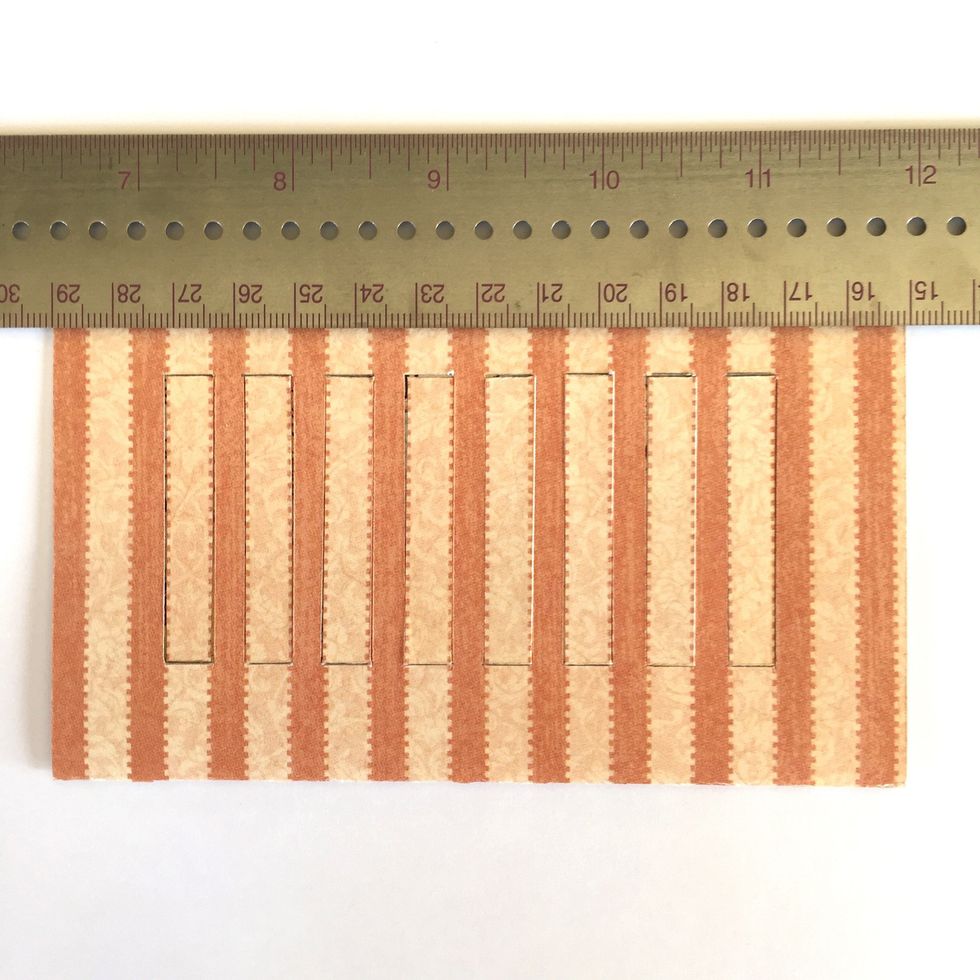
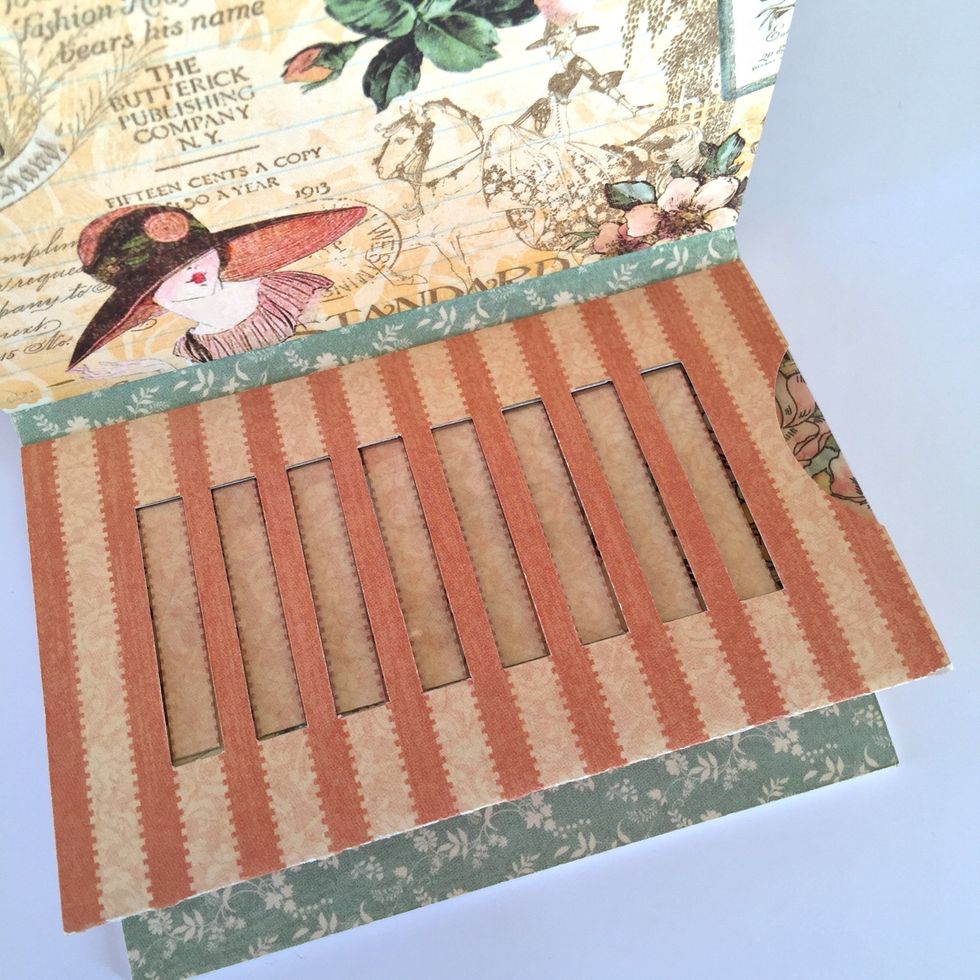
Third page. Make some lines with a pencil and cut with care.
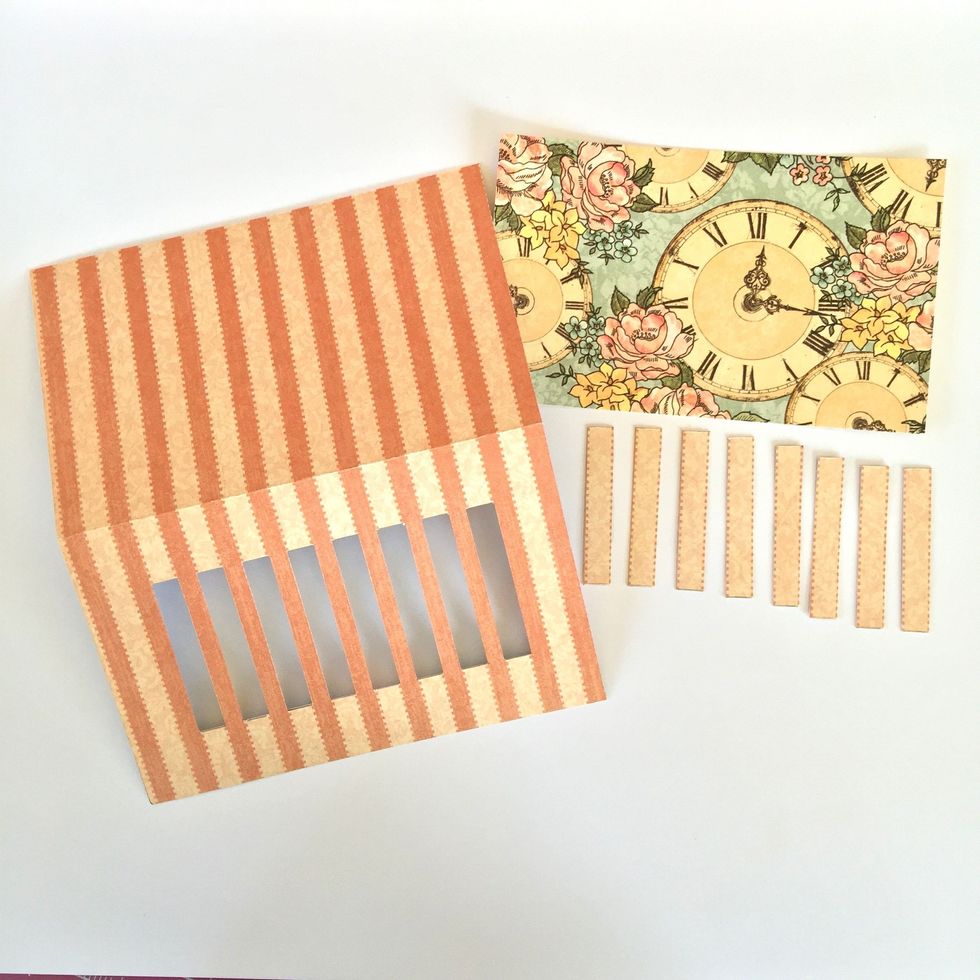
Reserve the parts of cutting paper.
Make a piece that fits perfectly on the page.
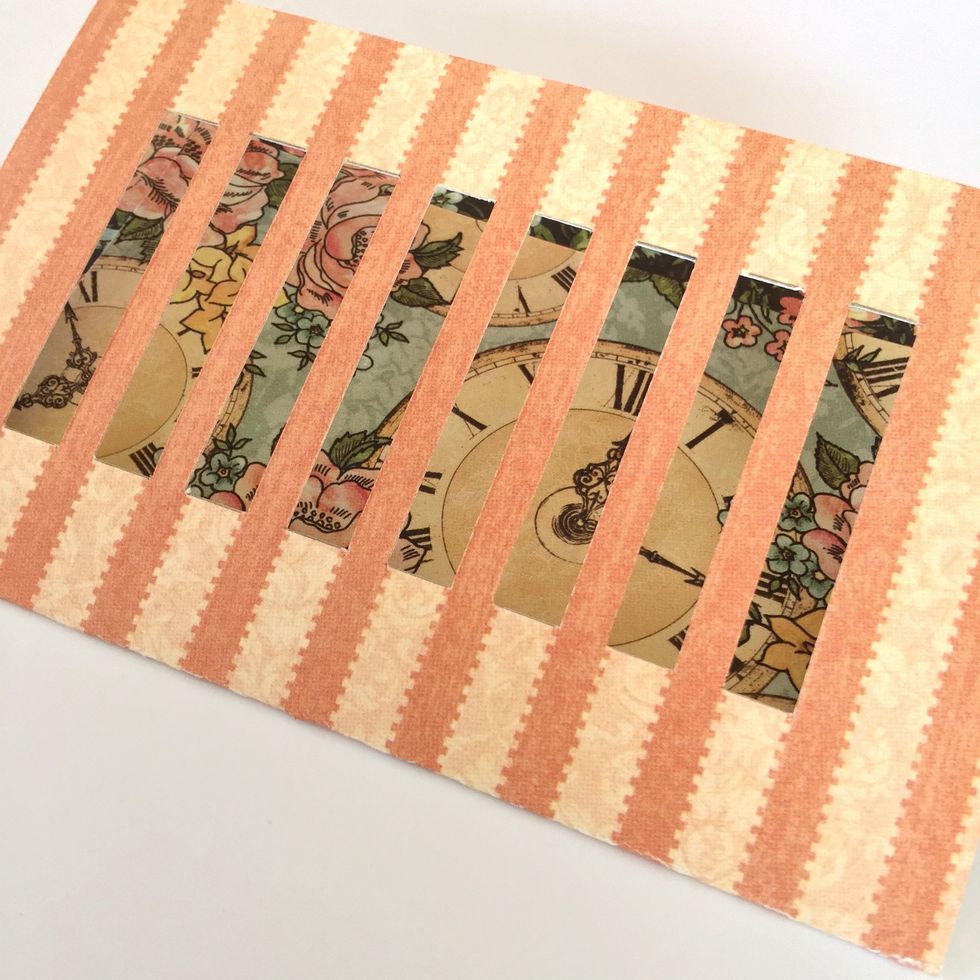
Adhere the little pieces in theirs old places.
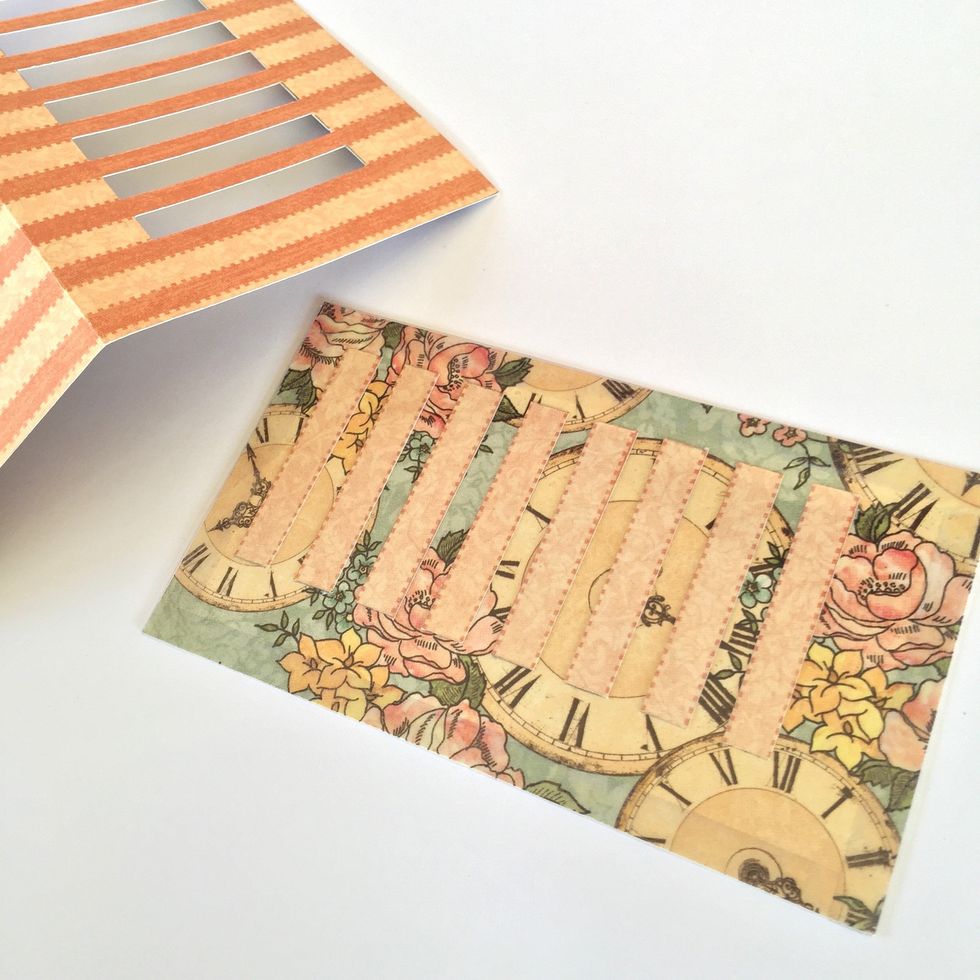
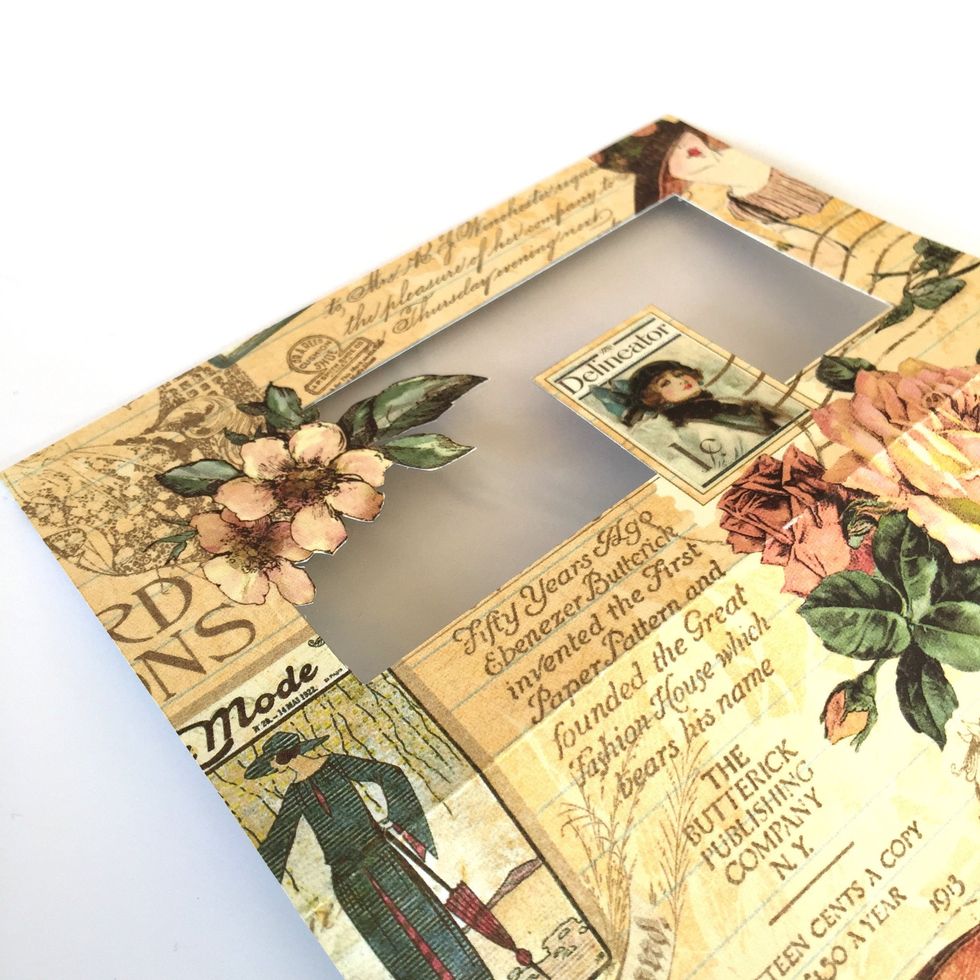
Put a piece of acetate on the card/tag and another one on the inside of the page. It will move better that way.
You can use a photo to make this technique. Stick the page on the spine.
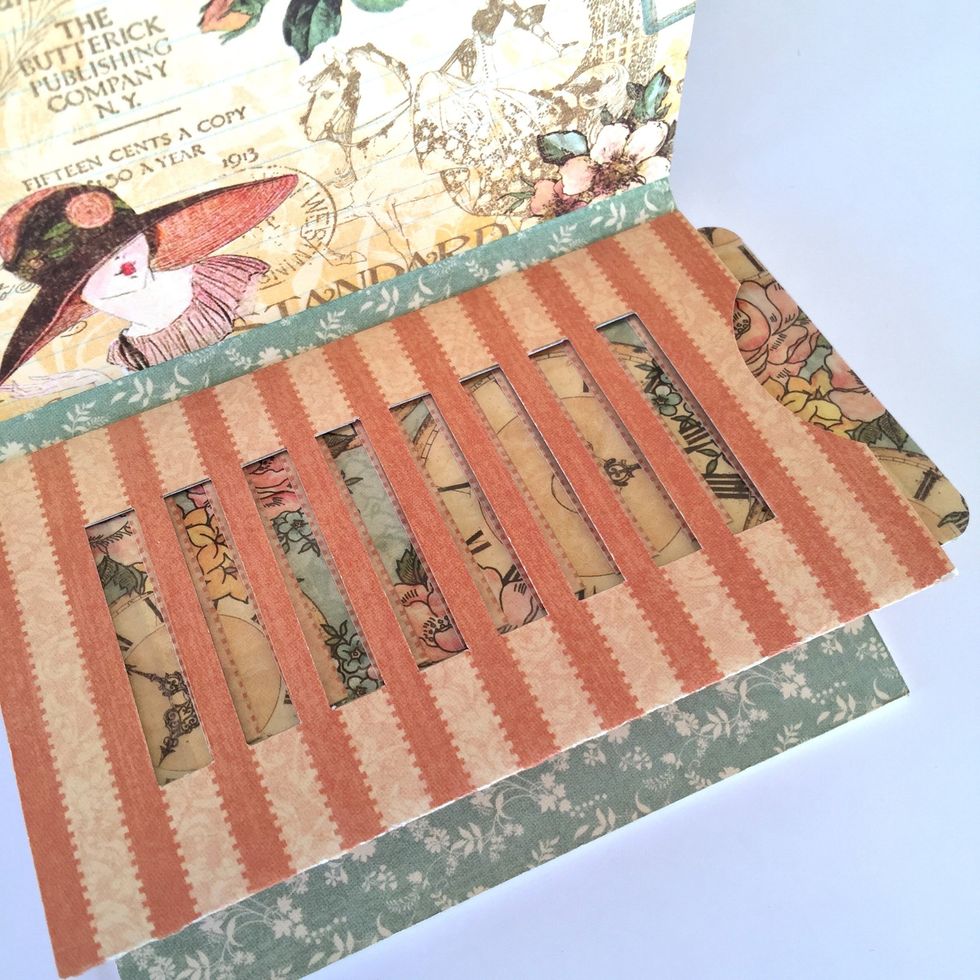
When you remove the card it shows the hidden paper or photo.
Die cut to make the window for the next page of the mini album.
Place some acetate and stick the page on the spine.
Adhere the page to the spine.

Decorate cover as you like.

Page one.
Page two.
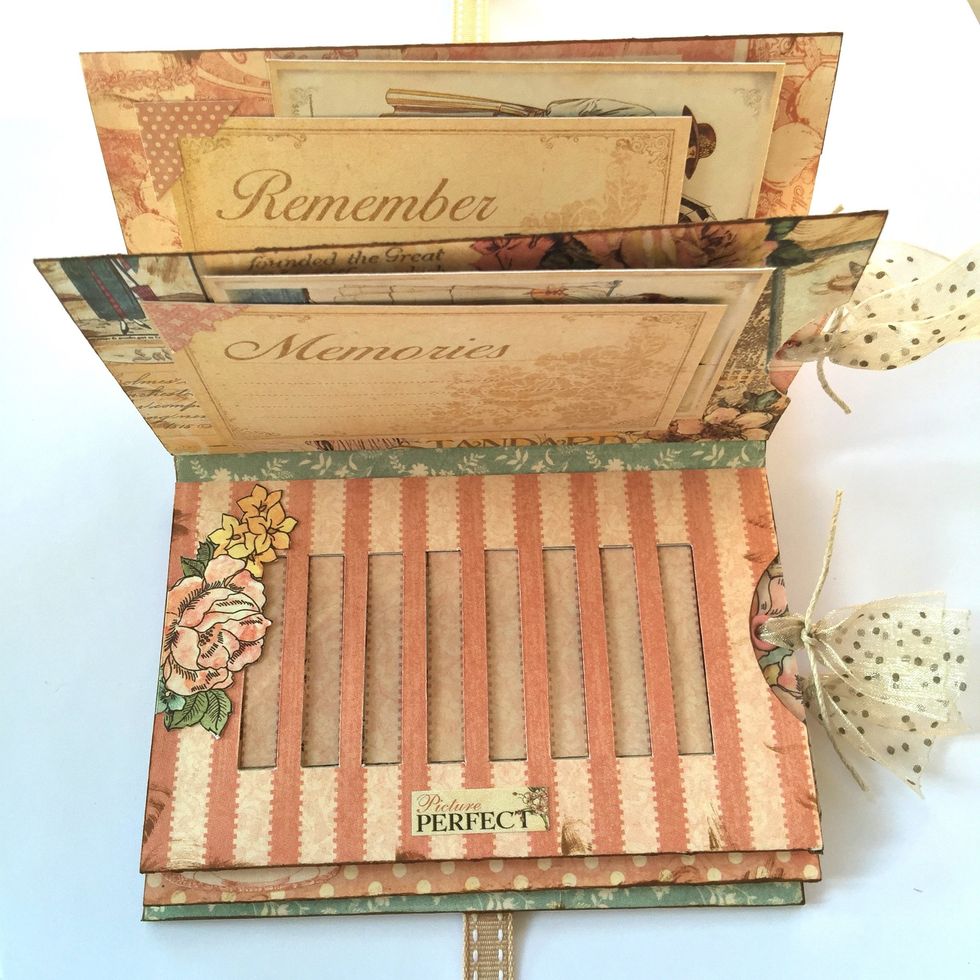
Page three.

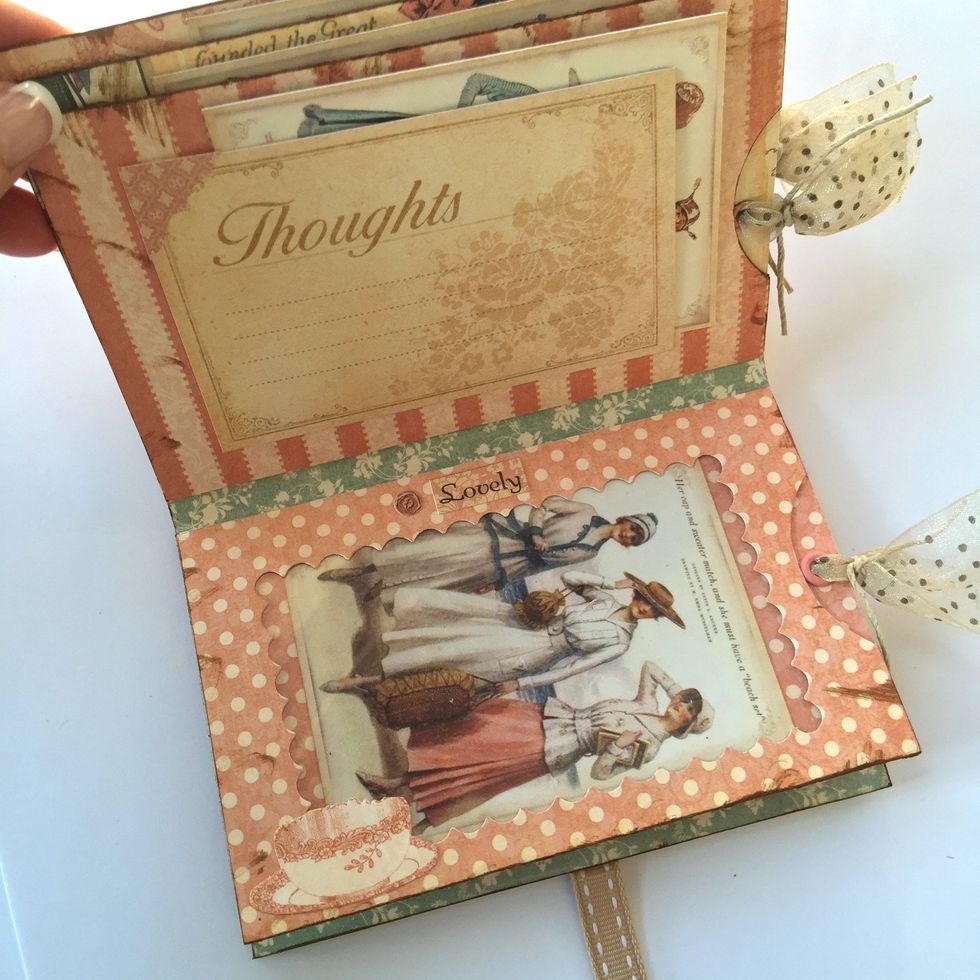
Page four.
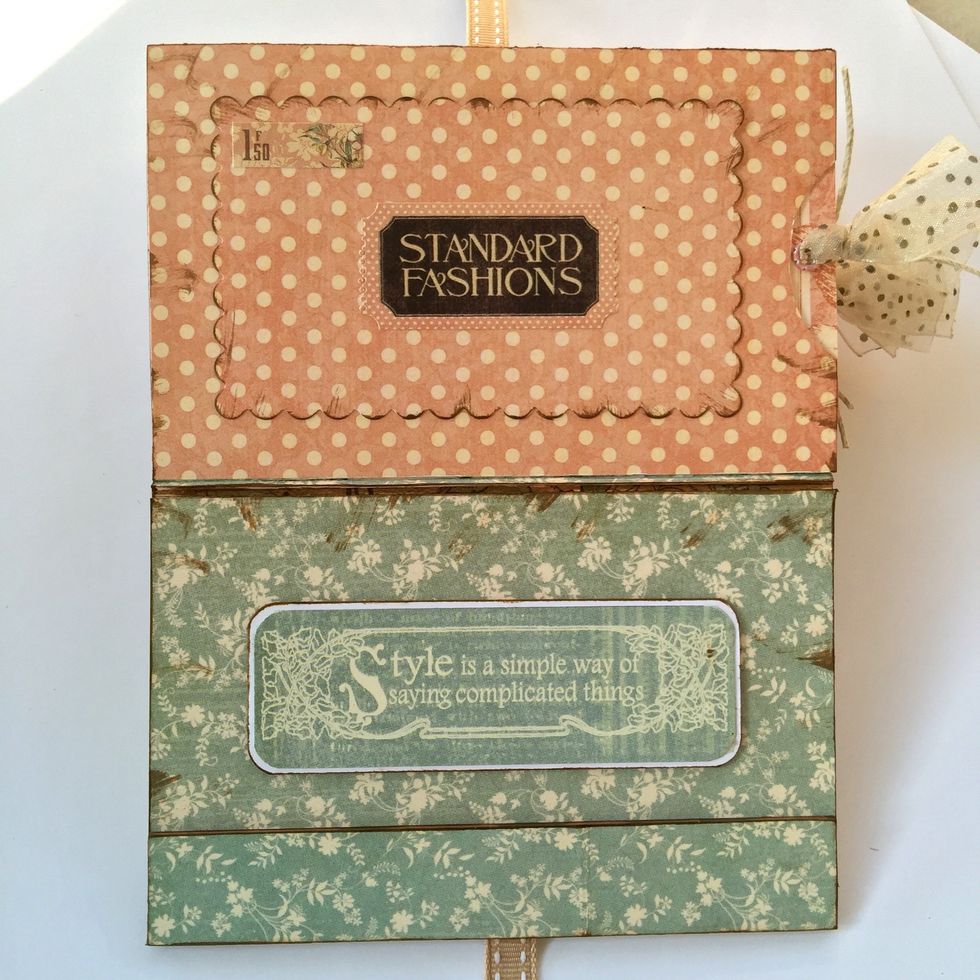
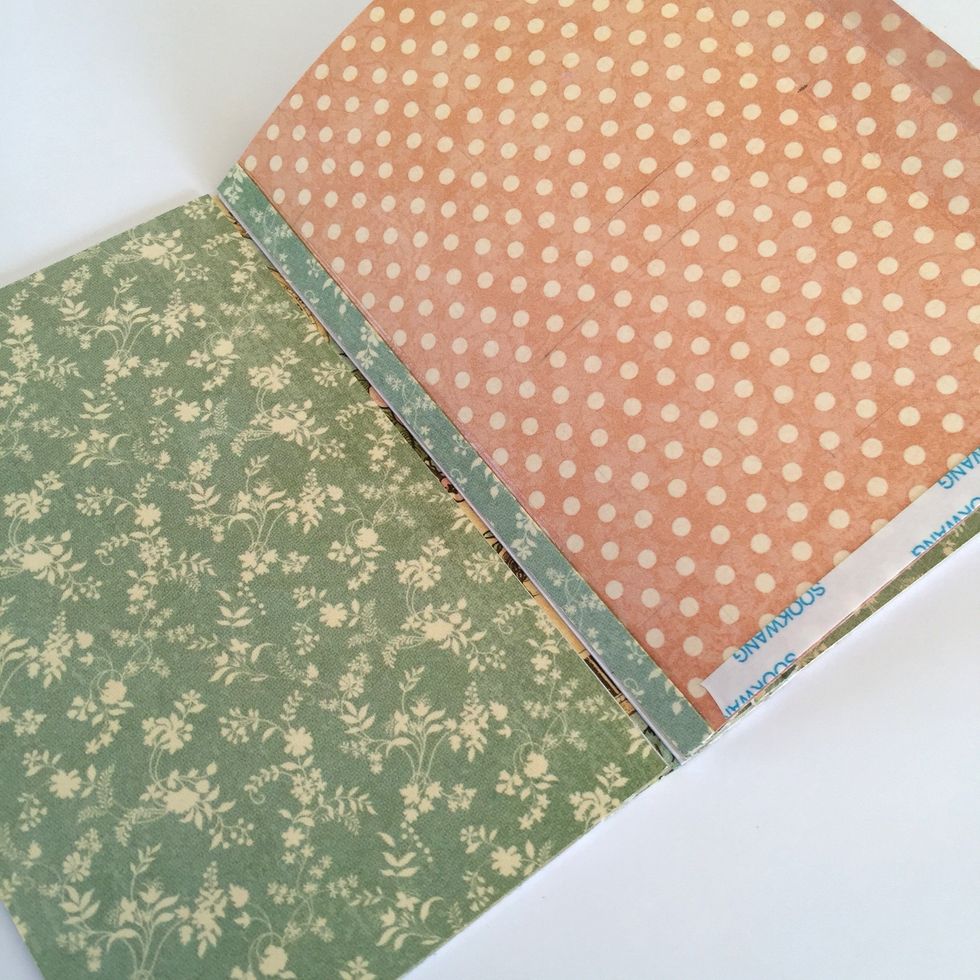
Inside cover.
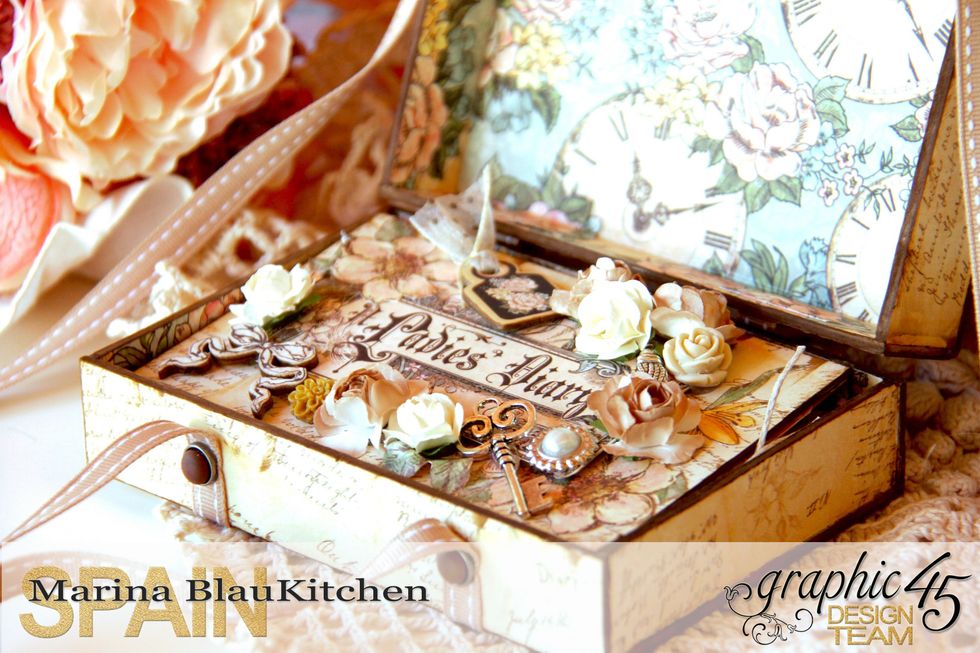

A Ladies' Diary Graphic 45 Box and mini album.