The Conversation (0)
Sign Up
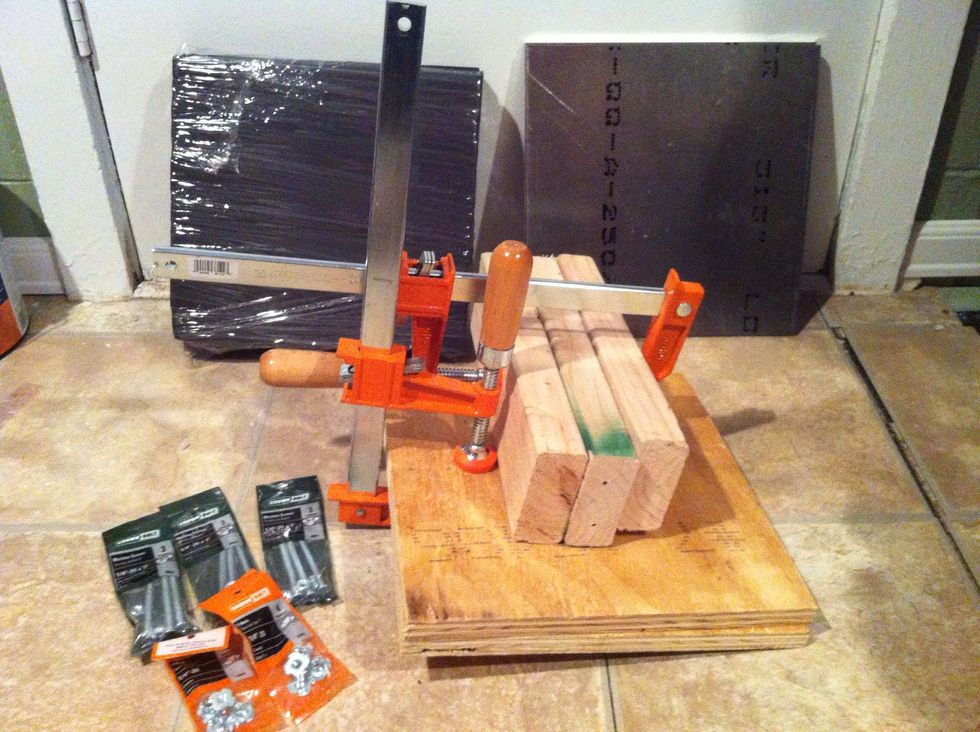
Here are the parts needed. In addition to this you will need a drill and a few drill bits. A rubber mallet may also prove useful!
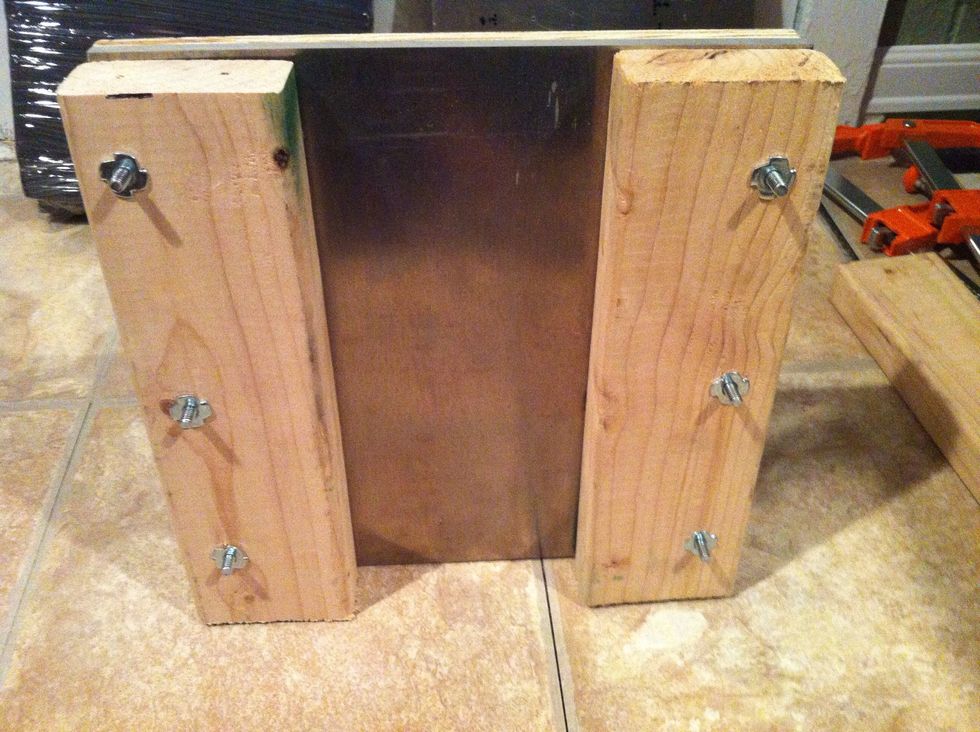
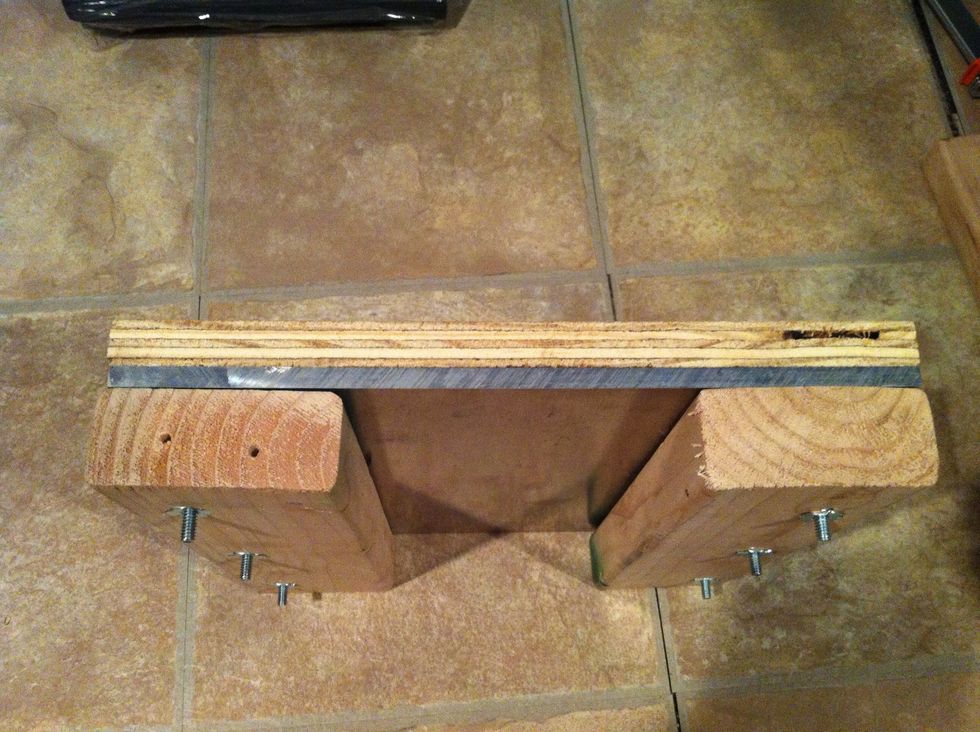
Use your clamps to hold the frame together while drilling the holes. The 2x4's will act as feet for the bottom. This is one side repeat for the other side.
As you can see I drilled 3 holes and placed the tee nuts and screwed the pieces together tightly. I also countersunk the screw heads so they are flush with the plywood.
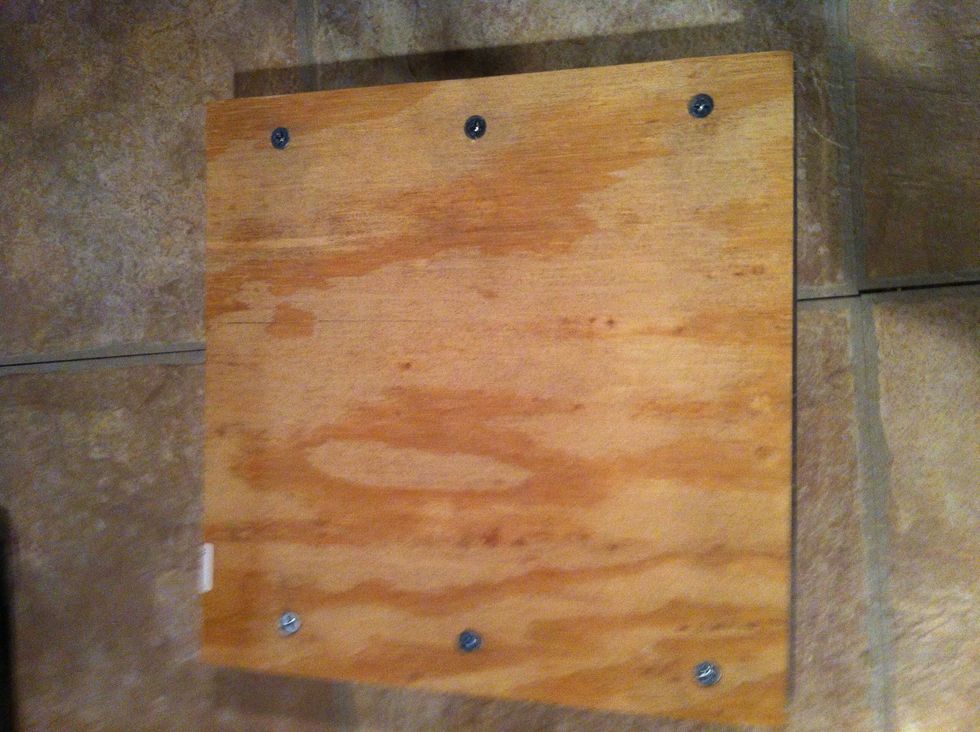
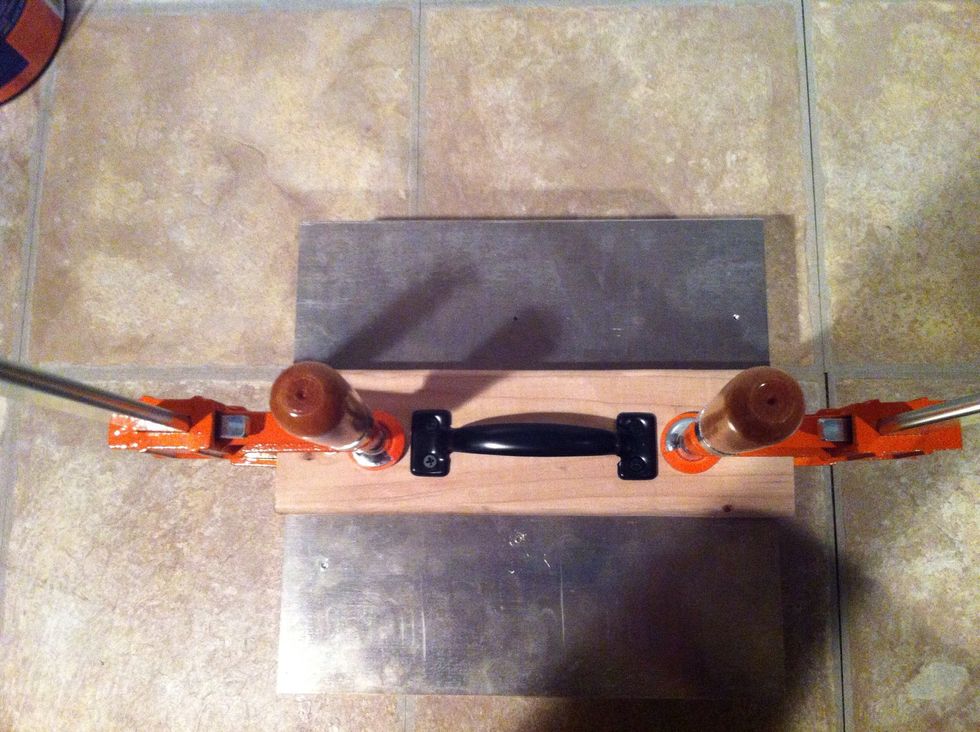
Here is the bottom. Don't worry these are 3" screws I later went back and put in 2 1/2" screws and the no longer stick out. Notice the Aluminum is sandwiched between for rigidity.
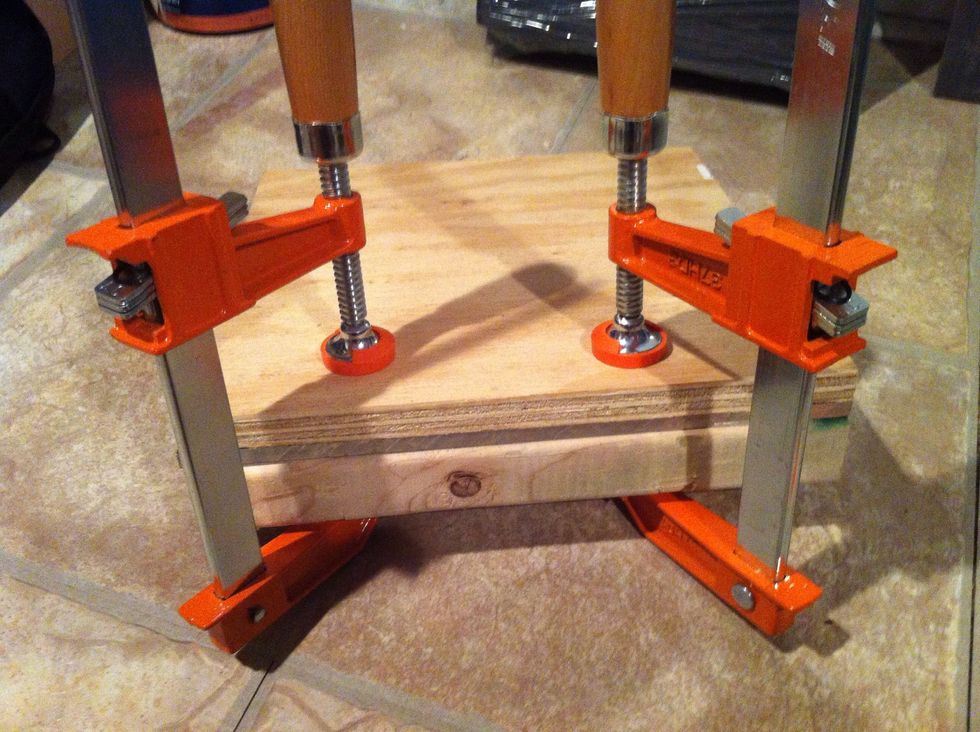
This is to show proper assembly. The Aluminum is acting as a skeleton and giving structural support. If you want you can substitute the Aluminum for another sheet of plywood 3/4".
The top is assembled in the same fashion but with only one 2x4 centered for a clamping point. The handle is attached on the top so the you can maneuver it when needed.
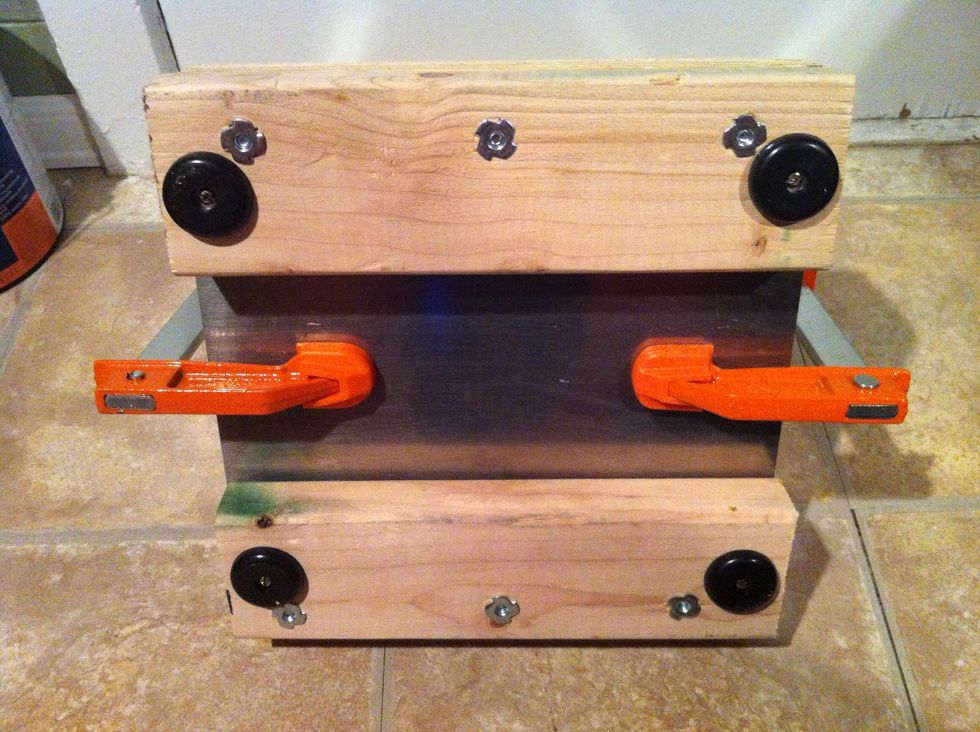
I put rubber screw on chair feet to prevent sliding.
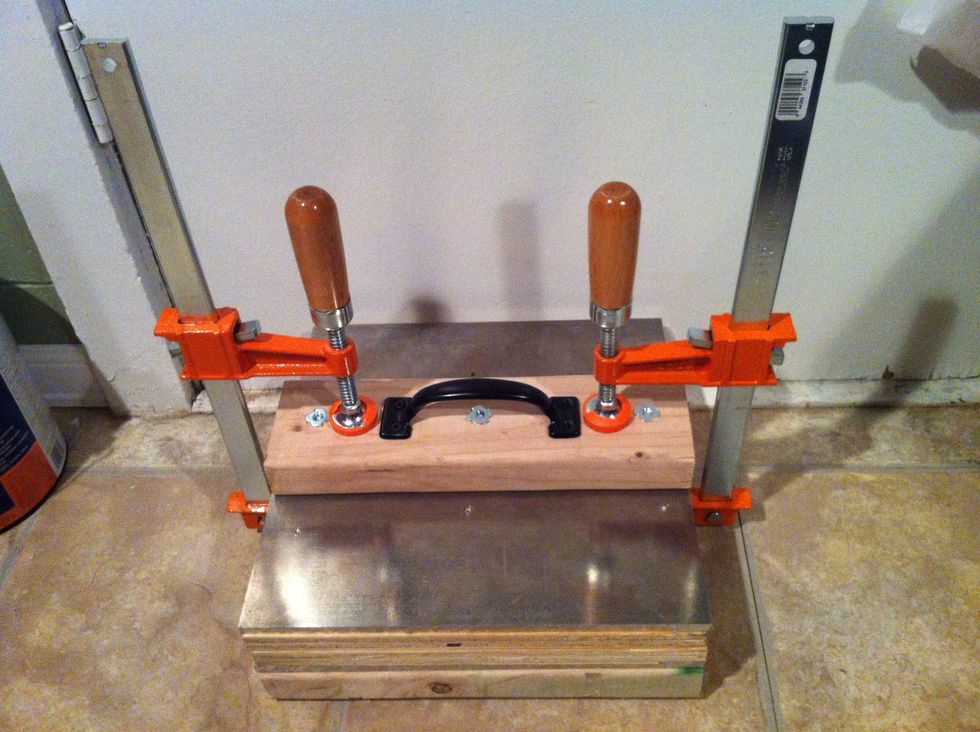
The finished product!!! You'll see our clamps will now be used to apply pressure when using the press. Just simply slide your foam in between the top and bottom and your done!