The Conversation (0)
Sign Up
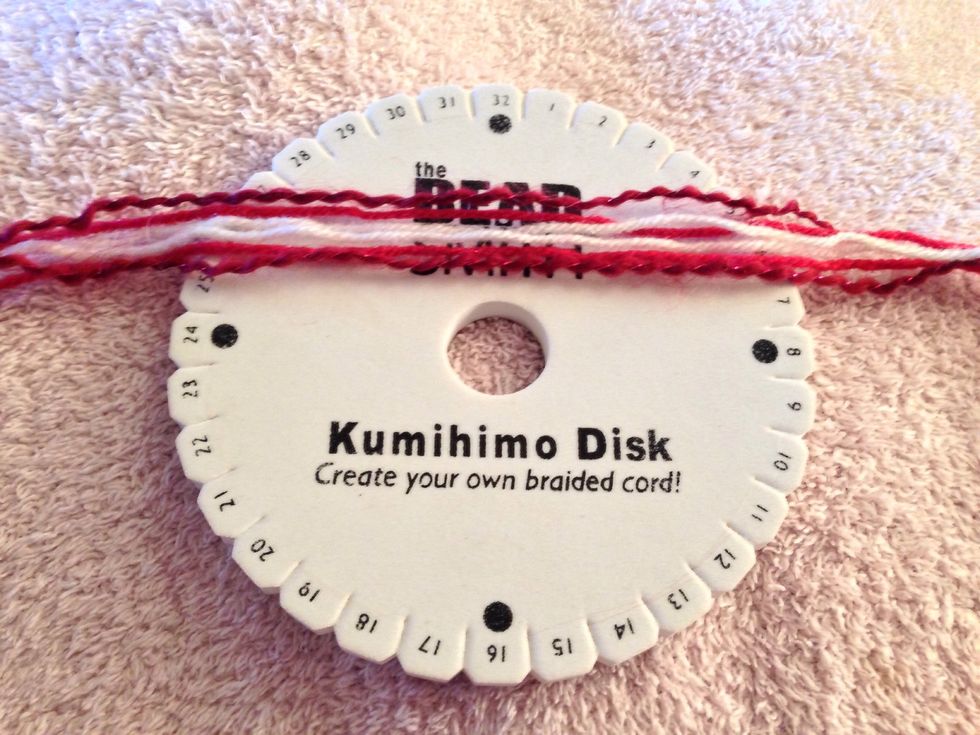
Choose 3 colours, or two, but 3+ work better.
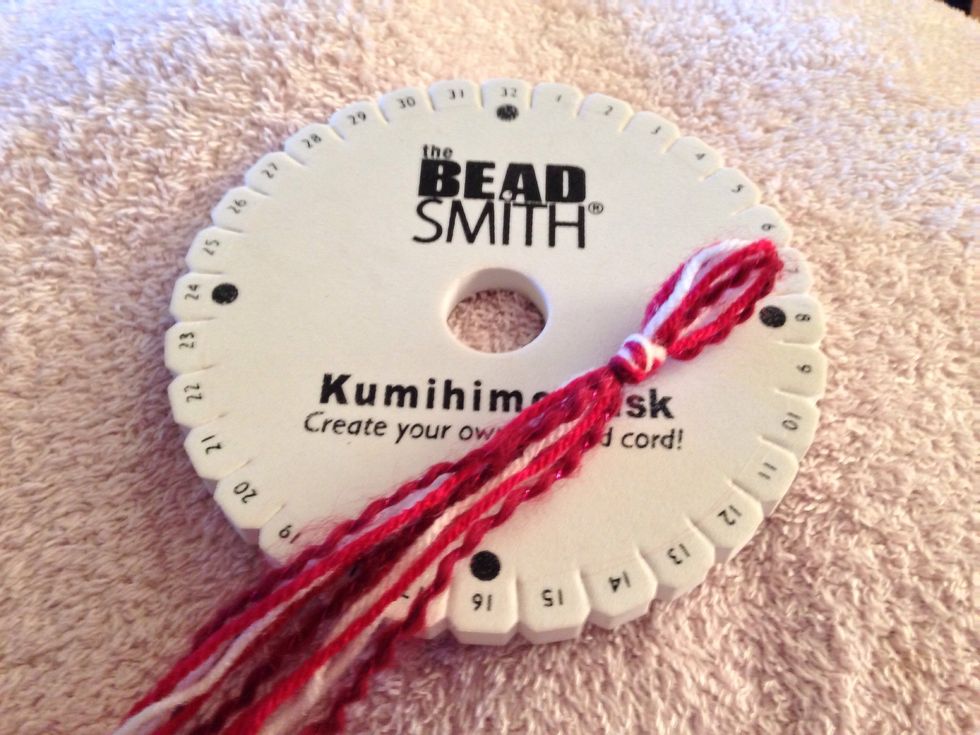
Cut them 2 of each colour about half a metre long and fold in half then tie a knot about an inch from the fold.

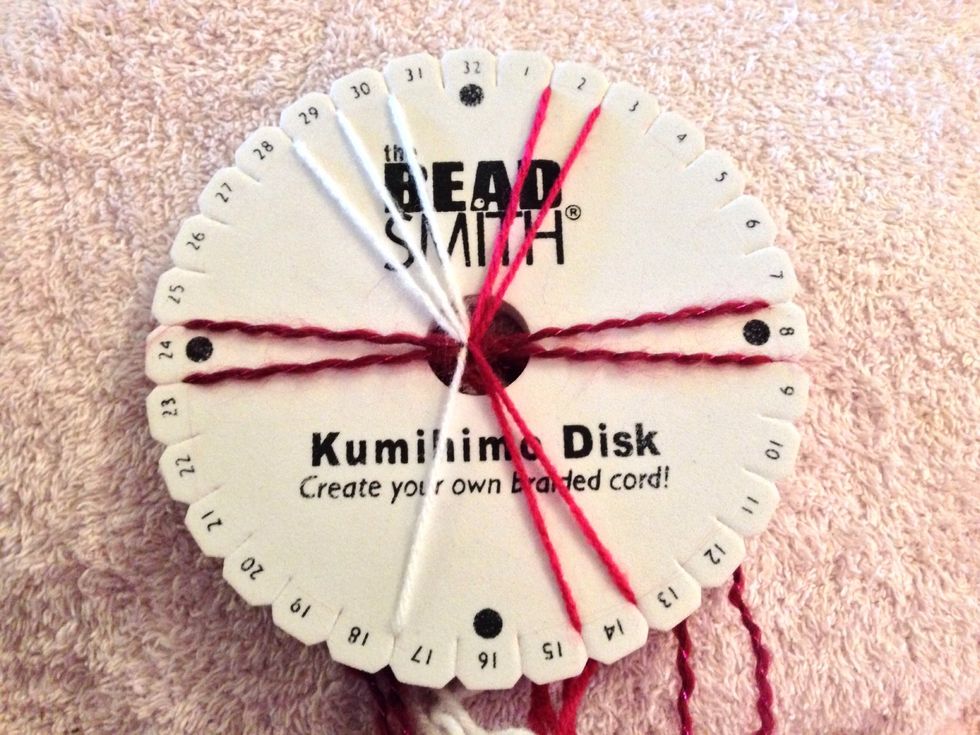
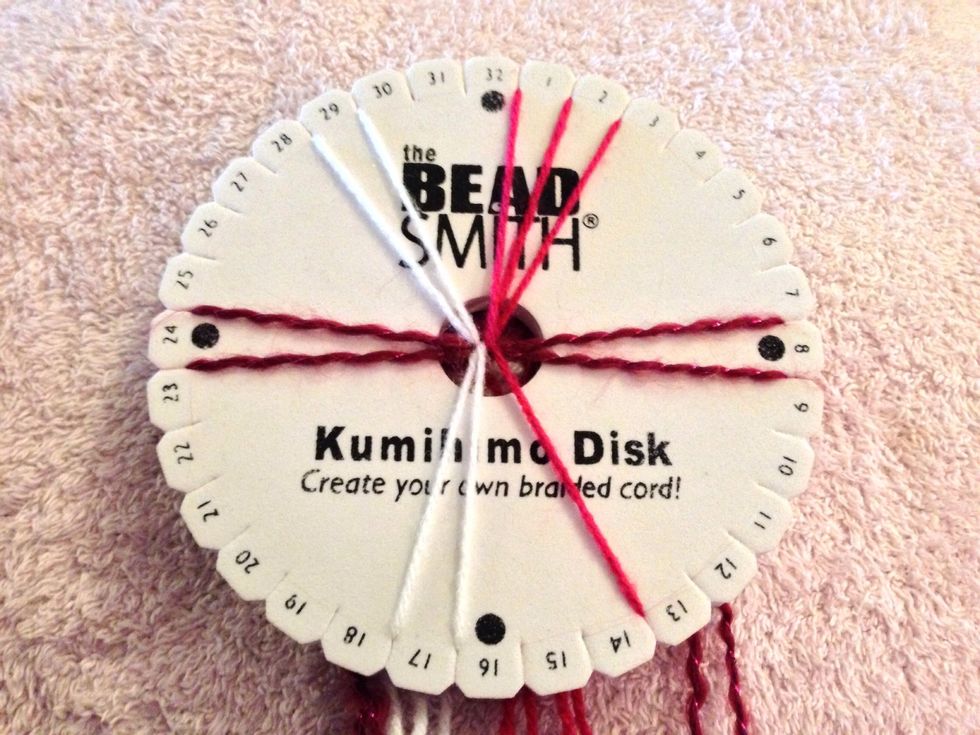
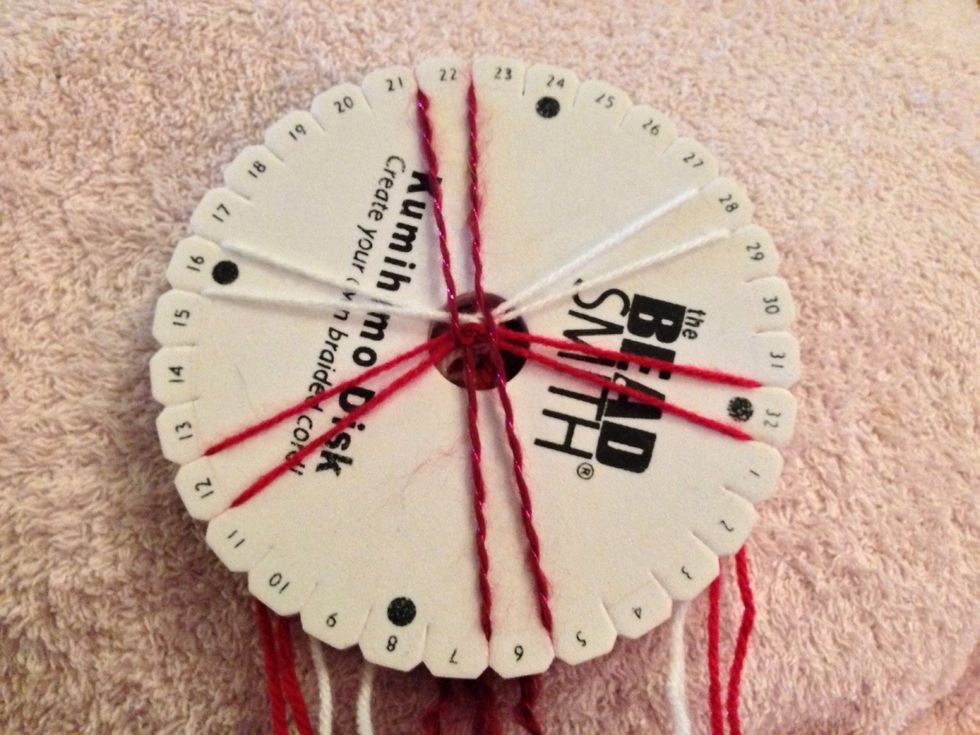
STEP 1 - Set your colours out like so, this is your starting position.
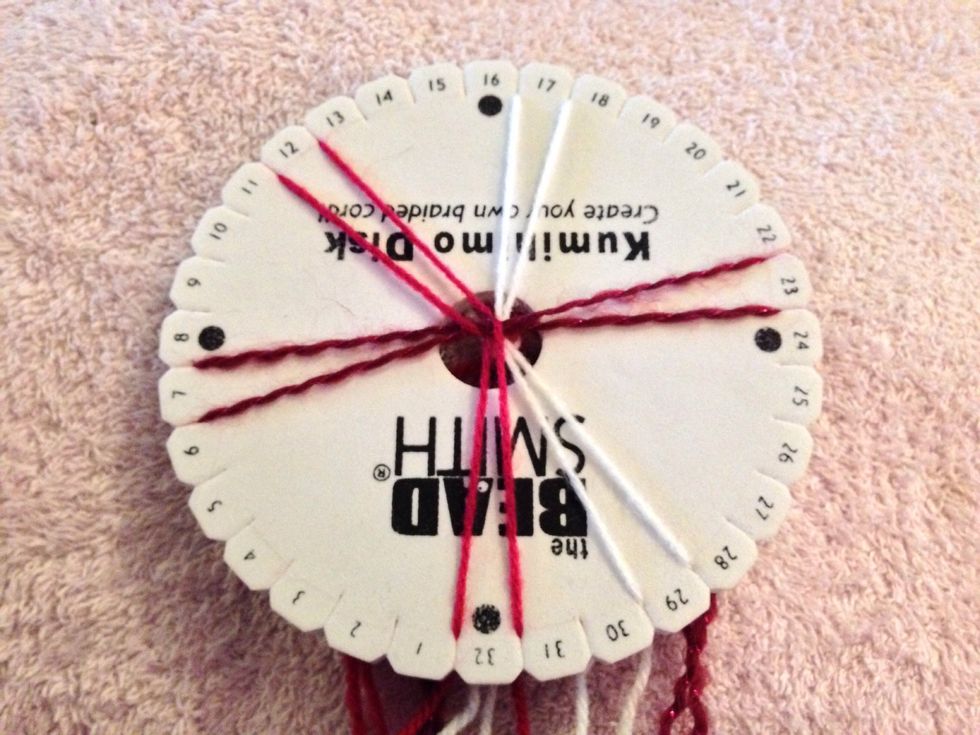
STEP 2 - Bring thread 18 up to slit 28.
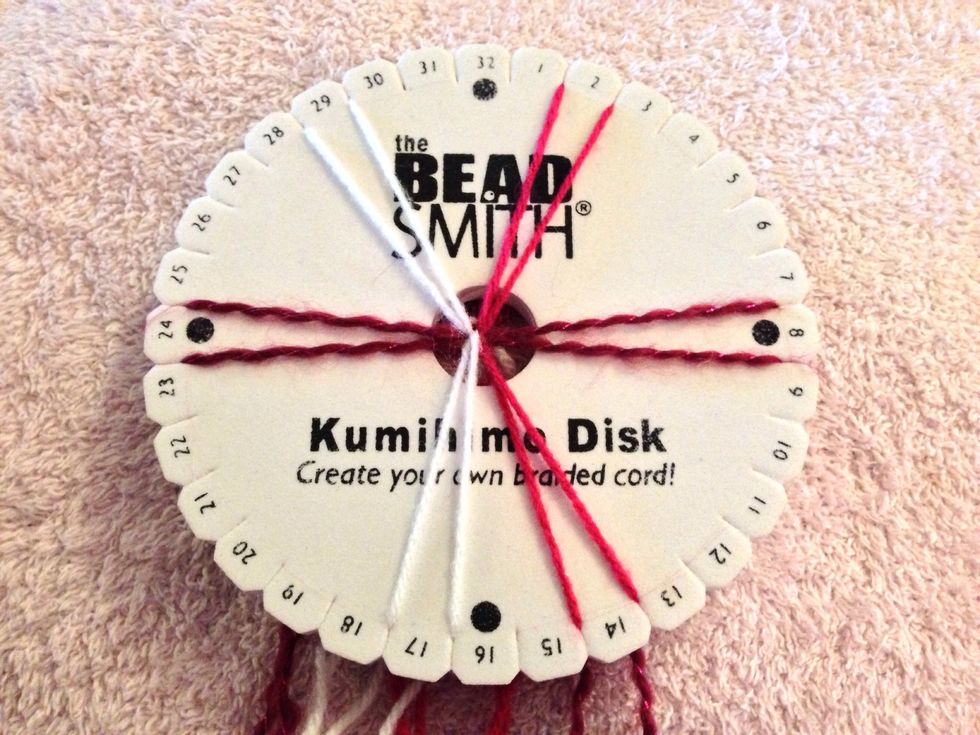
STEP 3 - Then bring thread 30 down to slit 16.
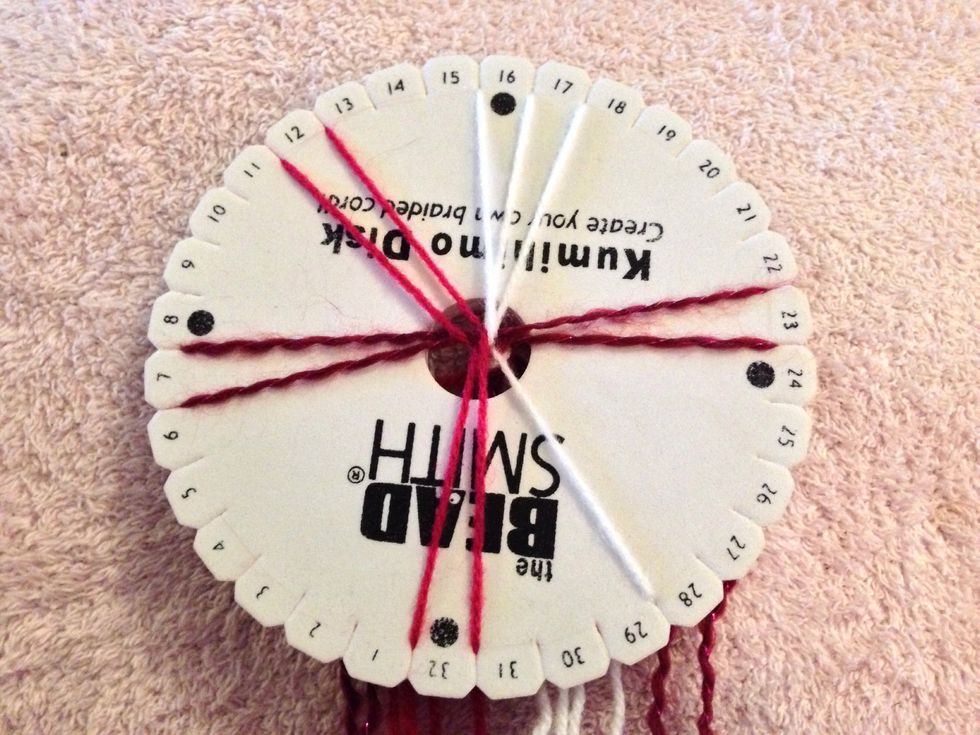
STEP 4 - Next you take thread 14 and bring it up to slit 32.

STEP 5 - And take thread 2 down to slit 12.

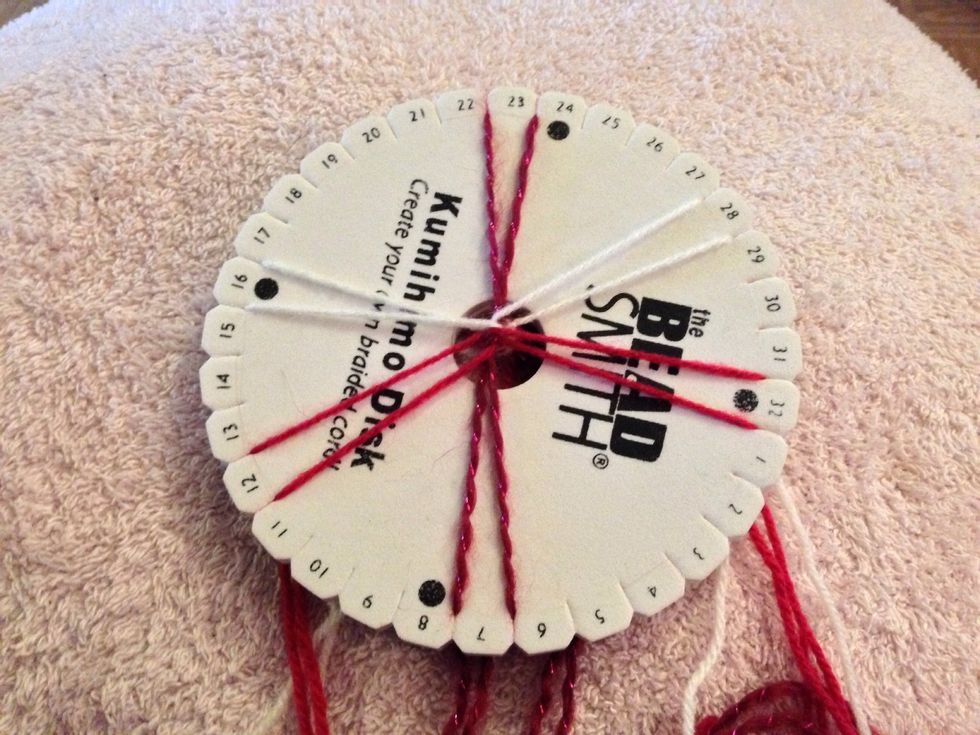
STEP 6 - Turn you Kumihimo Disk LEFT so threads 7 & 8 are at the top. (You can also turn right, as long as you turn the same way through the whole process).
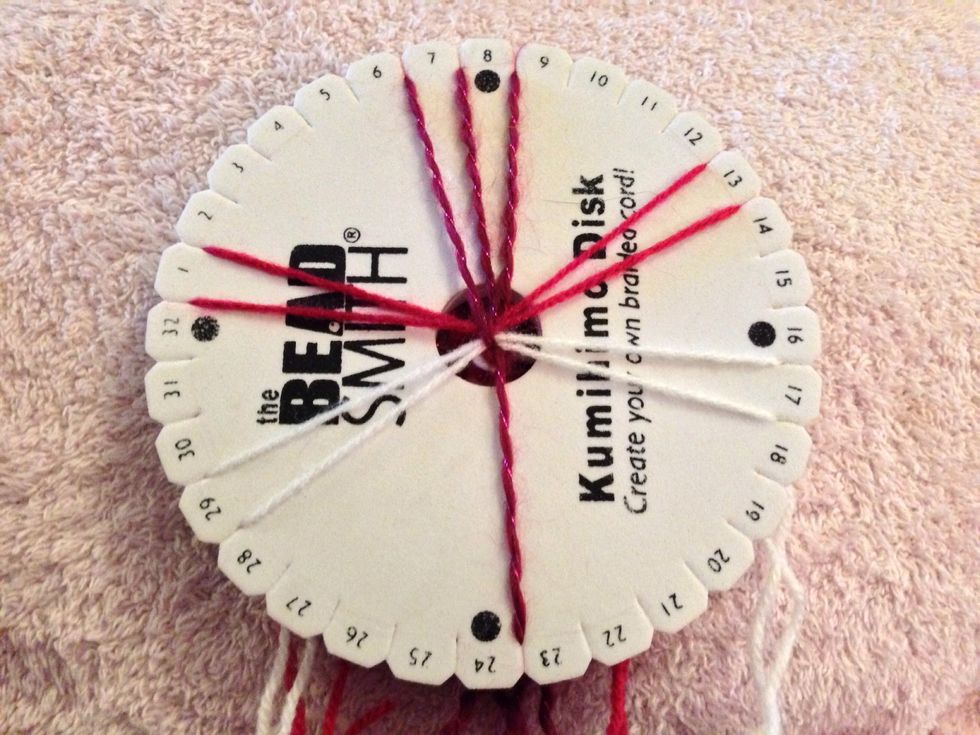
STEP 7 - Now you take thread 24 and bring it up to slit 6.
STEP 8 - Then bring thread 8 down to slit 22.

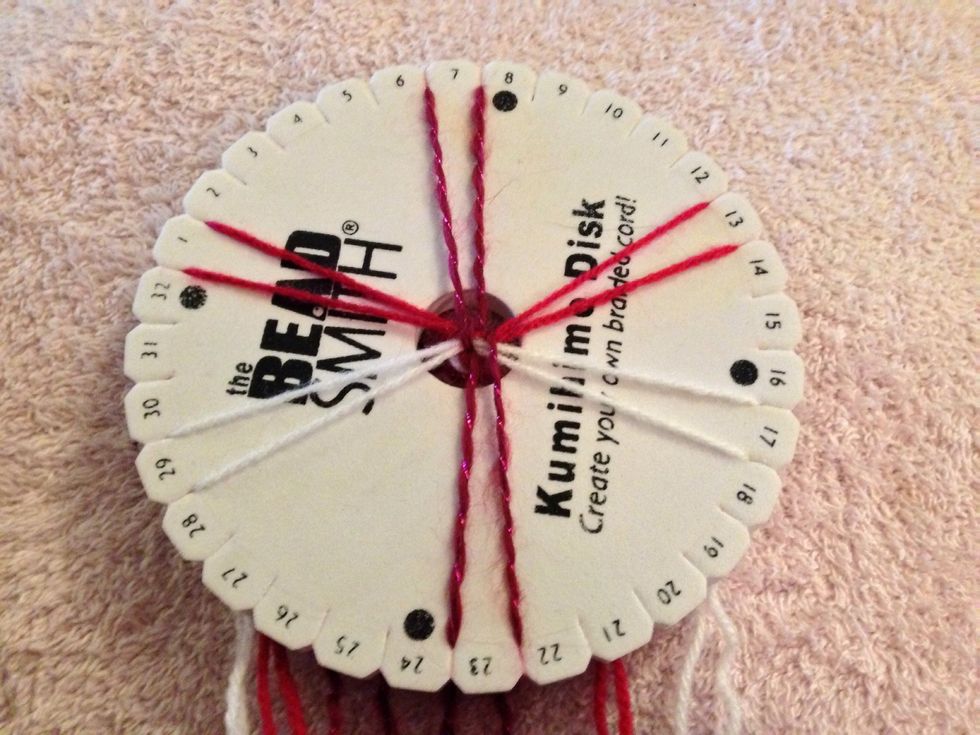
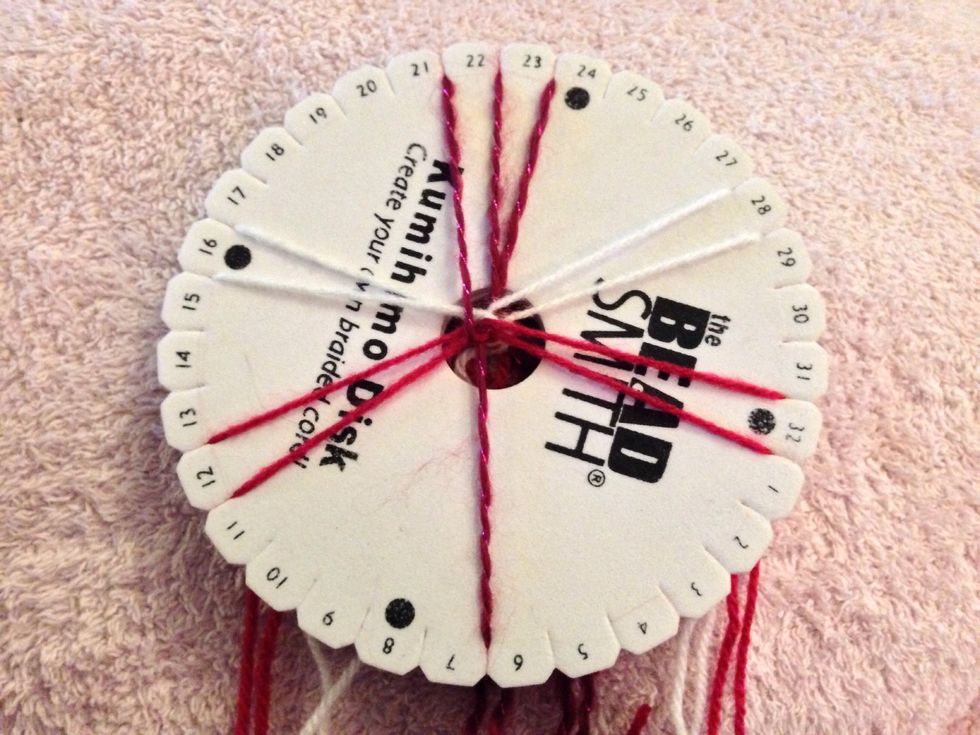
STEP 9 - Now turn your disk LEFT again so you have your two colours top and bottom again.
STEP 10 - Take thread 1 up to slit 11.
STEP 11 - And bring thread 13 down to slit 31.
STEP 12 - Then move thread 29 and bring it up to slit 15.

STEP 13 - And then thread 17 down to 27.
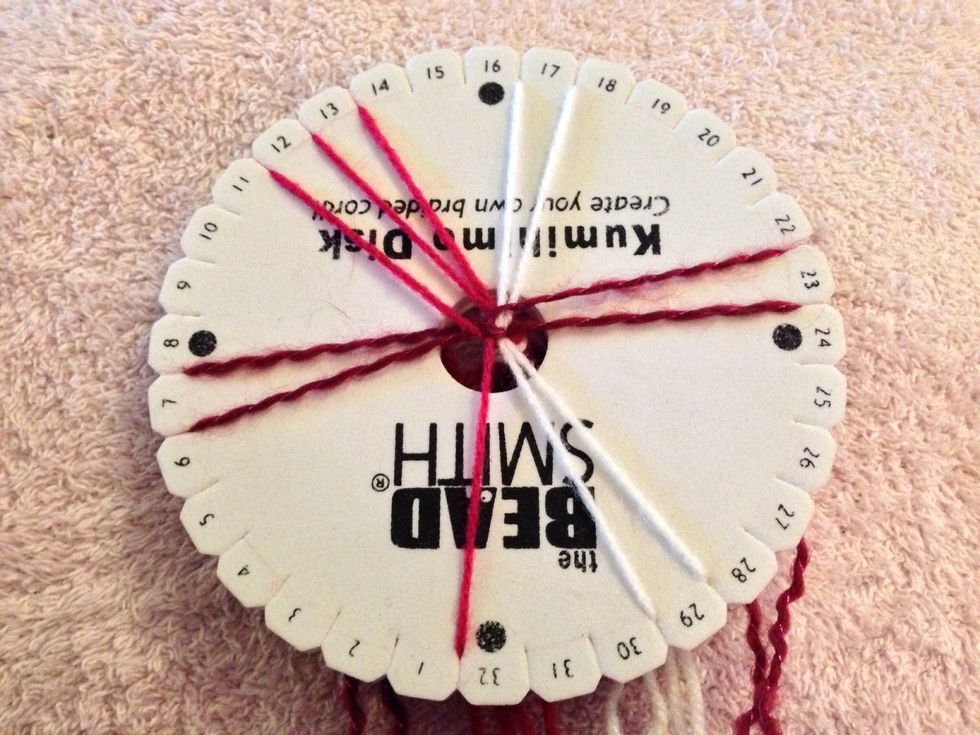
STEP 14 - Again turn the disk LEFT and your side threads should be vertical to you again.
STEP 15 - Lastly take thread 7 and bring it up to slit 21.
STEP 16 - Then thread 23 down to slit 5.

STEP 17 -Turn disk LEFT and repeat the process until desired length is reached. Although the numbers will change as you go the general idea will be picked up easily.
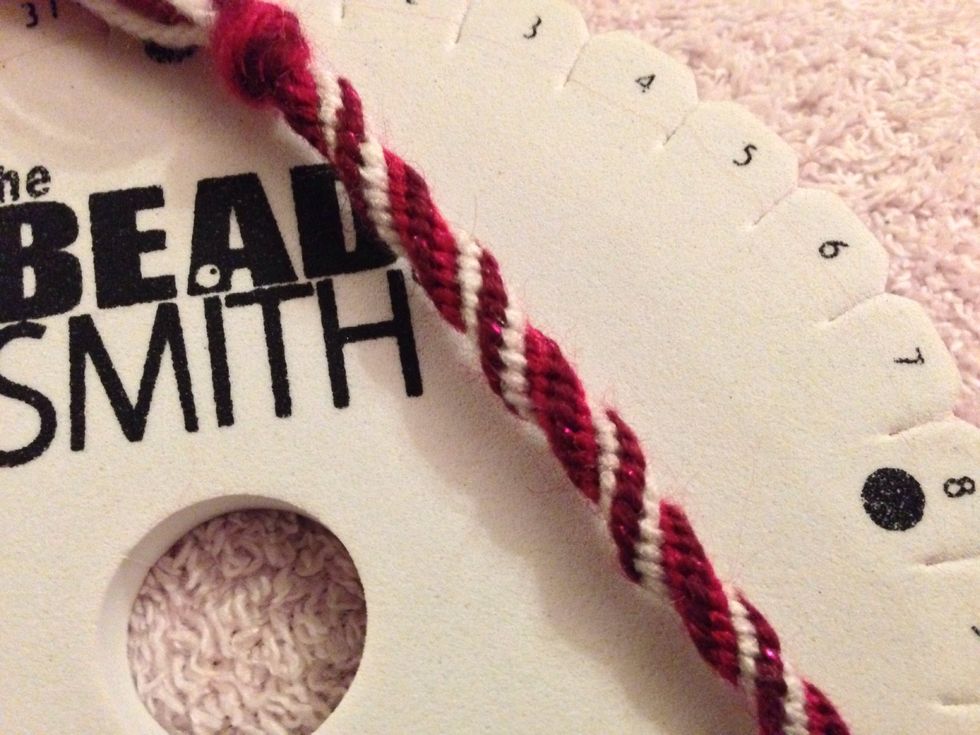
And this is the finished product. Play with colours to create different effects. HAPPY BRAIDING FRIENDS.