The Conversation (0)
Sign Up
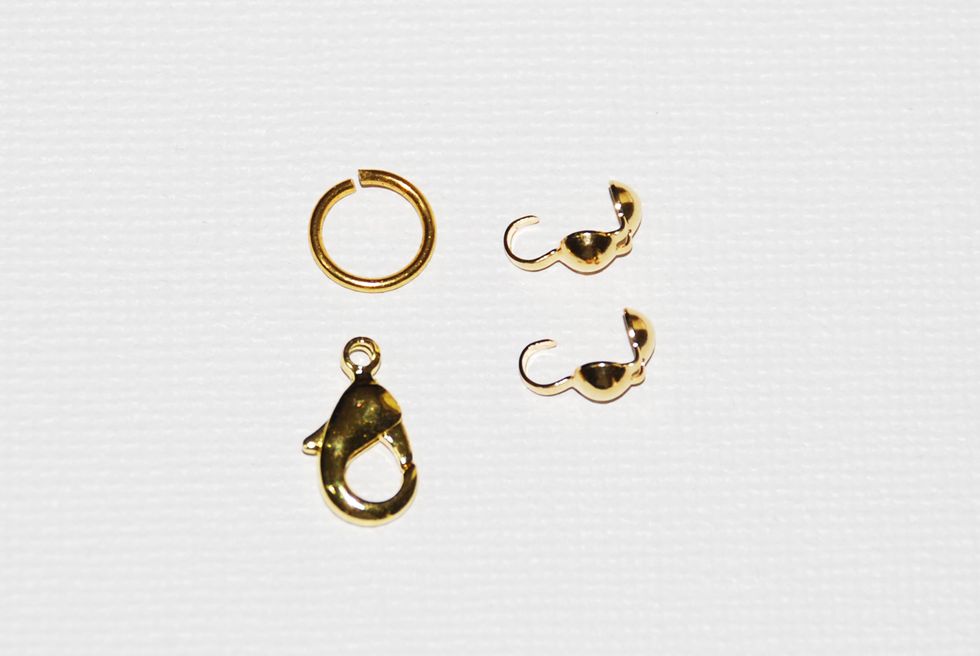
Your "findings" supplies for this project should include 2 clamshell end-caps; 1 jump ring with a slit opening, 1 clasp of any kind that you like (portrayed is a lobster clasp). Any metal is fine.
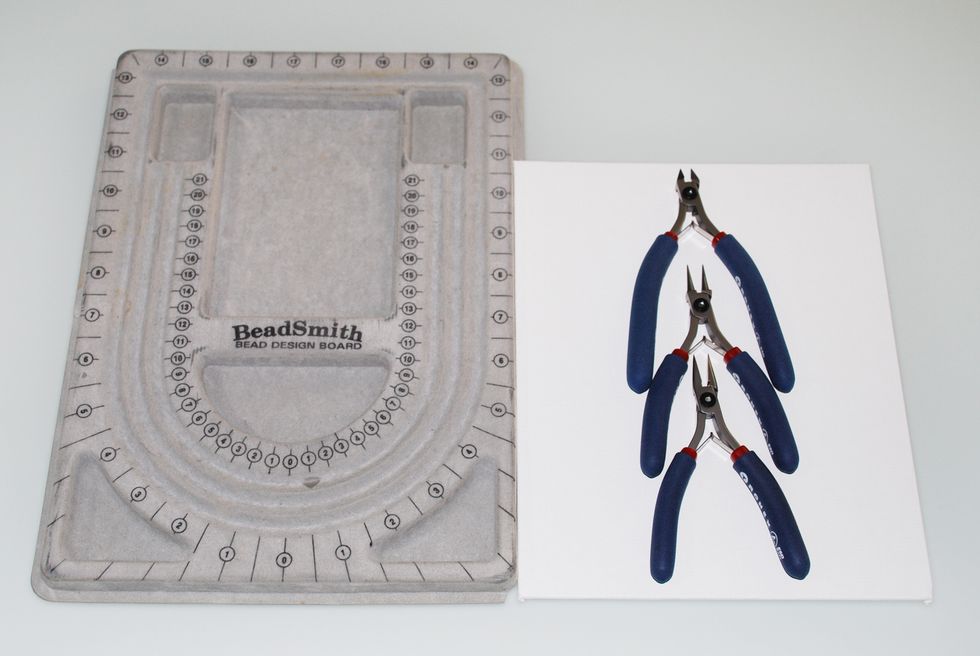
You will need a Tool Kit with Round Nose and Chain Nose Pliers, Cutters and a Design Board/Tray. You can purchase a tool kit in my shop: modnitsaatelier.com/shop
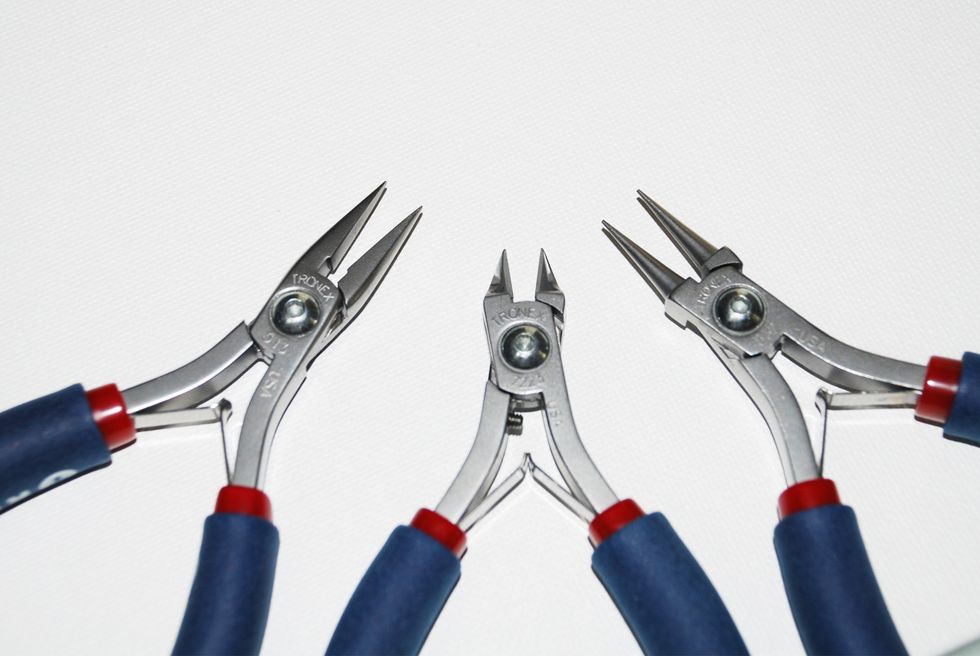
Familiarize yourself with the tools: Round nose pliers will help you with tying the knots, chain nose pliers are for opening/closing jump rings & clamshells, cutters are for trimming your thread.
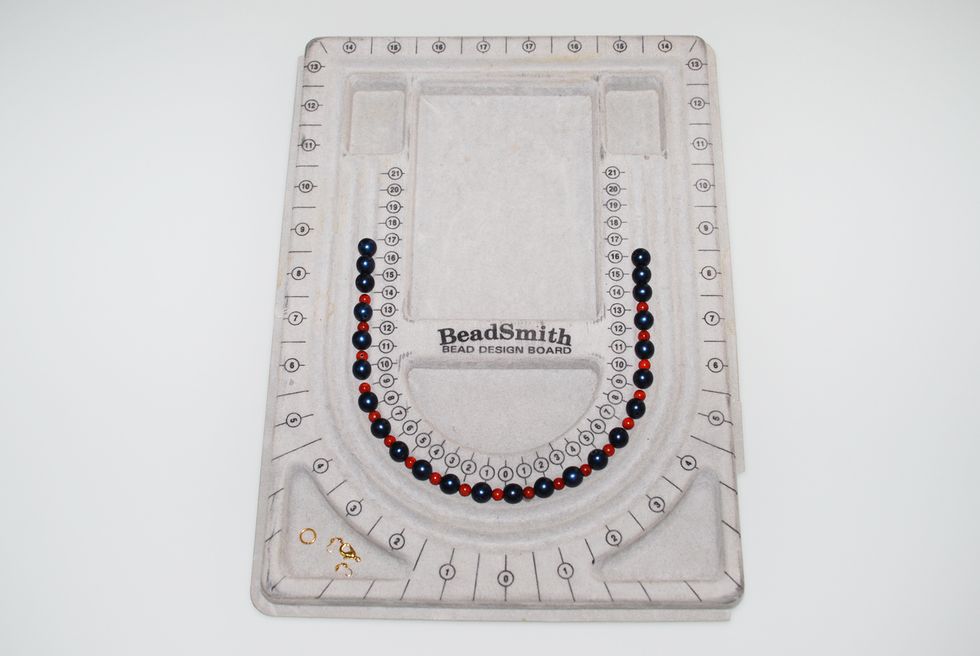
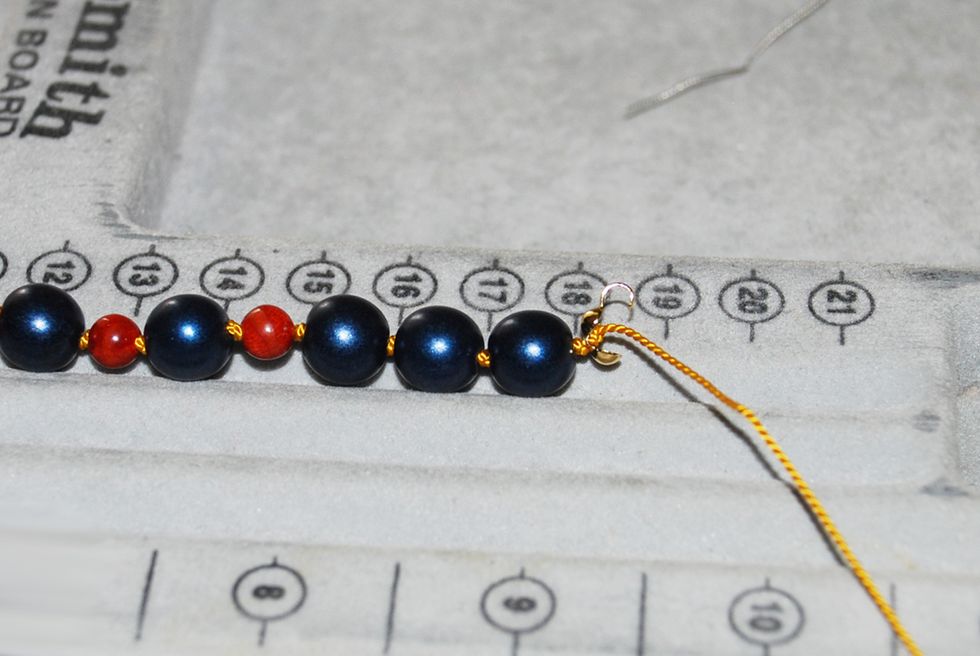
Create your design by laying out your stones on the tray track. Account for ~ 1/4" space between each stone to accommodate for the knot that will appear between each stone in the finished piece.
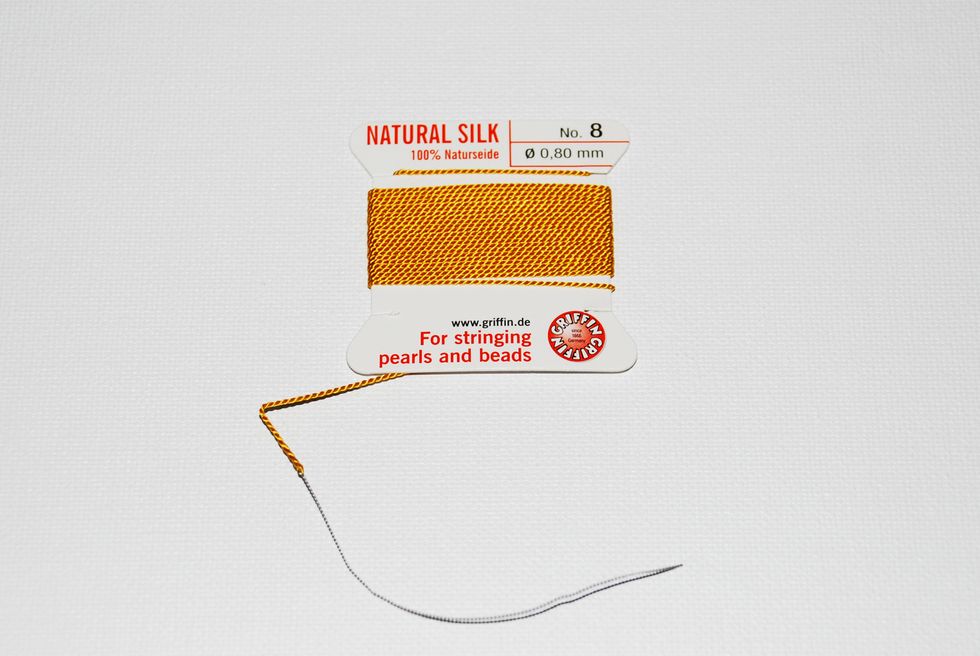
I prefer to use the Griffin Natural Silk Thread that comes on a card with an attached needle. Thickness No. of the thread will depend on the drilled hole size of your gems - so make sure to match it.

Unravel your knotting thread from the card and tie a knot all the way at the end of the 2 meter thread (opposite of the needle end).
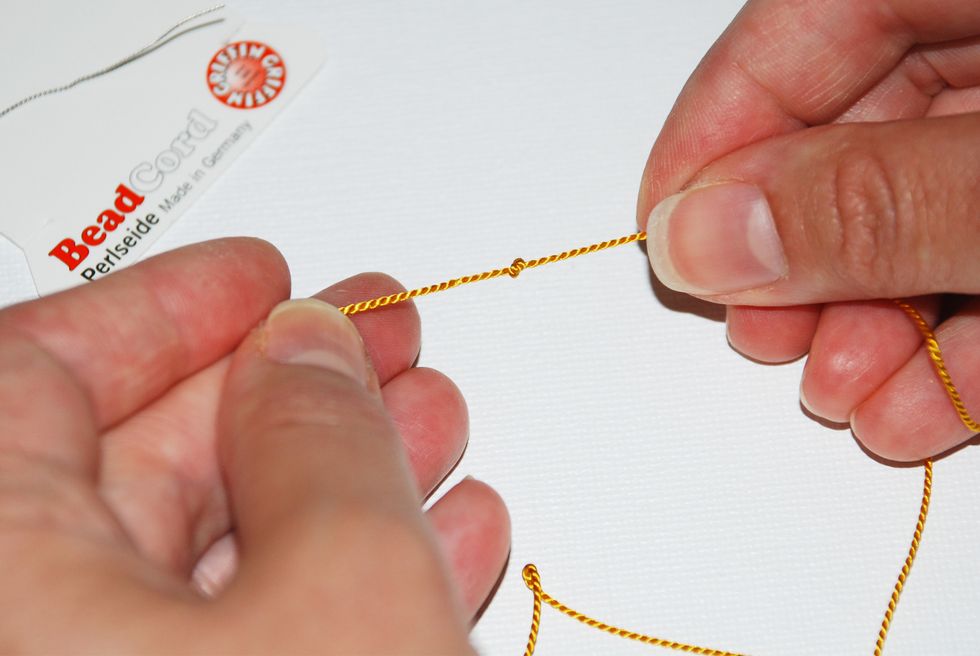
Tighten your knot at the end of the string.
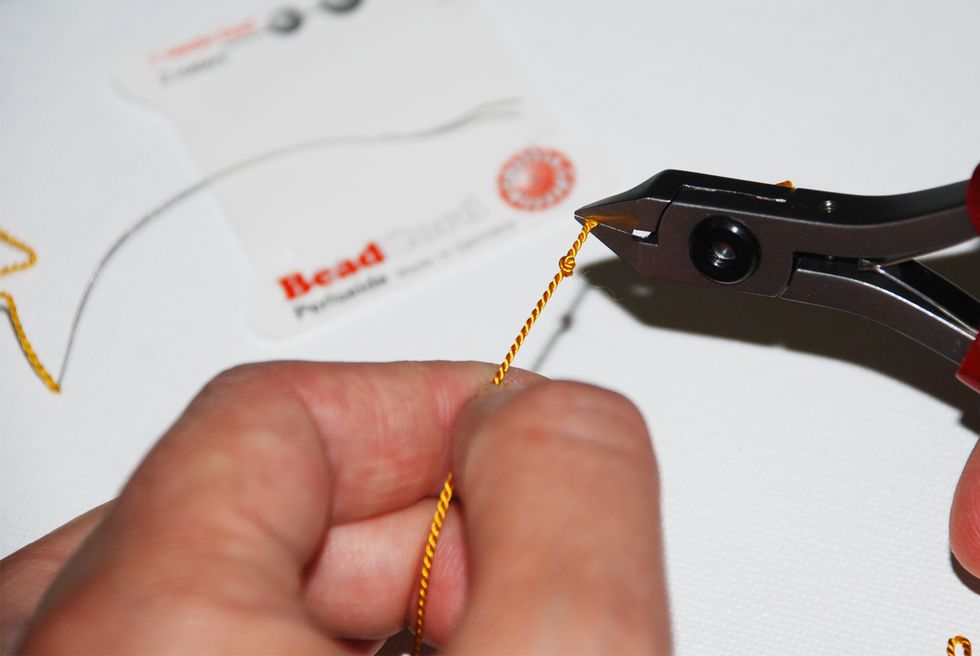
Trim your thread about 1/2" from the knot with your wire/string cutters. Make sure your tool is sharp to reduce fraying.
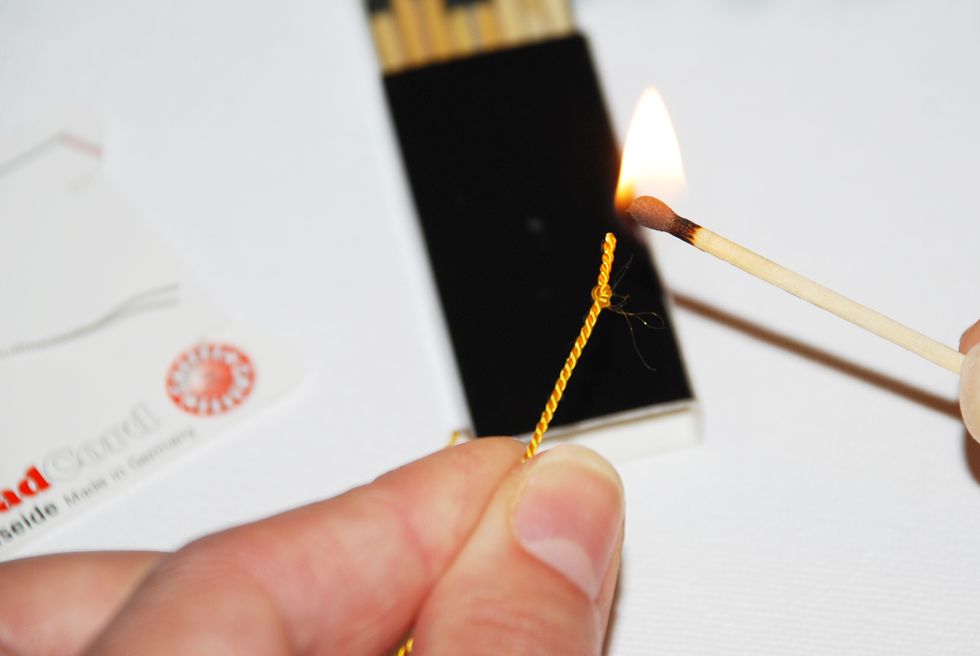
Using matches or a thread zapper, gently burn/cure the end of the thread to seal it and prevent it from fraying.
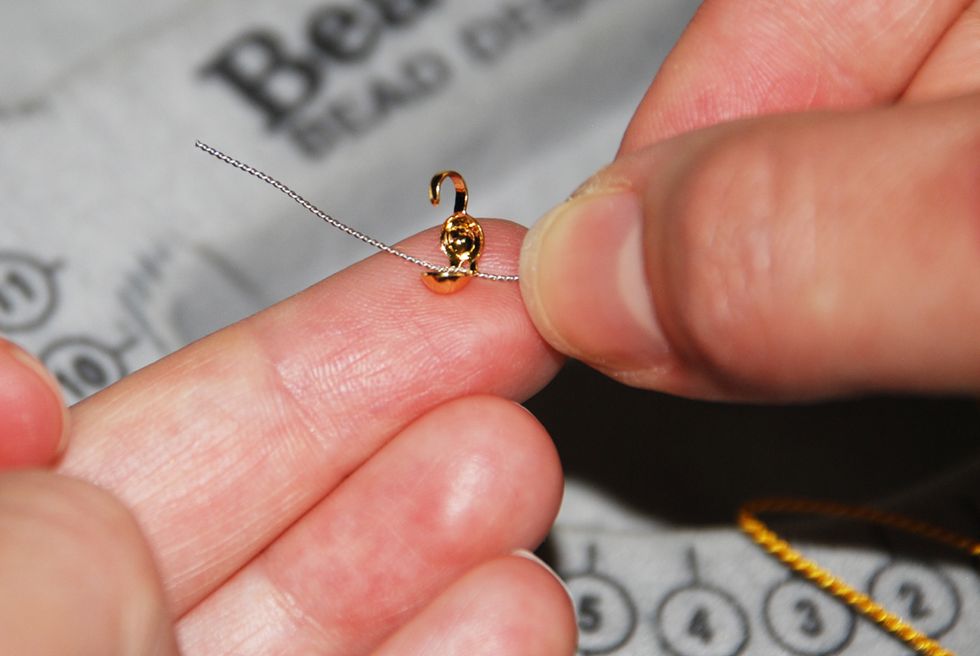
String one of your clamshell end-caps through the needle, with the hook of the cap facing in the direction of your end knot.

Have your clamshell end-cap rest against your knot.
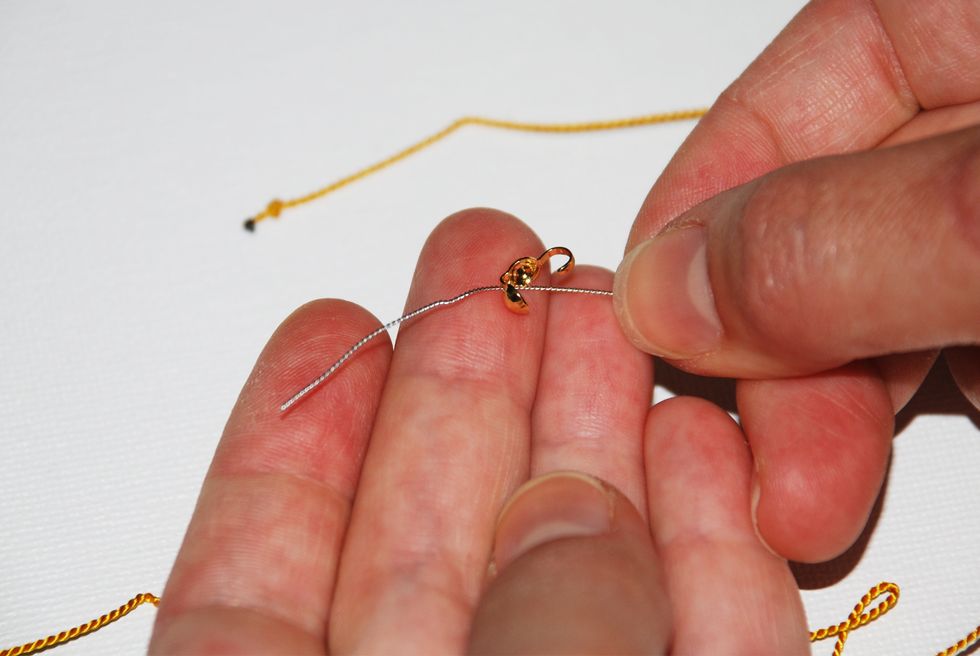
Pull your clasp into the hook of the clamshell end cap.
Using the tip of your chain nose pliers, curl the end of the hook so that it encloses the clasp.
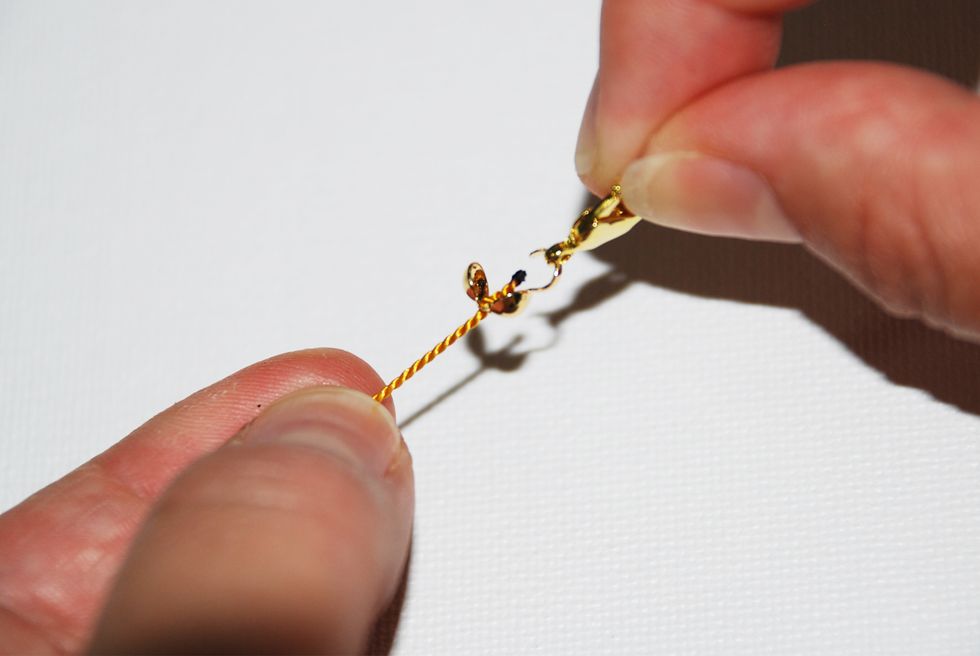
Using your chain nose pliers, carefully grasp the clamshell between the jaws of the pliers and squeeze. Close the clamshell by applying gentle steady pressure.
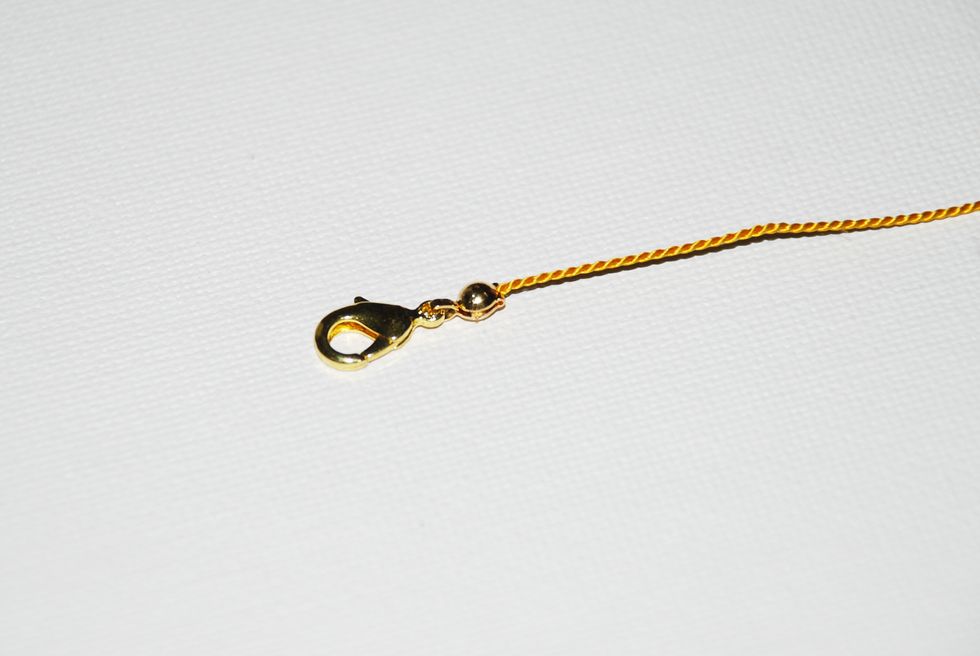
You should end up with your clasp neatly attached at the end of your thread with the clamshell closed tight.
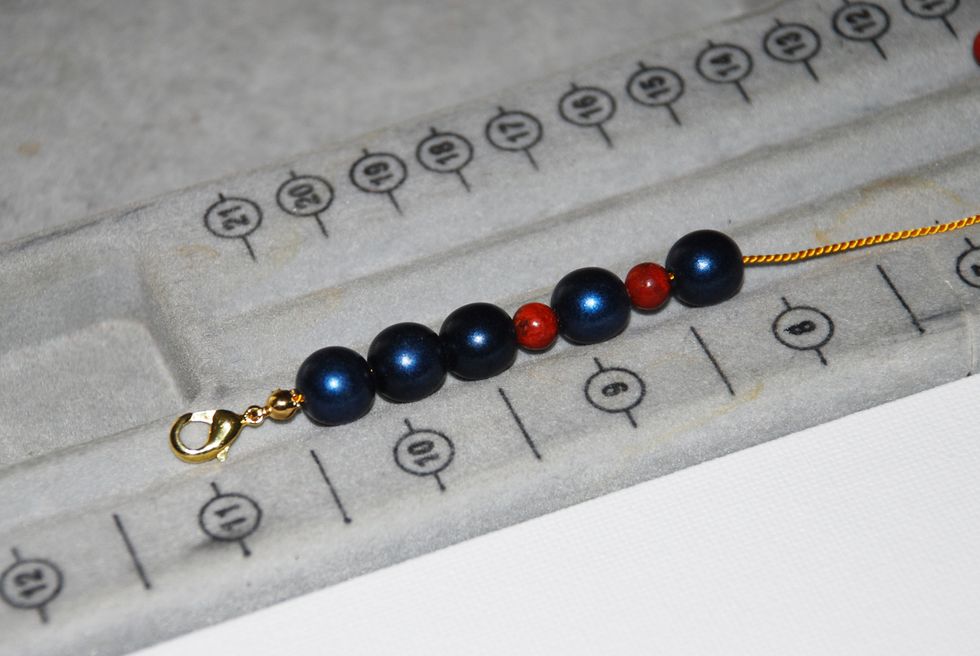
String all your beads onto the thread from one side to other, following the pattern on your tray. This helps to visualize the design before you start knotting.
After stringing on all your beads, string on your 2nd clamshell end-cap - this time with the hook facing out. Note: do not close the clamshell yet.

You can tie your first knot either after the clamshell or after your first stone - your choice! For this design, I've decided to start knotting after my first stone.
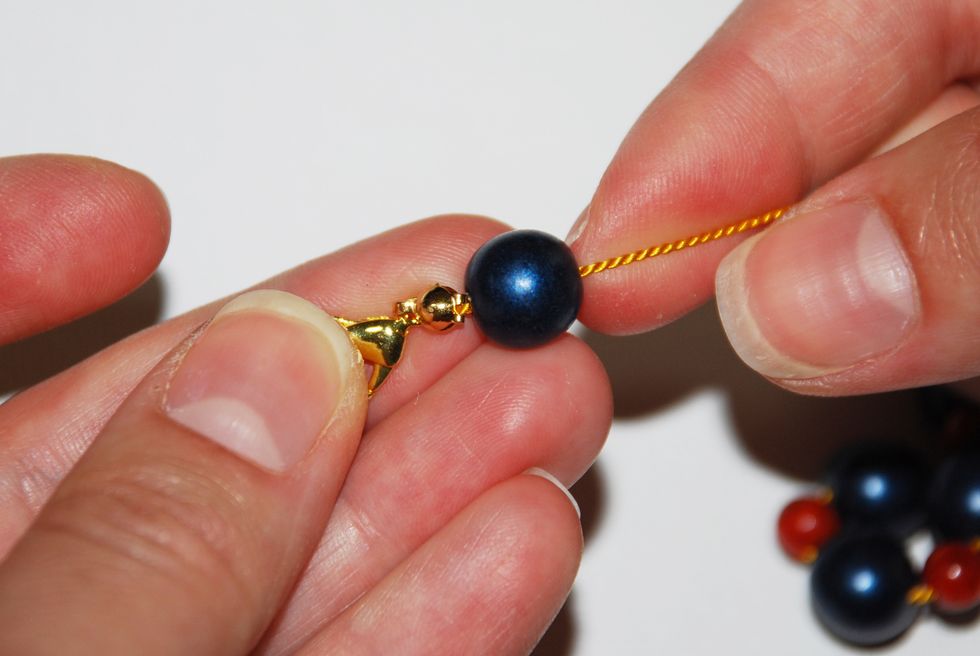
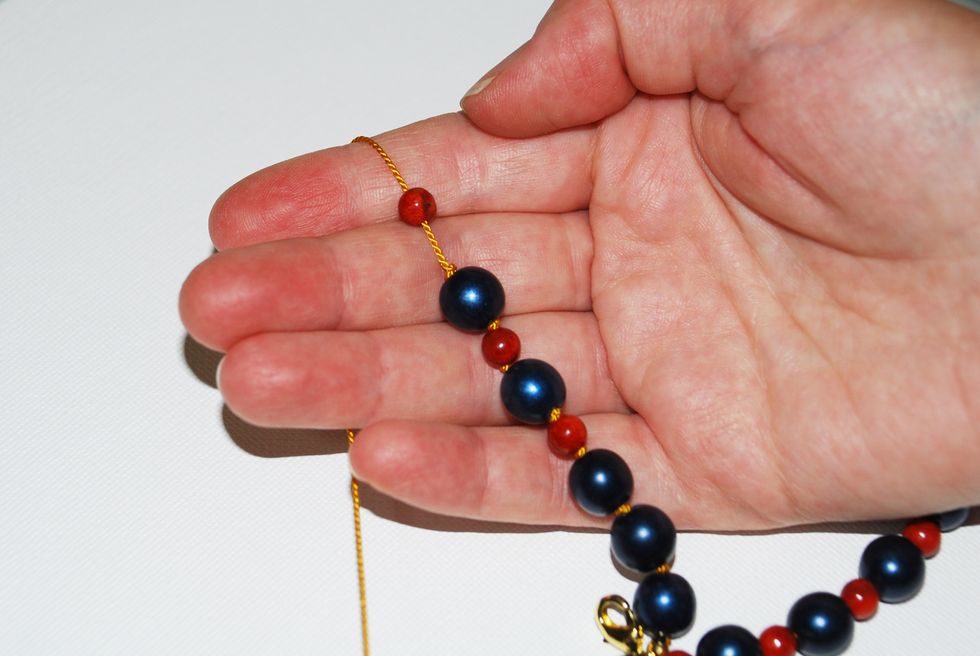
Before you tie your first knot, push your first stone towards the first end-cap so it sits right up against it.

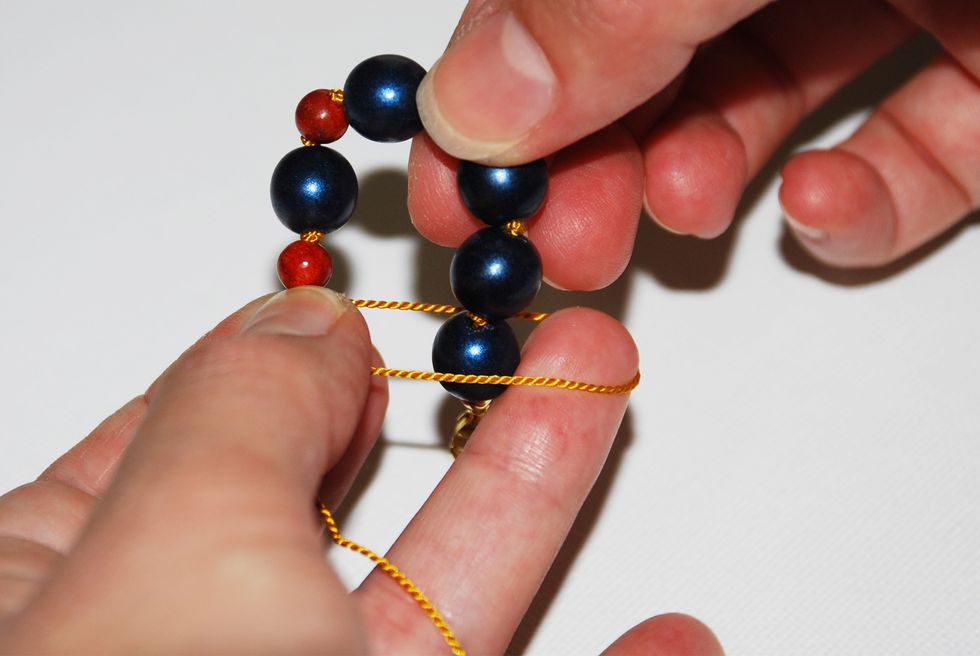
Hold the first stone between your thumb and middle finger and wrap the thread around your pointer and middle finger to create a loop around those 2 fingers.

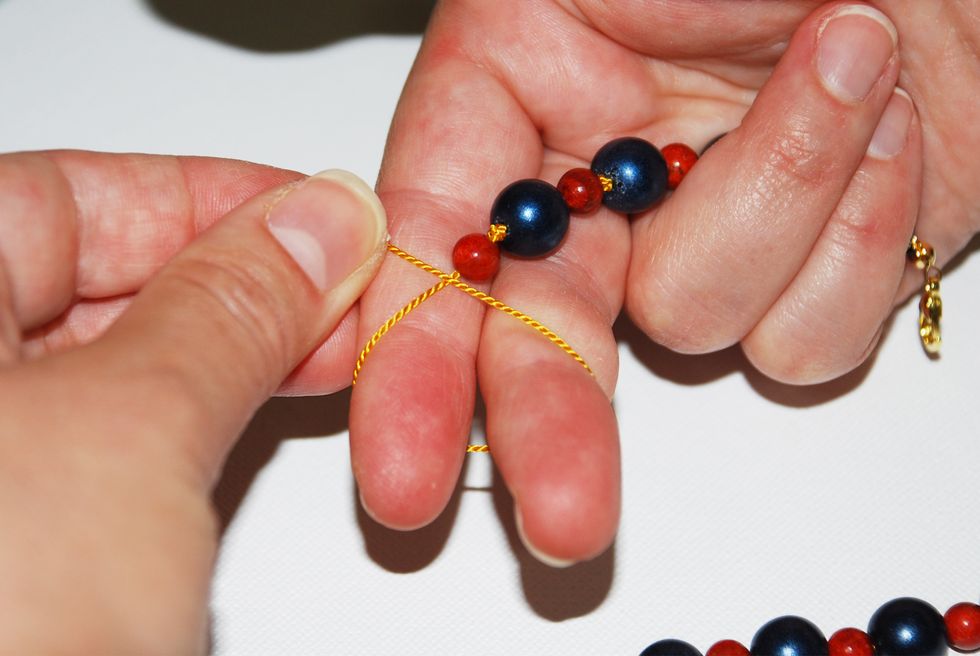
Using your dominant hand, drag the loop off your two fingers, while supporting the formation with the pointer and thumb of your dominant hand.
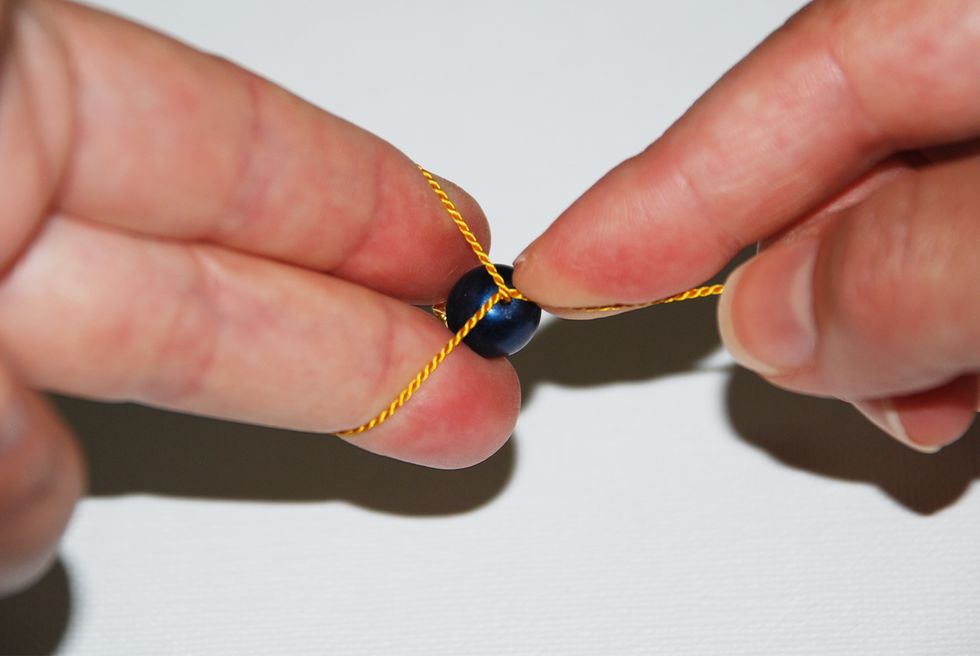
Be careful not to distort the formation - so that you can clearly see the loop as it's coming off your hand.
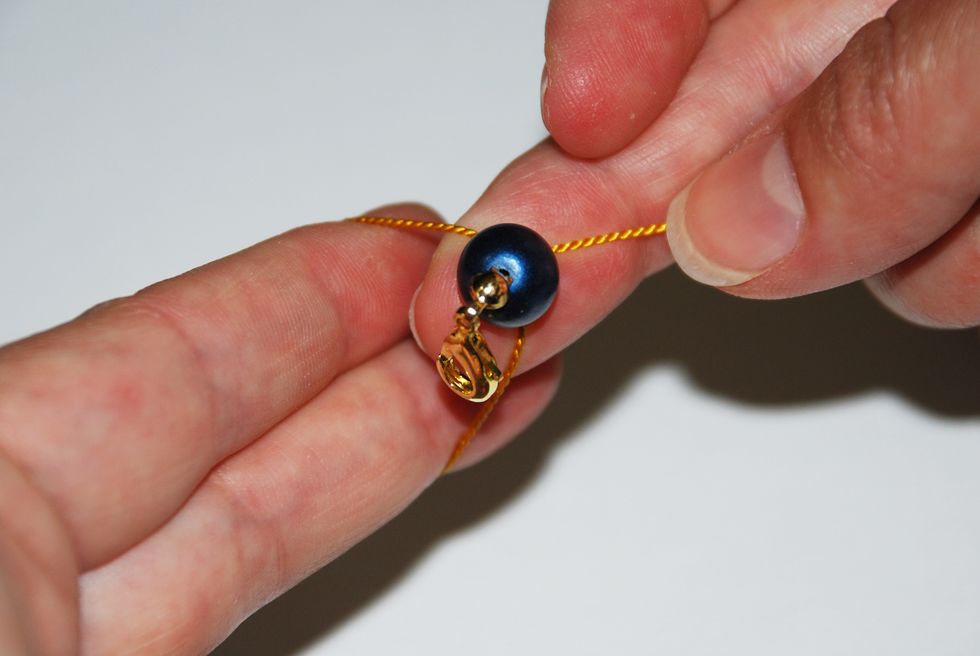
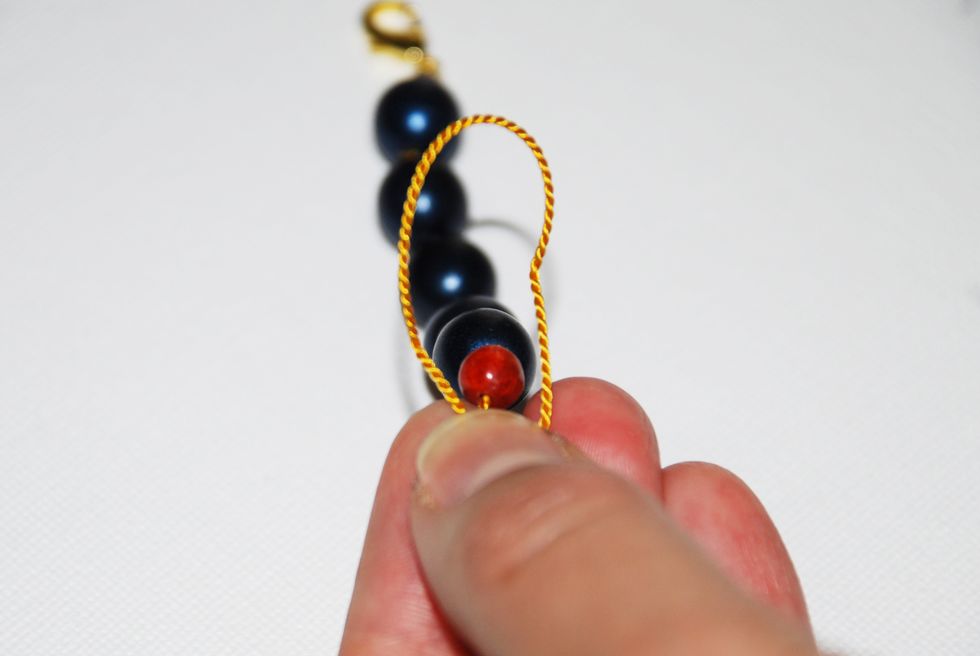
As the loop is sliding off your fingers, push your stone inside the loop.
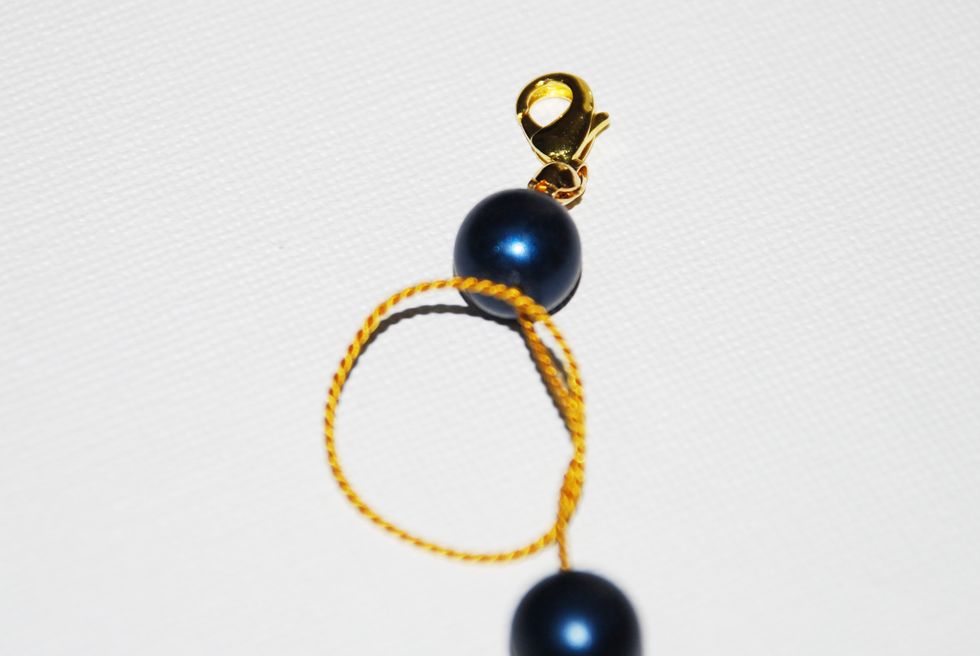
You should end up with a knot on your thread, loosely formed near your stone.
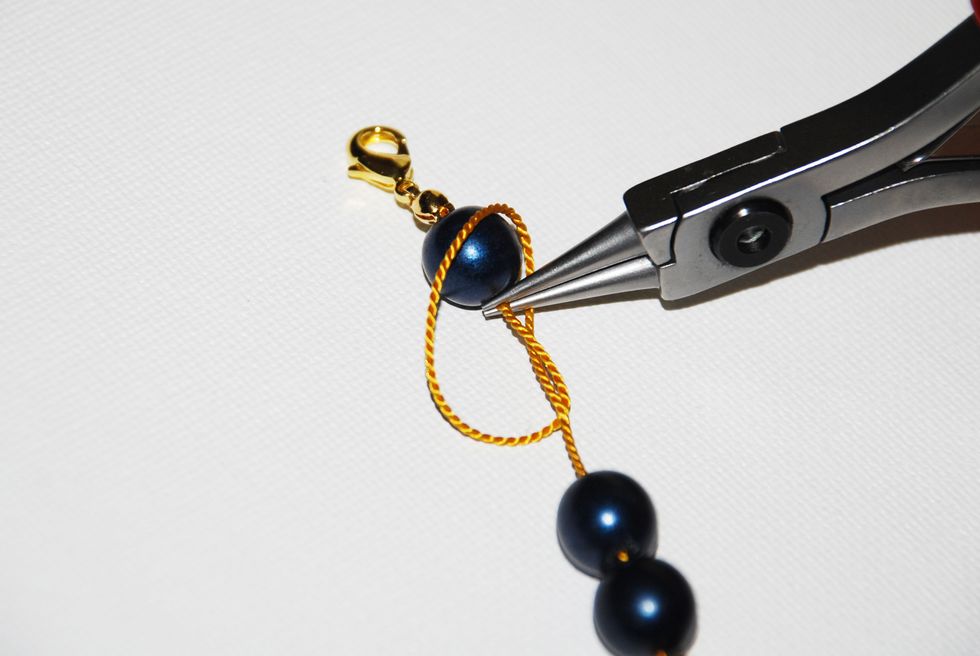
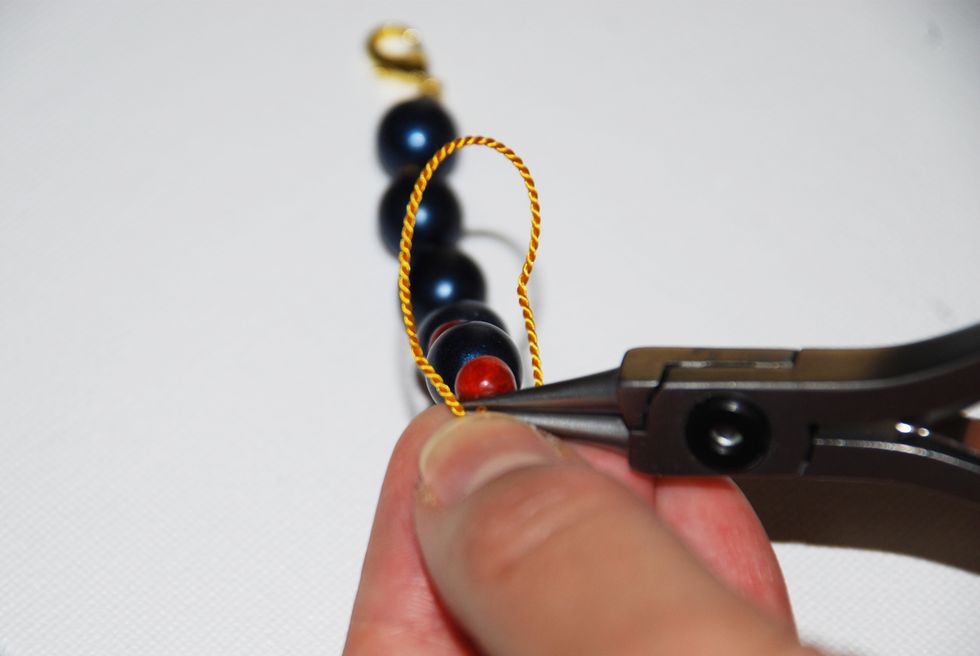
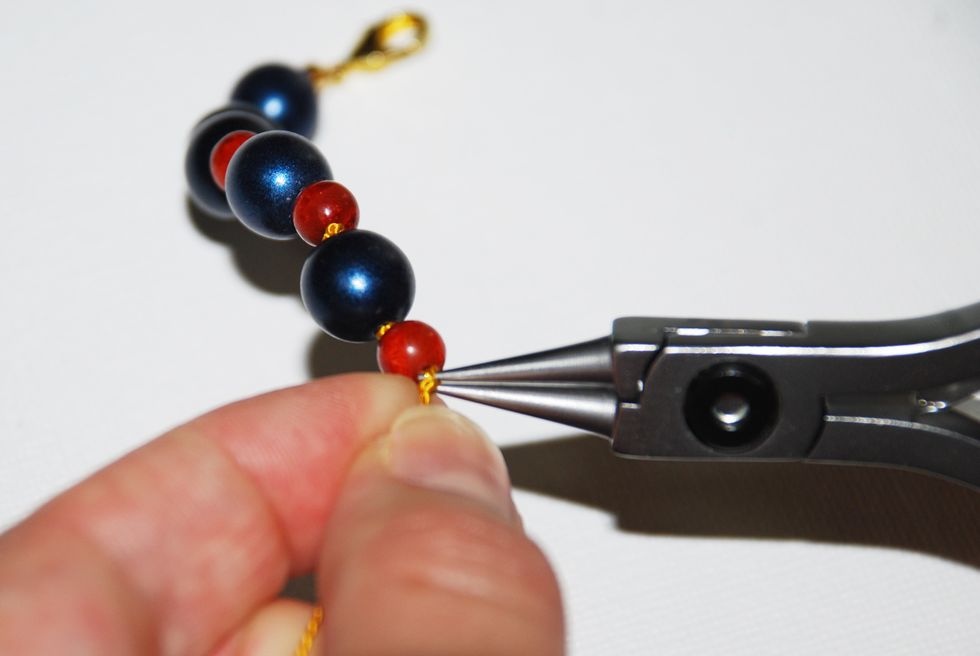
Now that you have a loop, grab the thread inside the loop with the tip of your round nose pliers. Grab the thread as close to the stone as you can.
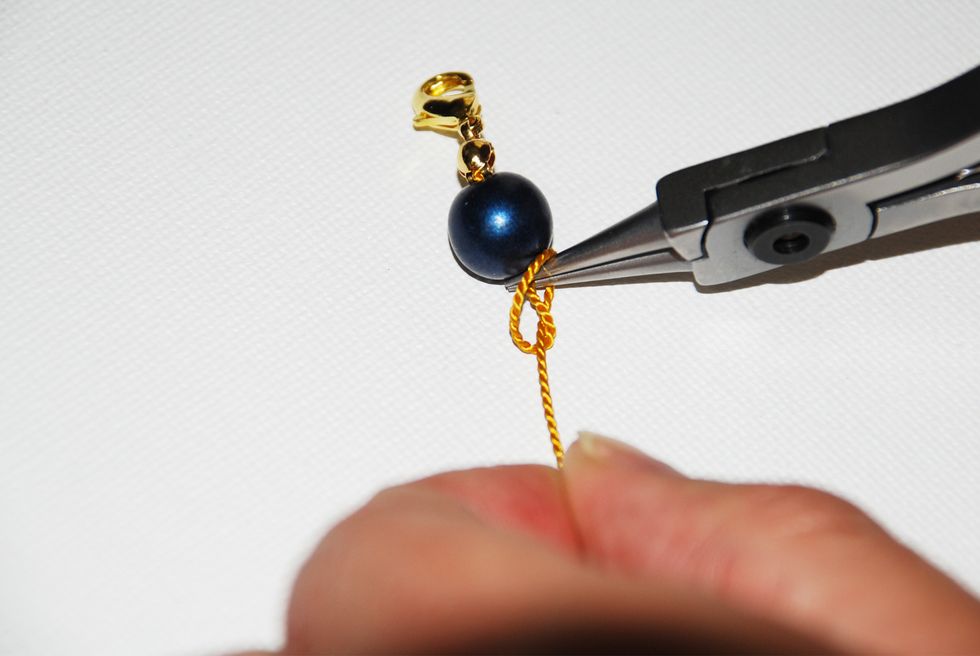
Keep holding the thread with your round nose pliers and start pulling on the long thread, tightening the loop over the tip of the pliers - until it turns into a knot.
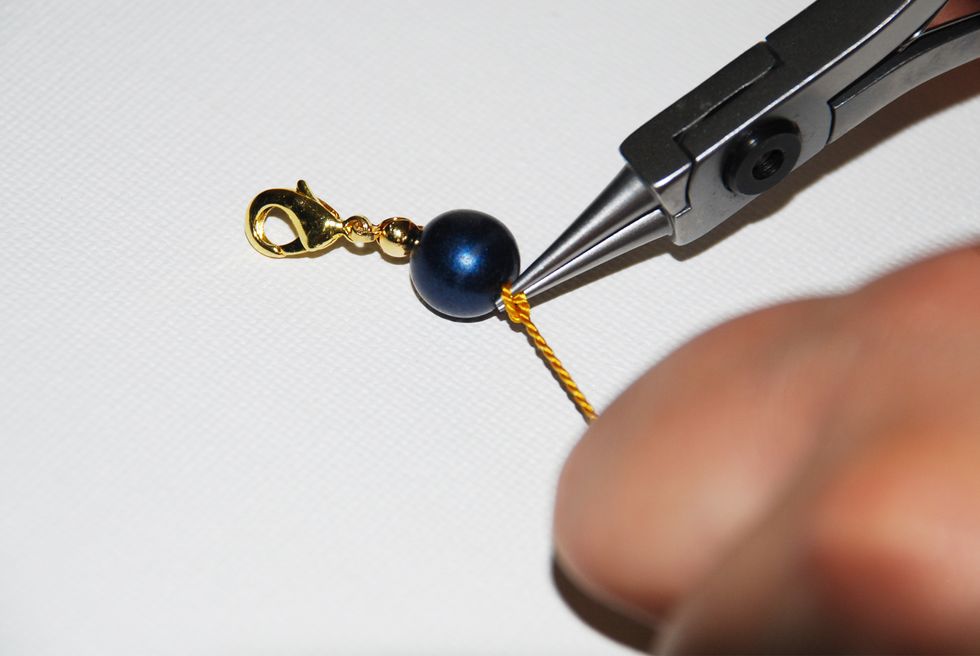
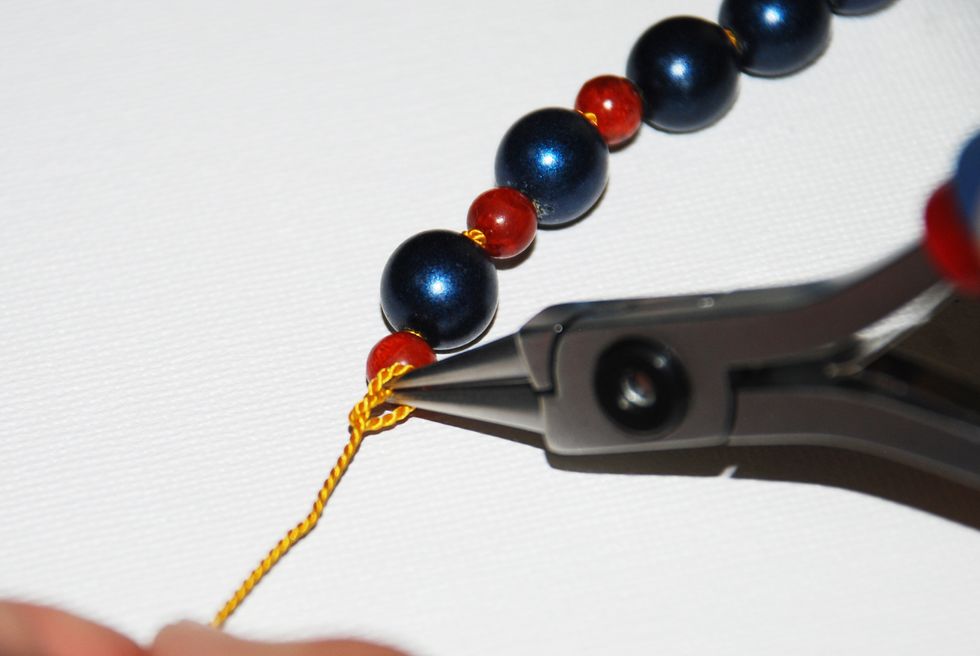
When your knot is as tight as it can be over the tip of the pliers, gently slide out the tool, and pull the long thread to tighten the knot even closer to the stone.
Create a knot after each stone by repeating steps 20-27 for each of your stones. Before knotting your last stone, please proceed to the next step.
NOTE: Just like in step 18, you have the option to skip the knot after the last stone, and go straight to your end cap - or you can make a knot after your last stone as I did here.
To make your last knot, create a final loop and pull your entire finished piece through that loop.
Keep your loop in place by holding it firm with your fingernail.
To tighten the knot, grab the thread inside the loop with the tip of your round nose pliers. Remember to keep the tip of your tool as close to the stone as possible to keep your knot neat.
Continue to hold the thread with your round nose pliers, while you pull the long end of the thread to tighten the knot over the tip of the pliers.
Tighten your last knot.
Tie your very last knot on the other side of the end-cap, using the same technique as you did with all your other knots.
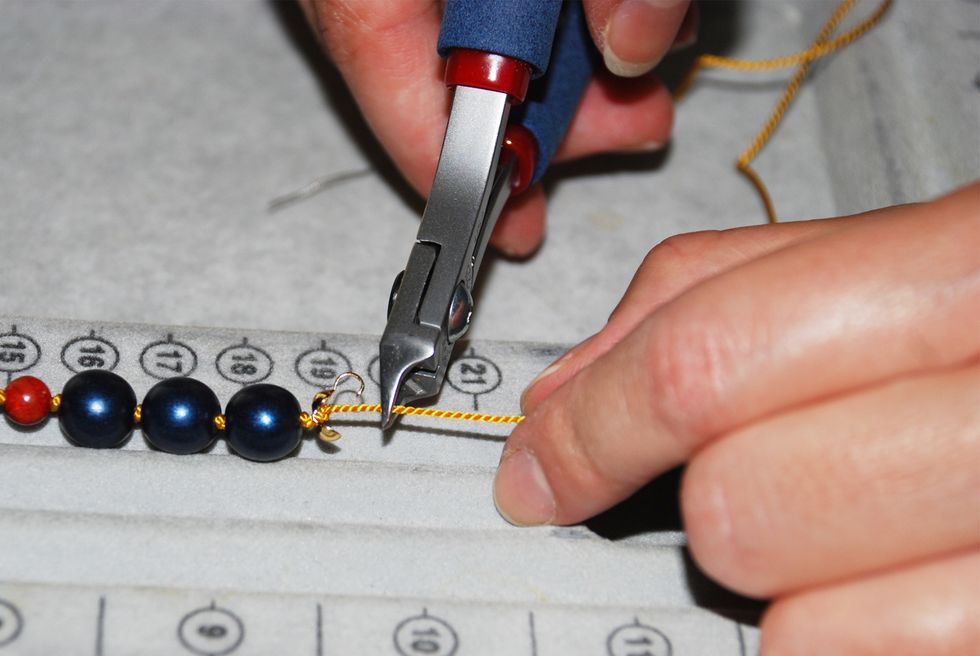
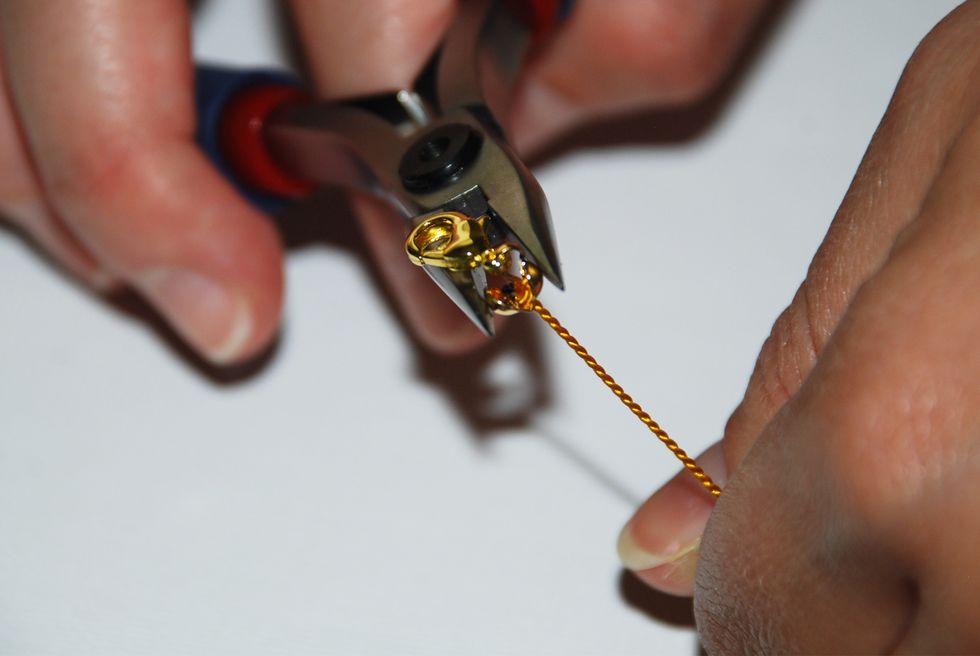
Trim your string about 1/2" past the last knot (on the other side of the clamshell end-cap).
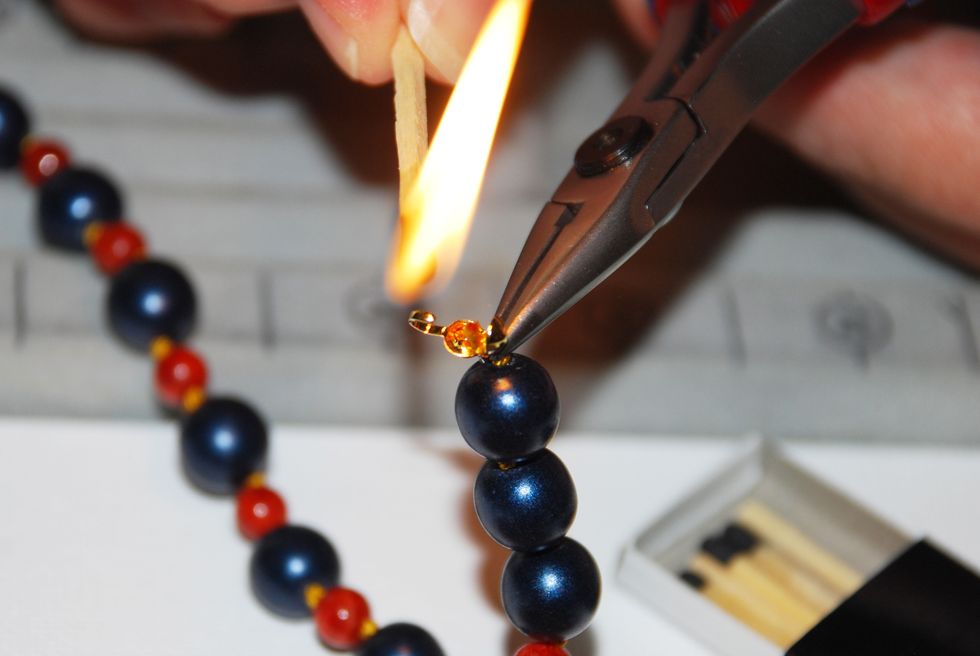
Using matches or a string zapper, gently burn/cure the end o the thread to seal it and prevent it from fraying.
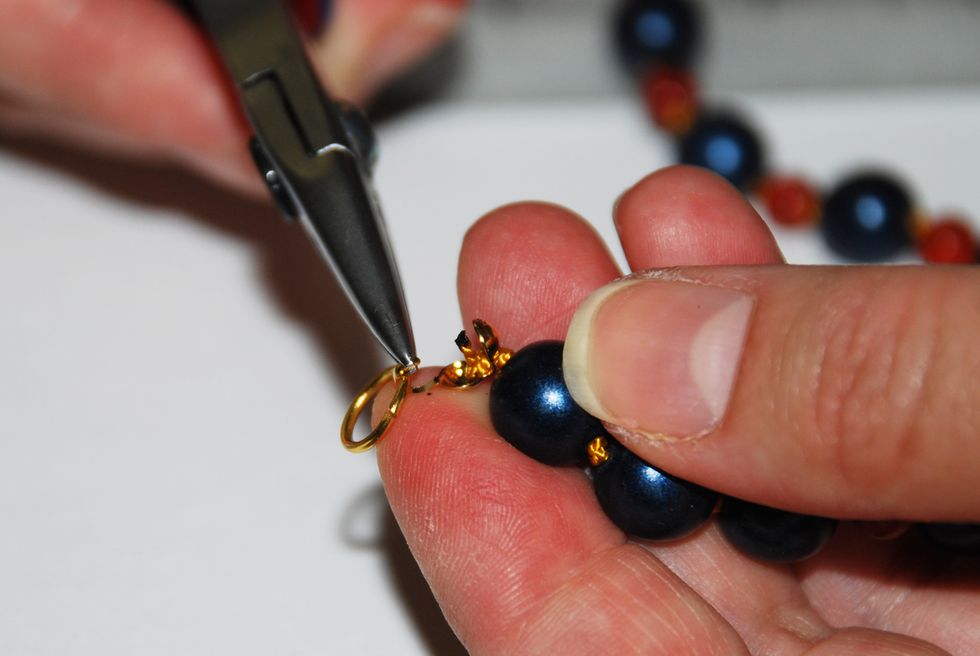
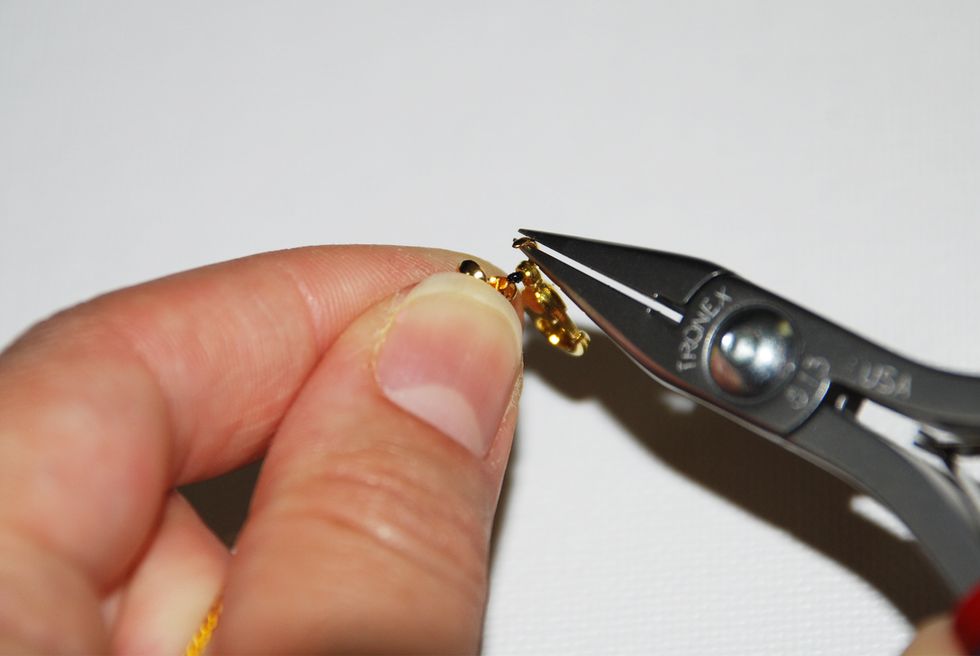
Attach a jump ring to the open hook of the clamshell end-cap, and using the tip of your chain nose pliers, curl the end of the hook so it encloses the jump ring.
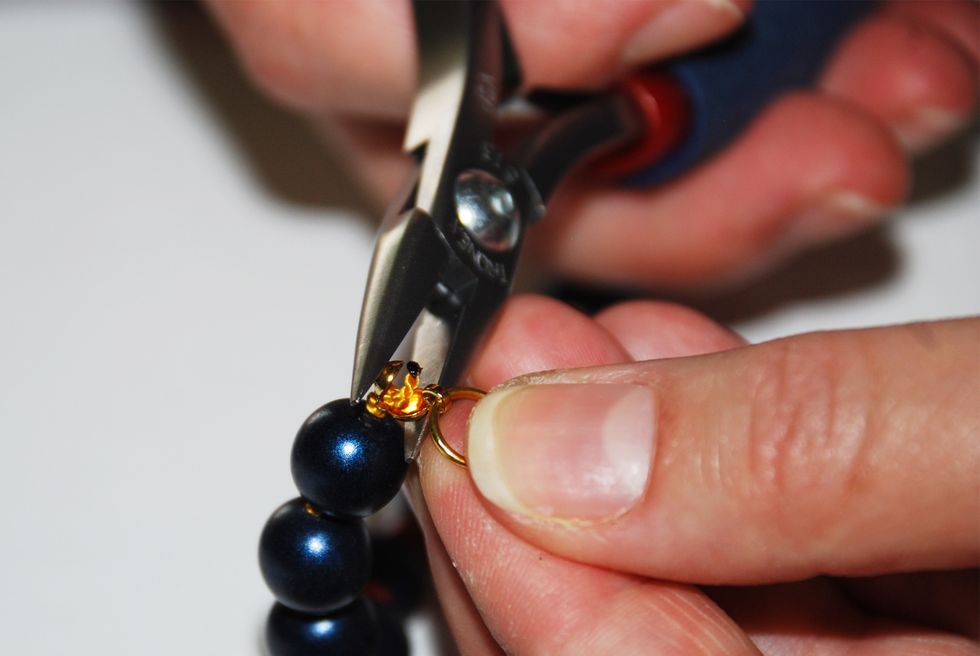
Using your chain nose pliers, carefully grasp the clamshell between the jaws of the pliers and squeeze. Close the clamshell by applying gentle steady pressure.
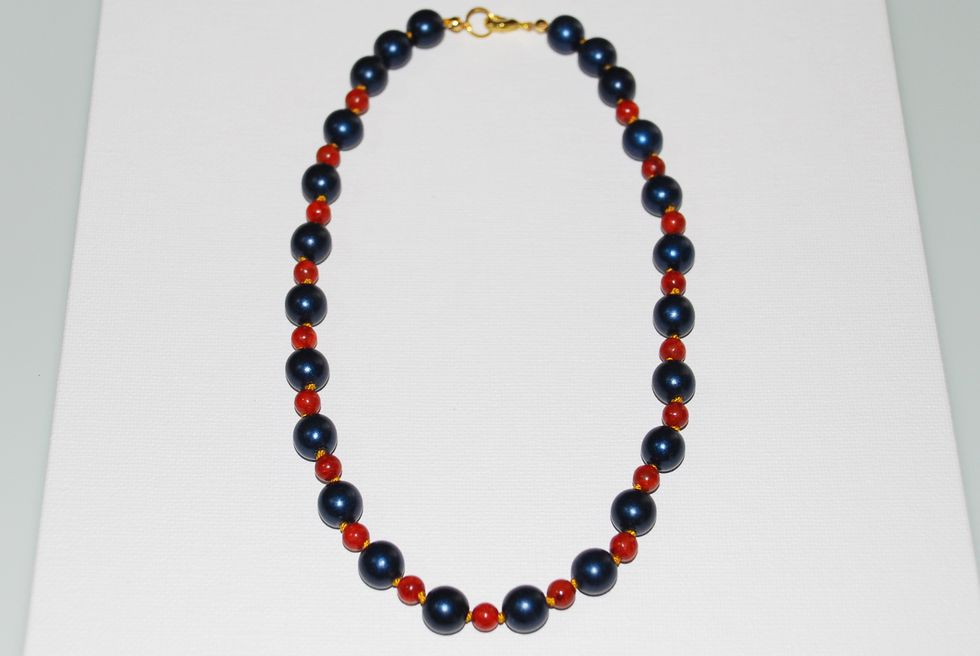
Your necklace is complete and ready to wear!