The Conversation (0)
Sign Up
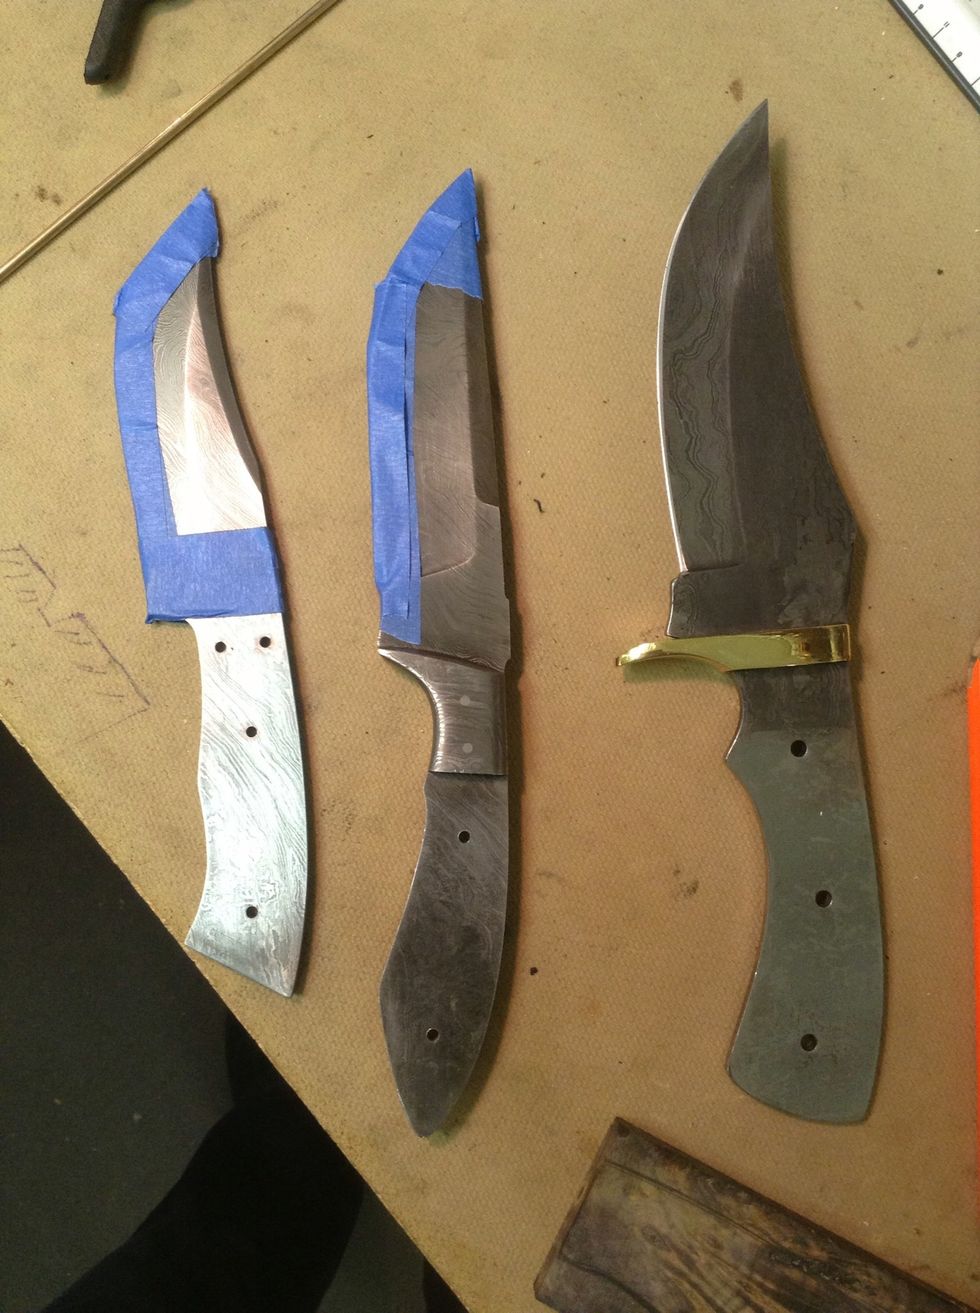
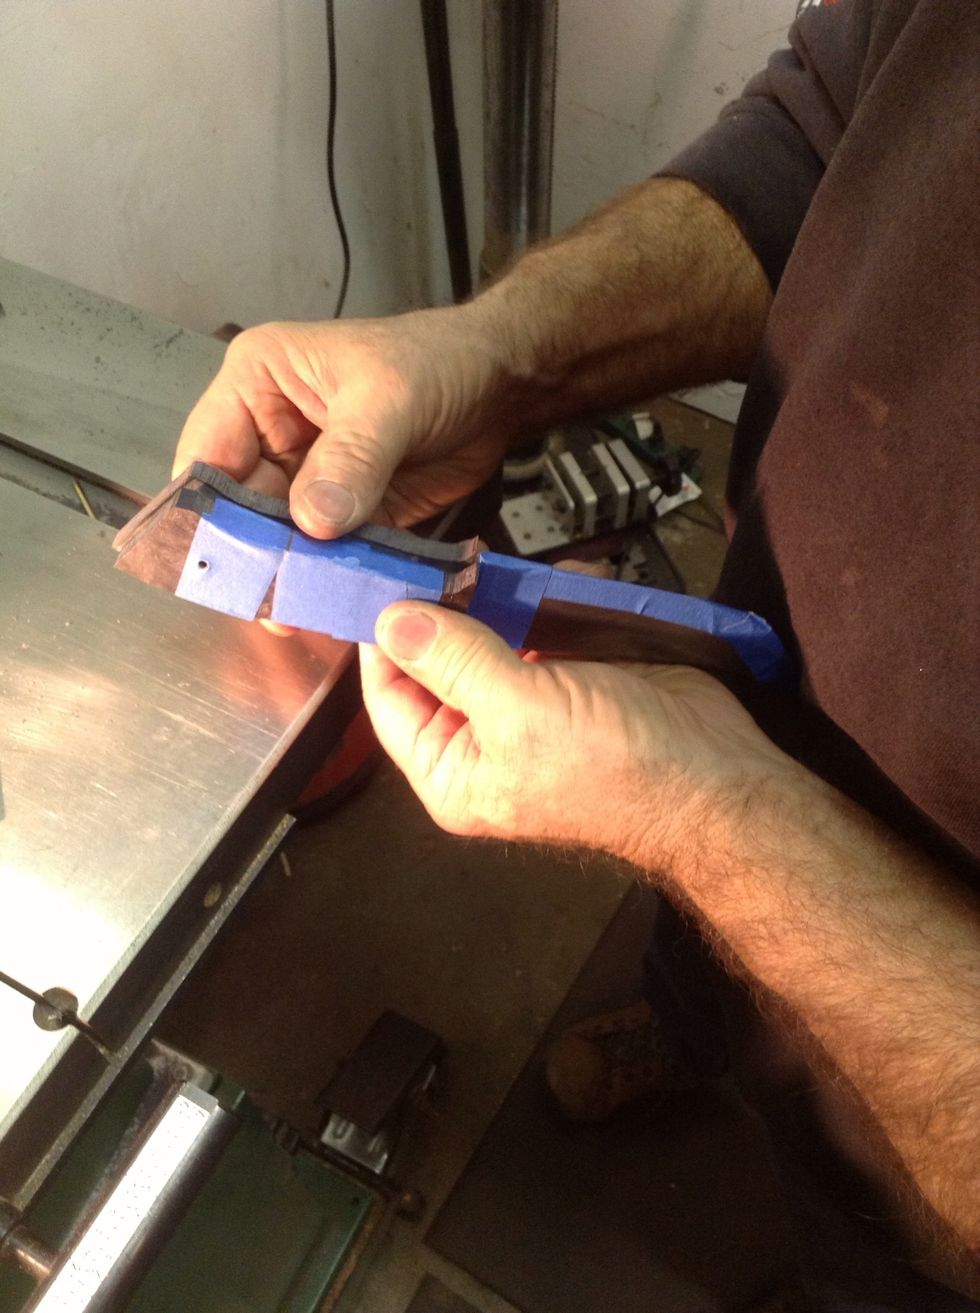
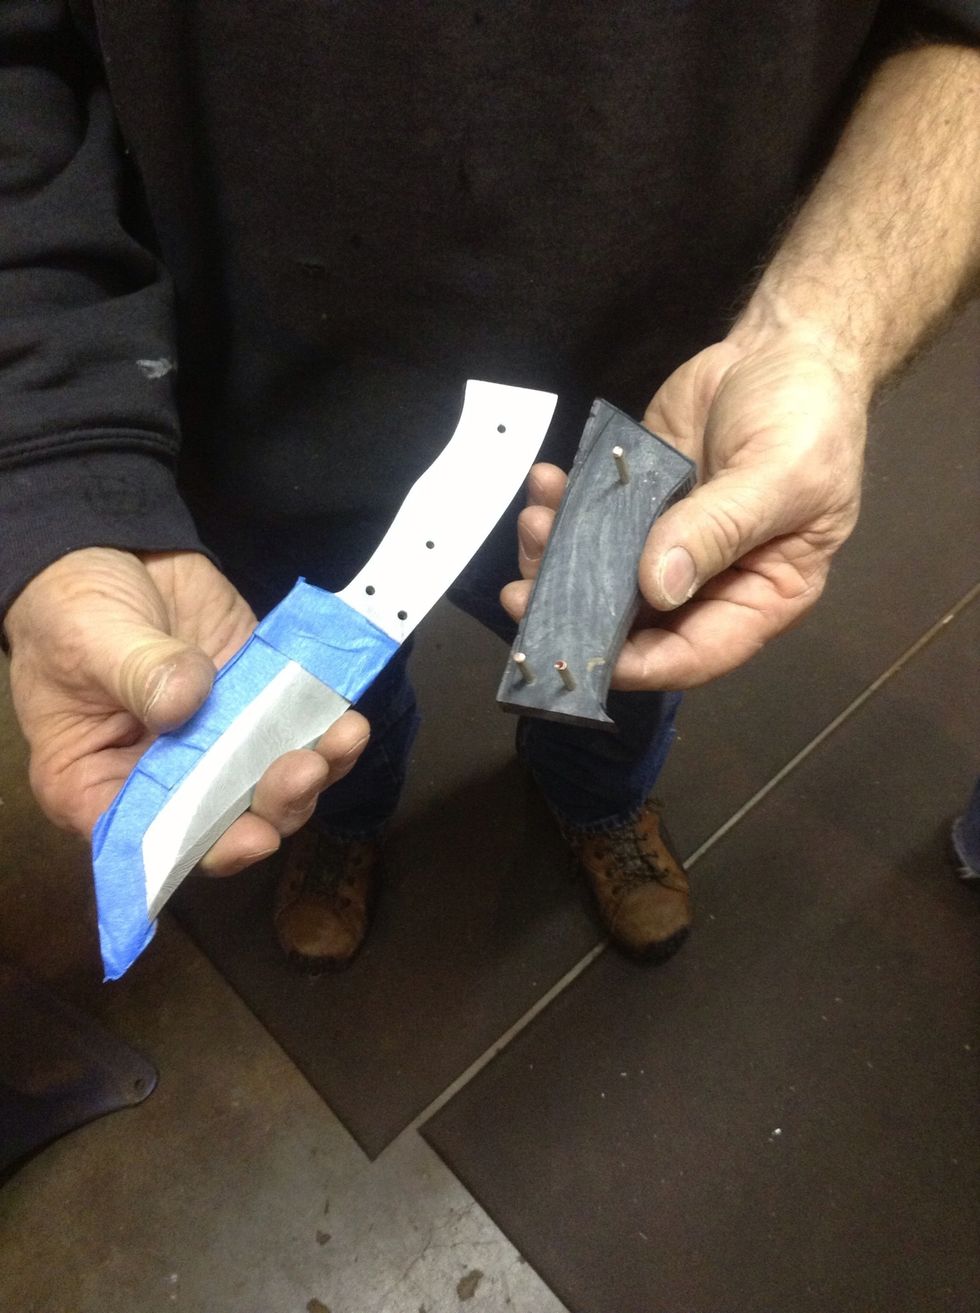
First, tape up your blanks so you can safely handle the knife. Remember: safety third! These are some Damascus blanks that I bought off of eBay for a few twentys.
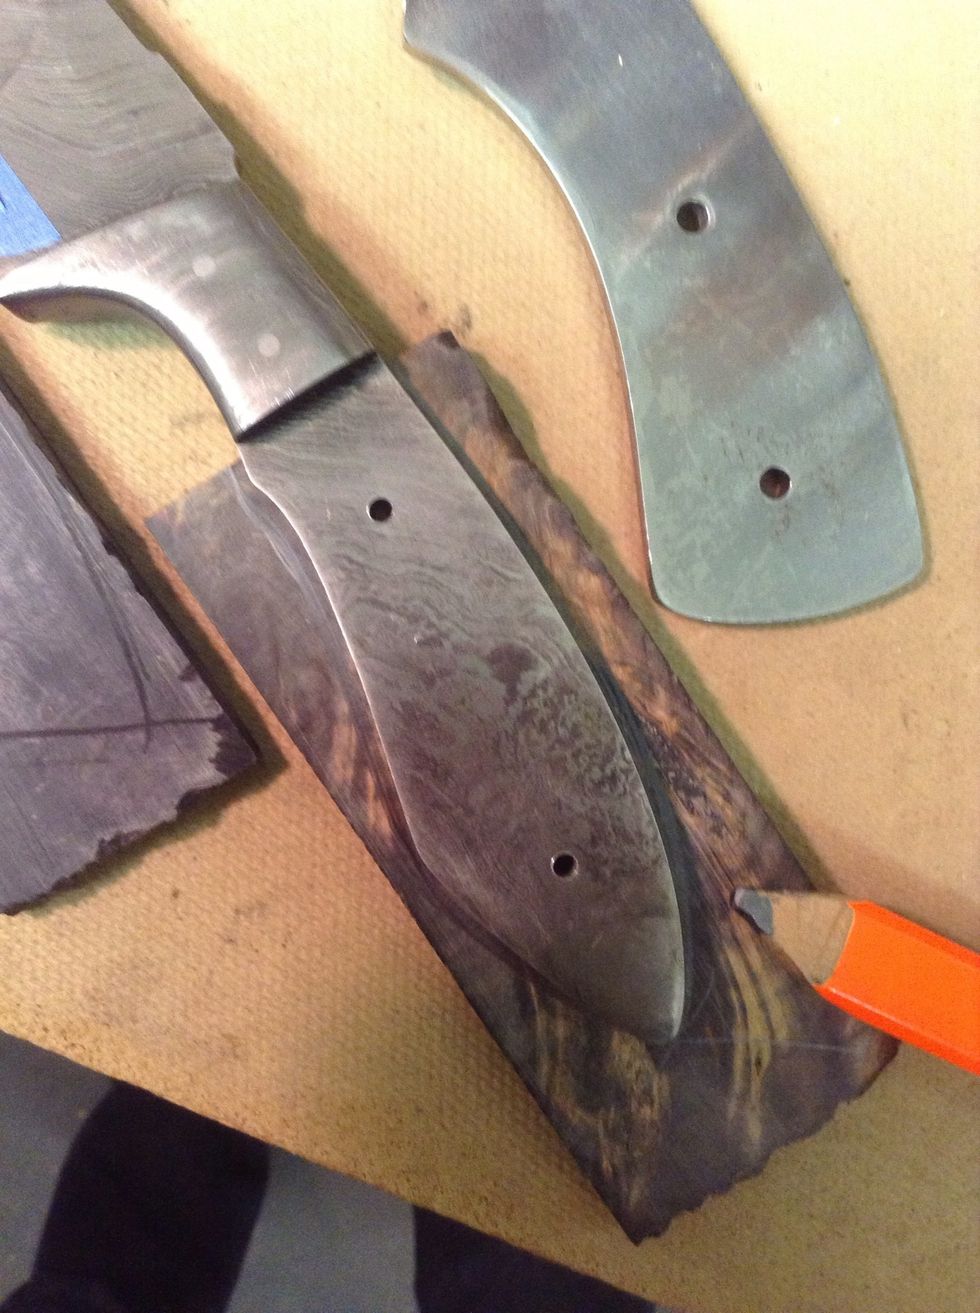
Trace out the handle on your handle material. This is a piece of buckeye burl that I'm using for my knife.
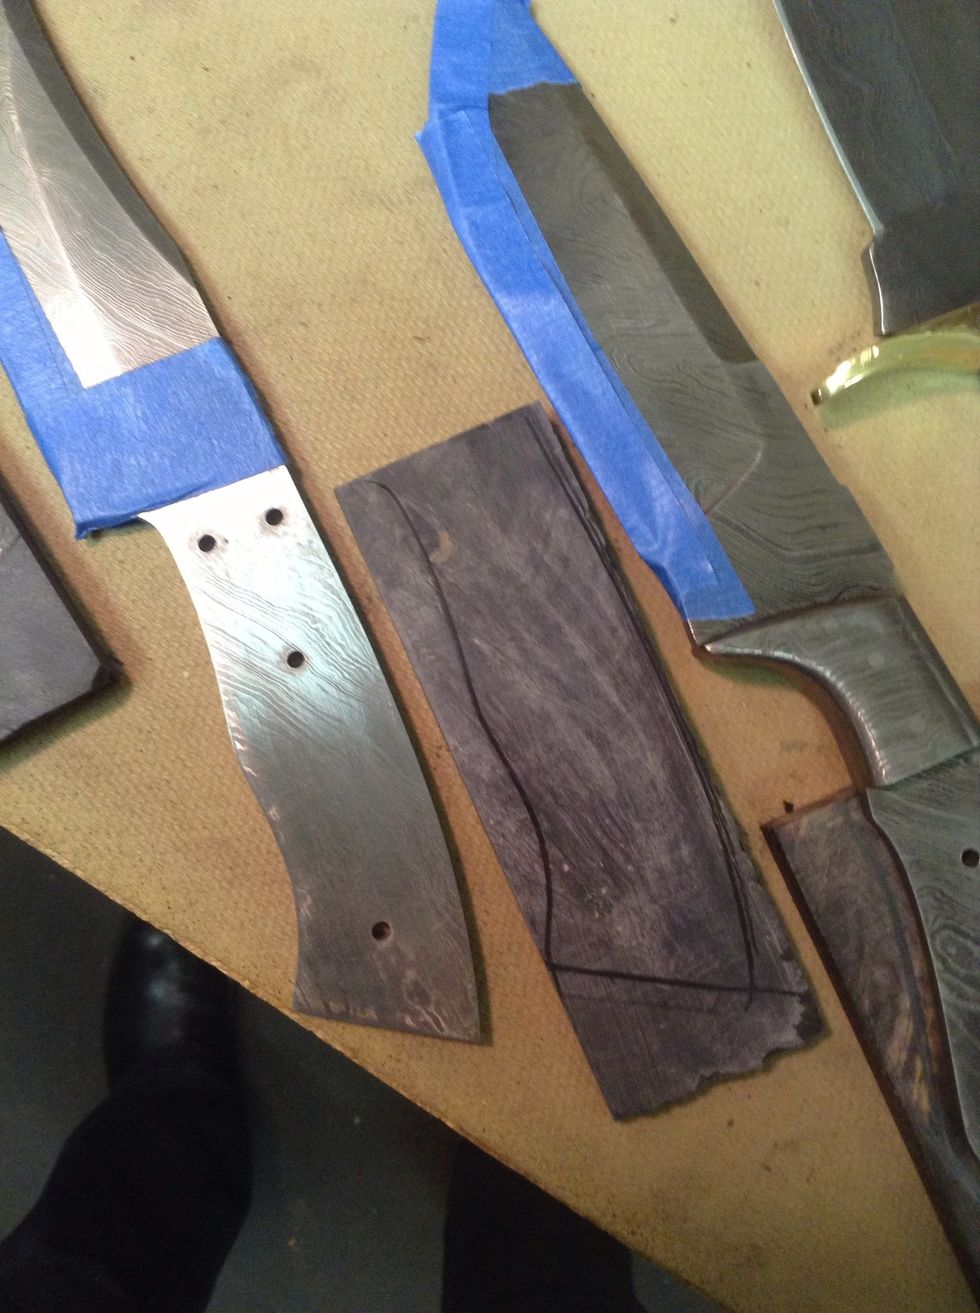
This is a nice buckeye burl for Dad's knife.
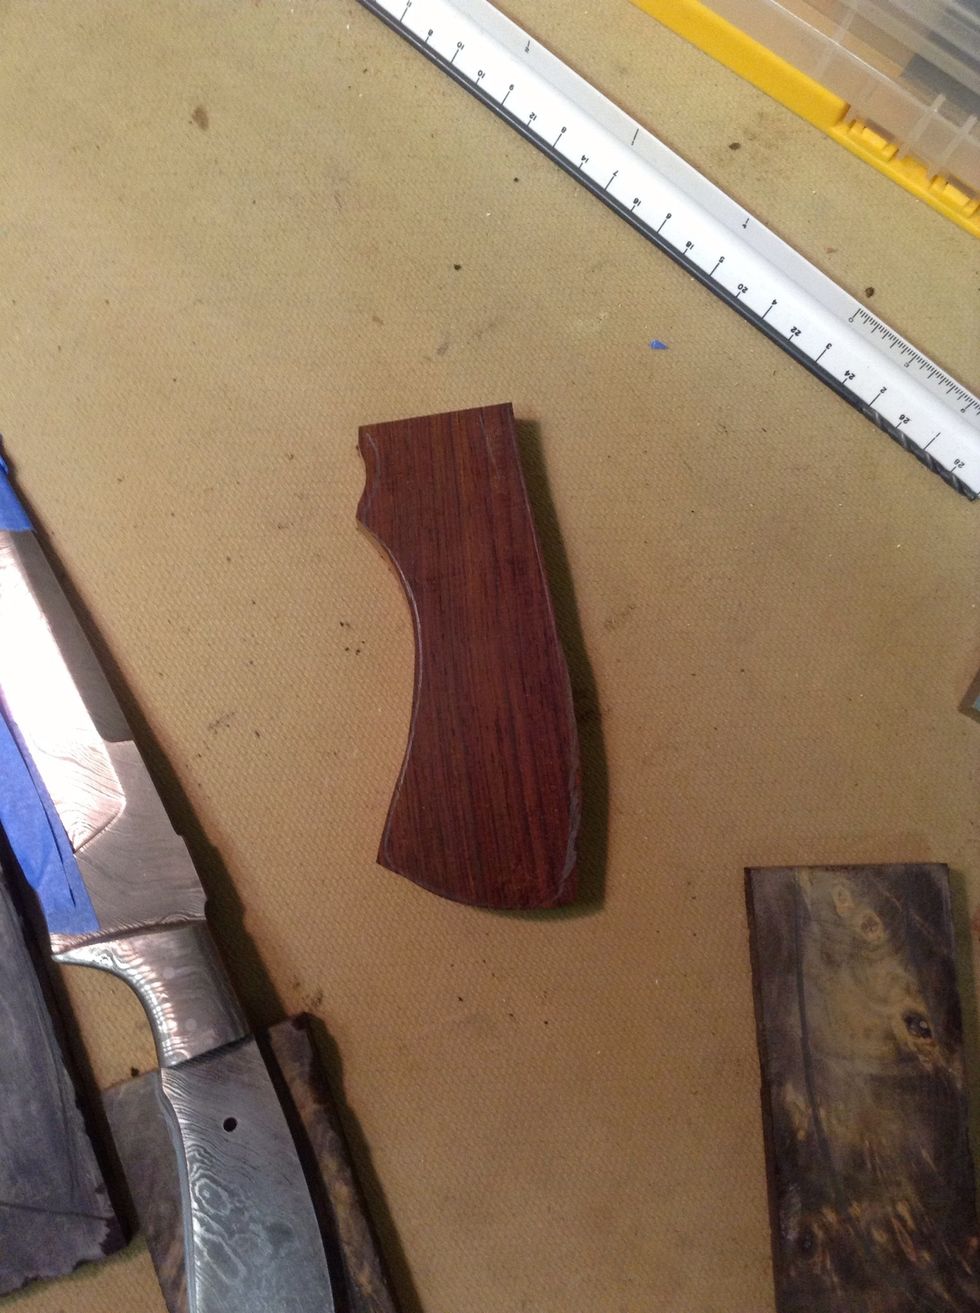
Next, cut out the rough shape of the knife handle. This doesn't need to be too exact, as you still have a lot of shaping to do.
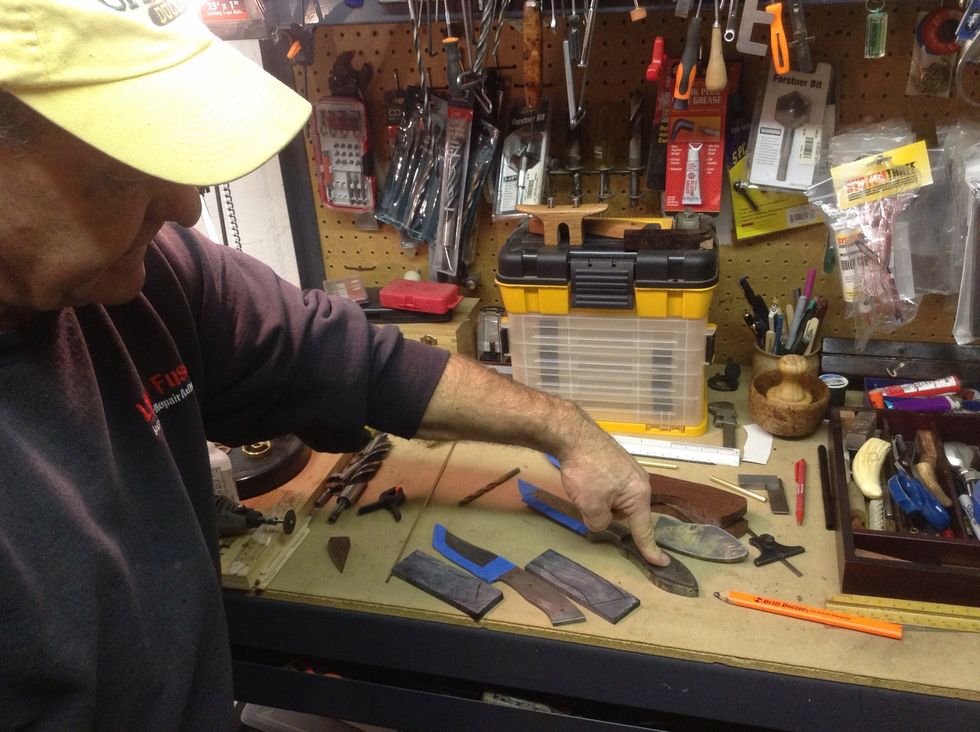
Tape one side of the handle to the blank, and get ready to drill.
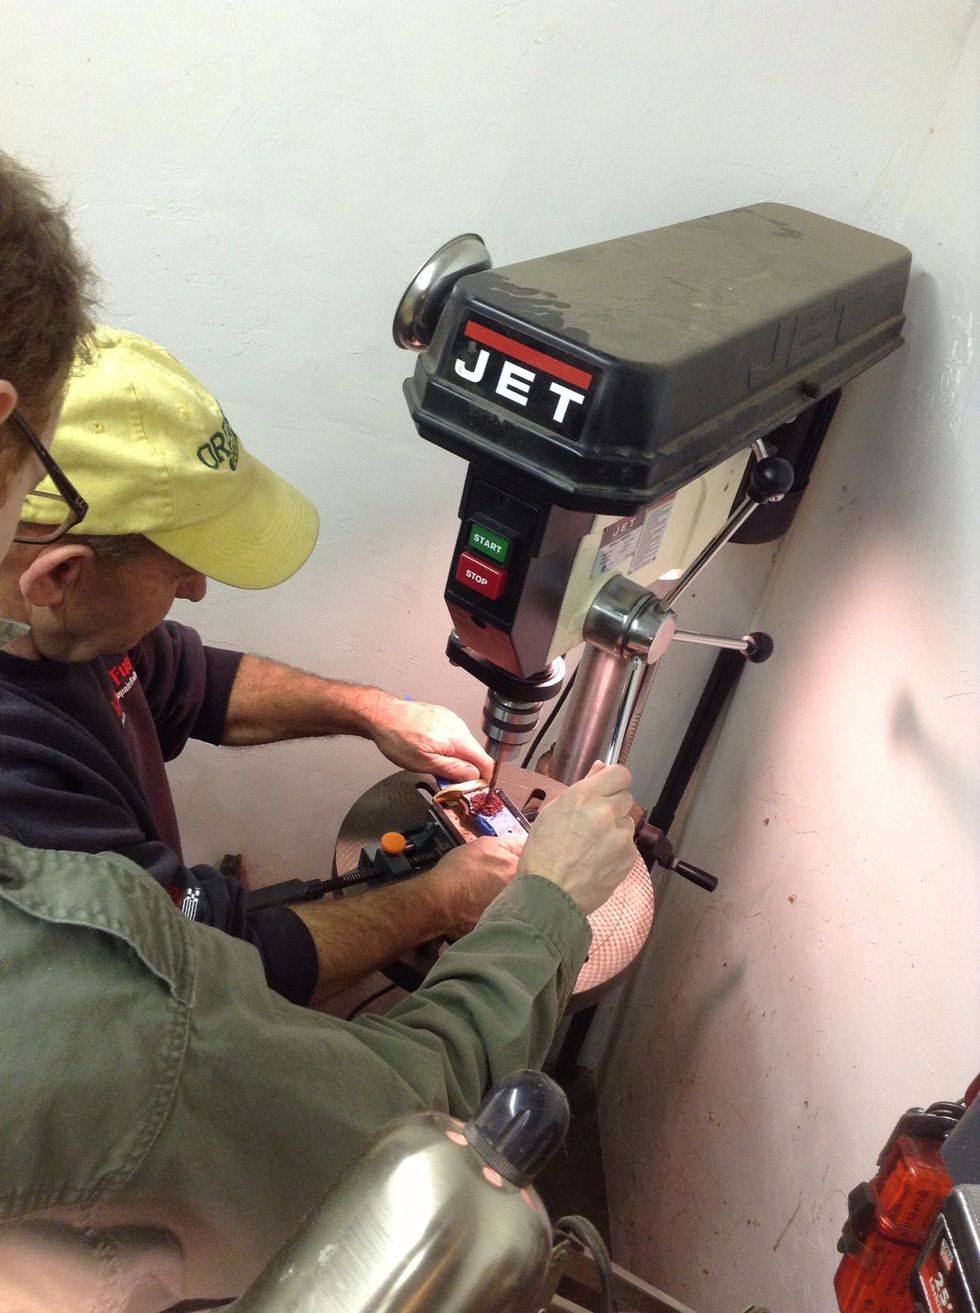
With the wood side down, drill through the pin holes. Taping is a good idea, so the handle pieces don't move around. Remember, safety third - always wear eye protection. Right, Dad?
Now that one side is done, repeat with the other side.
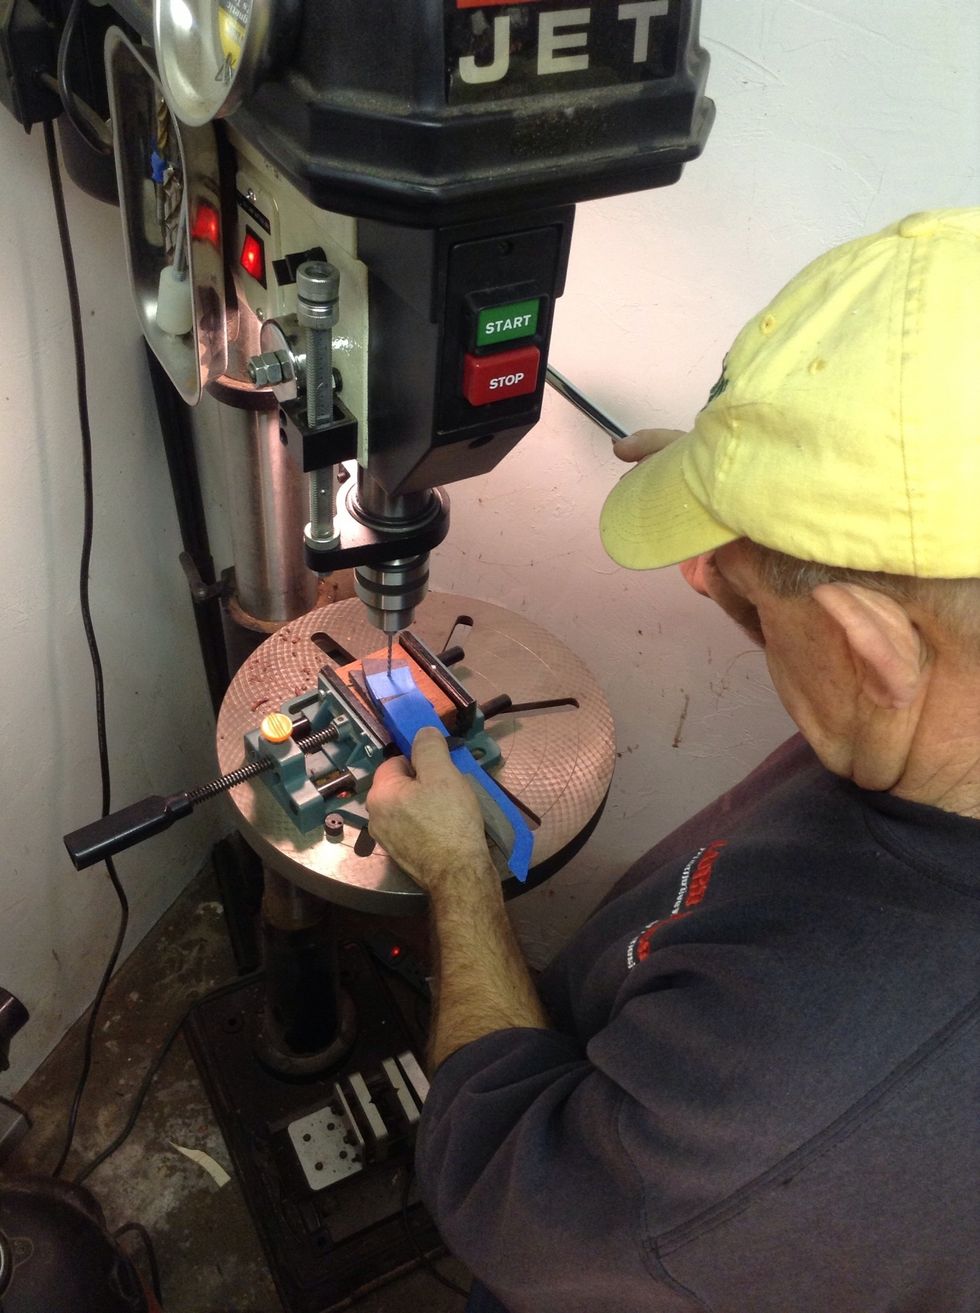
Safety third - always wear eye protection. Or don't. Really, it doesn't matter to me.
Next, insert your pins into one of the handle pieces.
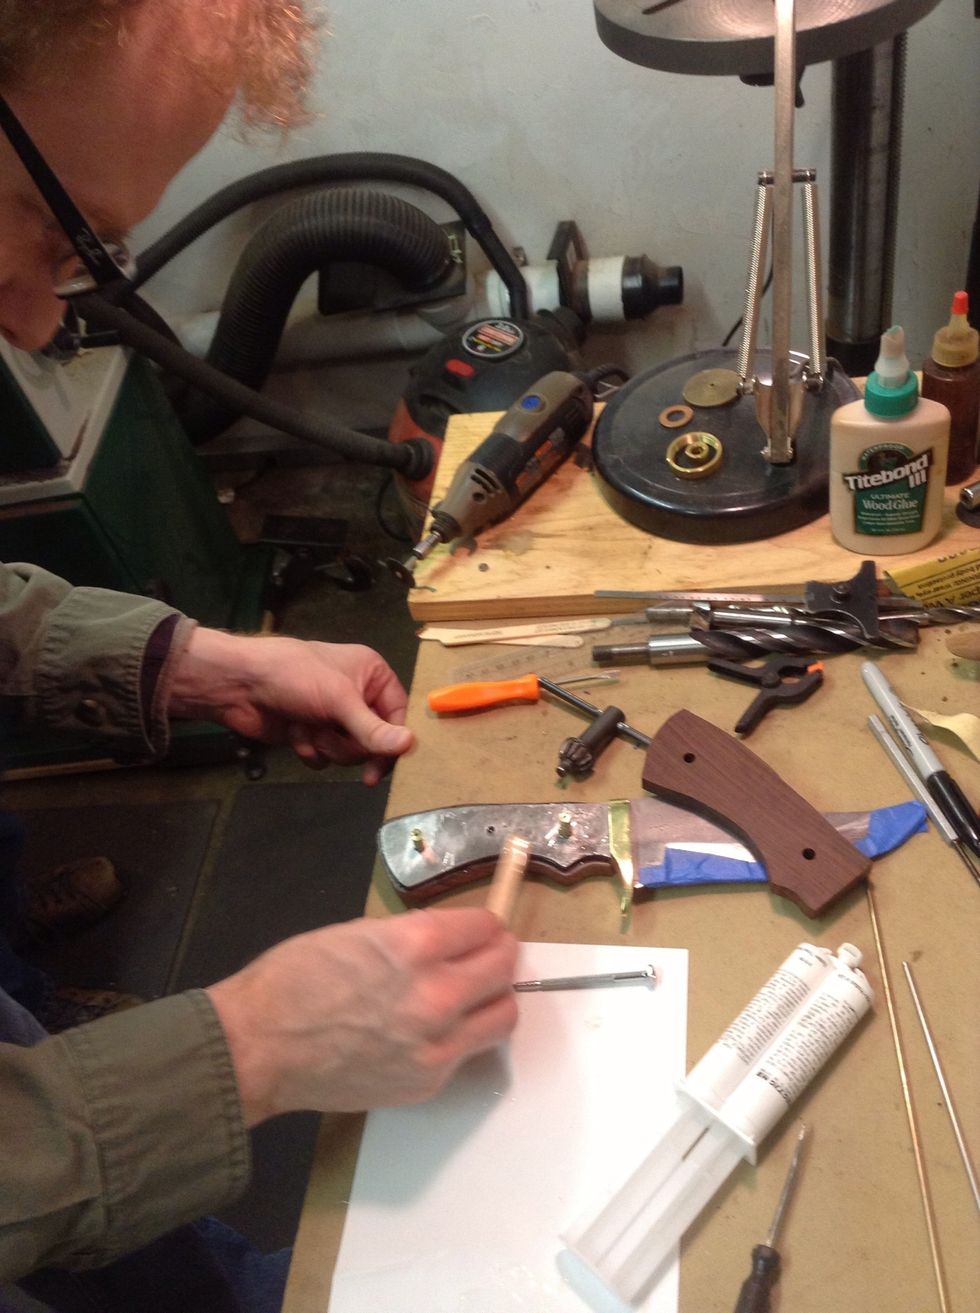
Spread just a dab of epoxy on the blank's handle. Chris has way too much on here, and later we had a lot of clean up that ended up marking up the Damascus markings. Tip: Do not eat the epoxy.
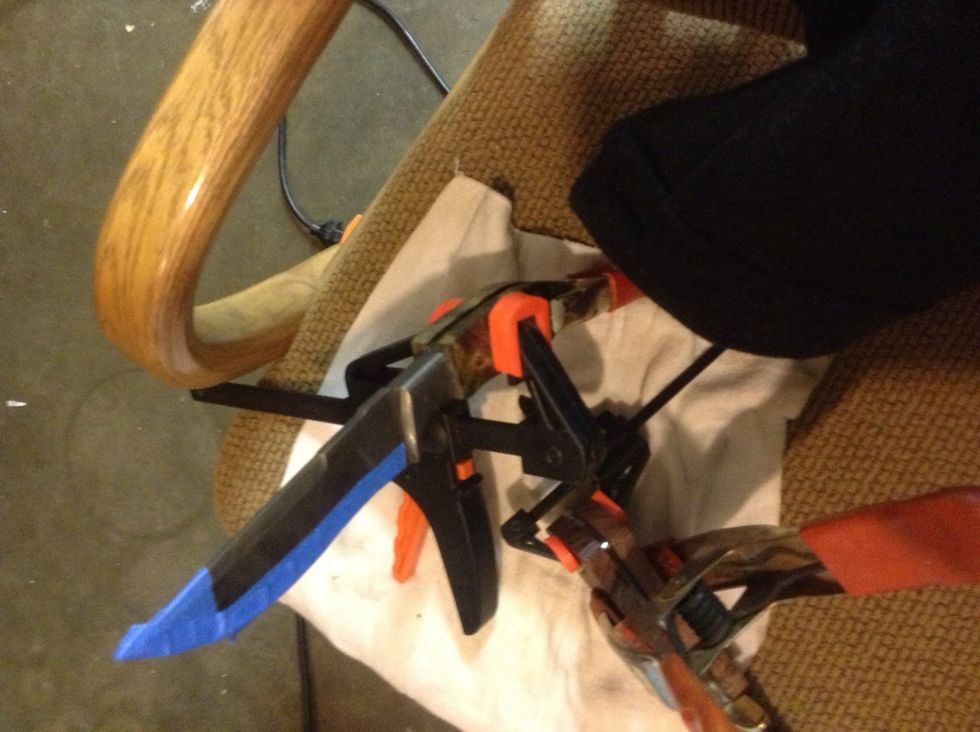
Clamp the handle onto the knife, and let the epoxy set.
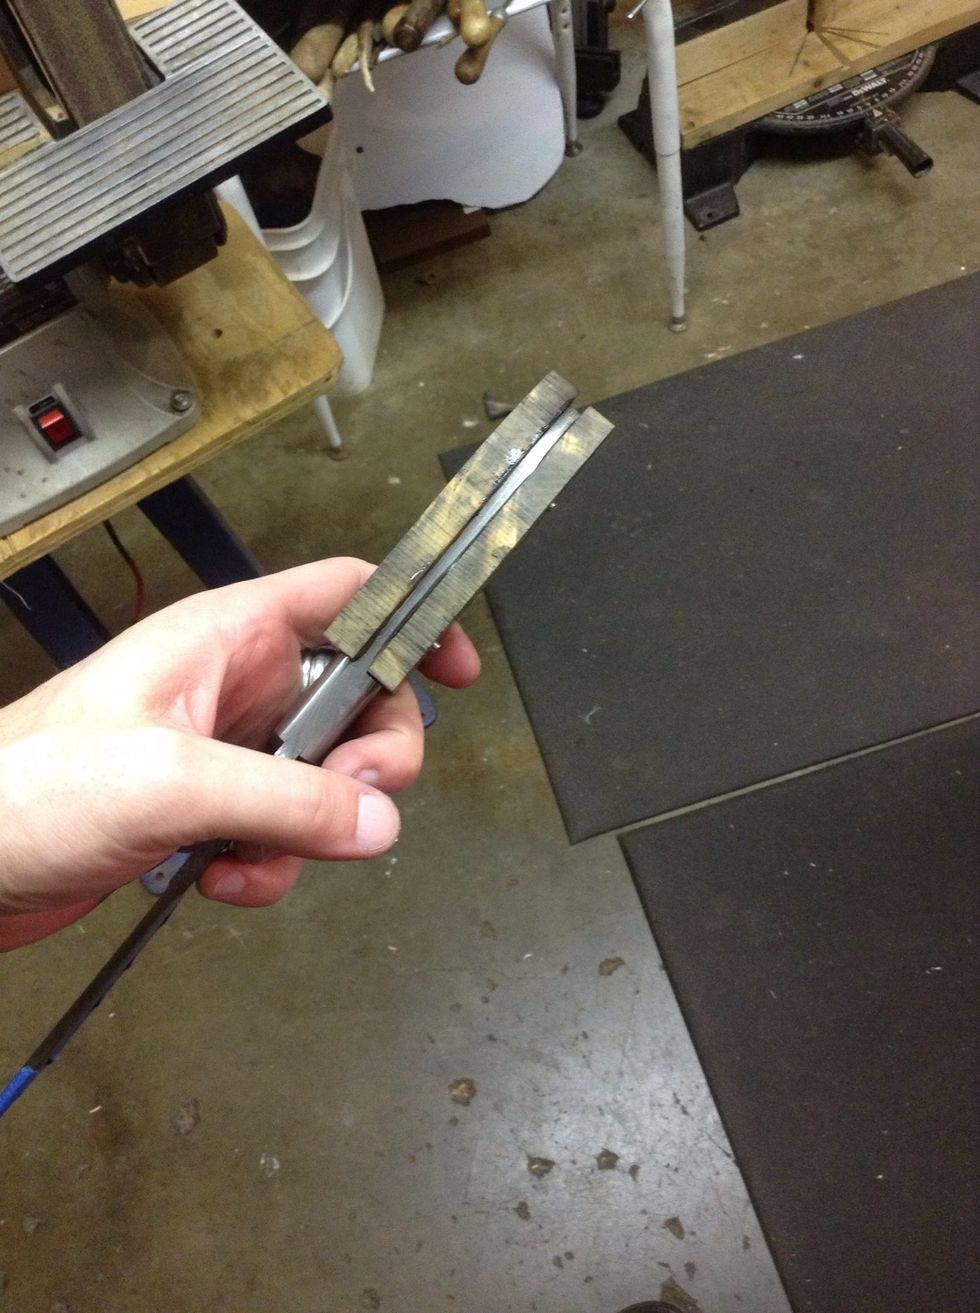
Now the bulk of the work starts. It's time to shape the handle.
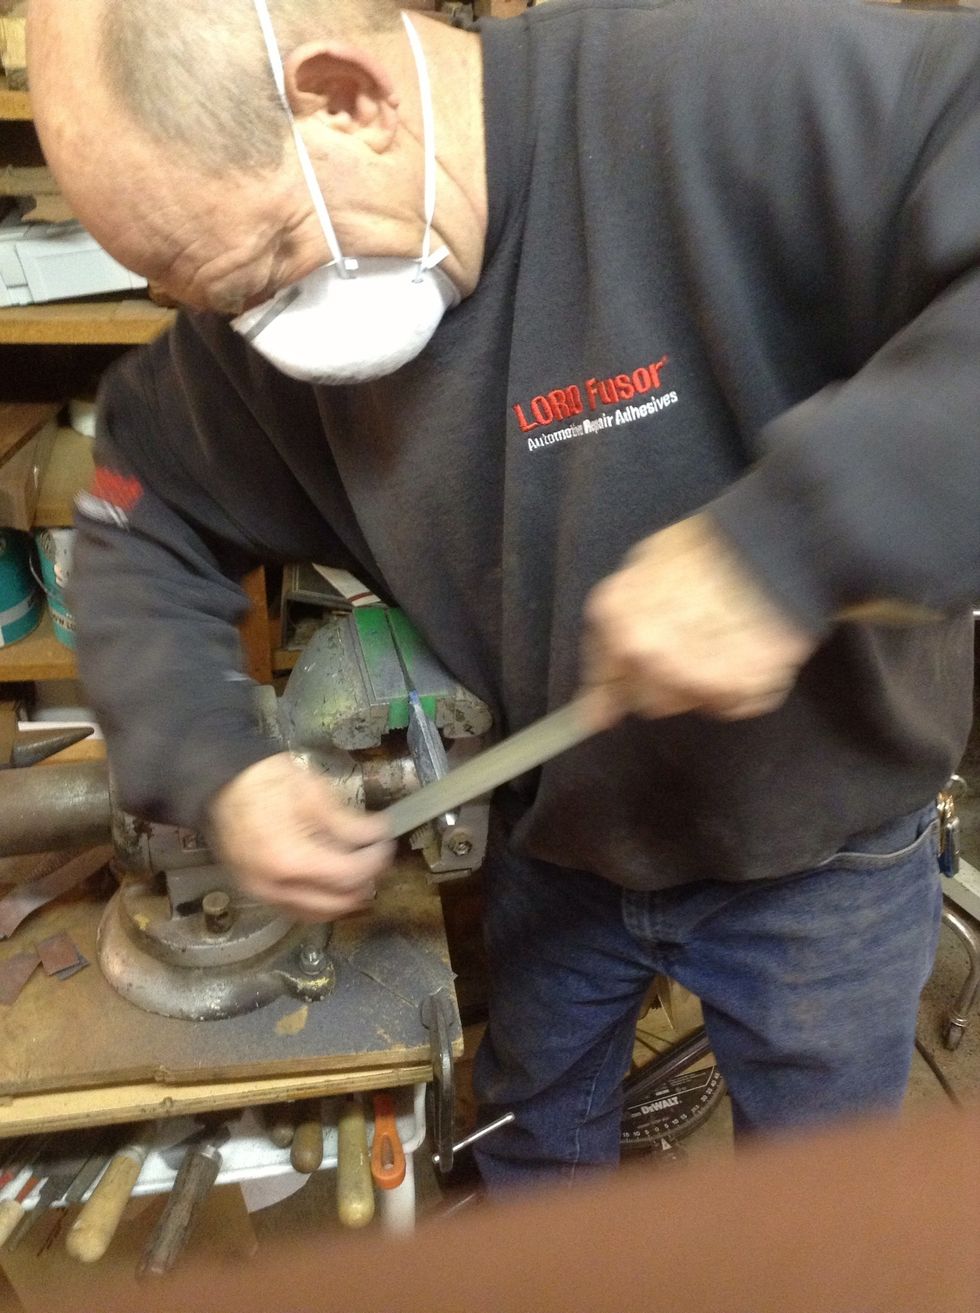
Dad likes to use wood rasps for the bulk of the shaping, and makes some great angles.
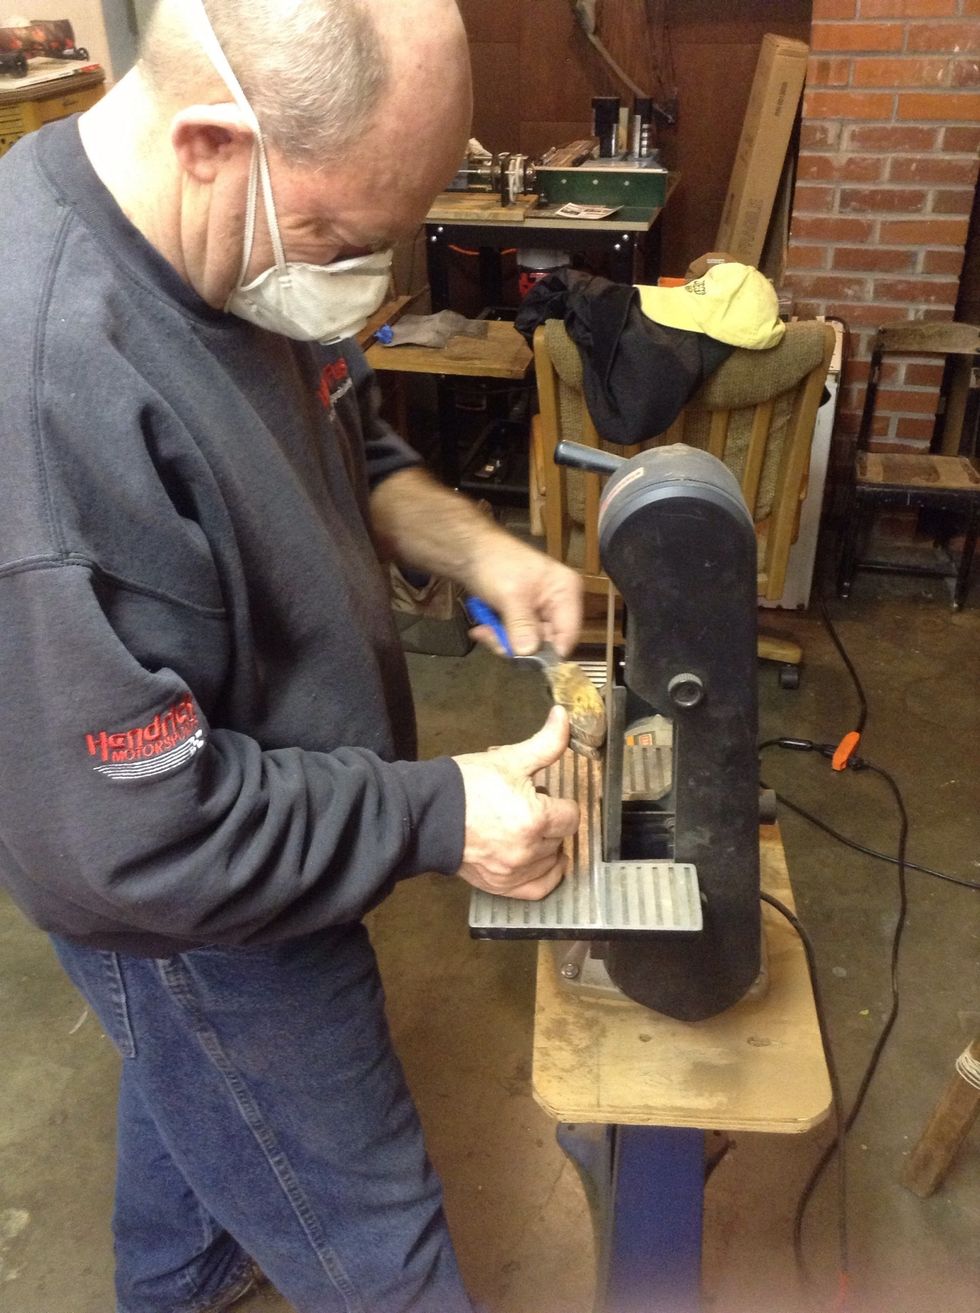
Take your time and start roughly shaping the handle. Tape up the hilt and the blade so you don't mark up the metal. After shaping, start sanding with 80 grit, and incrementally get to at least a 600.
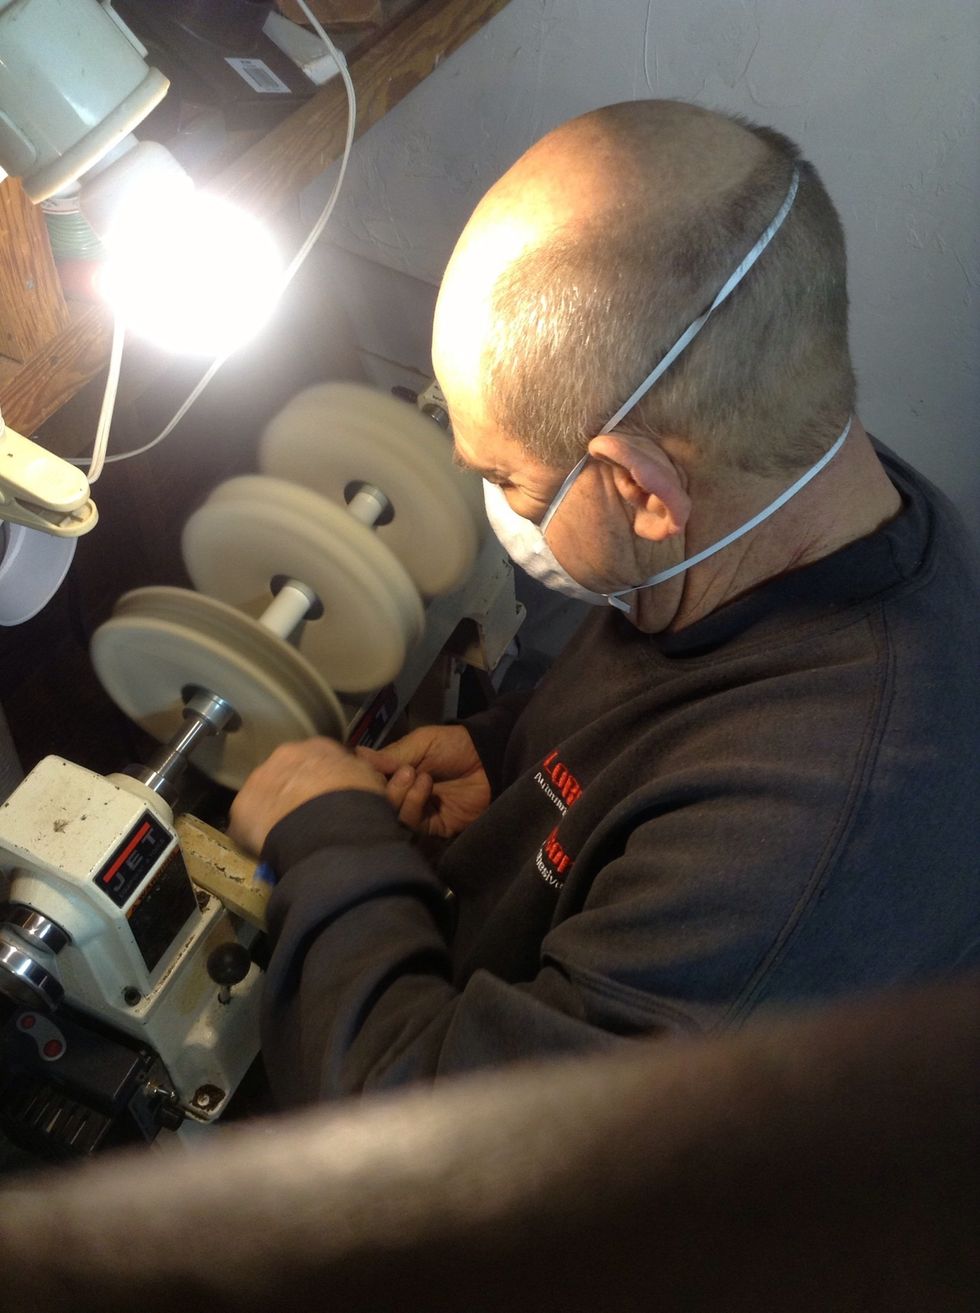
Once the sanding has been done, buff out the handle. Ain't nobody has time for safety goggles.
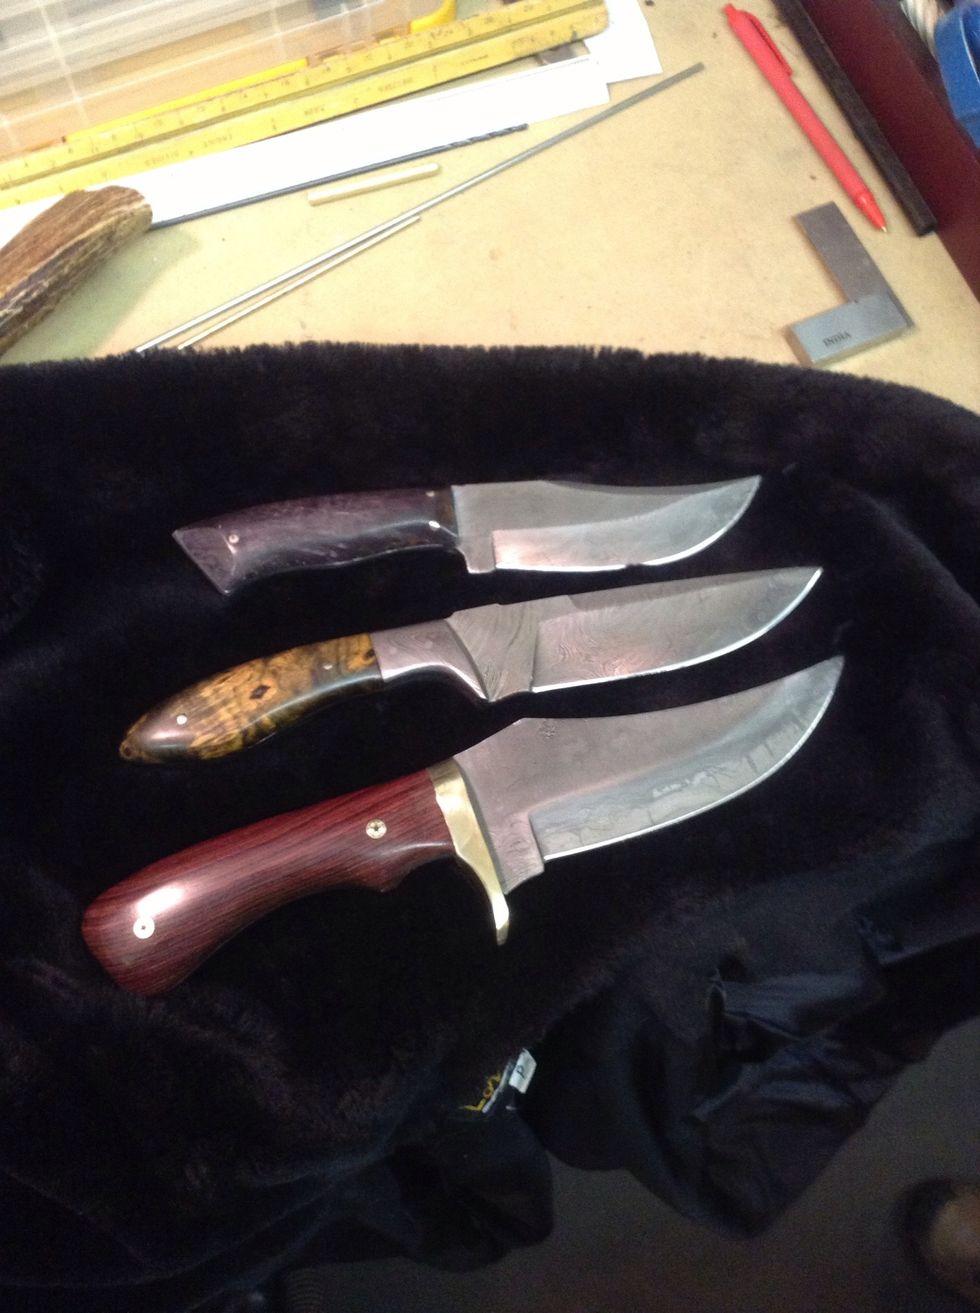
Not too shabby.
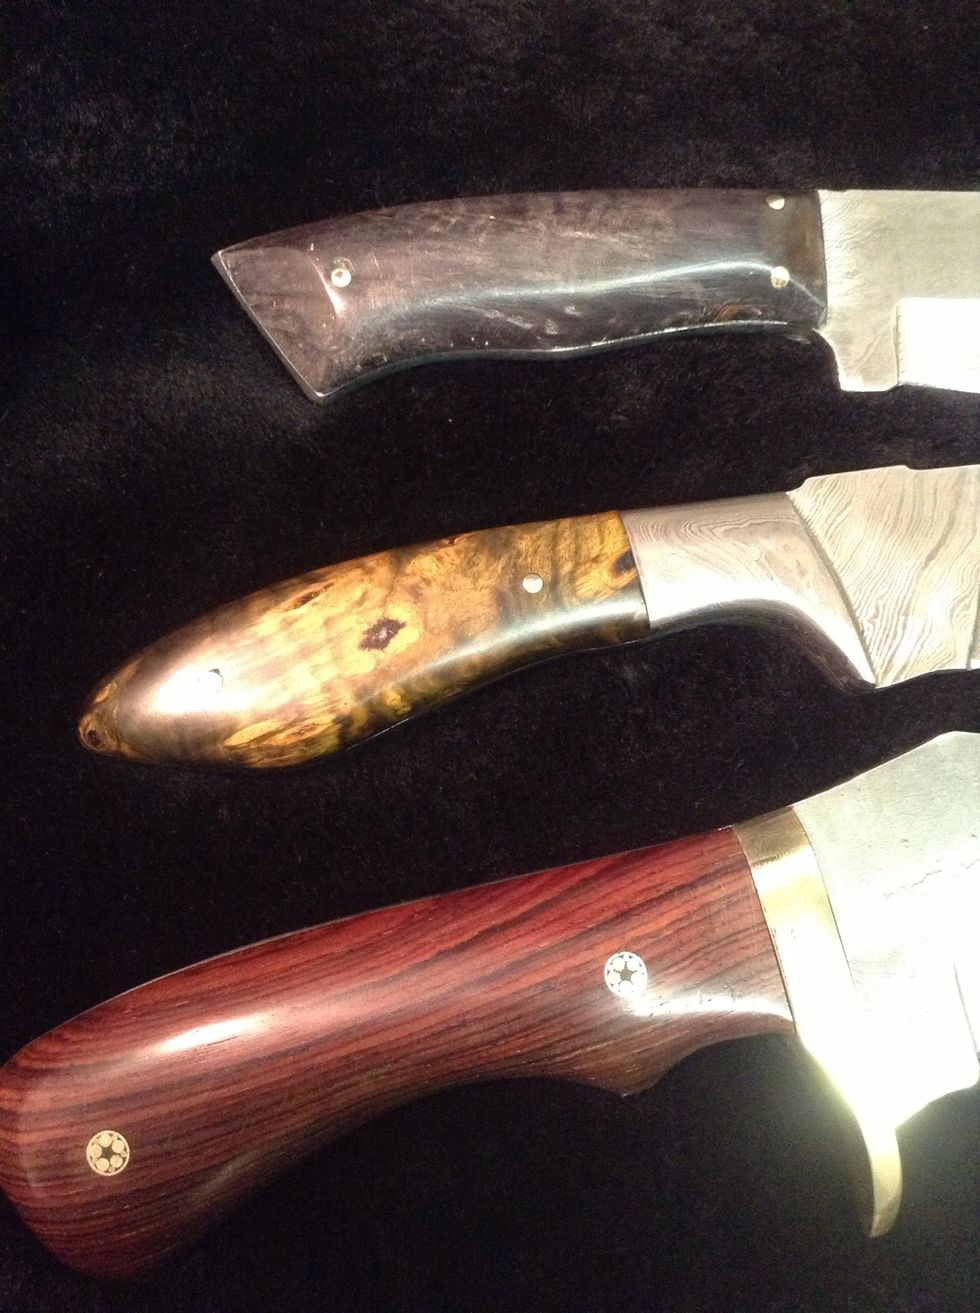
Detail of the finished product. Took about four hours, and a burger run.
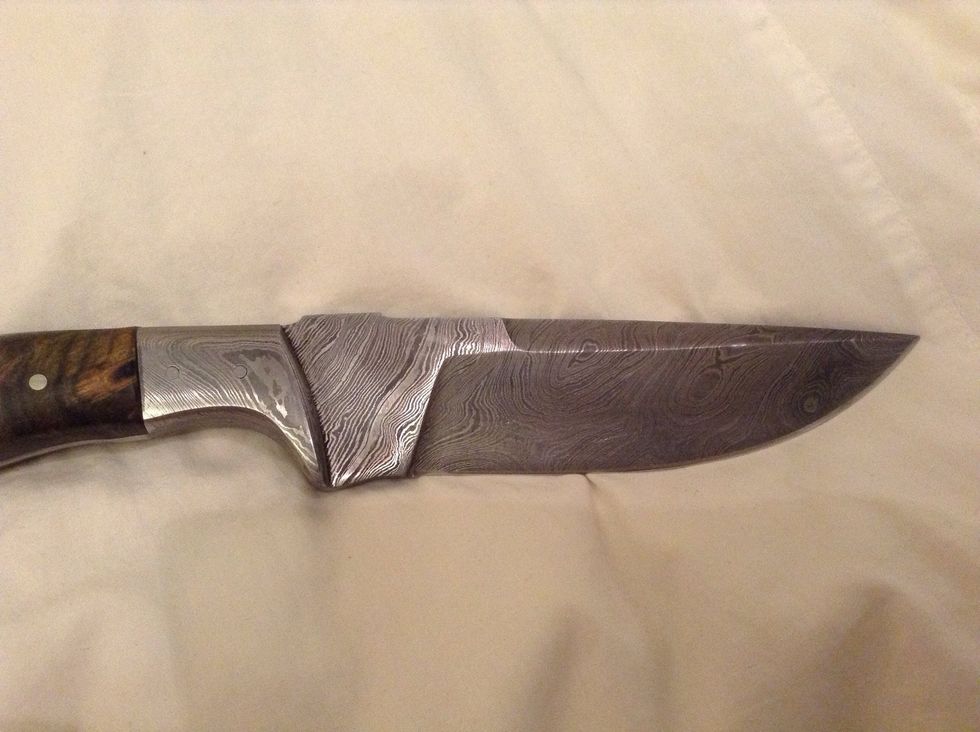
As requested, a closer view of the Damascus pattern.
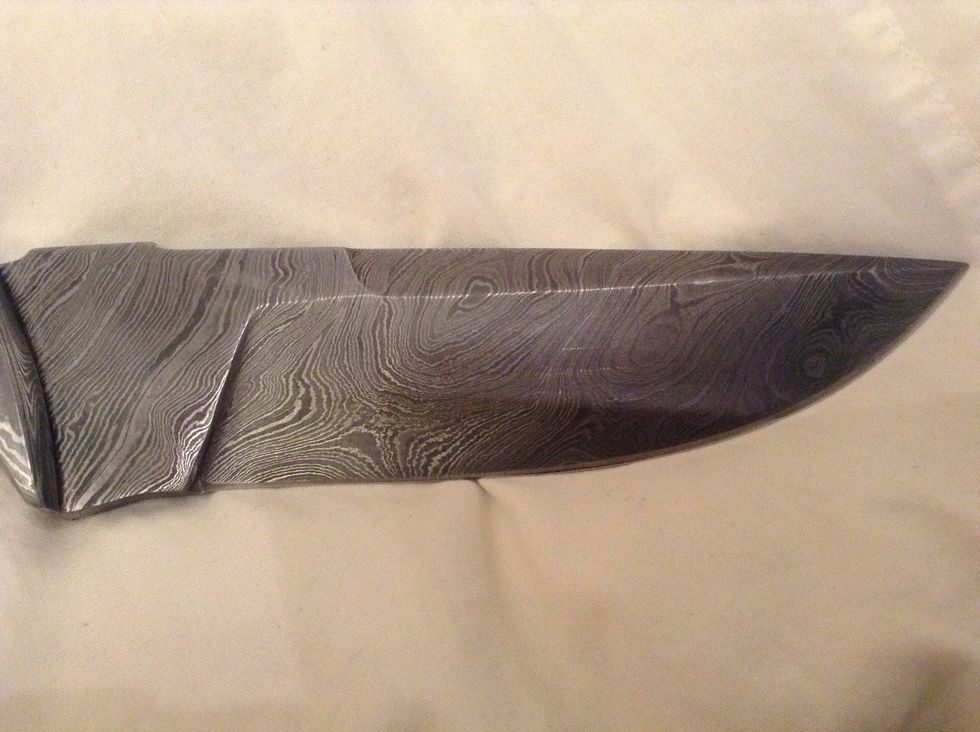
I really liked this pattern.