The Conversation (0)
Sign Up
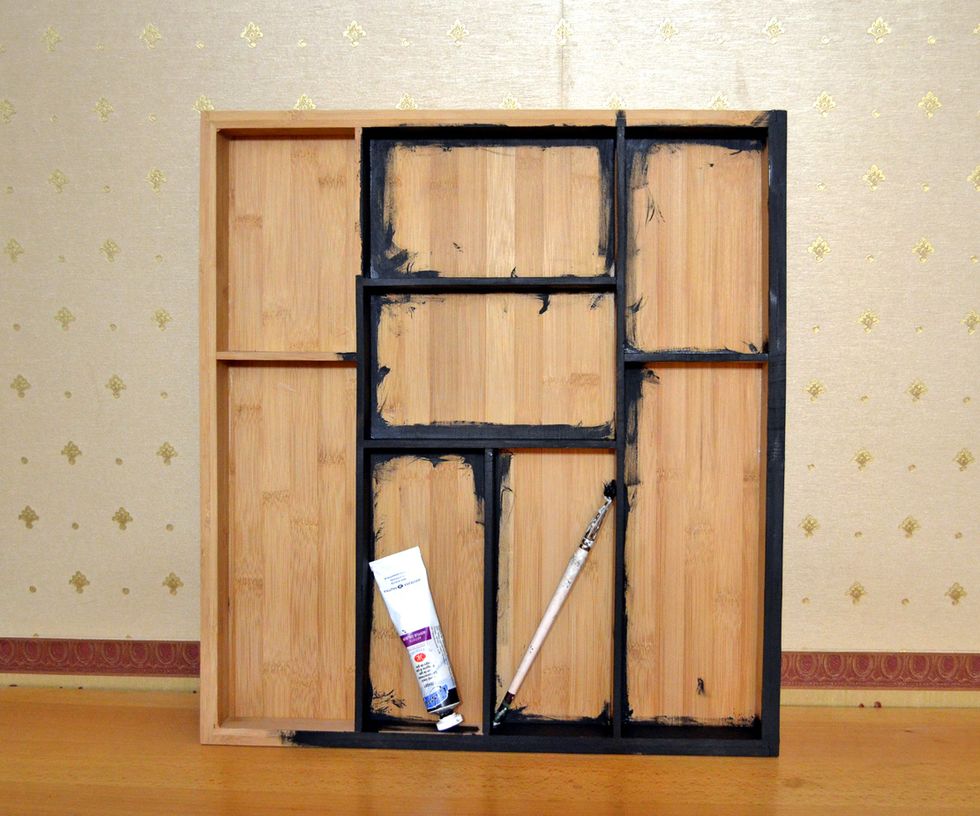
Paint with black acrylic paint base, you can not paint inside

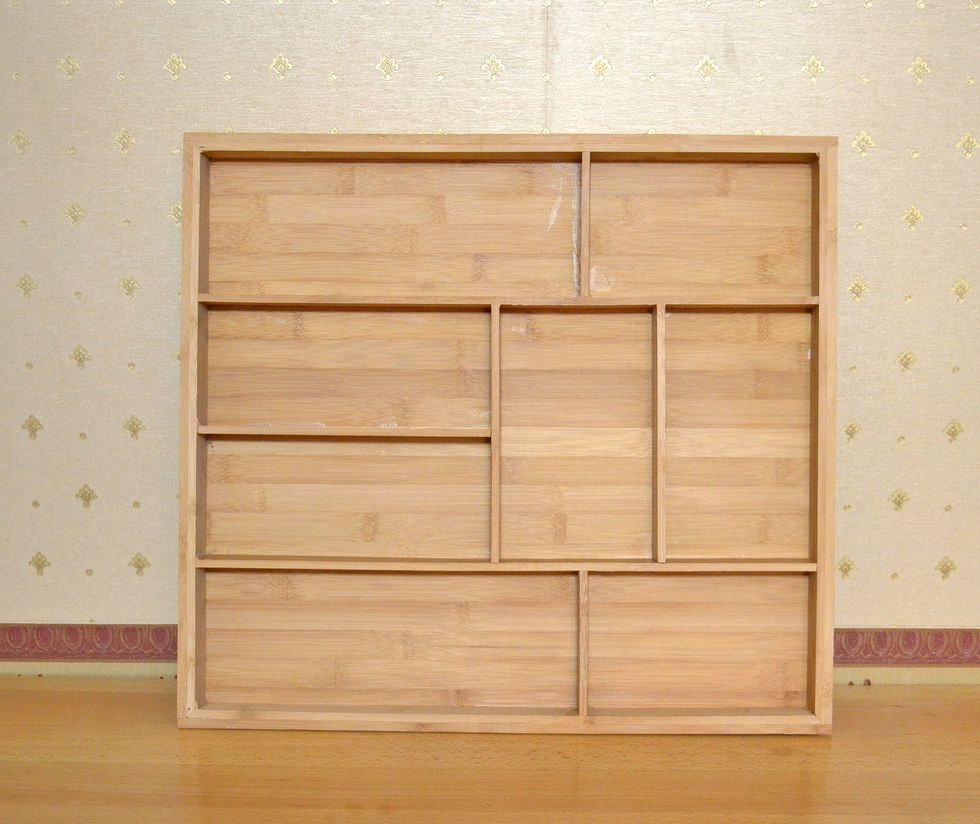
Here written scheme of each cell
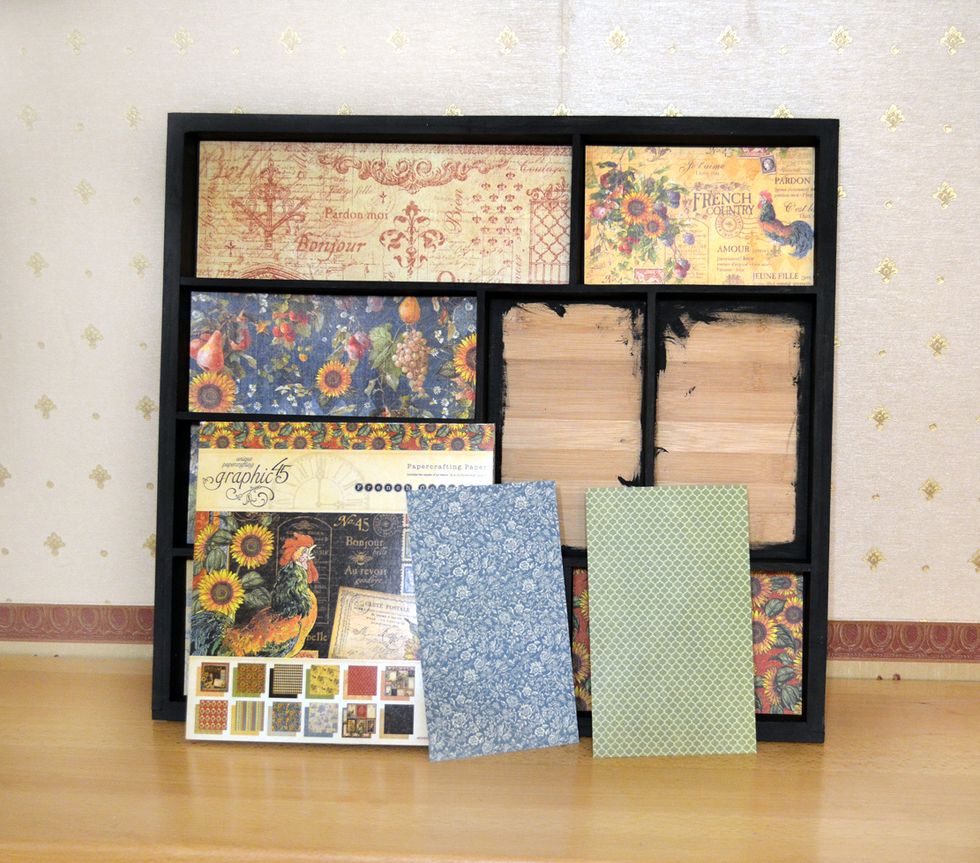
Take some Graphic 45 paper and cut appropriate rectangles for each cell
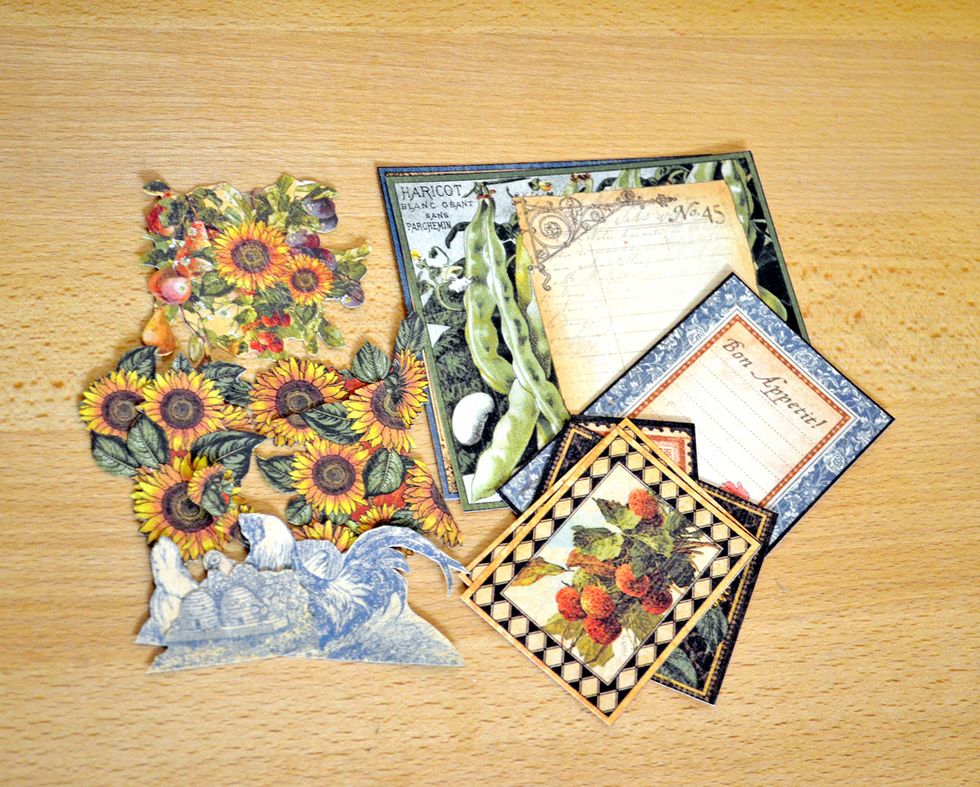
You can cut some pictures from paper to decorate your box
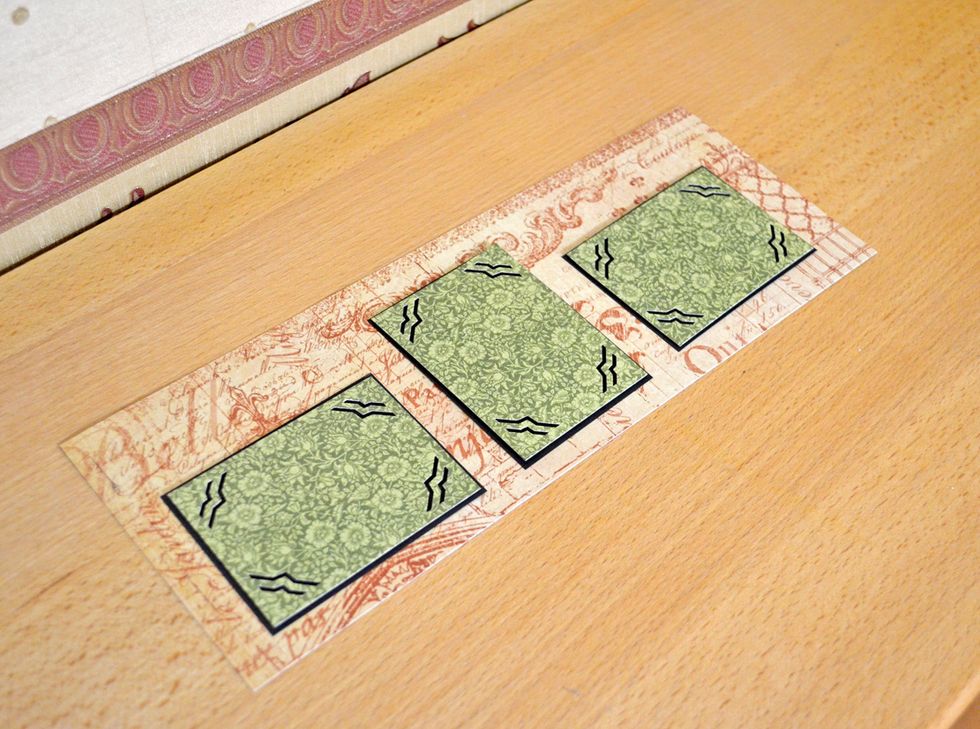
Cell 1. Make 3 backgrounds for photos
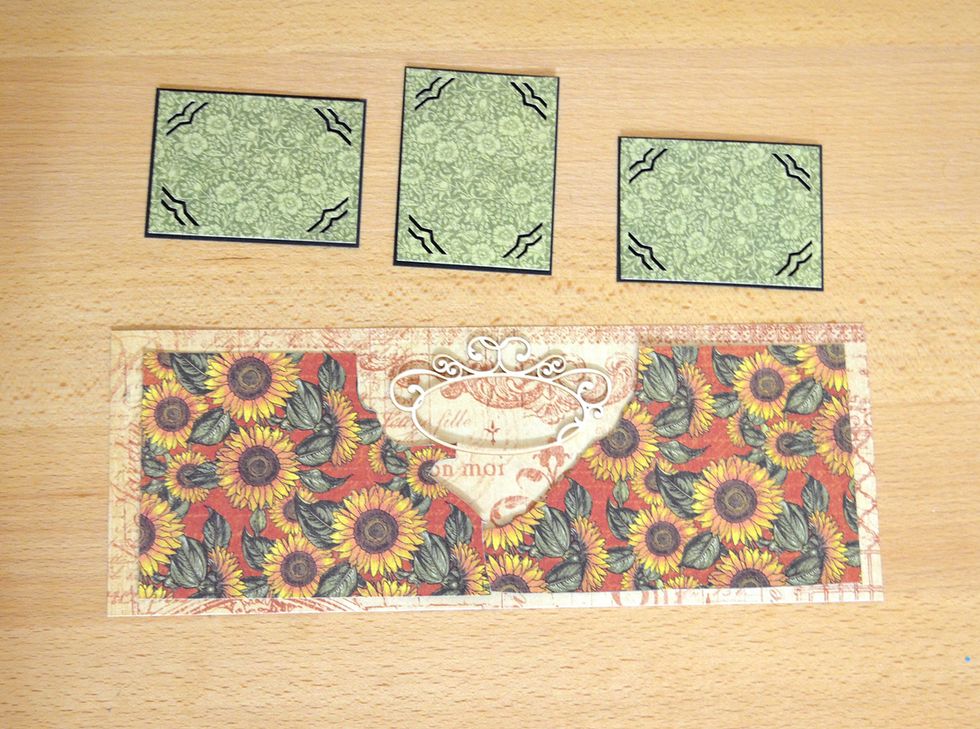
Cell 1. Decorate it. I use chipboard and piece of papper
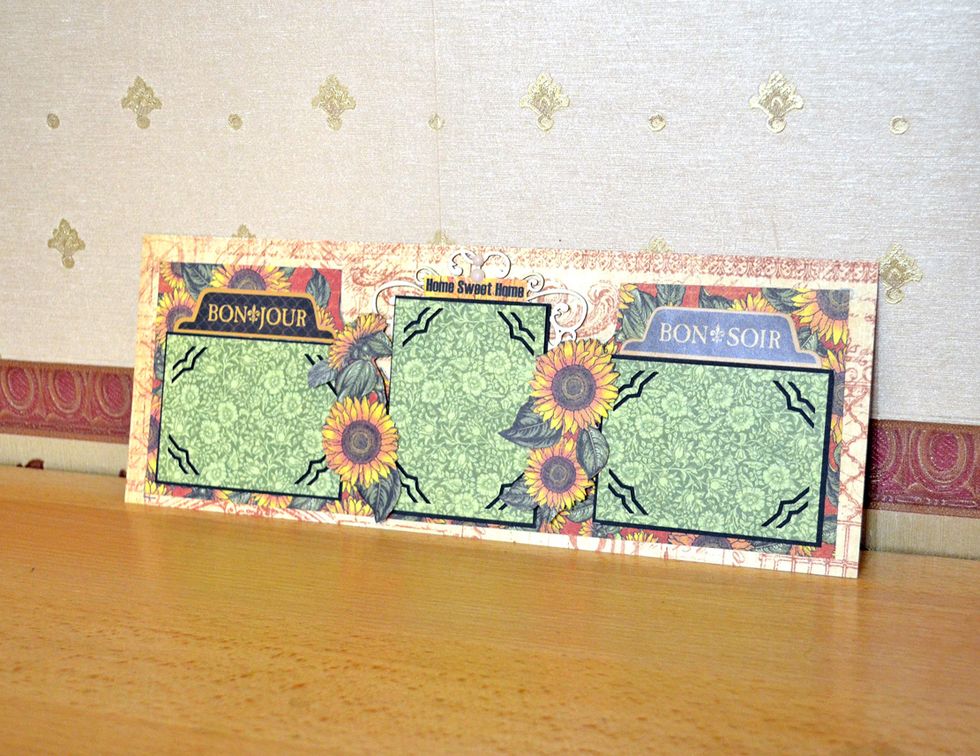
Cell 1. Add some flowers, stickers and other
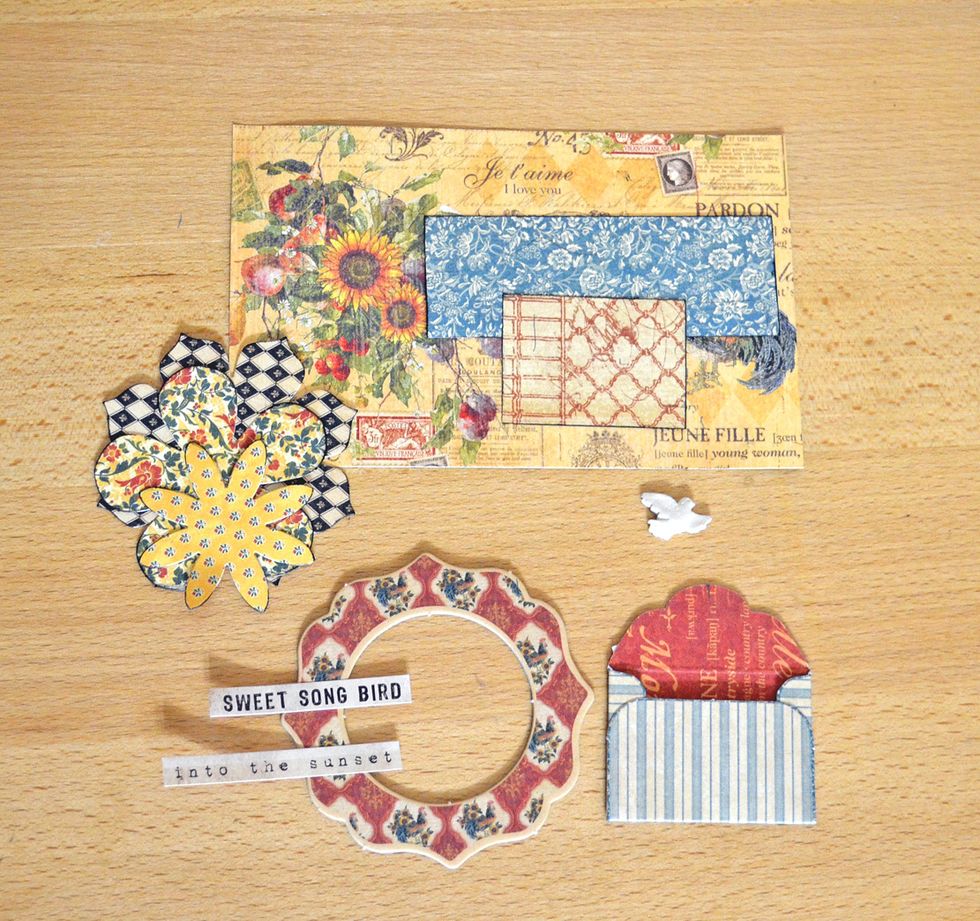
Cell 2. This cell will simply decorate. Select the most appropriate decorations and place them in a cell. I chose chipbord, flowers and pieces of paper
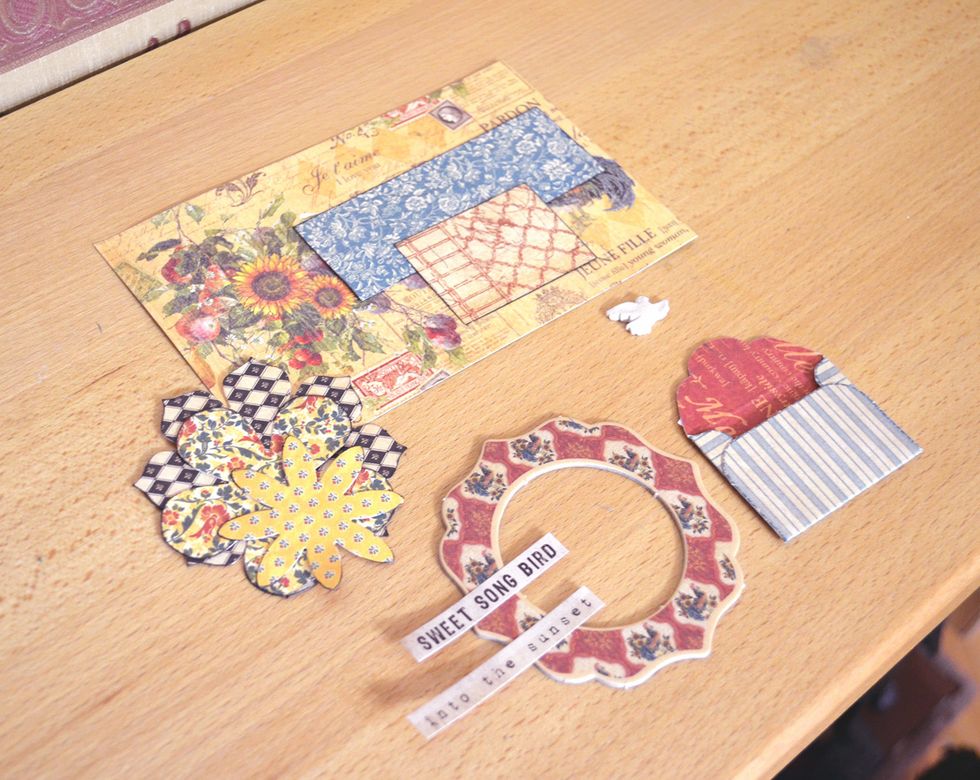
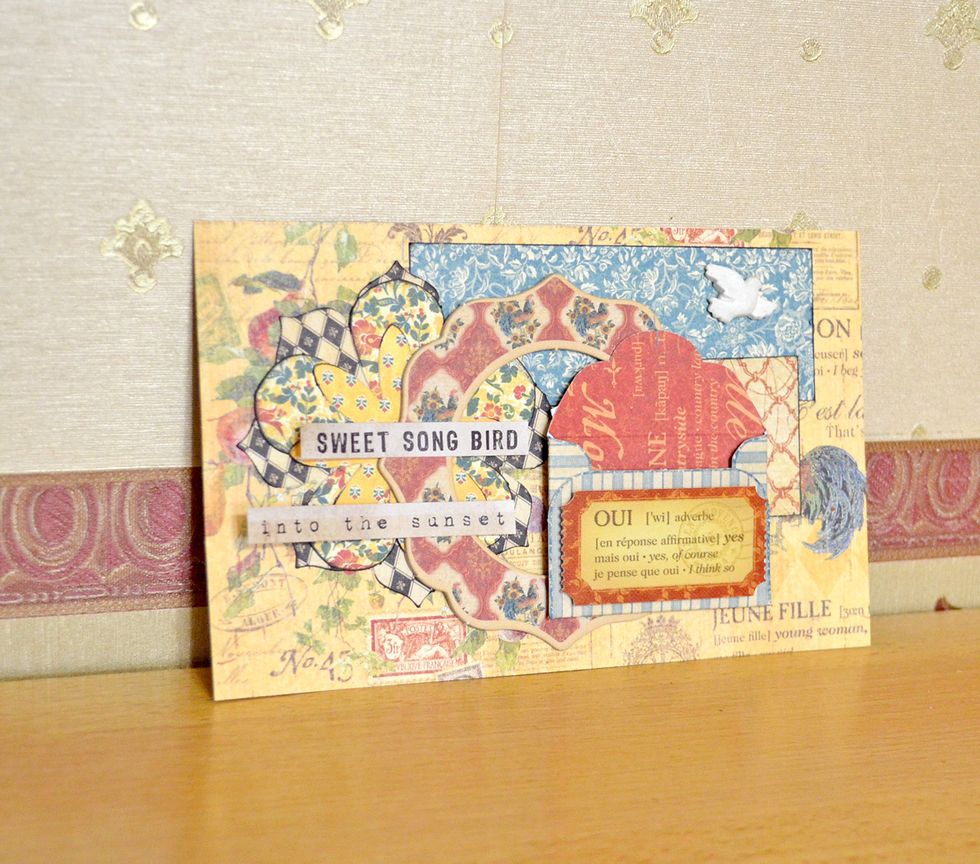
Glue all the elements
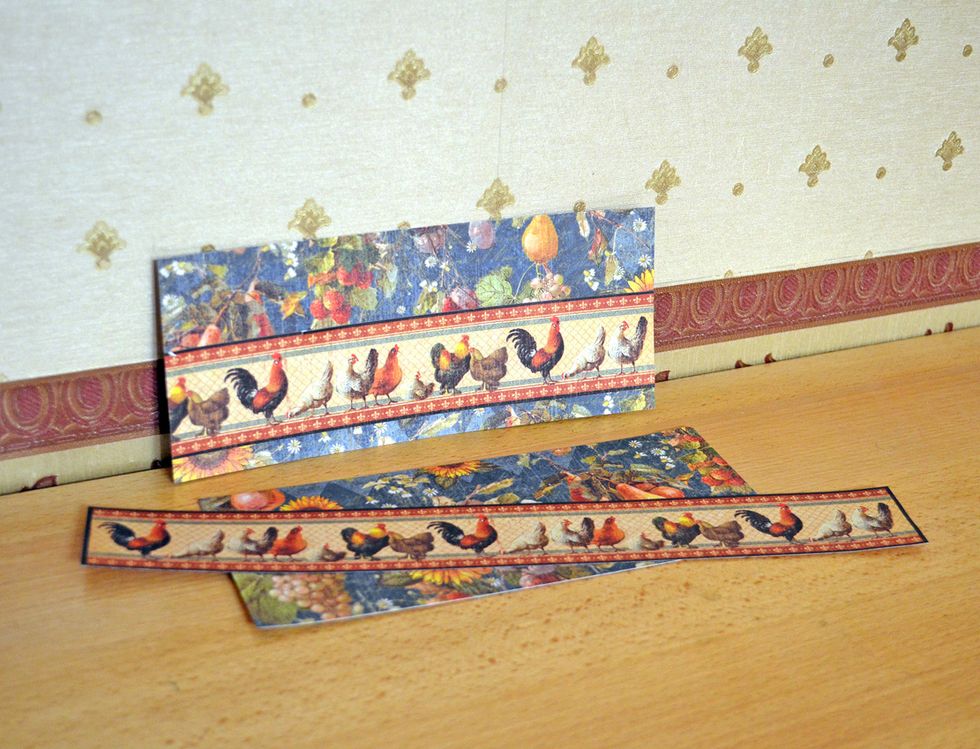
Cell 3. Both cells decorate with "chiken border", cut it from paper
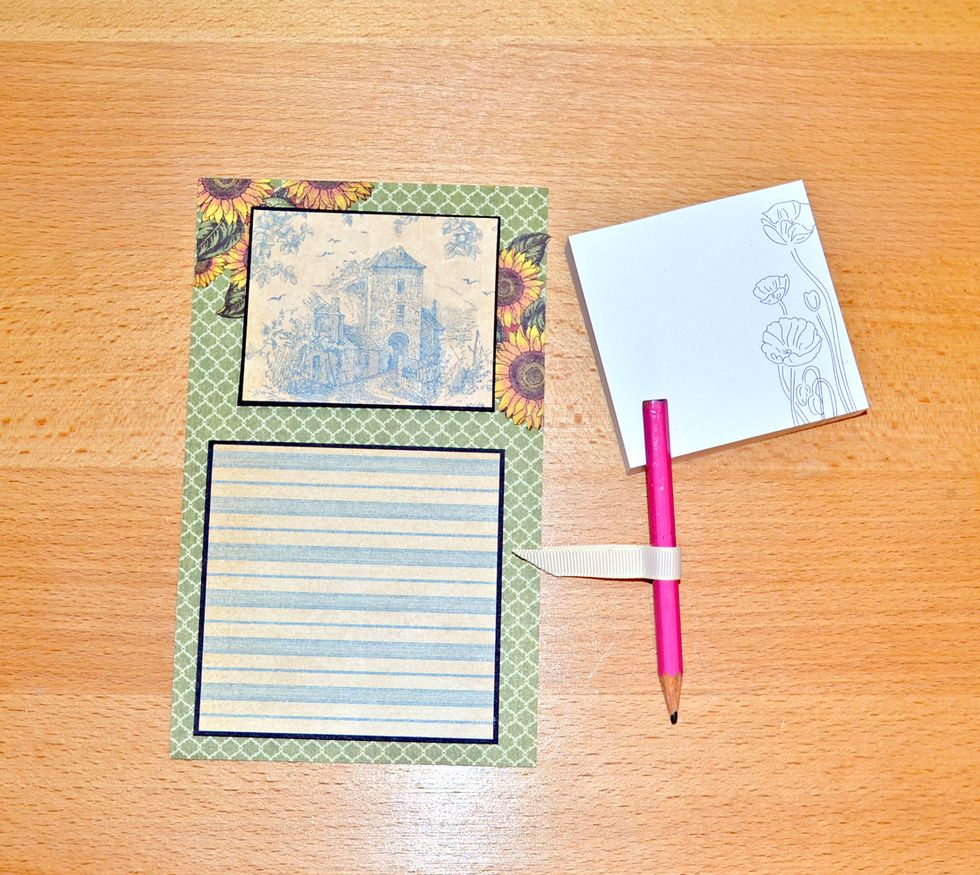
Cell 4. Make a shopping list. Take a little paper block and cut background for it. Make some decorations with flowers. I made a pencil holder from strip which folded twice and glued
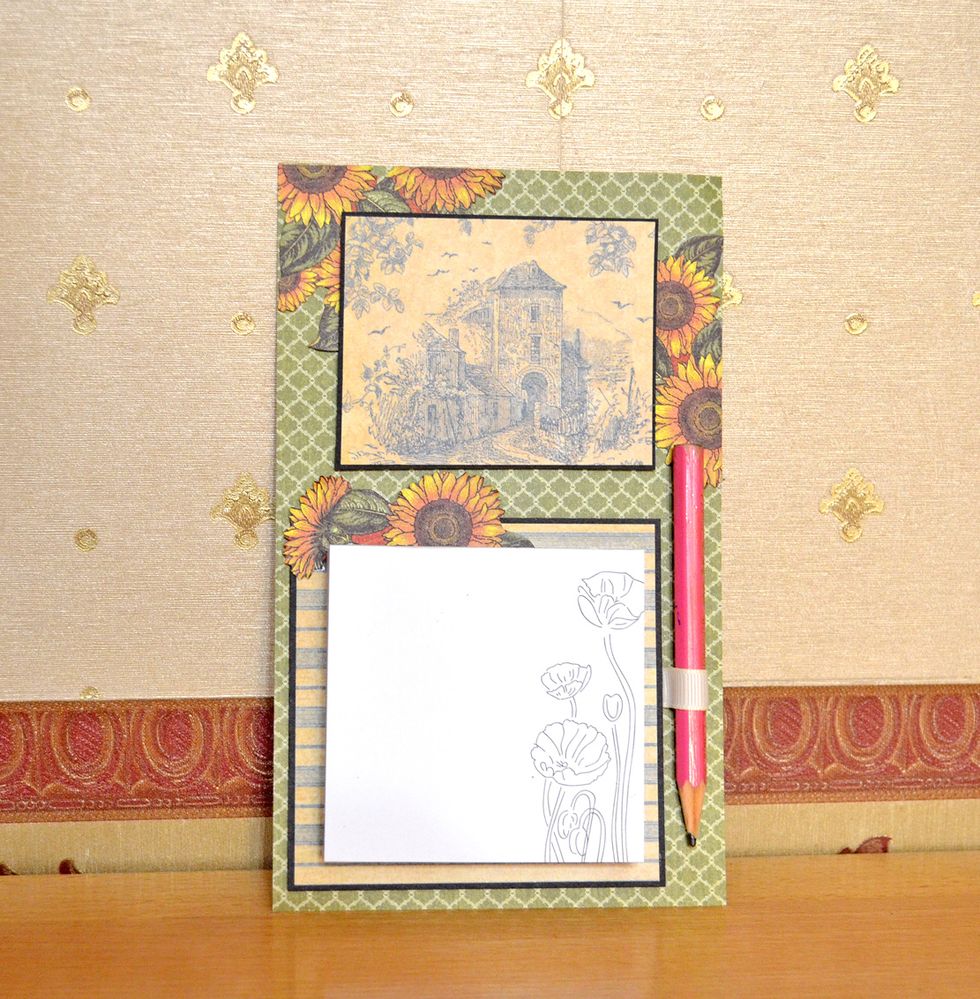
Glue all elements
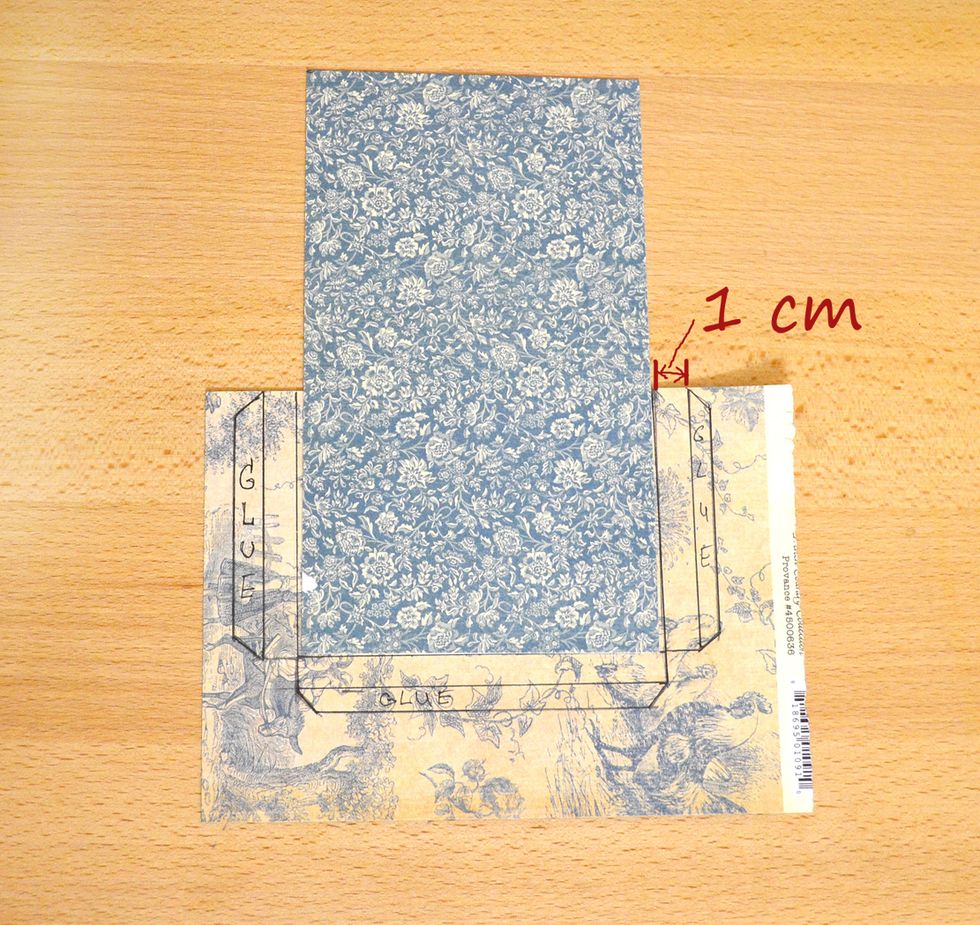
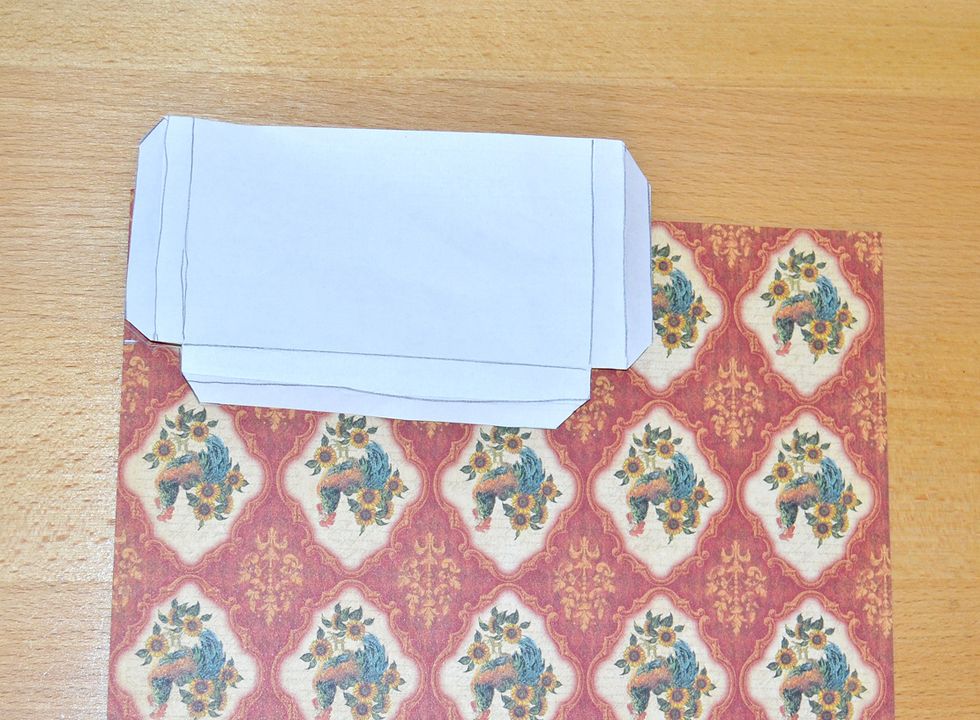
Cell 5. Make an envelope for recipes. Here is a pattern for envelope
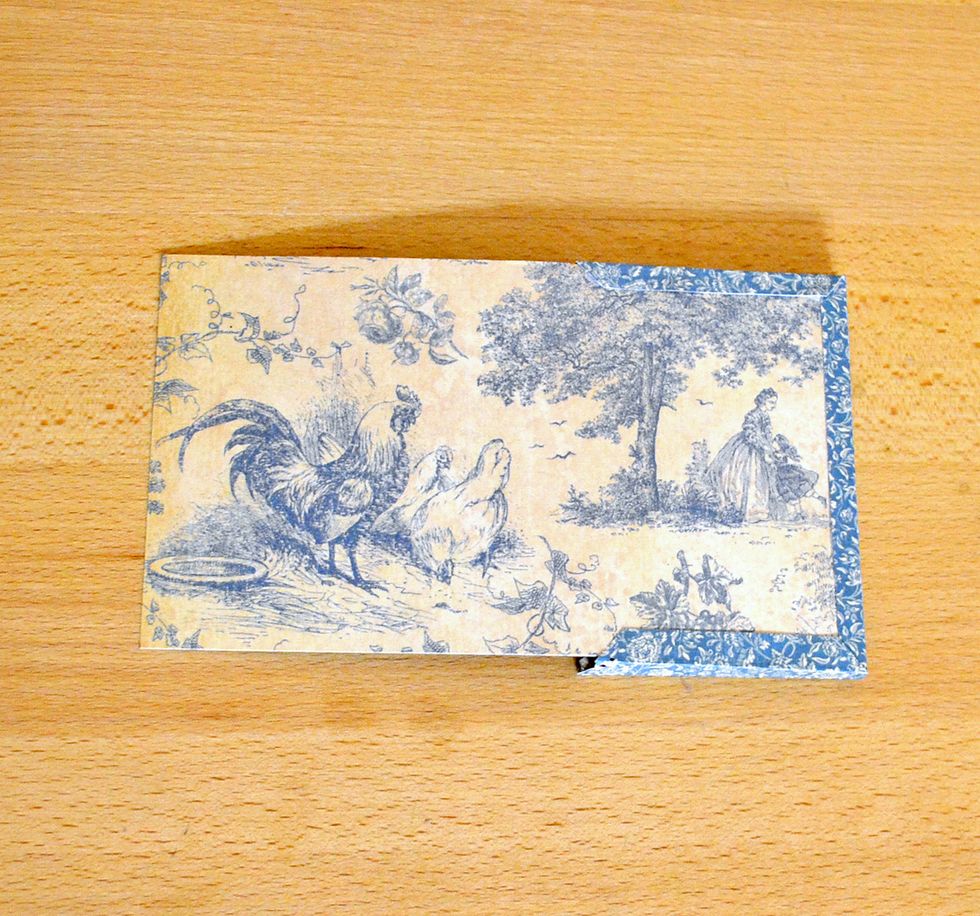
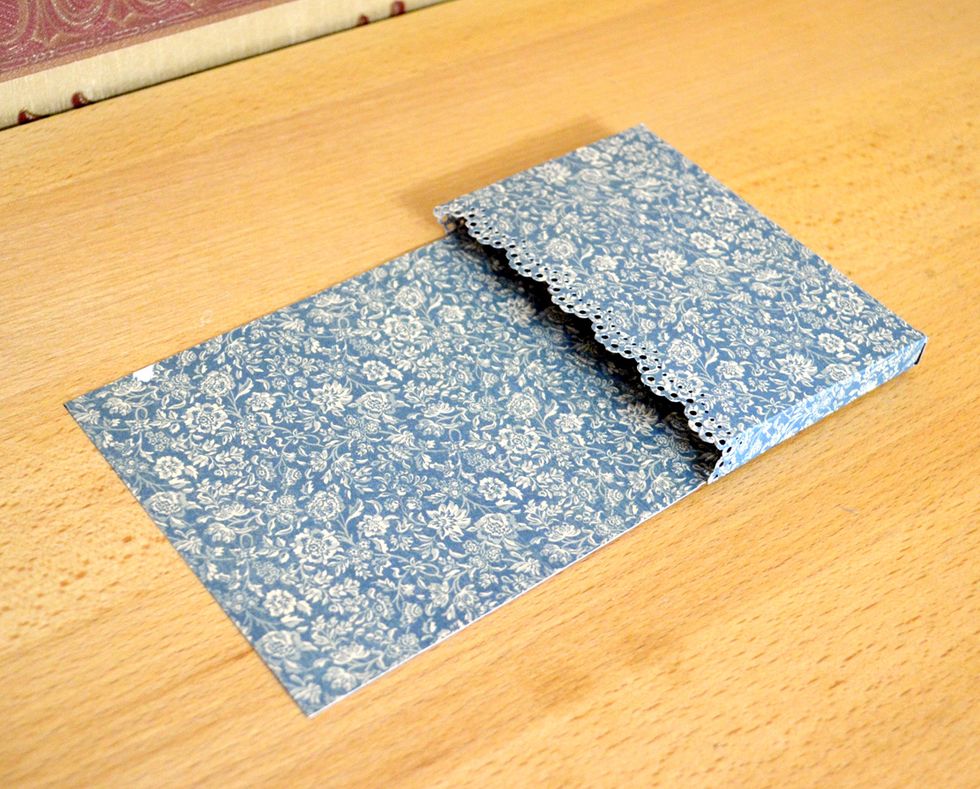
how it should look like on the front
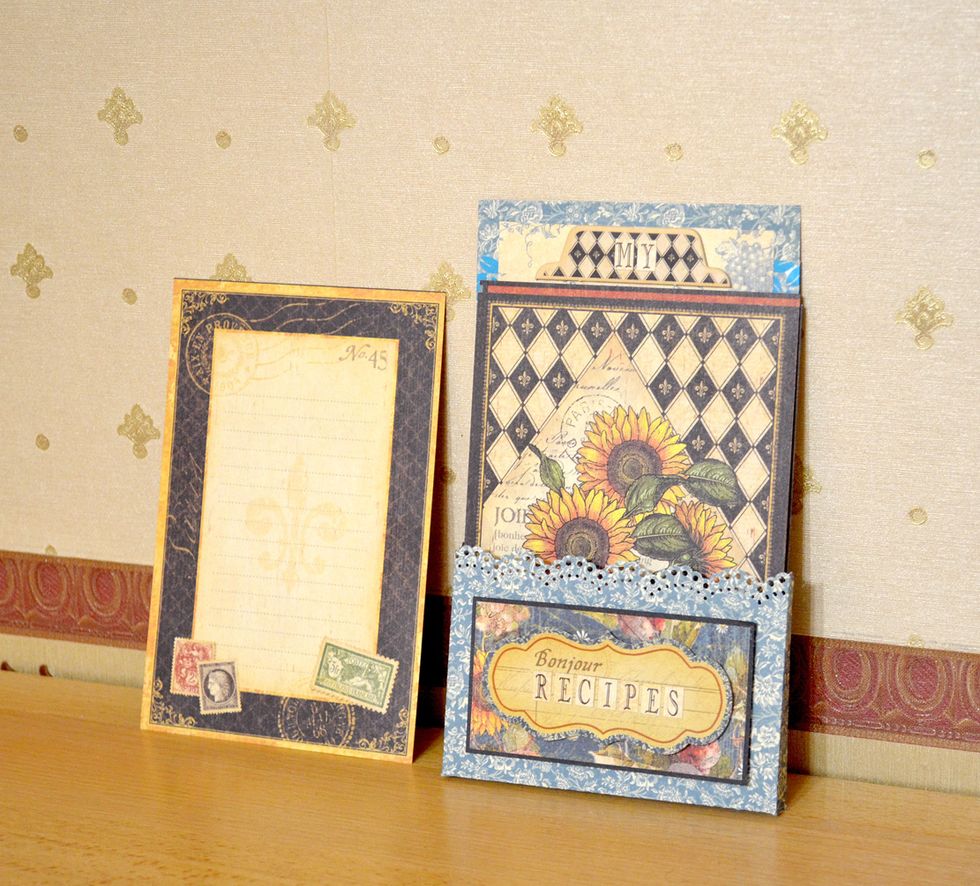
Cell 5. Cut cards from the paper, you can write recipes on it and store them in an envelope
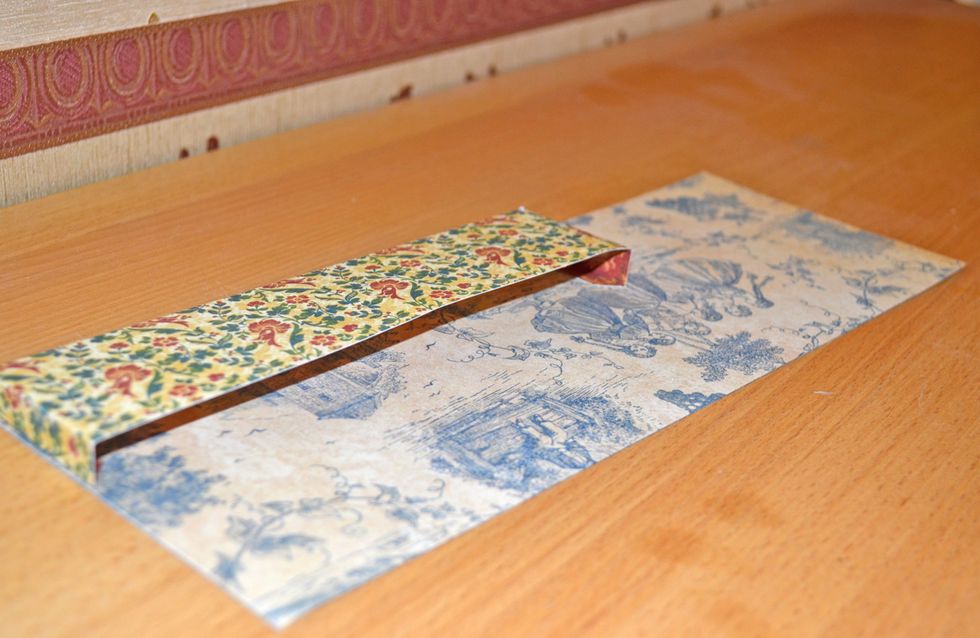
Cell 6. Make envelope for tea. Use seme pattern from Cell 5.
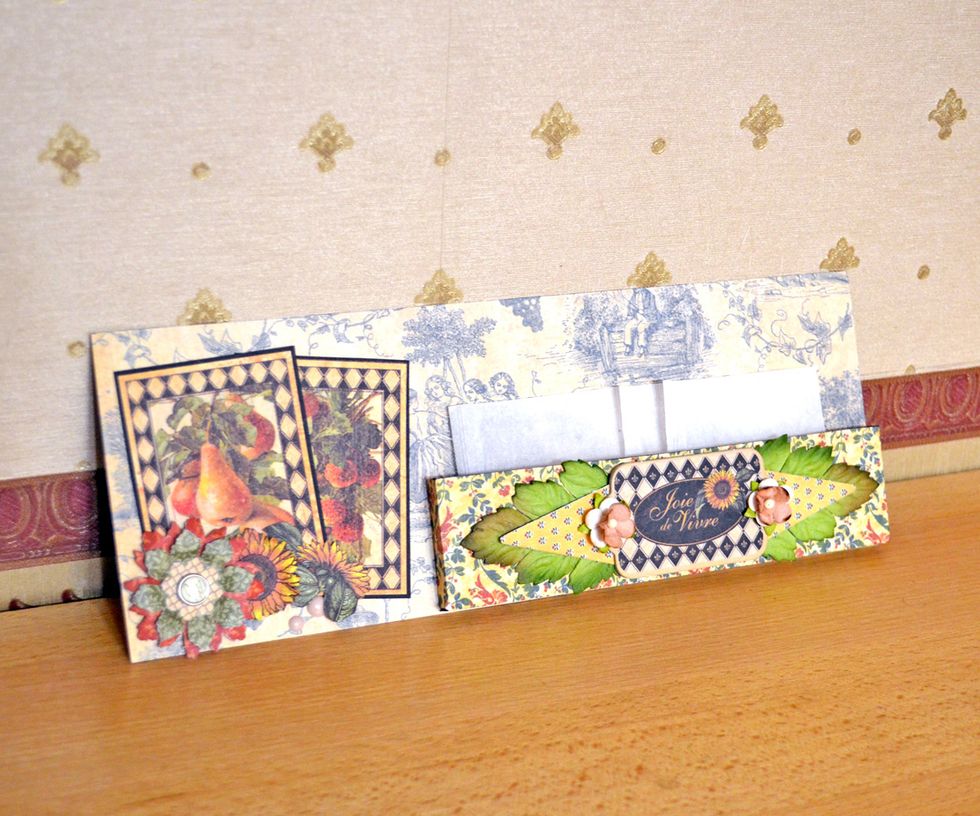
Cell 6. Decorate it with diy cuts, flowers, leaves and chipboard
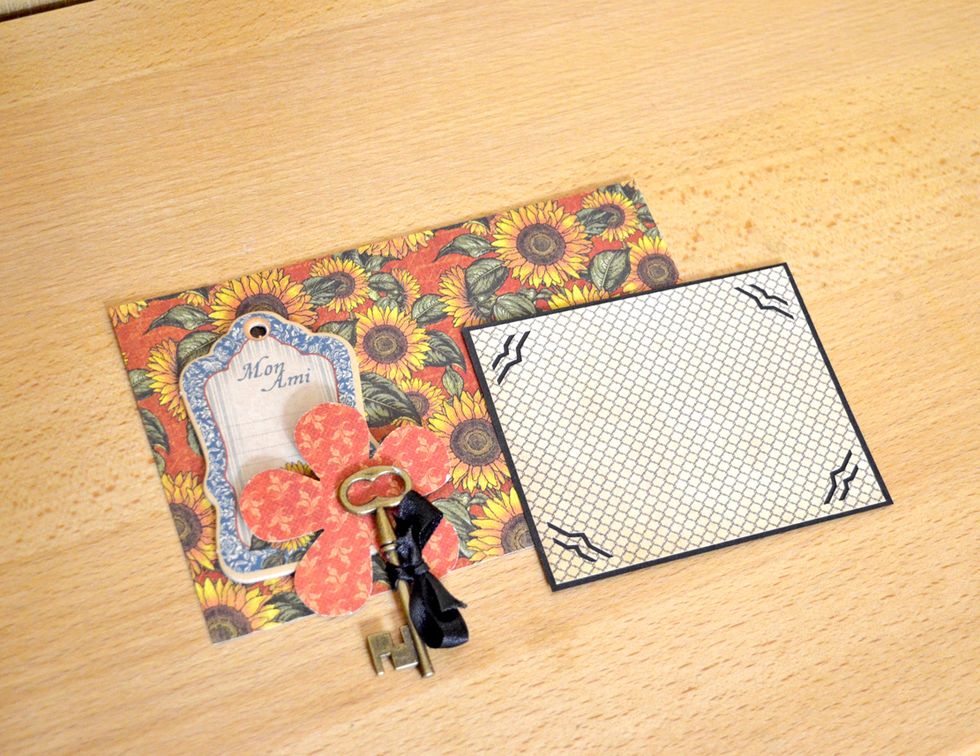
Cell 7. Make a background for photo and decorate this cell. Use chipboard. key, ribbon and flowers

Add some banners on box
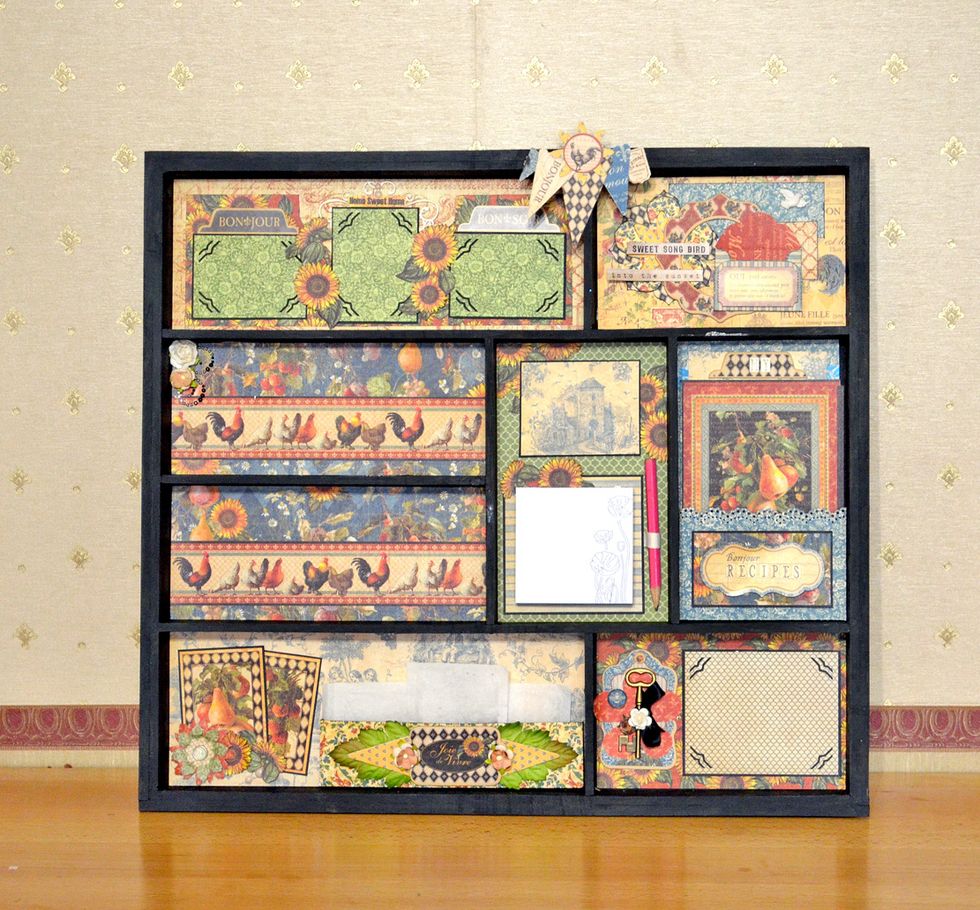
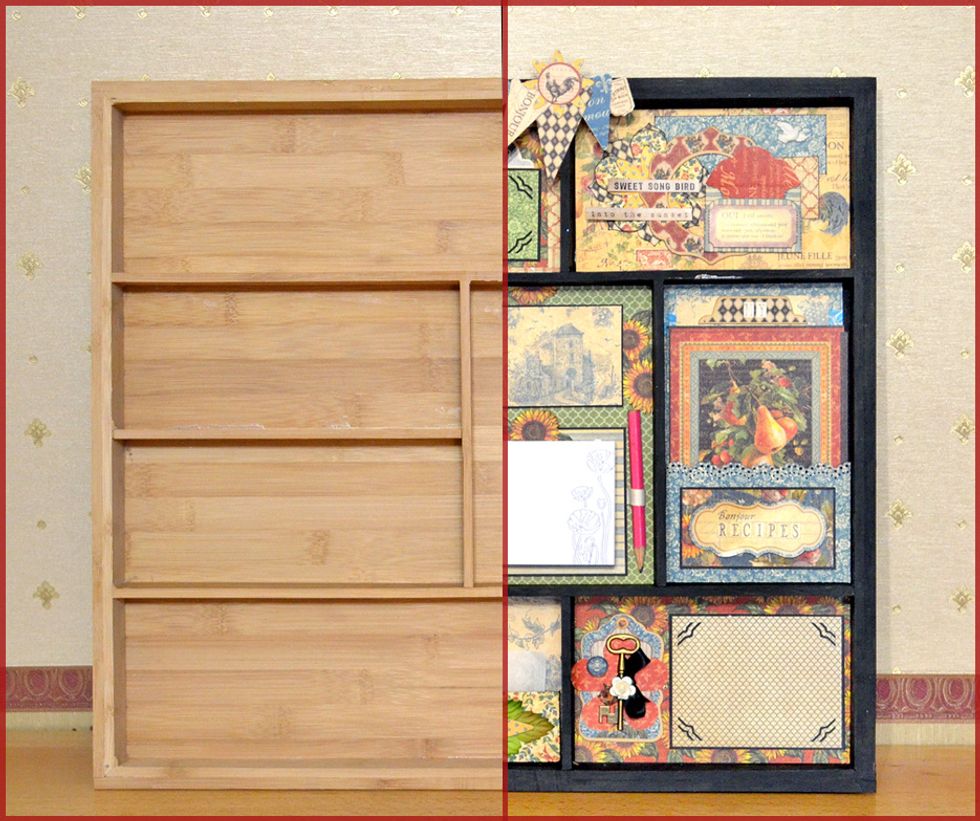
Done! Here it is useful kitchen organize - shadow box, also it is a memory keeper :)
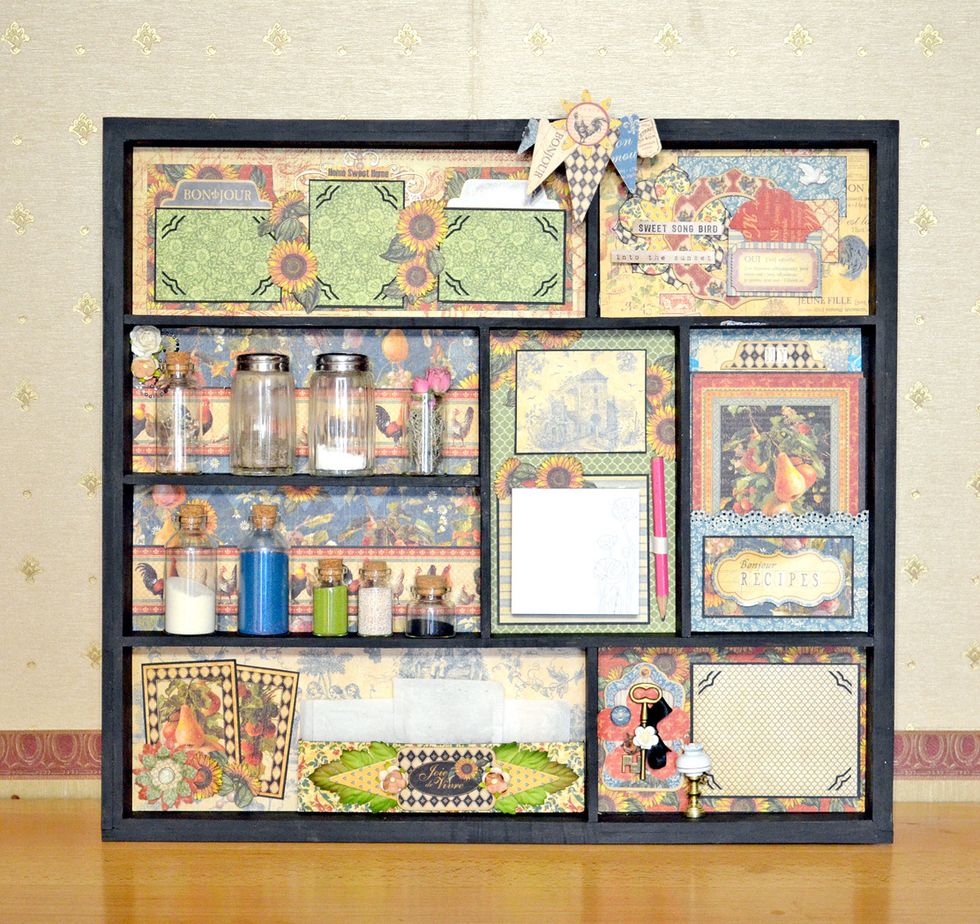
With bottles "Salt", "Pepper" and other :)