The Conversation (0)
Sign Up
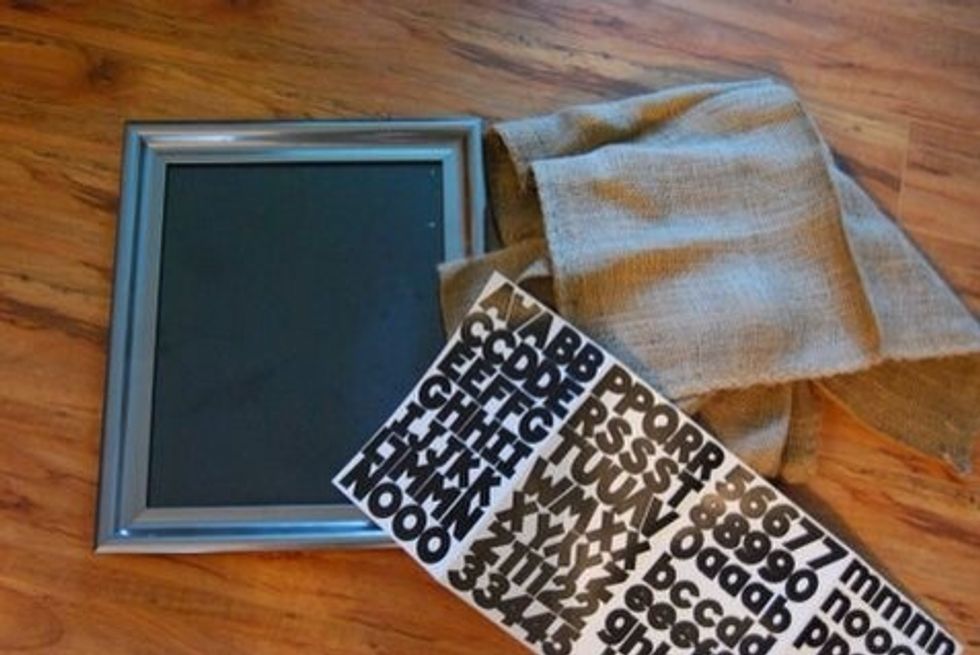
Get all that you will need. This DIY is going to take you all of 5minutes.... SERIOUSLY! You can spend the rest of your time researching recipes online for what's on the menu!

Cut Burlap the same size as the photo backing.
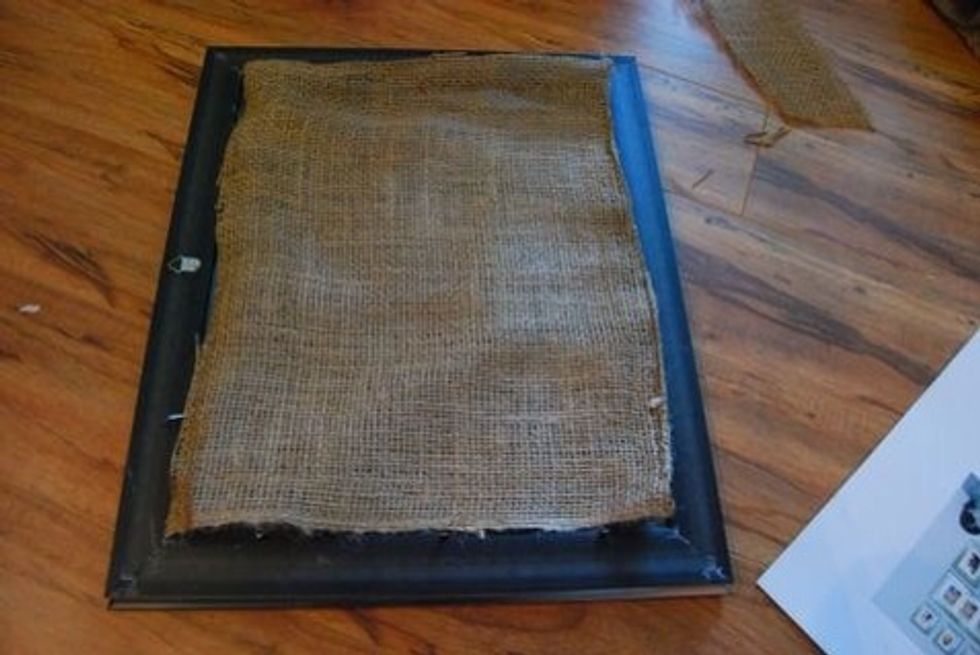
After making sure the glass inside the frame is clean.... Put your burlap and backing in and secure tightly.
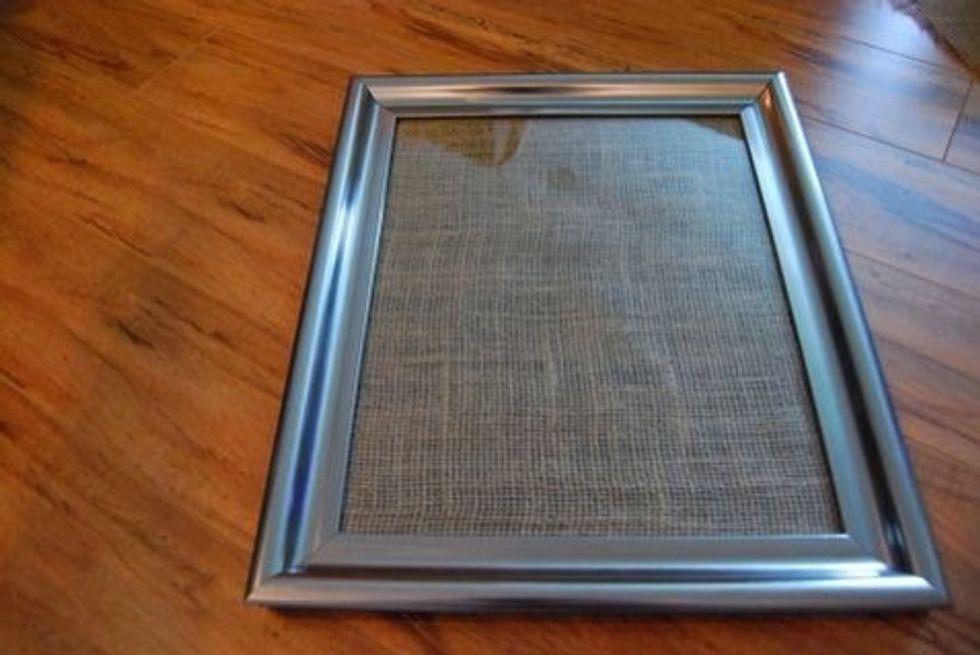
Clean the outside glass and dry before the next step.
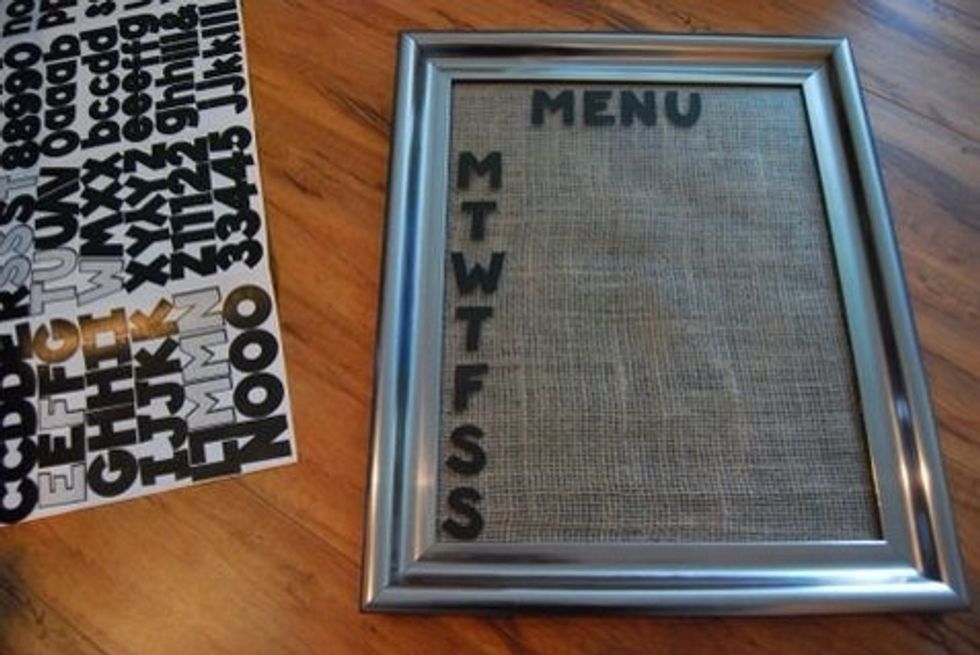
Use your scrap booking stickers to read out MENU and the days of the week. Like I have done.
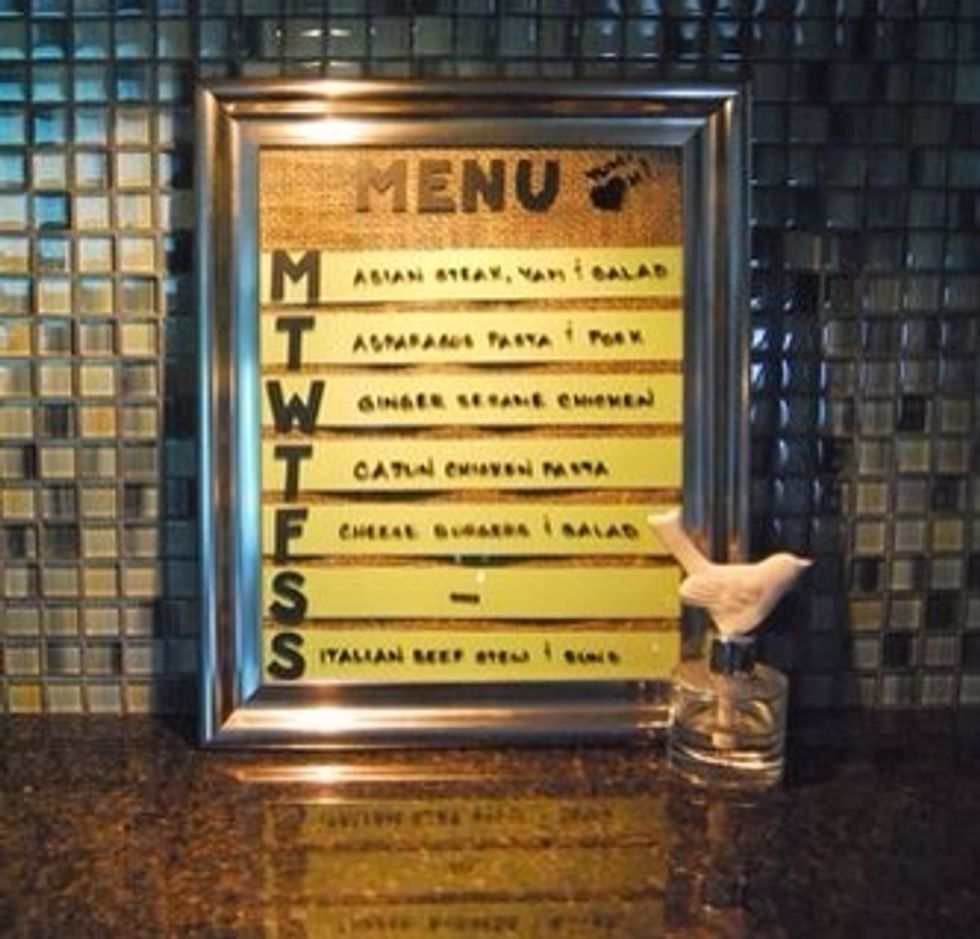
I went back and put some paper in to have the Menu items pop as I wanted to only use a black dry-erase marker. You don't have to do this however! It's really that SIMPLE! www.LittleMissMama.com