The Conversation (0)
Sign Up
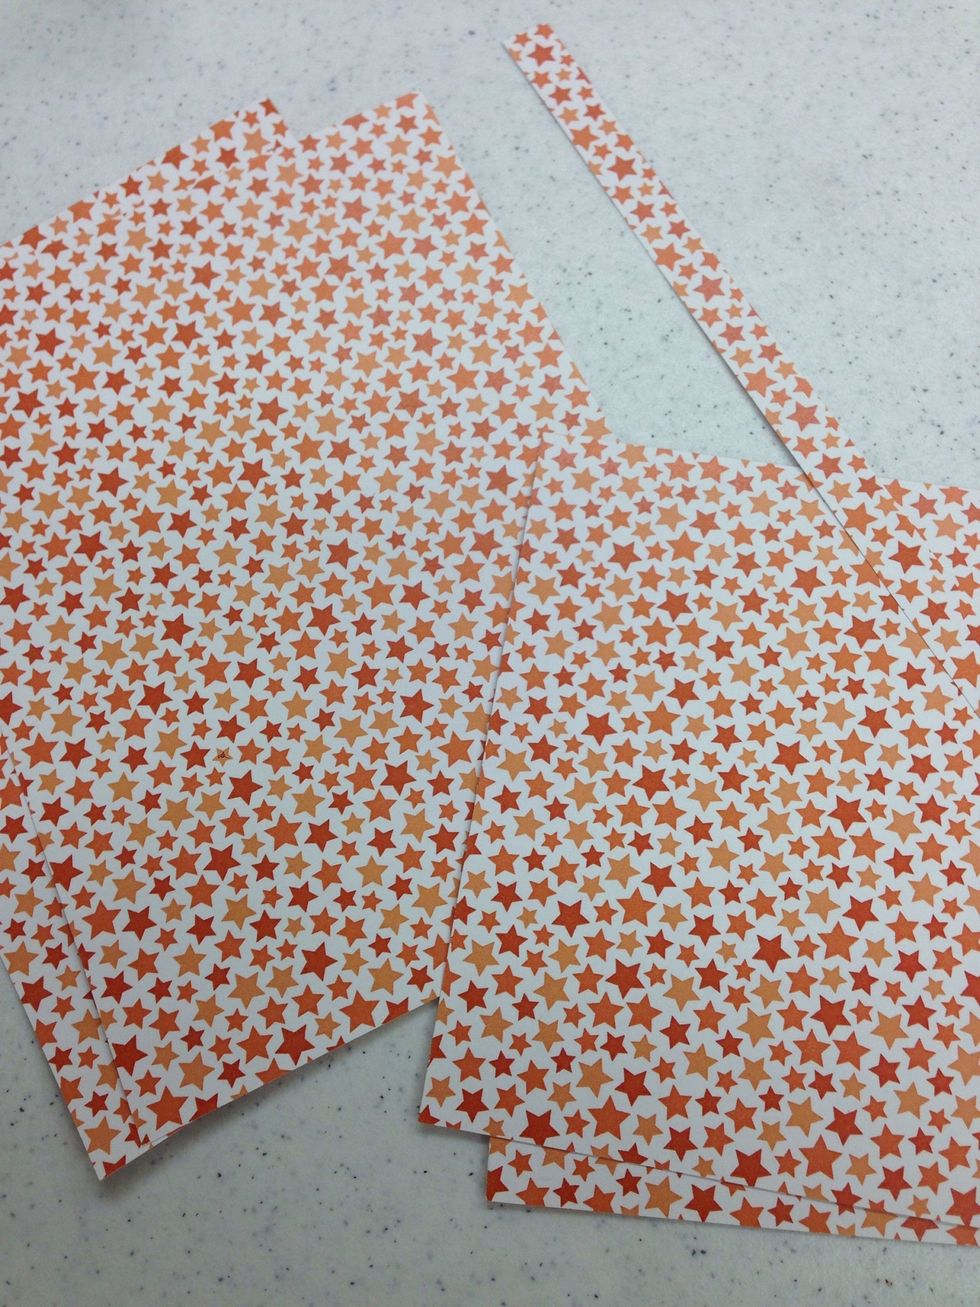
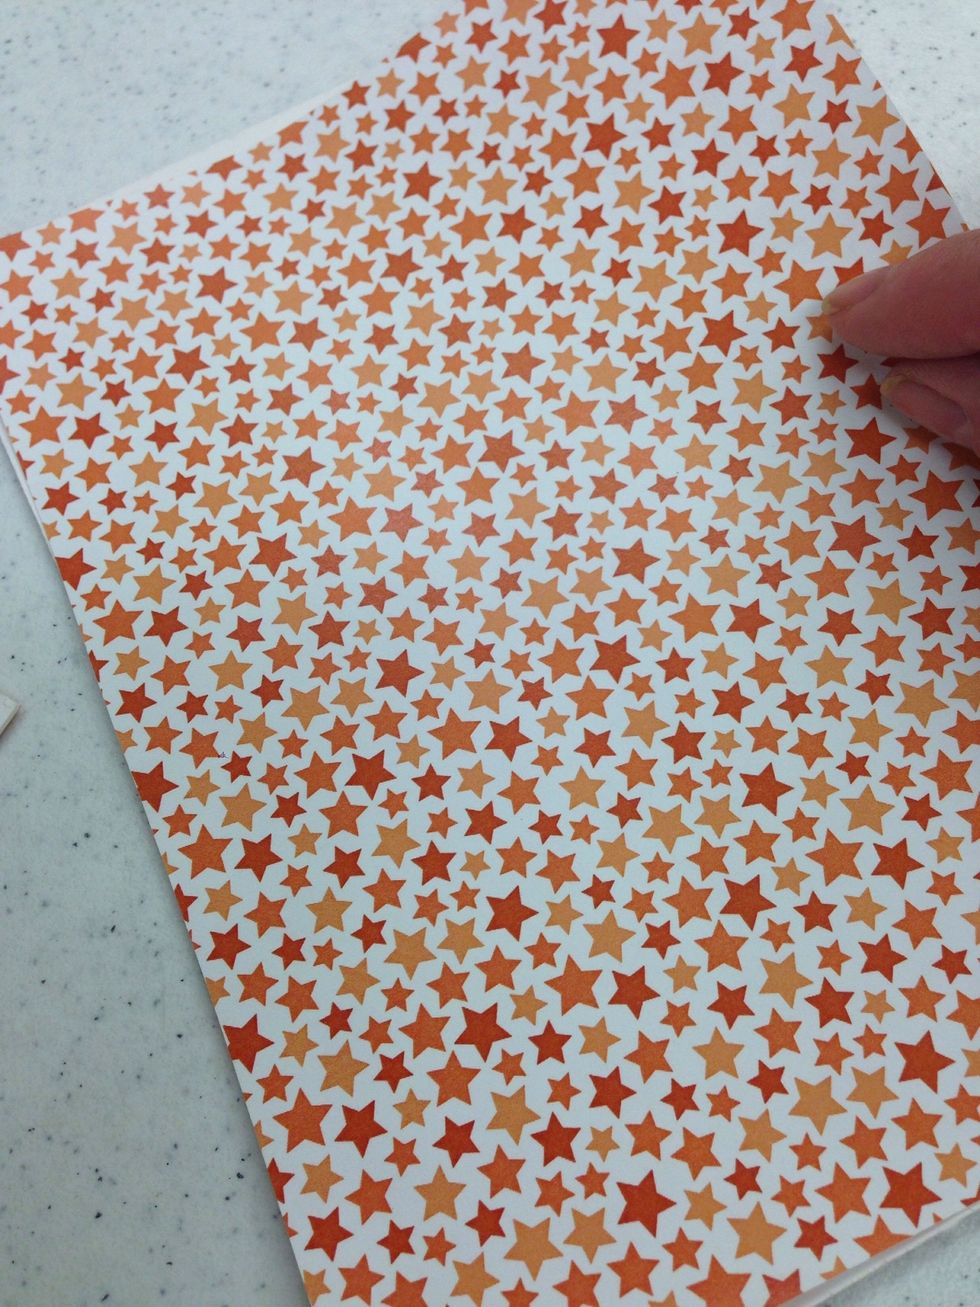
Precut your paper to size as shown on the next slide.
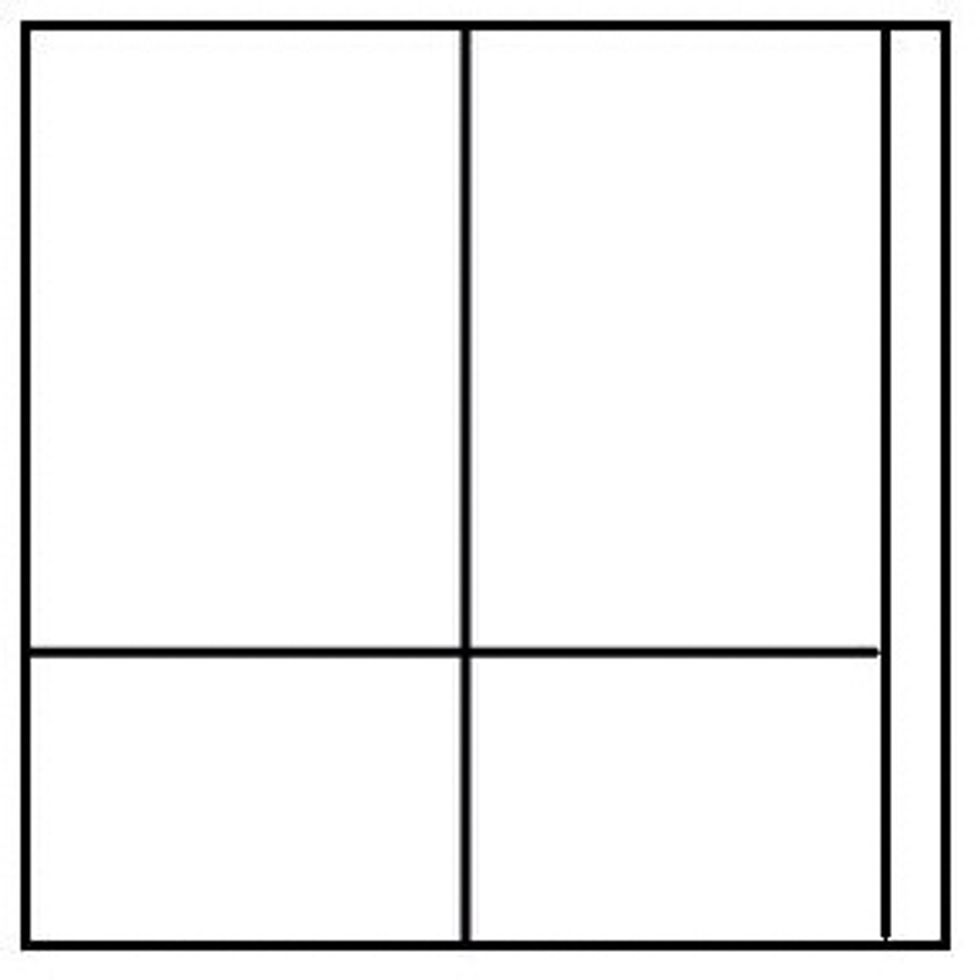
First, cut a 1/2" strip from edge of paper. Next, cut the large piece in half at the 5-3/4" mark. Last, cut 4-1/4" from the short end of each large section. Set aside long strip and small rectangles.
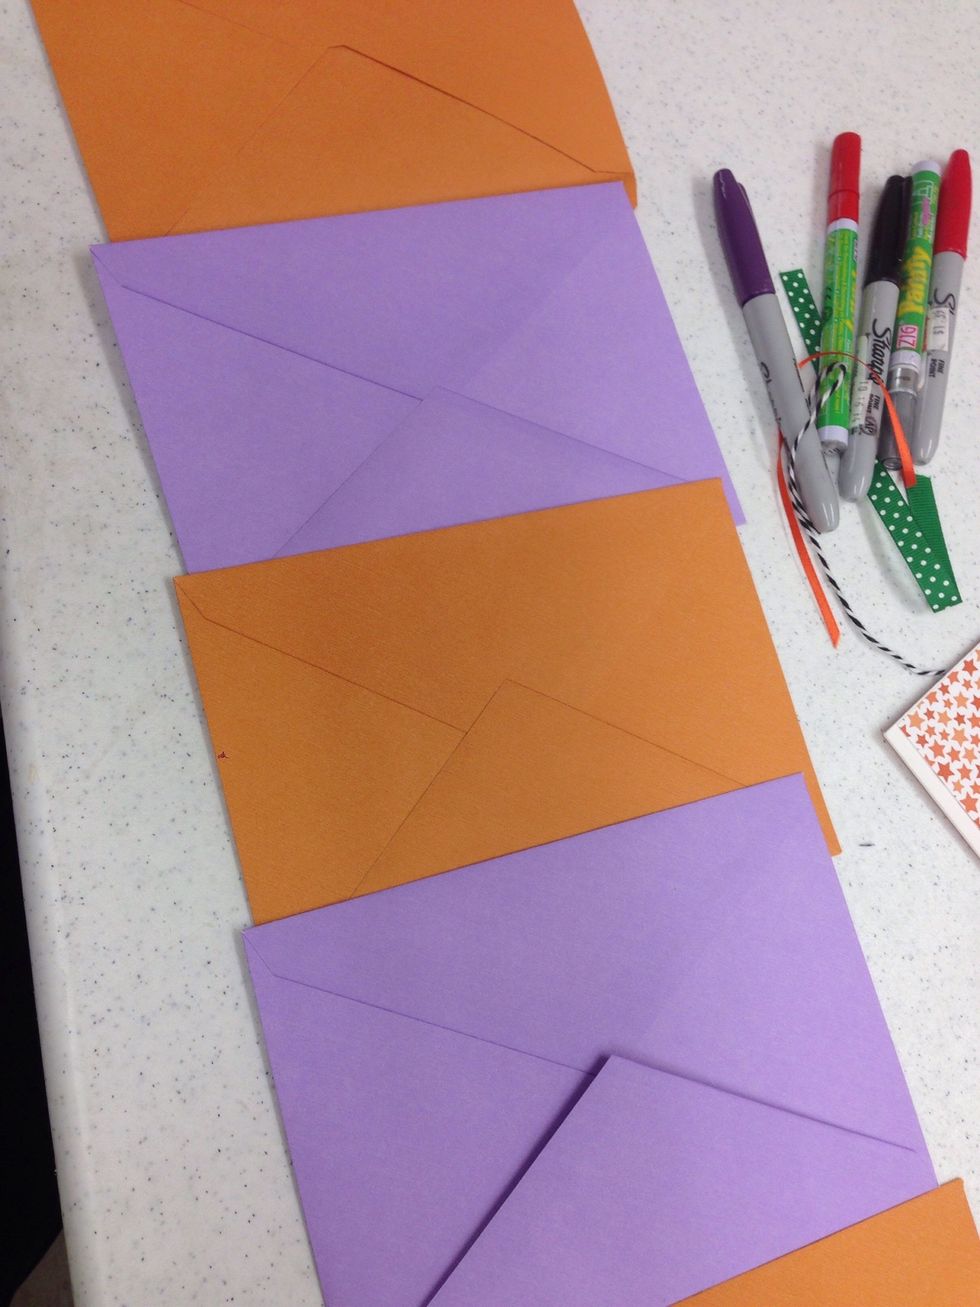
Lay out your envelopes in the order that you would like them to be.
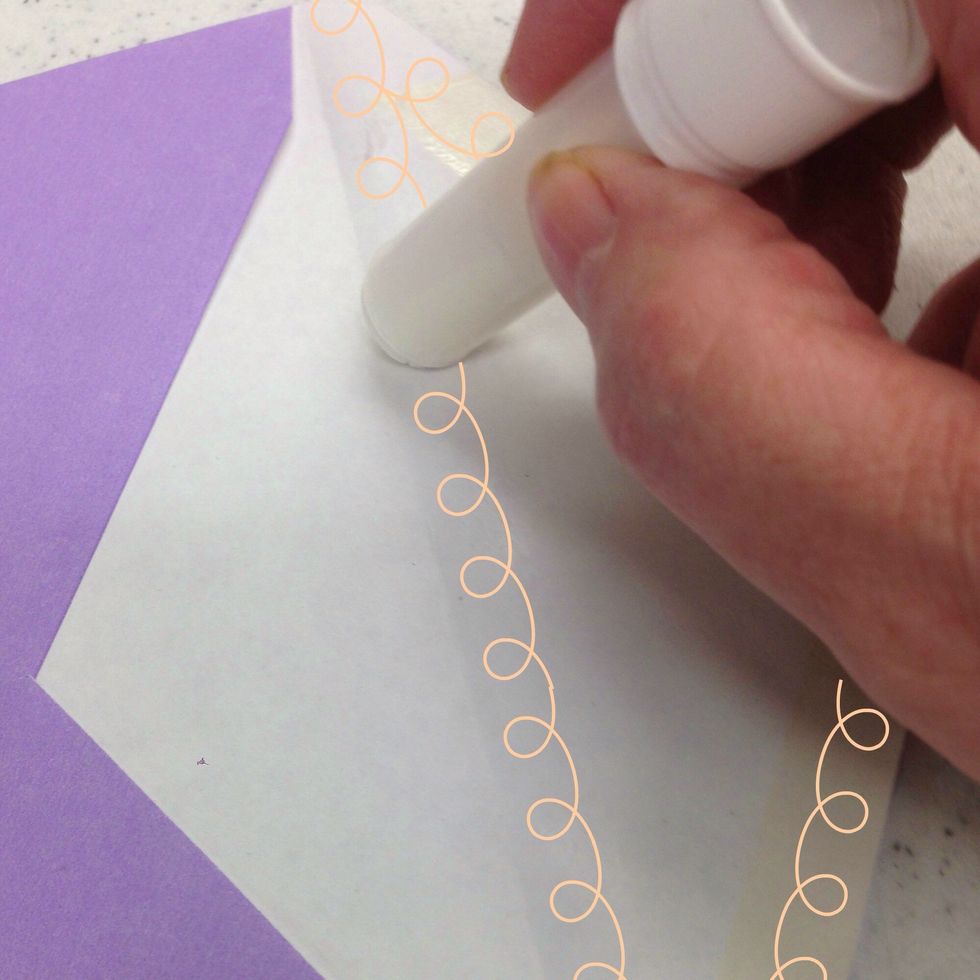
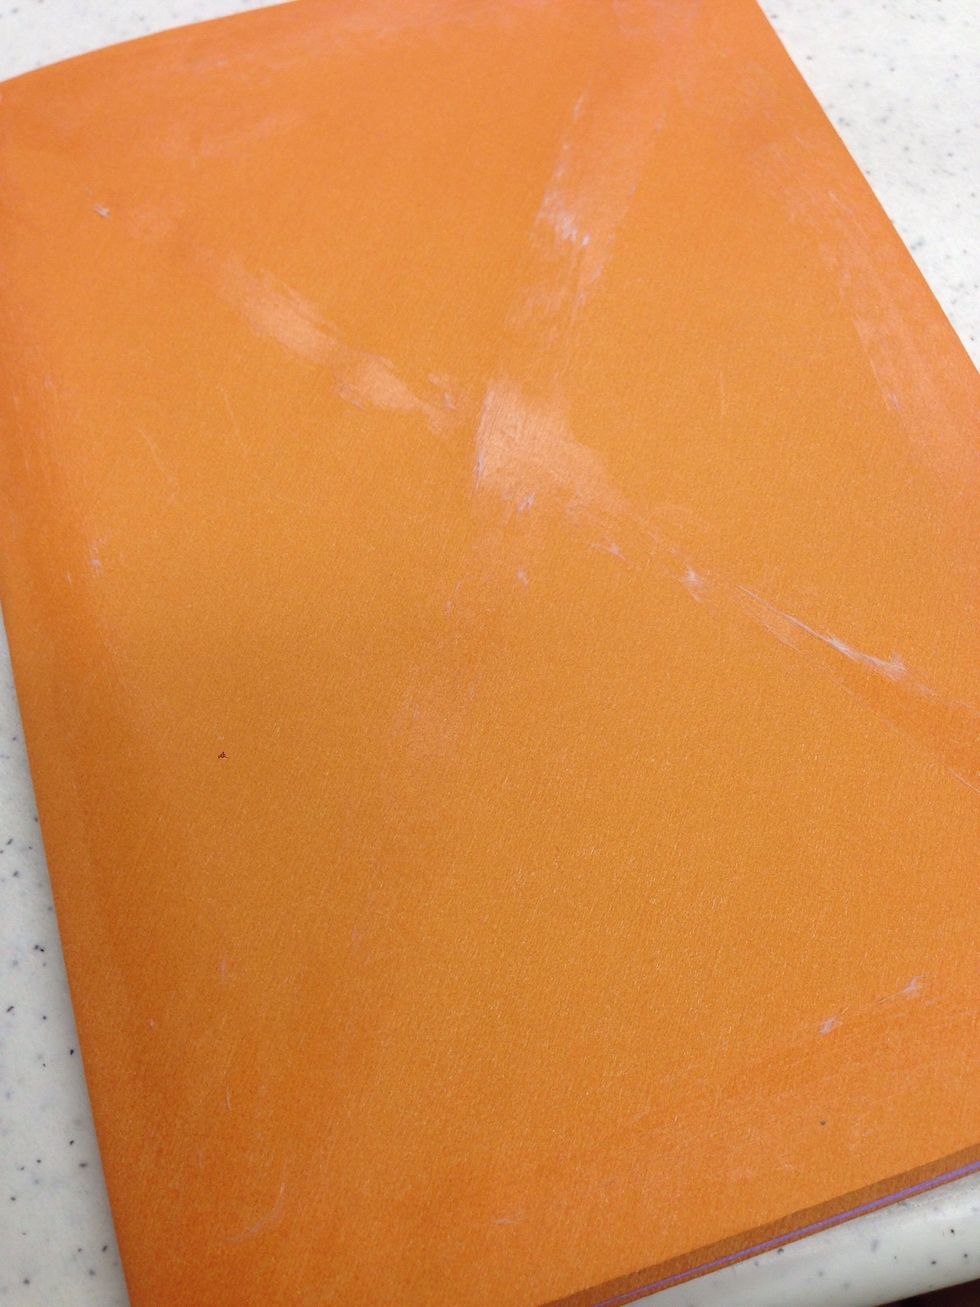
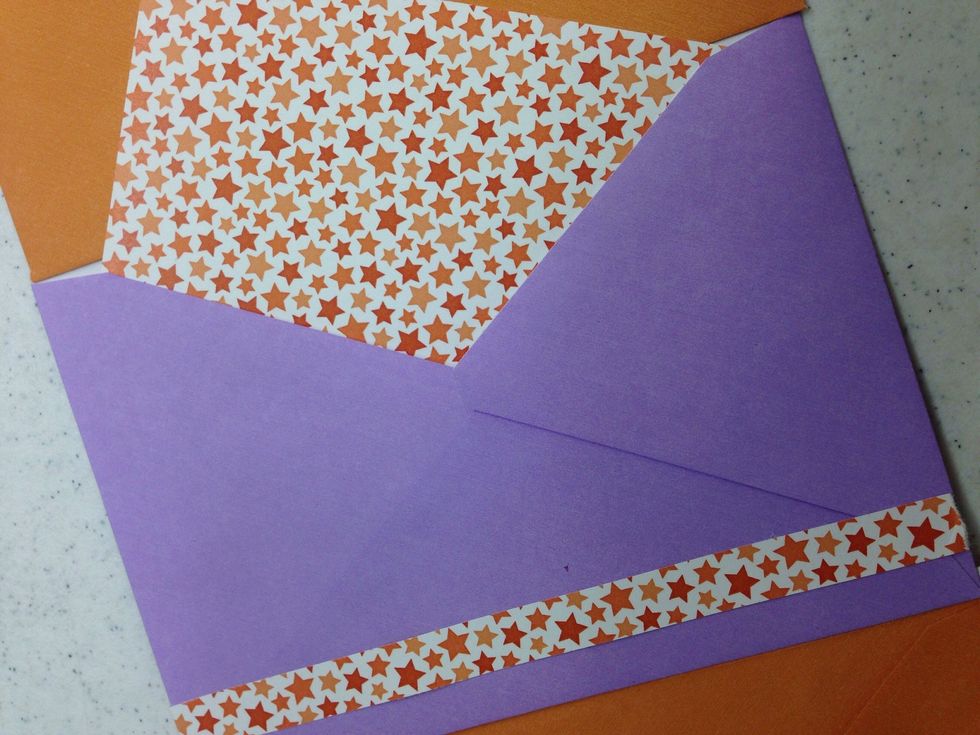
Add glue to the triangle shaped envelope flap as shown.
Your strip of envelopes will look like this when you have them all assembled.
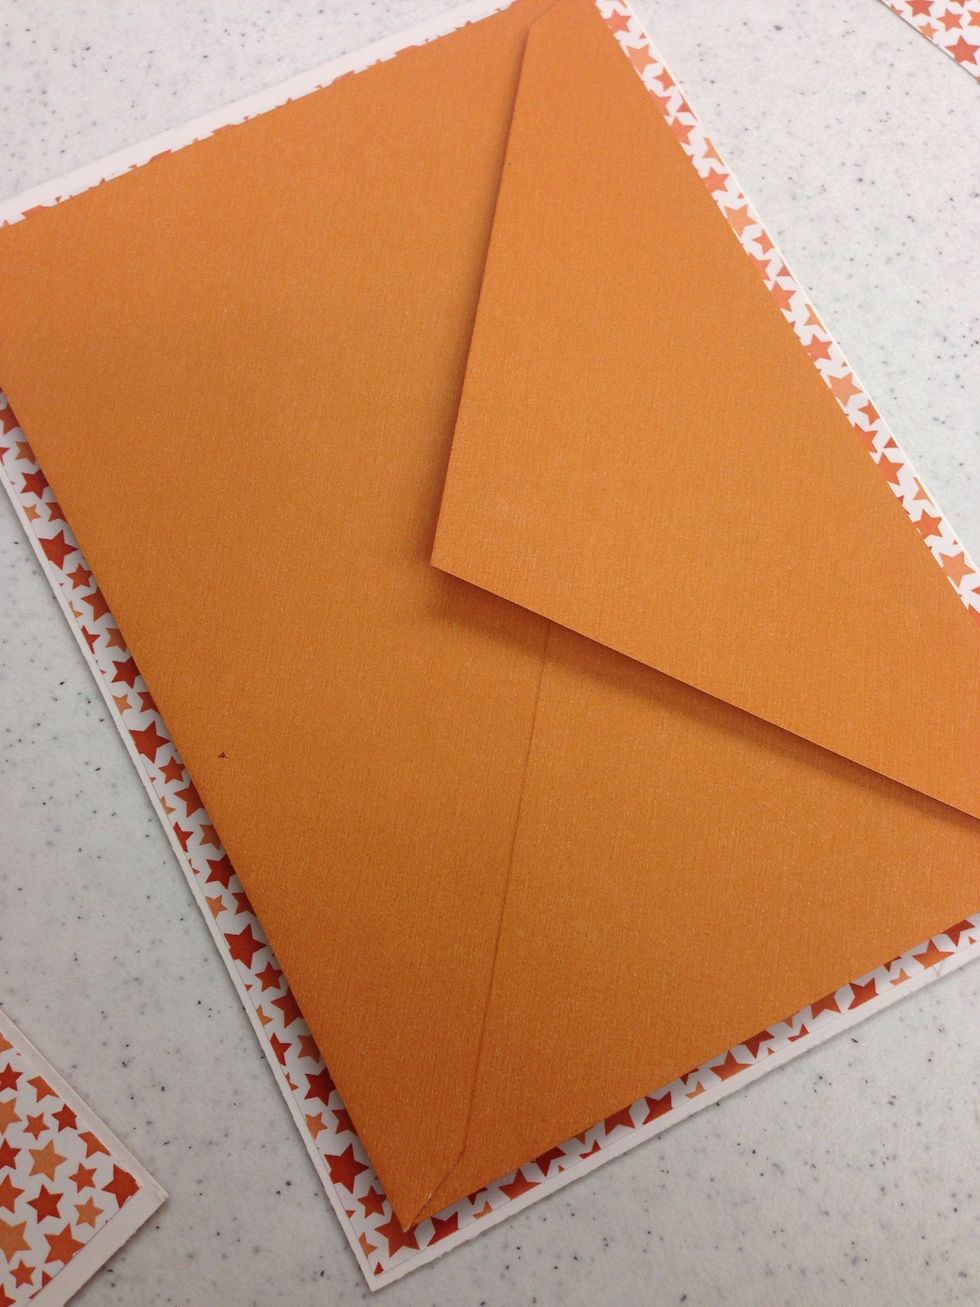
Glue the larger paper rectangles to the inside of your scrapbook covers.
Place your envelope stack so the flaps are facing down. Put glue around the edges and and in the middle of the top envelope.
Turn the stack over and center it on one of the scrapbook covers. Press down firmly.
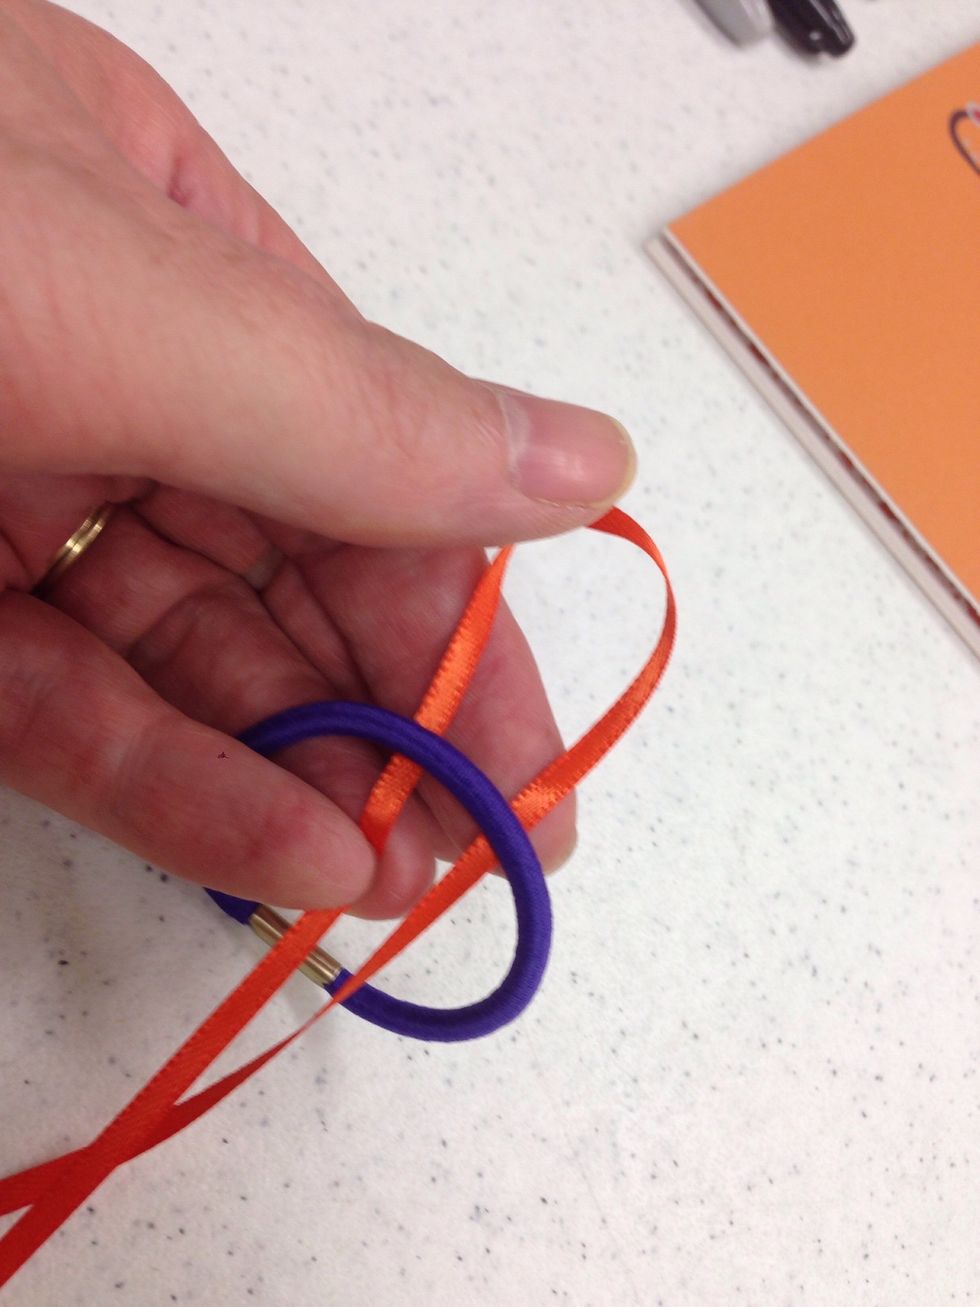
A ponytail holder makes a great closing band for the album. If you would like you can decorate it with small pieces of ribbon. For the ribbon and a half and slip the loop under the ponytail holder.
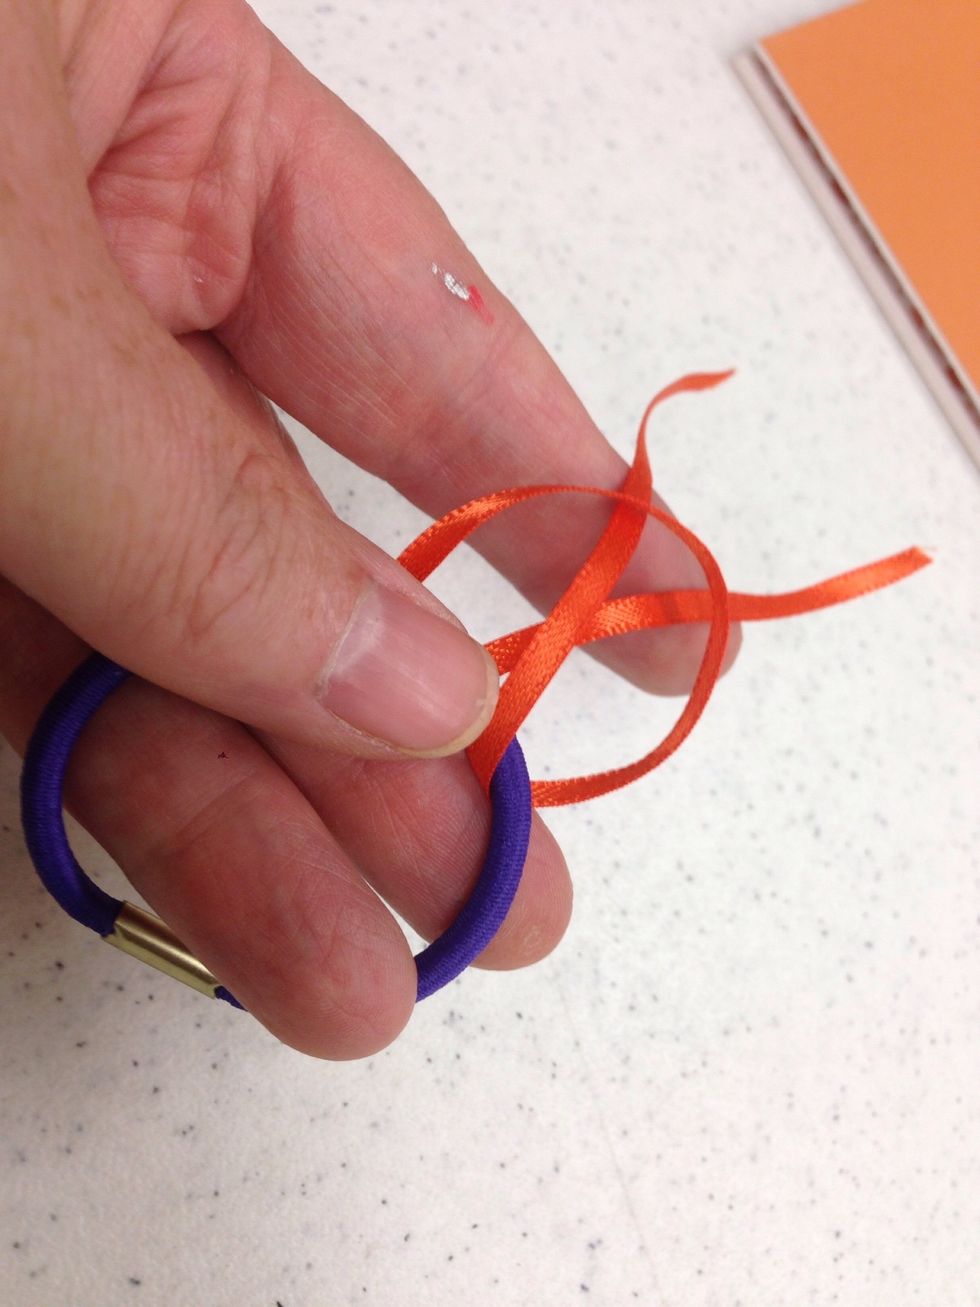
Poke the loose ends of the ribbon through the loop.
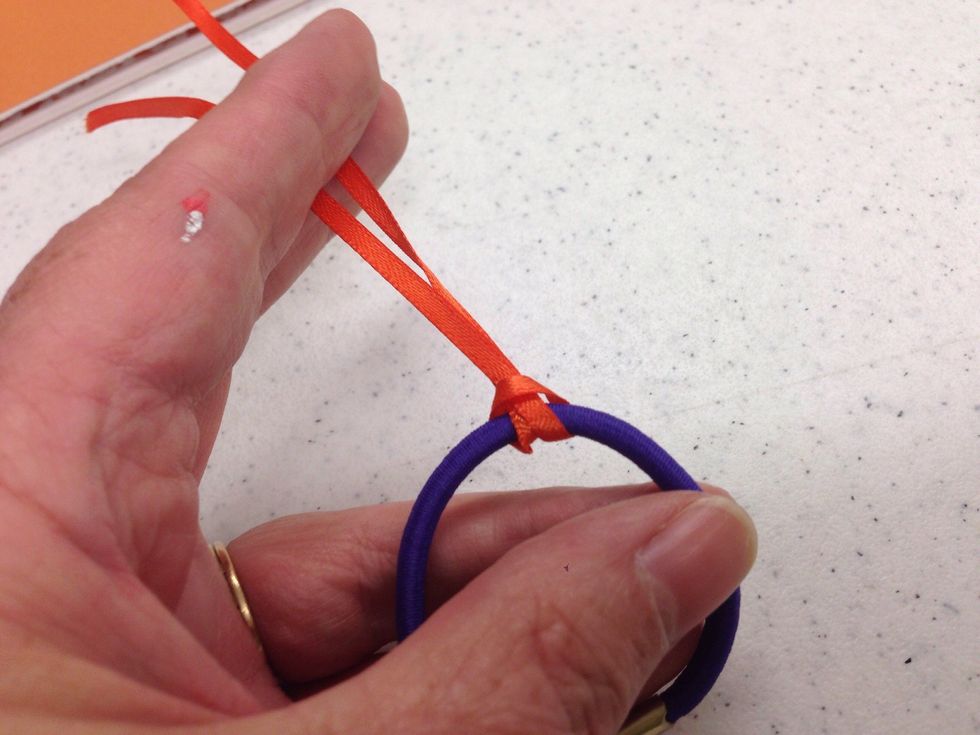
Pull the ribbons firmly to fasten them into place. Add as many ribbons as you would like to decorate your album closure.
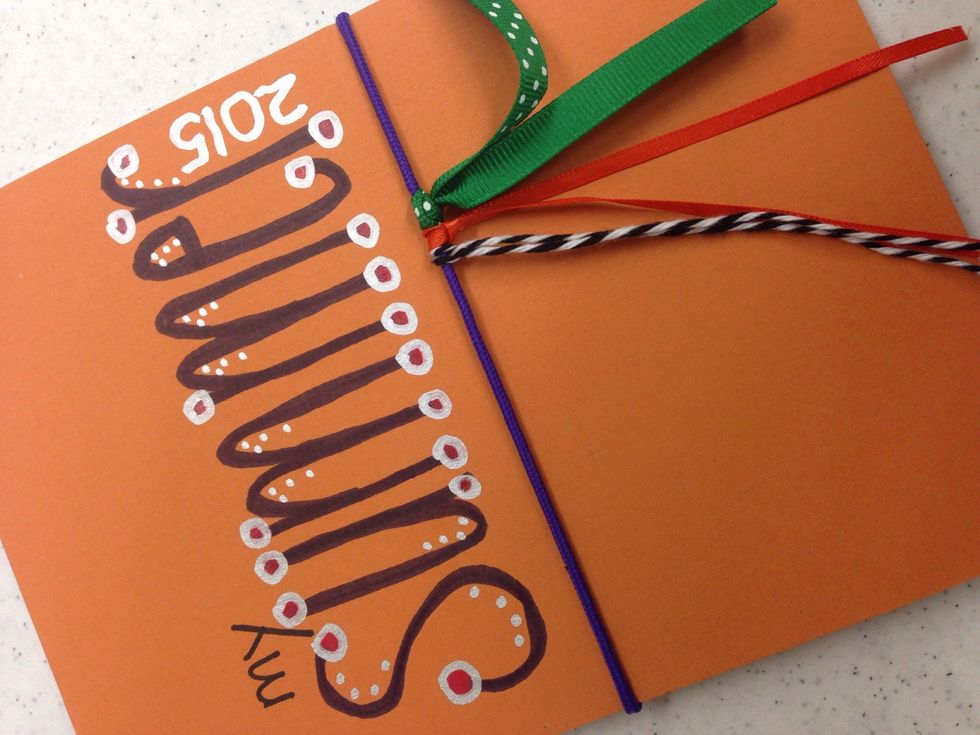
Decorate The cover of your album using sharpies or paint pens. You might even want to use both!
Use the extra pieces of paper as journaling cards or decoration for the inside of your album. Add your favorite stickers, photos, or other embellishments to personalize your album.

Use your album to keep track of all the fun things you did this summer!
We hope you enjoyed this Staycation Crafts for Kids Project! Please share a photo of your summer scrapbook on our Facebook page: https://goo.gl/gOJ1Kv