The Conversation (0)
Sign Up
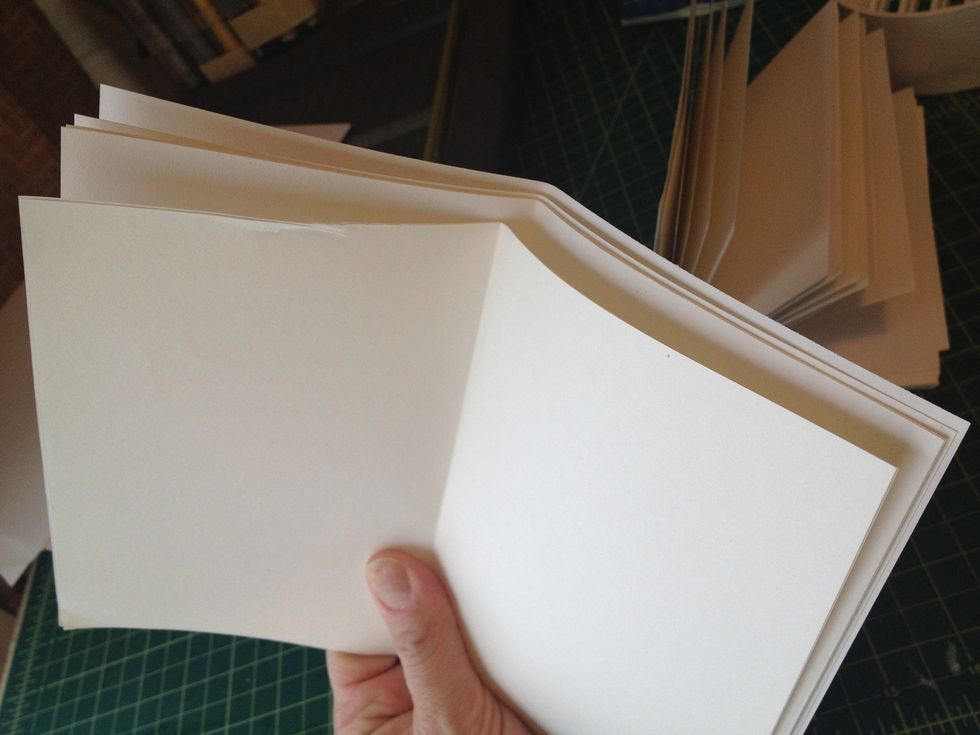
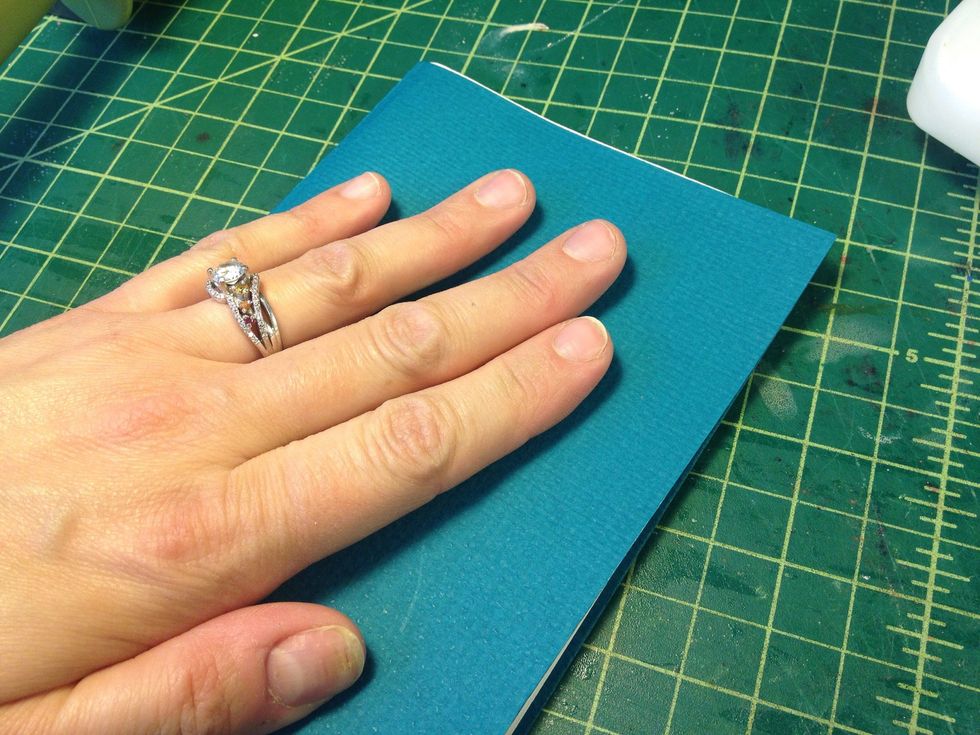
Cut your filler paper and fold in half. I cut letter sized paper (8.5 x 11") in half (8.5" x 5.5") and folded that in half.
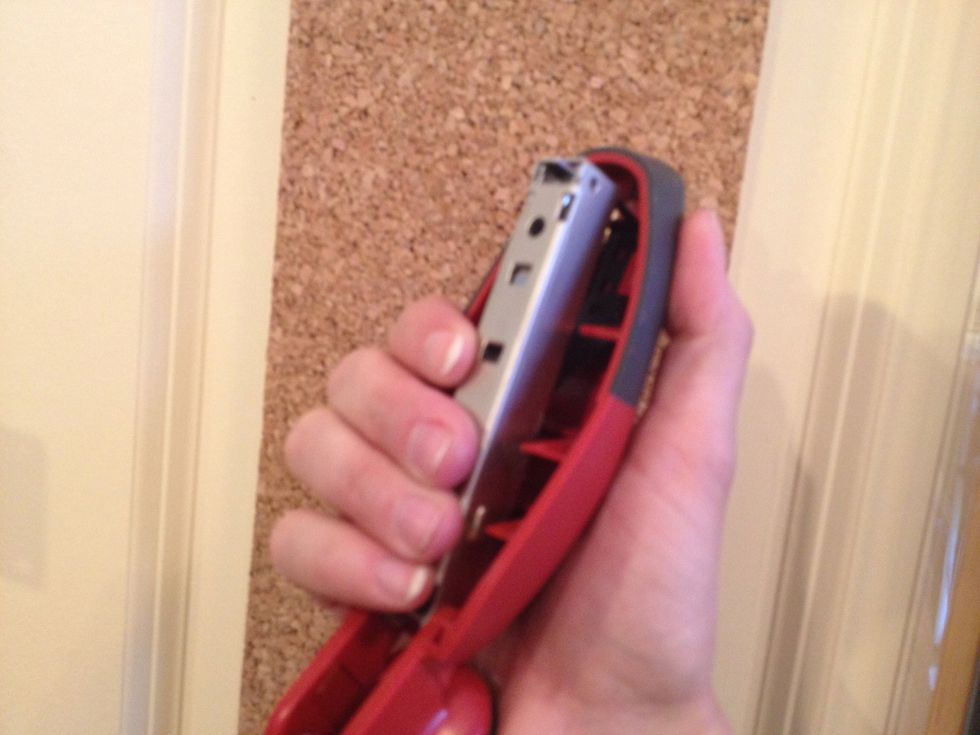
Find a cork board and open up your stapler.
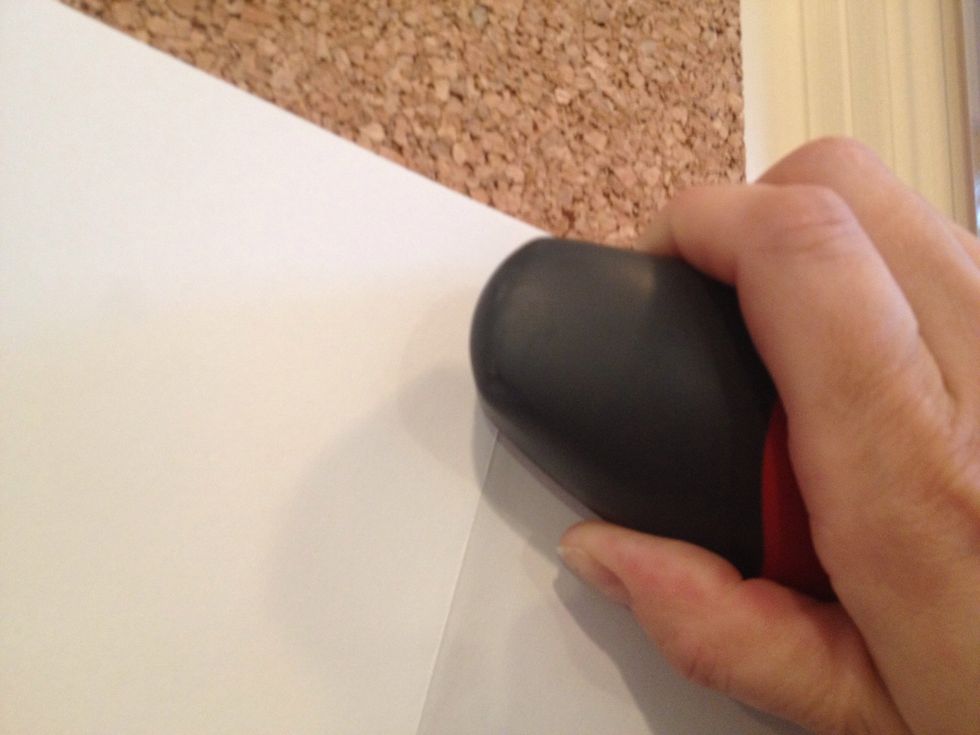
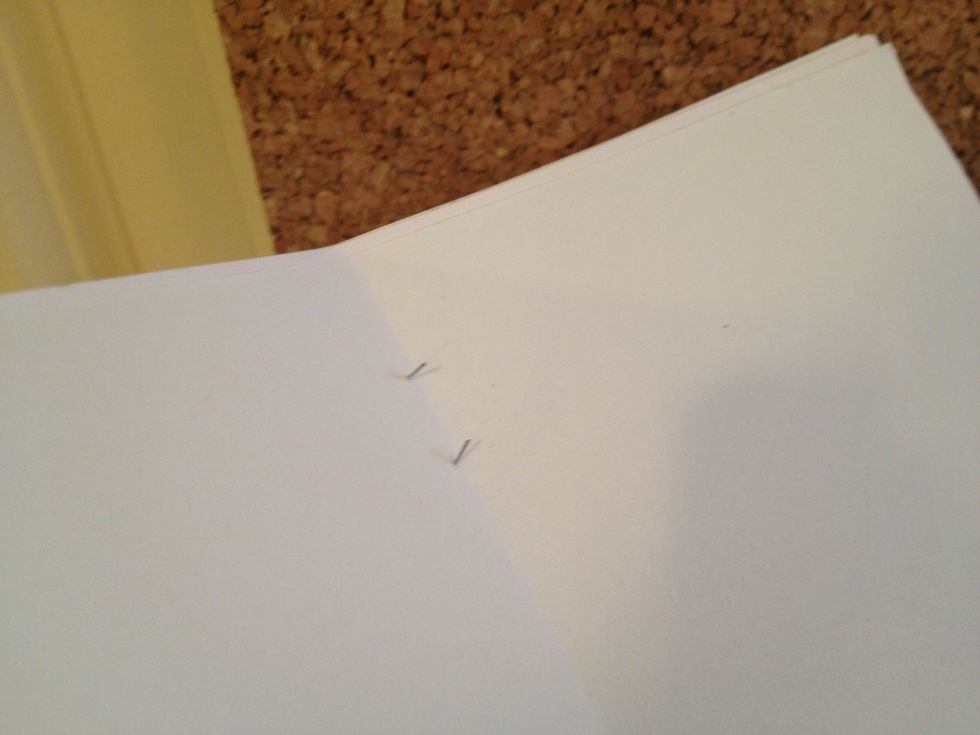
Open up the folded paper stack and lay the inside of it against the cork board. Line up the stapler with the fold and push a staple through.
One toward each end is good!
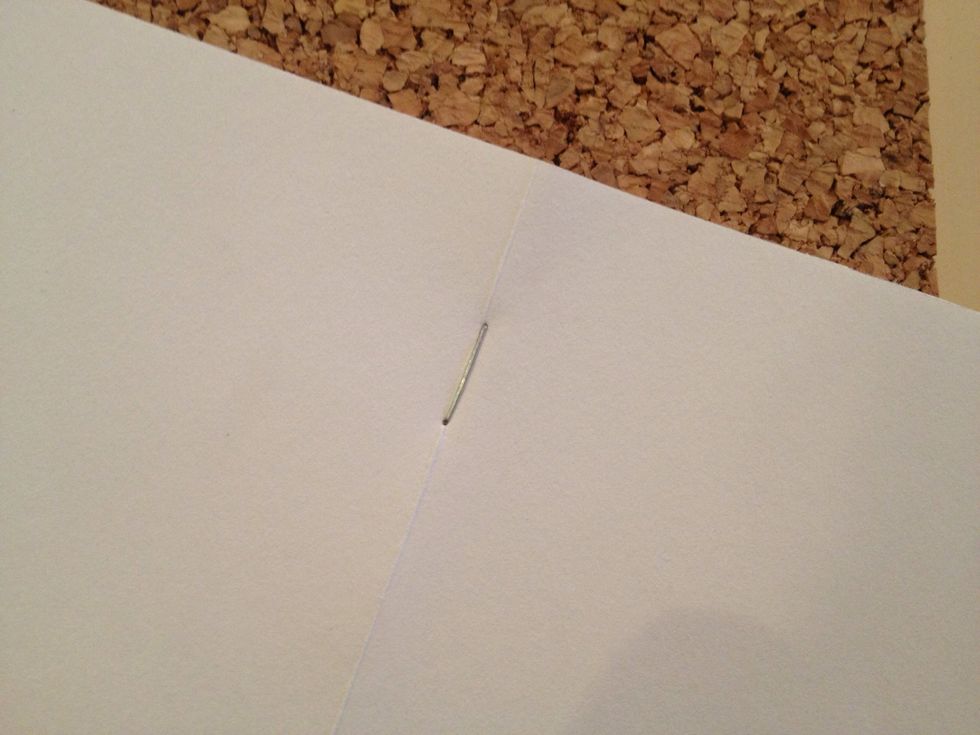
Flip over the paper.
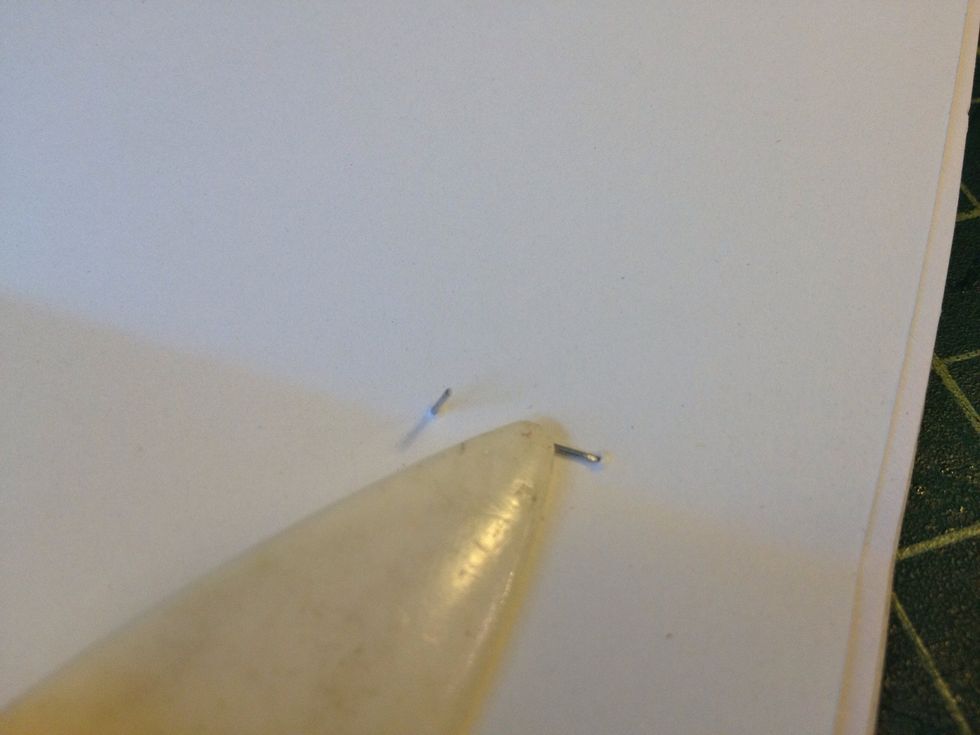
Fold the staple ends over inside the book.
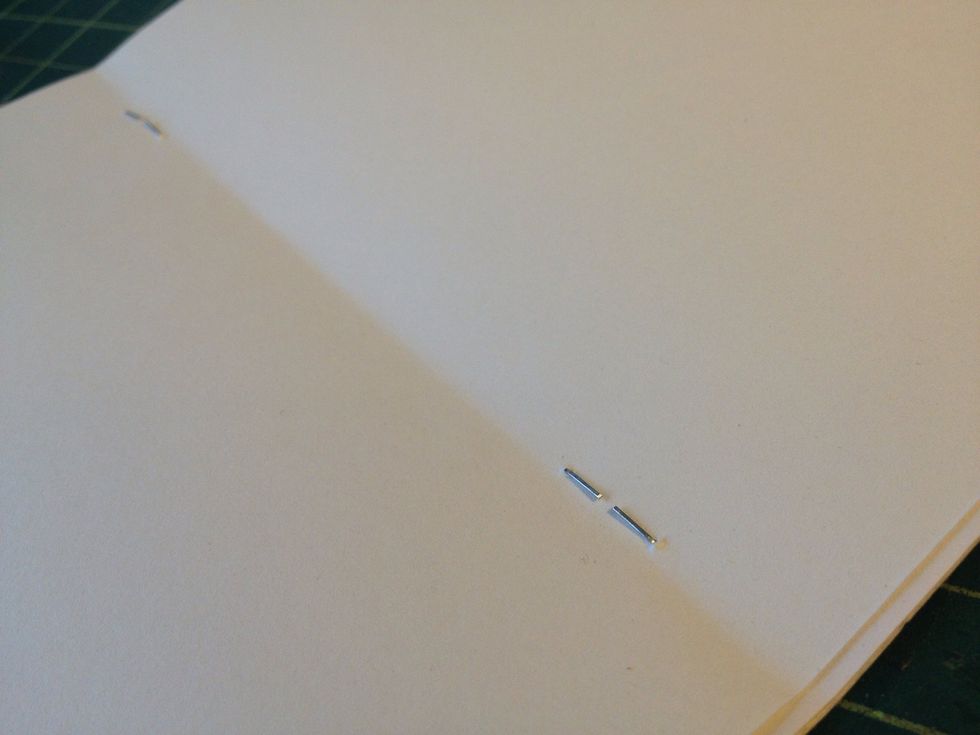
Like this! I made two of these small booklets for each passport to have lots of pages.
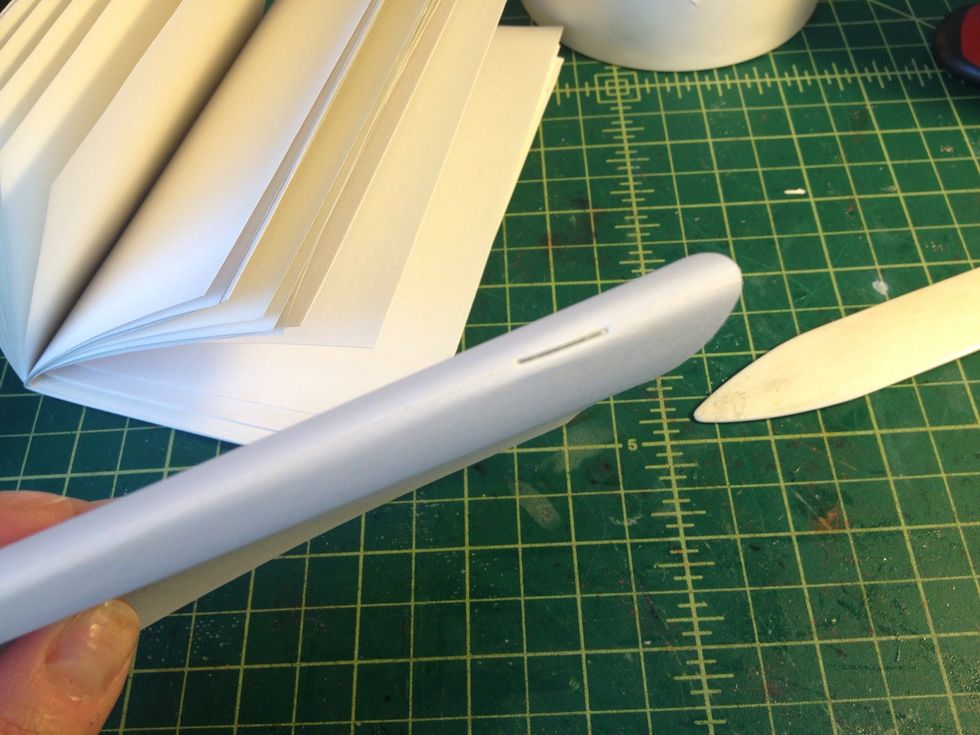
The spine.
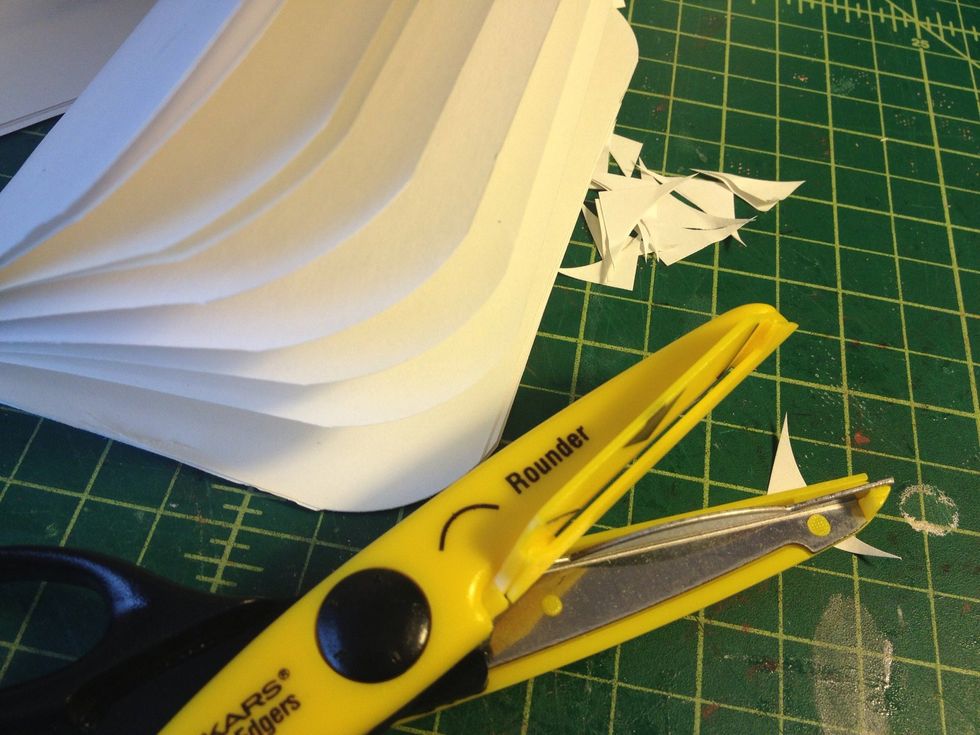
Use a corner rounding scissor if you want rounded corners.
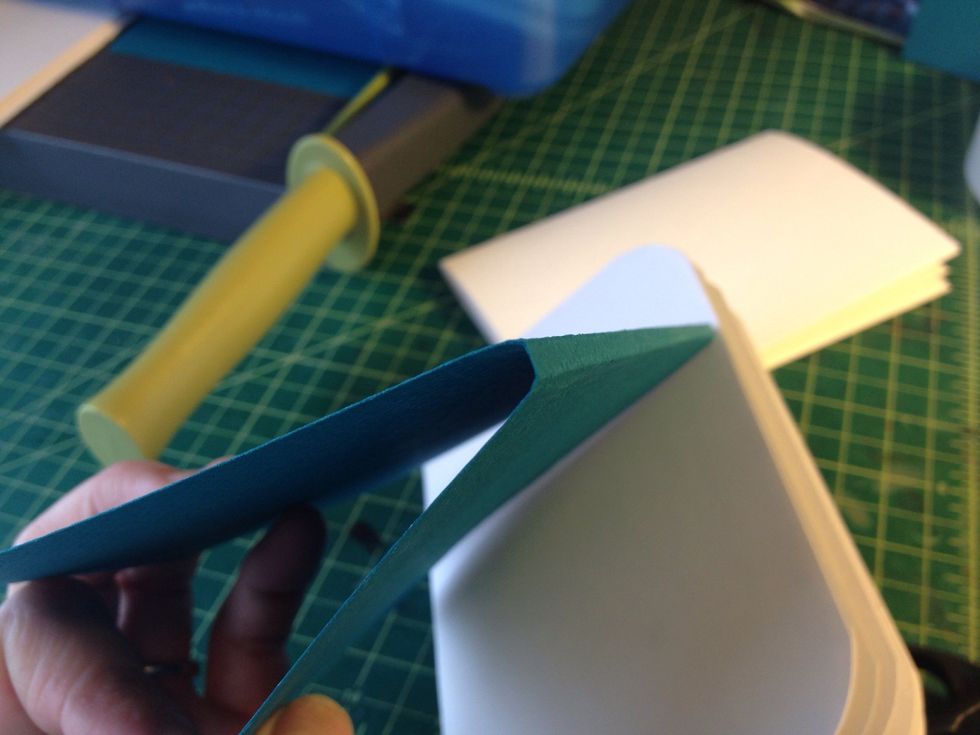
Cut a cover out of card stock. Make it slightly bigger than the booklets. Make two creases on the spine so it matches the thickness of the book's pages.
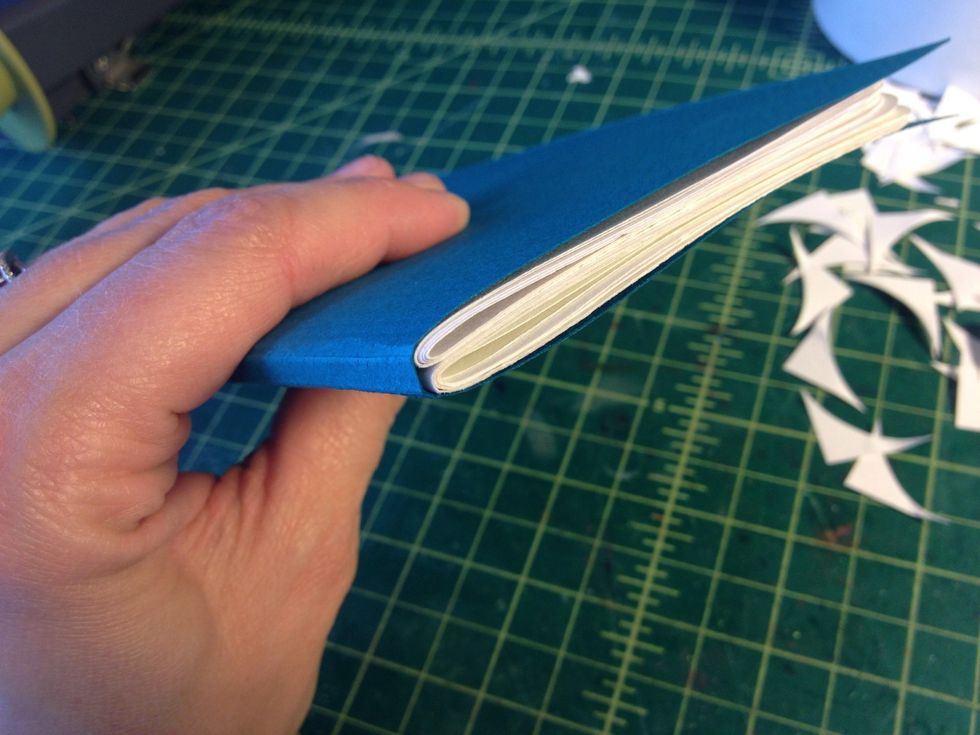
Check the fit...I stuffed a lot of pages in there!
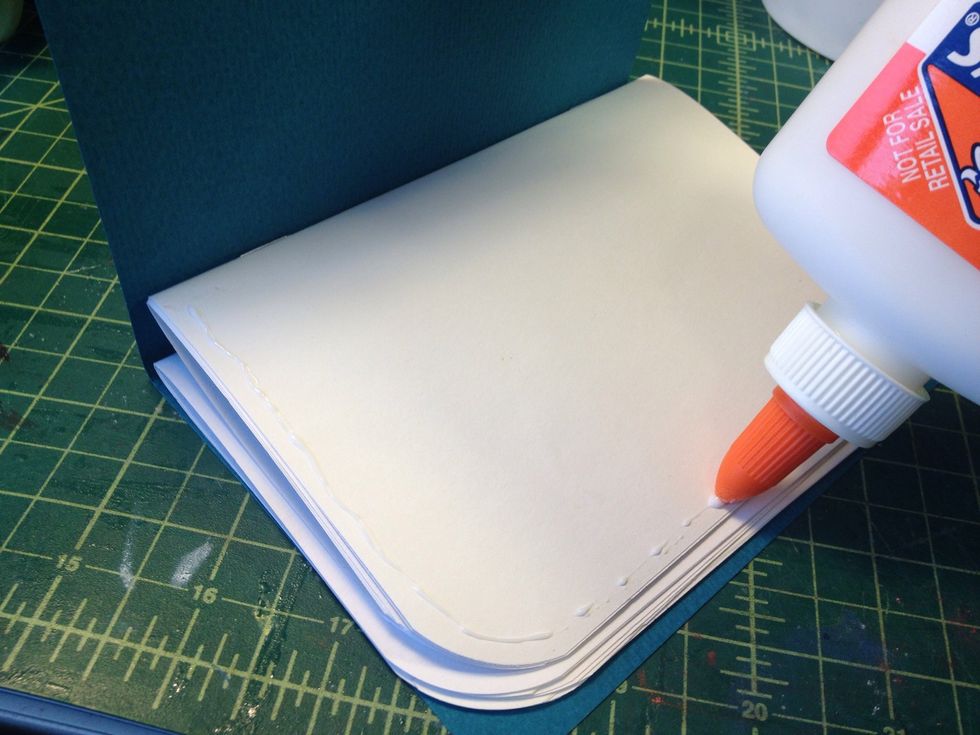
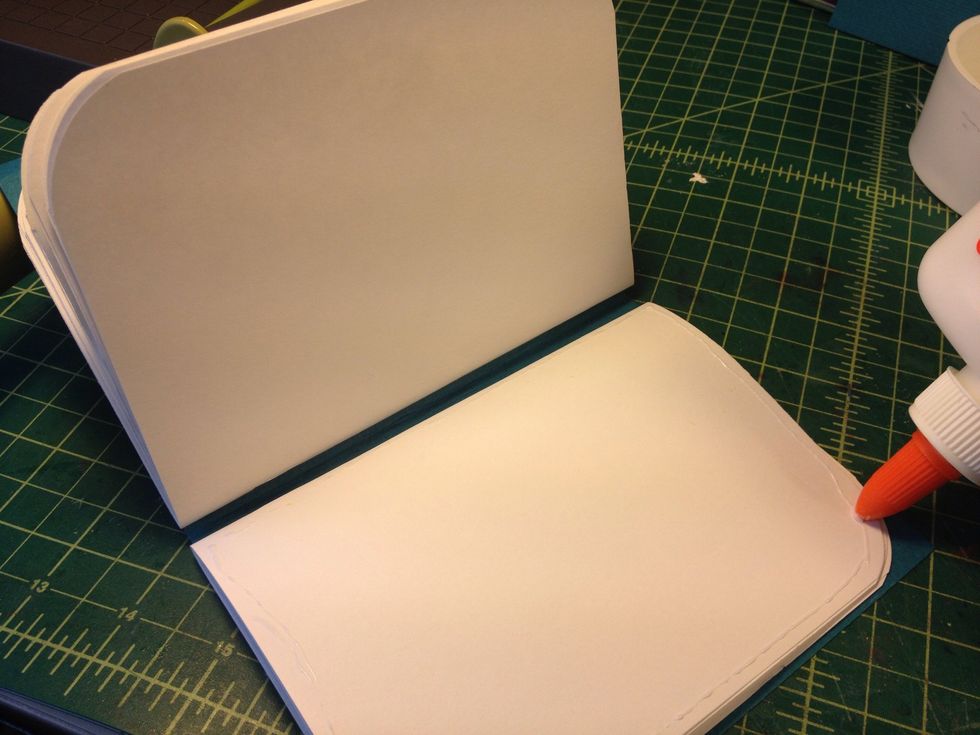
Put a line of glue around the first page.
Close the book to adhere the first page to the cover. Repeat the glue on the last page and back cover.
Glue the two booklets together on the pages that touch in the middle. You can skip this if you are only using one booklet of course.
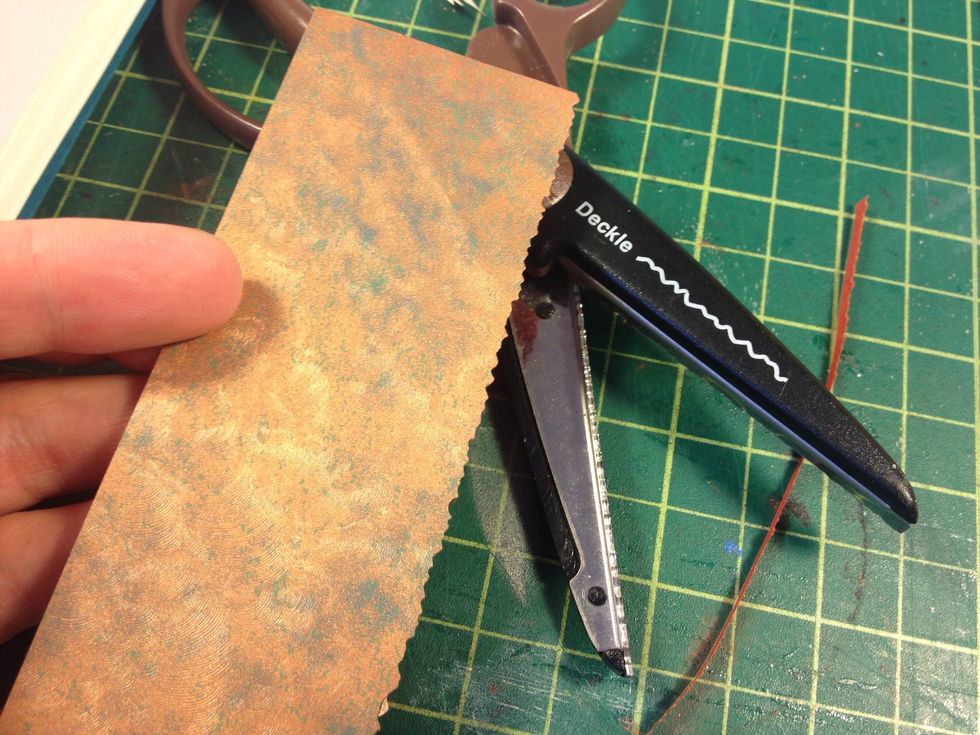
Add a cool spine detail. Cut a strip of paper 1"-2" wide and make it as long as your book is tall. Use scrapbook scissors for a fancy edge along one side.
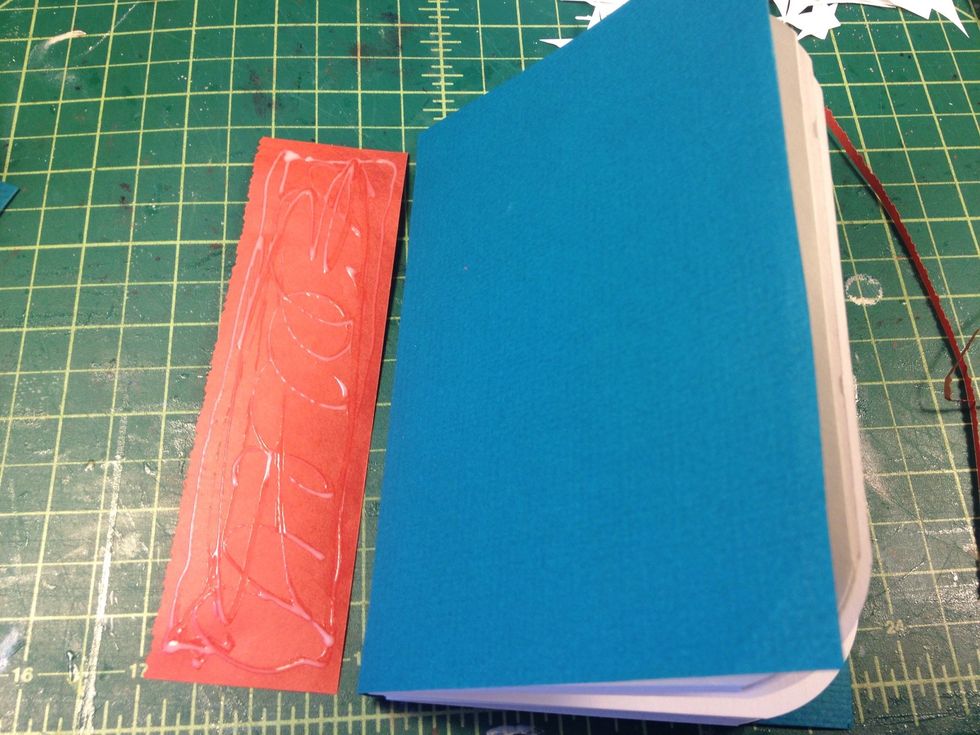
Add glue to the back
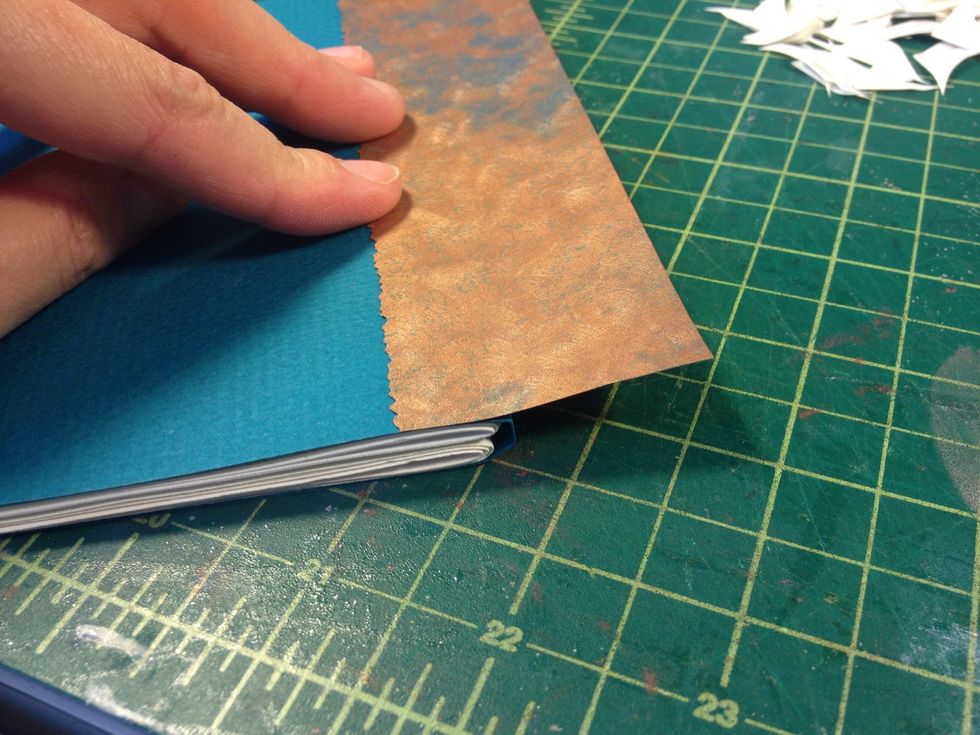
Lay the fancy edge down on the front cover, leaving a flap toward the spine.
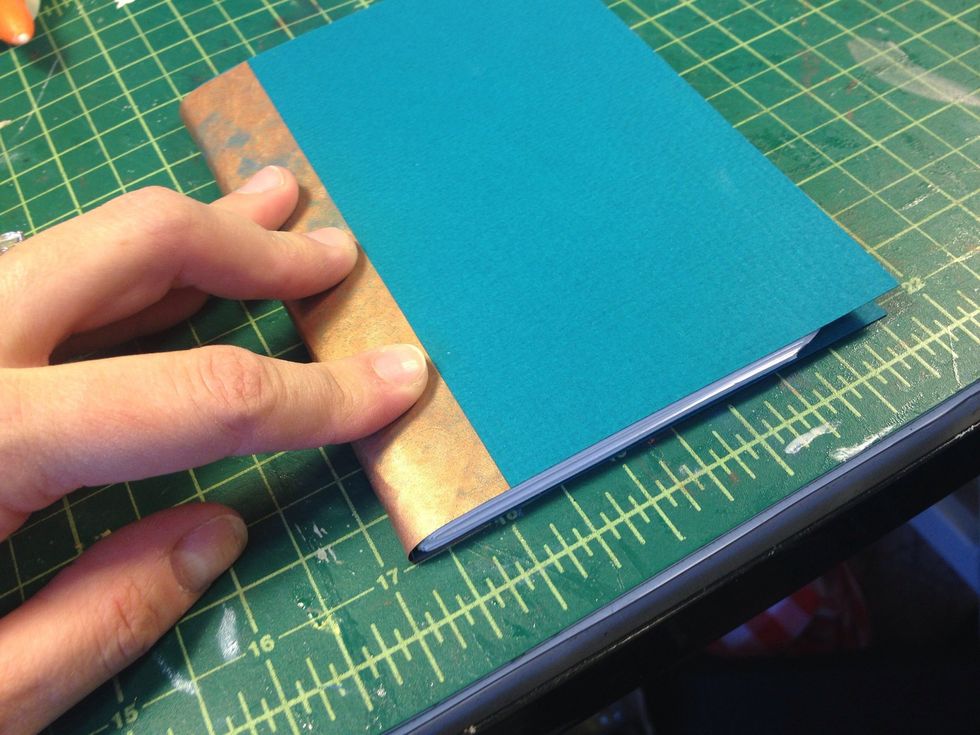
Flip the book over, wrap the paper around the spine, and press it down on the back.
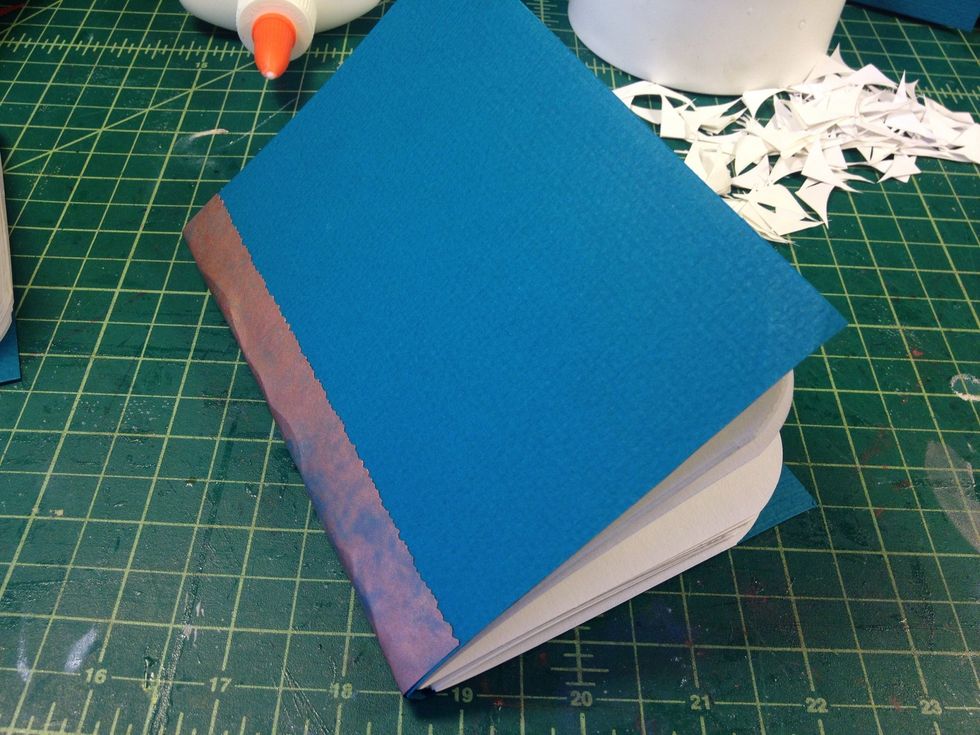
Front cover with spine detail
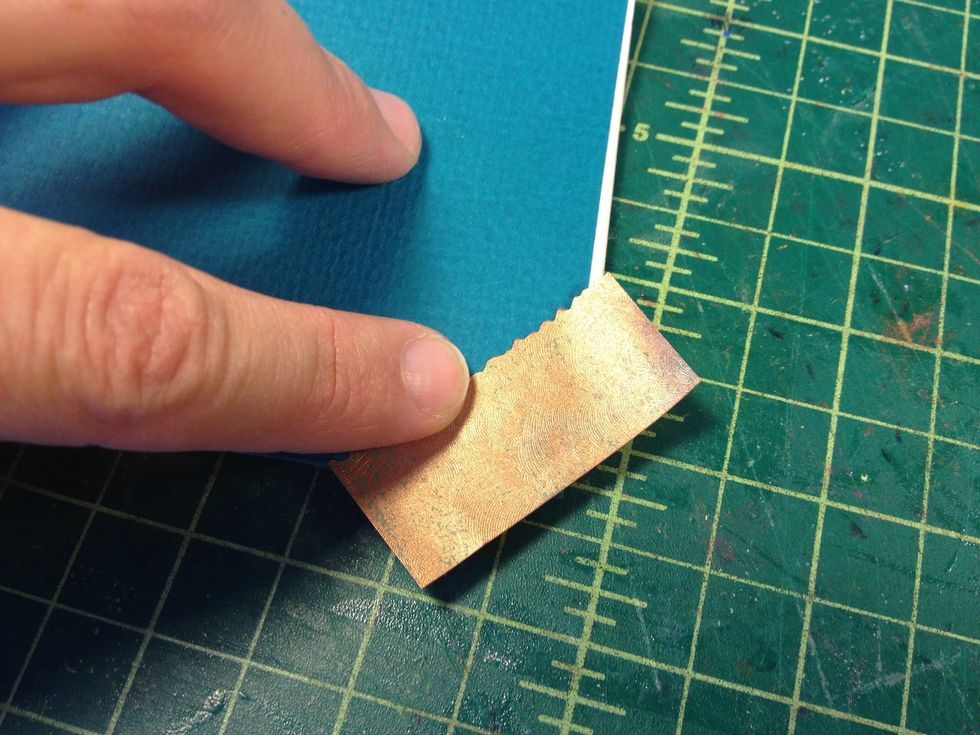
Make corner reinforcement details. Cut and "edge" some small pieces of the same paper. Add glue and stick to the corners as shown.
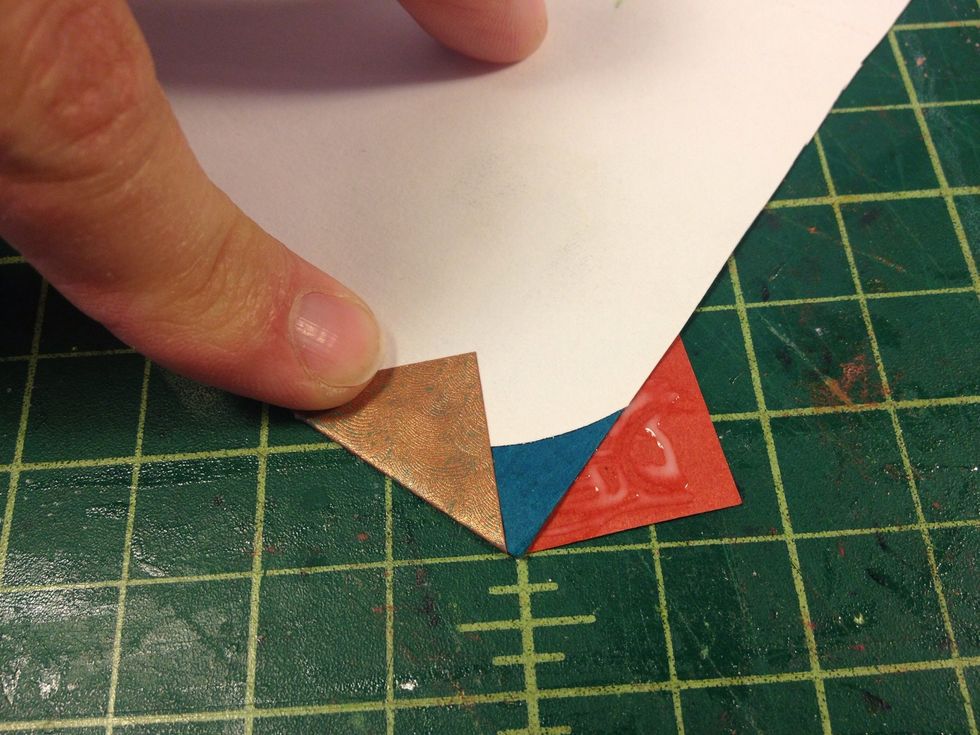
Open the cover and fold the corner flaps in.
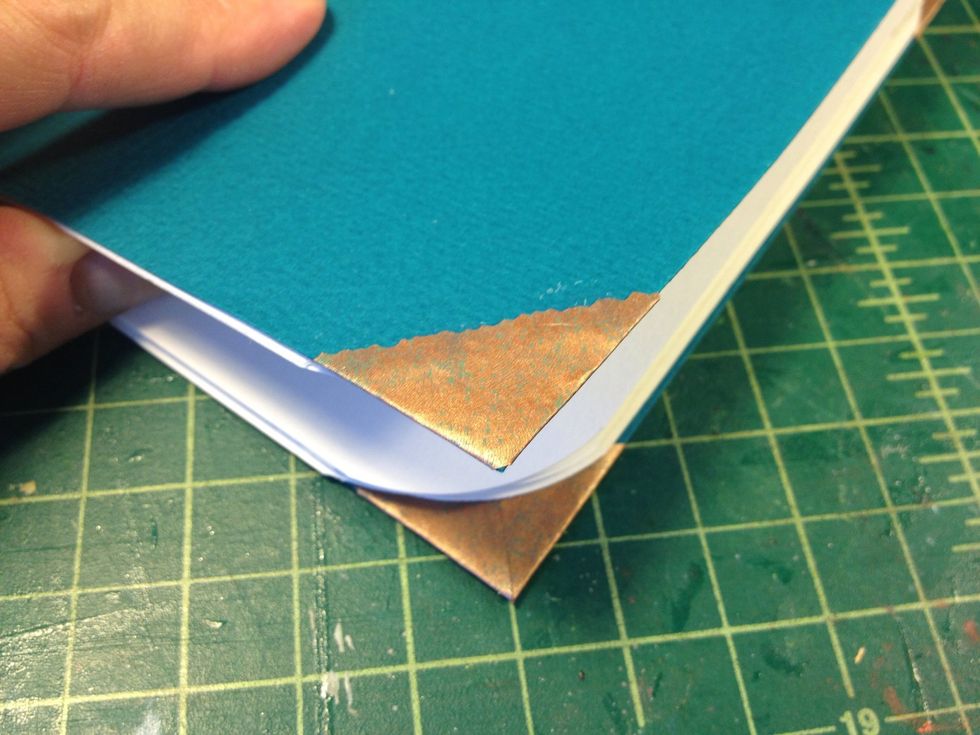
Cool corners!
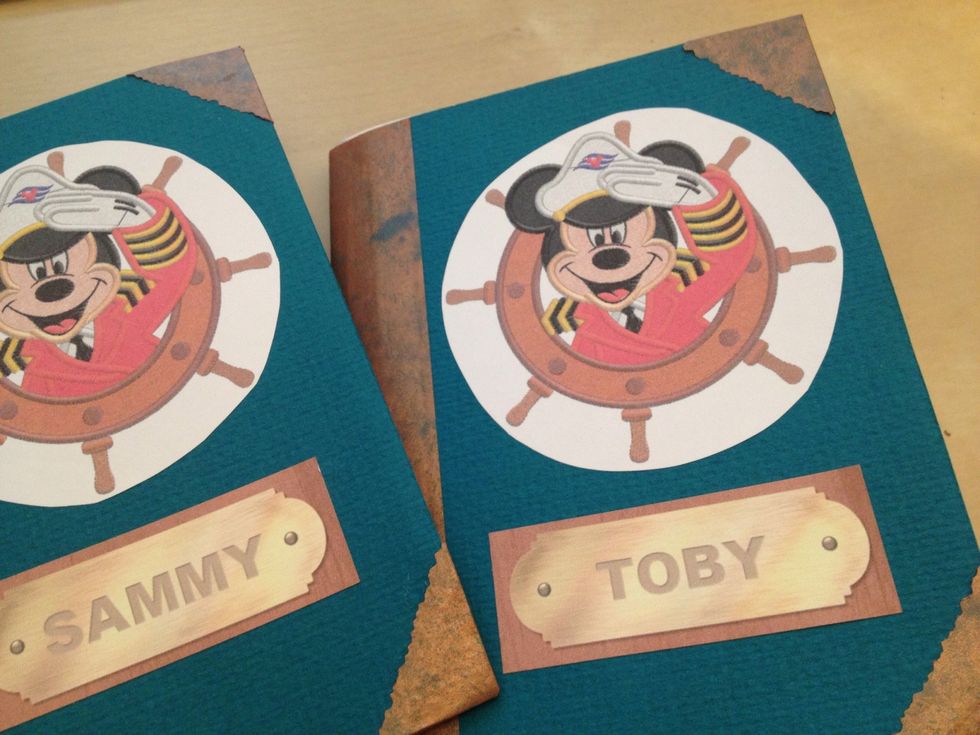
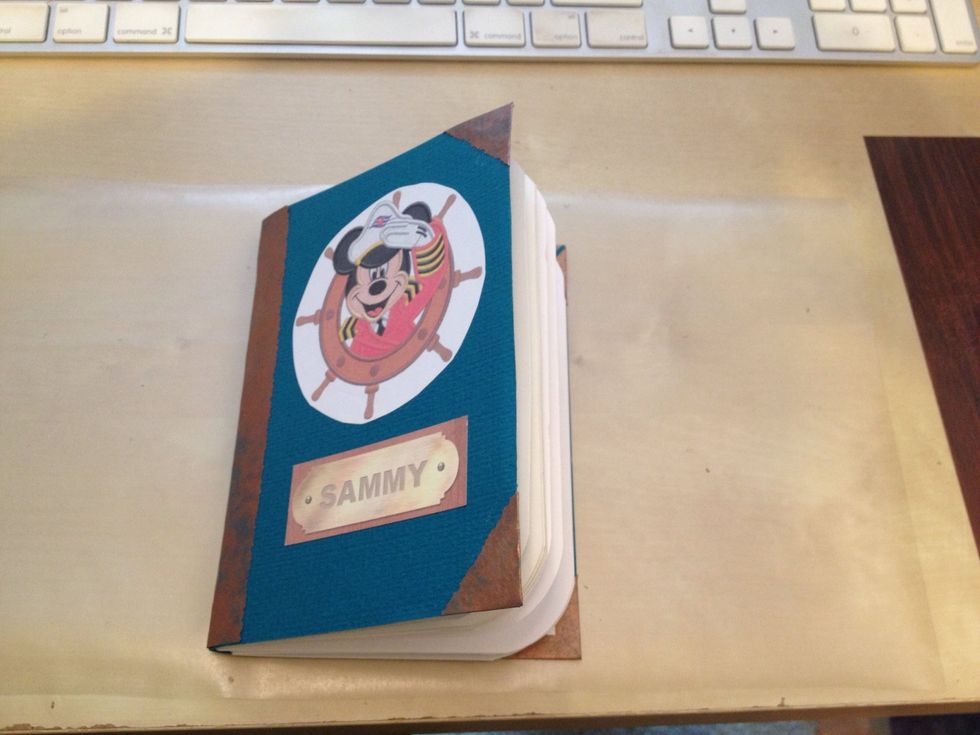
I pulled some images off Google image search for the cover, added my kids' names to a name plate image, printed them on adhesive back paper, cut them out and placed on the front cover.
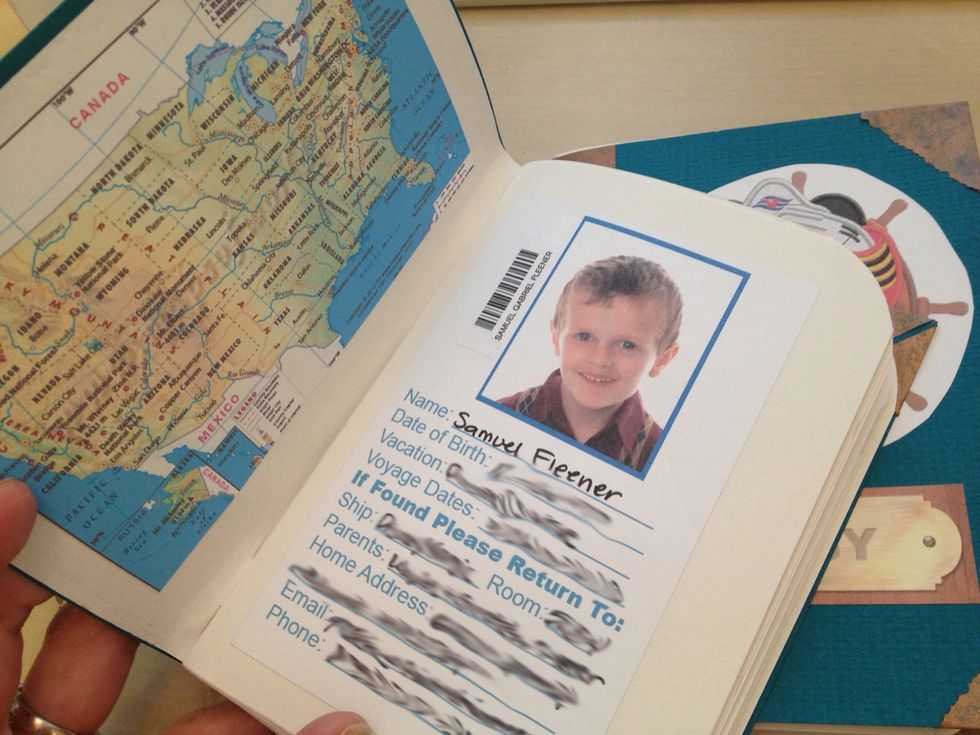
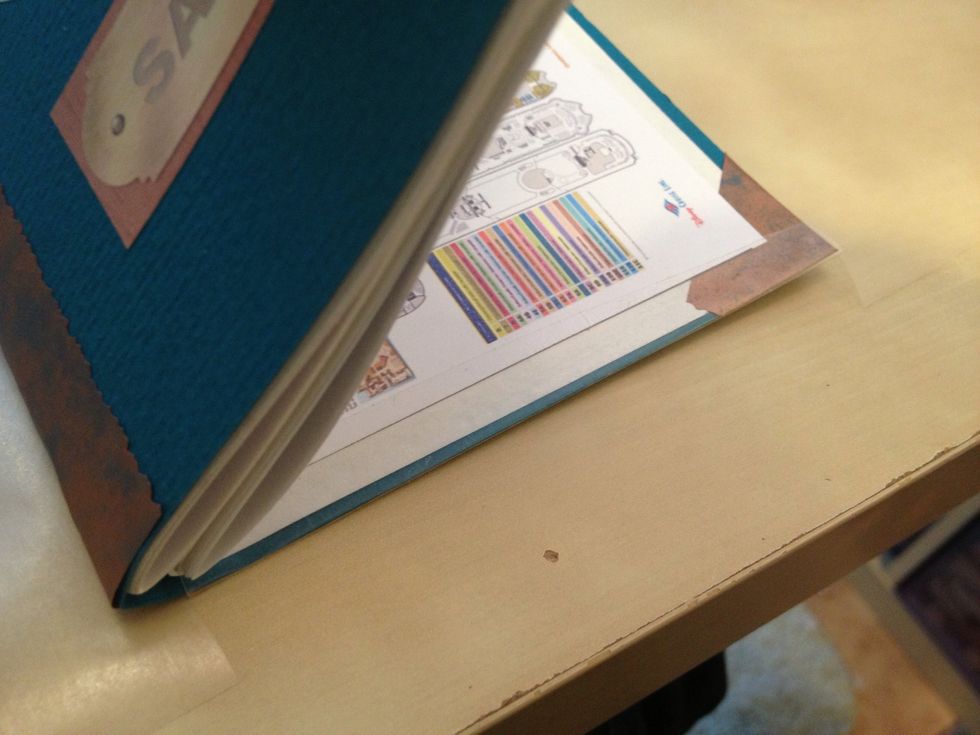
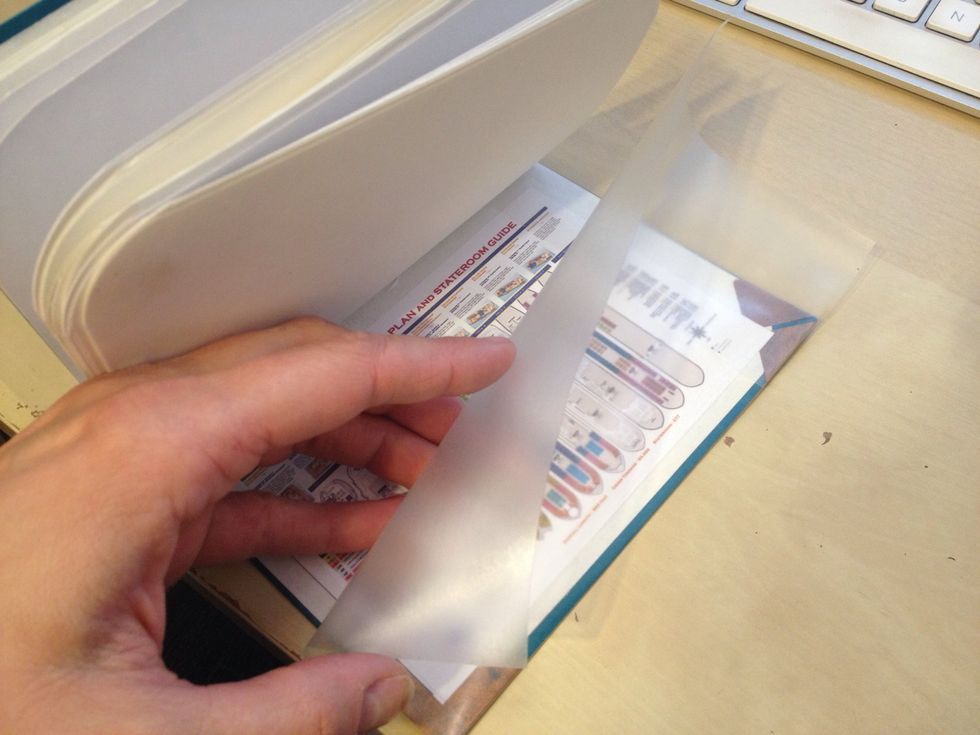
Inside the front cover I printed a US map and made a passport-like photo page! The back cover has a map of our cruise ship.
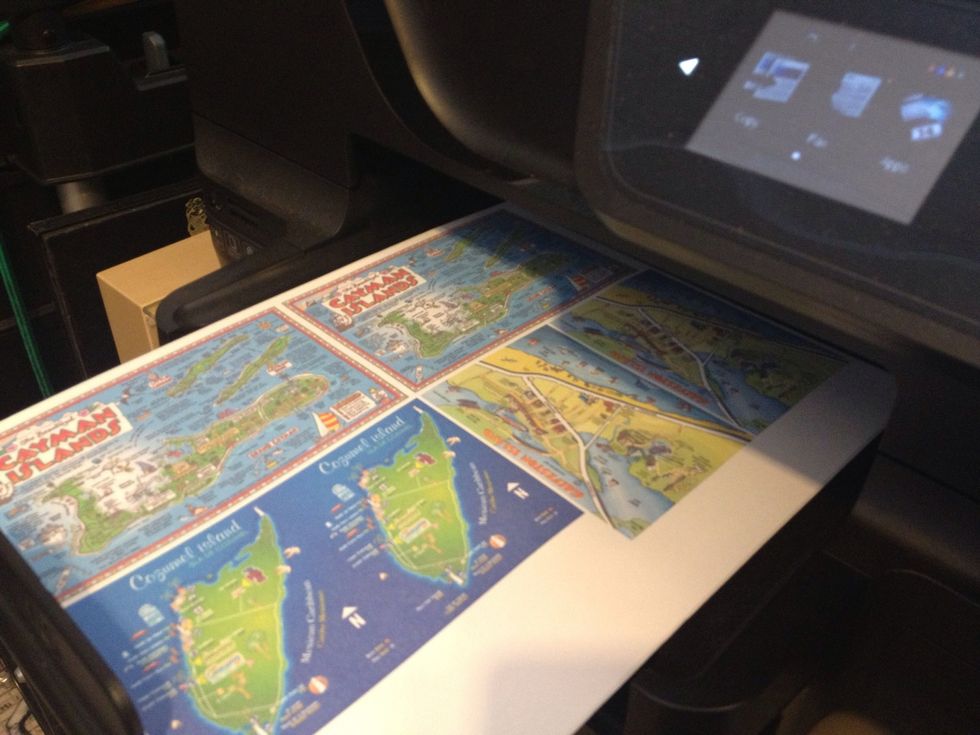
I also printed big stickers with maps for our various stops along our cruise. My boys love maps!
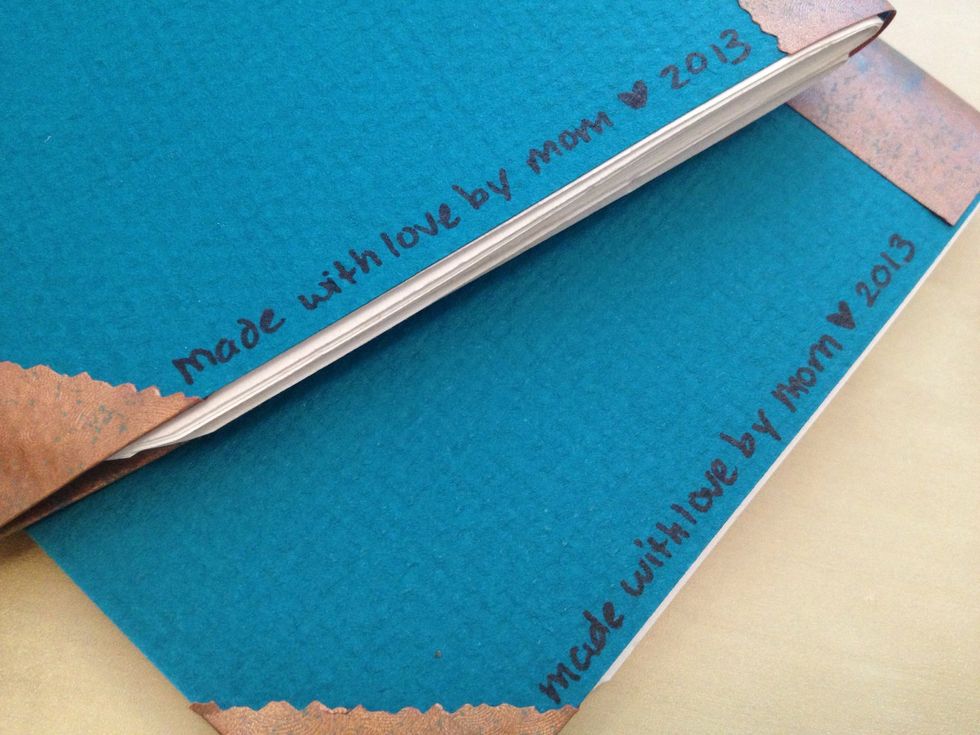
A little note from the manufacturer on the back cover :-)
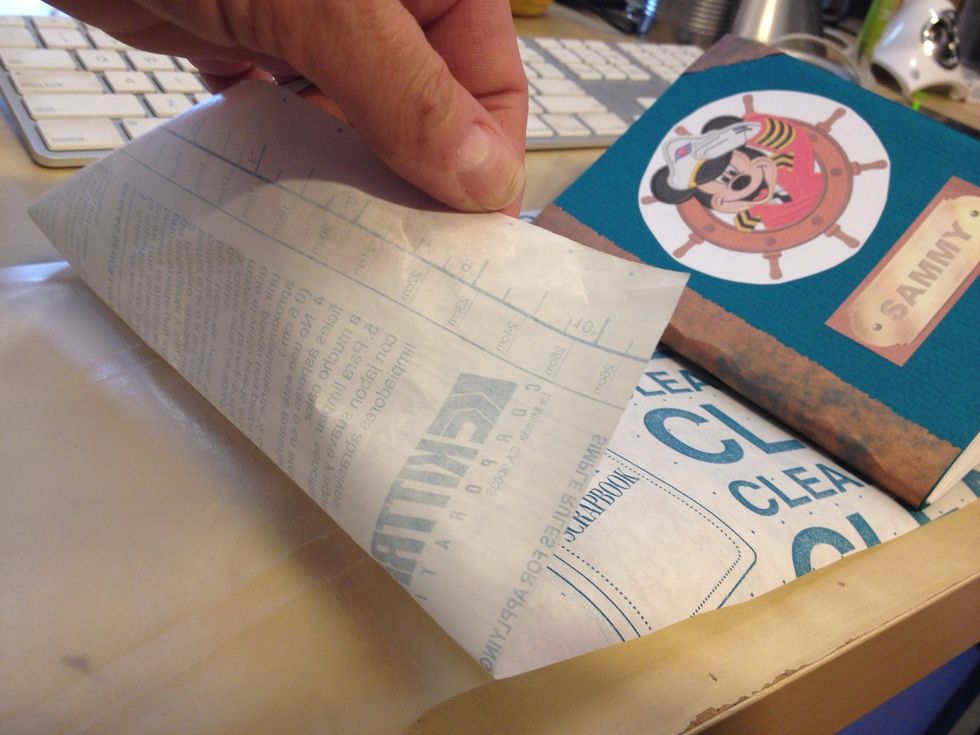
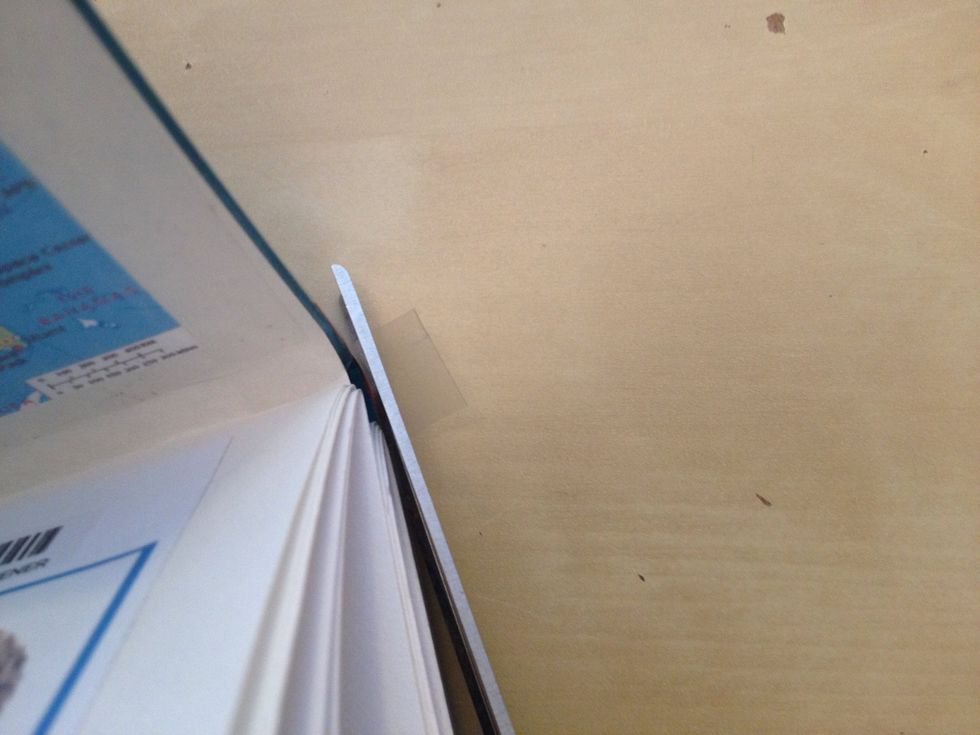
Cover with clear con-tac paper. This is optional but adds durability. Cut a piece that measures 4 x the book's width long, and an inch or two taller than the book's height. Peel off the backing.
Lay the book on the sticky side, making sure the spine sits on the center of the con-tac paper.
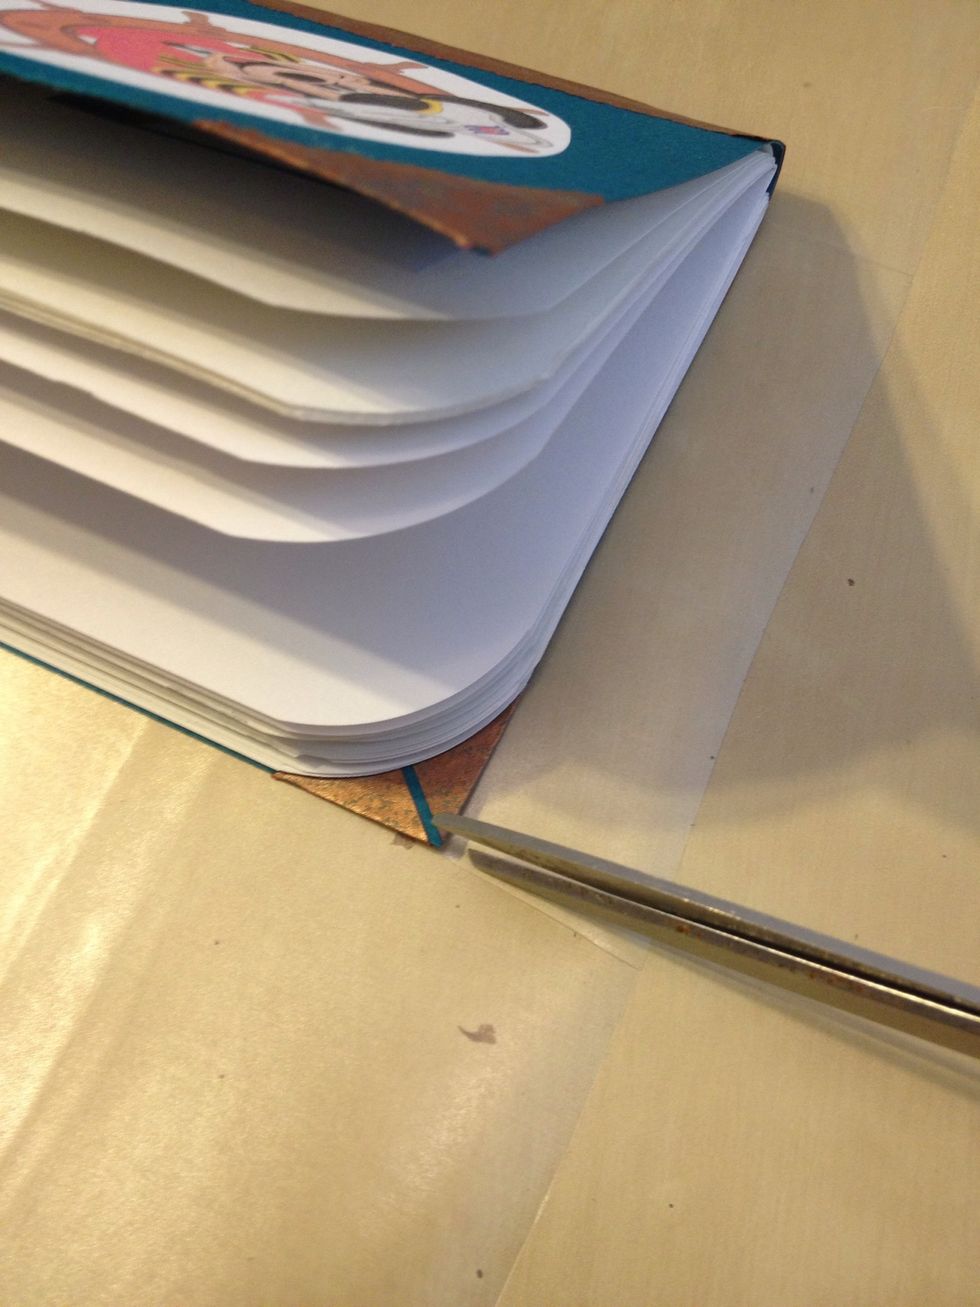
Cut a slit on the con-tac paper along the top edge up to the book at the spine, and then another slit up to one corner.
Trim the rectangular corner piece off as shown. Do the same to the other corner of the same cover.
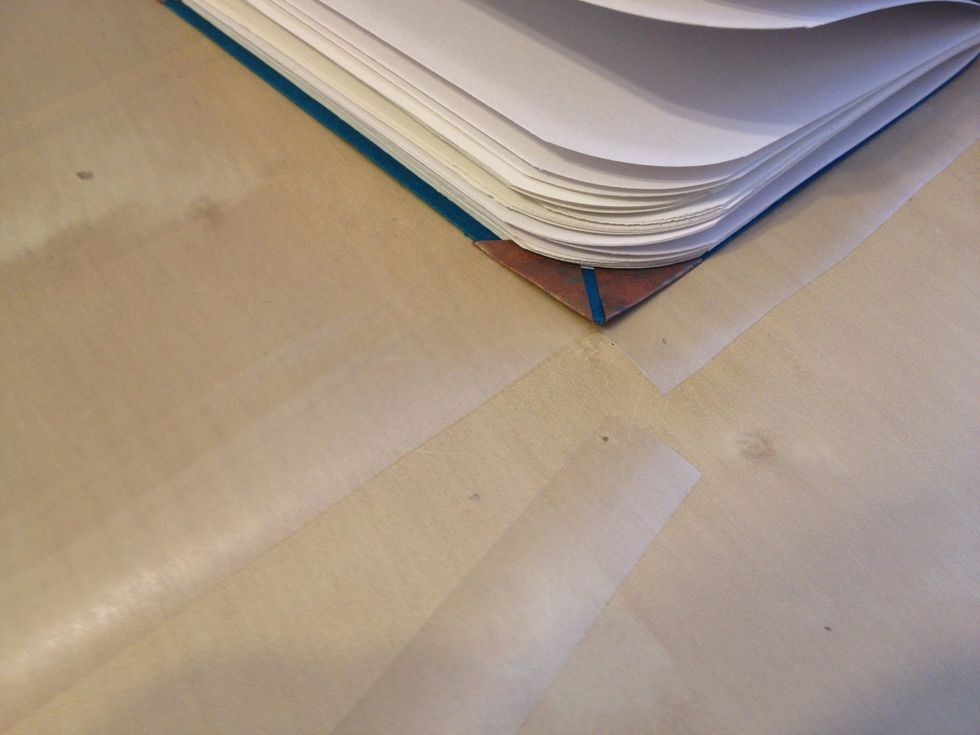
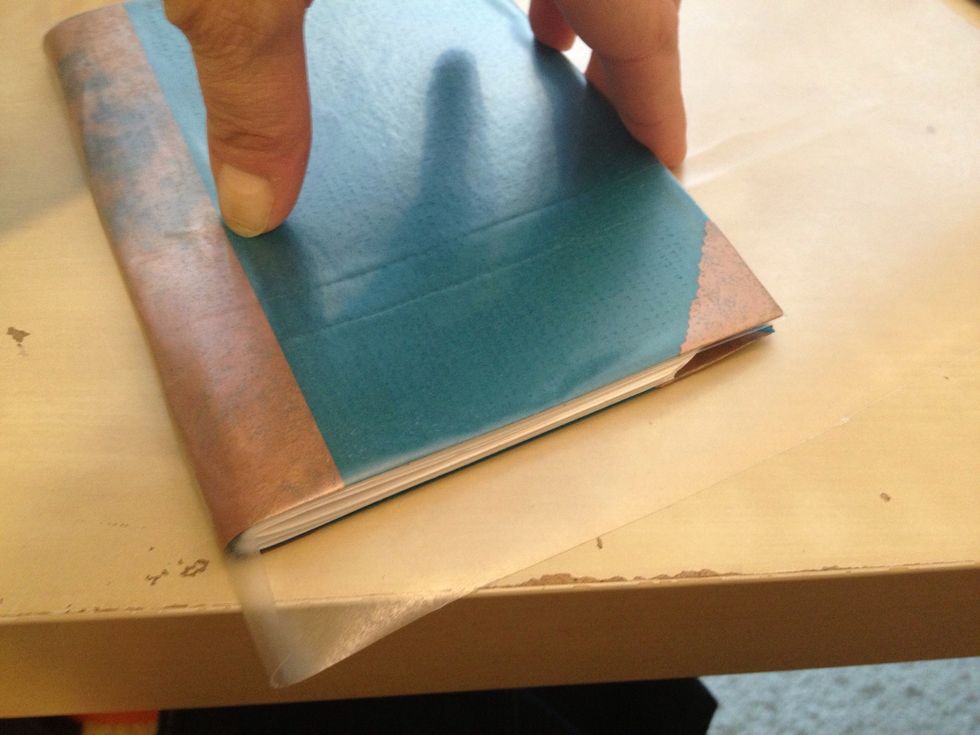
Open the cover and fold the bottom and top edges of con-tac paper over the cover.
Fold the large flap of con-tac paper over to cover the inside of the book cover.

Cut more slits where the other cover meets the spine. Repeat the trimming and folding over the remaining cover.
Trim off excess at the spine.
The covered book!
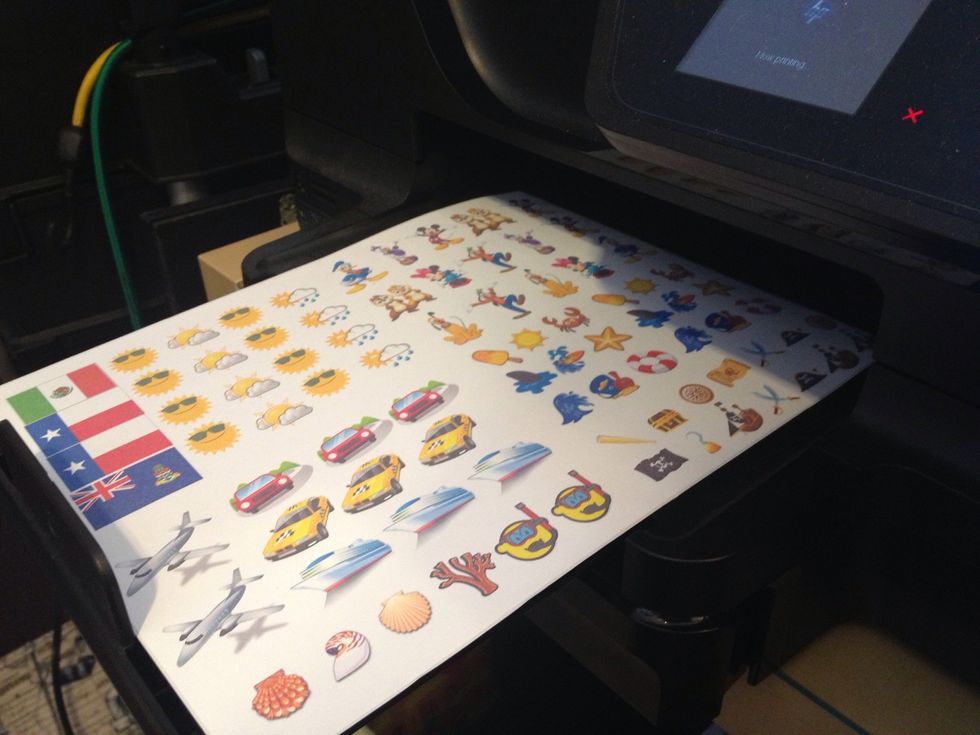
Make your own sticker sheets with images off the web. I picked flags for where we will be, weather, transportation, activities, Disney characters we will see, etc. print on adhesive back paper.
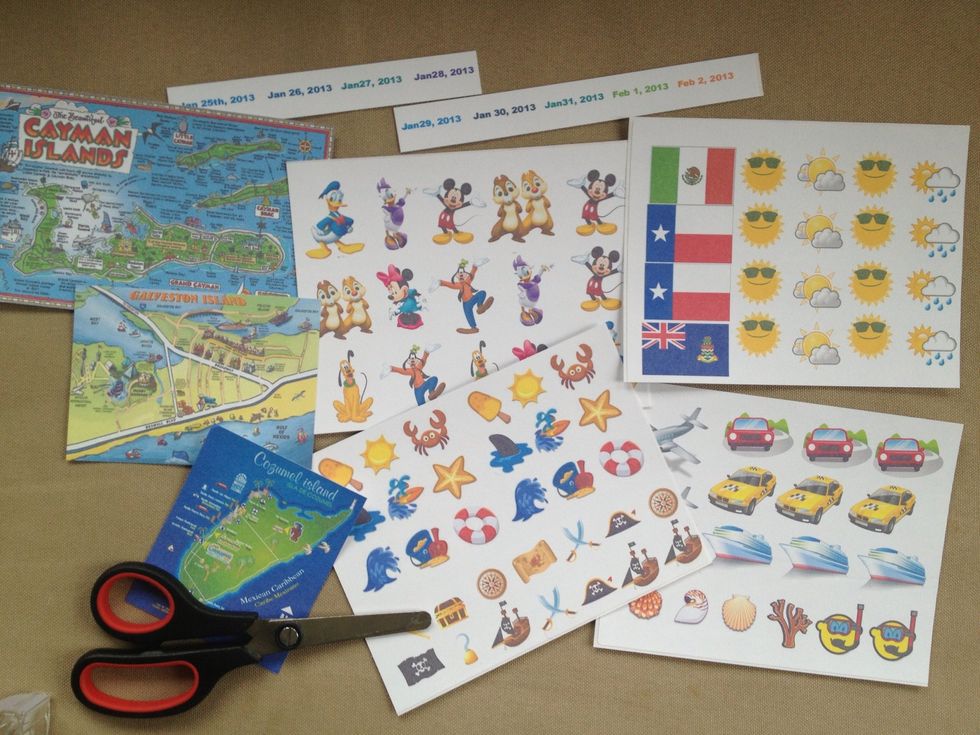
Cut apart the sticker sheets. I also made stickers with the dates of our trip so the boys could label each page or section.
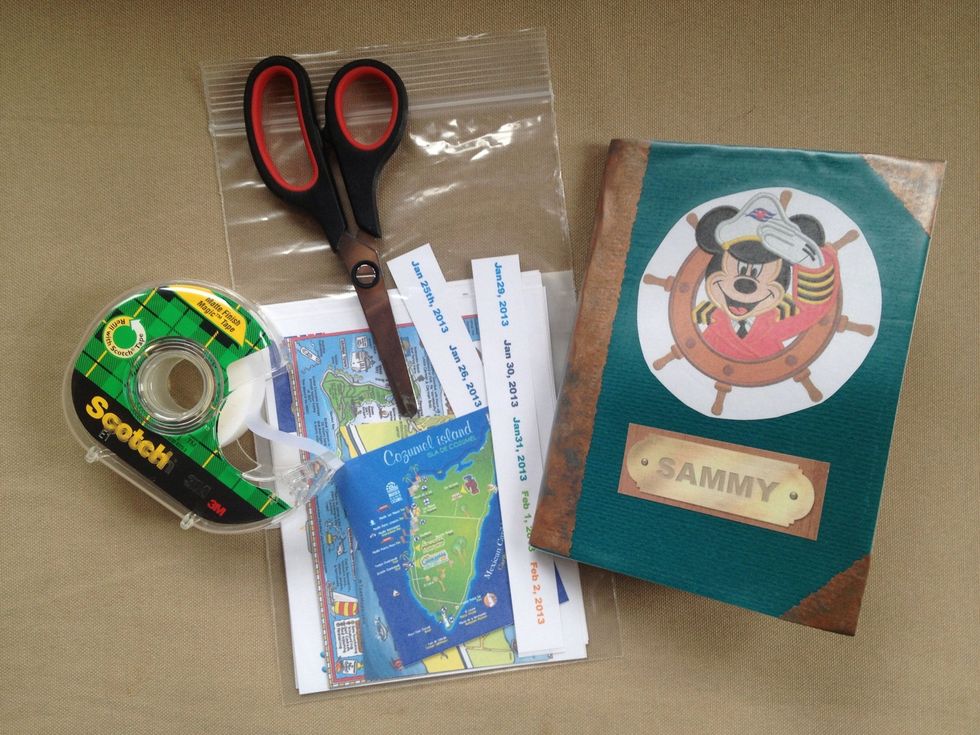
Bring small scissors (in checked bags), tape, etc. I put the stickers in a small bag.
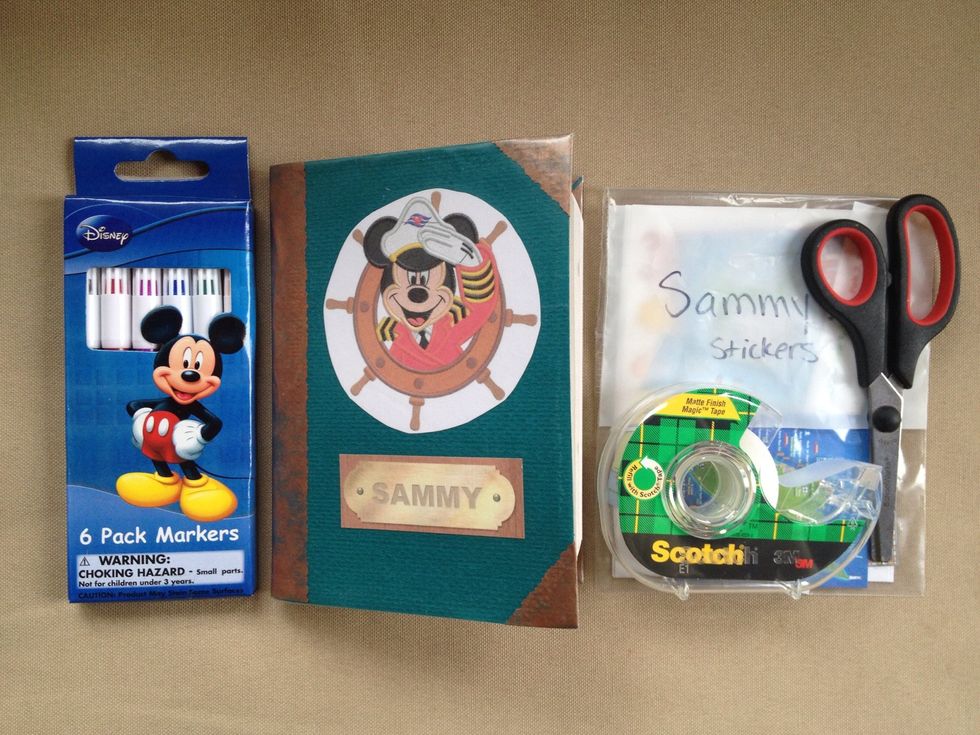
I also found some small Disney markers at the dollar store for each kid.
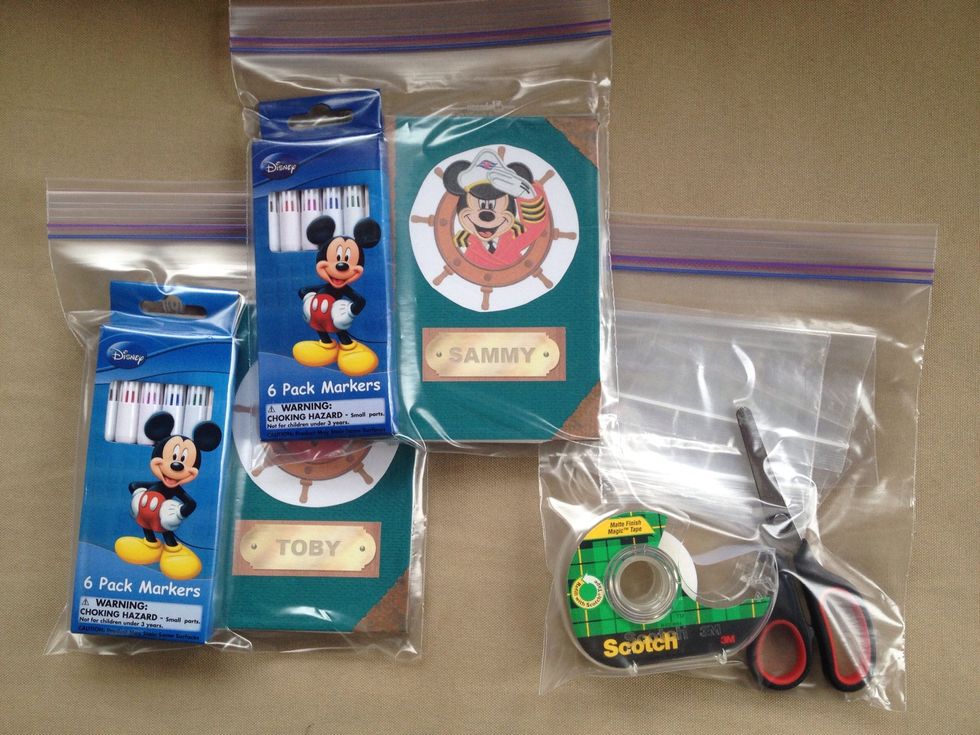
Each kid gets a ziplock Baggie with their book, stickers, and markers. I get a bag with scissors, tape, glue, and tiny bags to help them when needed to cut apart stickers & attach found items.
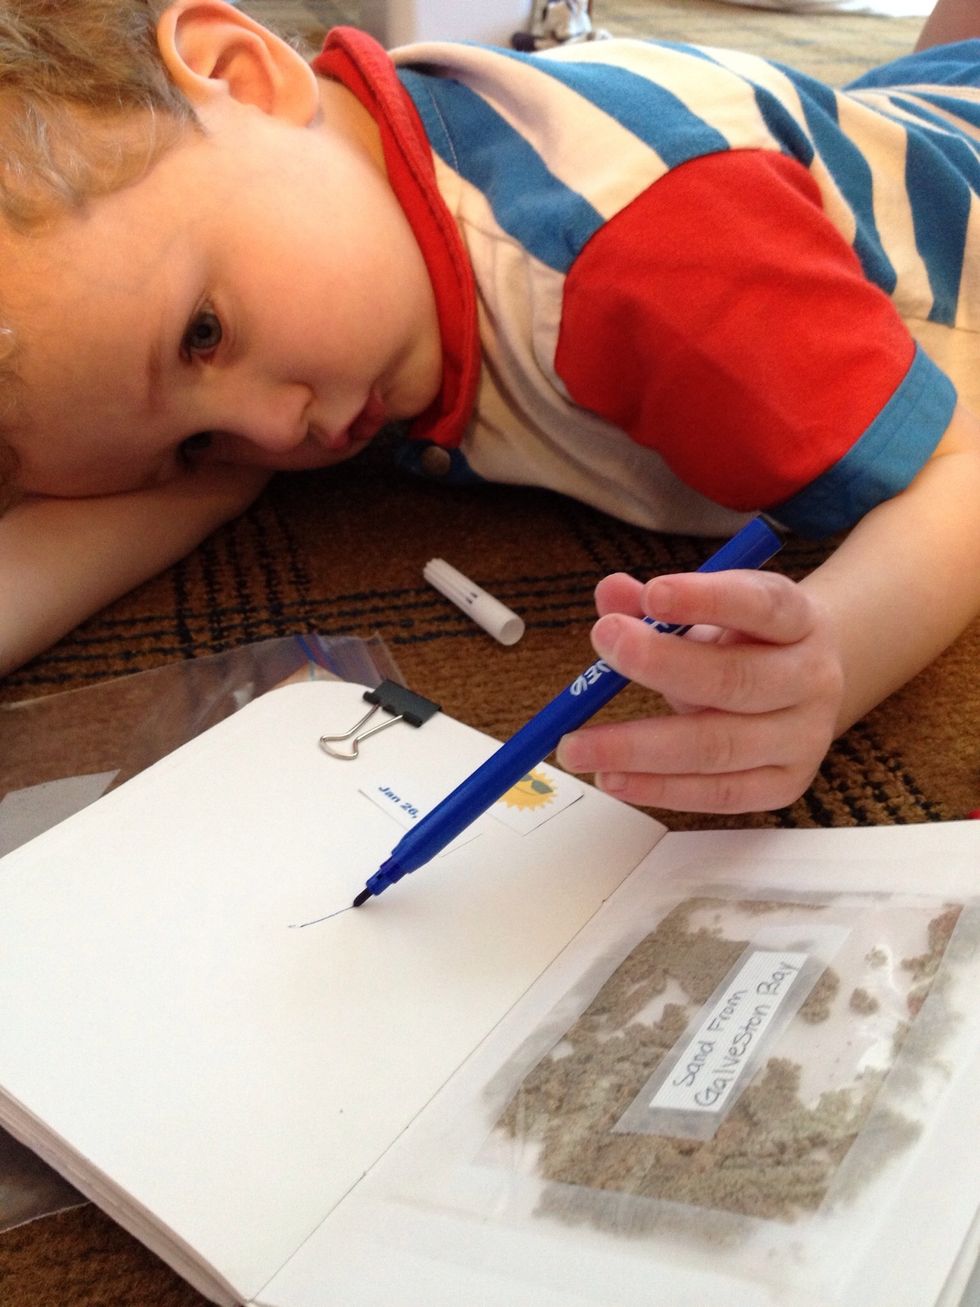
Now go on vacation and enjoy watching your kids make their books their own! I was surprised how much my boys (3 & 5) really got into it!