The Conversation (0)
Sign Up
Great thing #1 about this ornament: It is made totally with scraps. No need to waste a whole sheet for just a few circles. Dig through your stash!
Great thing #2 about this ornament: There is no adhesive, so it is very kid friendly! {there is one step with a paper pieces that they will need help with!} The textured rope keeps the layers up.
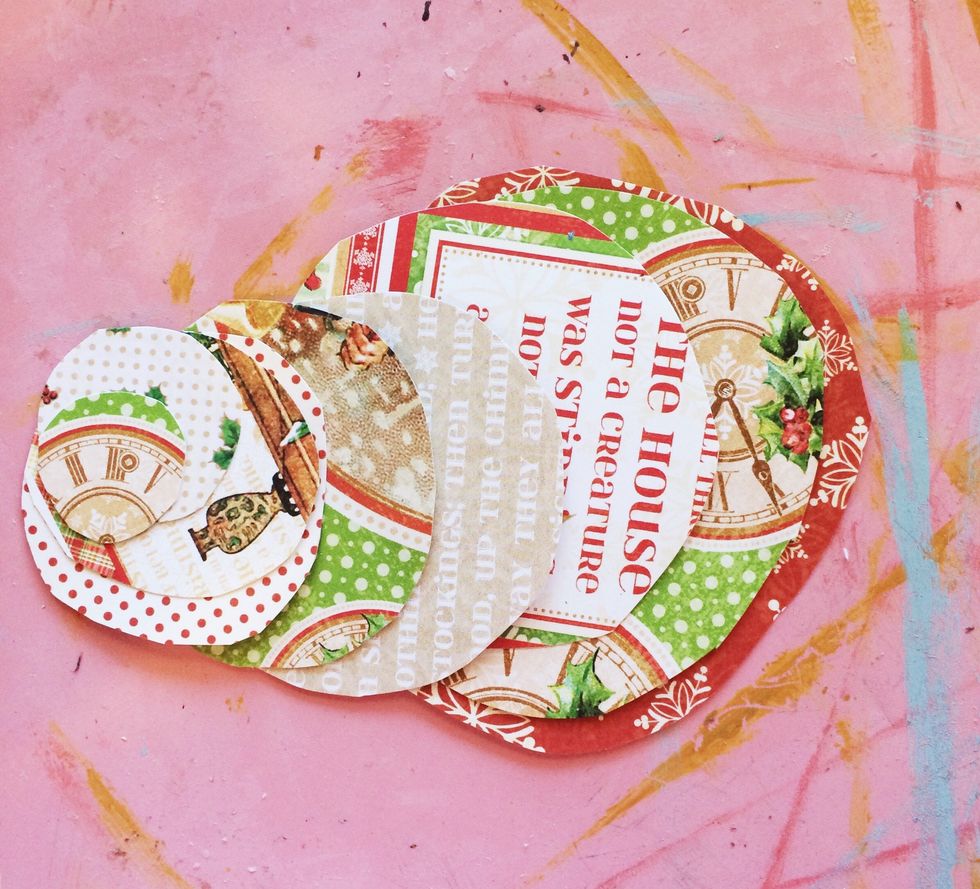
Start by cutting about 8-10 circles in graduating sizes.
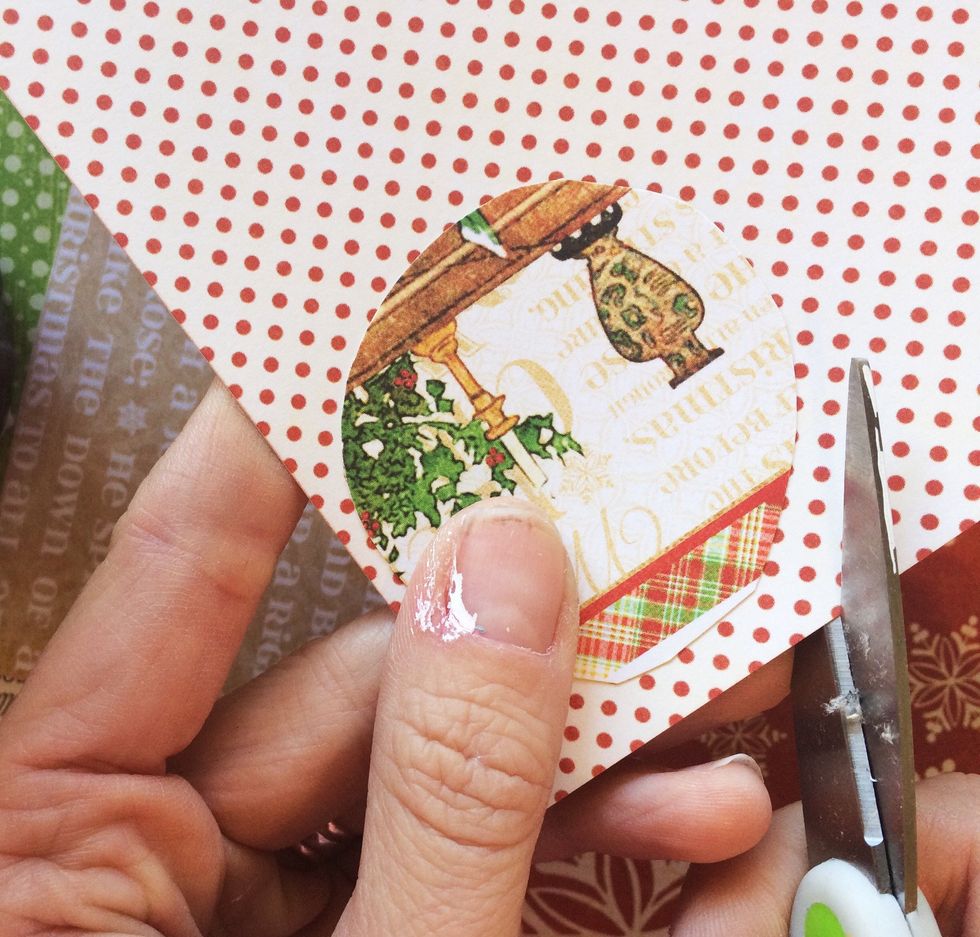
Here's a tip: free hand your smallest circle. Then lay it on top of your paper and use it as a guide to cut your next circle slightly larger. Using your new circle, repeat this process 8-10 times.
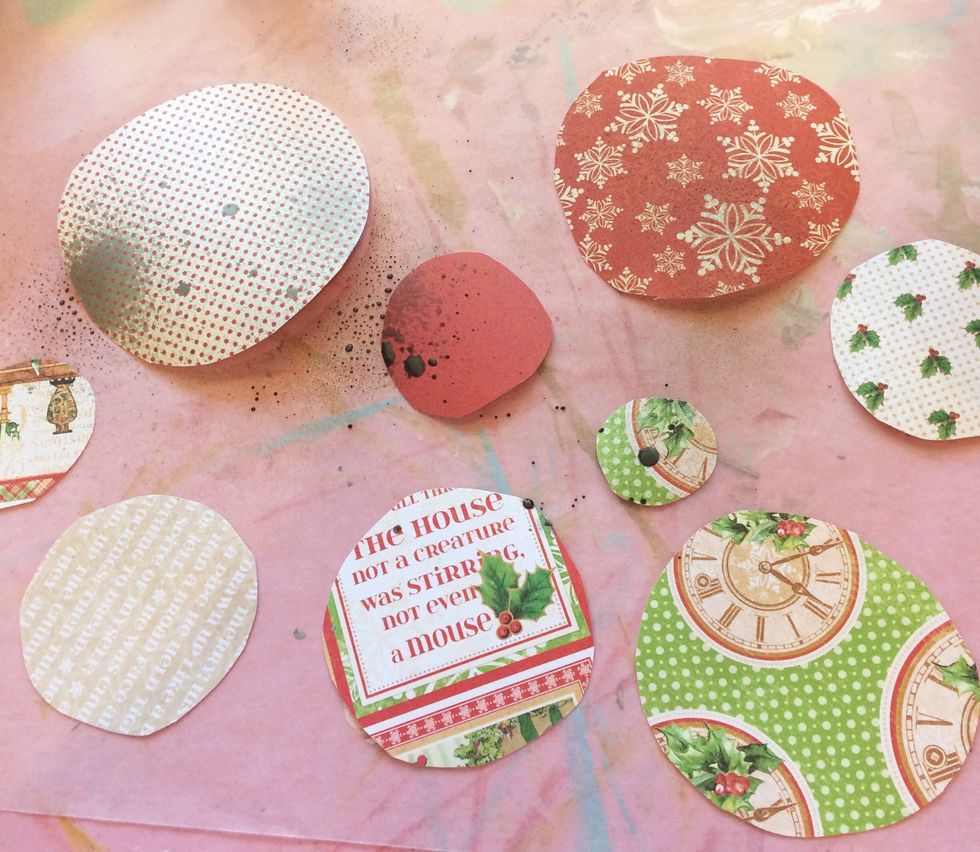
Once you have them all done, choose either a plain water bottle or a colored spray ink (like I did) to lightly mist your circles. This will help the next step.
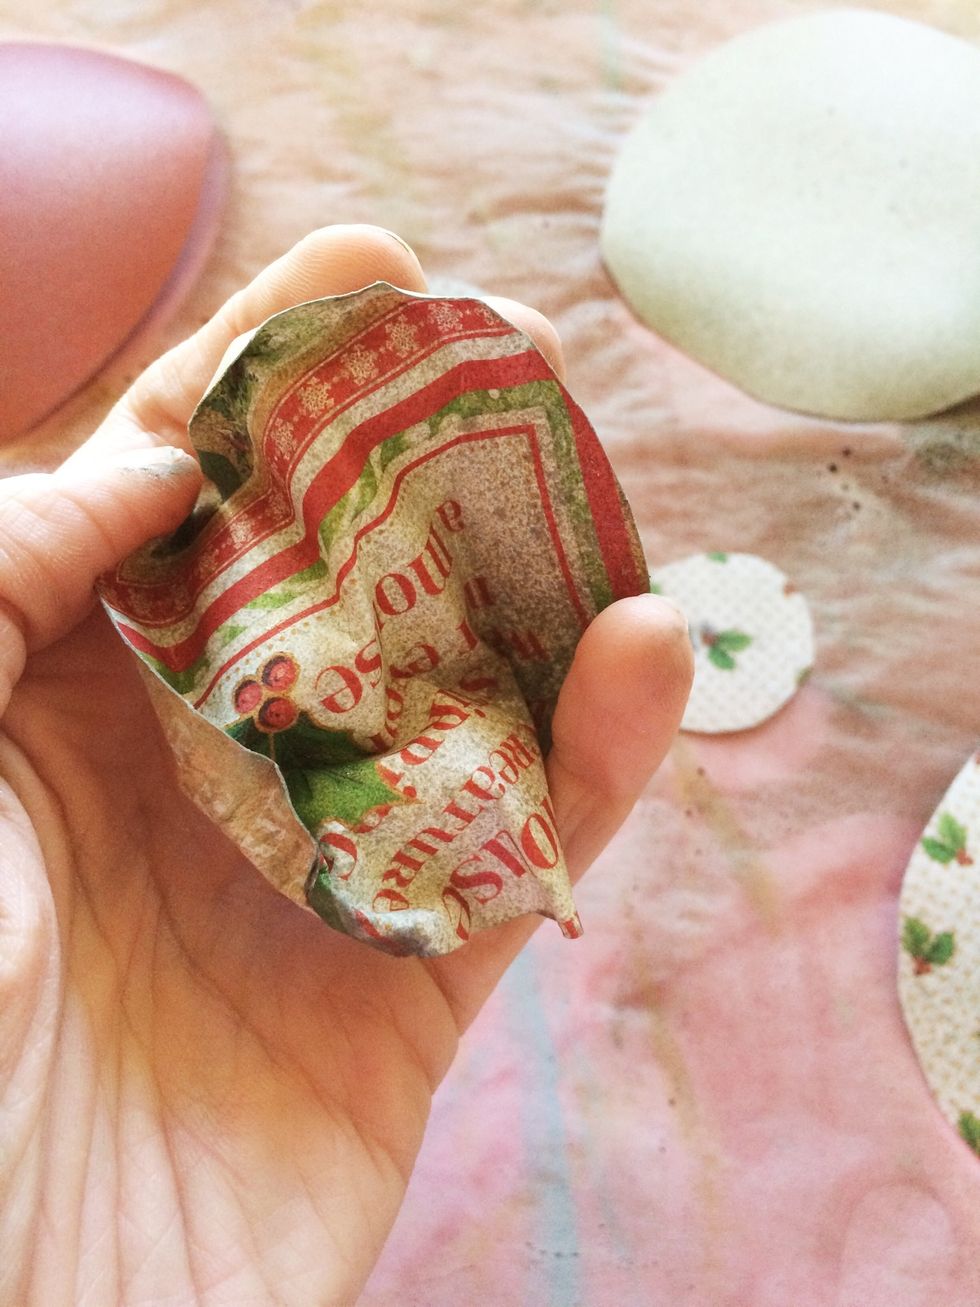
Lightly crumple each circle in your hand. This will add texture and help it stay gripping your rope. Allow to dry or use a heat gun to speed up the process.
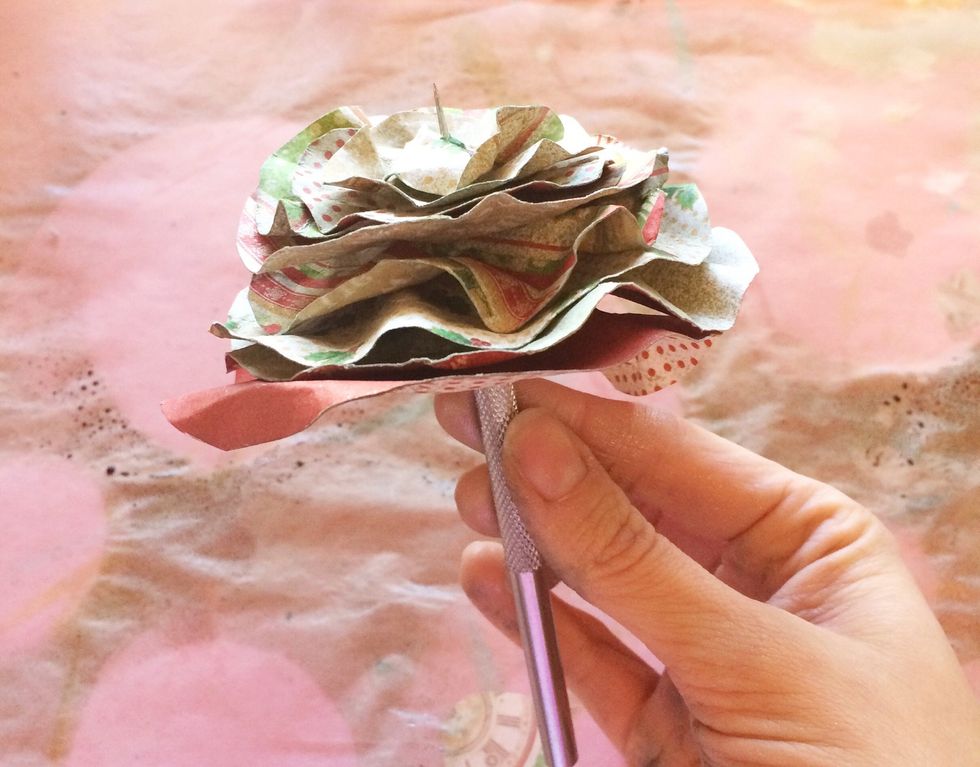
Starting with your largest circle, stack your layers onto a paper piercer. This will allow you to line up your string down the center of your circles. Don't worry it's not perfect!
If your don't own a paper piercer, your can use a large needle or, piercing one at a time, the end of your scissors.
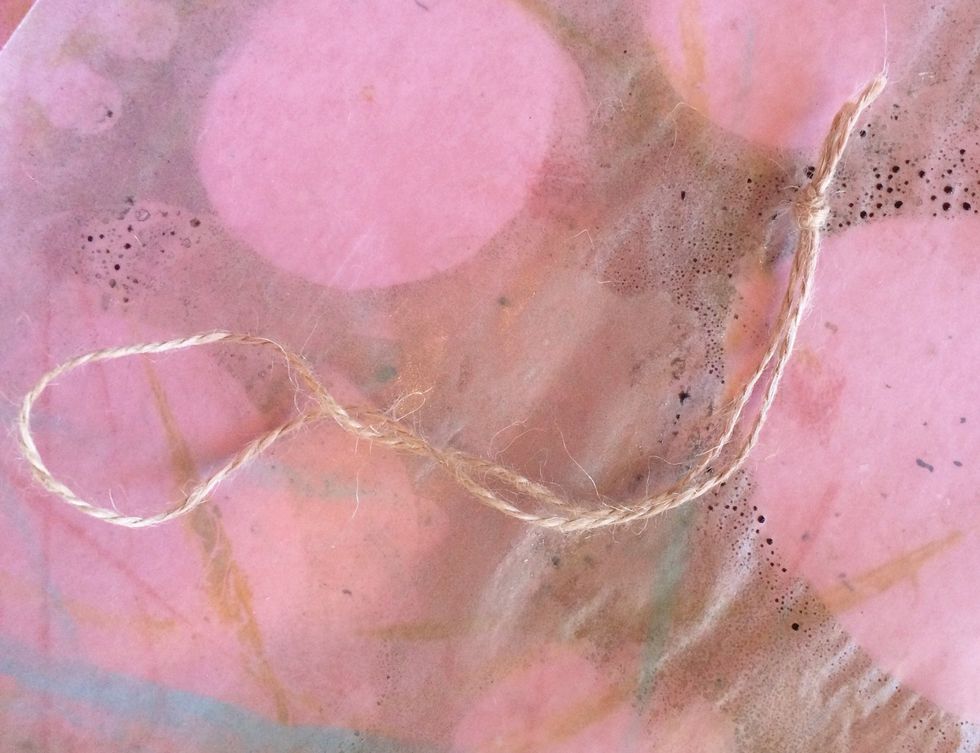
Using a piece of hemp or just that is about 12-14 in, fold it in half and knot the lose end (not the looped end.)
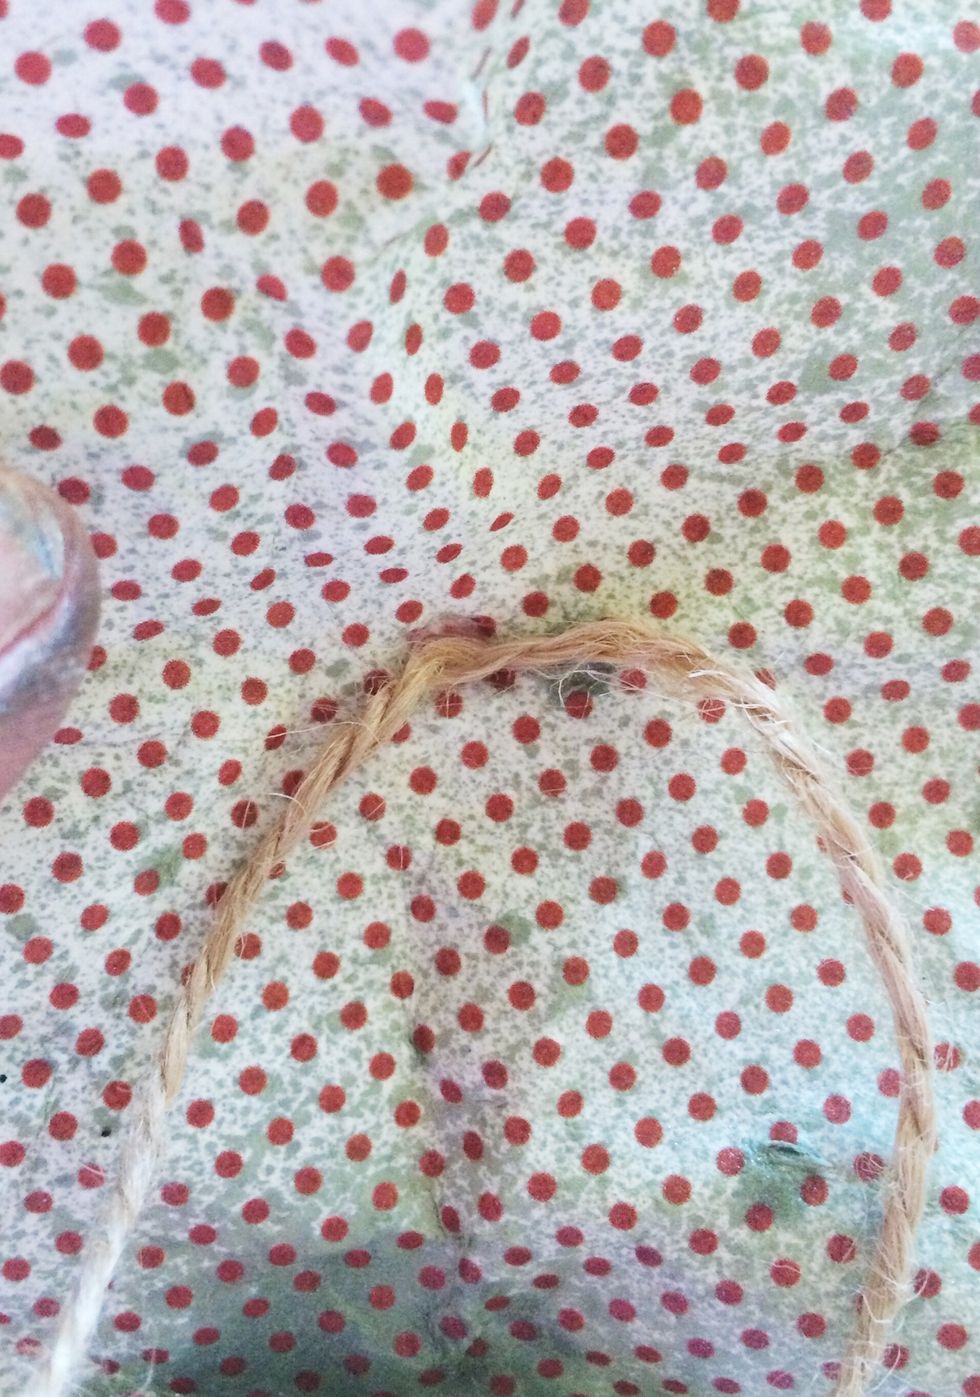
Starting with your largest circle and using the looped end of your rope, poke your rope through the hole you made.
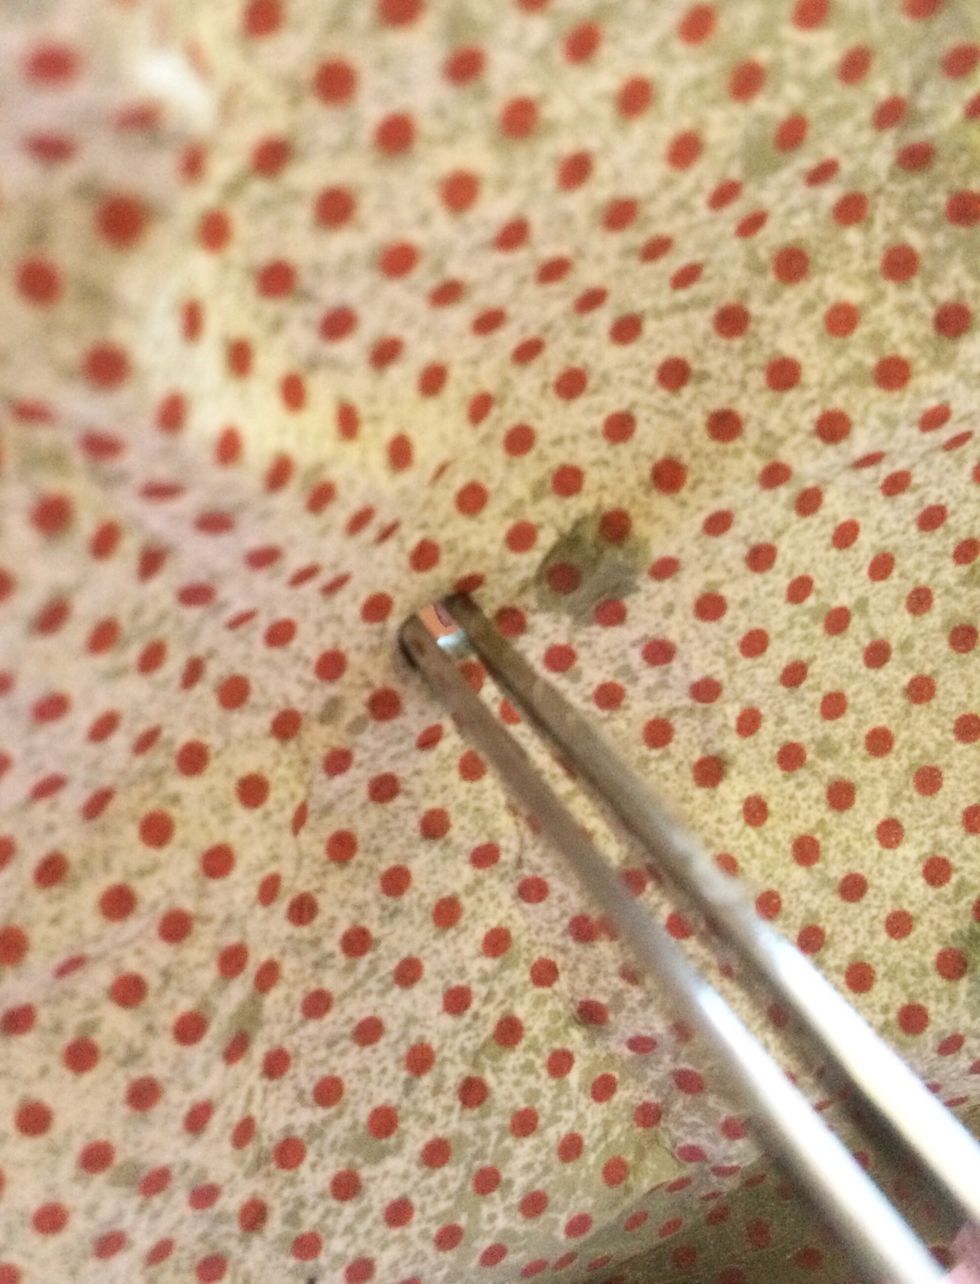
If the hole isn't big enough, insert your tweezers and gently widen the opening. Test your rope again, making sure the hole isn't so big your knot slips through.
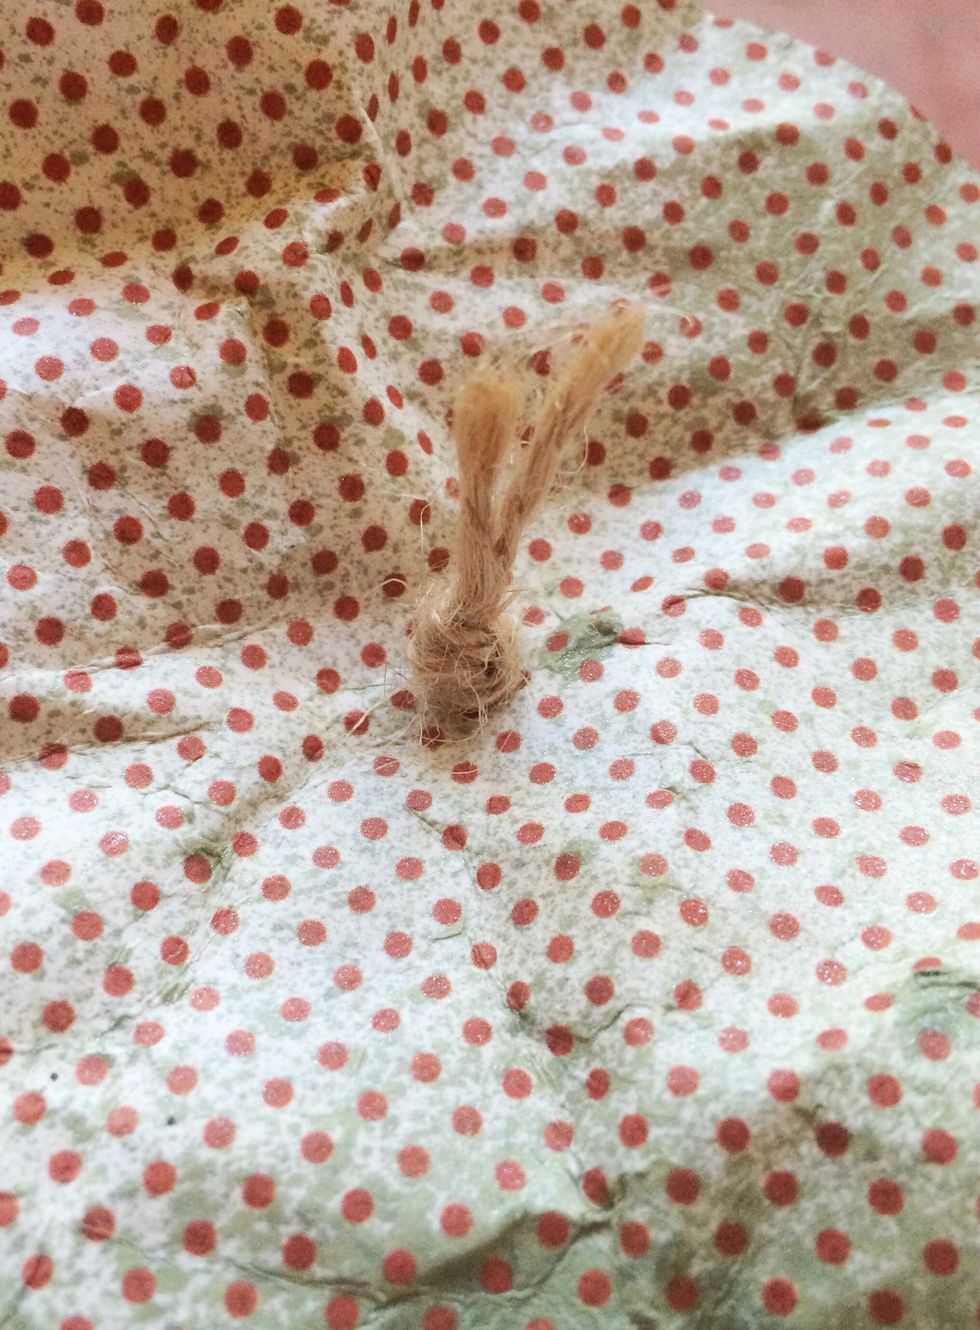
The bottom of your largest circle will look like this.
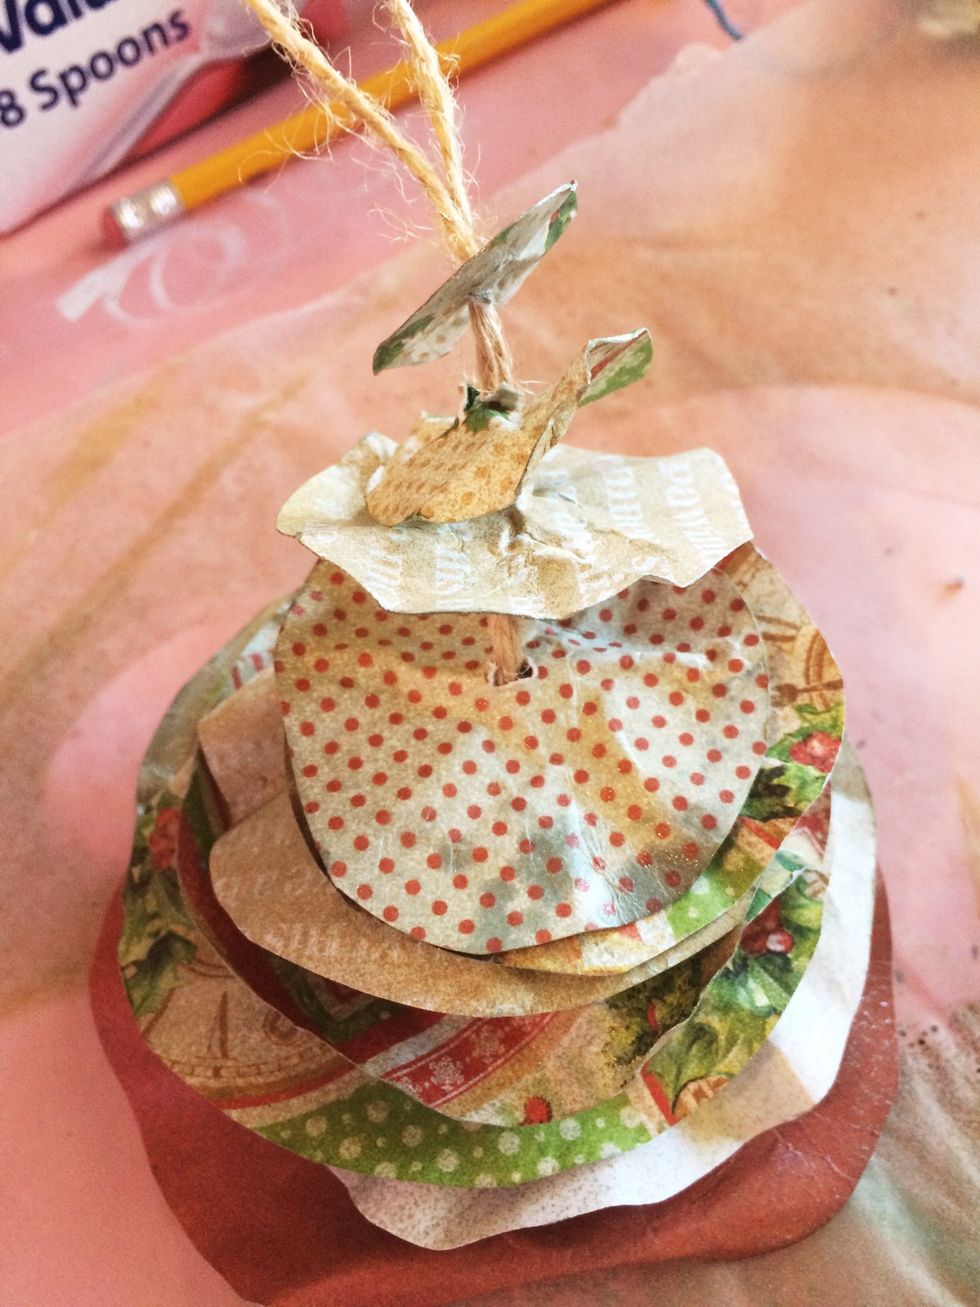
Continue threading your circles from largest to smallest. When all are on, you can "fluff" your tree to the fullness you desire. The texture in your rope will hold your layers in place!
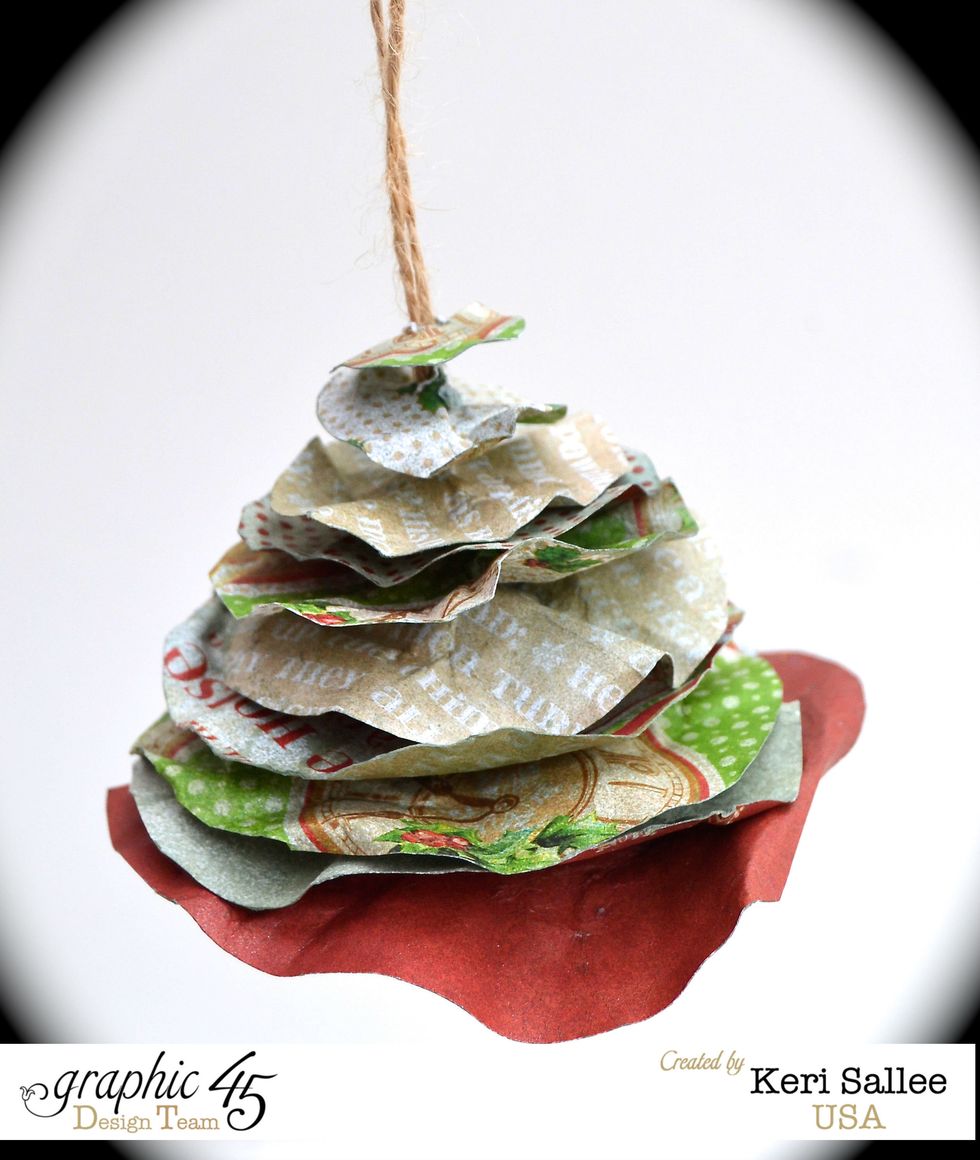
This ornament is so multipurpose! You can make it with circles, stars, squares and in any color combo you wish! I hope you enjoyed today's tutorial! I would love to hear from you!! xoxo, KERI