The Conversation (0)
Sign Up
This is a very easy plushie. You can make it in any size you like, because all of the shapes are very basic.
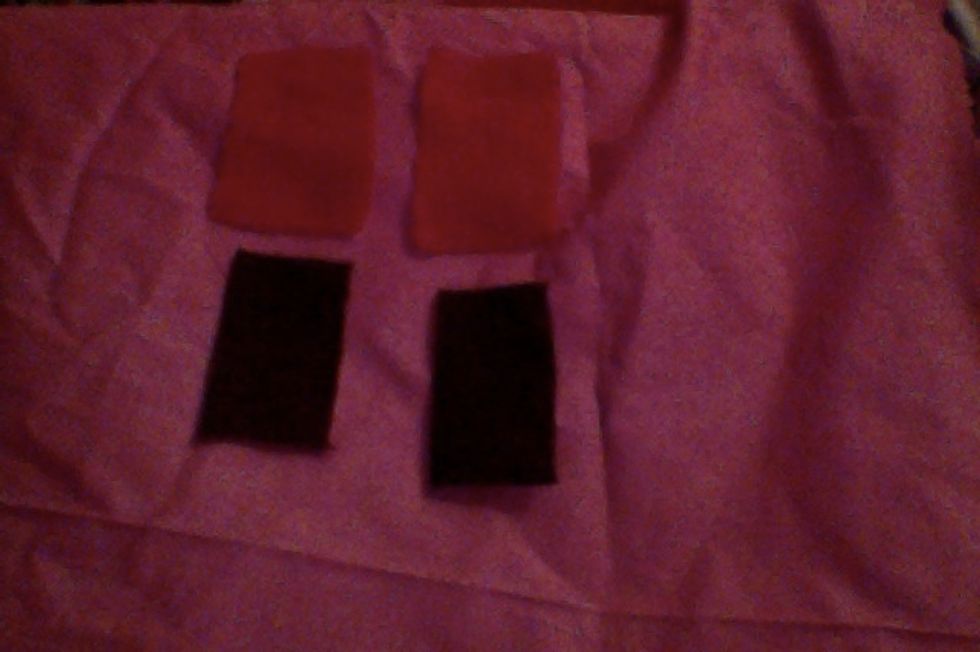
For this project, you will need two brown rectangles and two slightly larger rectangles in the color of your choice.
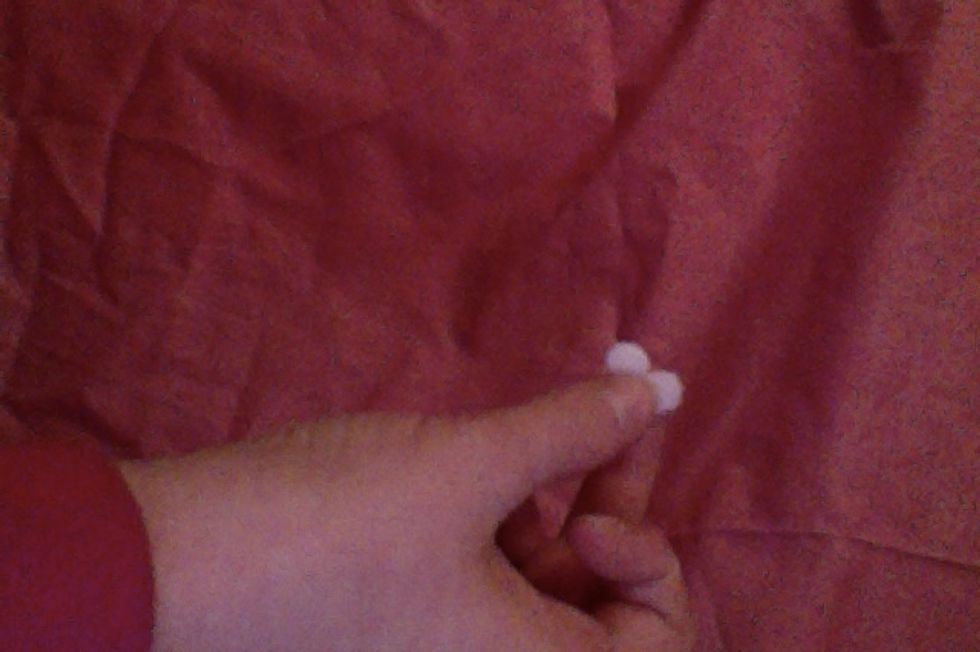
You will also need two small white circles to make the eyes.
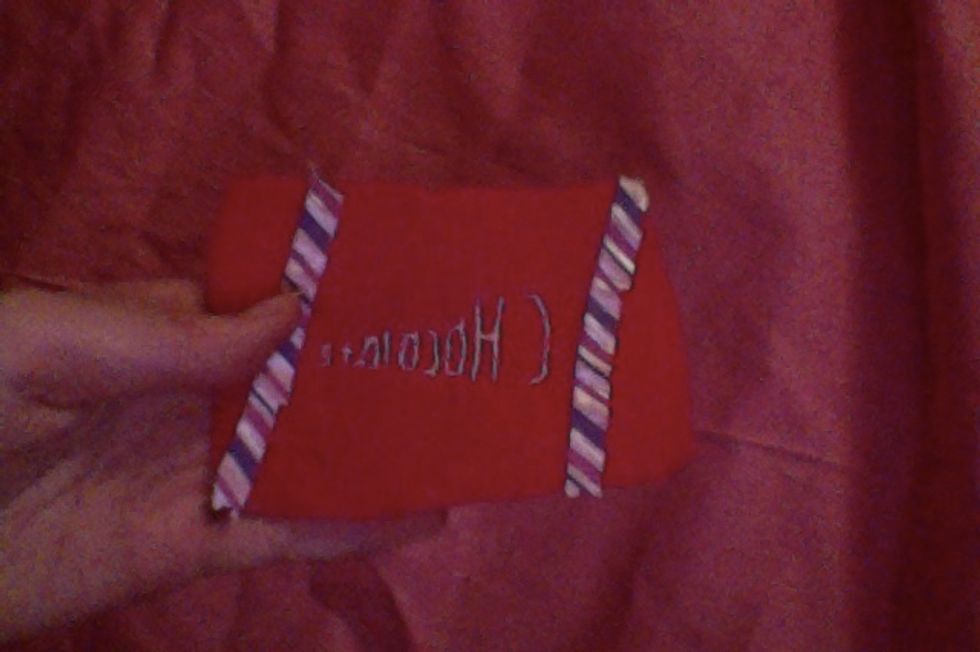
Decorate a larger square however you want (mine says chocolate but it looks backwards).
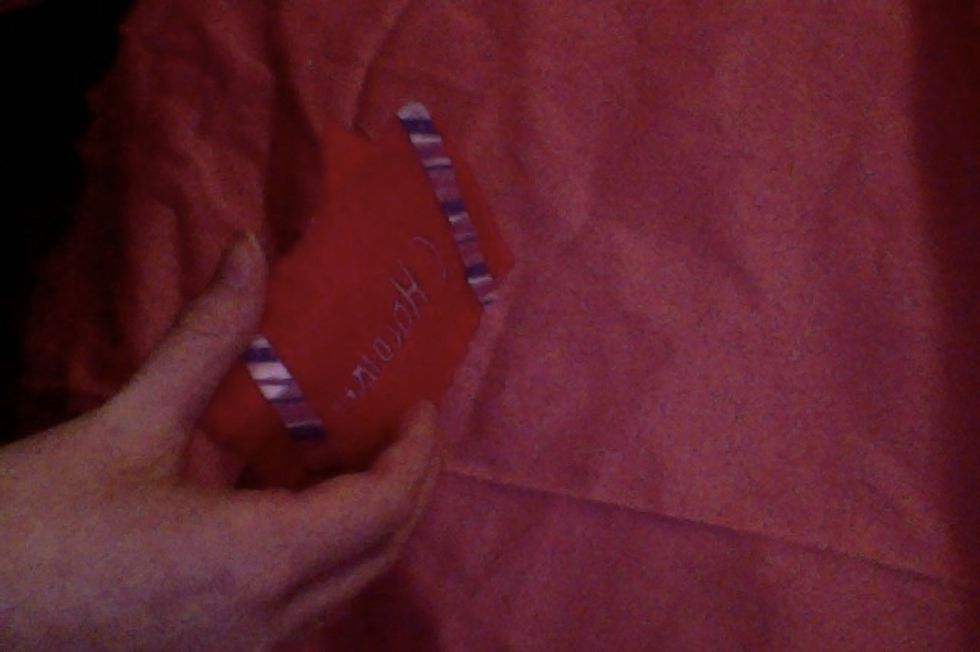
Stitch you two pieces together along one side, the bottom, and 2/3 up the other side. leave the top unstitched.
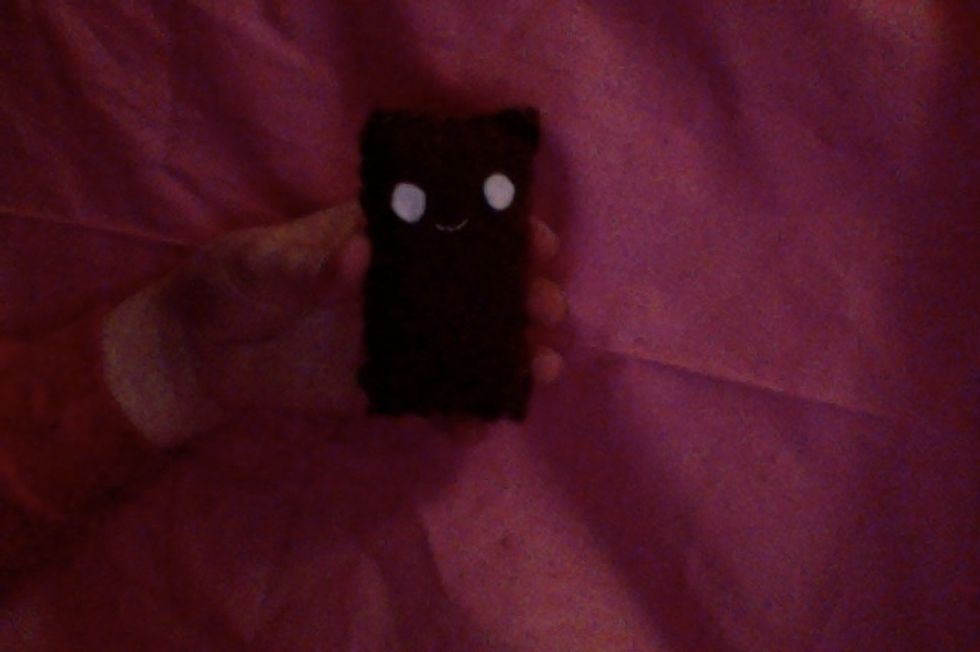
Sew your two brown pieces together,sew on a face, and add stuffing.
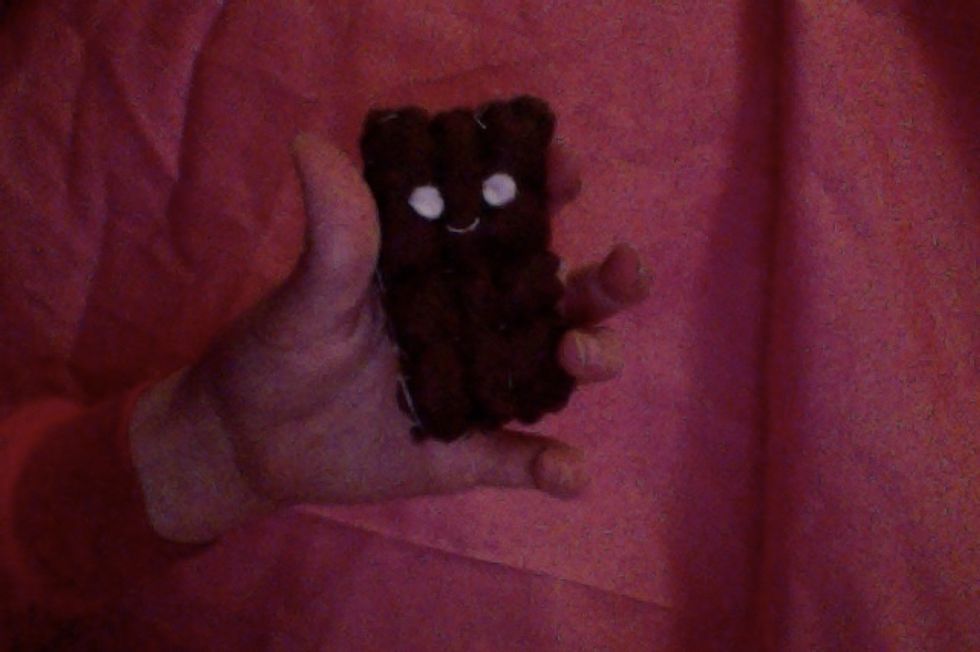
Sew some lines across the chocolate bar going in both directions.
Now you are done sewing!
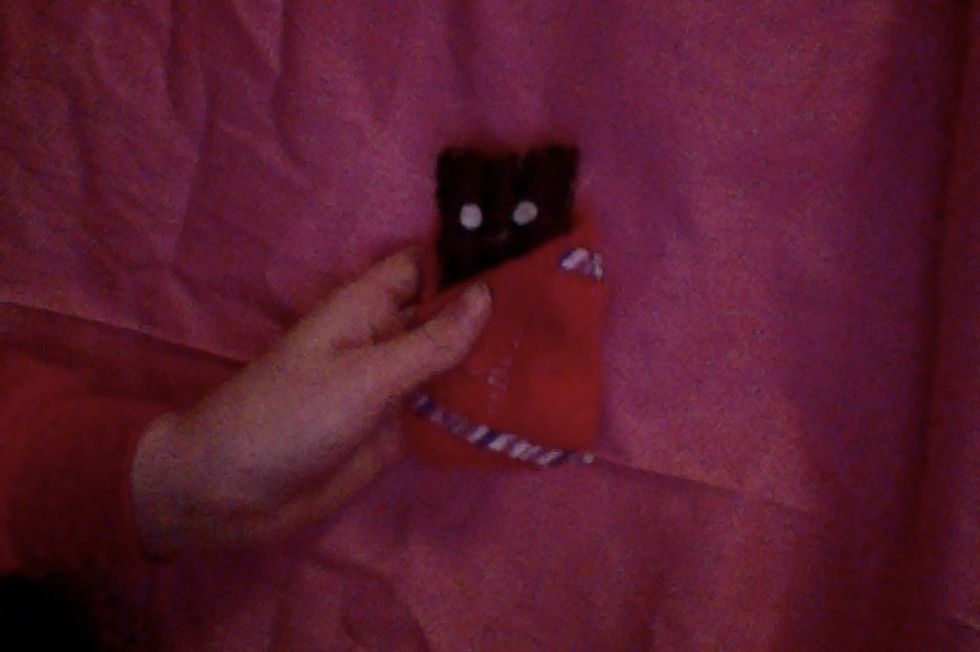
It should be able to fit inside the wrapper like this. Your plushie is now done! I hope you enjoyed this snapguide! Happy plushiemaking!