The Conversation (0)
Sign Up

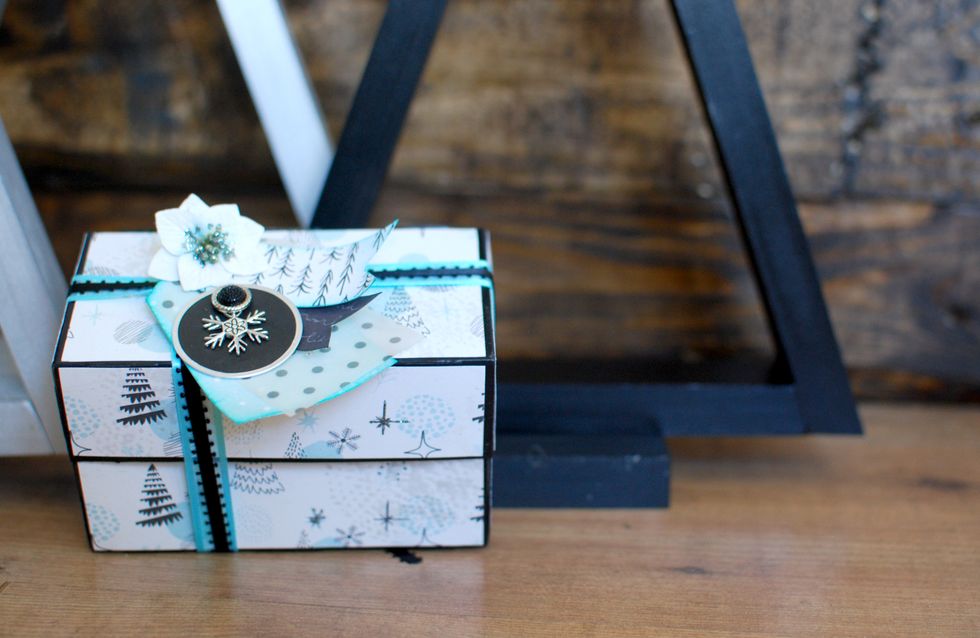
If you have an empty tea box on hand, it works perfectly as a gift box!
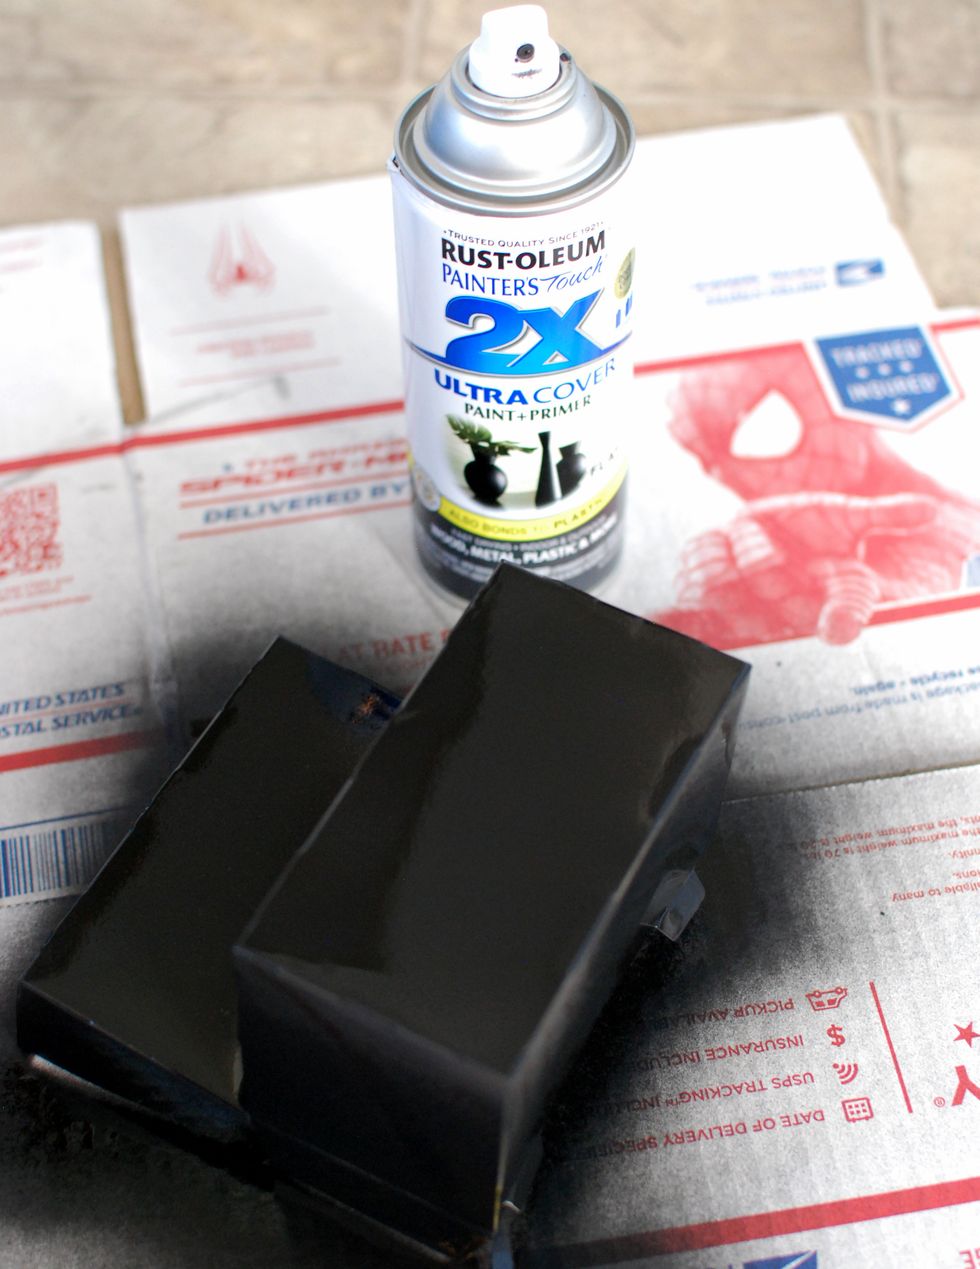
With some black spray paint, cover the box entirely. Make sure not to go over it too much, the wet paint will warp the box.
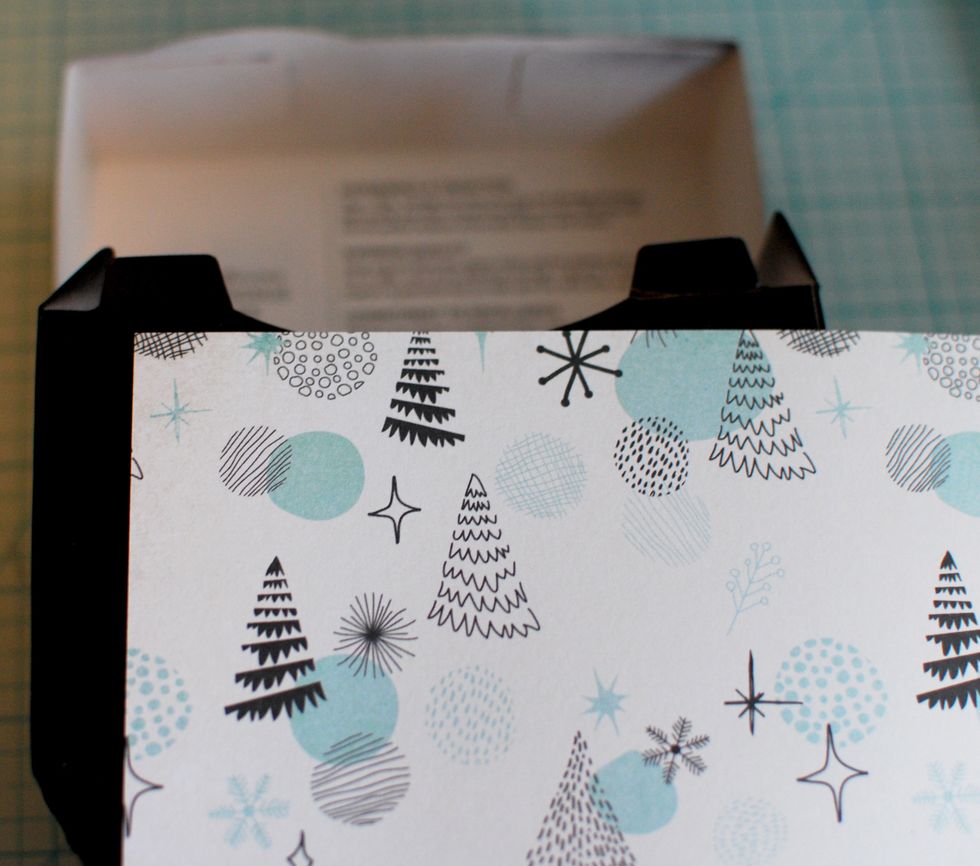
Wait until the box is fully dry. Grab the Garland Sheet. Place it on top of each side of the box and mark where to cut. I left about 1/16” of an inch on the outer edges. This way, the black will show.
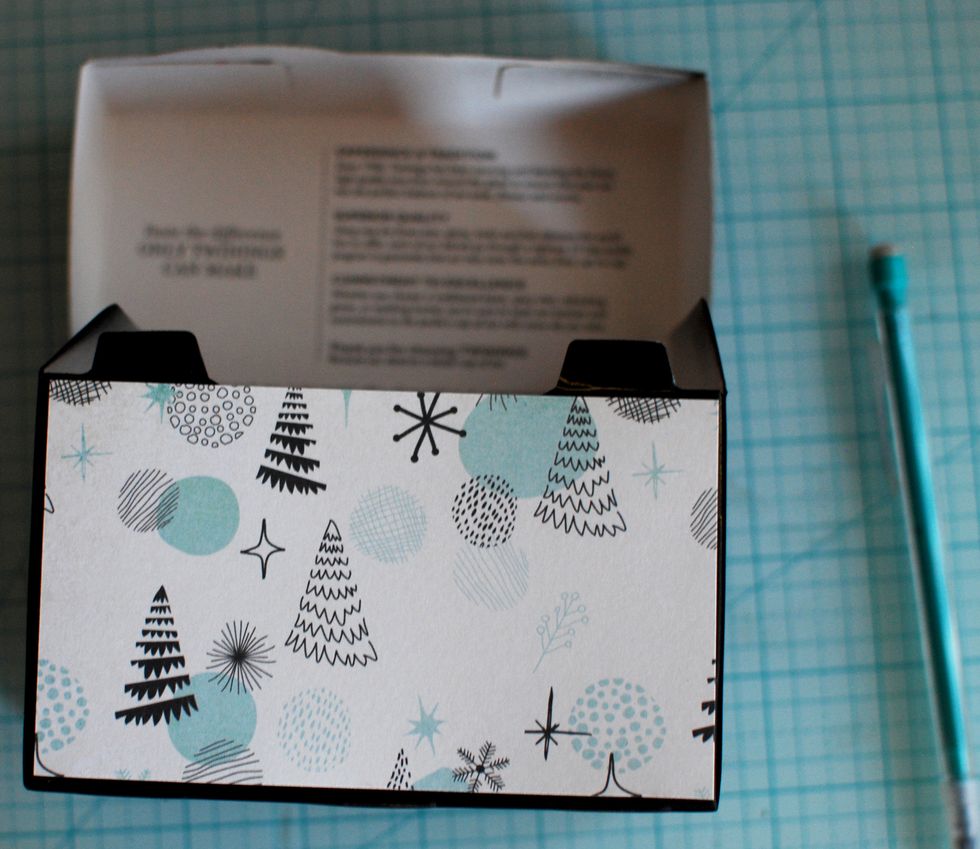
Using a paper cutter, cut each paper piece for each side, top and bottom.
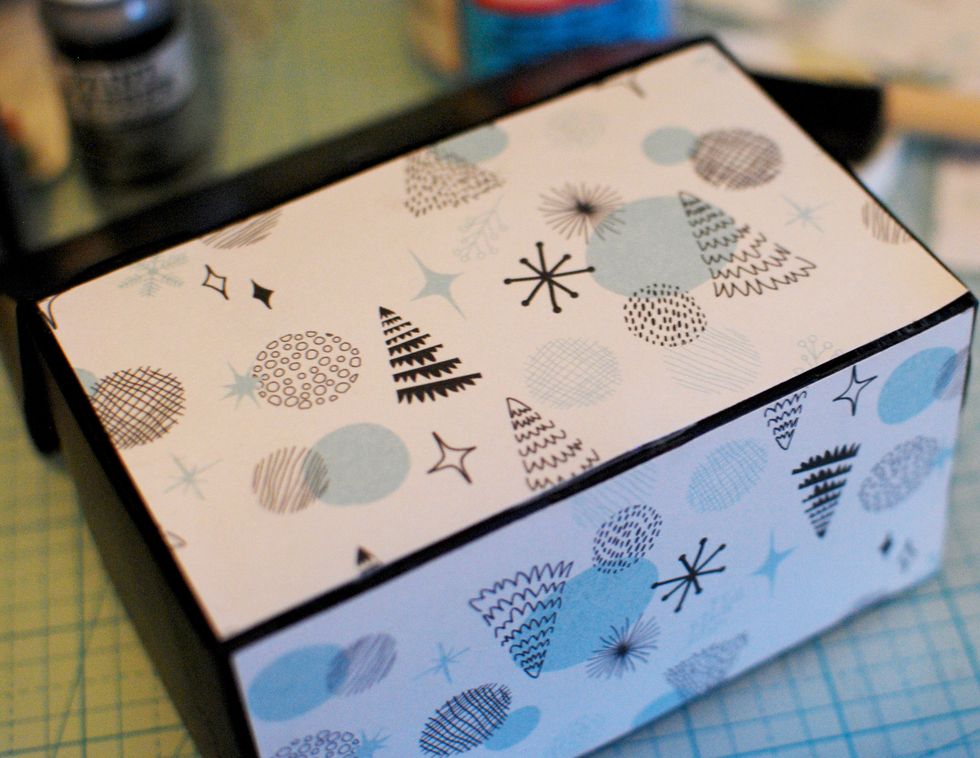
Once you have all the pieces cut, find some ModPodge and a sponge brush. Carefully sponge a thin layer onto the box and place the paper on top of it.
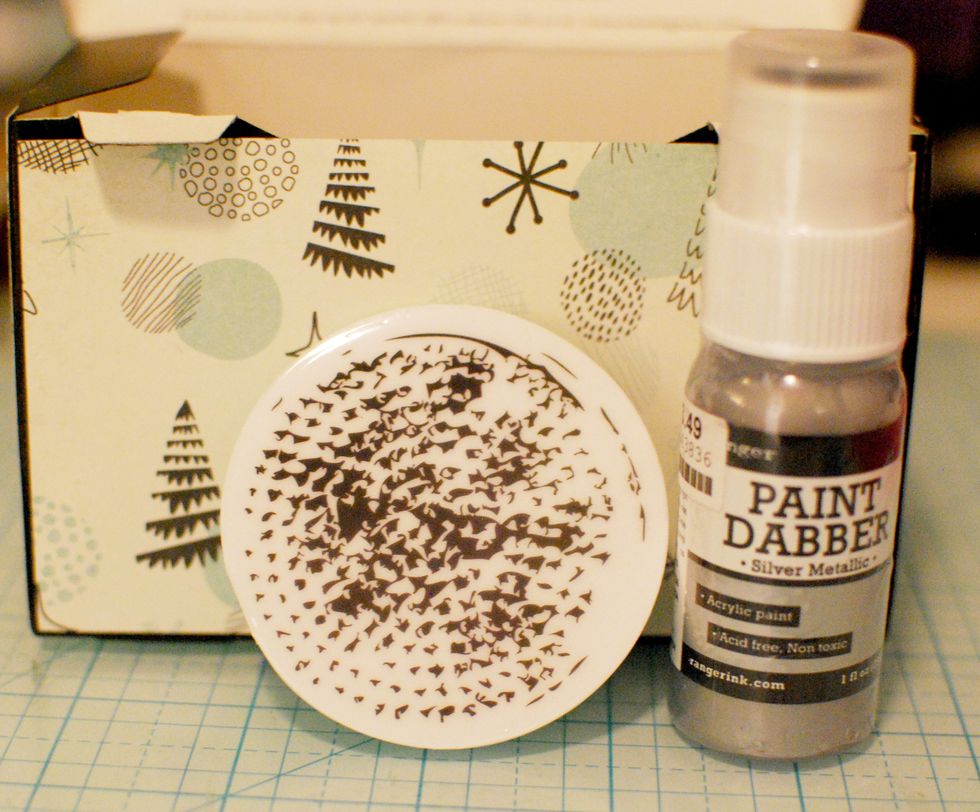
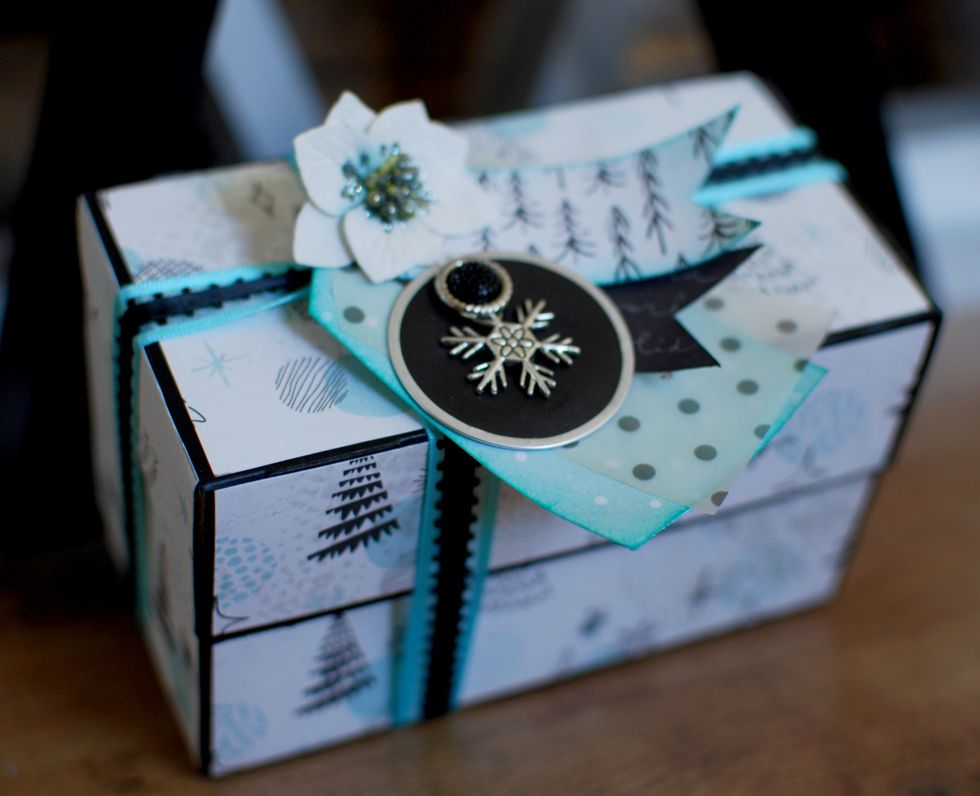
With the Metallic Silver Paint Dabber, dab color directly onto the circle stamp. Stamp a few random places on the box.
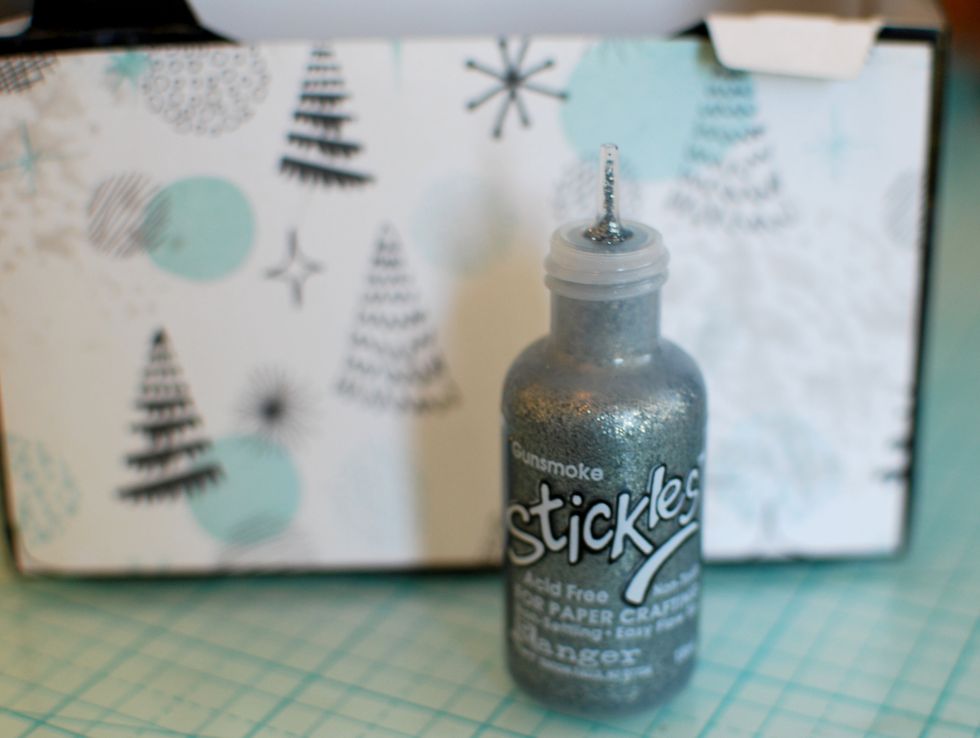
With the Silver Stickles Glitter, outline a few stars and dots on the paper print. Set aside to dry.
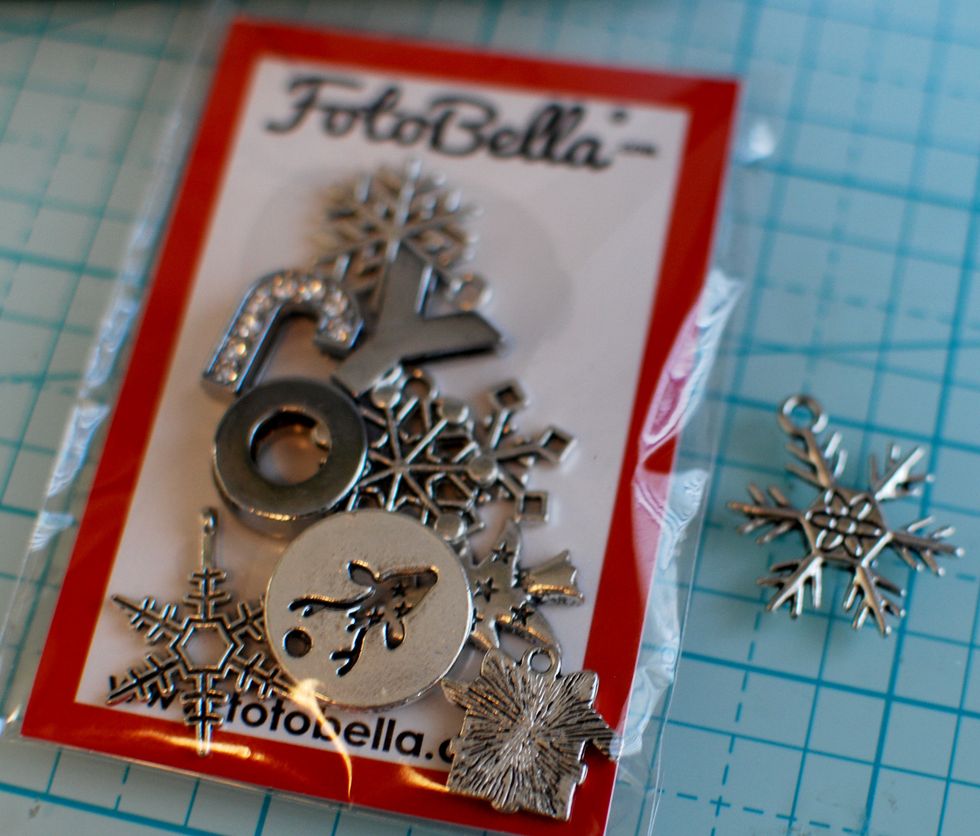
Find a charm you like from the FotoBella Juniper Berry Charm Pack.
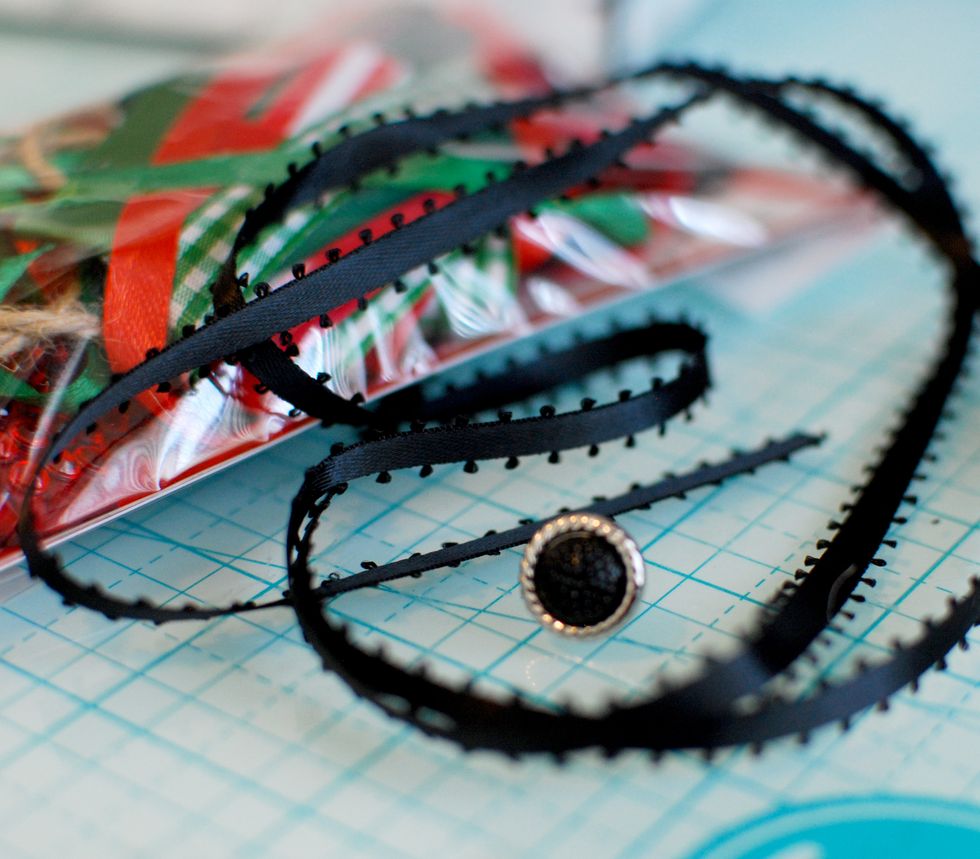
Pull out the black ribbon and black brad from the FotoBella Fiber & Embellishment Pack.

I love the cover sheets of bundles! They offer the same prints in a different scale, and shapes! Cut out the Black rectangle and the White Tree rectangle.
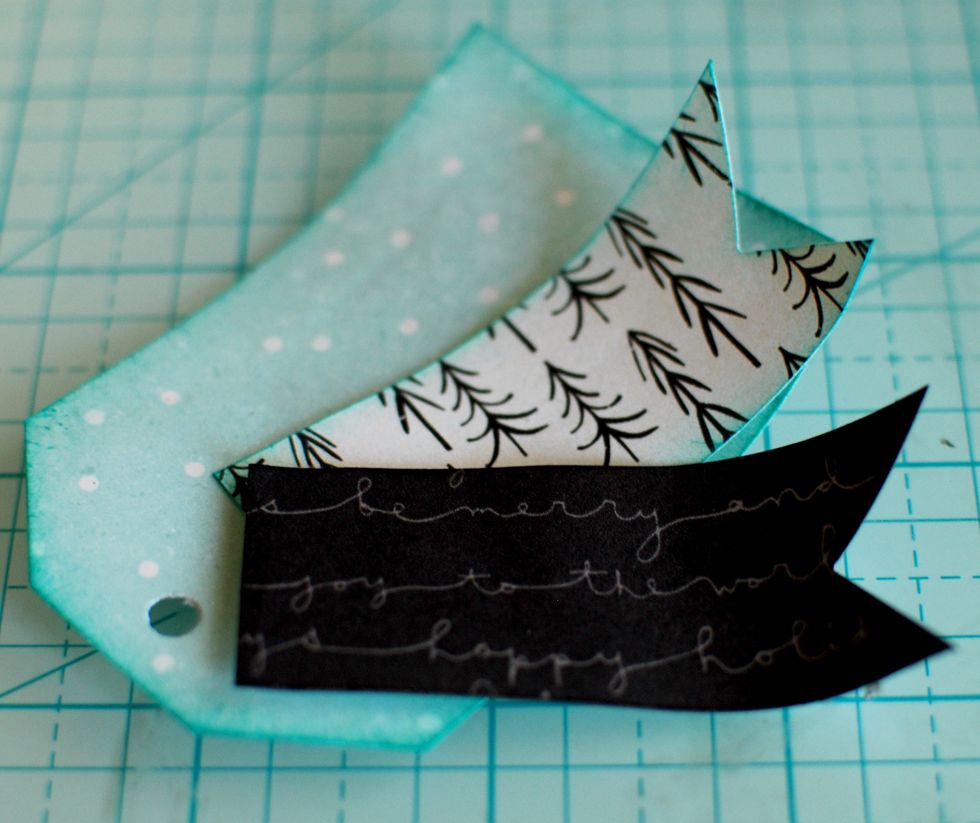
Cut a 3” tag from the Workshop Sheet. Punch a hole in the top, and ink the edges. With the rectangles, cut triangles out of one side of each. Punch a hole at the square end.
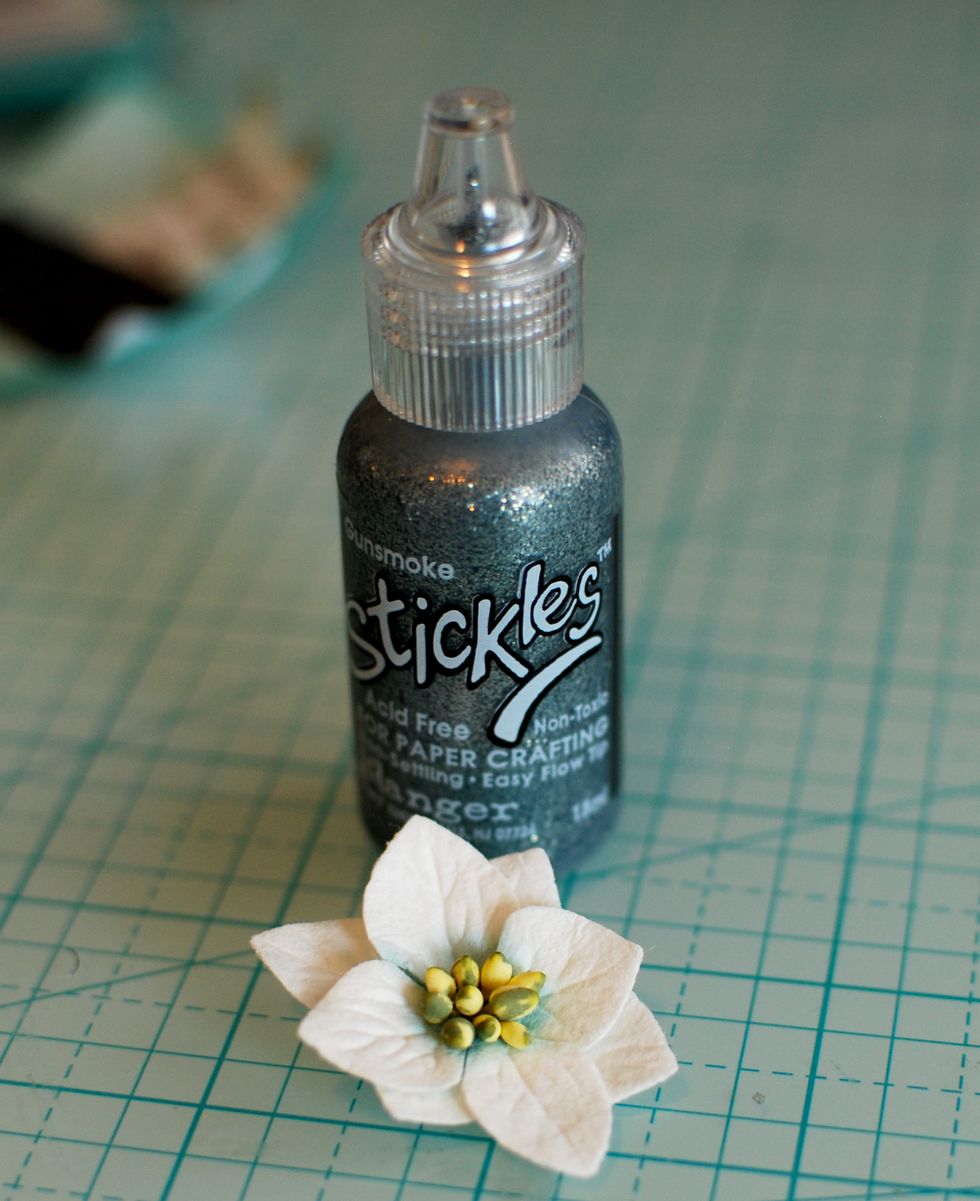
Pull a white flower from the Petaloo Blossoms pack. With the Silver Stickles Glitter, cover the yellow flower center.
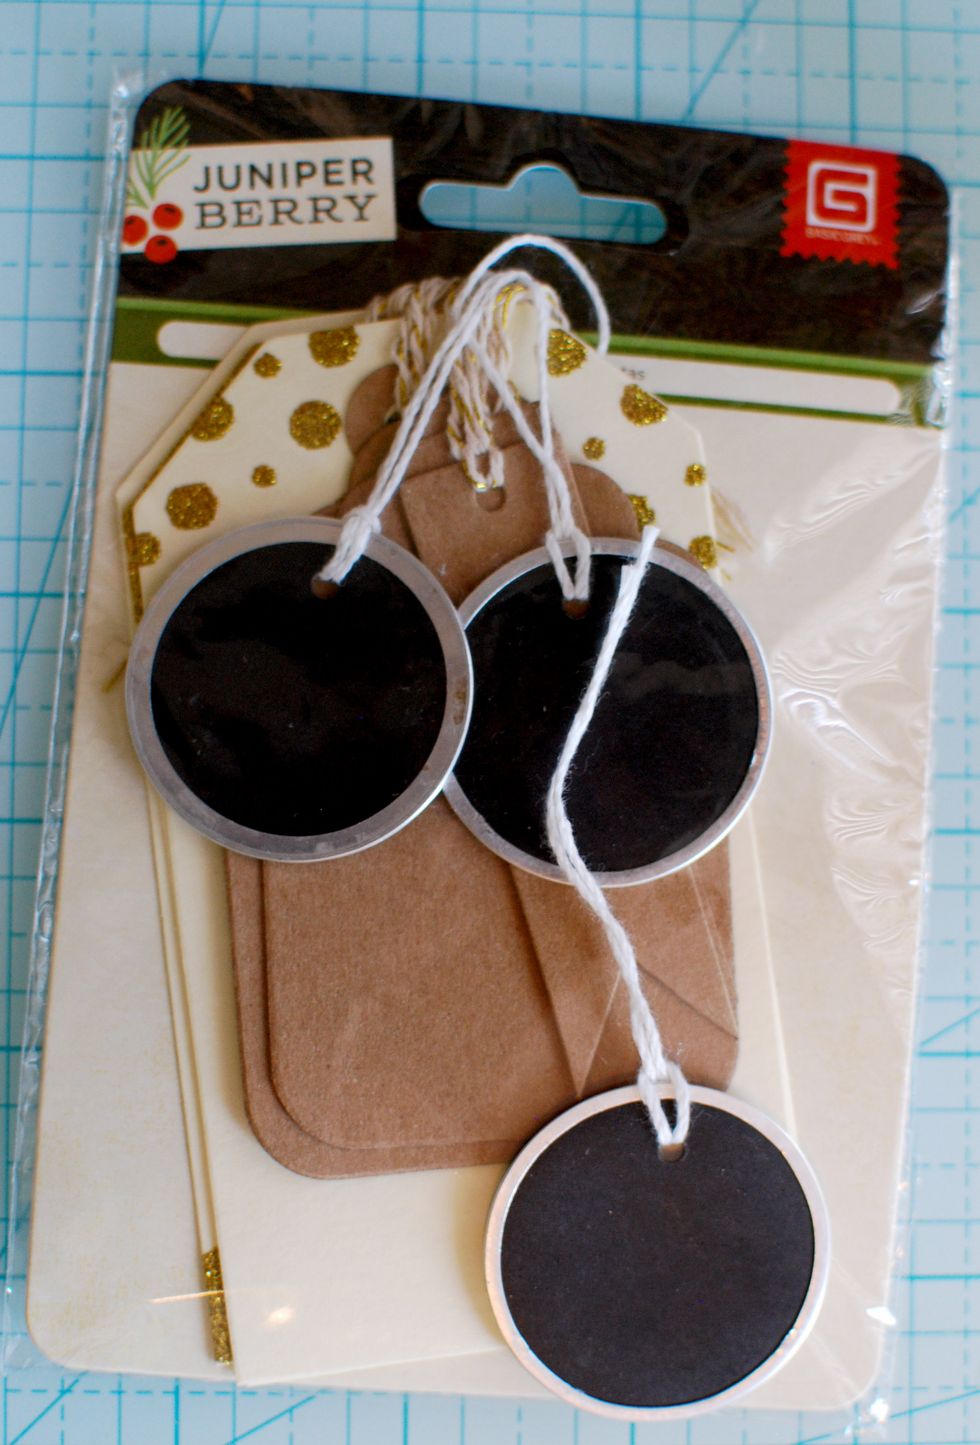
Grab a round chalkboard tag from the Mixed Tag Pack.
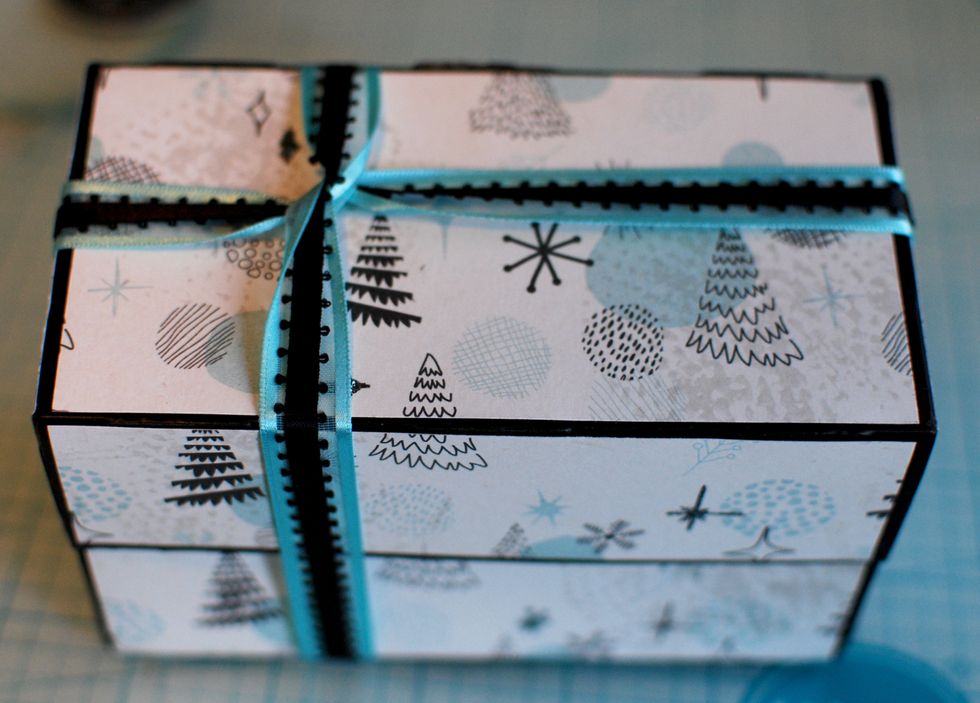
Make sure the Stickles Glitter is dry on your box. Grab your ribbon and tie up the box how you like.
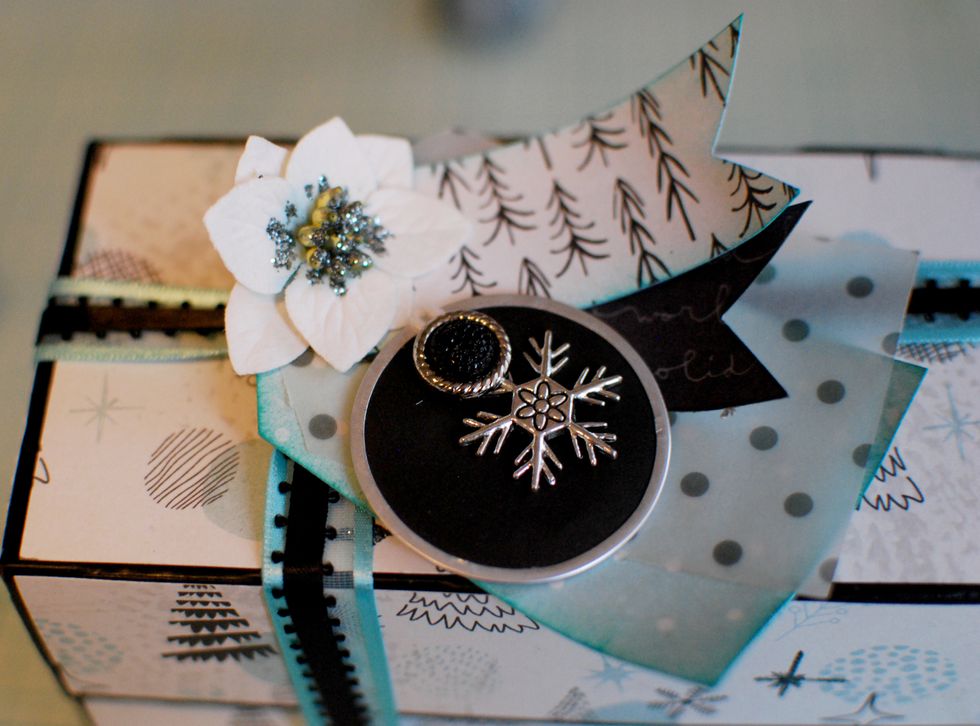
Heat up the Hot Glue. With the brad, secure the charm to the round tag. With the tag string, tie it through the holes of the paper tag and flags. Keep space when tying, so the round tag hangs lower.
Once you have all of this put together, using the hot glue, secure the flower over the hole of the paper tag and flags. You can either tie the tag on, or hot glue it to the top of the box.
You can find all of these supplies at www.FotoBella.com. Tutorial by FotoBella Design Team Member Jeri