The Conversation (0)
Sign Up
For this bracelet we will only be doing the Forwards knot and Backwards not. Get your supplies ready and let's get knotting!!!
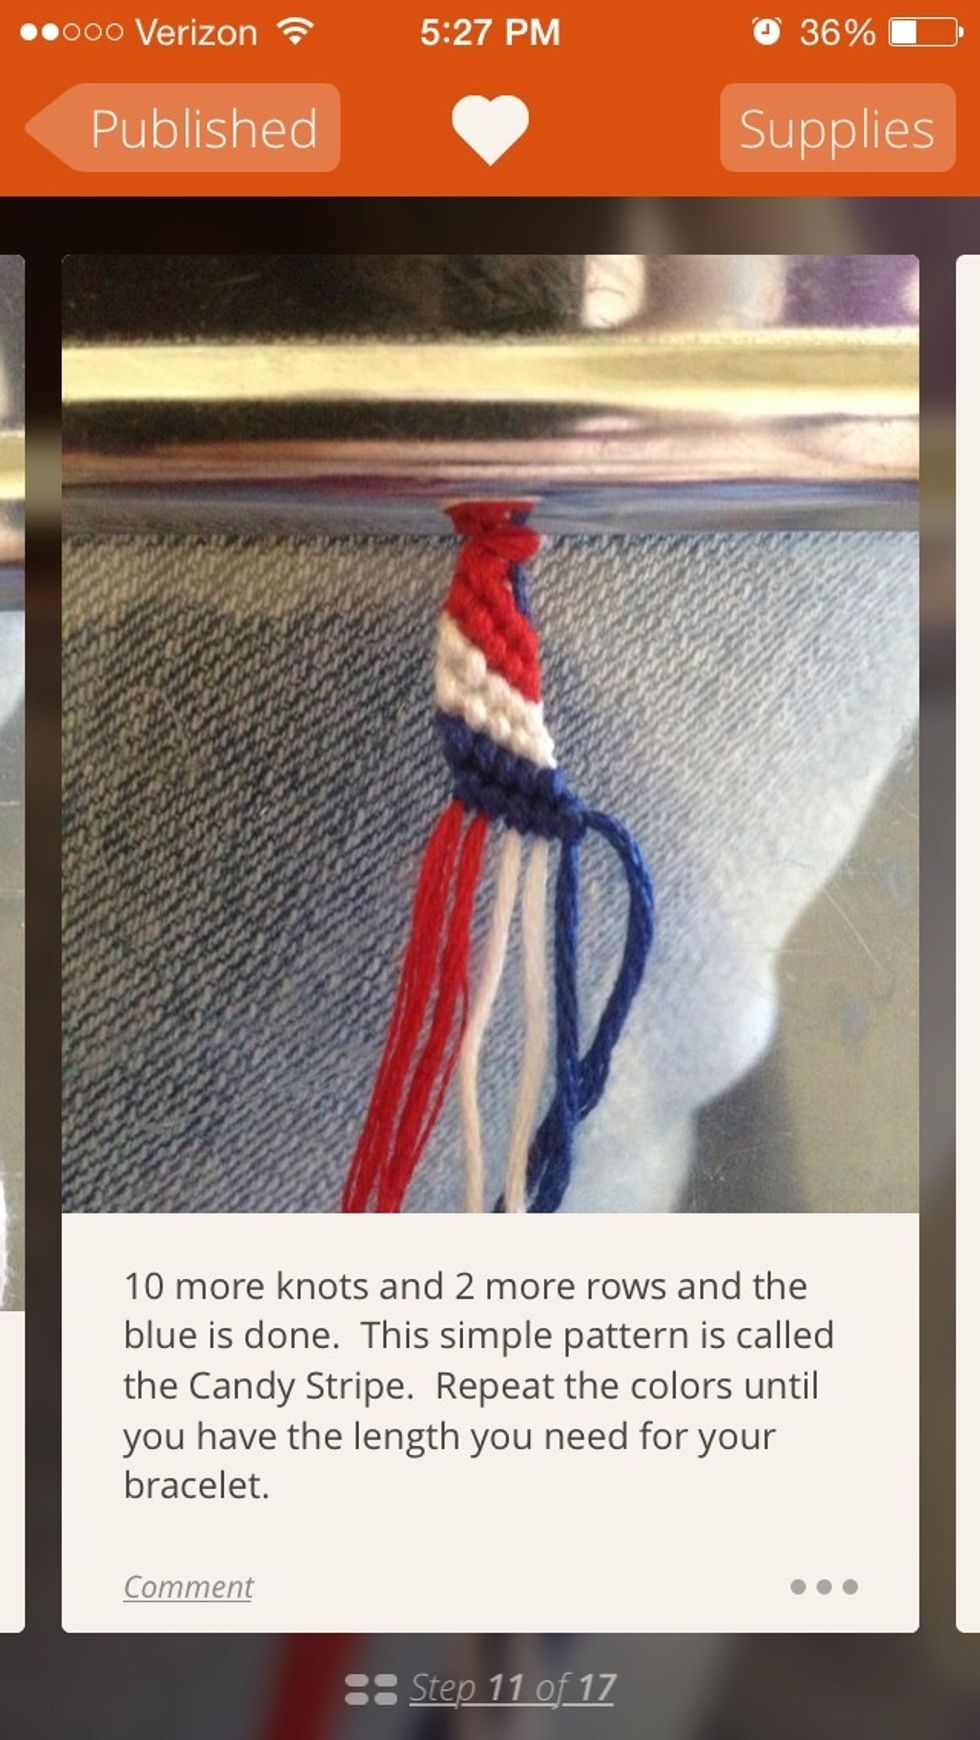
If you guys have seen my Candy Stripe guide.....
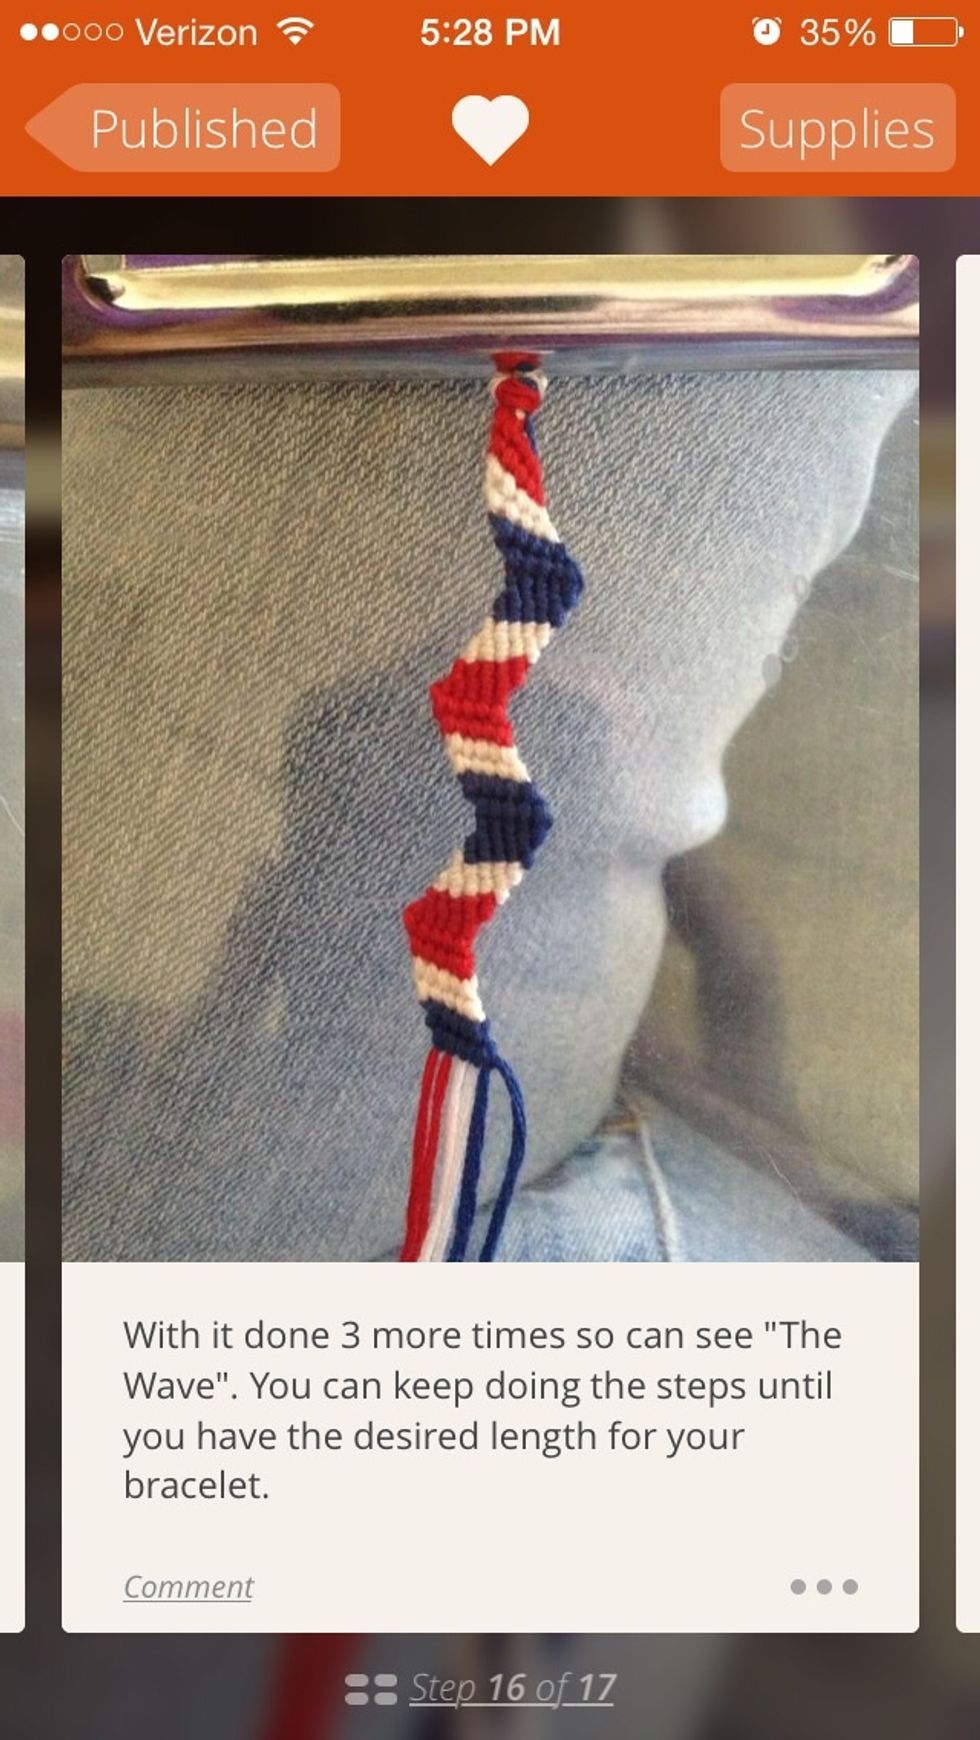
And the ending where I make the ZigZag bracelet (or wave bracelet), you will love this bracelet. We will just be doing the ZigZag a little different.

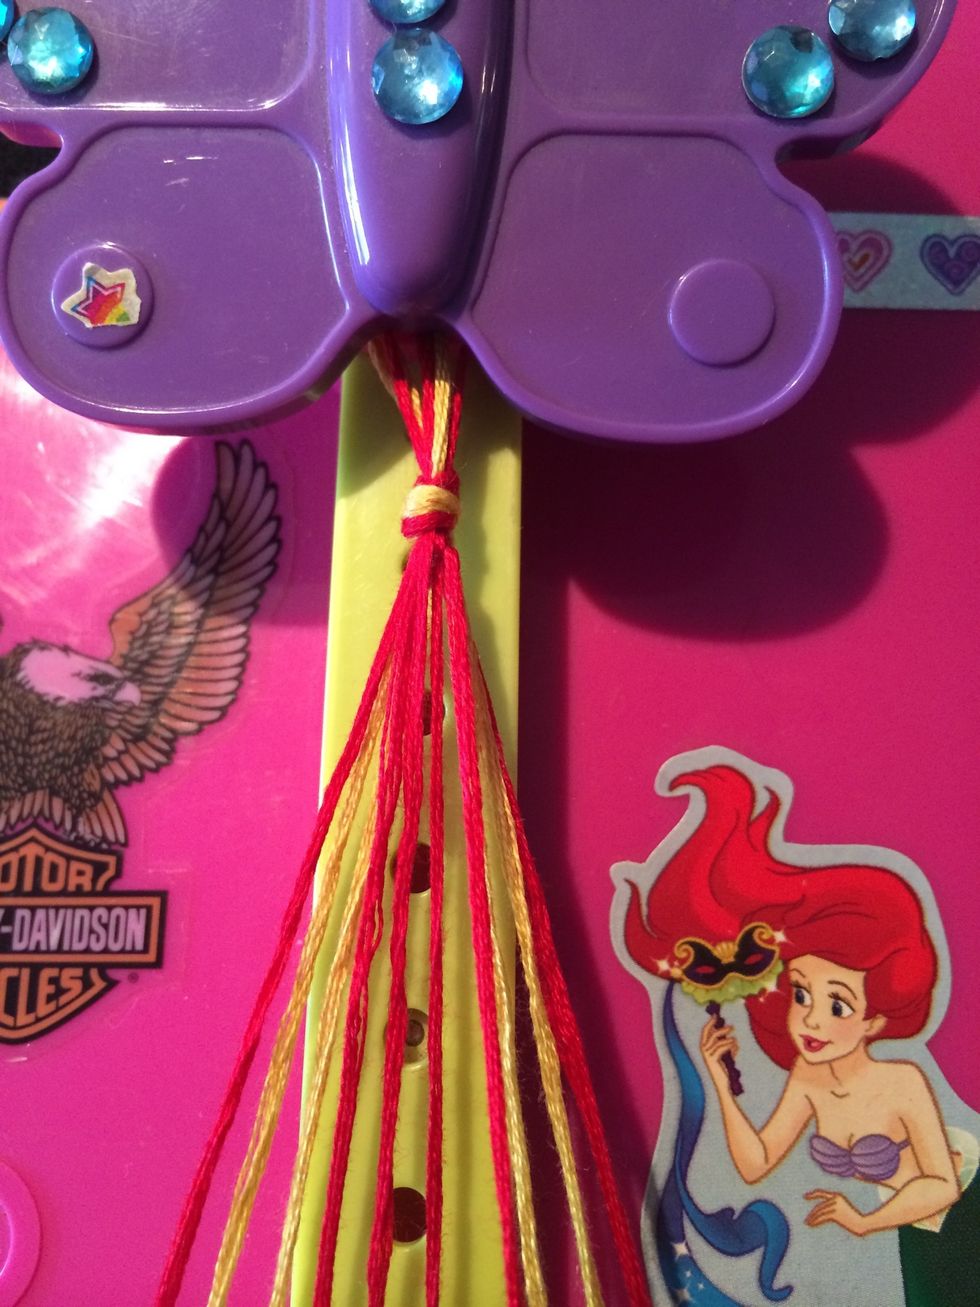
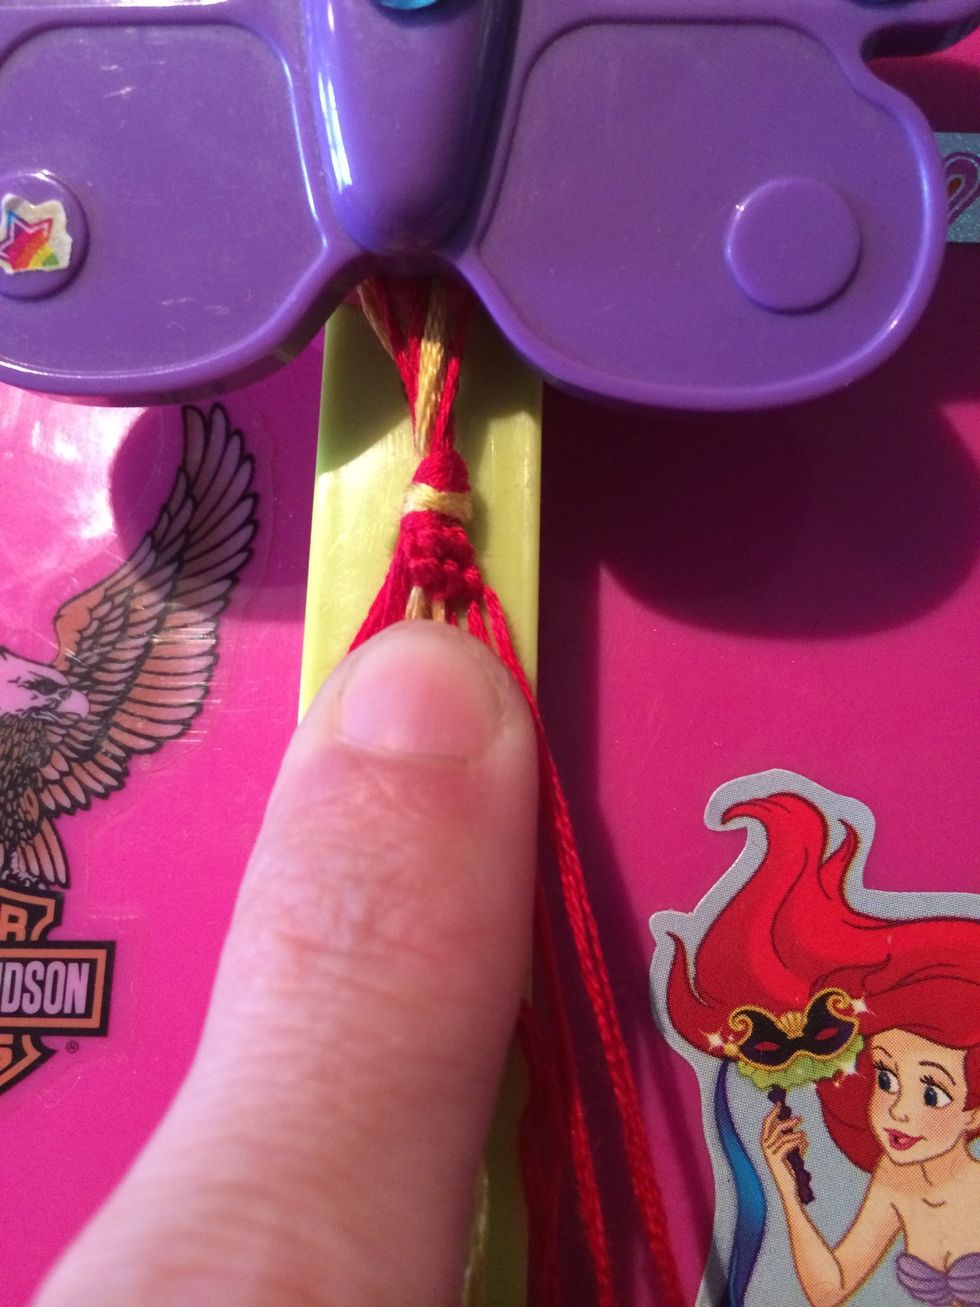
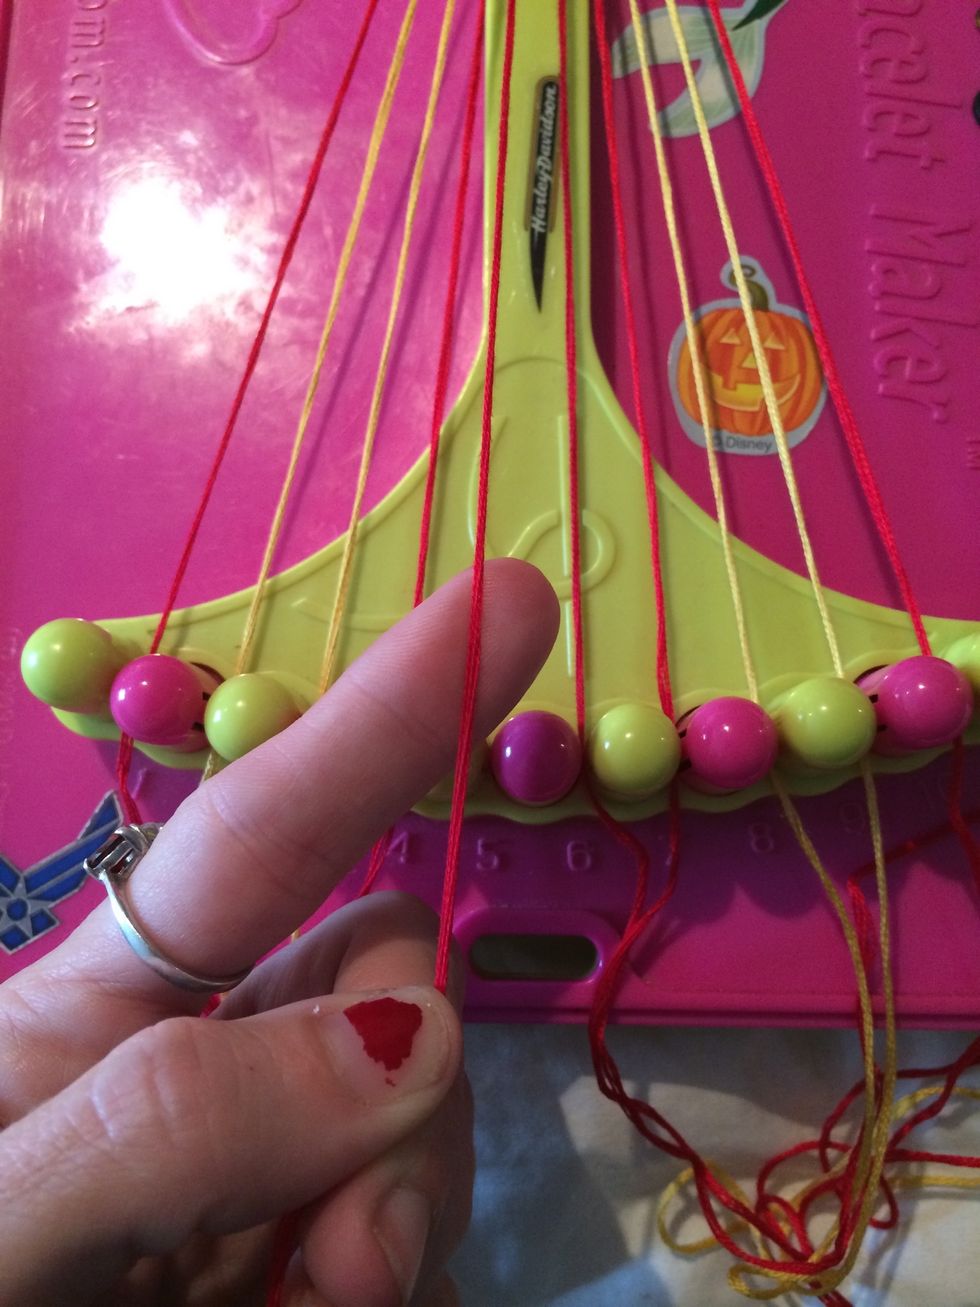
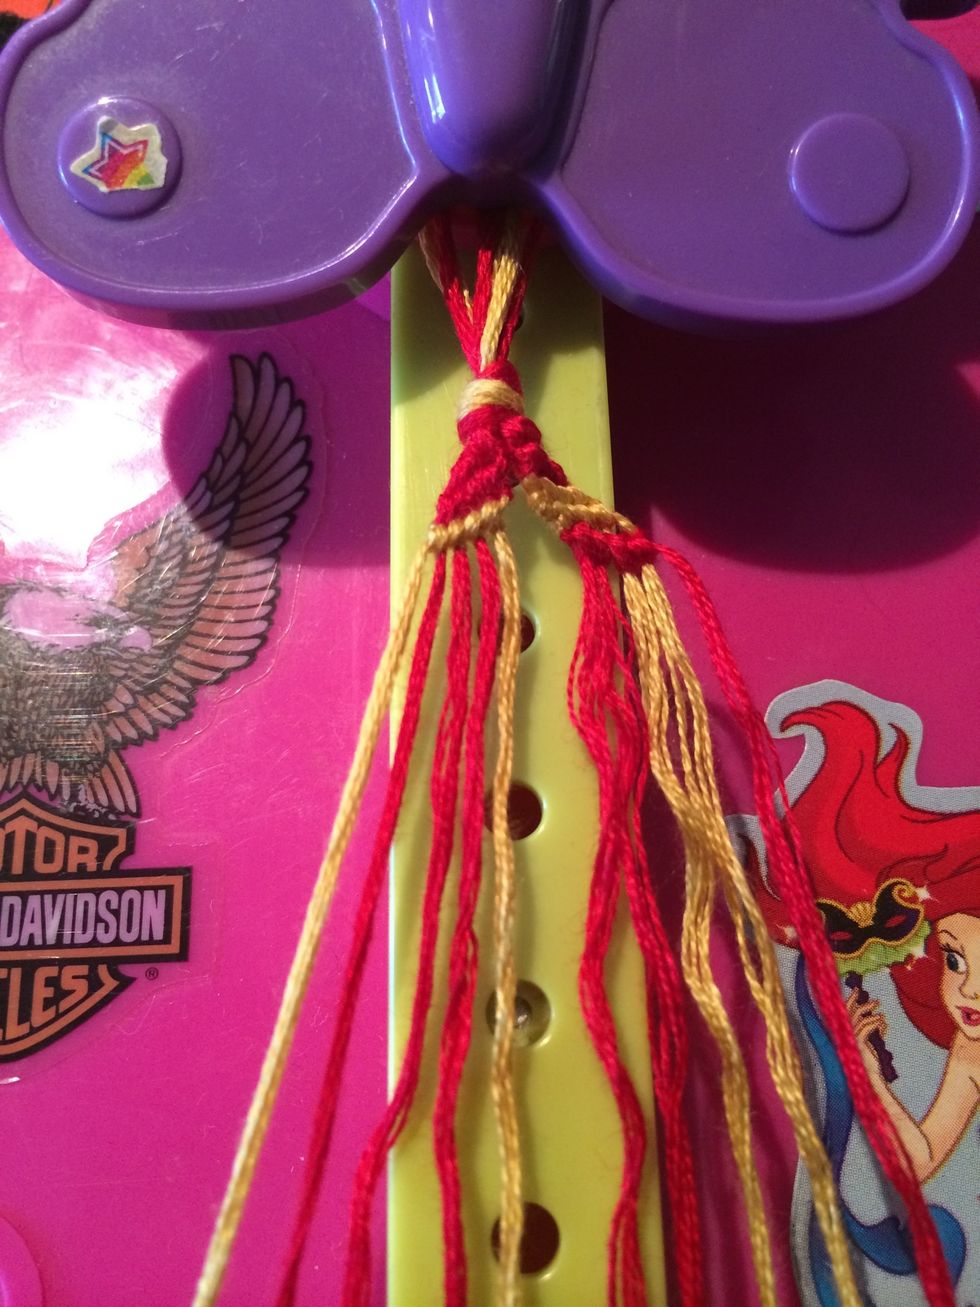
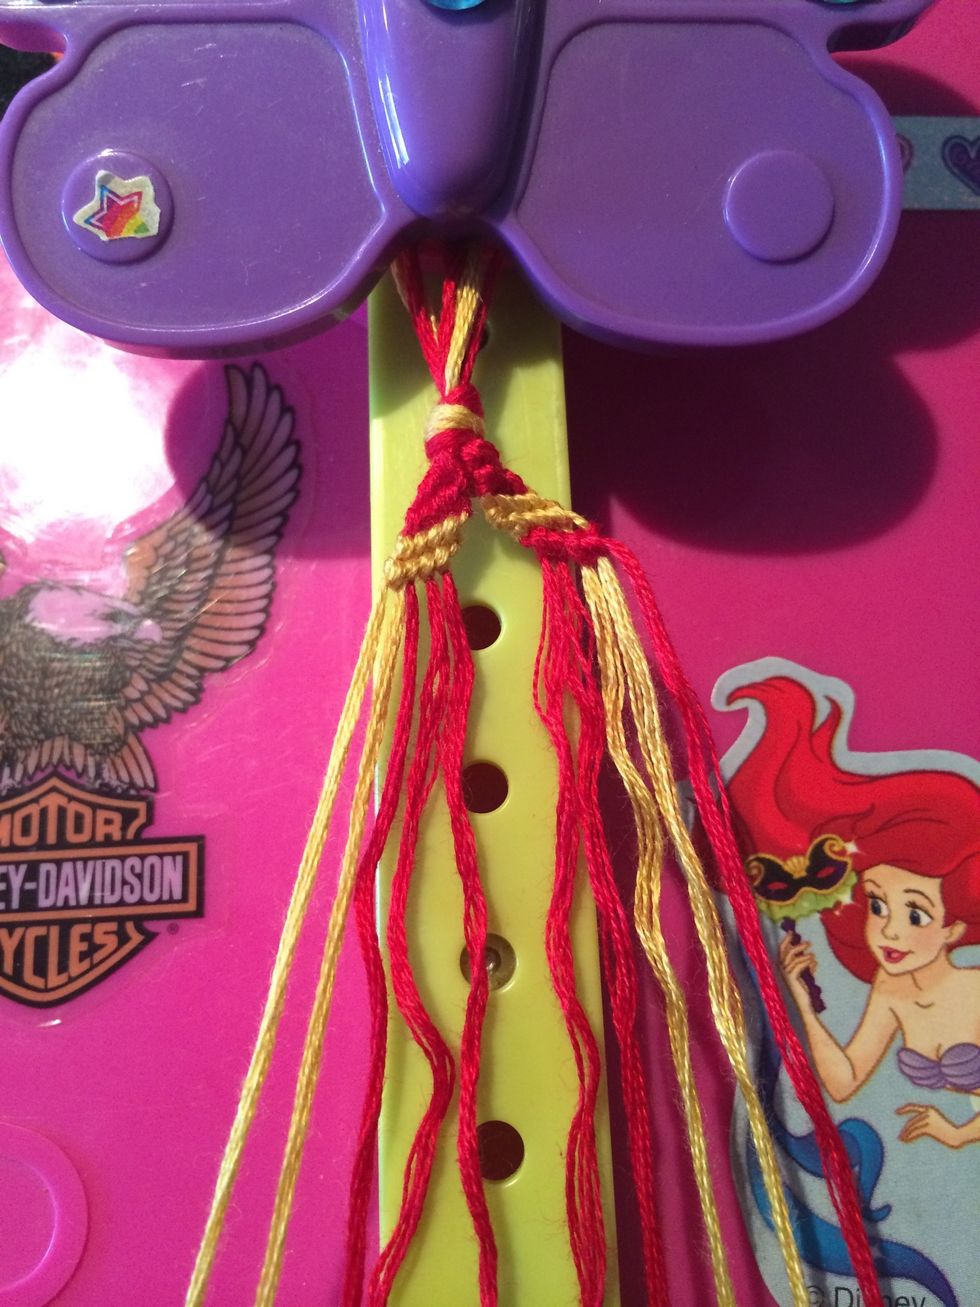
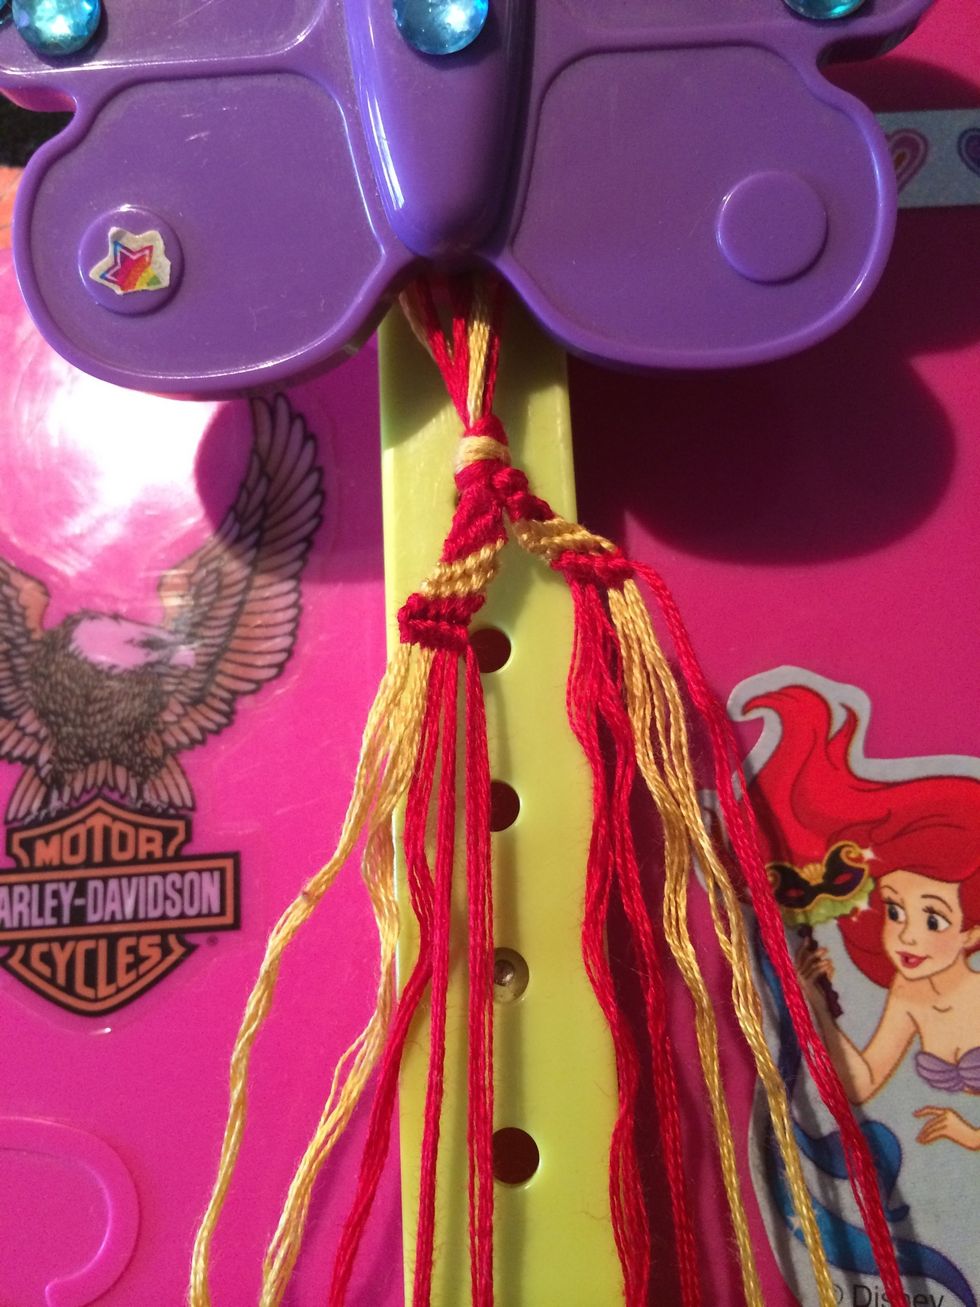
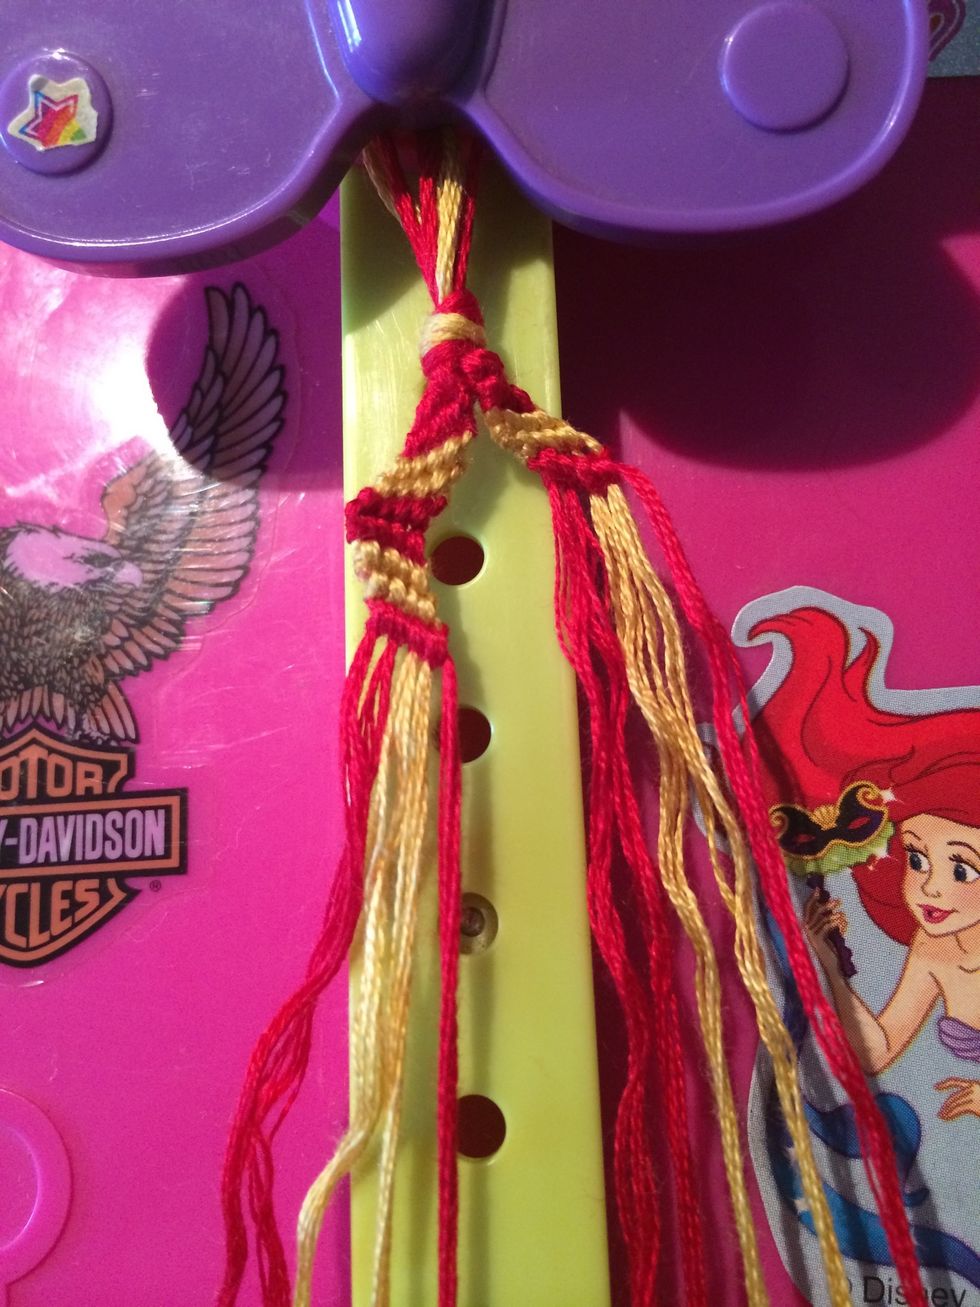
Cut 5 pieces of string. You can do any colors that you like. Fold your string in half and make a knot at the top leaving a knot. Place your string in order. Mine is RGGRR/RRGGR.
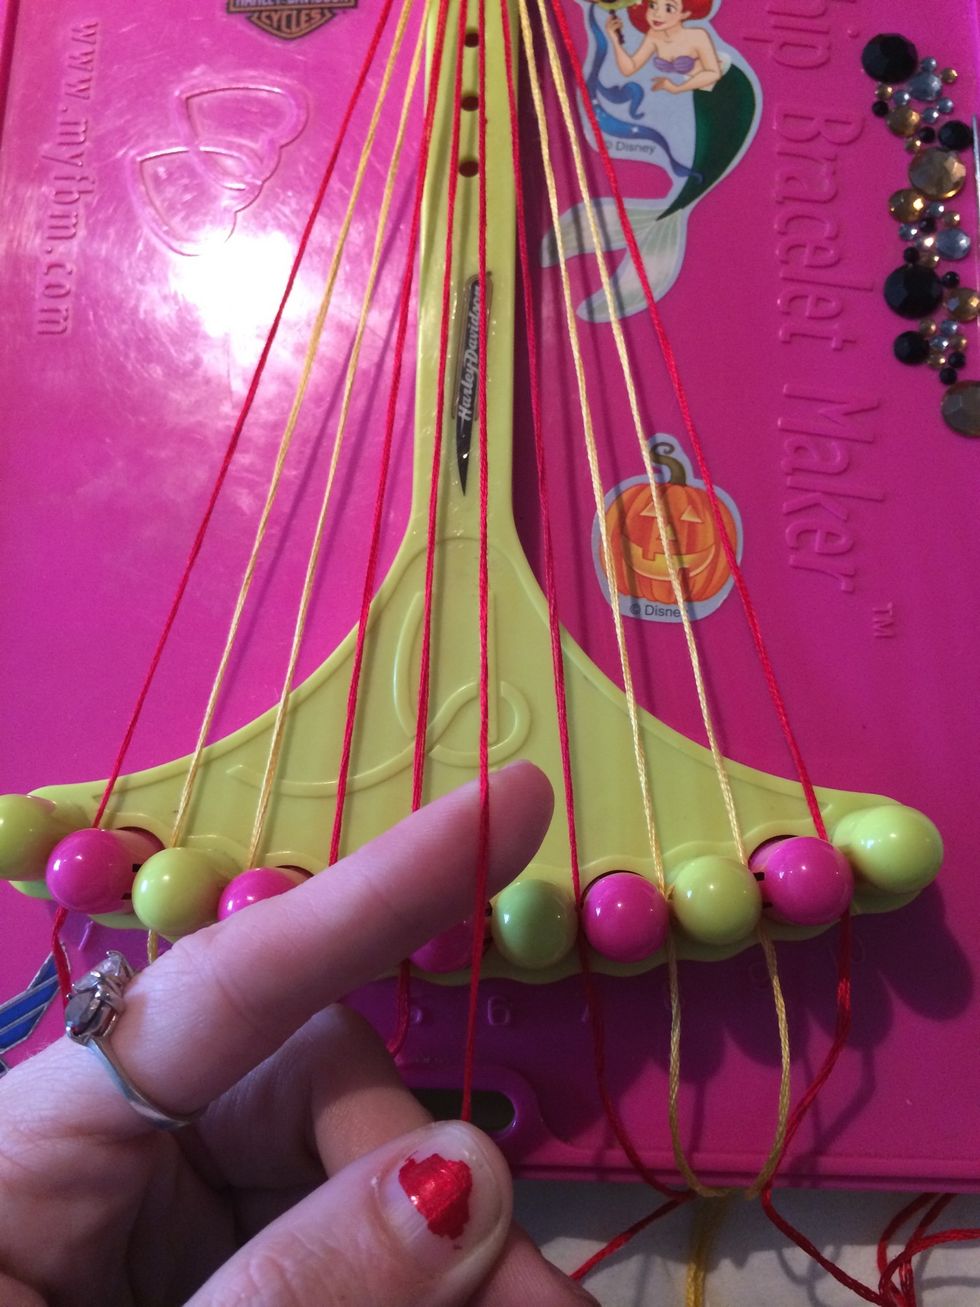
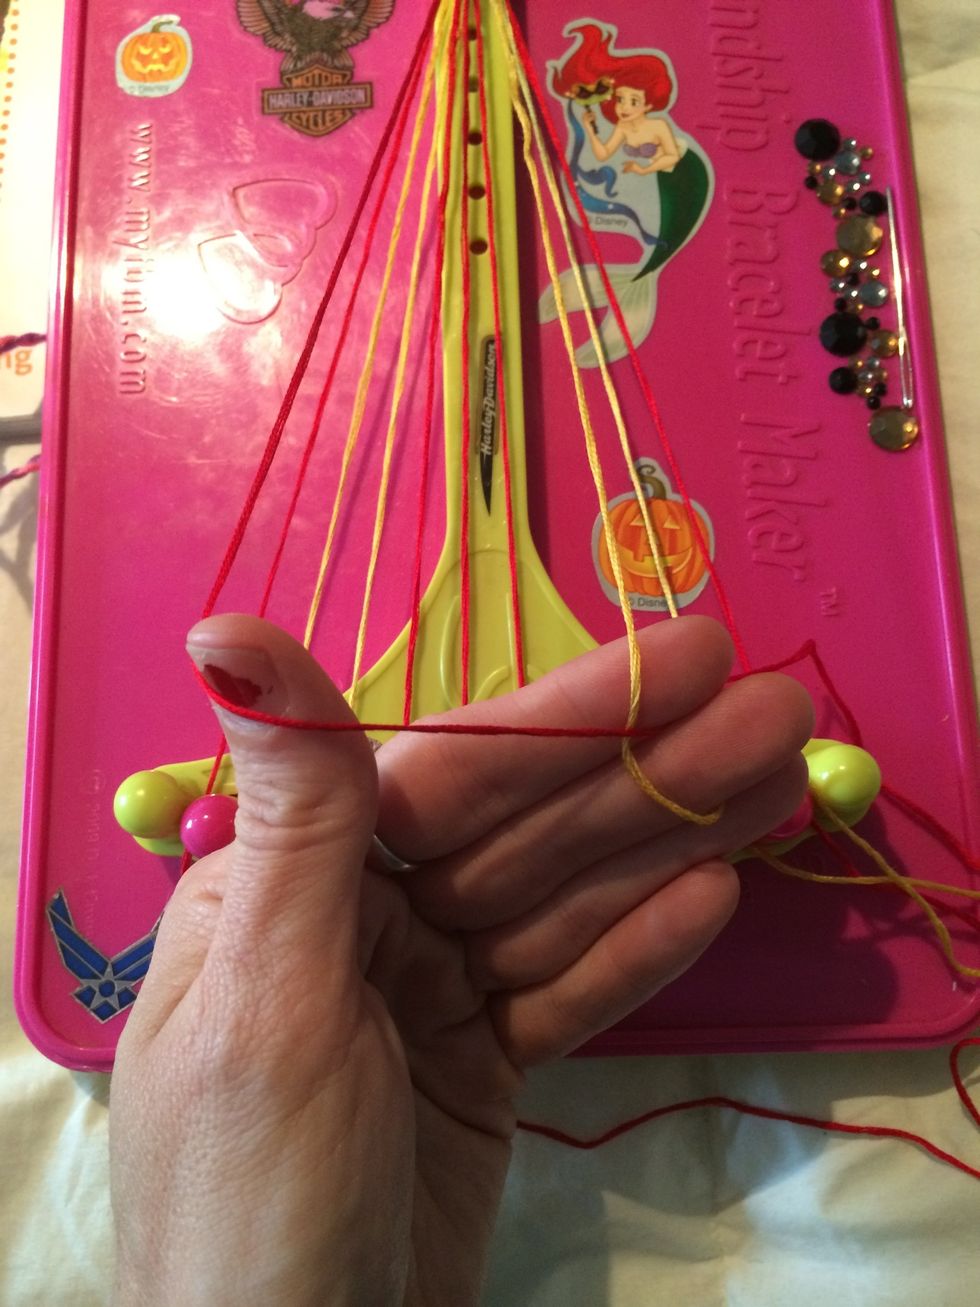
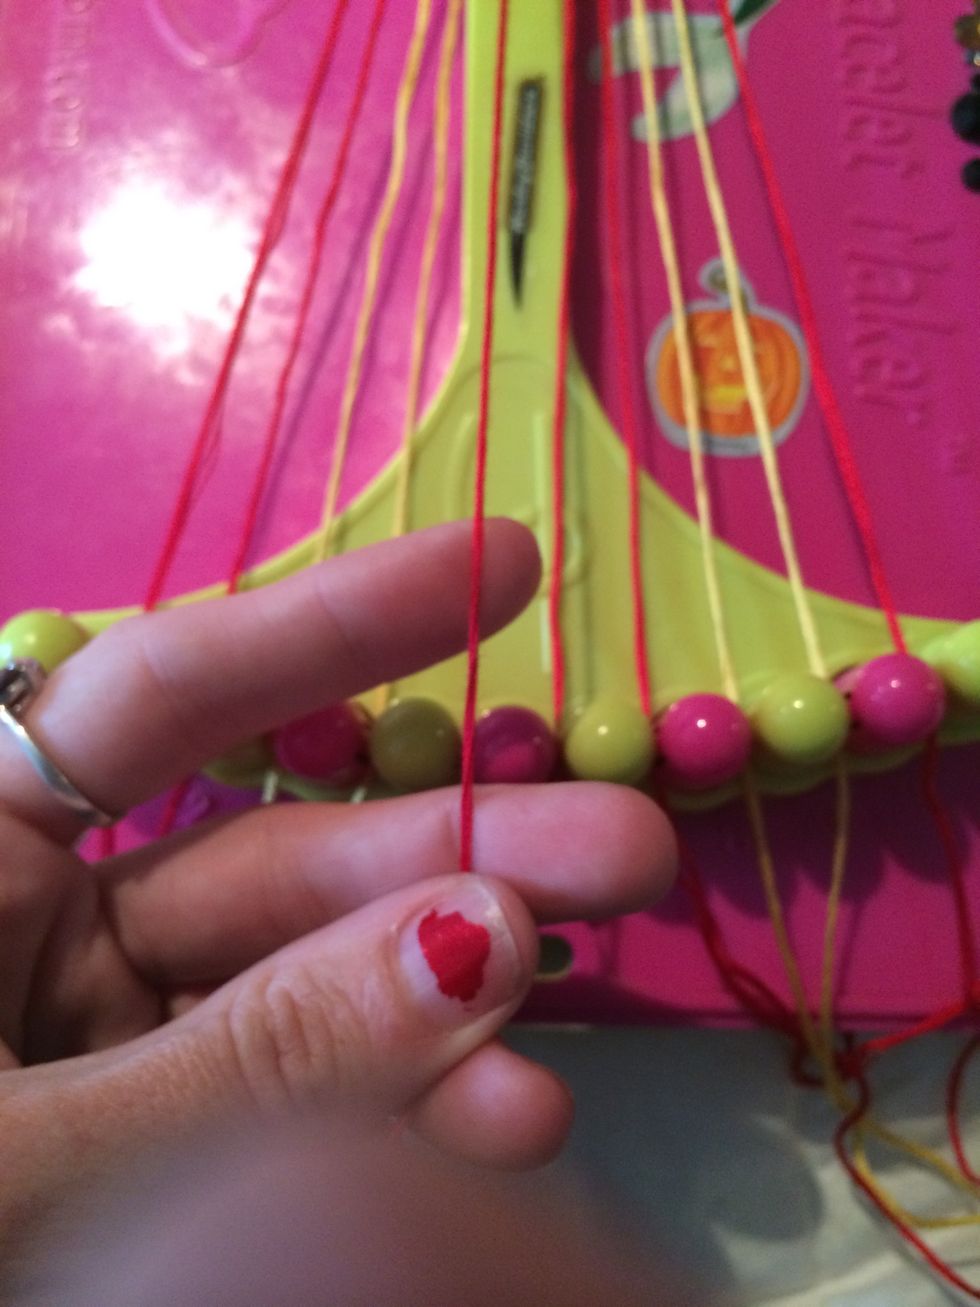
Start with the 6th string. We are going to be working with the right side first. We will be making Forwards knots across all 4 strings.
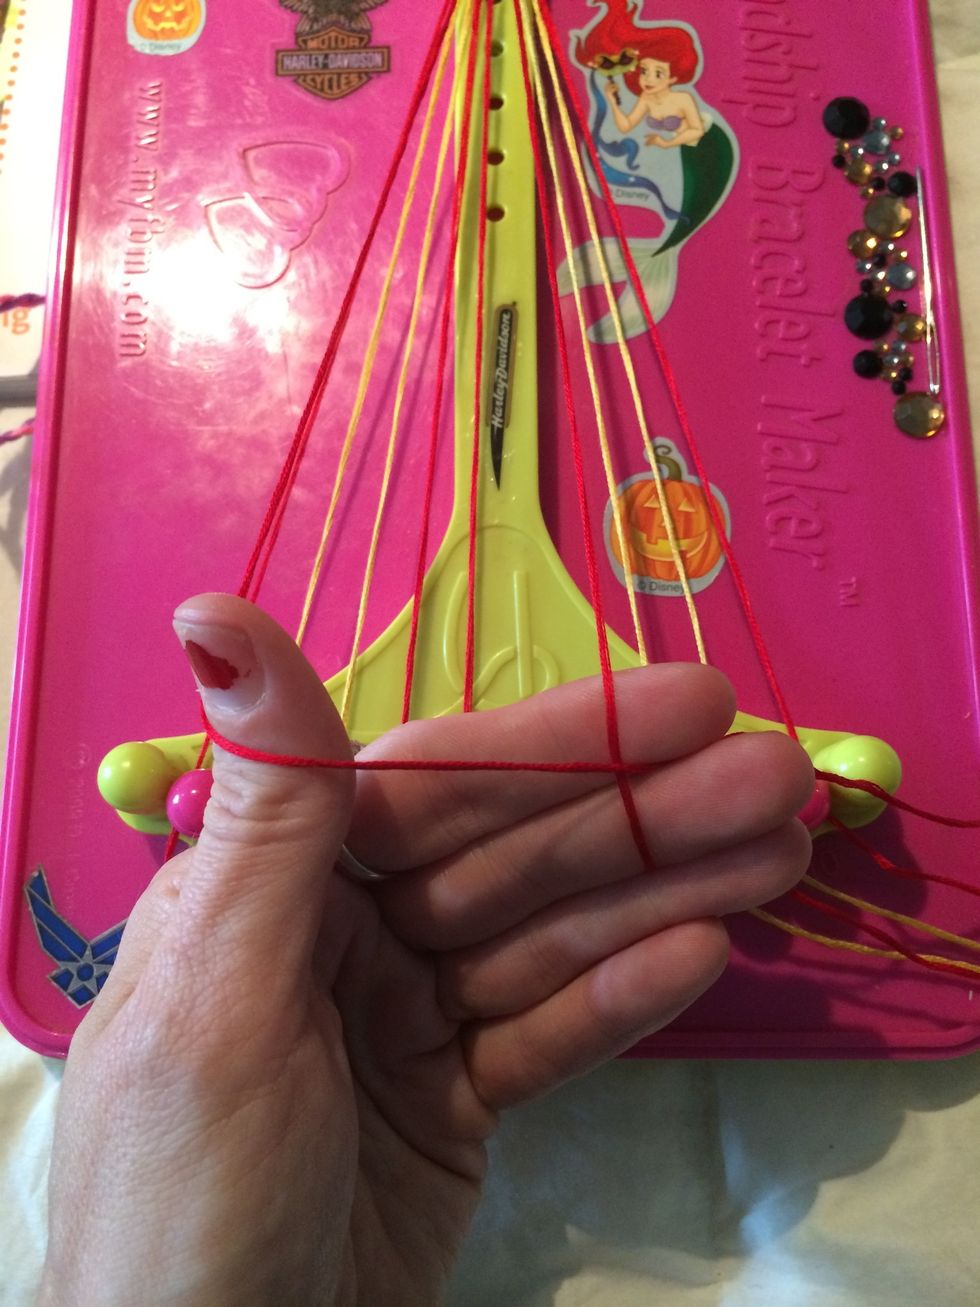
Make your 4 and put the end if the string through the loop. Make sure you do this twice to make 1 Forwards knot.
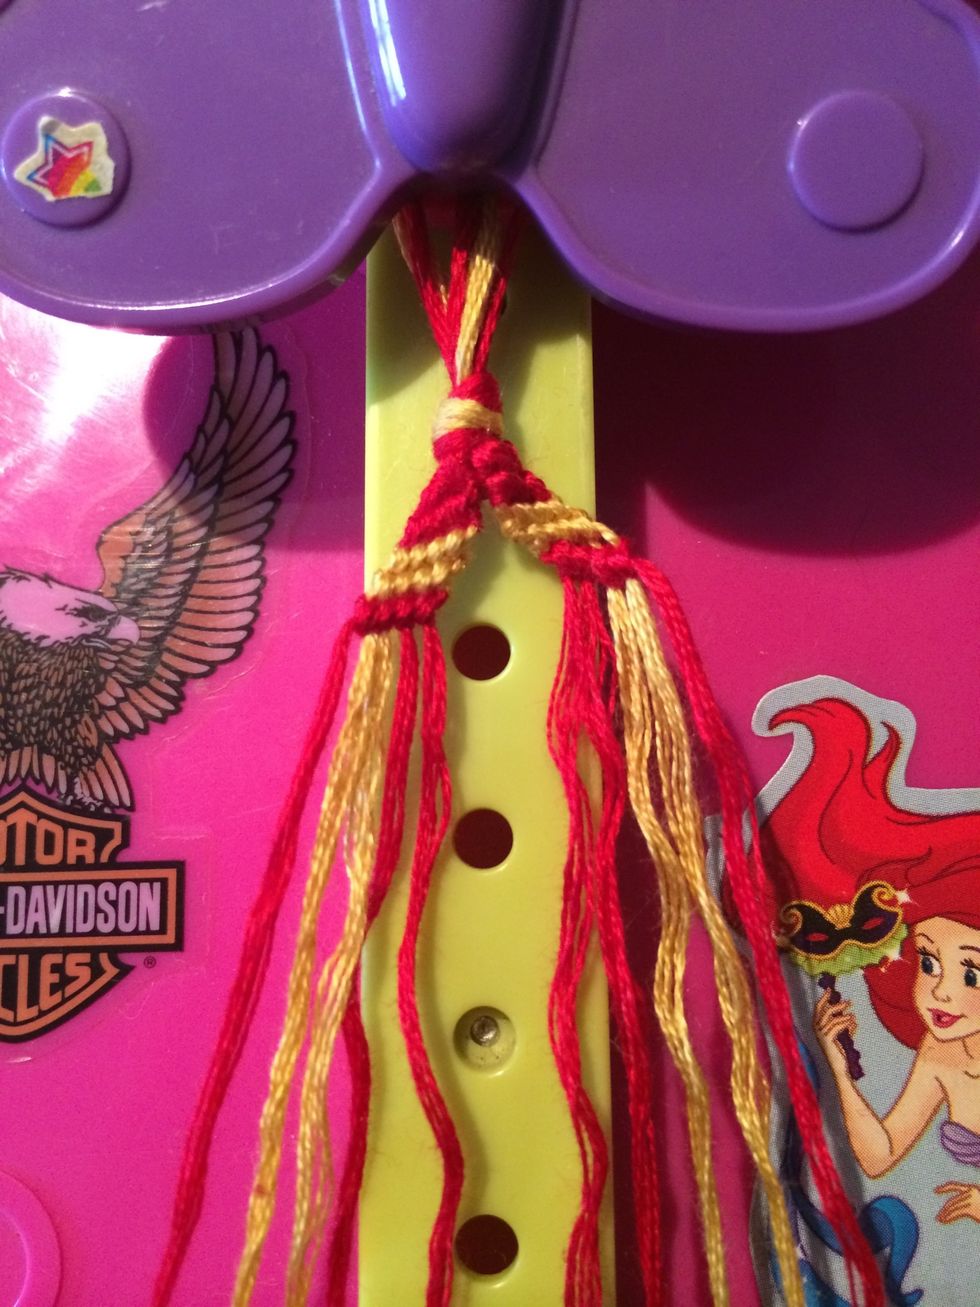
Pull it all the way up to the top.
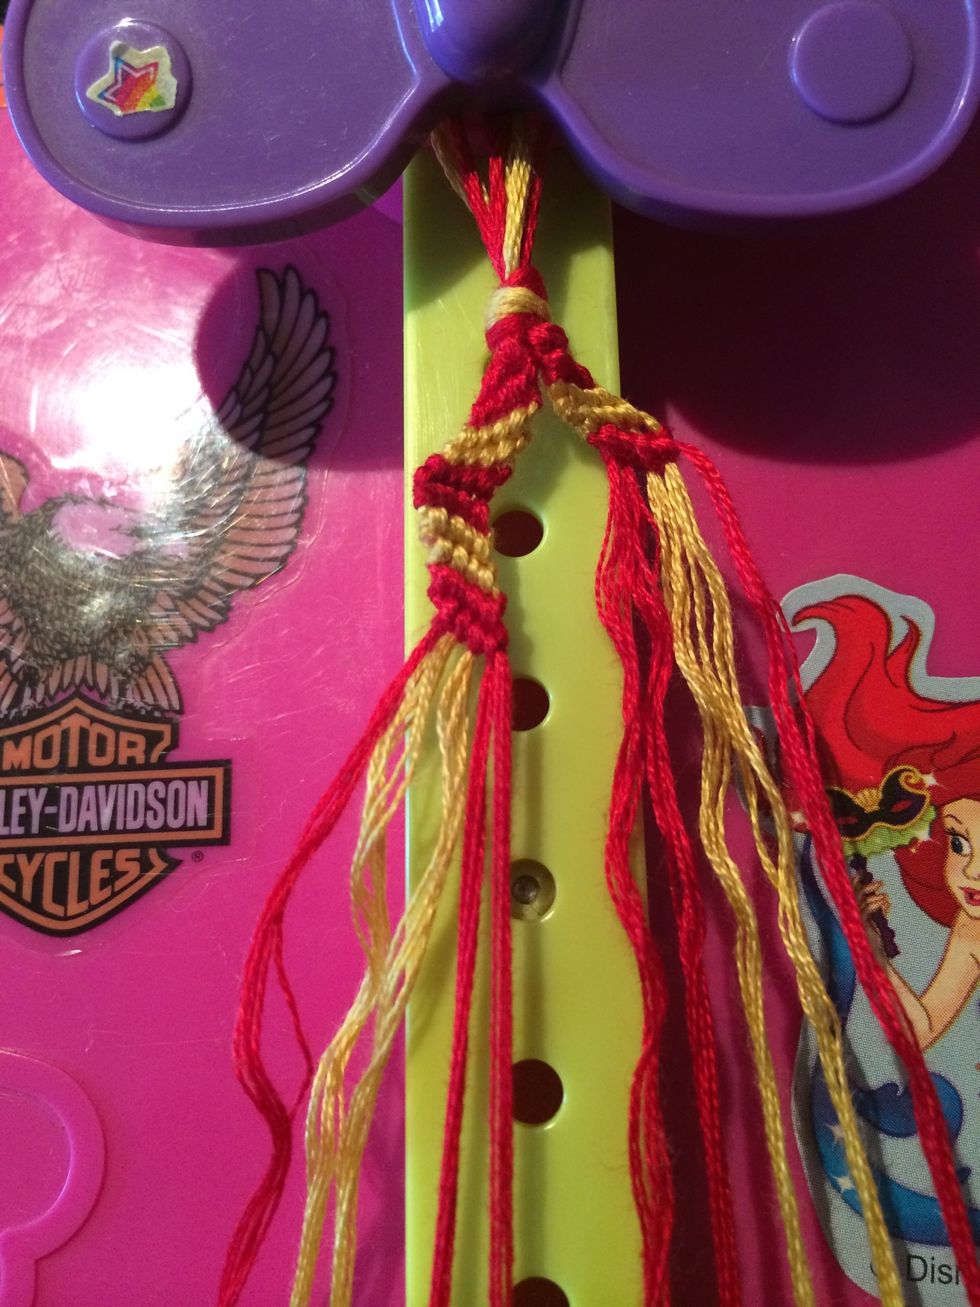
Continue onto the gold string. And then knot over the remaining strings.
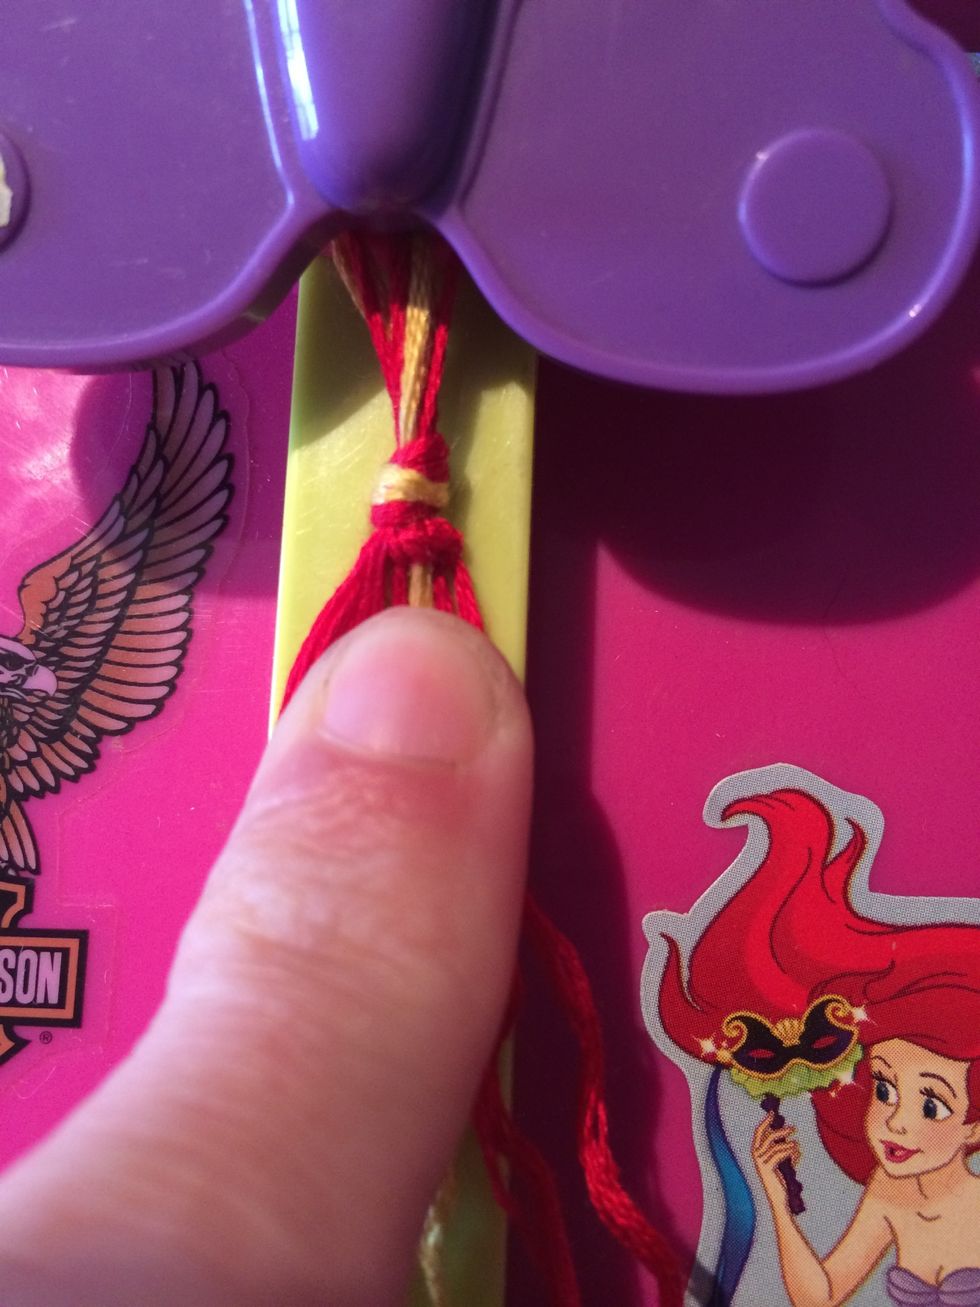
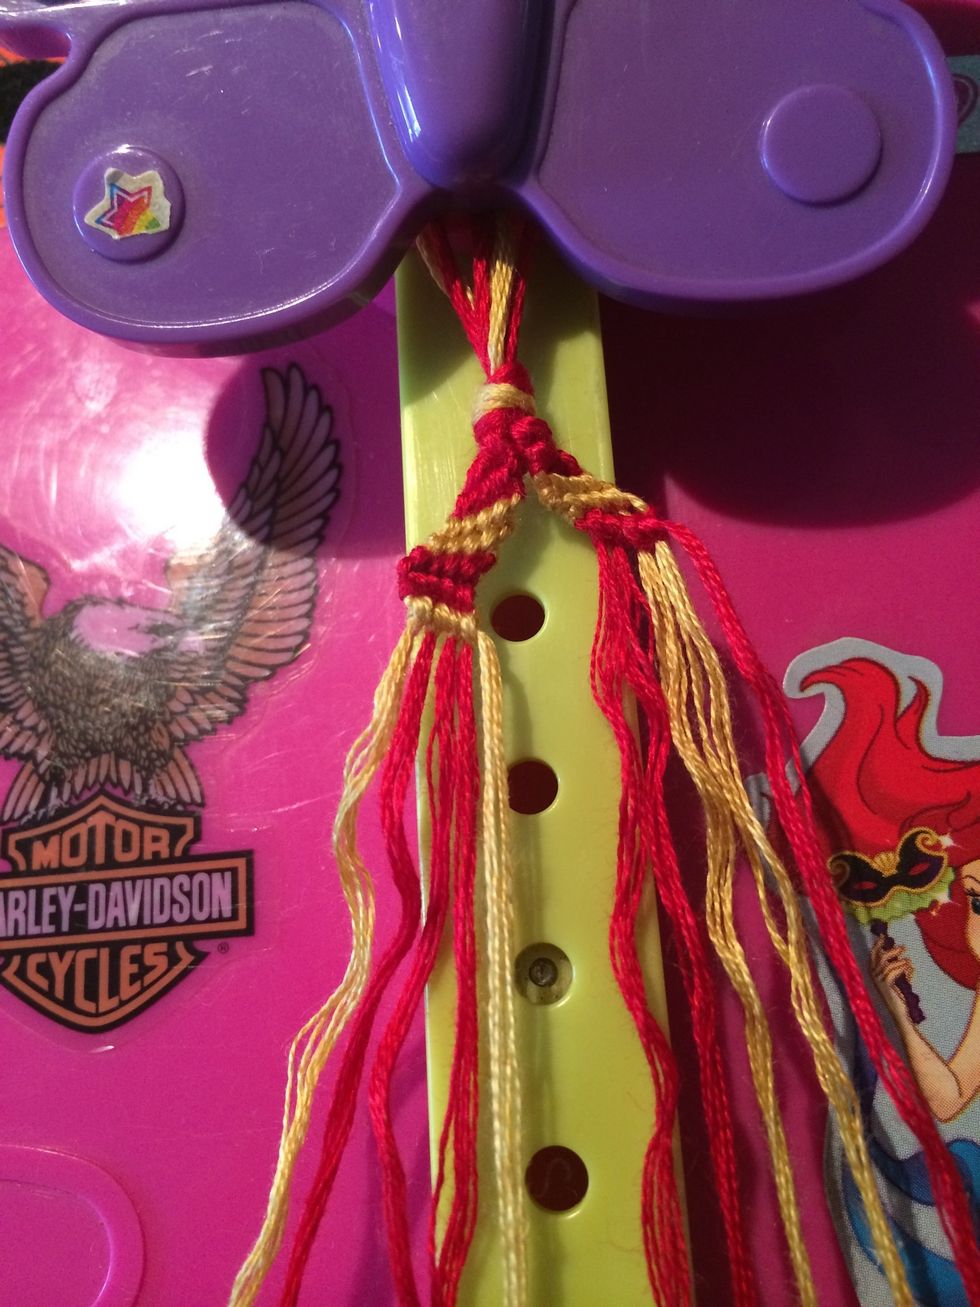
Here is the 1st row. Don't worry if your row looks a little funny, it's because of the beginning knot. Now let's work on the 2nd row.
Grab the next red string and make your way across the other strings.
Here is the 2nd row.
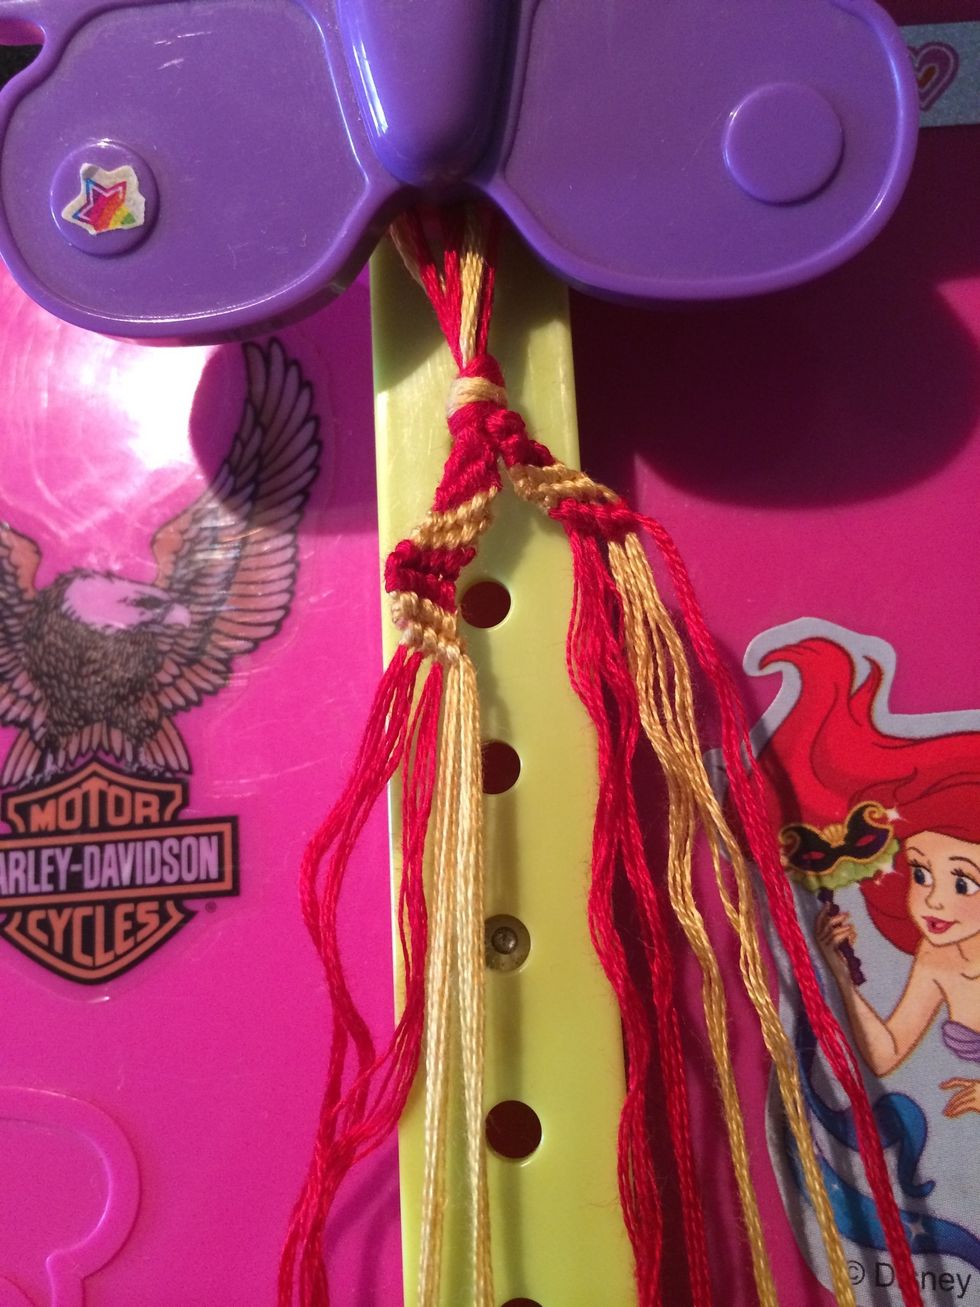
Grab the next string which will be gold if you are following my color scheme. Knot across the four other strings.
Row 3 complete and two more to go. Continue working on row 4 and five and them stop.
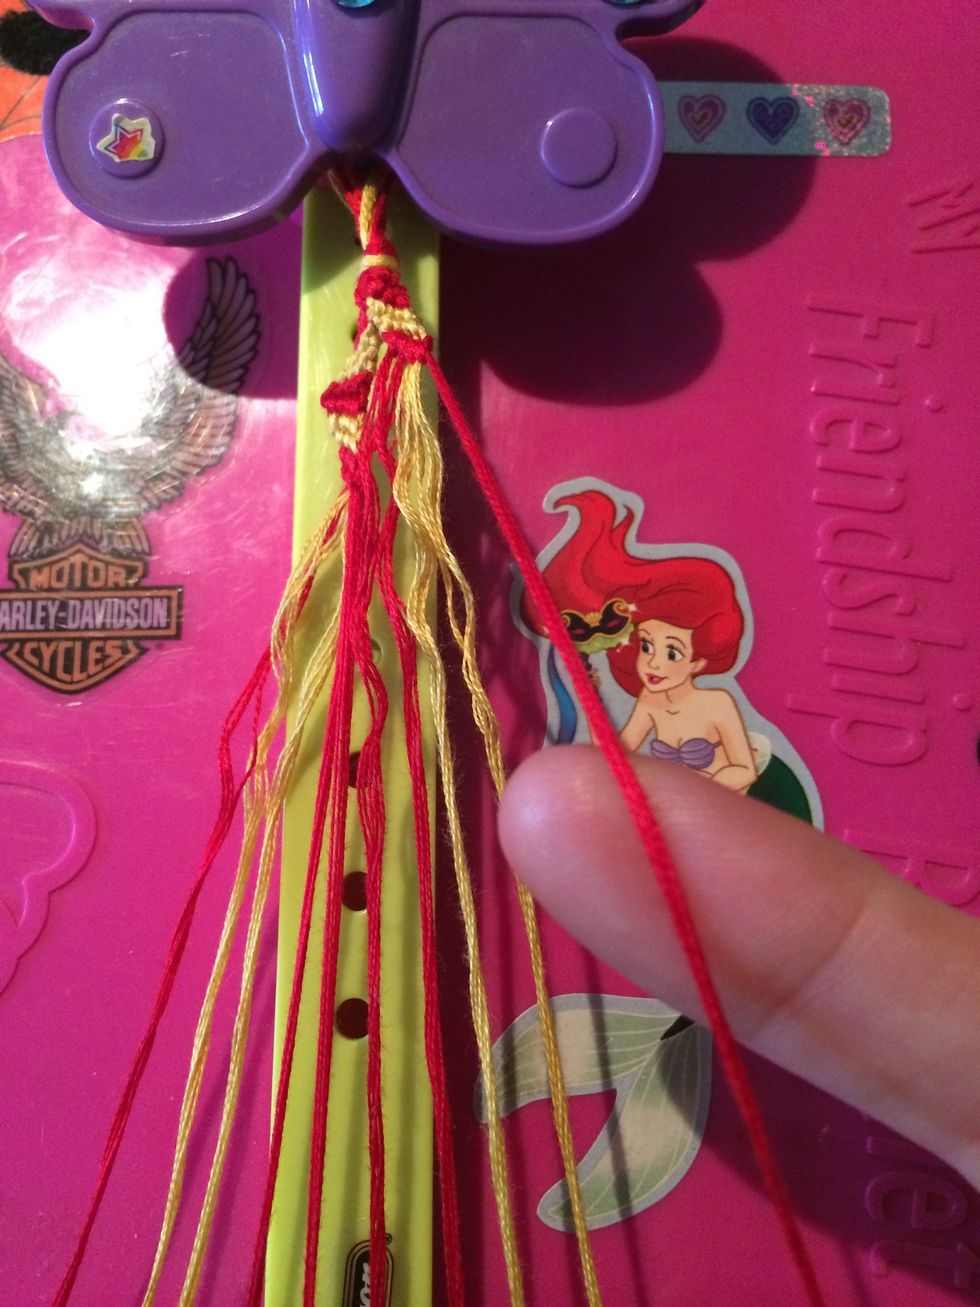
With all five rows done it's time to work on the left side.
Grab string number 5. Mine is the red one. We are going to be doing the same thing like the right side except we are going Backwards.

The Backwards 4. It's just like the Forwards knot but backwards. Don't forget that two knots equals 1 regular knot. Make your way across all four strings.
Here the the 1st row.
Grab the next string in line. Take the red one and do Backwards knots across all four of the other strings.
Here is the 2nd row. Grab the gold string and way your way across again.
Here is the third row. After the second or third row it gets a little repetitive. Grab the next gold string and make your way across again.
Row four is done. Time to do the fifth row. Go ahead and grab that last red string and make your way across the others.
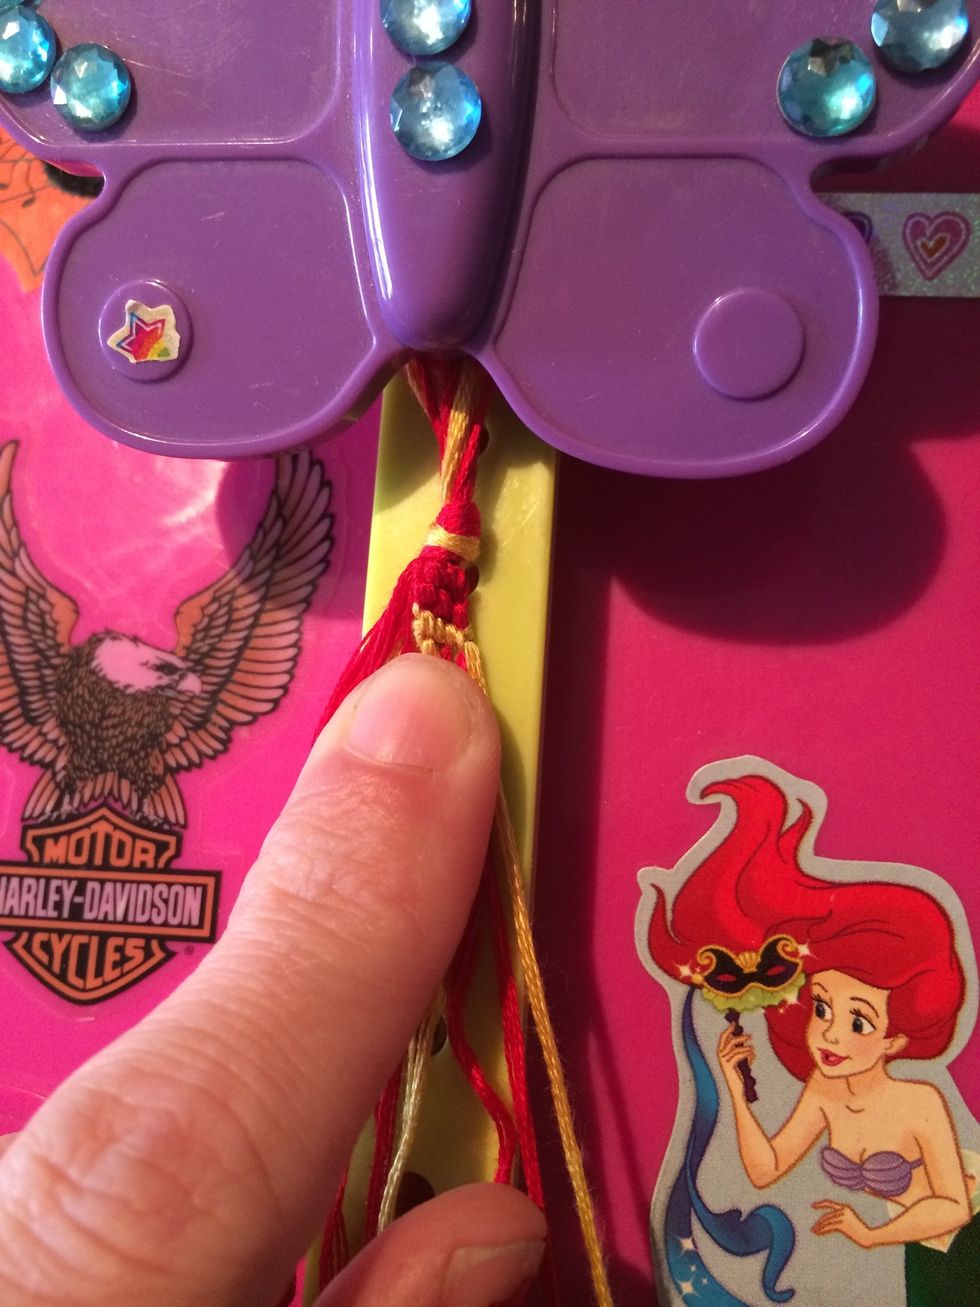
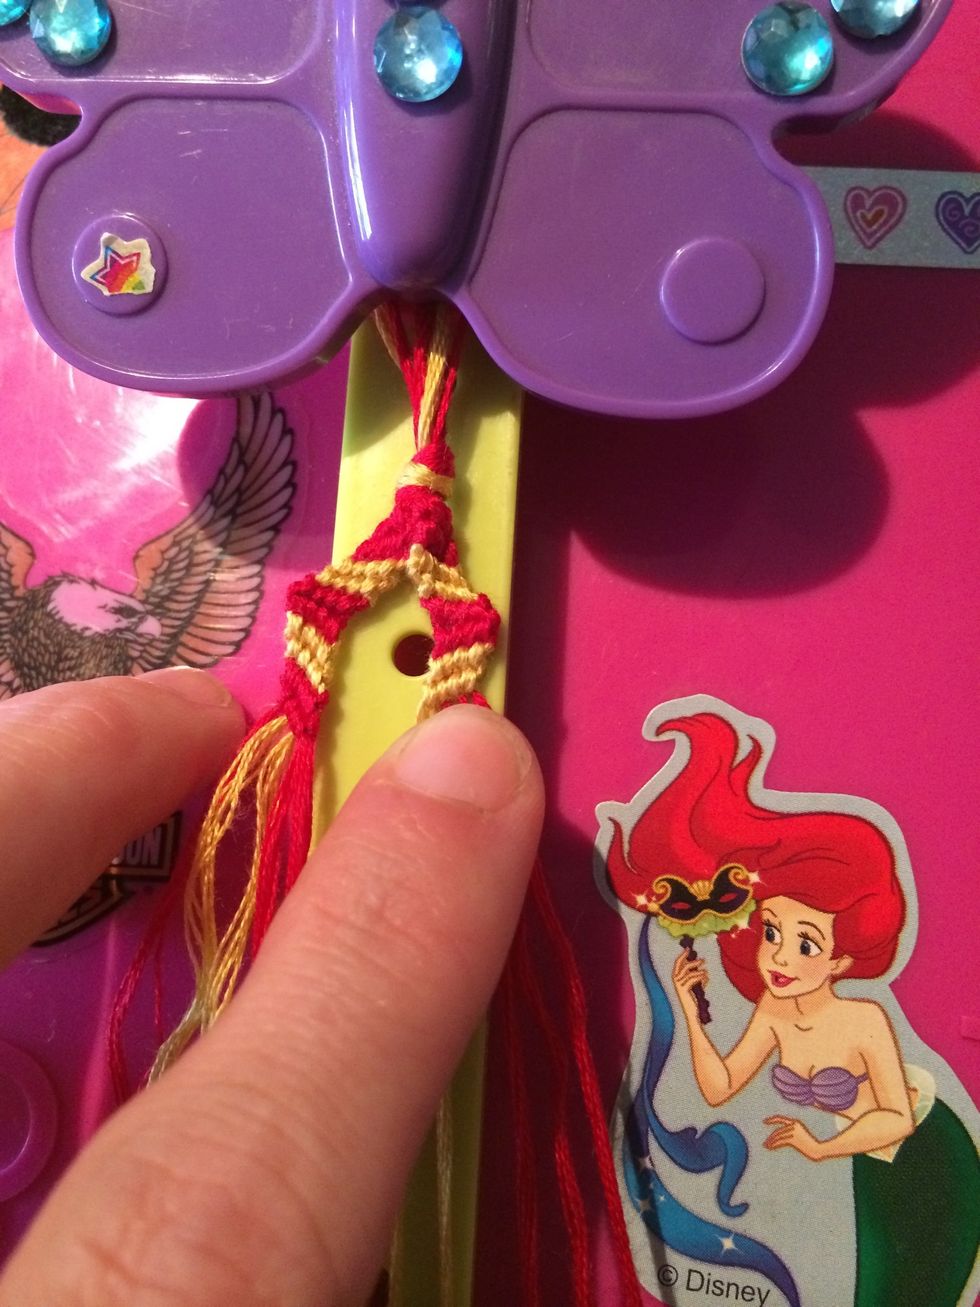
With all the rows done in the first half it's time to start the Zag of this bracelet.
We are going to start with the left side since we just ended here. This this row was Backwards to start now we are going Forwards. Pick up the first red string and make your way across the others.
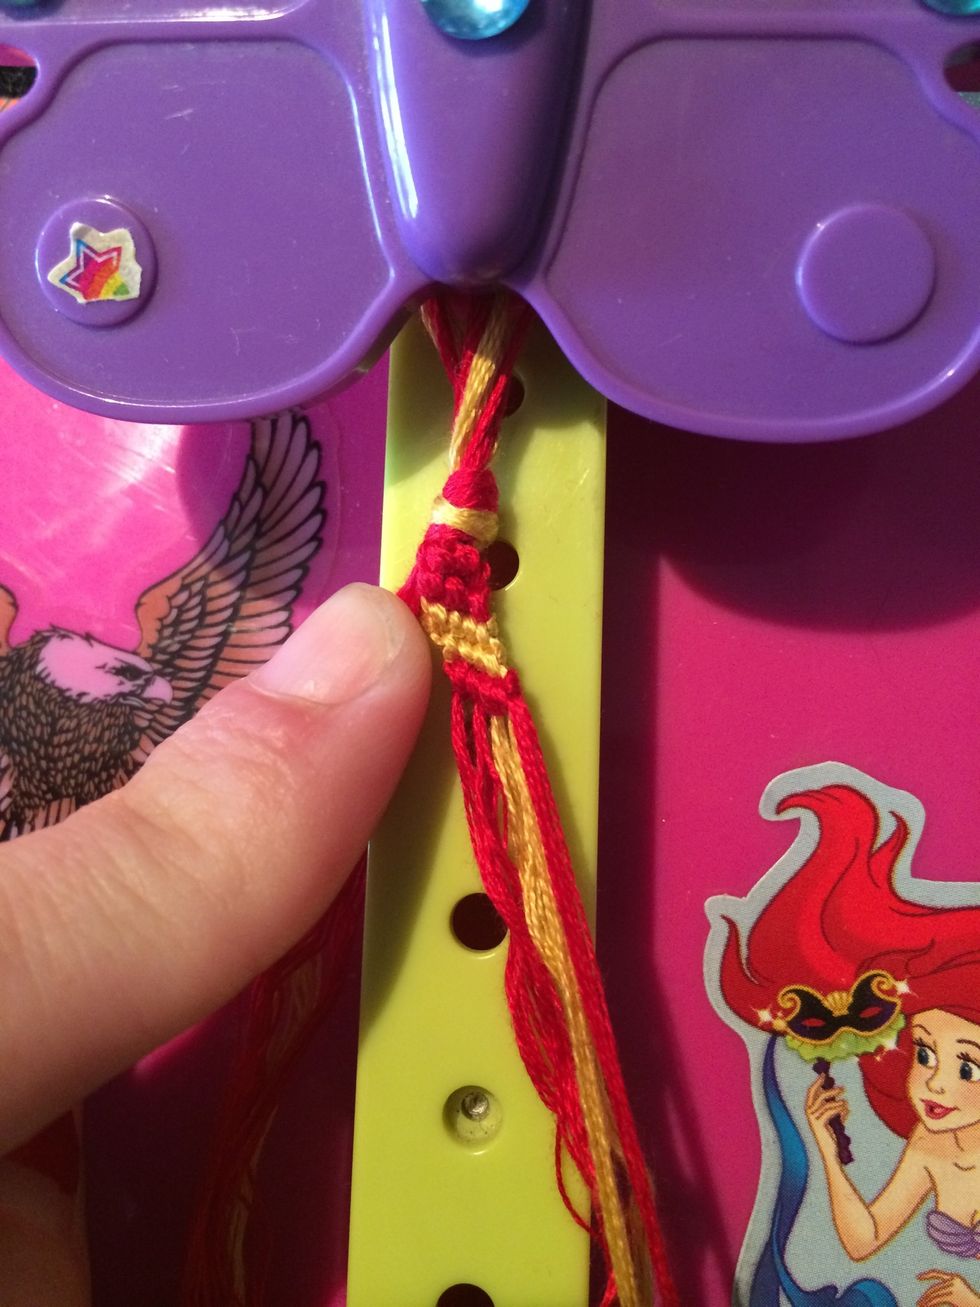
You will notice the little point at the beginning.
Grab the gold string and make your across using Forward knots.
The second row is done. And let's do it again. Grab the next gold string and make your way across the other strings.
Row 3 is done. Can you guess what theme this bracelet is going to be? Grab the red string and start working on the next row.
Row four is done. Let's knock row 5 put too. Grab the last red string and make your way across.
And we are finished with the last row. Time to work on the other side.
Since this side was done with Forwards knots we will be switching to Backwards knots. Grab the red string and make your way across the other strings.

With this row done I am hoping you have gotten the hang of how this bracelet is going to knot. Go ahead and knot both of the gold strings in the 2nd and 3rd rows.
Isn't this looking nice? Grab the red string and knot the 4th row.
One more row, I think we can do it :D
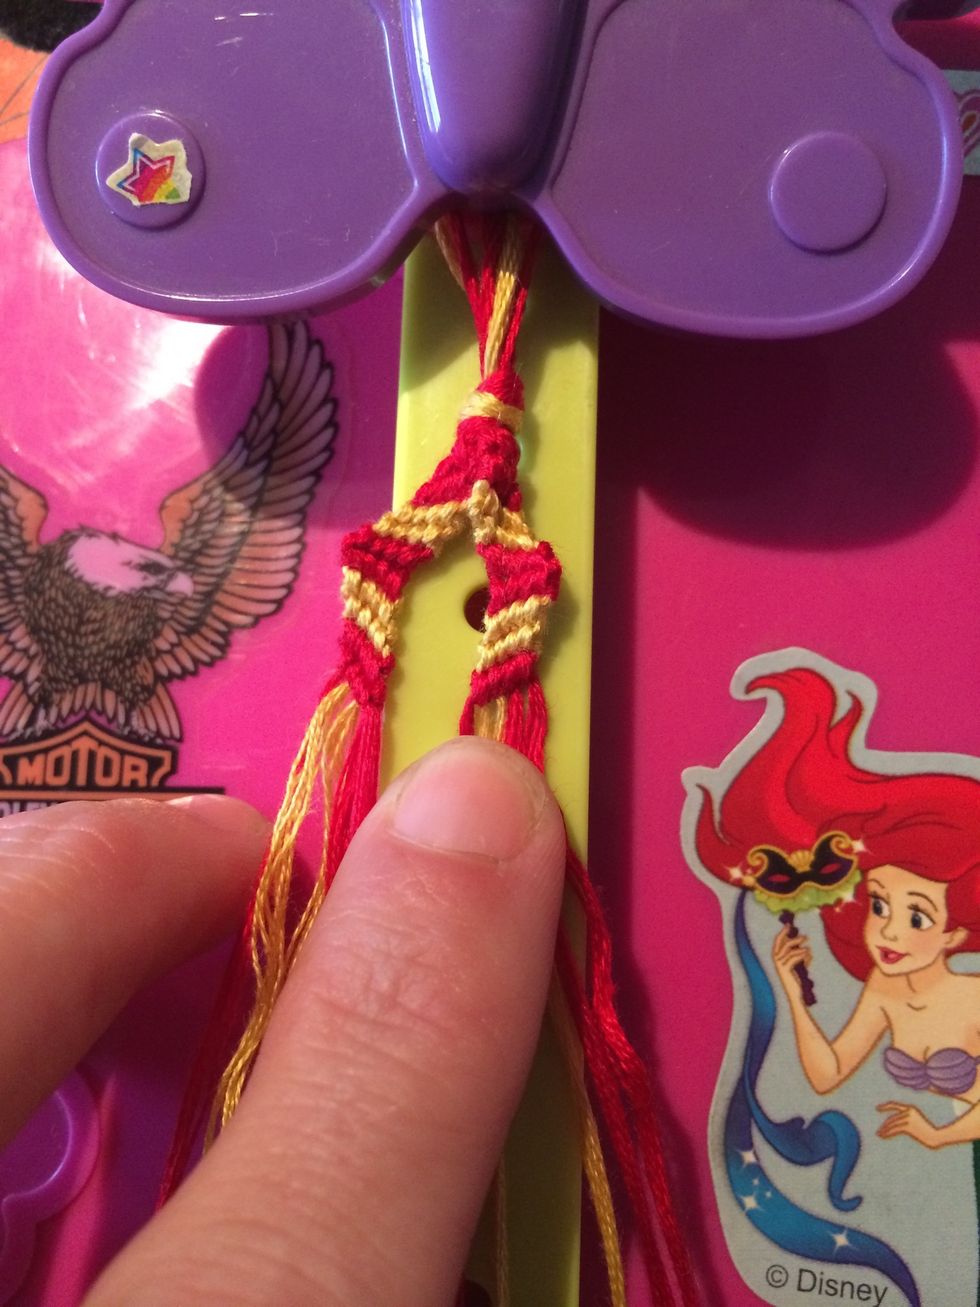
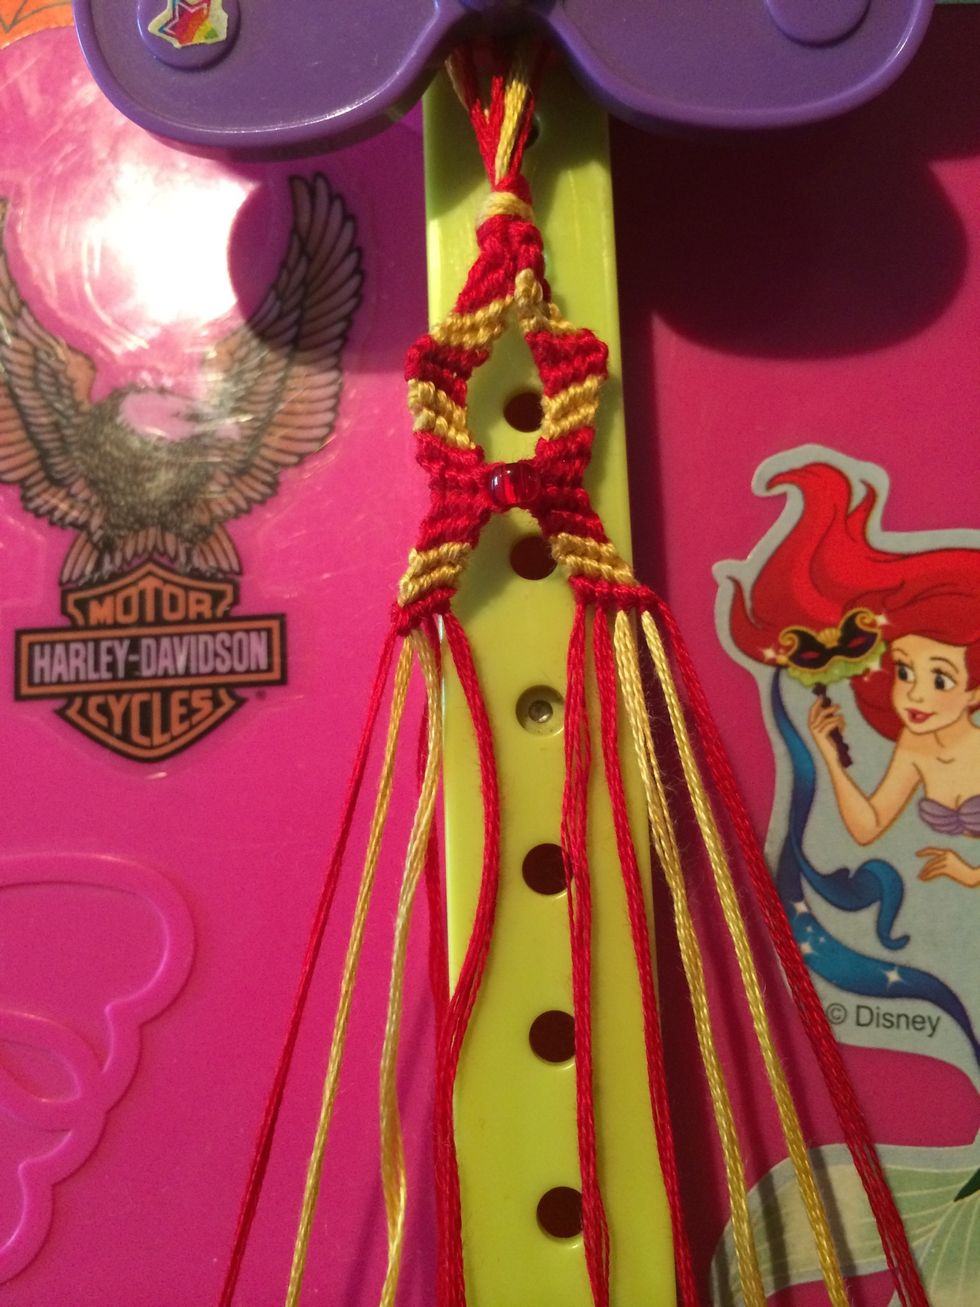
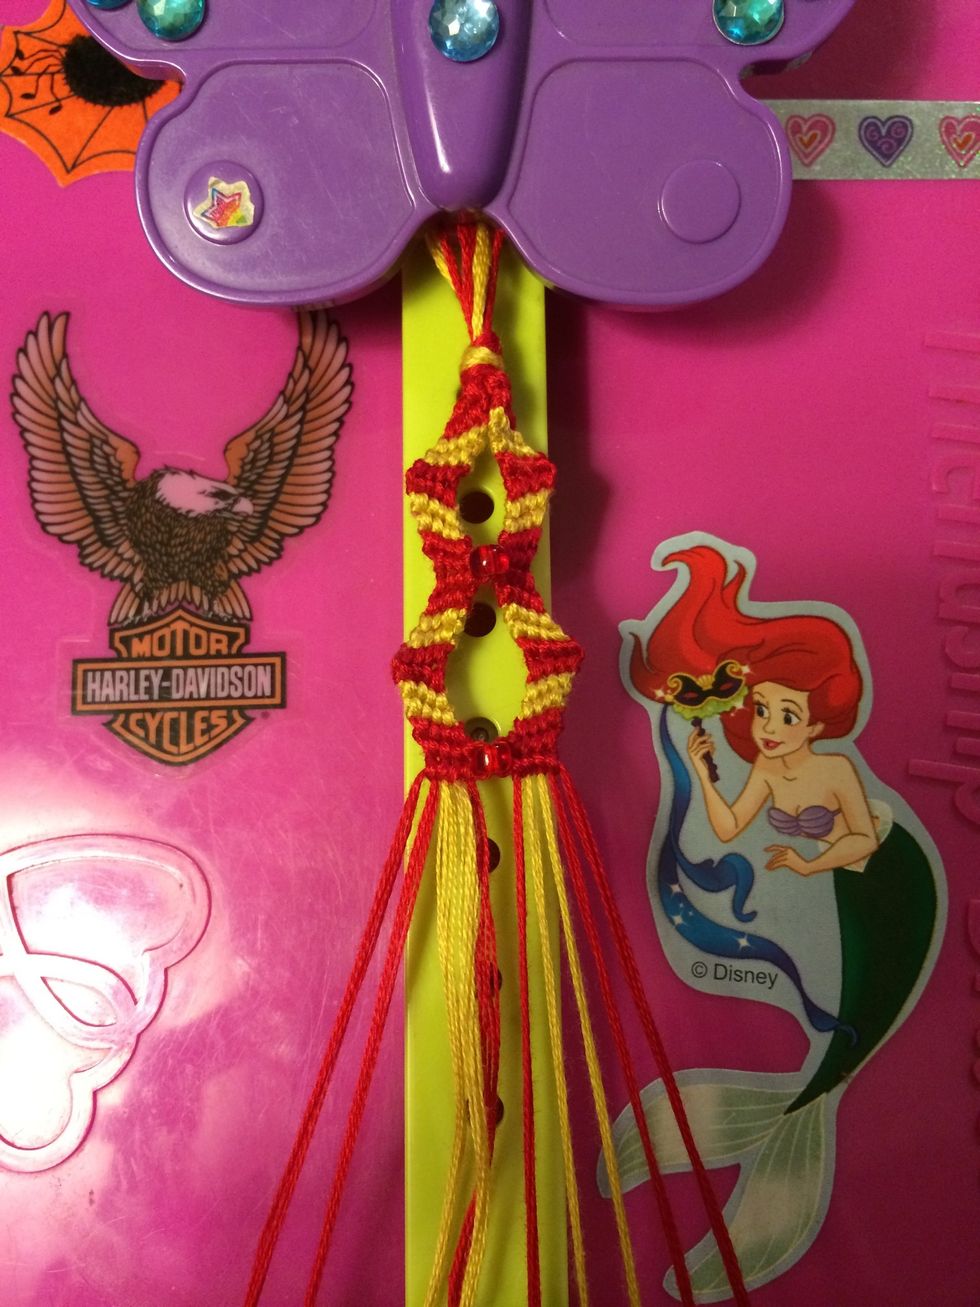
At this point you can see the shape of the bracelet. If you just let it sit there both sides of your bracelet will try and touch each other.
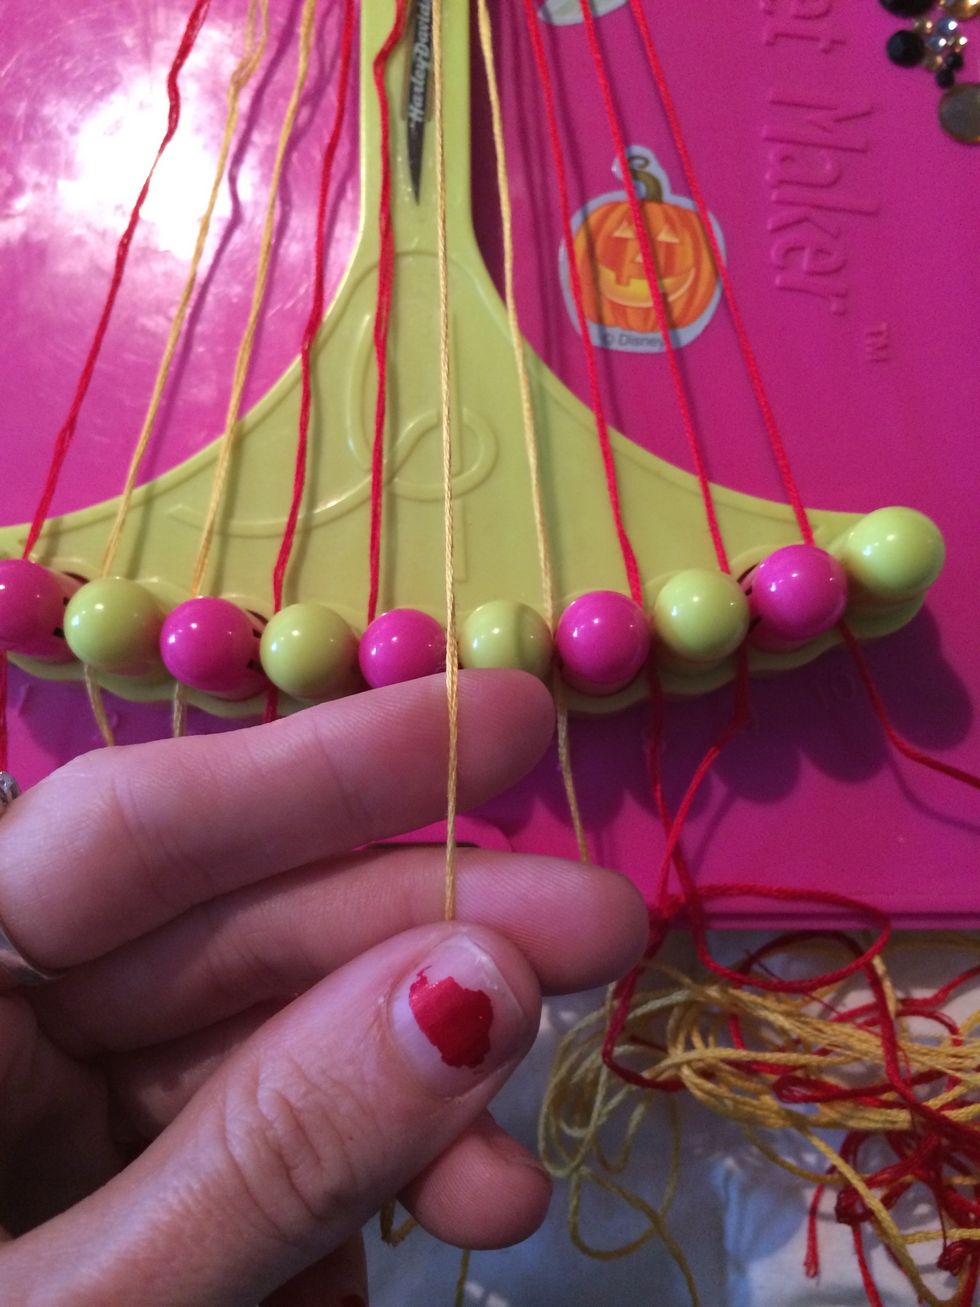
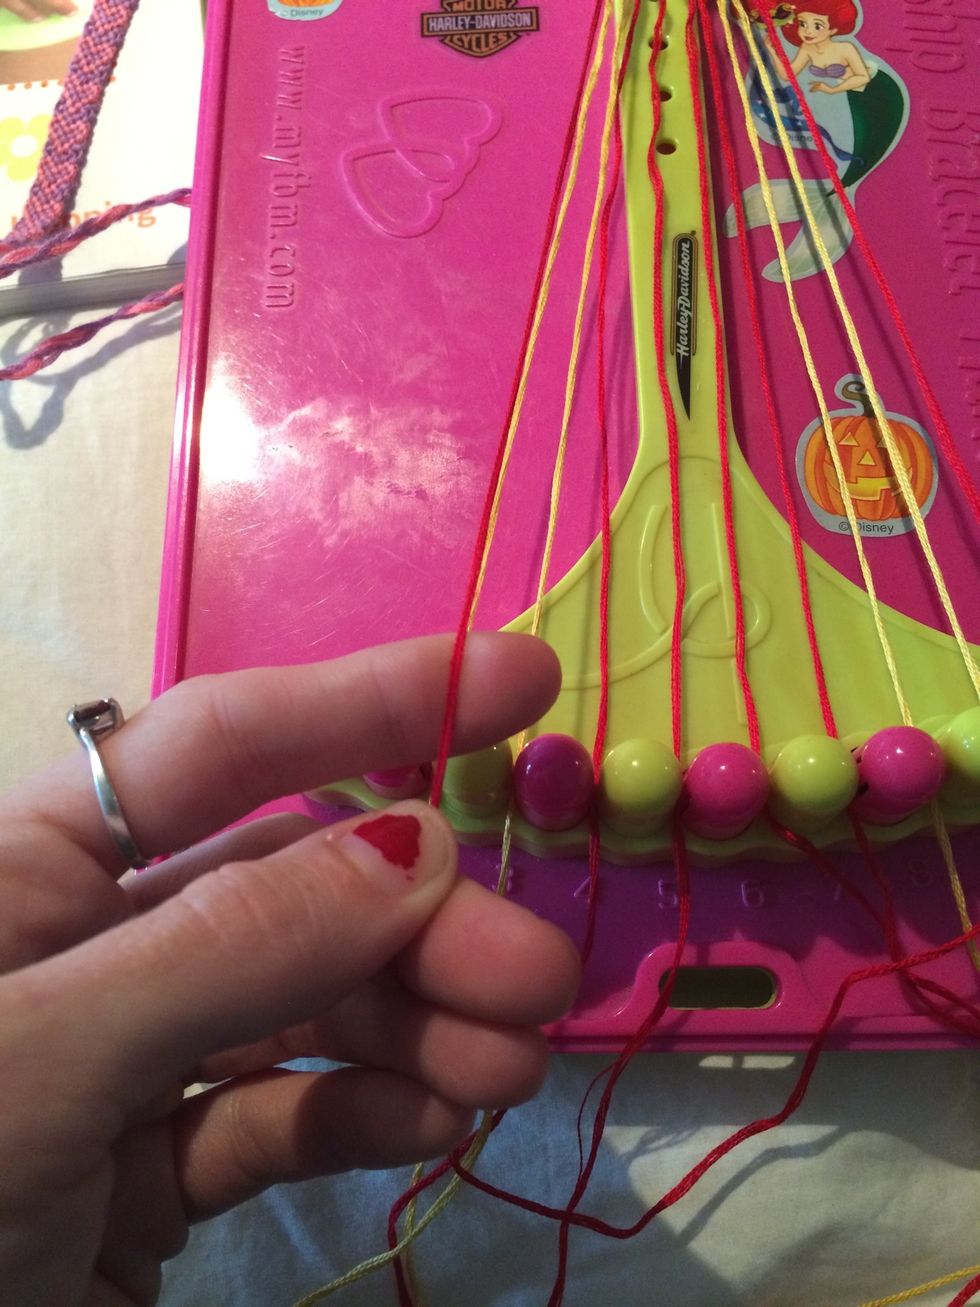
And here comes the fun part. Grab both of the middle strings.
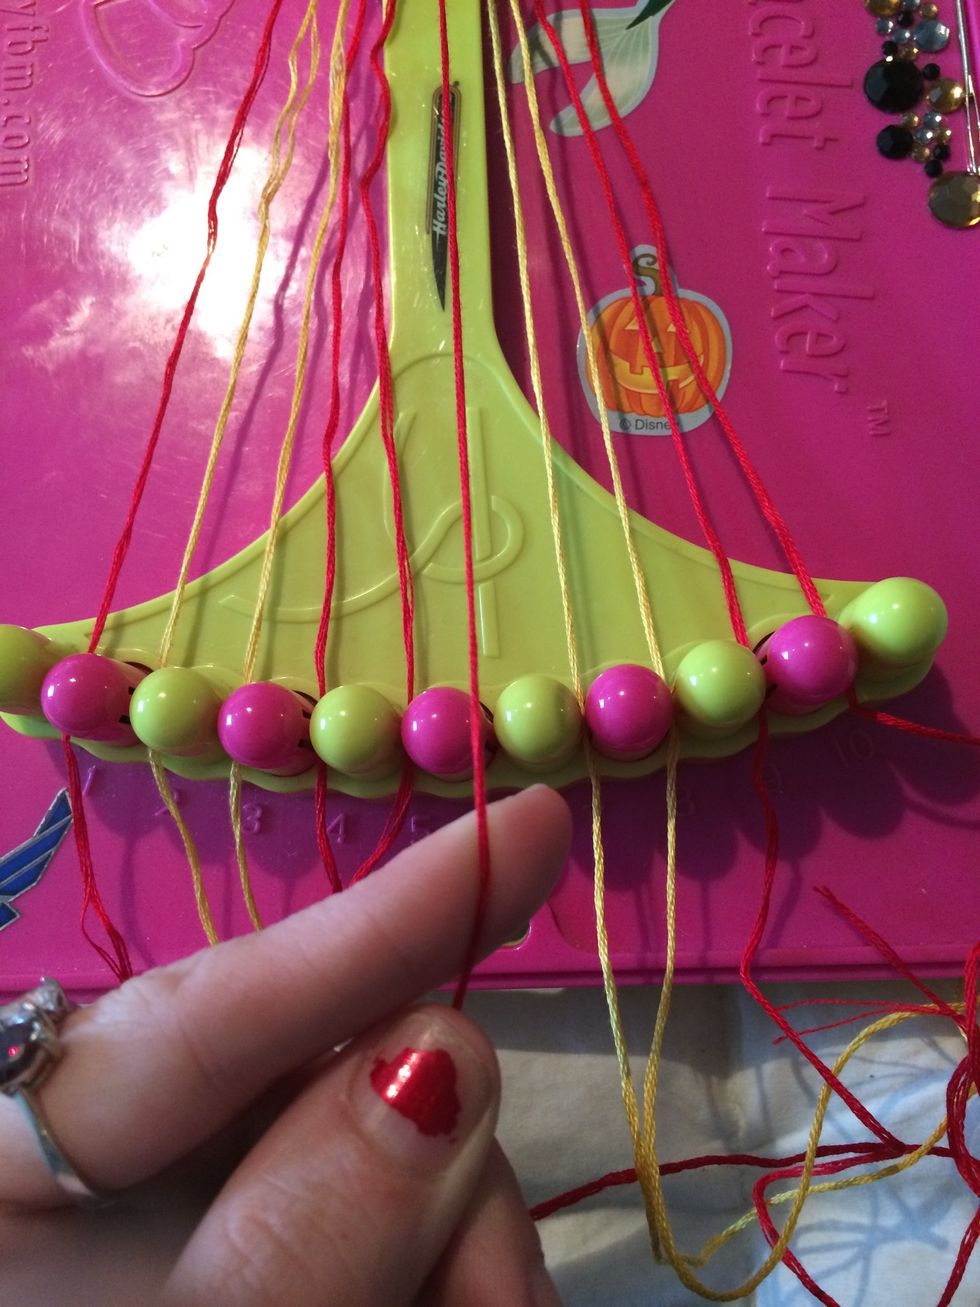
Take a bead and slide the string through the bead. What helps me the most with put using a needle is getting the end if the strings a little wet. This will help slide the bead on a lot easier.
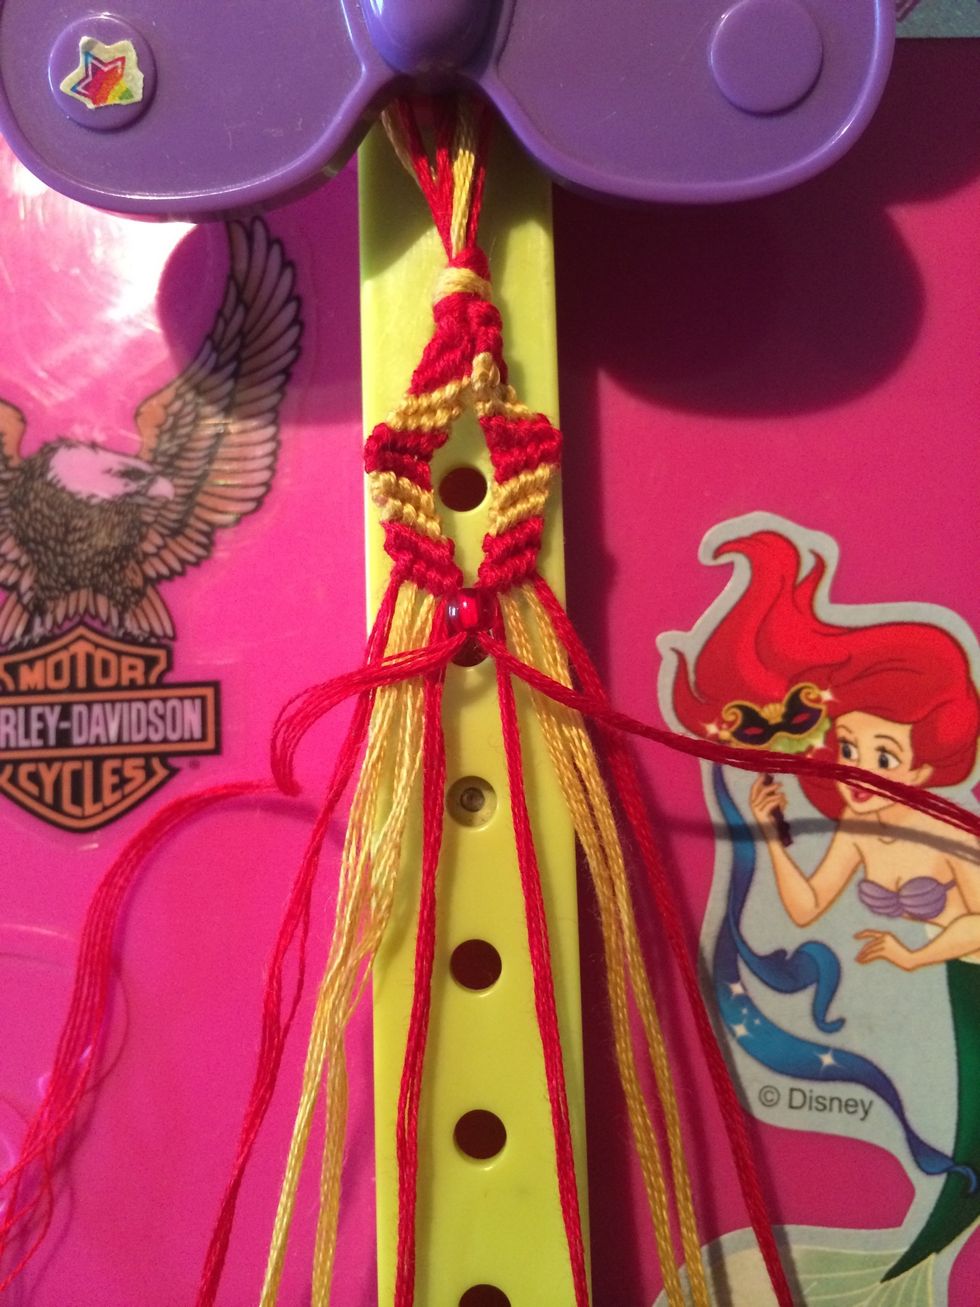
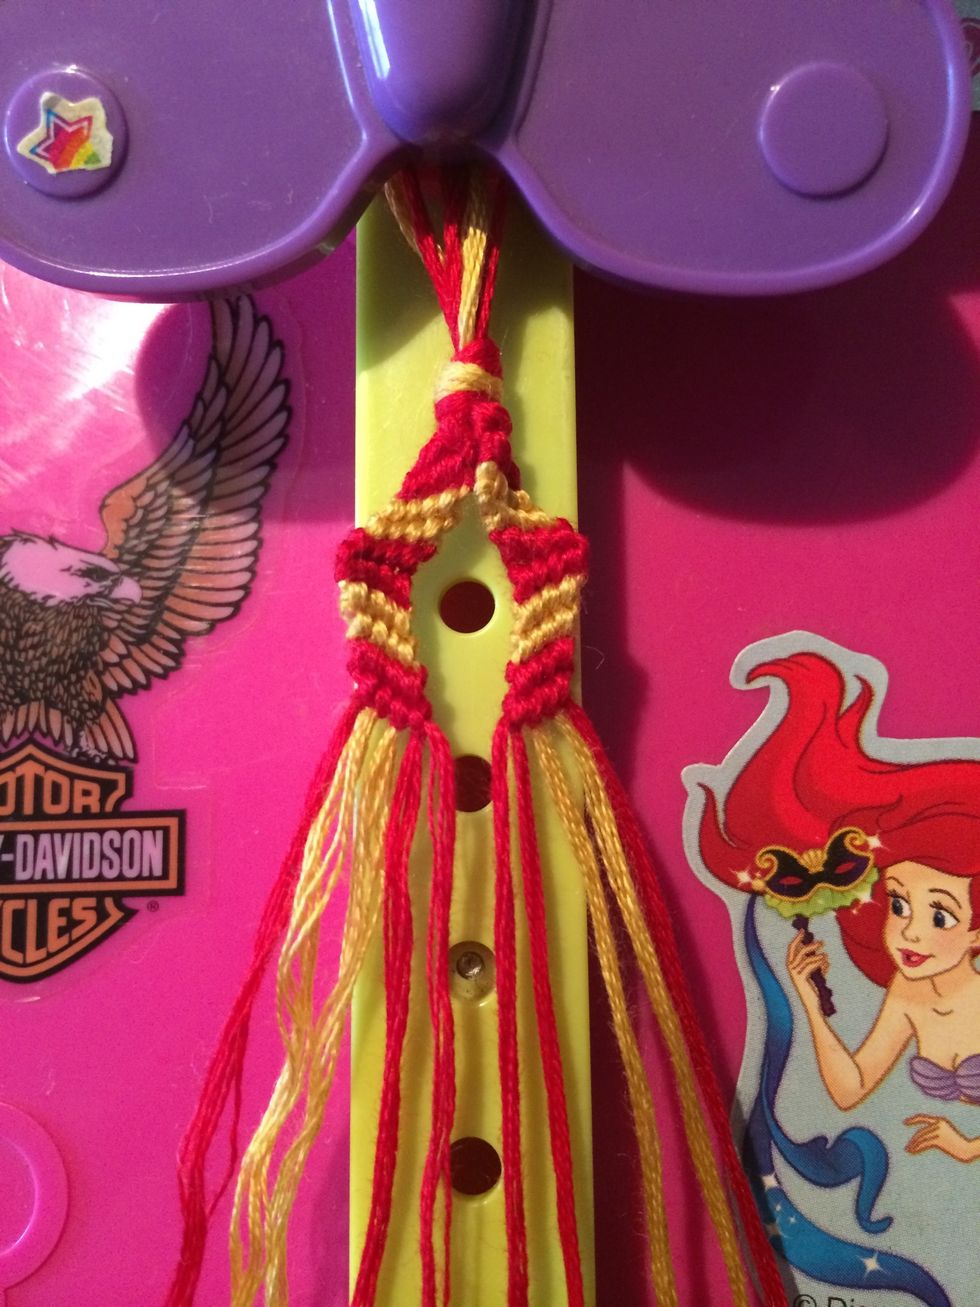
Slide your bead all the way to the top.
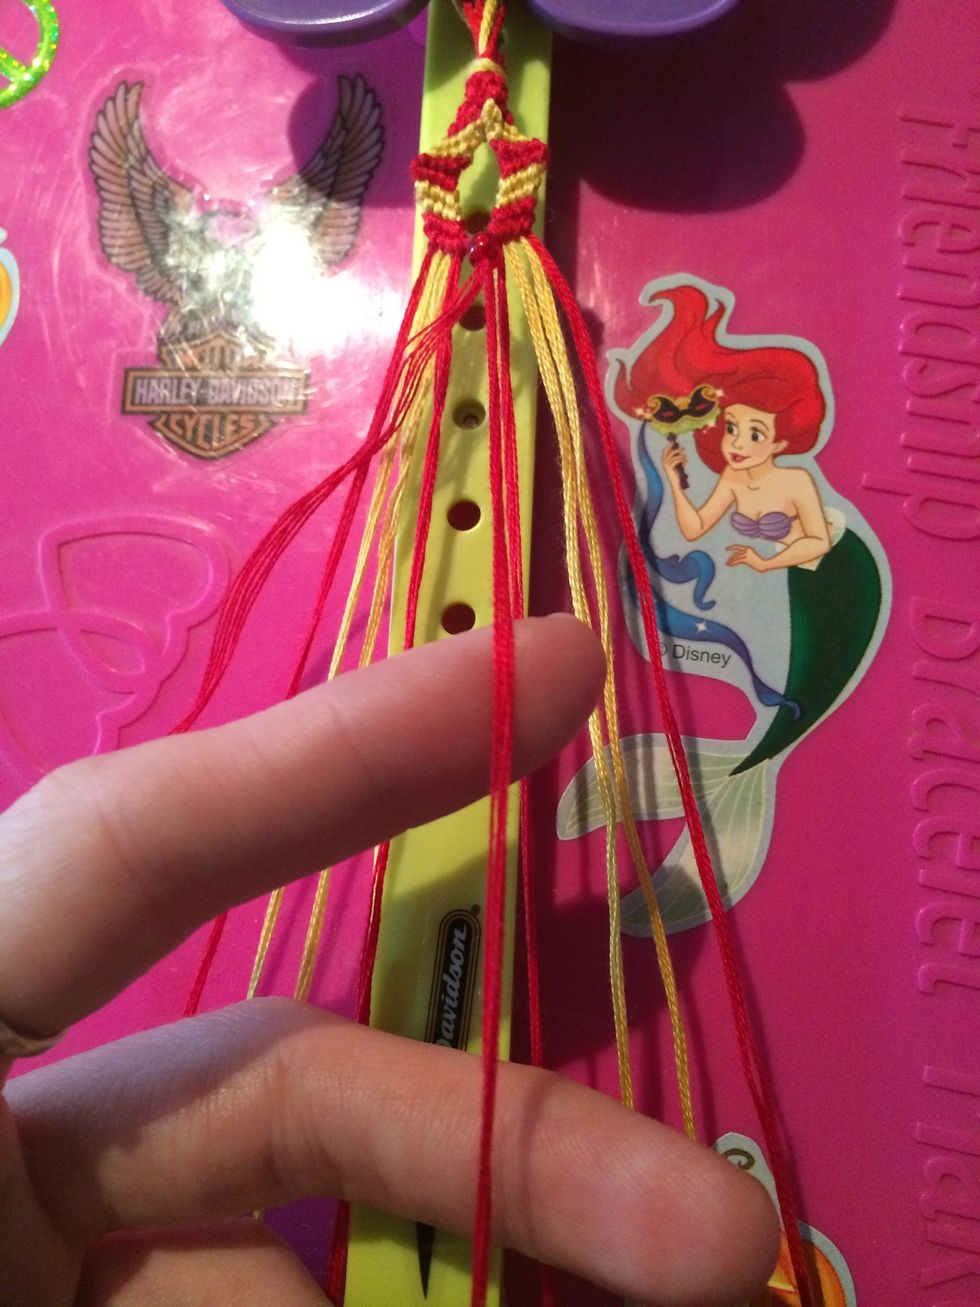
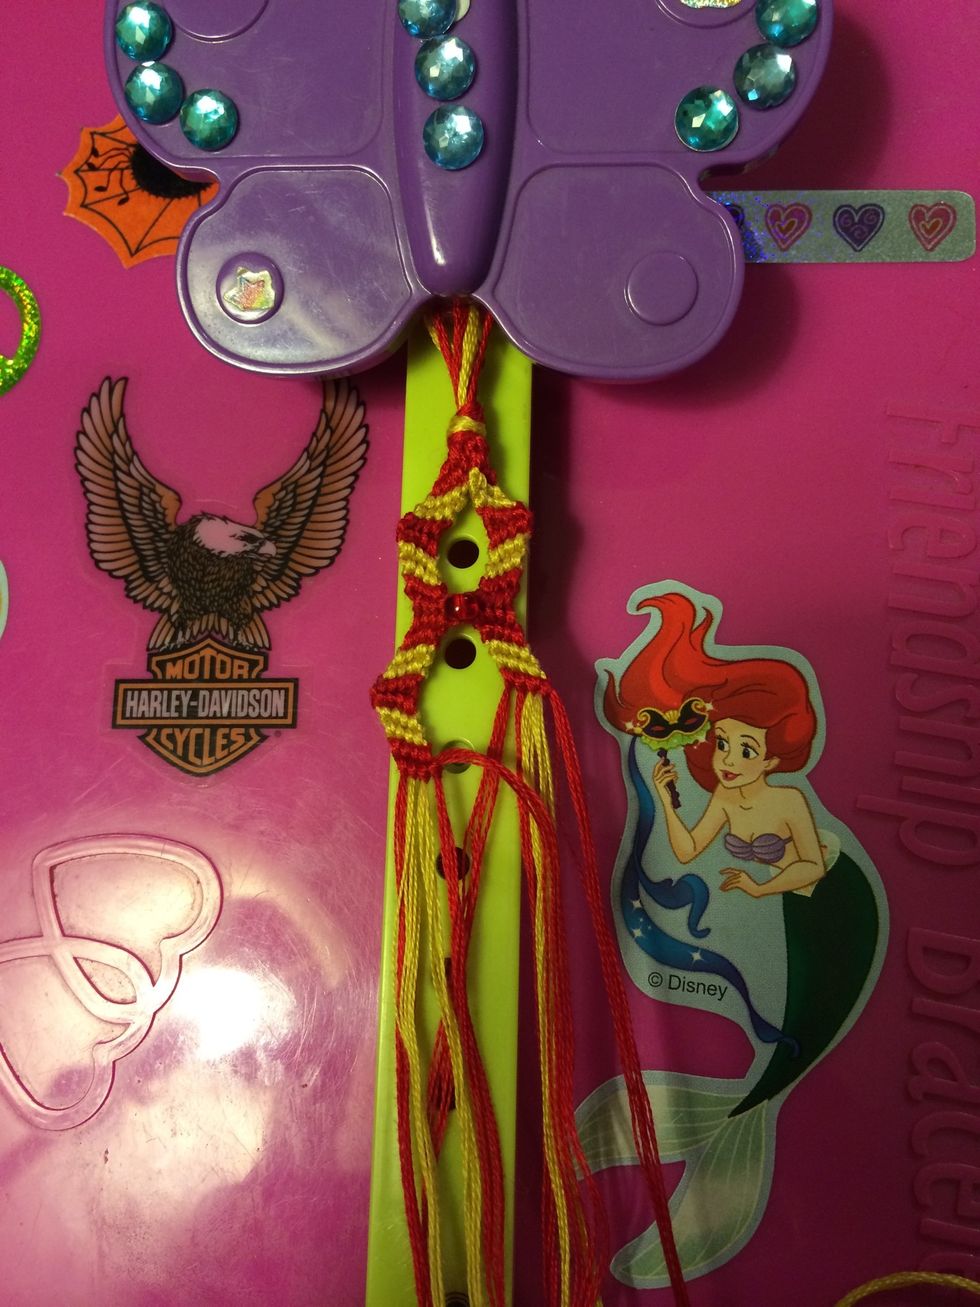
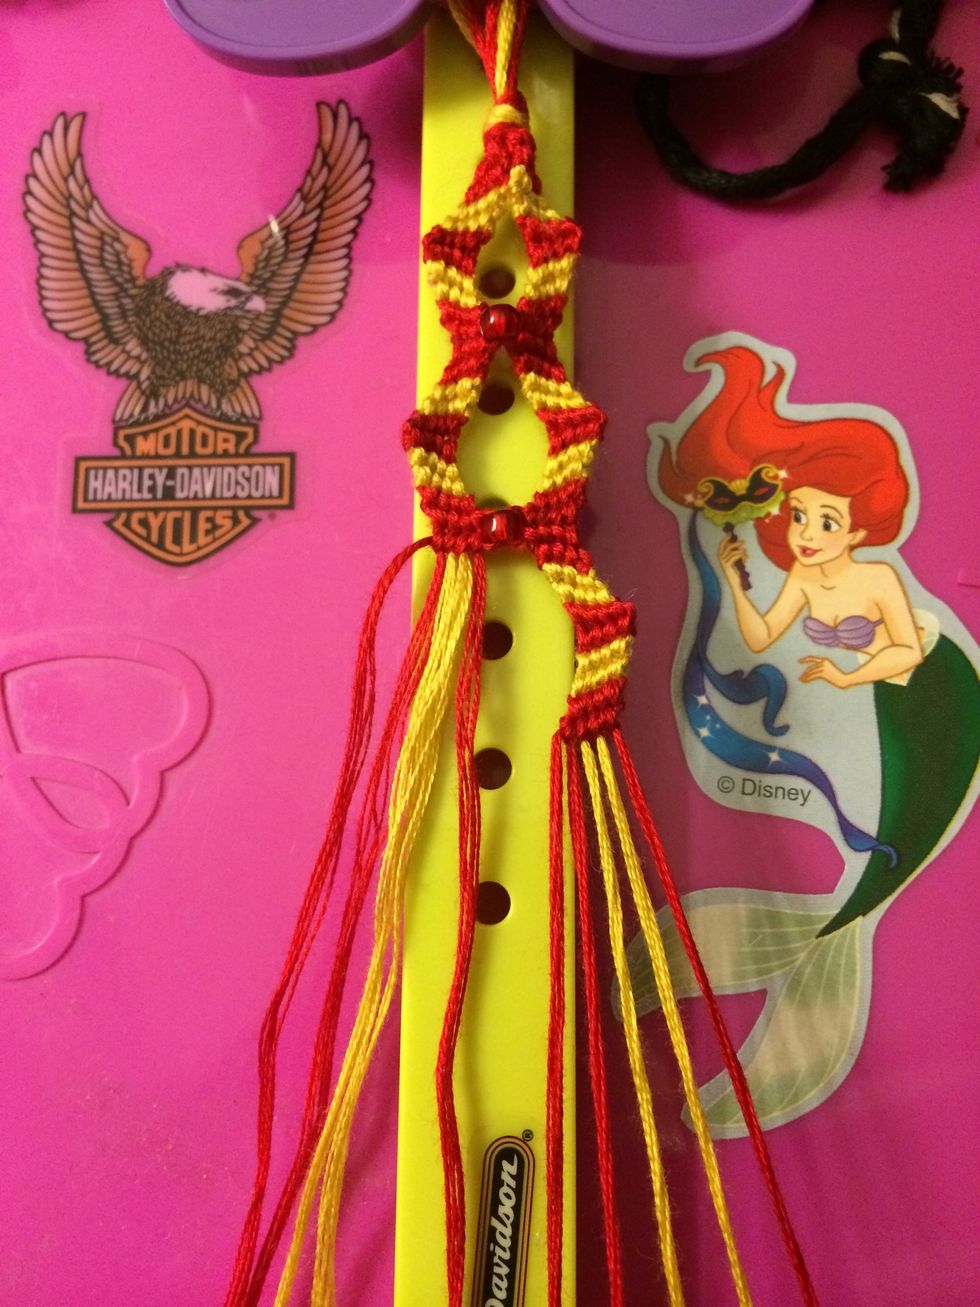
Take the string from the right side and knot the next row. All the knots on this side will be Forwards knots.
Let's do the other side to keep the bead in place.
Grab the other red string that is through the bead and make Backwards knots going to the left.

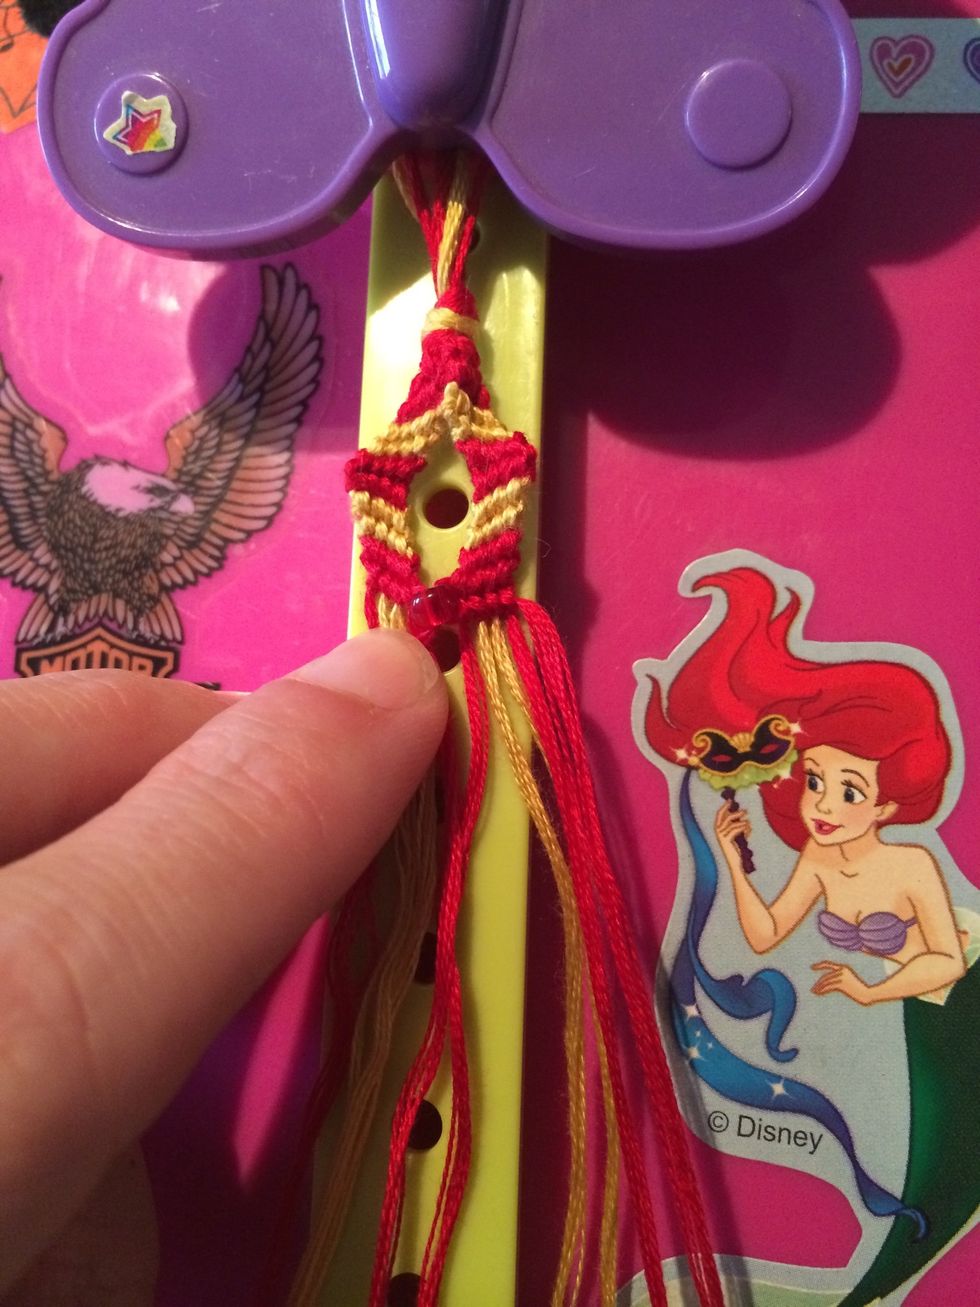
With our bead secure now we can work on the sides of the bracelet. You can start on either side of the bracelet, it doesn't matter.

I went ahead and did the right side first. Now it's time for me to knot the left side.
With both Zigs done on each side it's time to do the Zags. Again you can start with whatever side you like.
I started with the left side, so for me it's time to do the right side now.
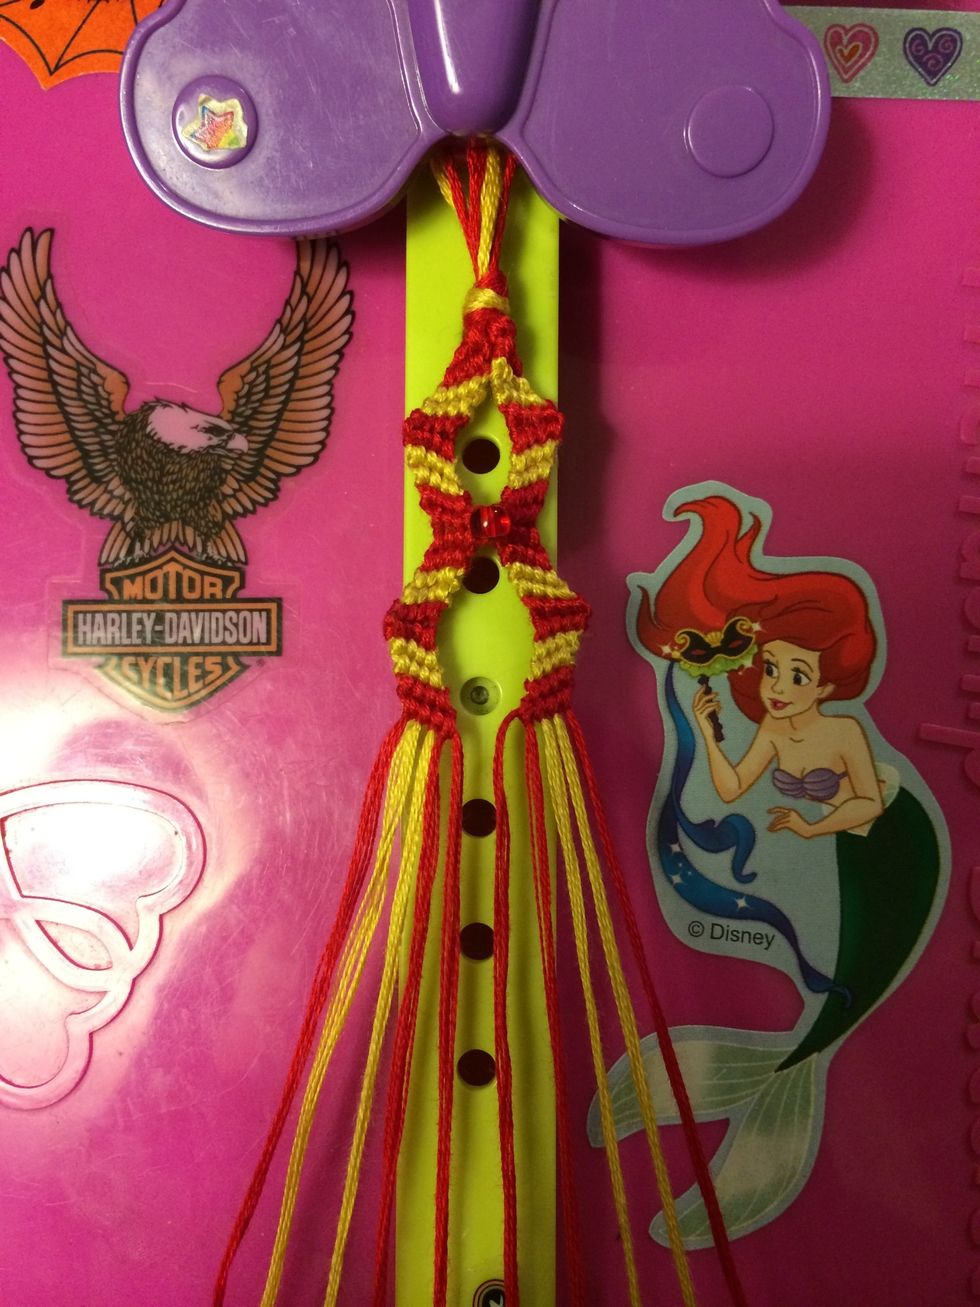
And there is the right side.
Let's go fishing for a bead :D. I love beads!!
With the red bead placed and the two rows in to secure it it's time to knot some more.
I did the Zig and Zag on the right side this time.
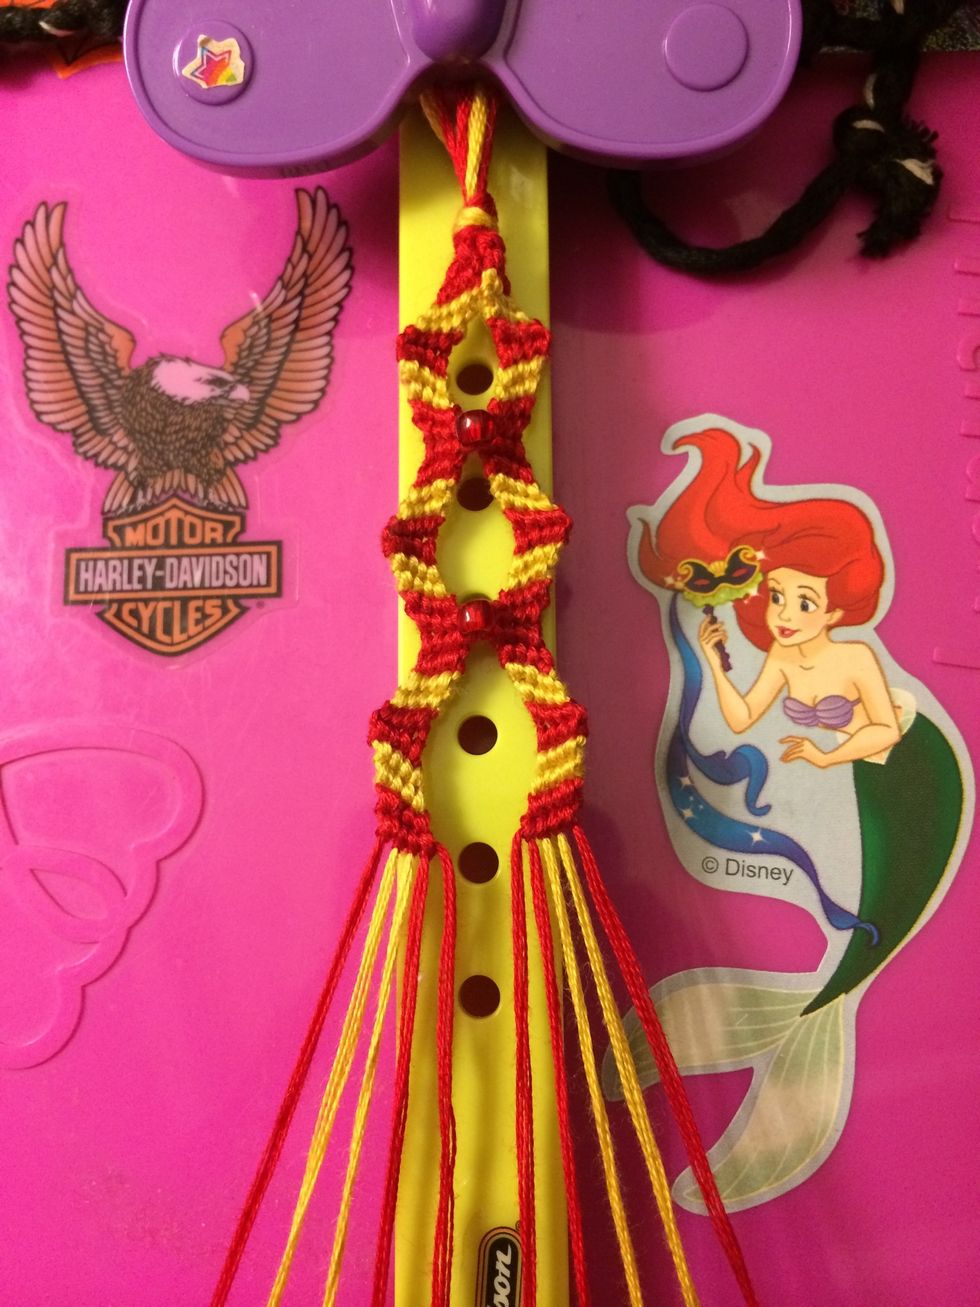
Here is the left side.
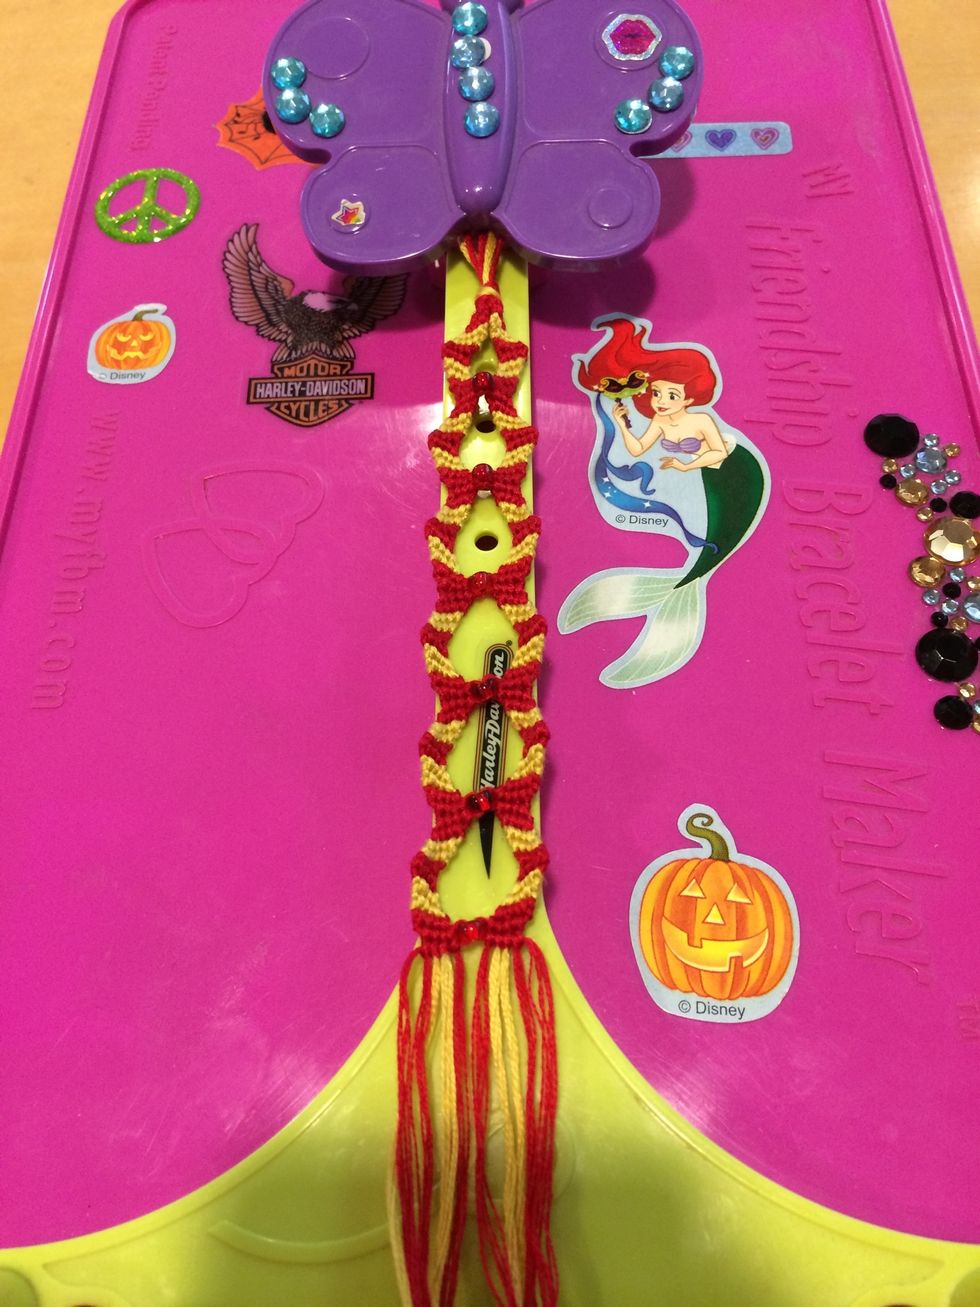
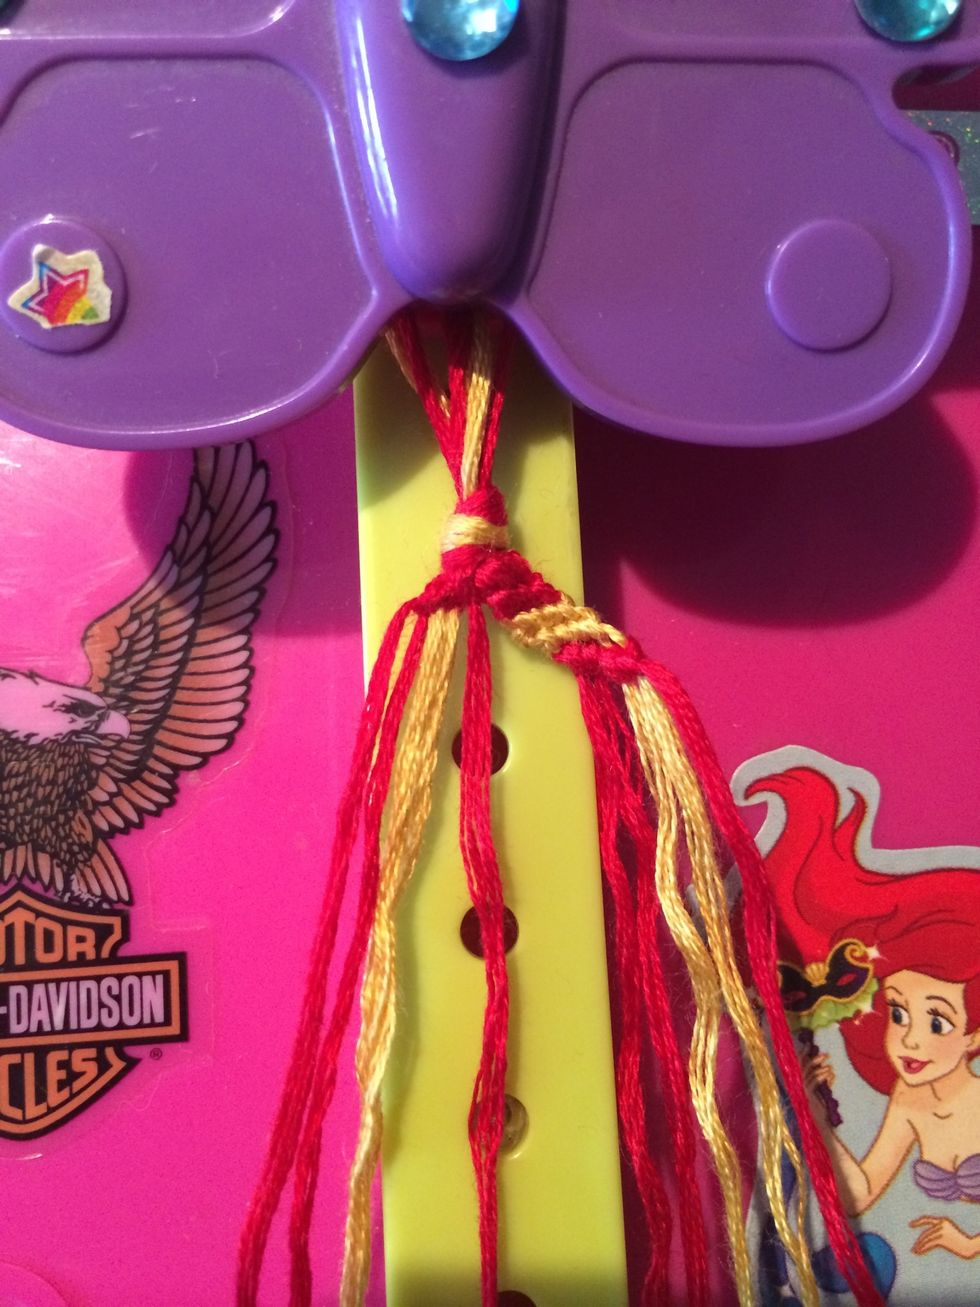
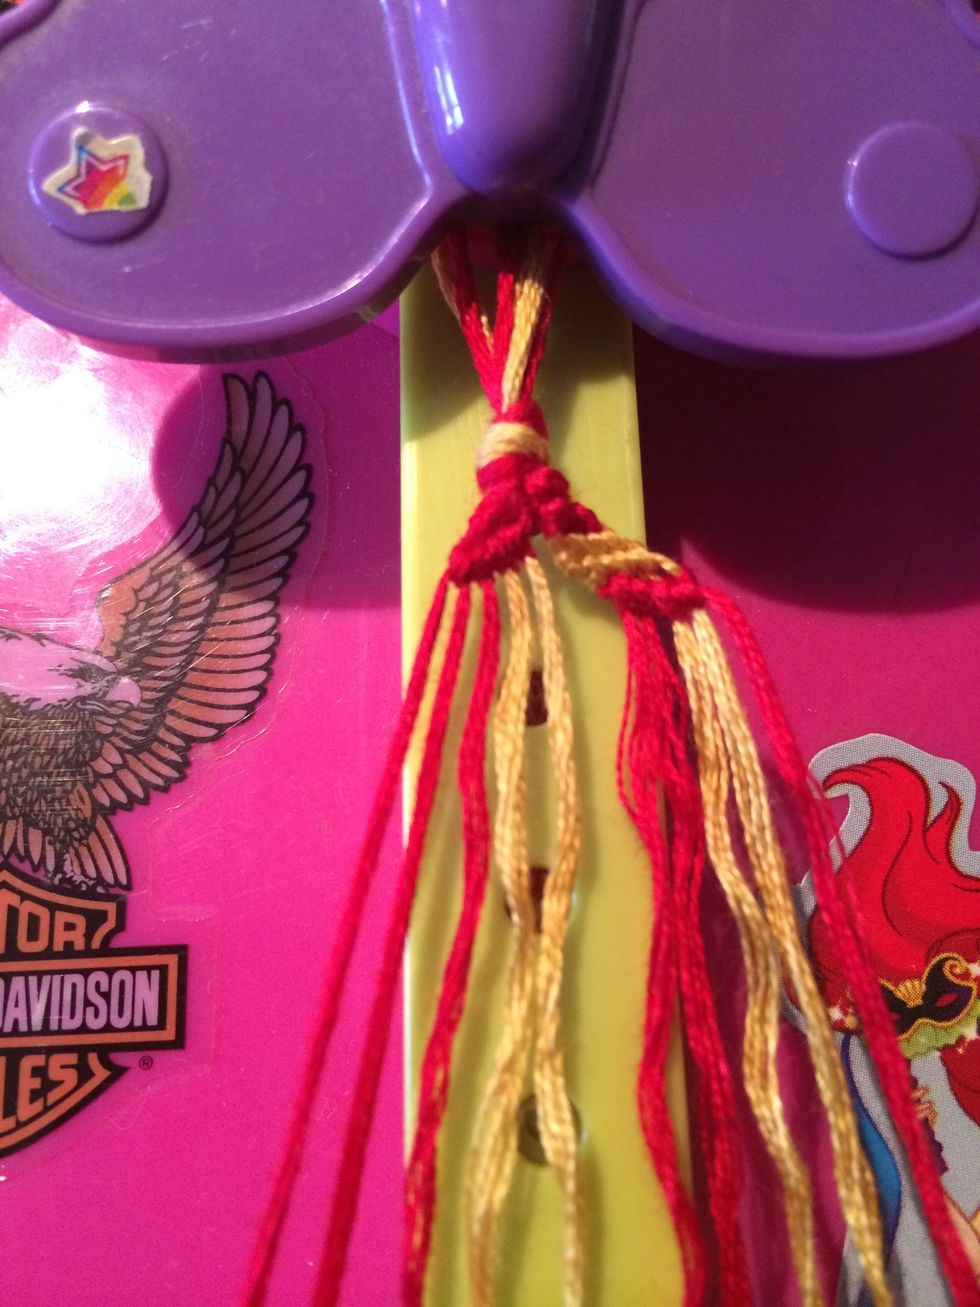
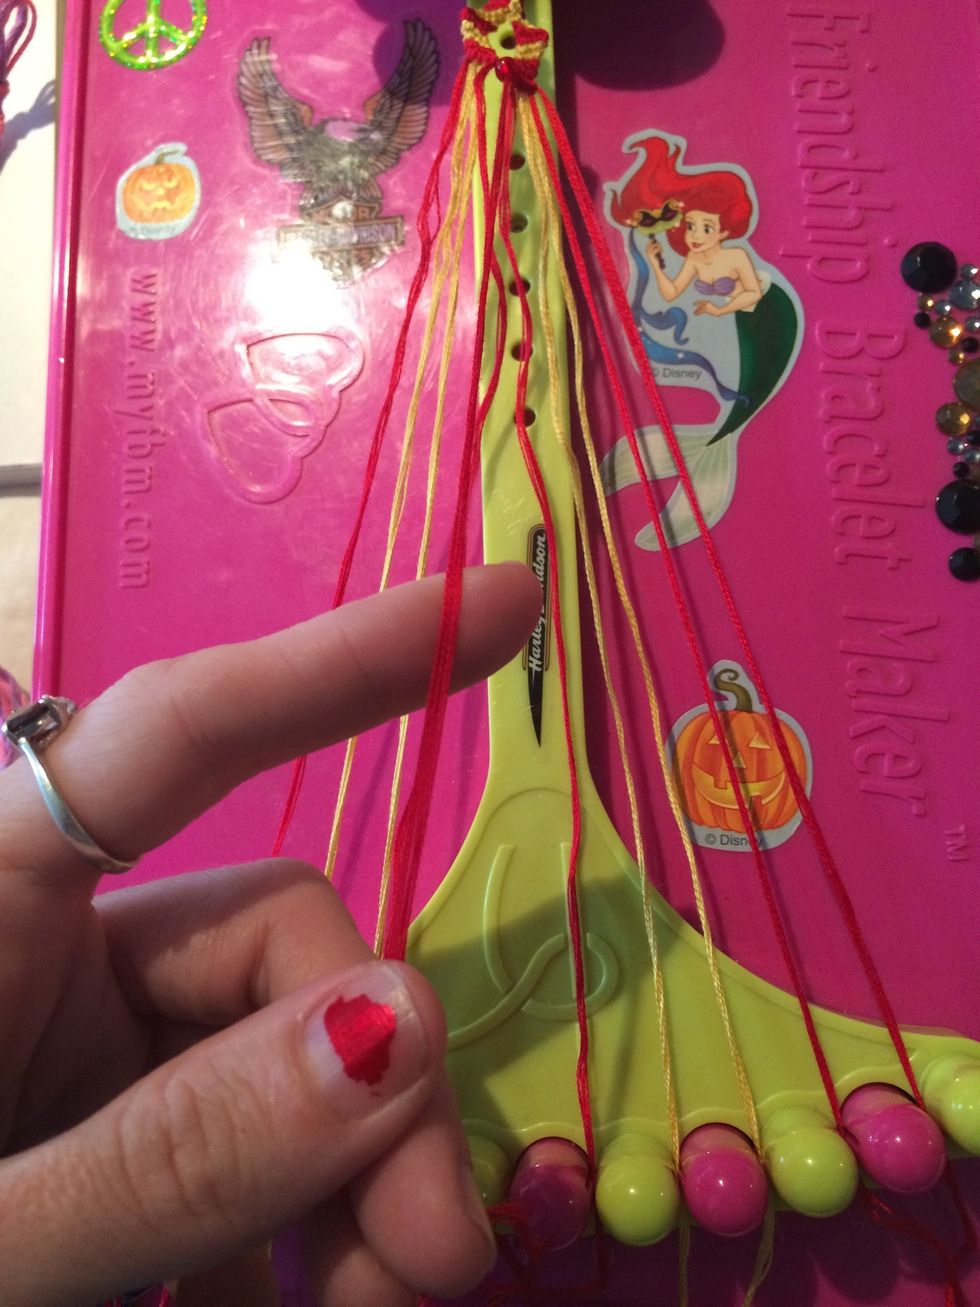
Now that I have six sets of each Zig Zag done it's time to finish my bracelet.
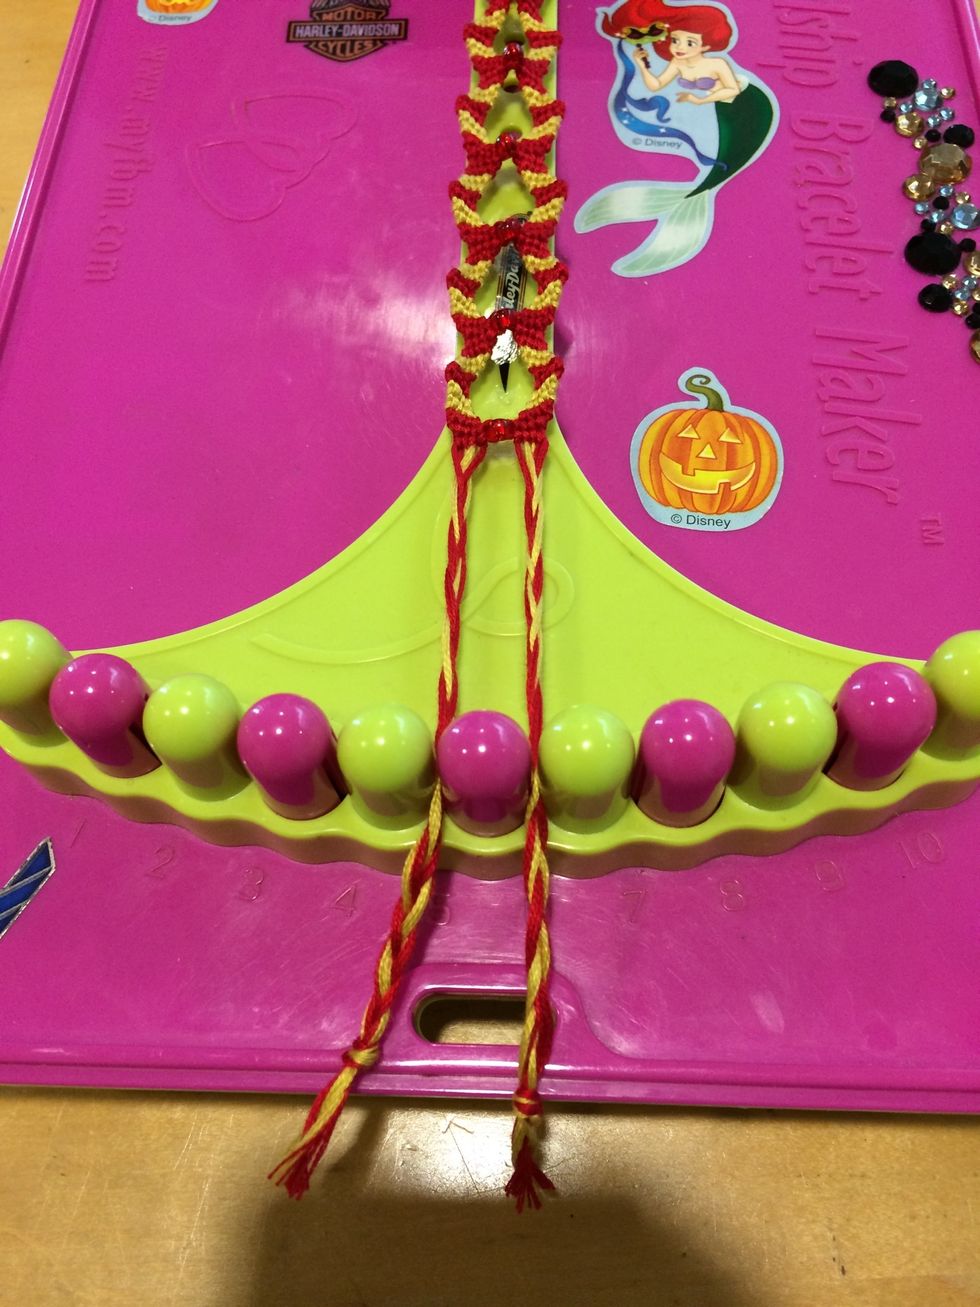
Separate the two sides and make braids with them. Cut off the excess.

And here is the finished bracelet.
I hope you all enjoyed the bracelet guide. If you have any requests for bracelets you would like to see let me know :D. Happy knotting!!