The Conversation (0)
Sign Up
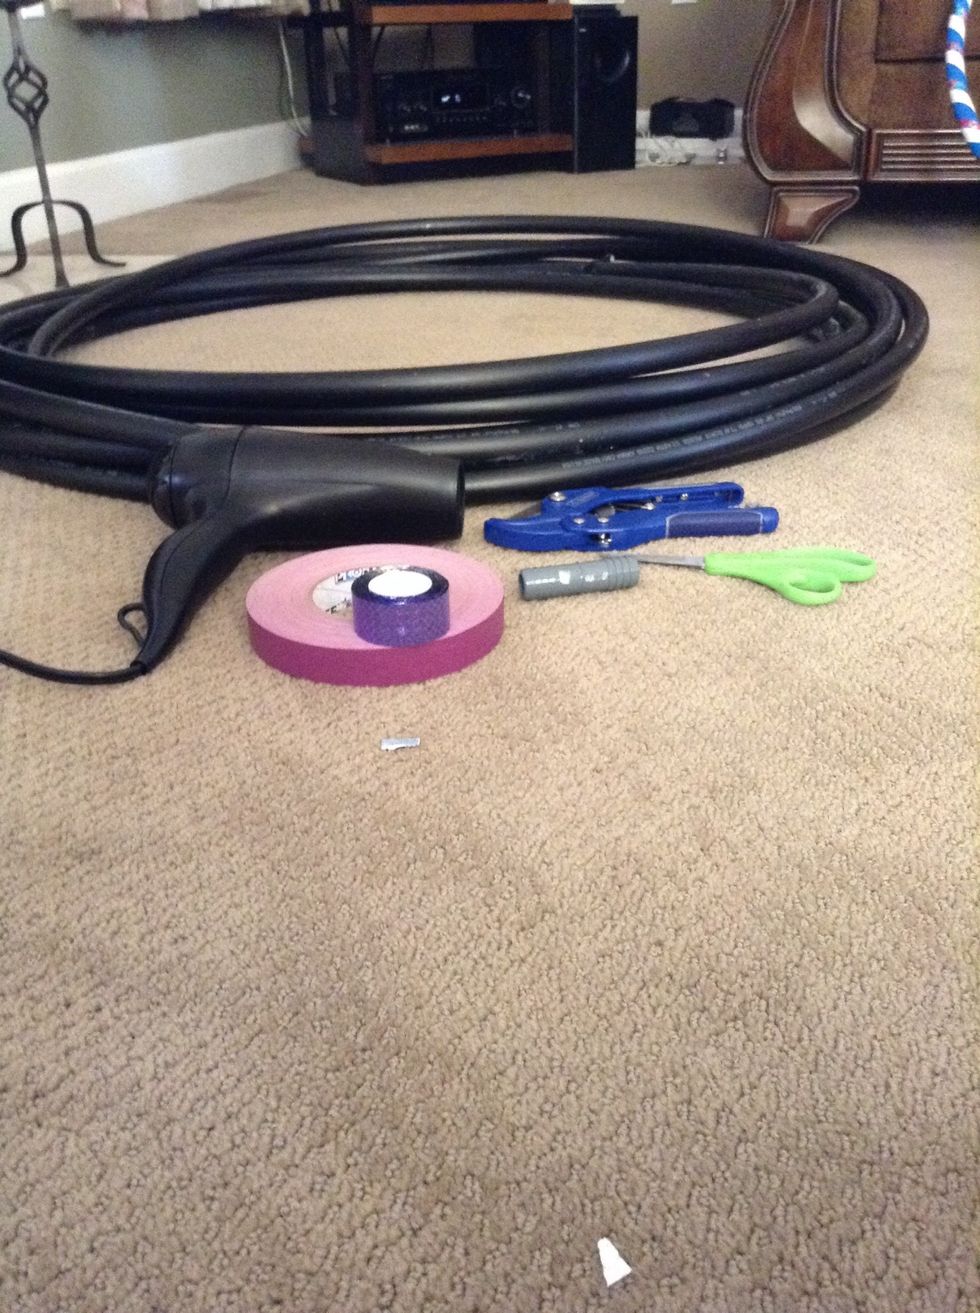
Supplies!
Tubing can be bought at local hardware store. Beginner hoops are typically 37-40" in diameter, or you can measure it from the floor to your belly button. The tubing itself should be 1/2" or 3/4" thick
The connector should also be polyethylene and 1/2" or 3/4" depending on what size your tubing is. I have pipe cutters, but a hand saw will work for cutting the hoop to size as well.
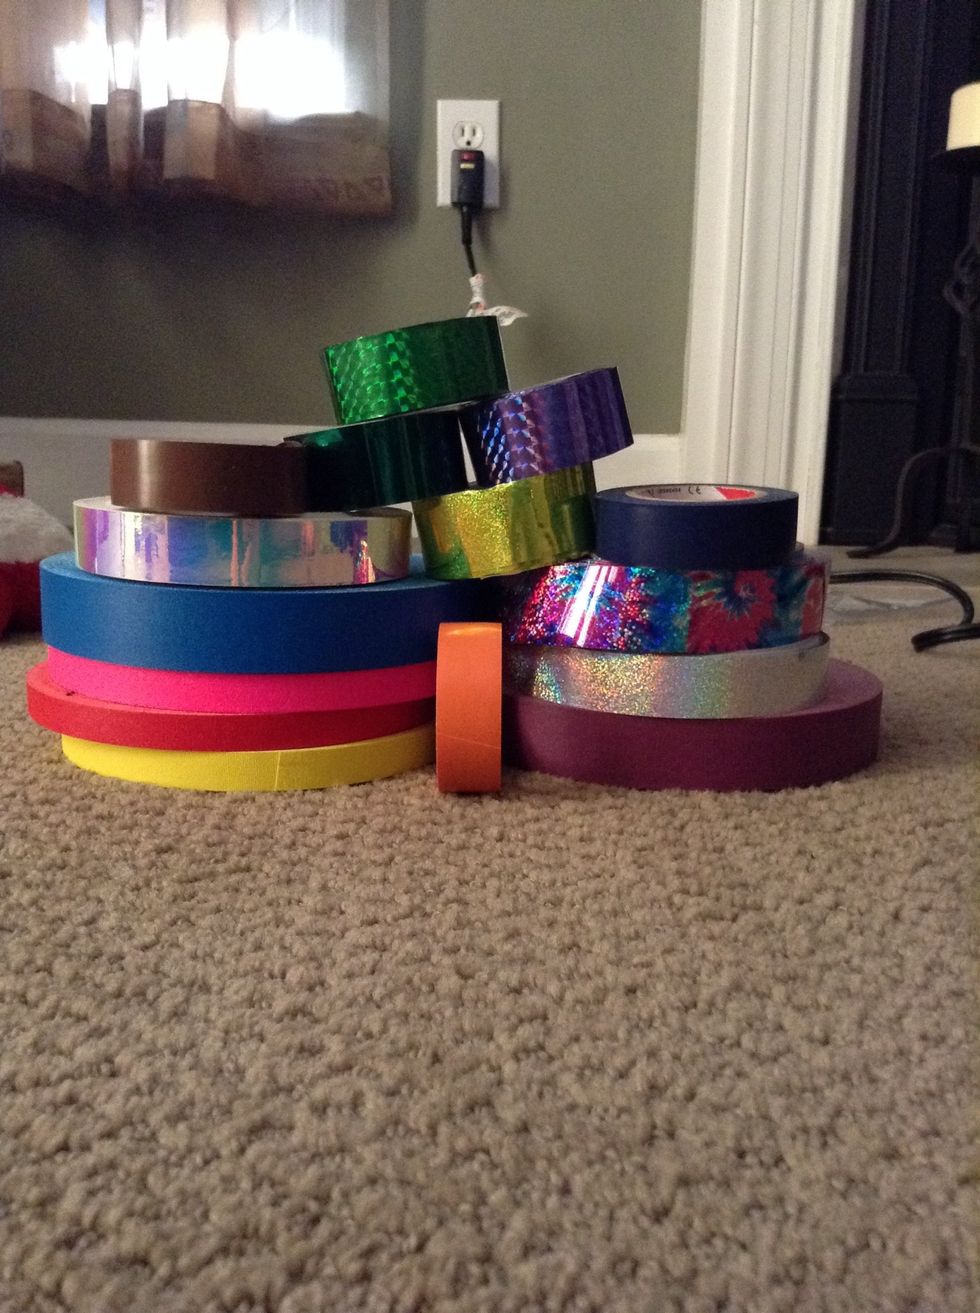
I buy my tape from hoopsupplies.com. But bat tape or any kind of grip or gaffers tape will work as well (bat/grip tape can be bought at a sporting goods store).
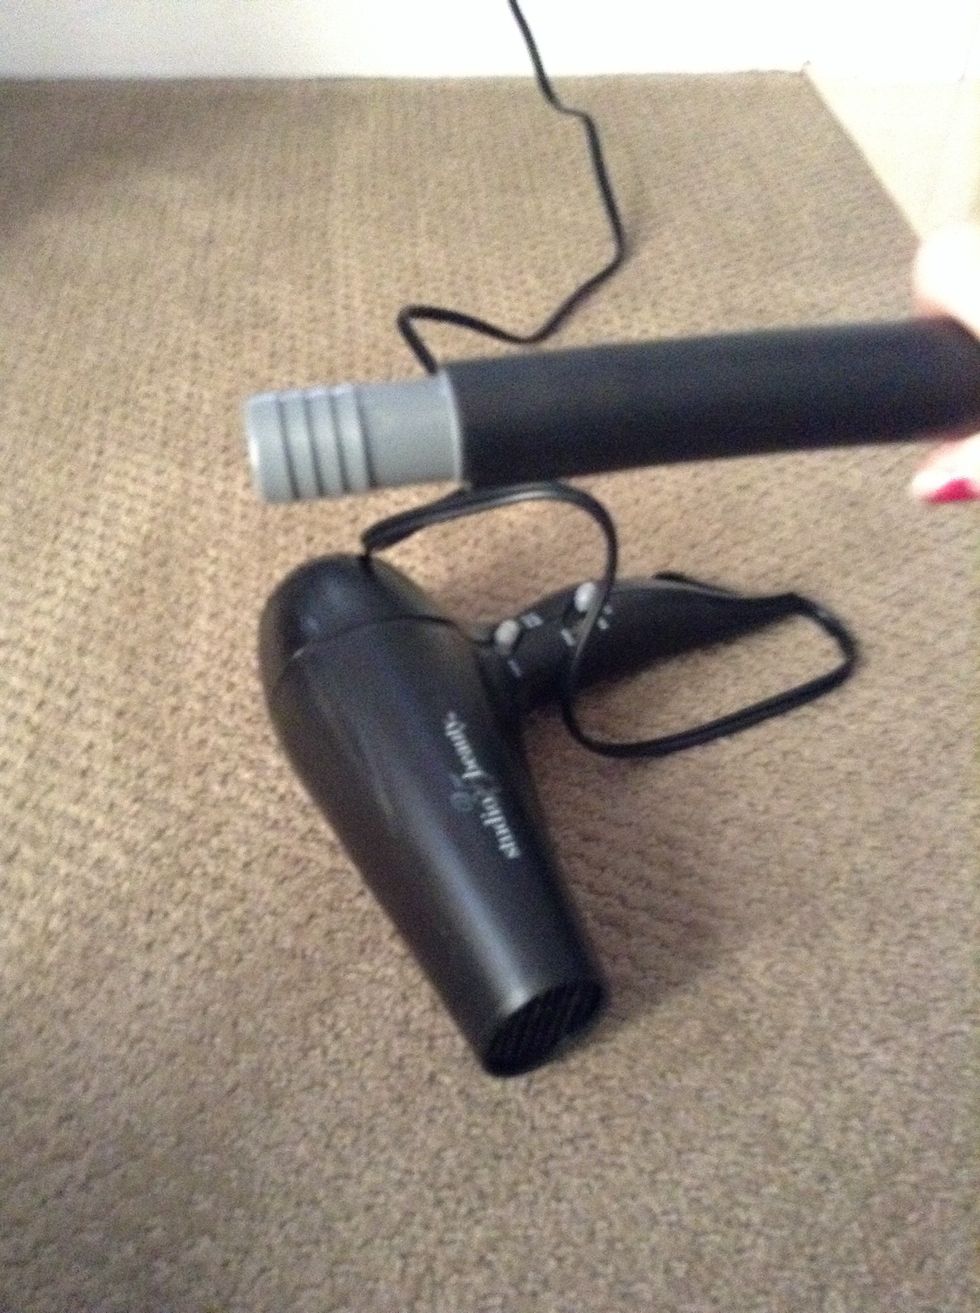
It's hard to get the connector into the ends of the tubing, so heat up the ends of the tubing one at a time so they become more flexible.
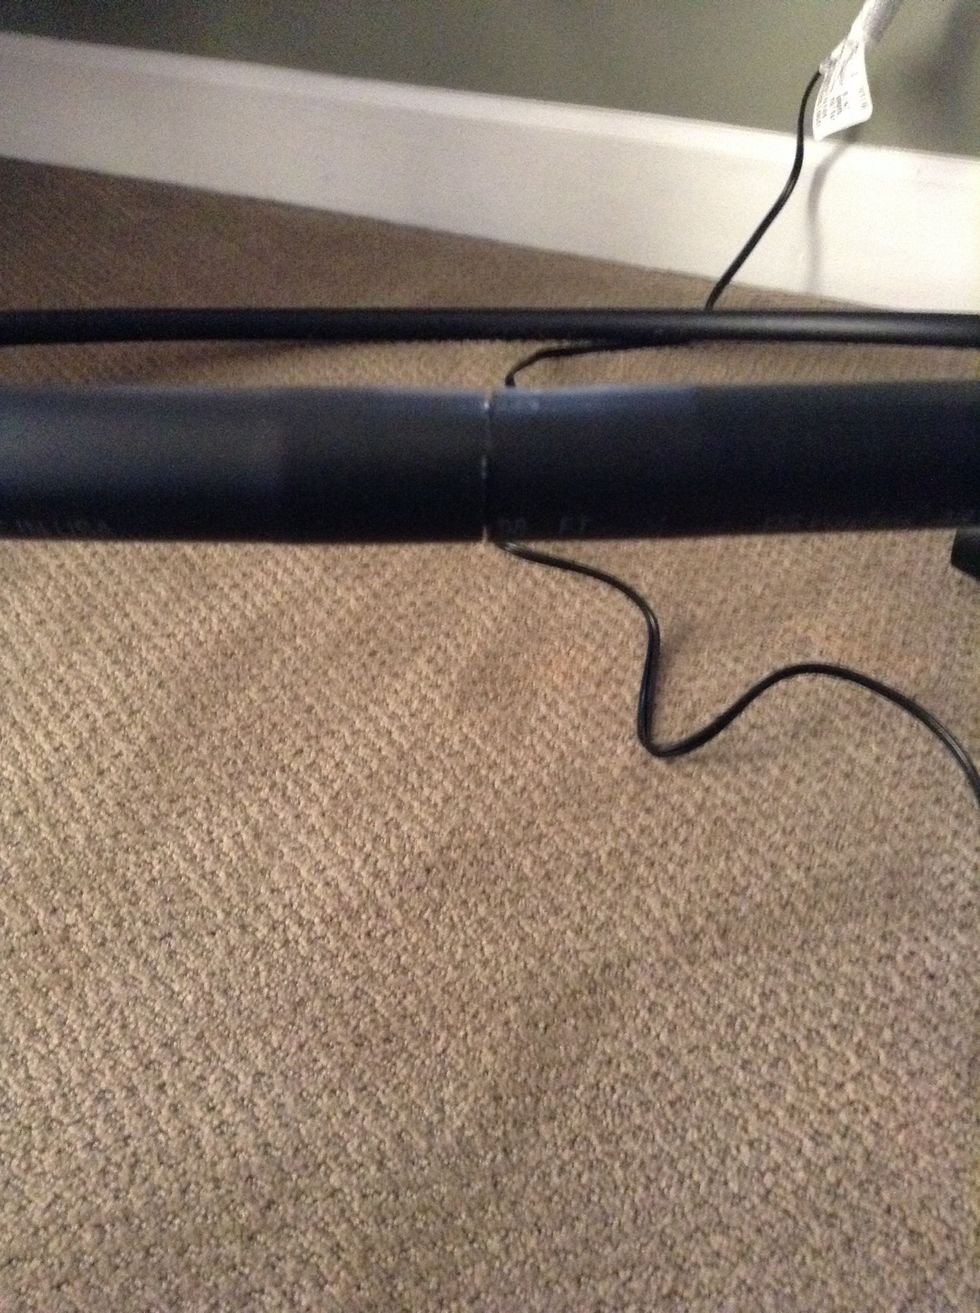
Slide both ends around the connector. They should be touching/ close to touching. I like to wrap a small piece of black tape around the connection of the 2 sides for extra strength, but it's optional.
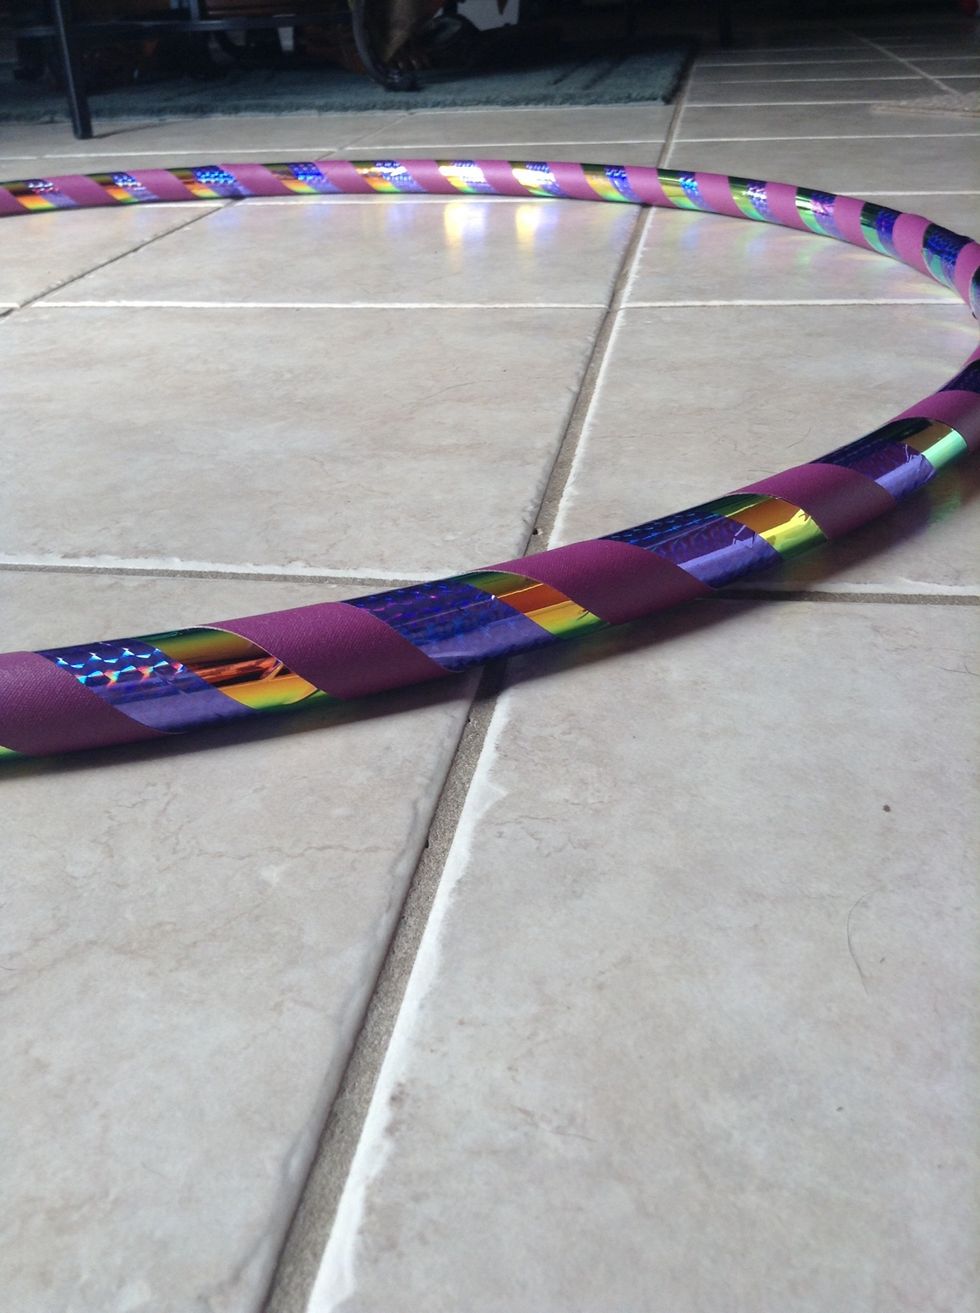
Next get ready to start taping. If you have any fancy tapes, use those first. Grip tapes always go last. I will be using 3 different tapes and will make a basic pattern.
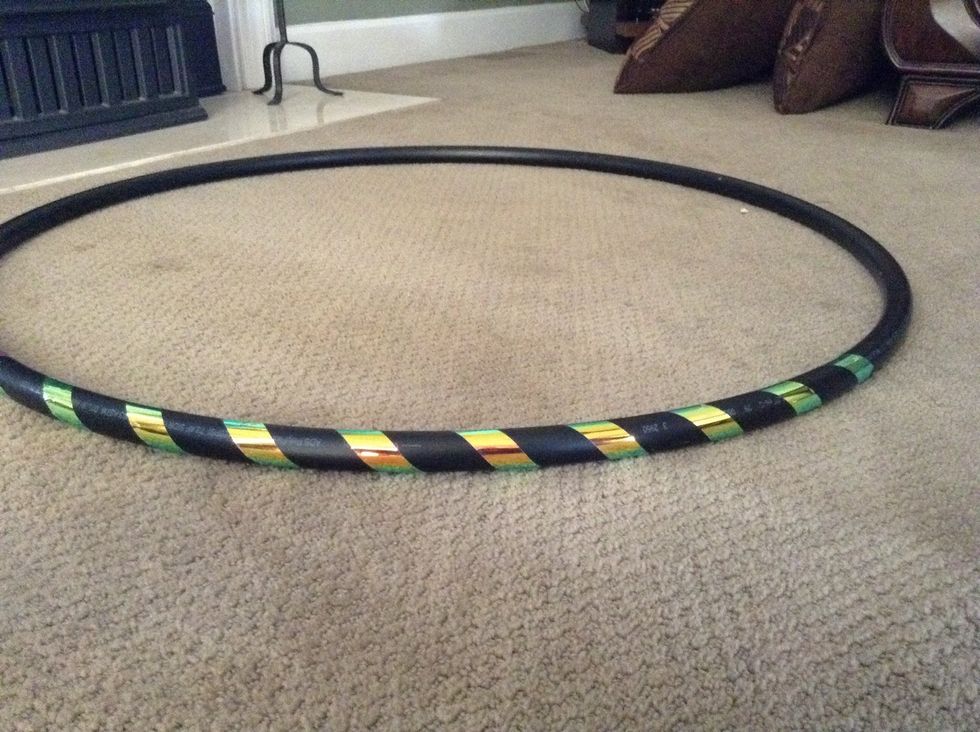
Start taping your first tape, leaving enough space for the others. This may take some trial and error before you get the spacing right. Also make sure the spacing stays consistent all the way around.
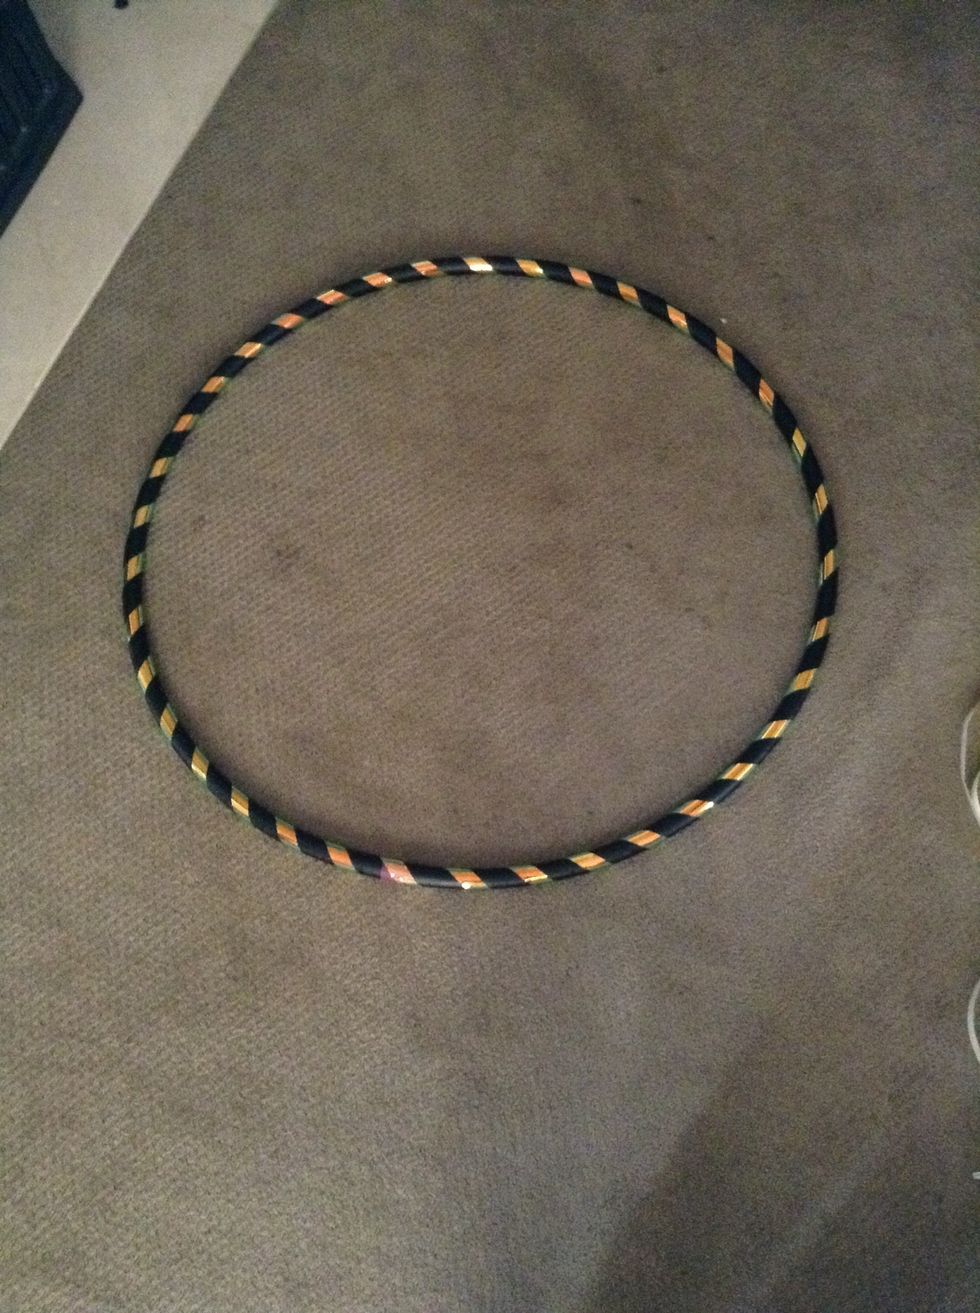
First tape complete!

Start second tape, slightly overlapping the first.
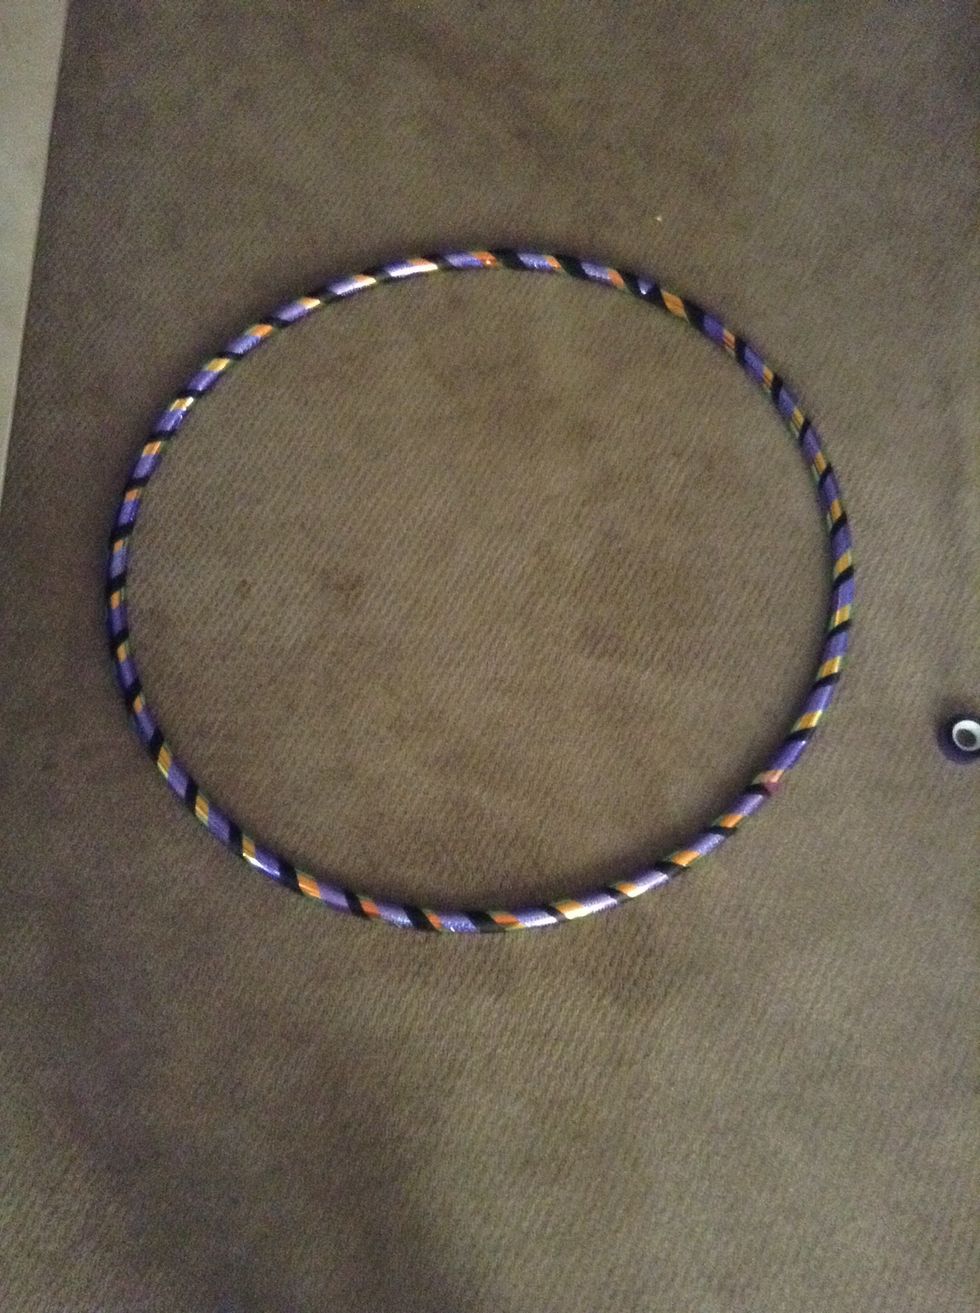
Second tape complete!

Start third tape. If this is your last tape, make sure it overlaps the other tapes on each side. Because this is my last tape, I am using the grip tape.
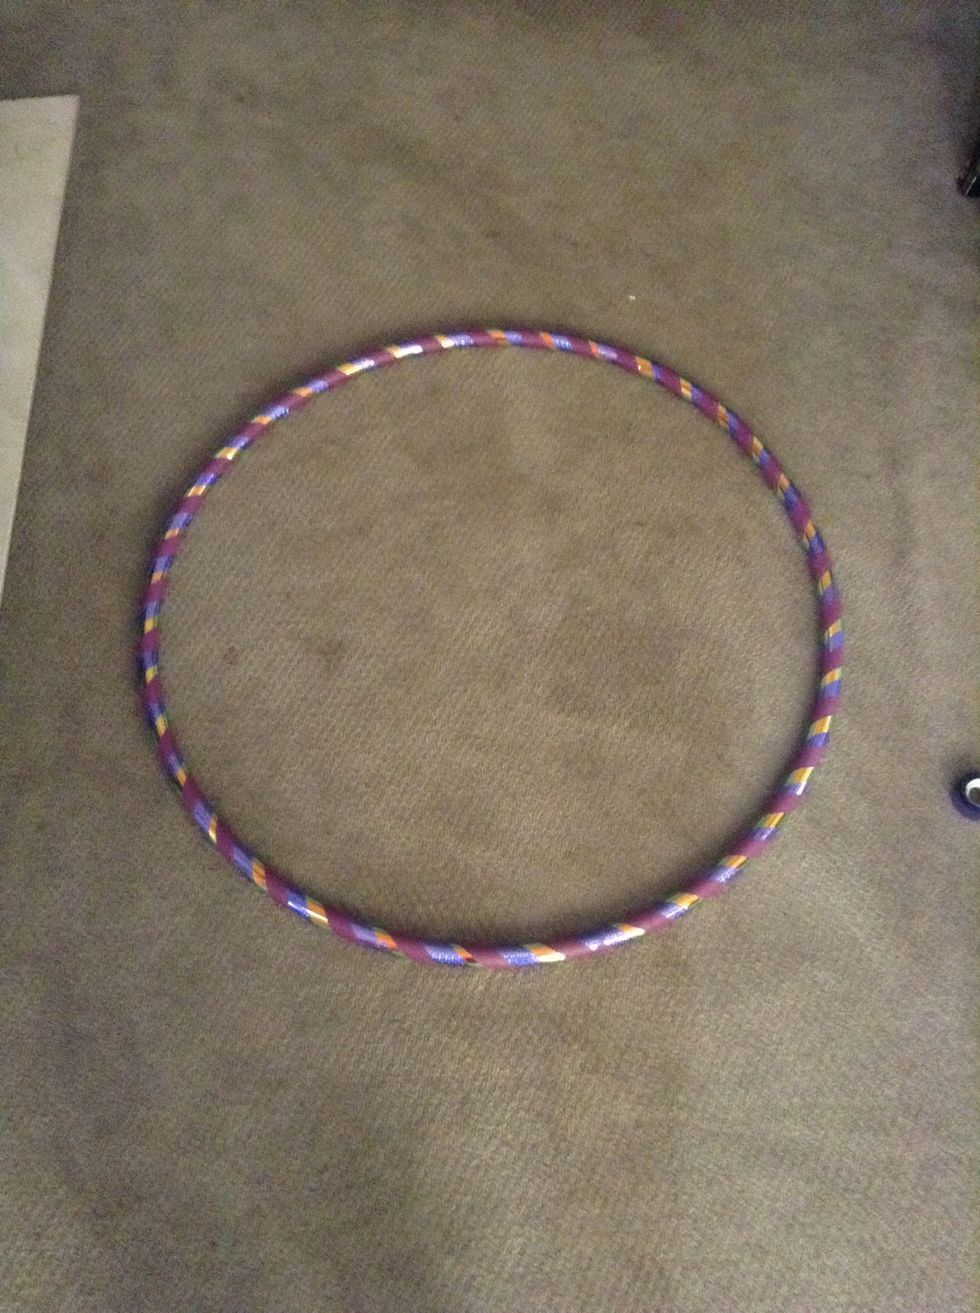
All finished! Any creases or air bubbles can usually be flattened out using your fingers.
(: