The Conversation (0)
Sign Up
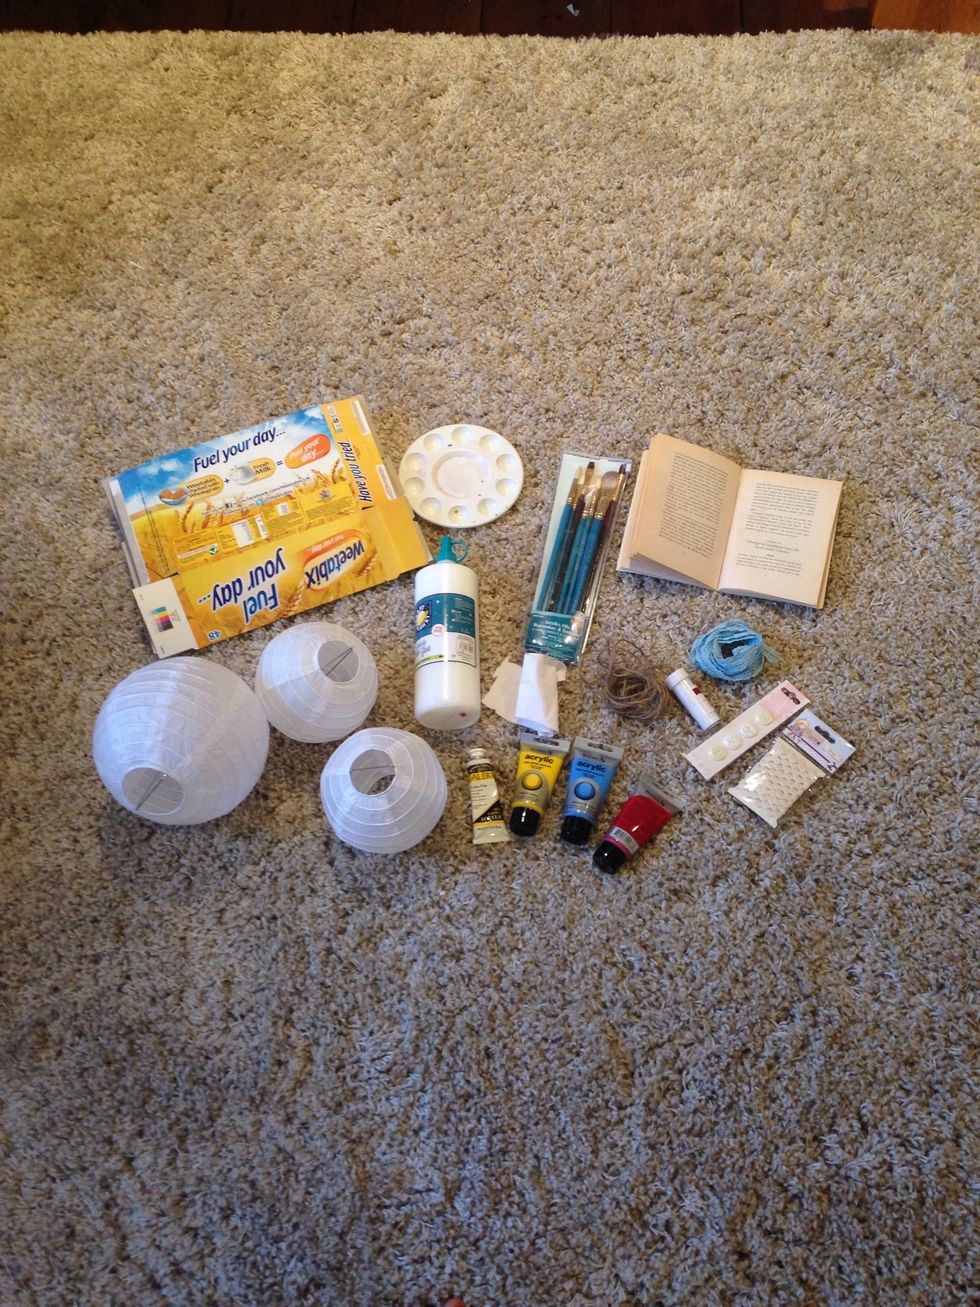
What you need :)
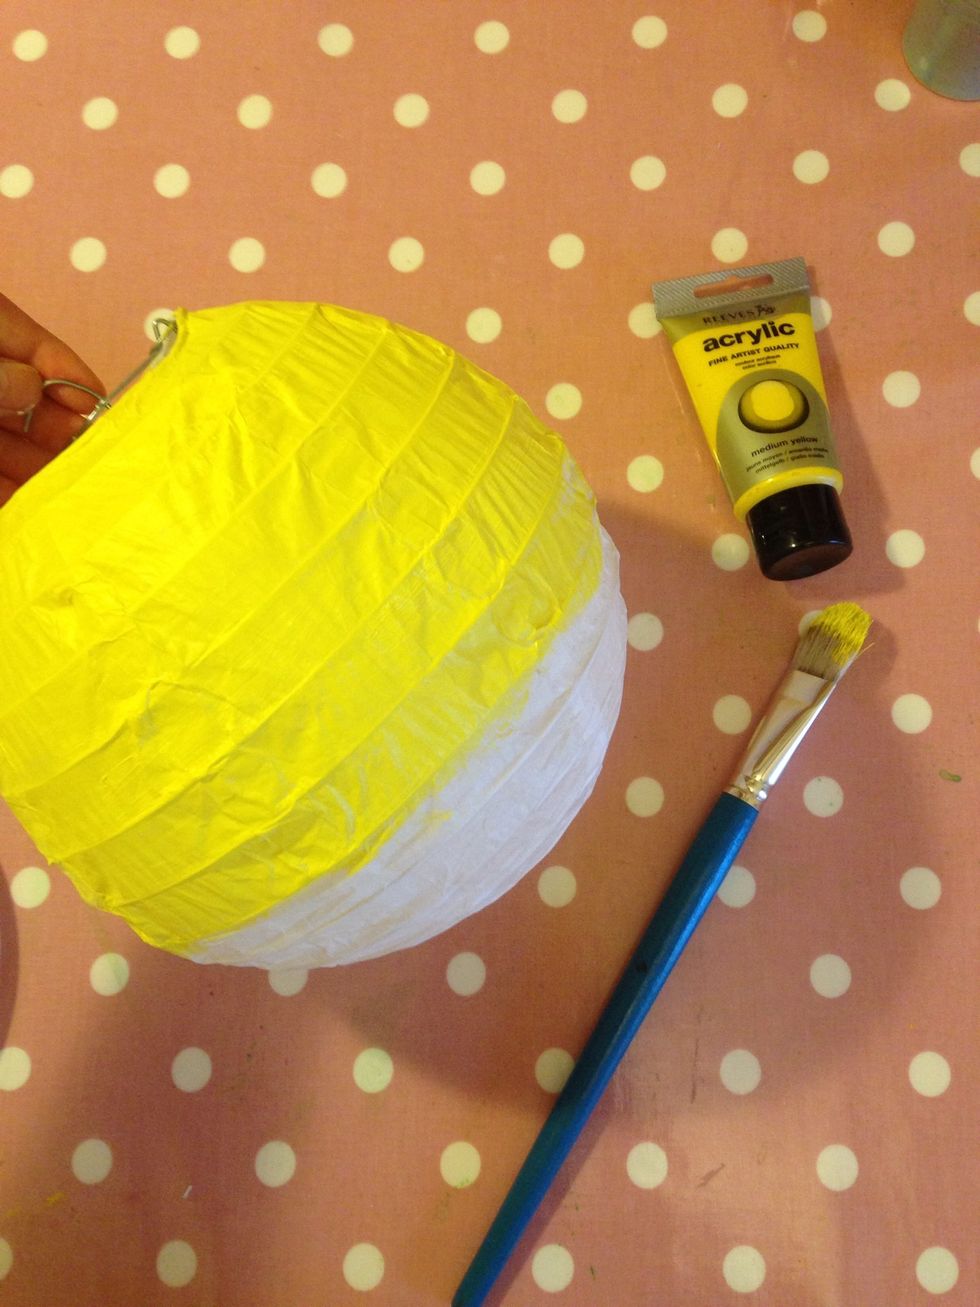
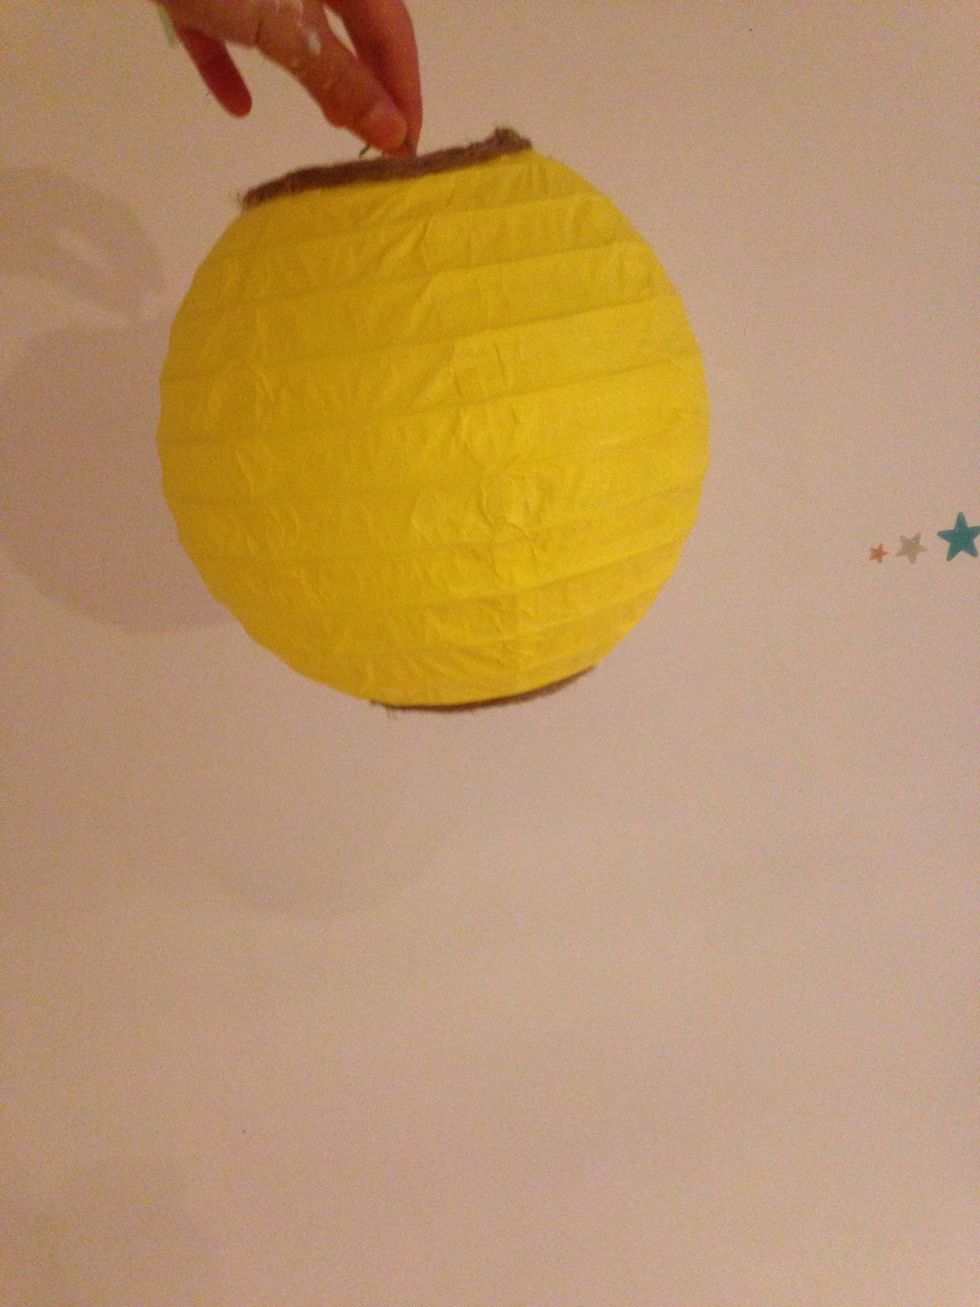
First paint your lantern - I'm painting mine a soft yellow :)
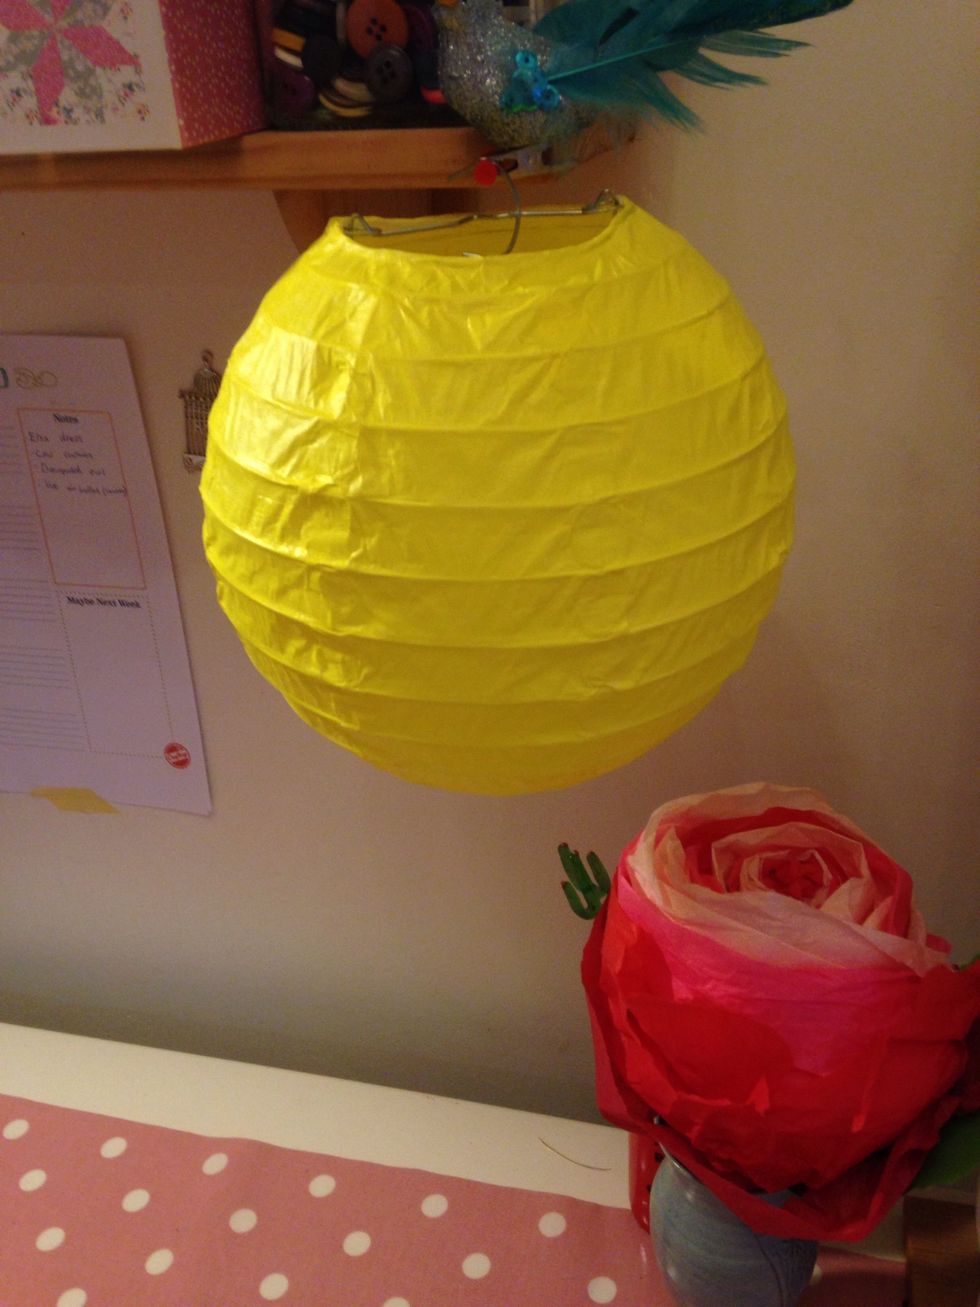
All done ;) let it dry
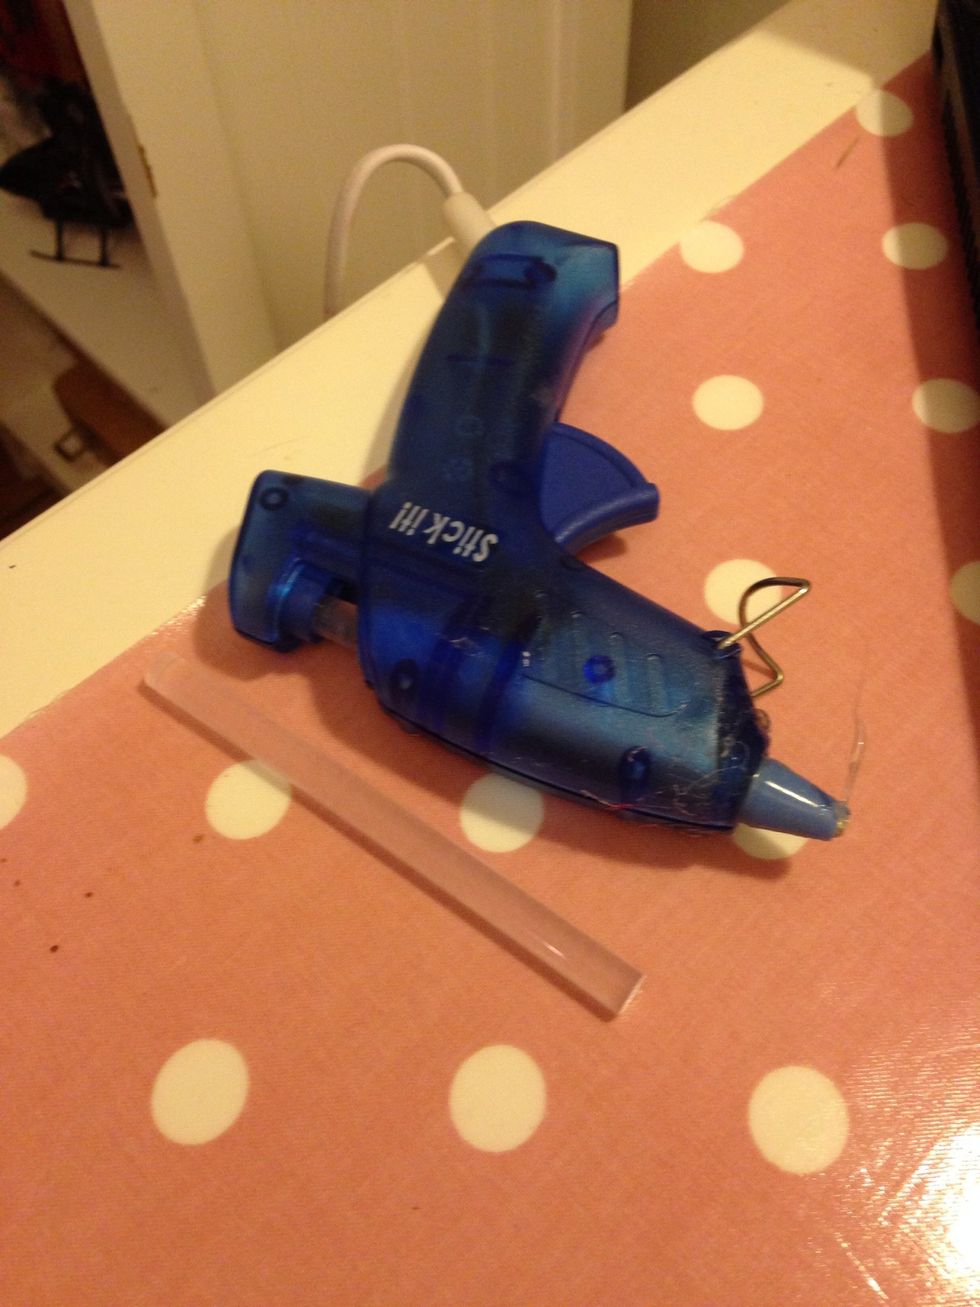
Once you have finished painting your lantern - turn on your hot glue gun
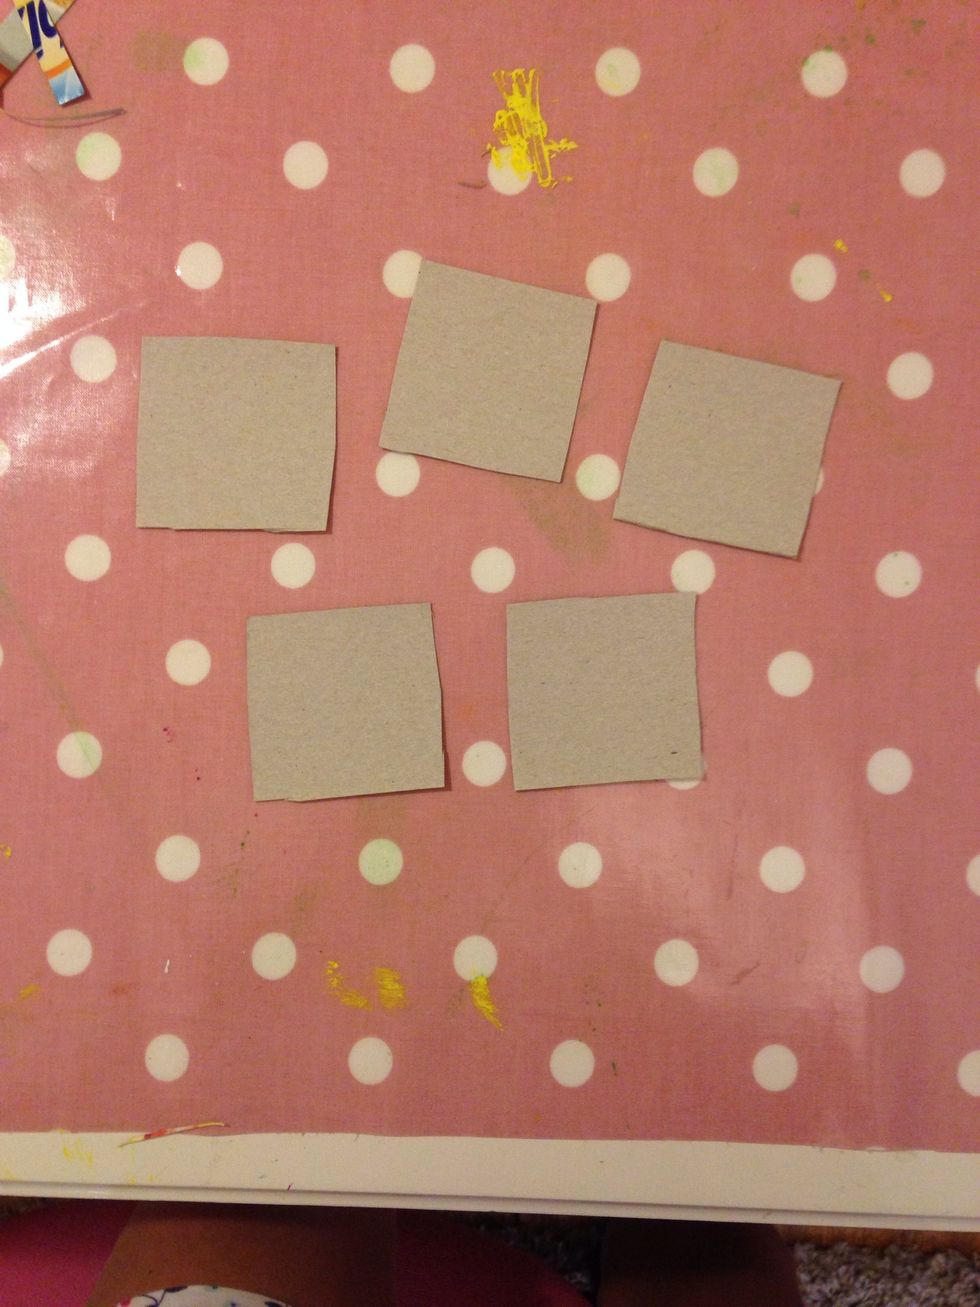
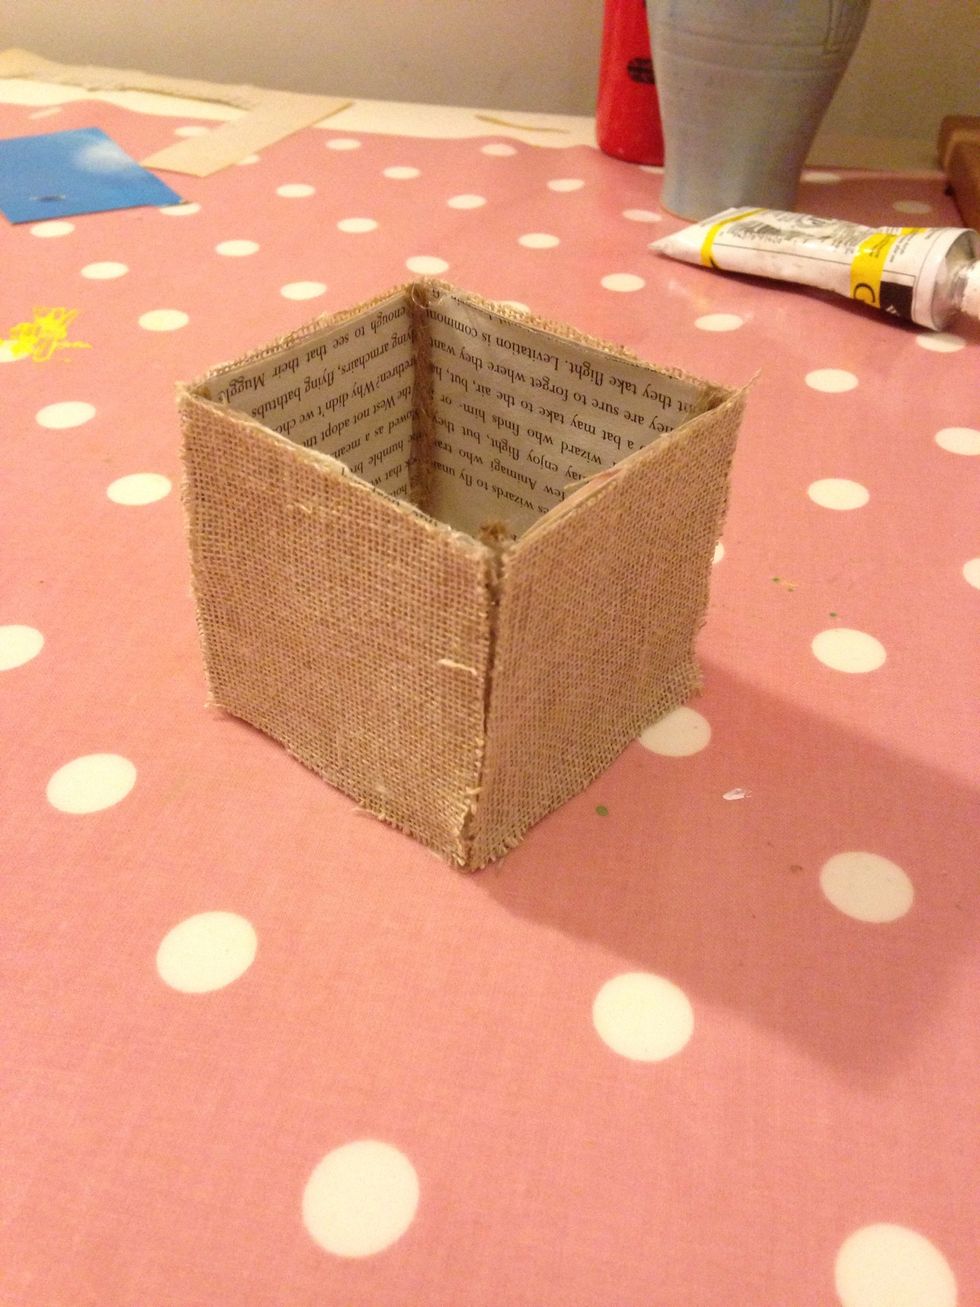
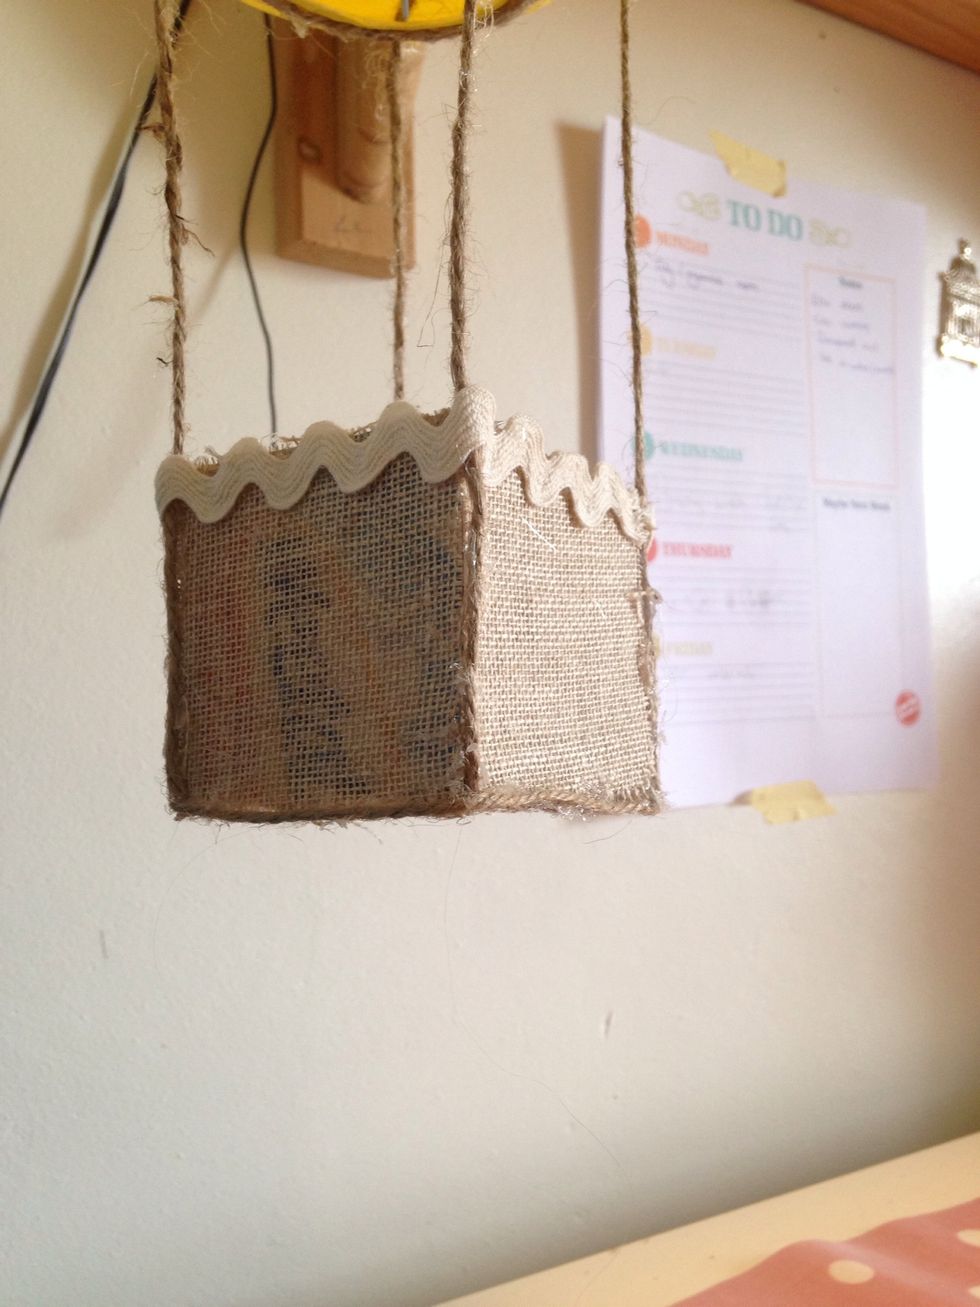
Cut out 5 squares of your thin cardboard all of similar sizes; I used a cereal box
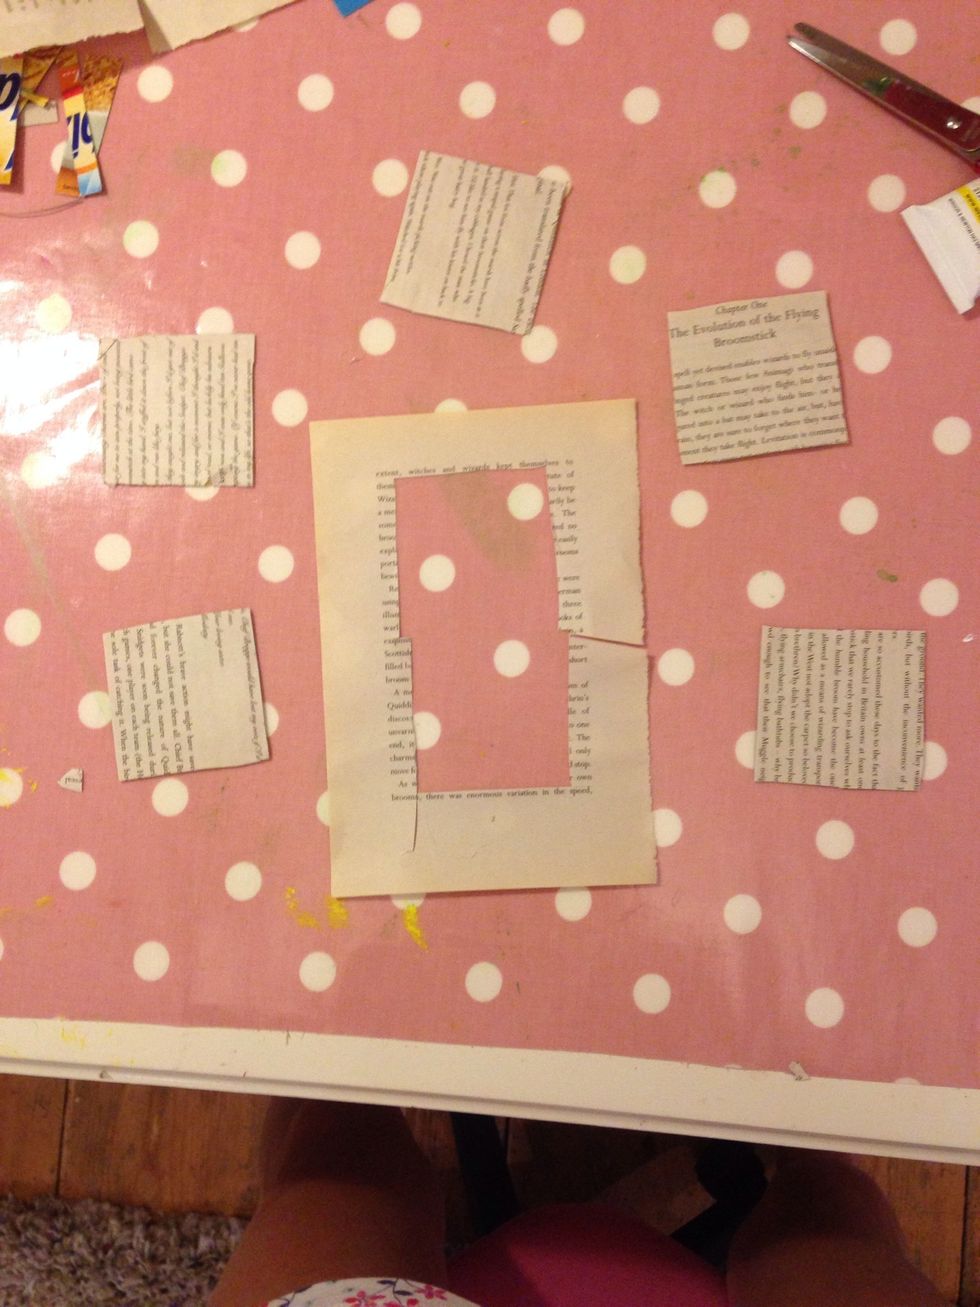
Glue squares to page of book (glossy side down if you are using a cereal box)

Glue squares together with the writing on the inside of the box
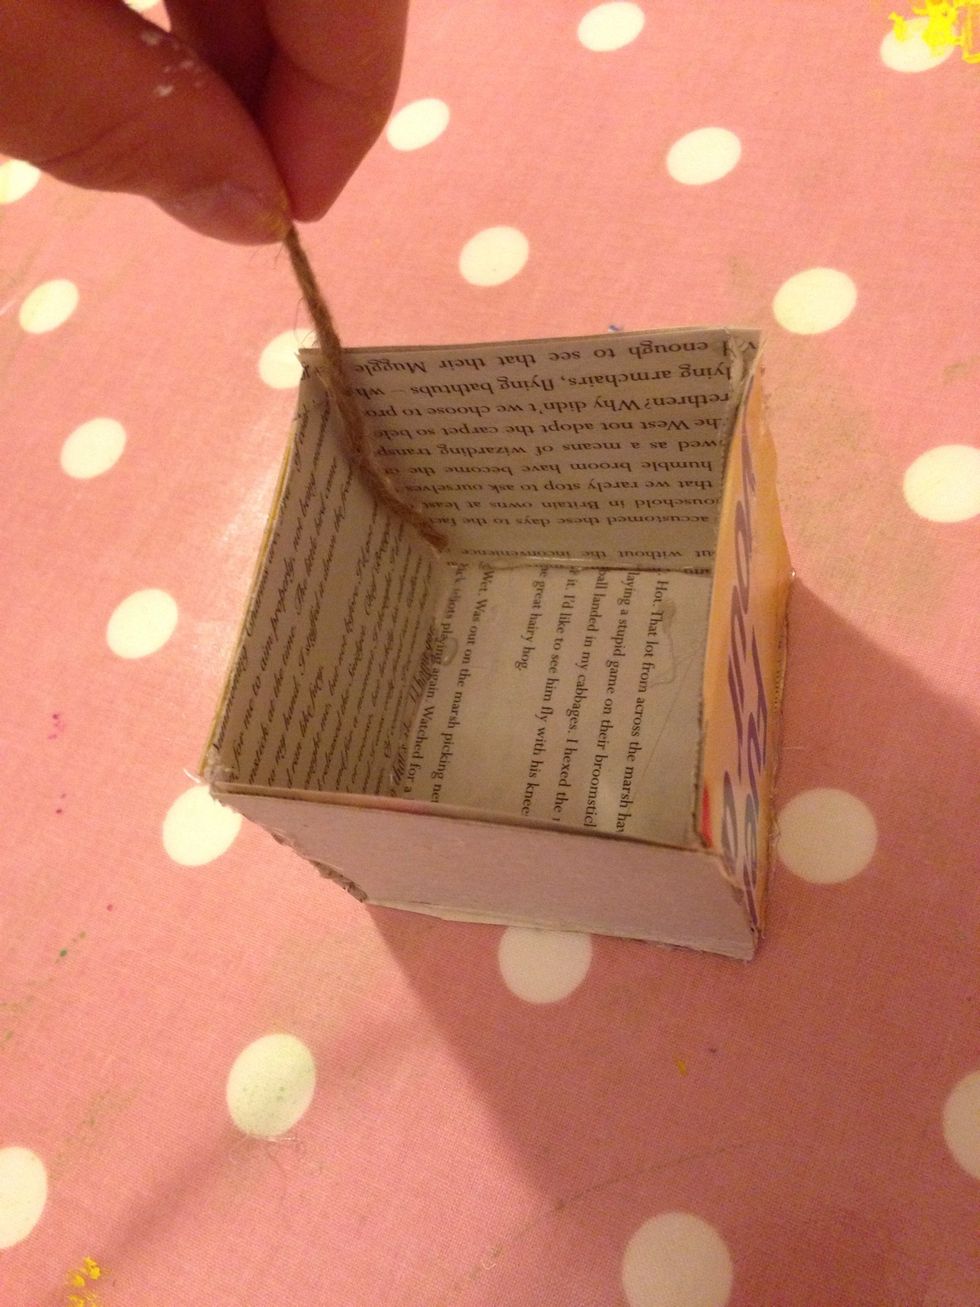
Attach yarn to the corners and bottom of the box
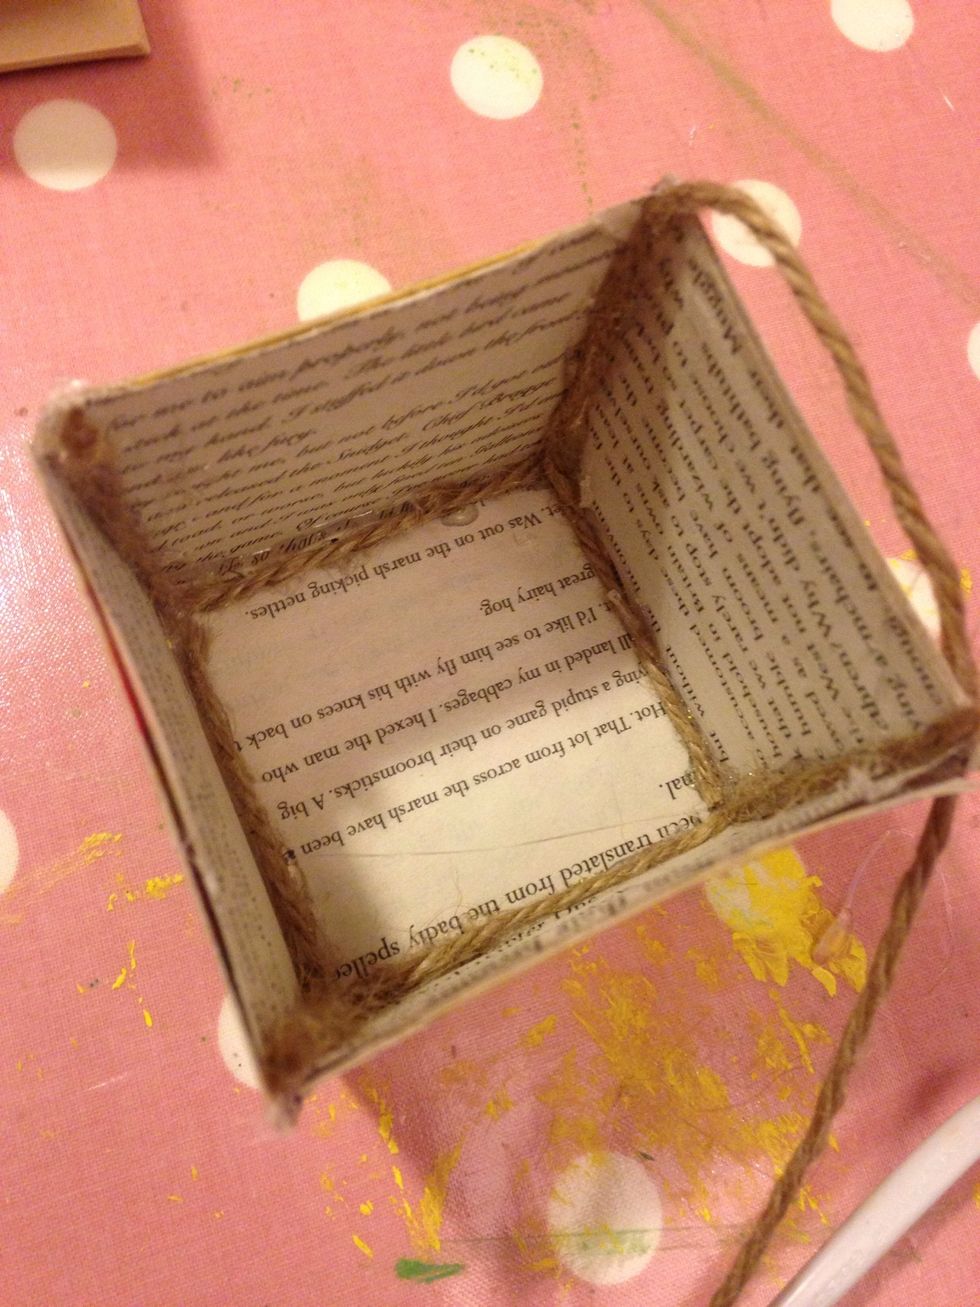
Like so...

Next Place down sides of box onto your chosen material, cut around it, then move on to next side
When finished it should look like this, don't worry about the sides matching up perfectly, they will be covered up later
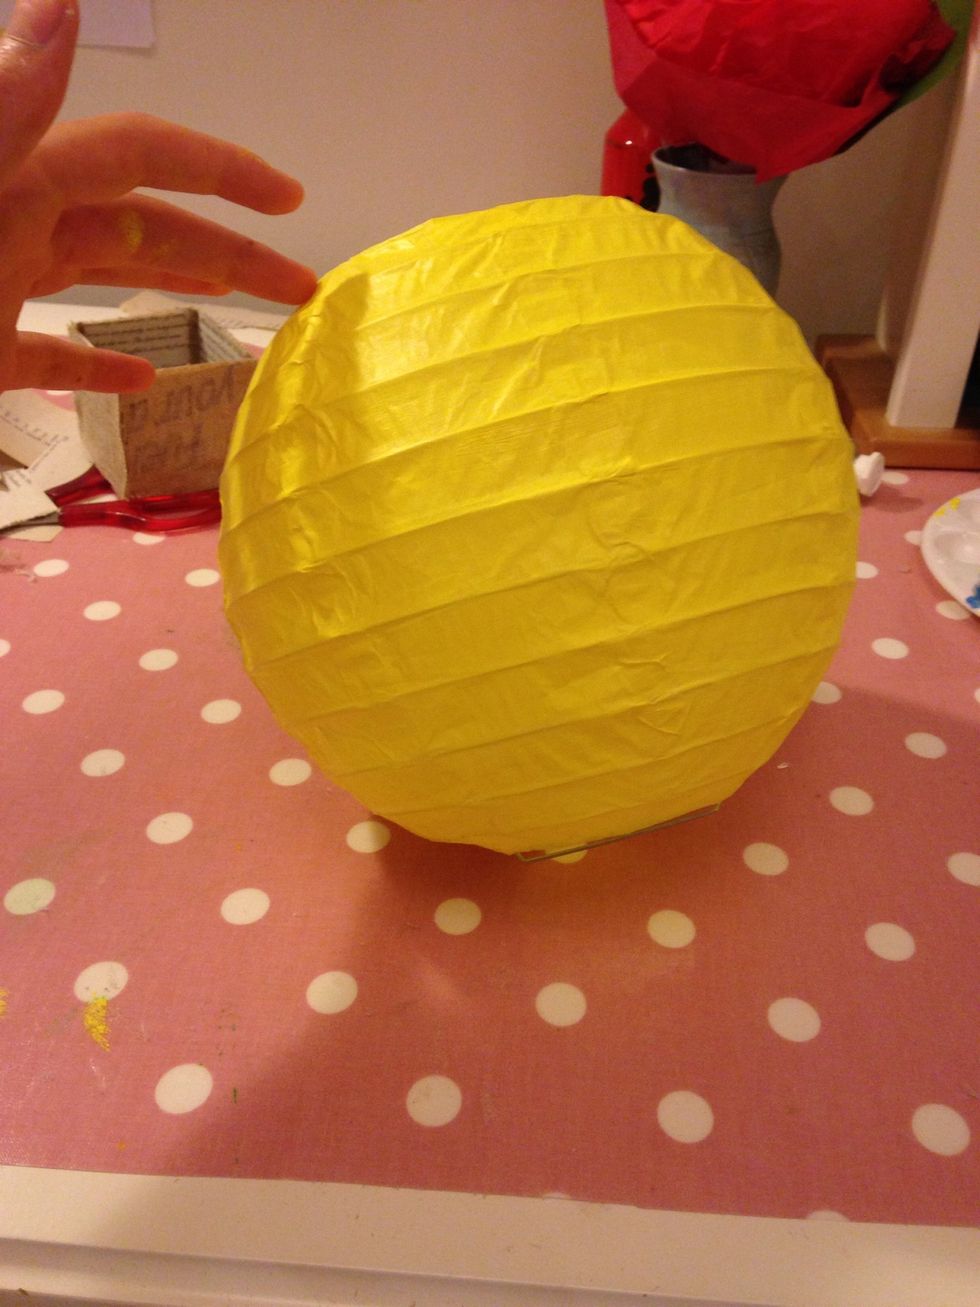
Your lantern should have dried by now
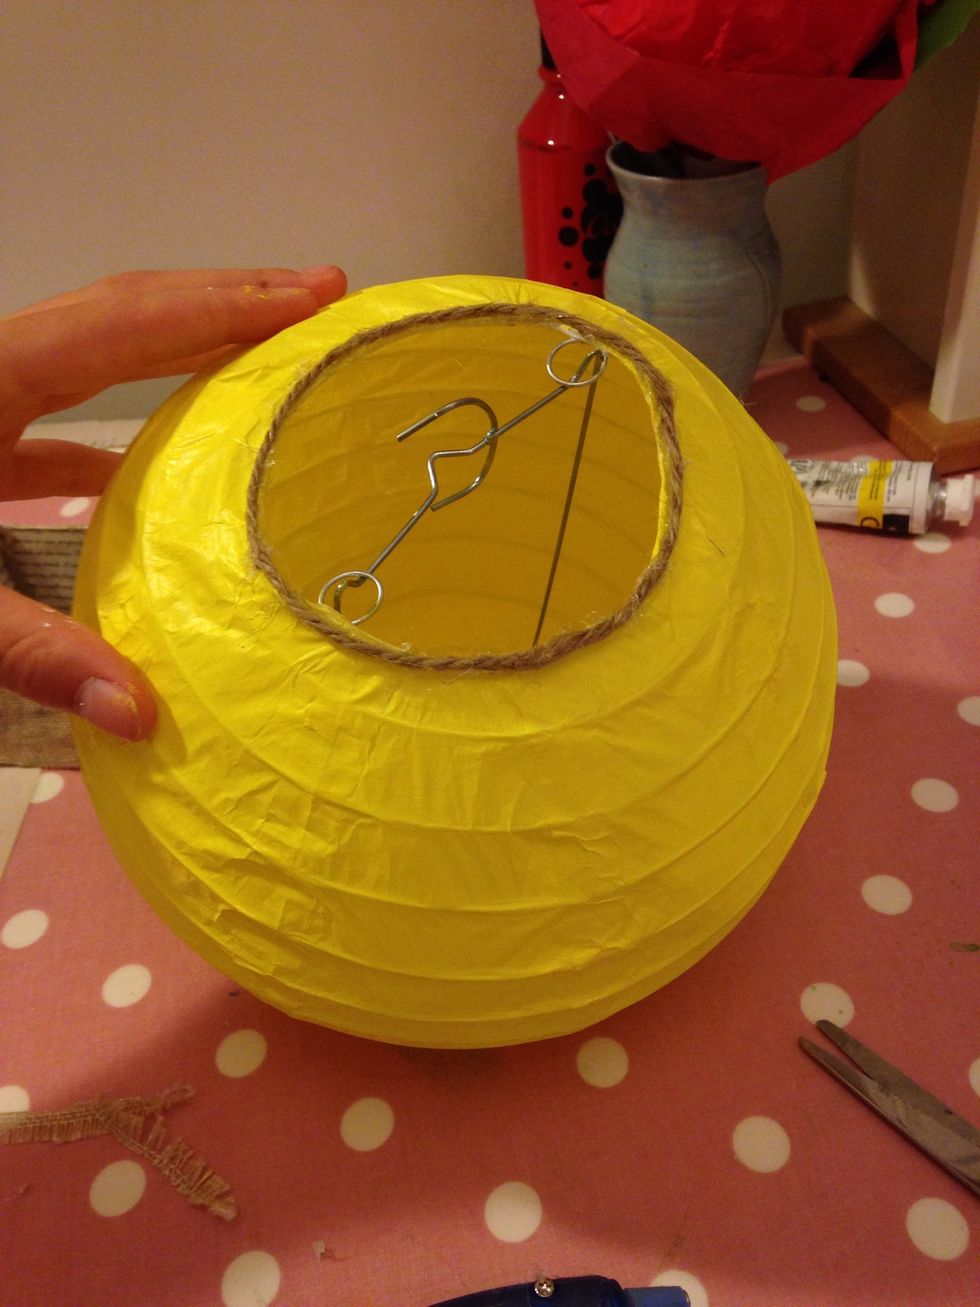
Add yarn to the top of the lantern
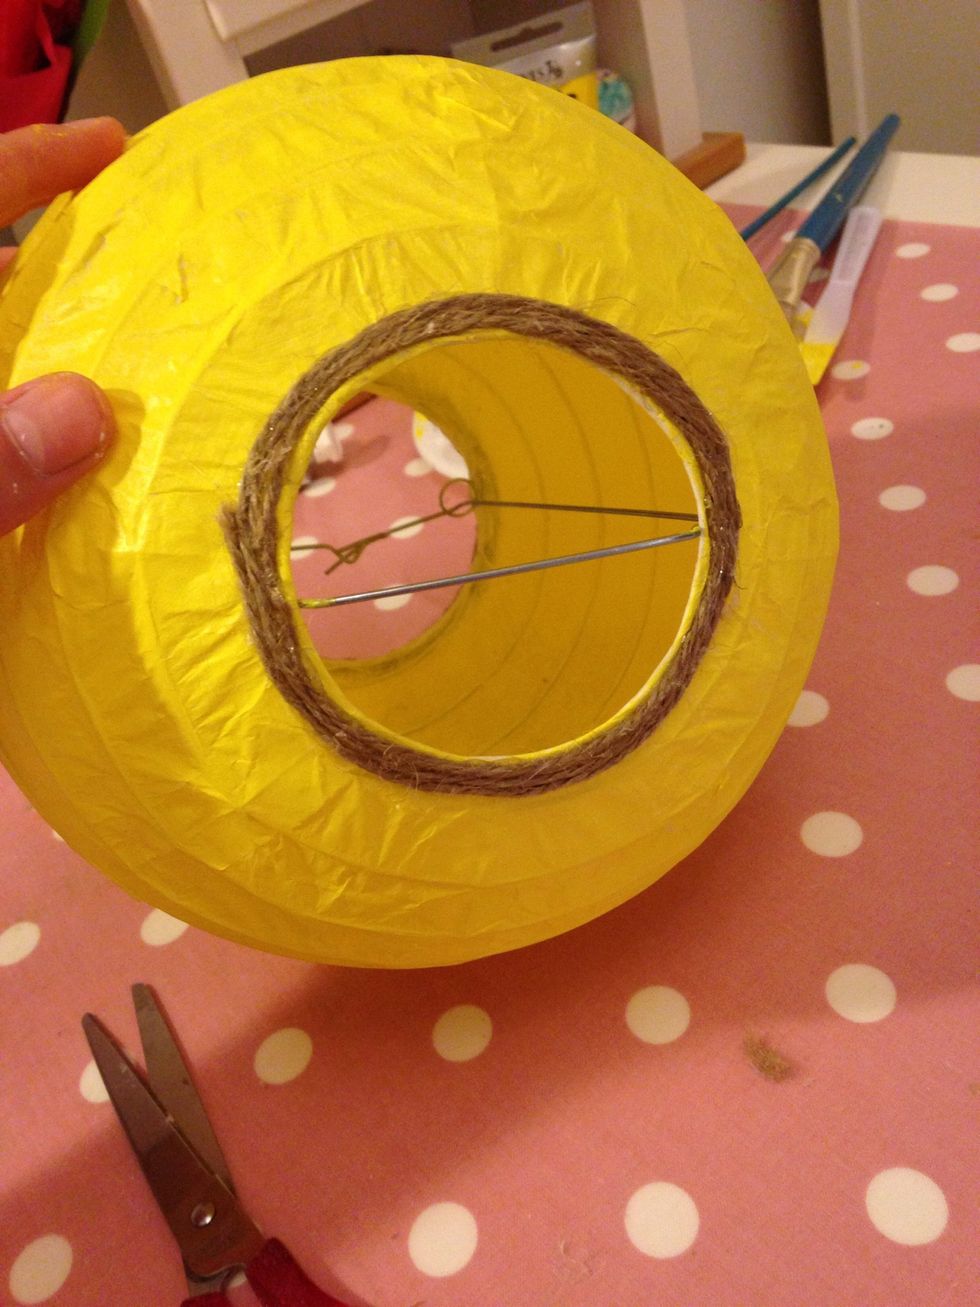
I wrapped it around 3 times for a bigger effect
Then add yarn to the bottom again I wrapped it around 3 times
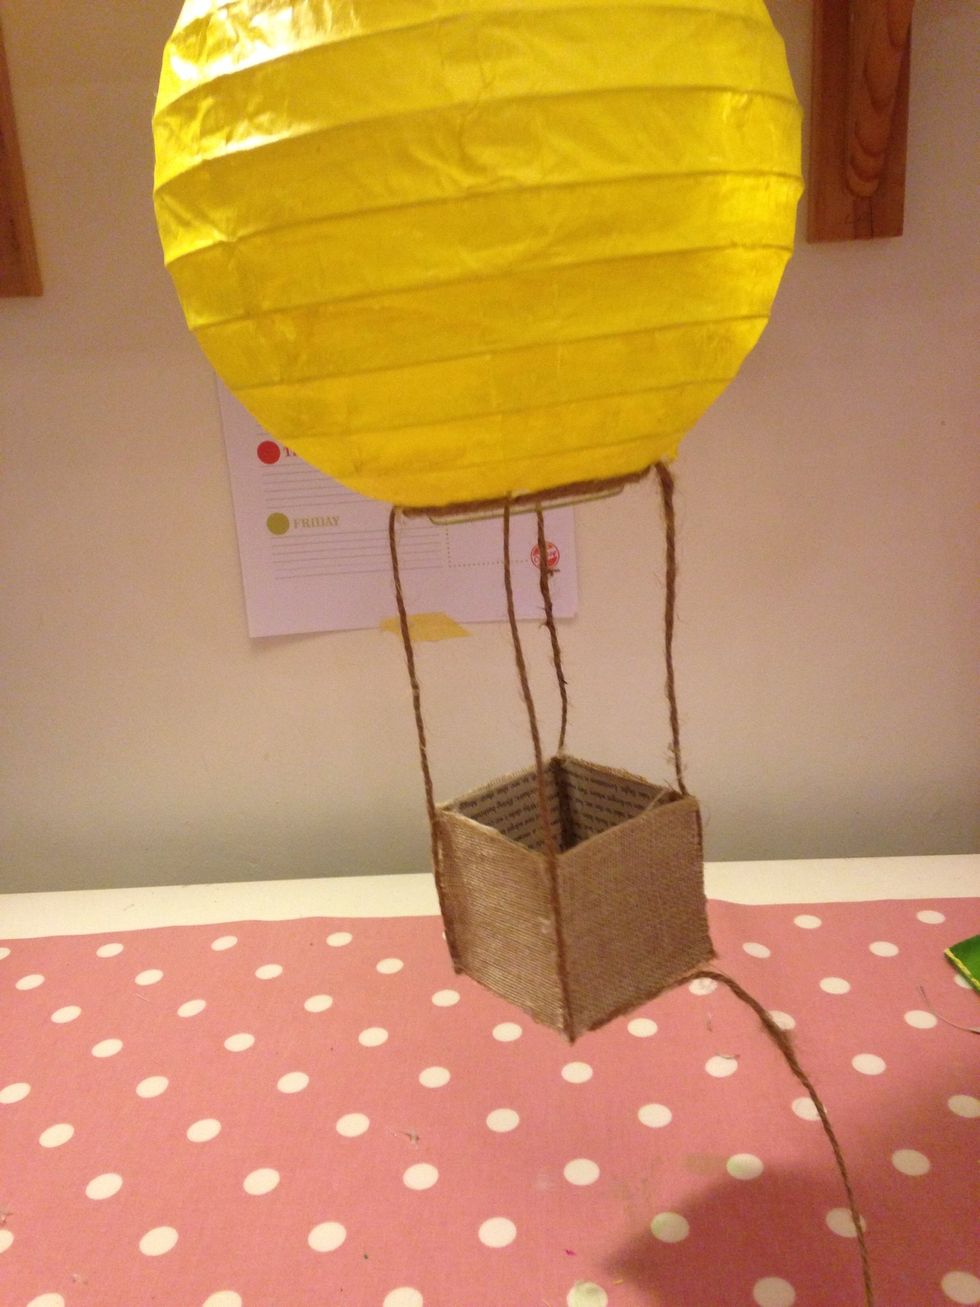
Voila!
Add decoration to the top of the carriage
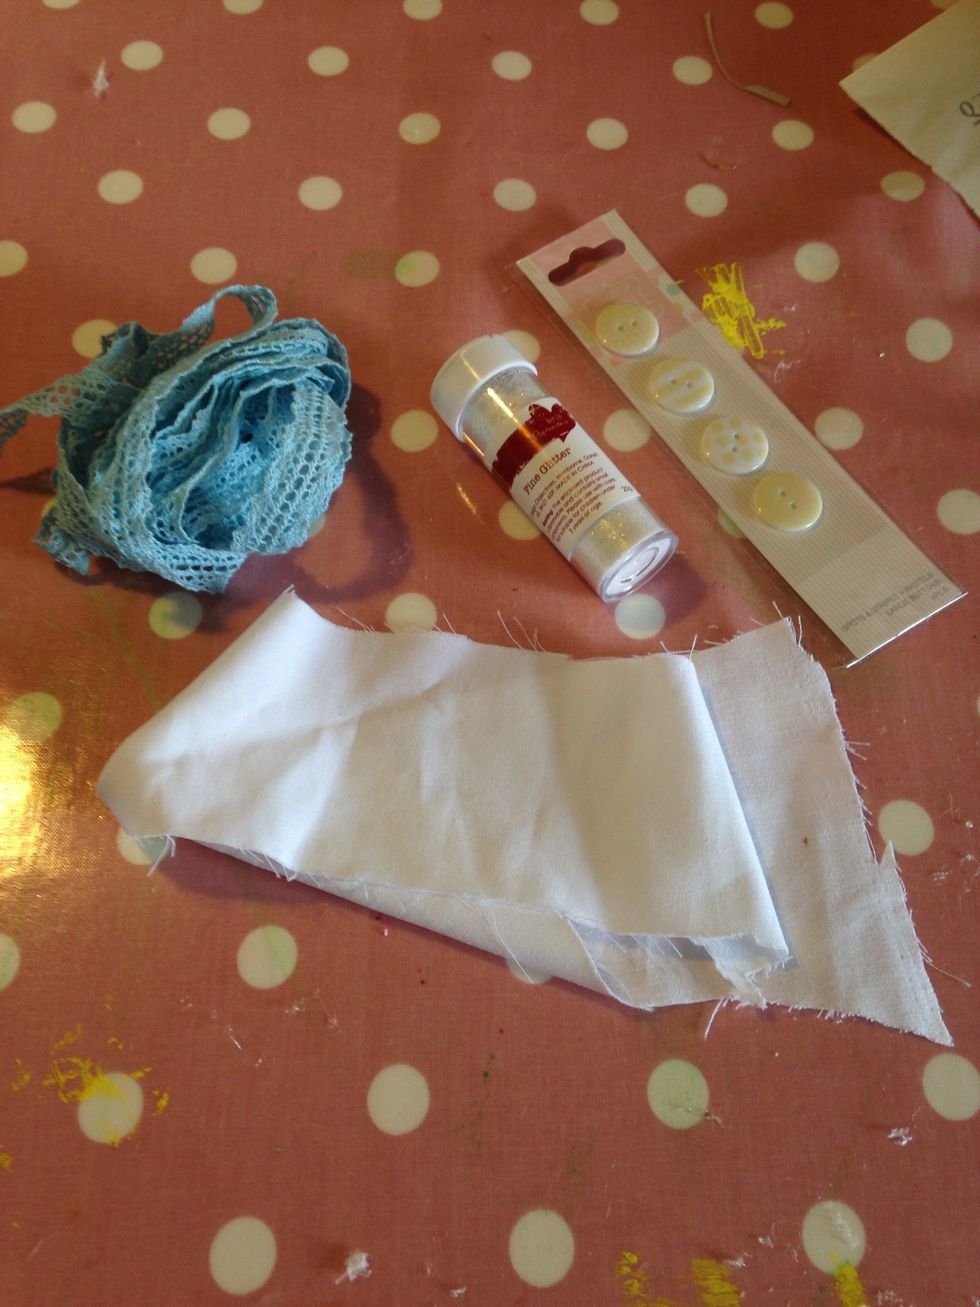
Now it's time to decorate!
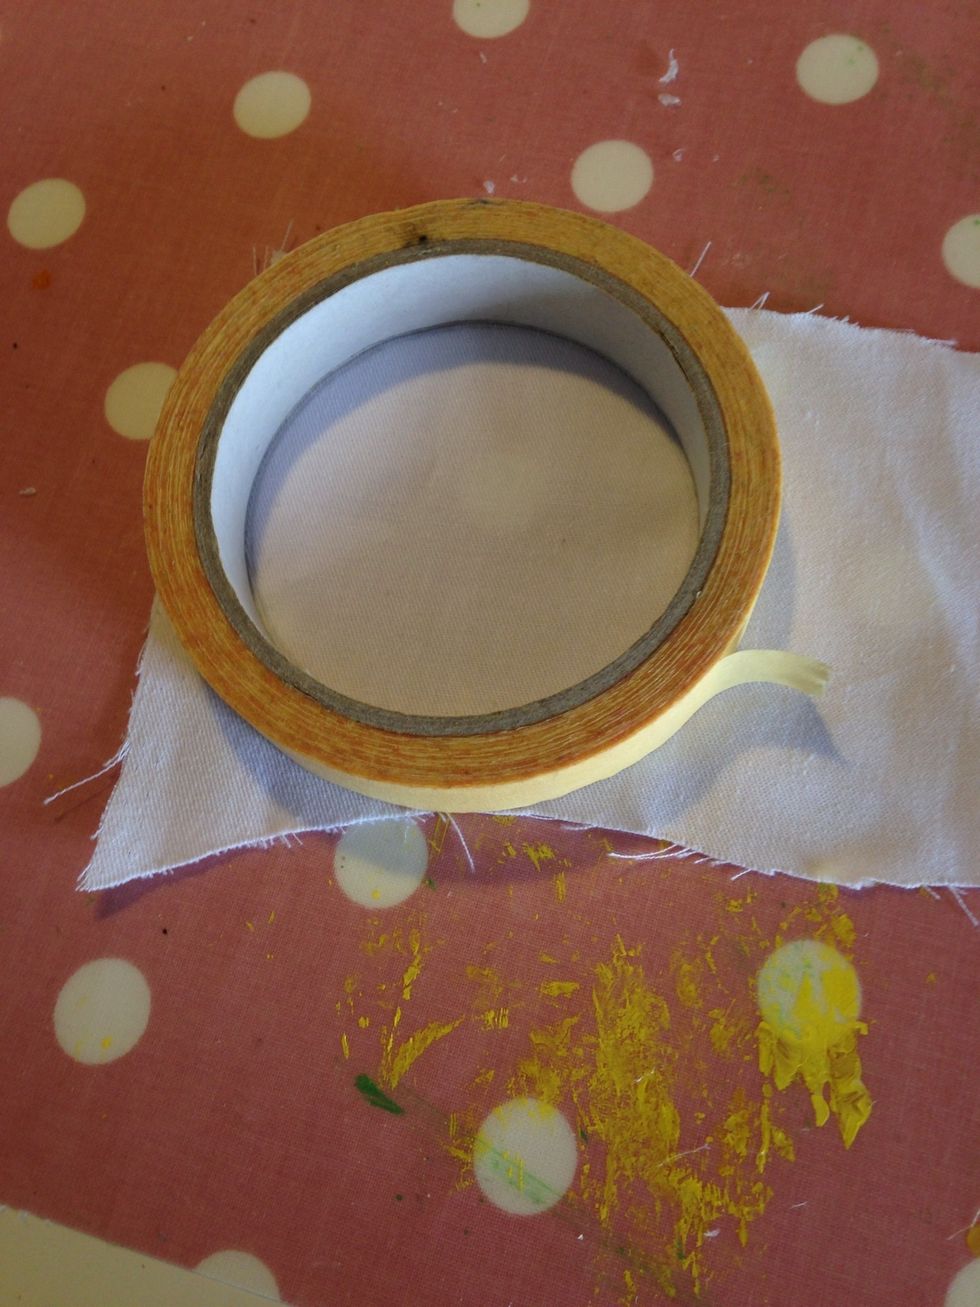
Draw a circle on a piece of white material
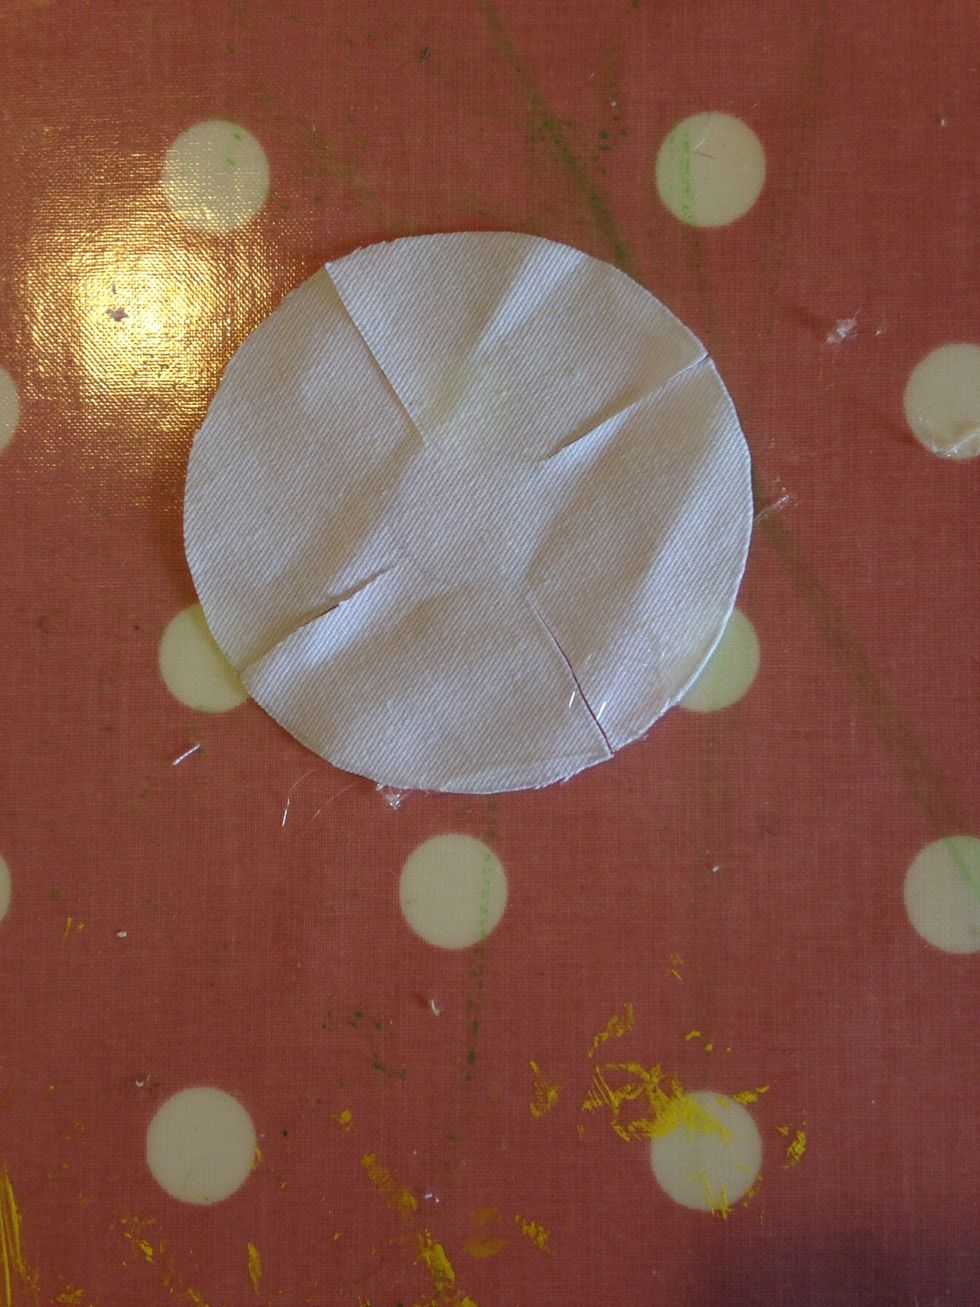
Now make for cuts all diagonal to each other
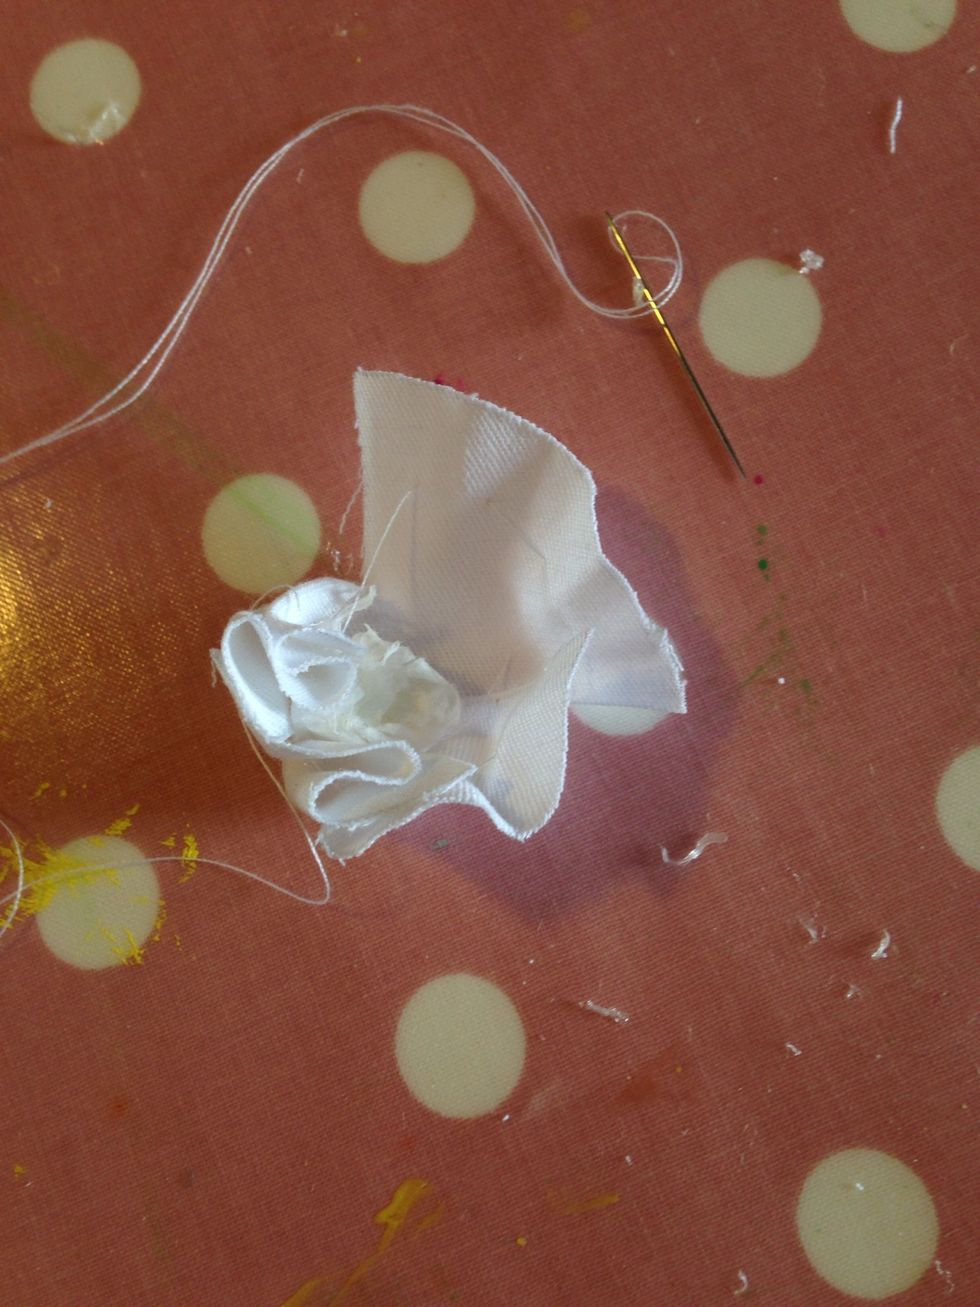
Sew around 1cm away from edge, all the way around the circle, you can use a tissue to stabilise the shape of the bag
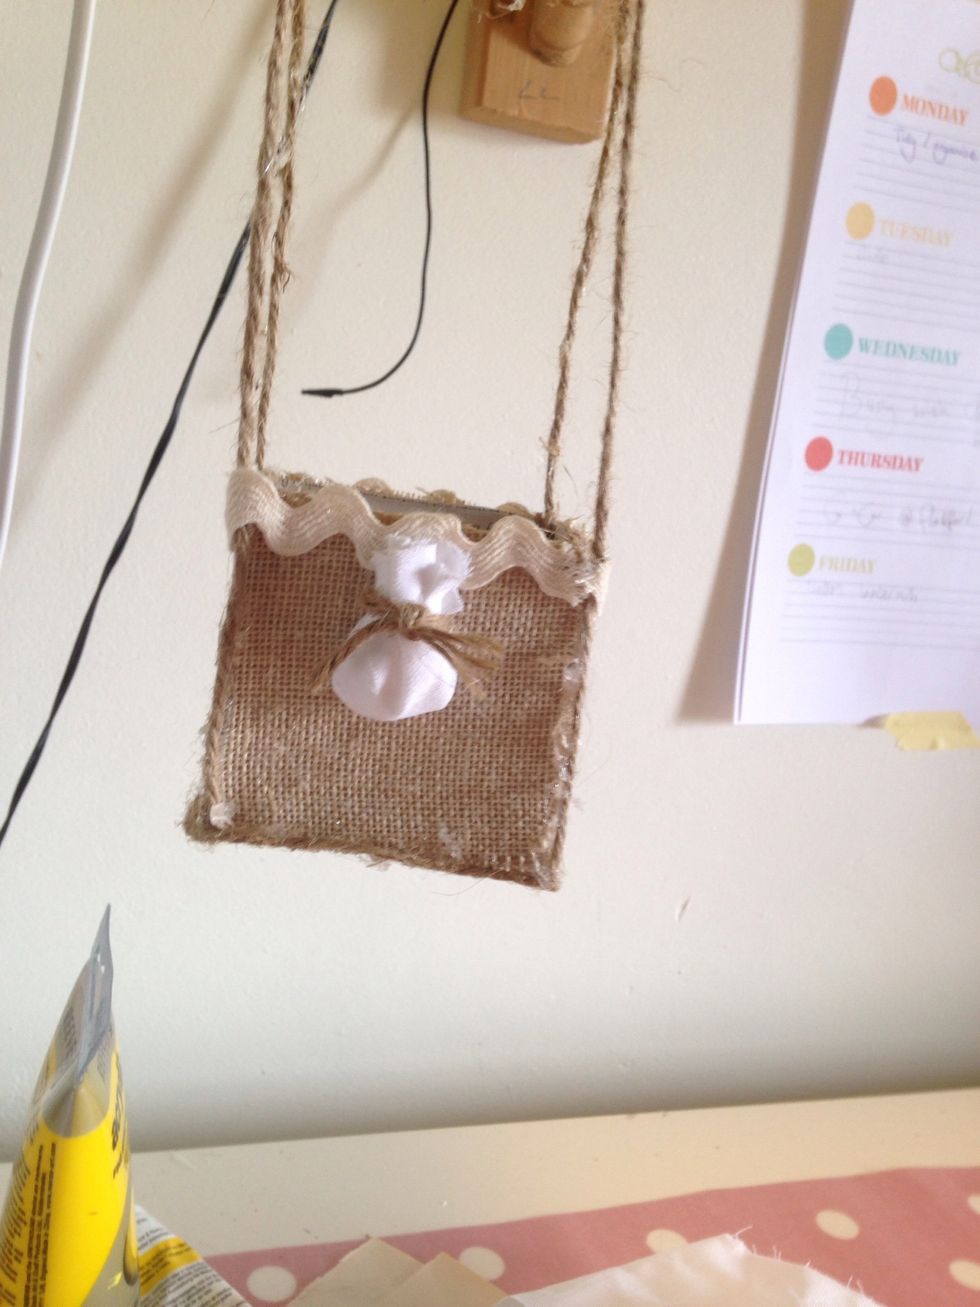
Add yarn then glue to front of carriage
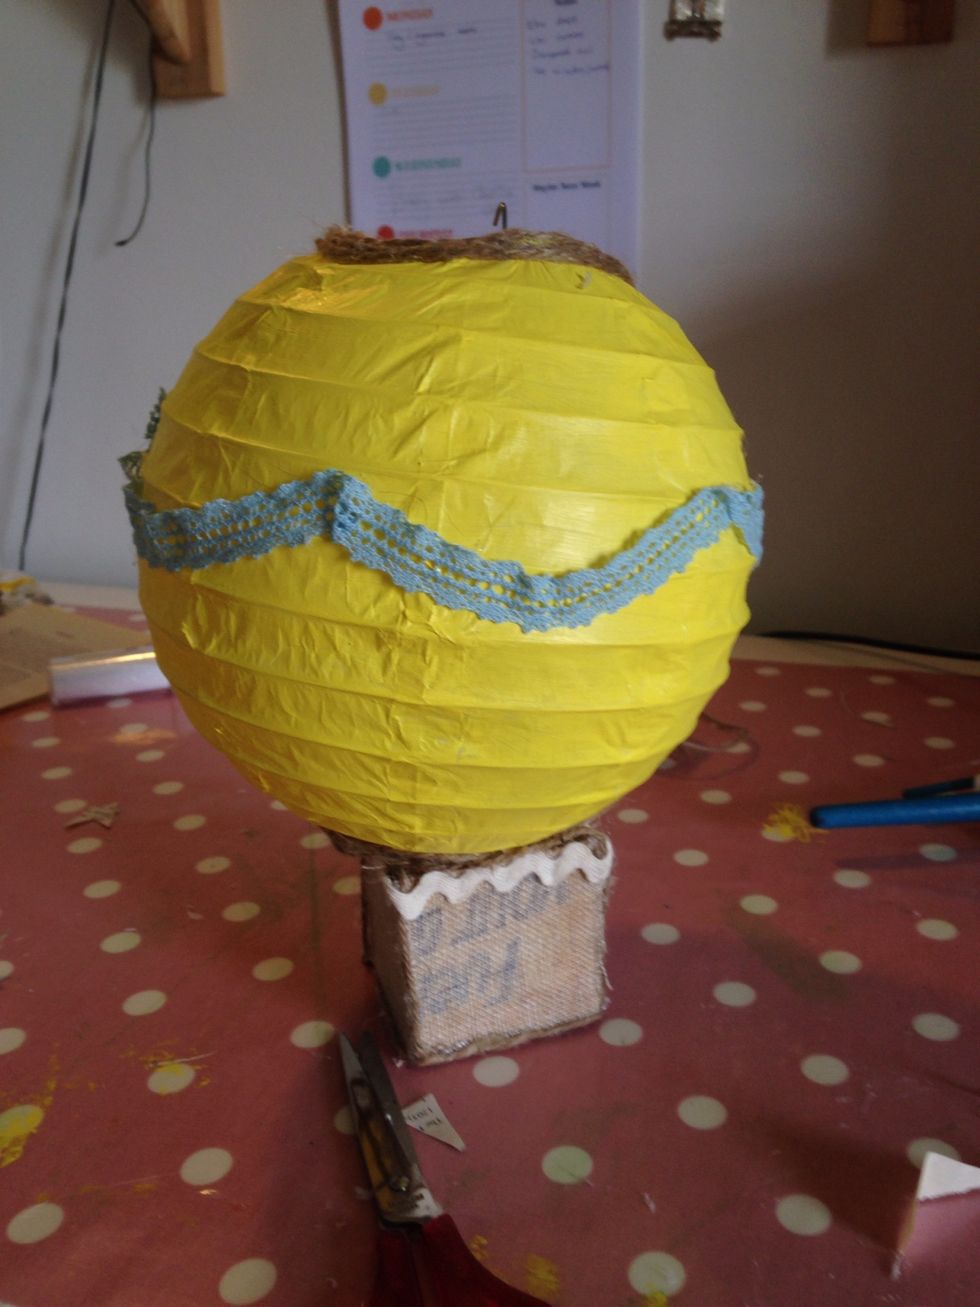
For decoration I have added some ribbon to my ballon
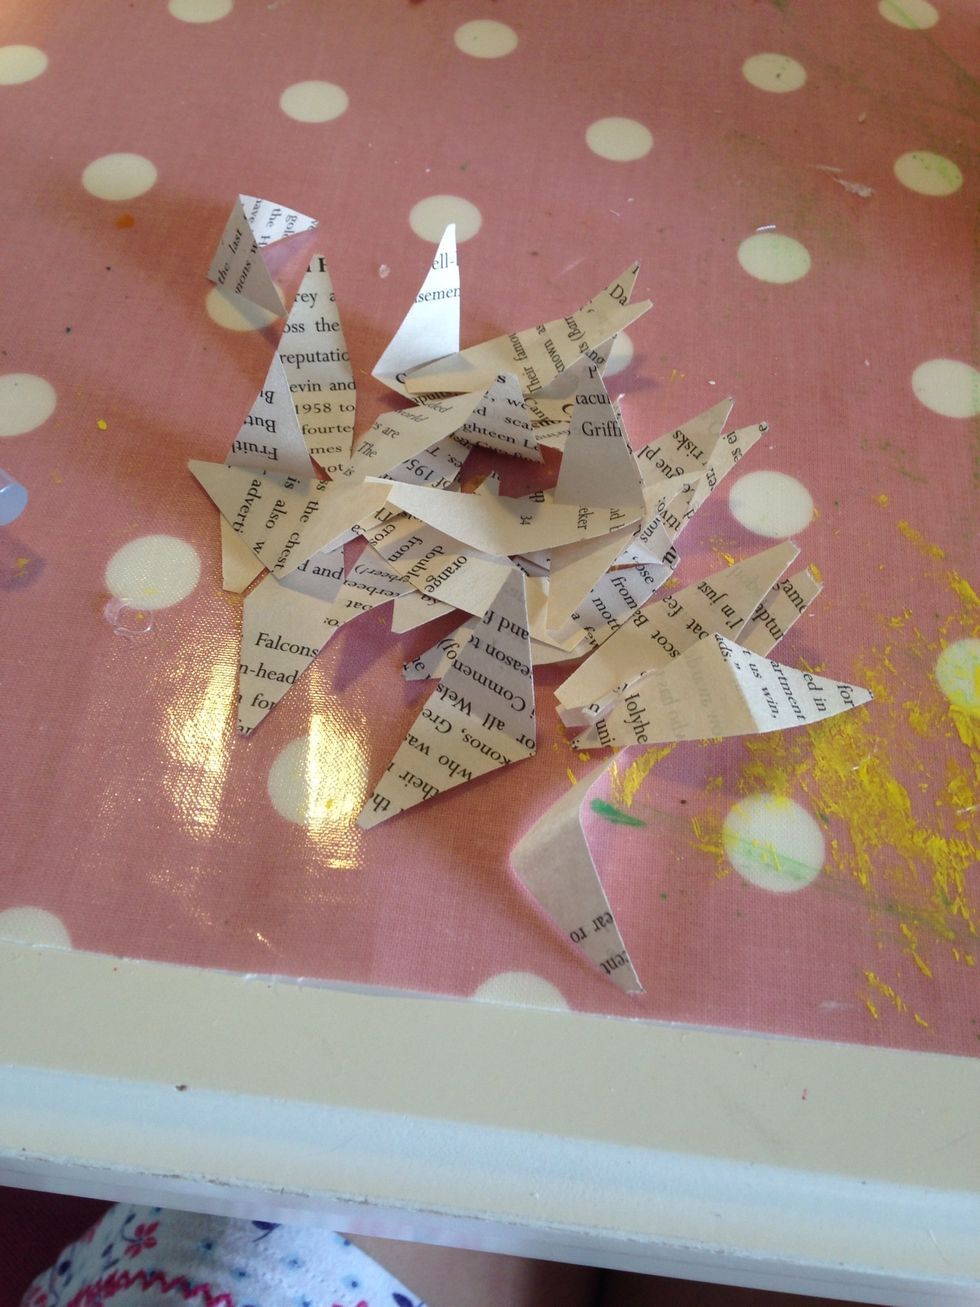
Then cut out triangles from a page if a book
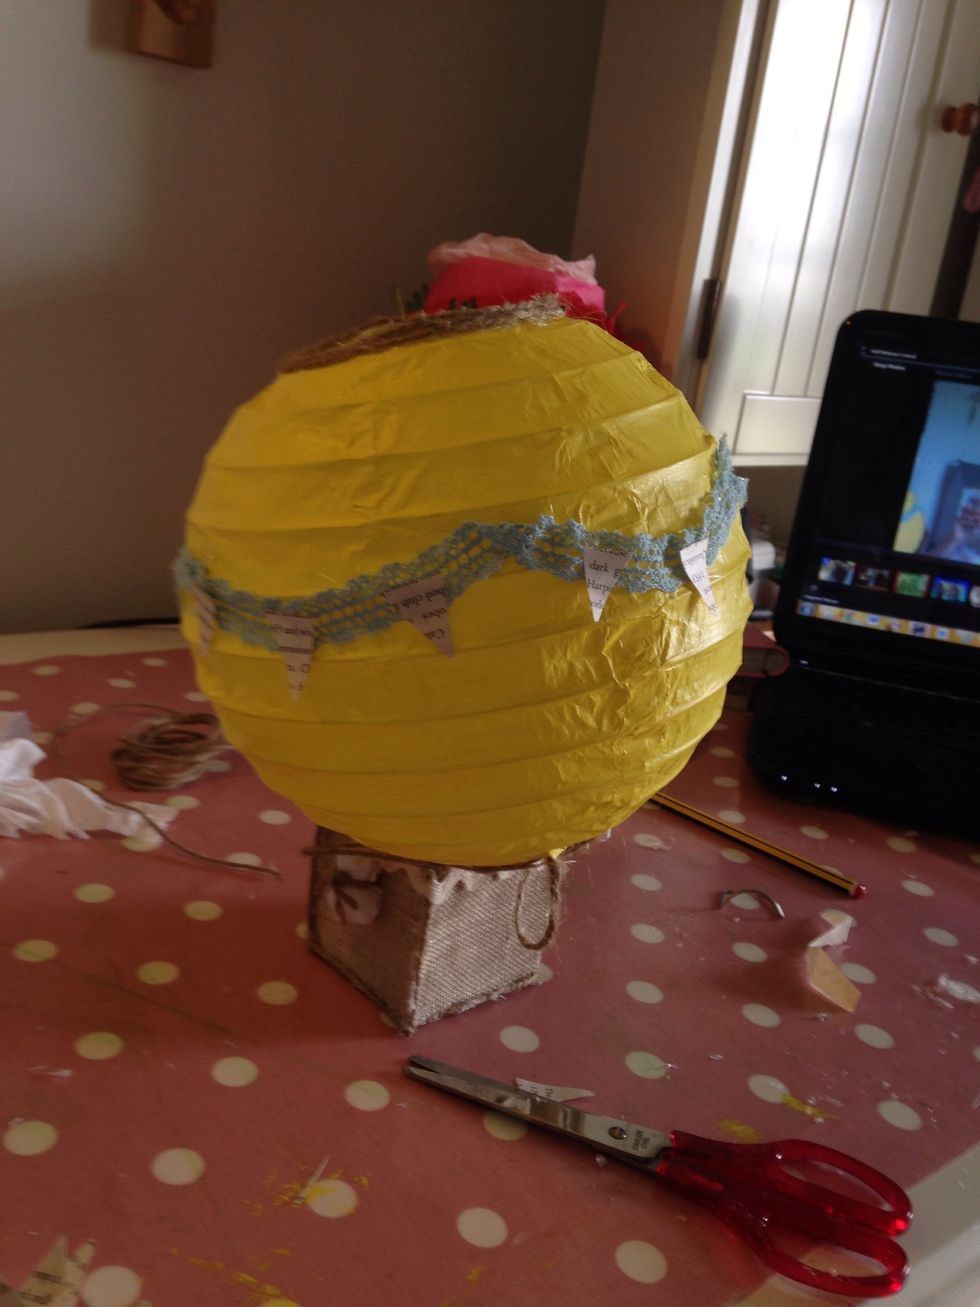
And glue to ballon; like bunting
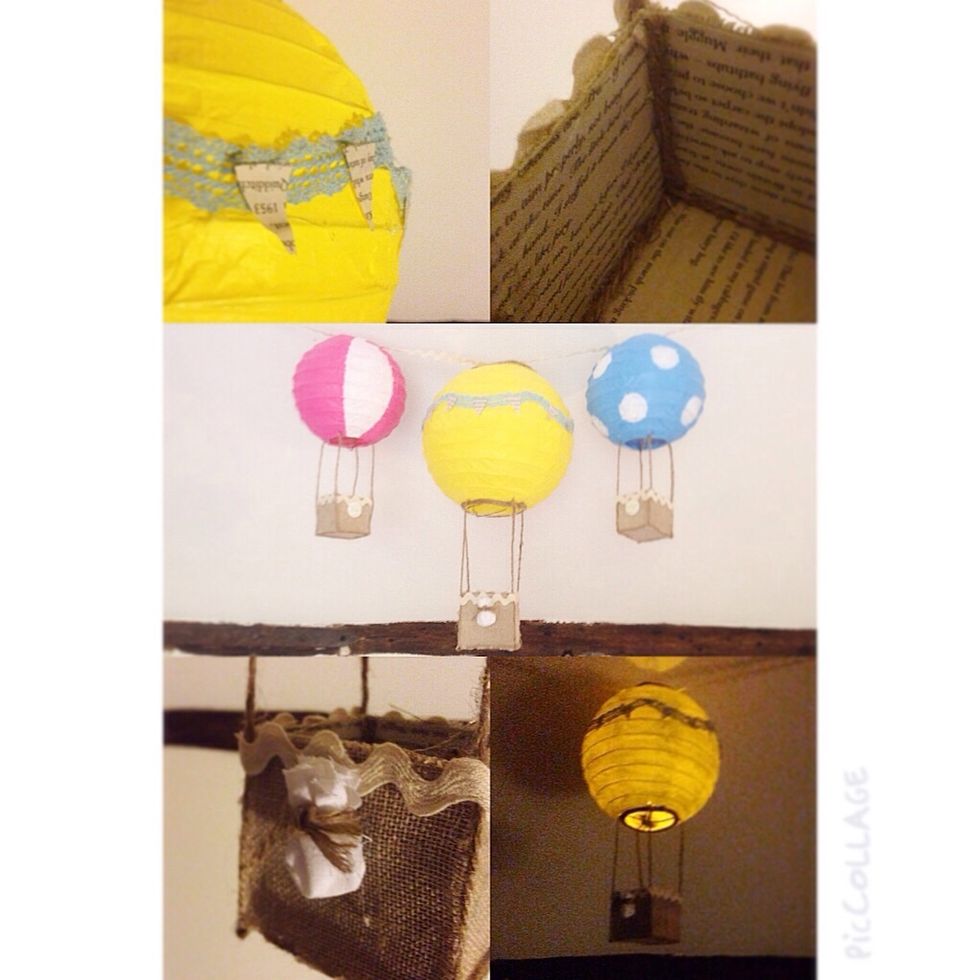
Finished product :)
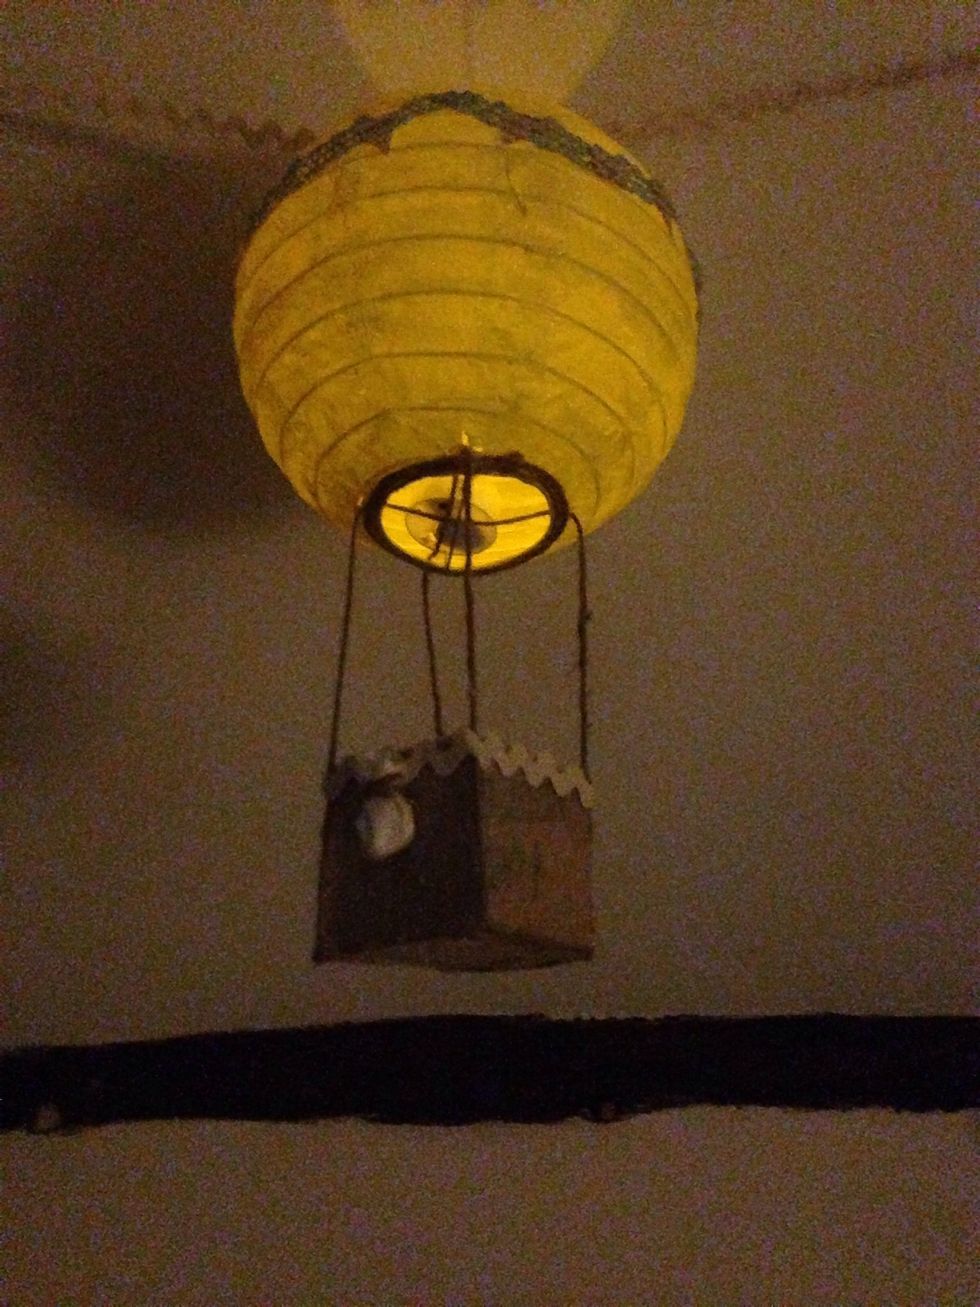
You could add a electrical tea light to make it glow!
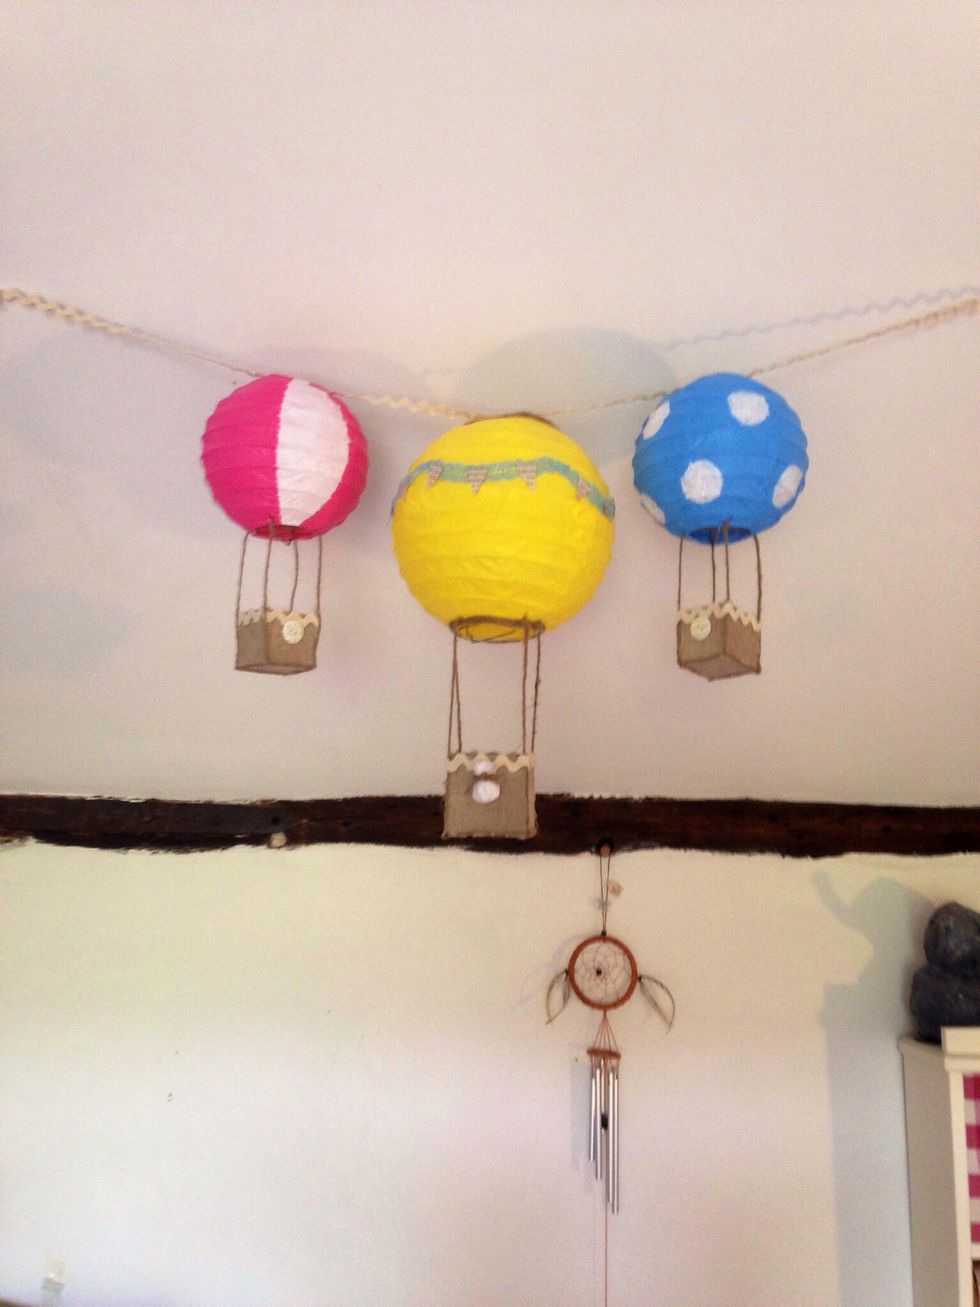
^ super cute :) These are what I have made so far, you can decorate them any way you want :)
If you liked this guide please like it, I'll make many more like these! Also please follow me, and a massive thanks!!