STEPS
TOOLS
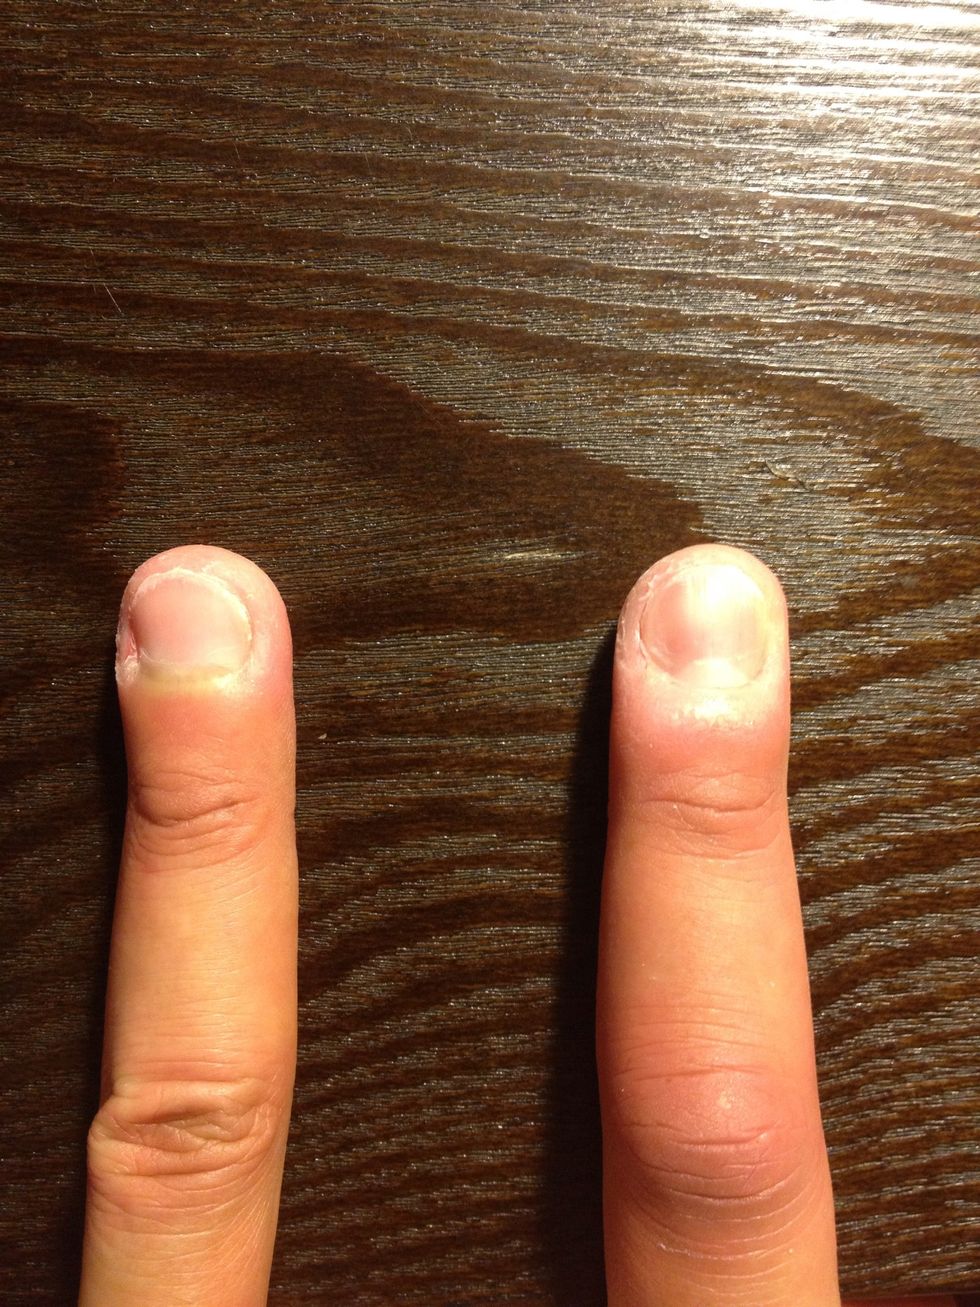
After an aggressive game of basketball, you may find yourself with a jammed finger. The finger on the right is noticeably swollen compared to the left. Remember to ice it ASAP to reduce the swelling.
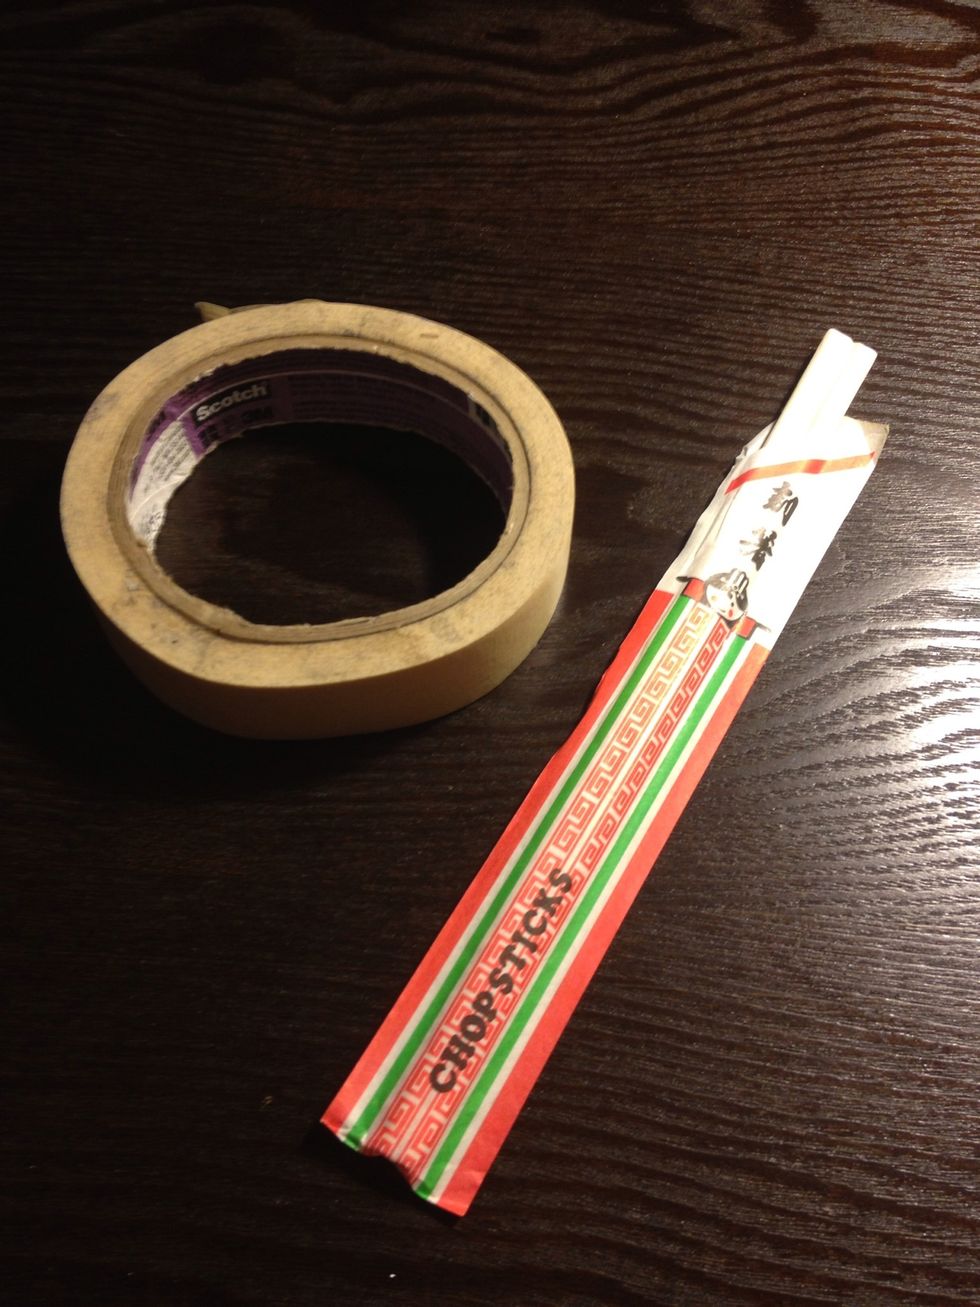
Here are the materials you will need. A roll of masking tape and a pair of wooden chopsticks.
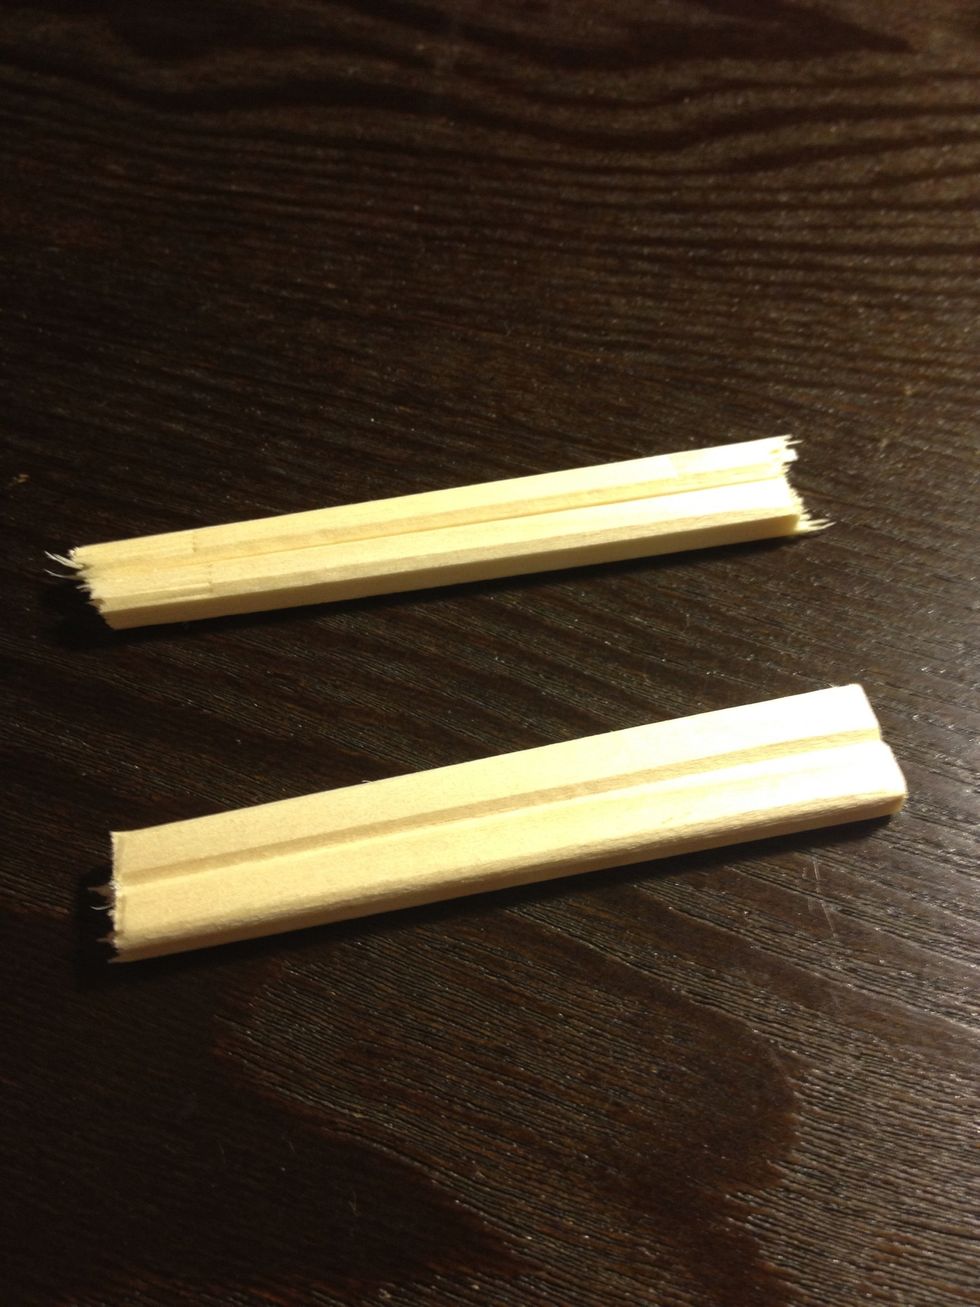
Break the chopsticks down to about 3/4 of the finger's length. If its too long then it will interfere with the mobility of the finger and may cause discomfort.
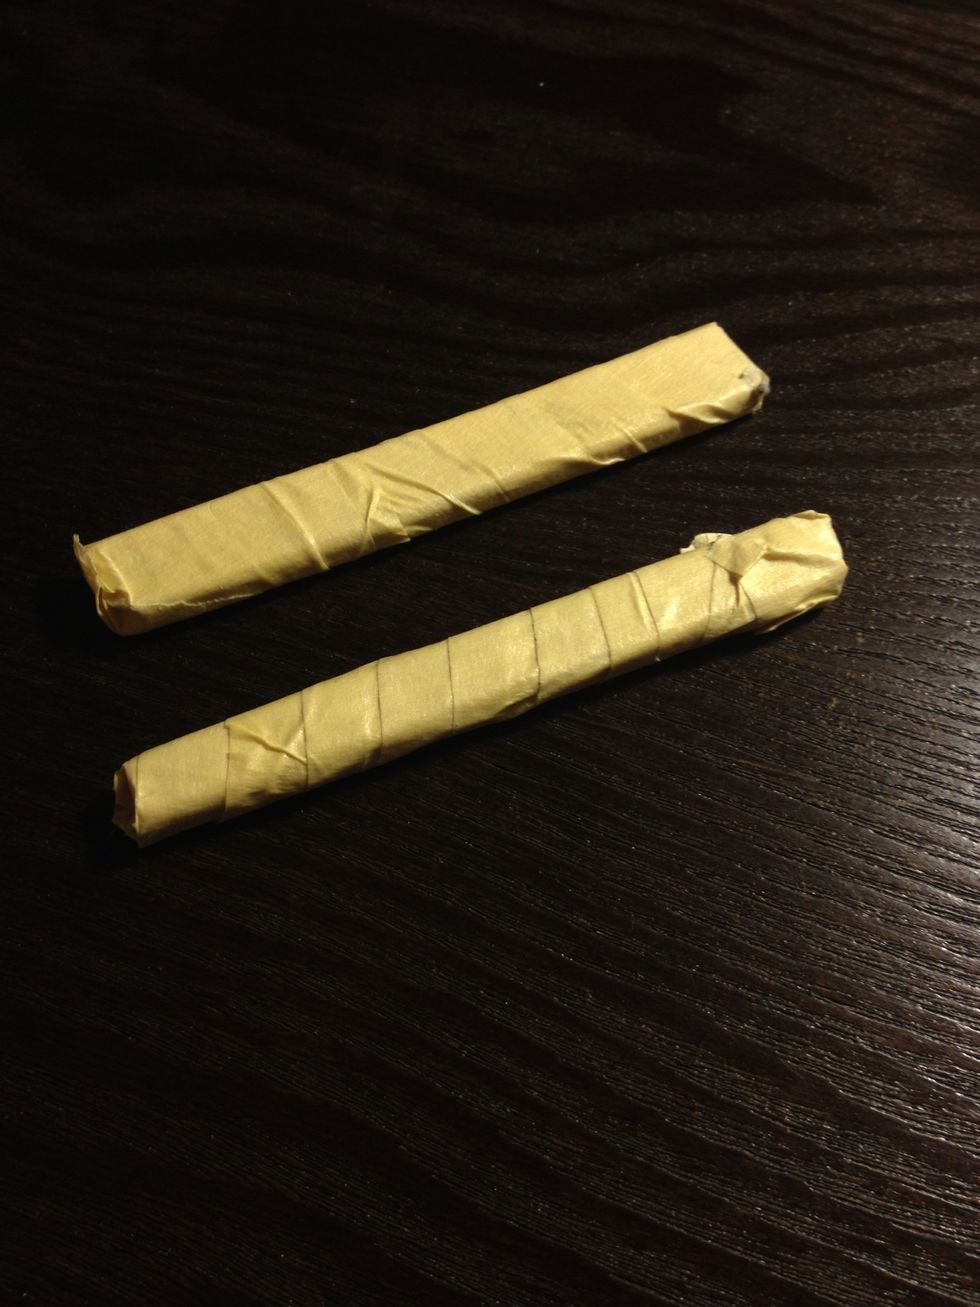
Wrap the chopsticks with the masking tape so it will provide a smooth surface against your finger.
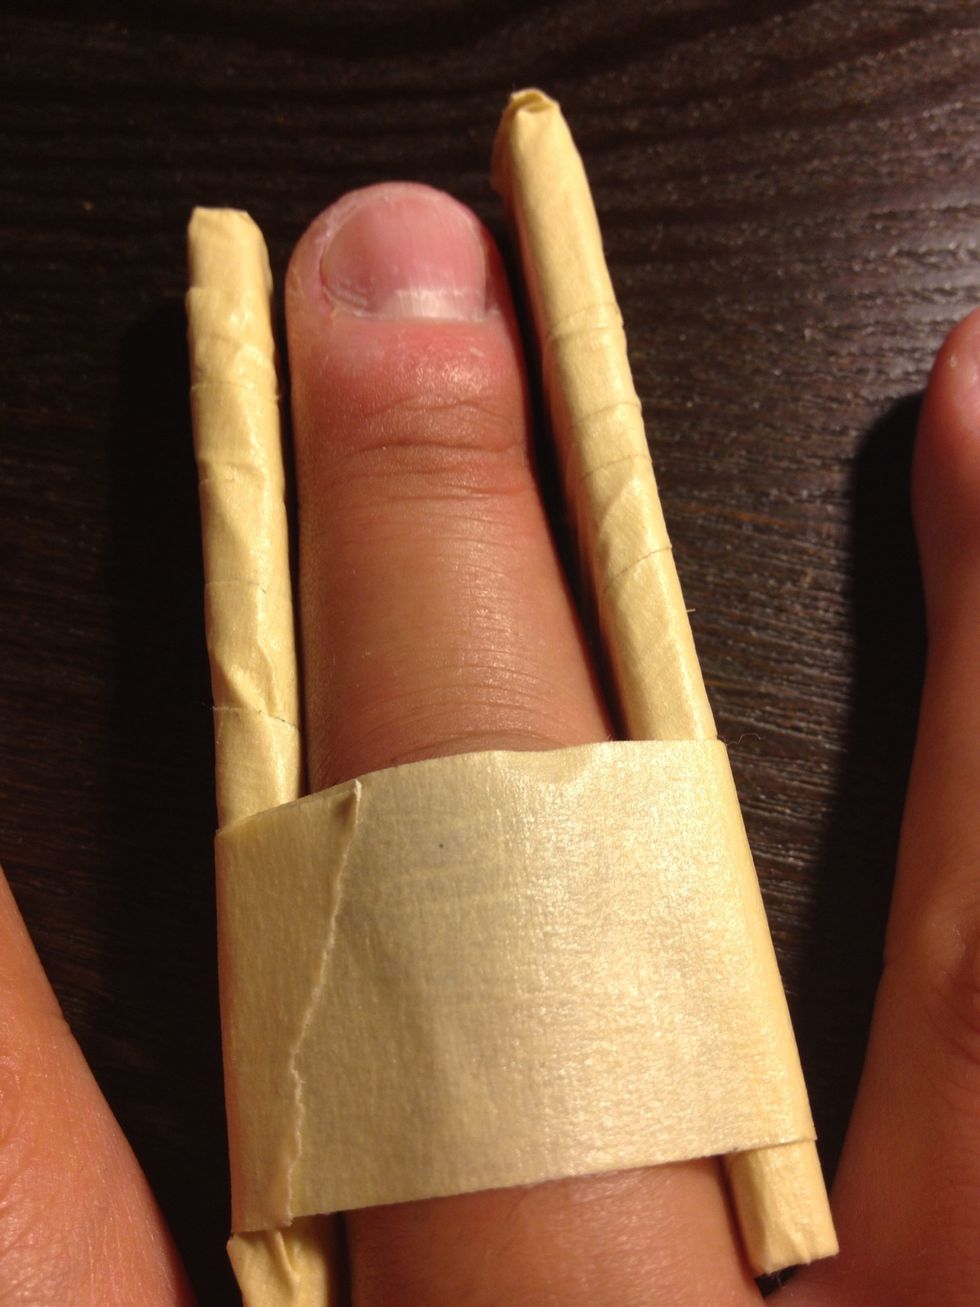
Position the 2 pieces on each side of the injured finger and wrap a piece of masking tape around it. Don't wrap it too tight, just enough to keep the finger straight.
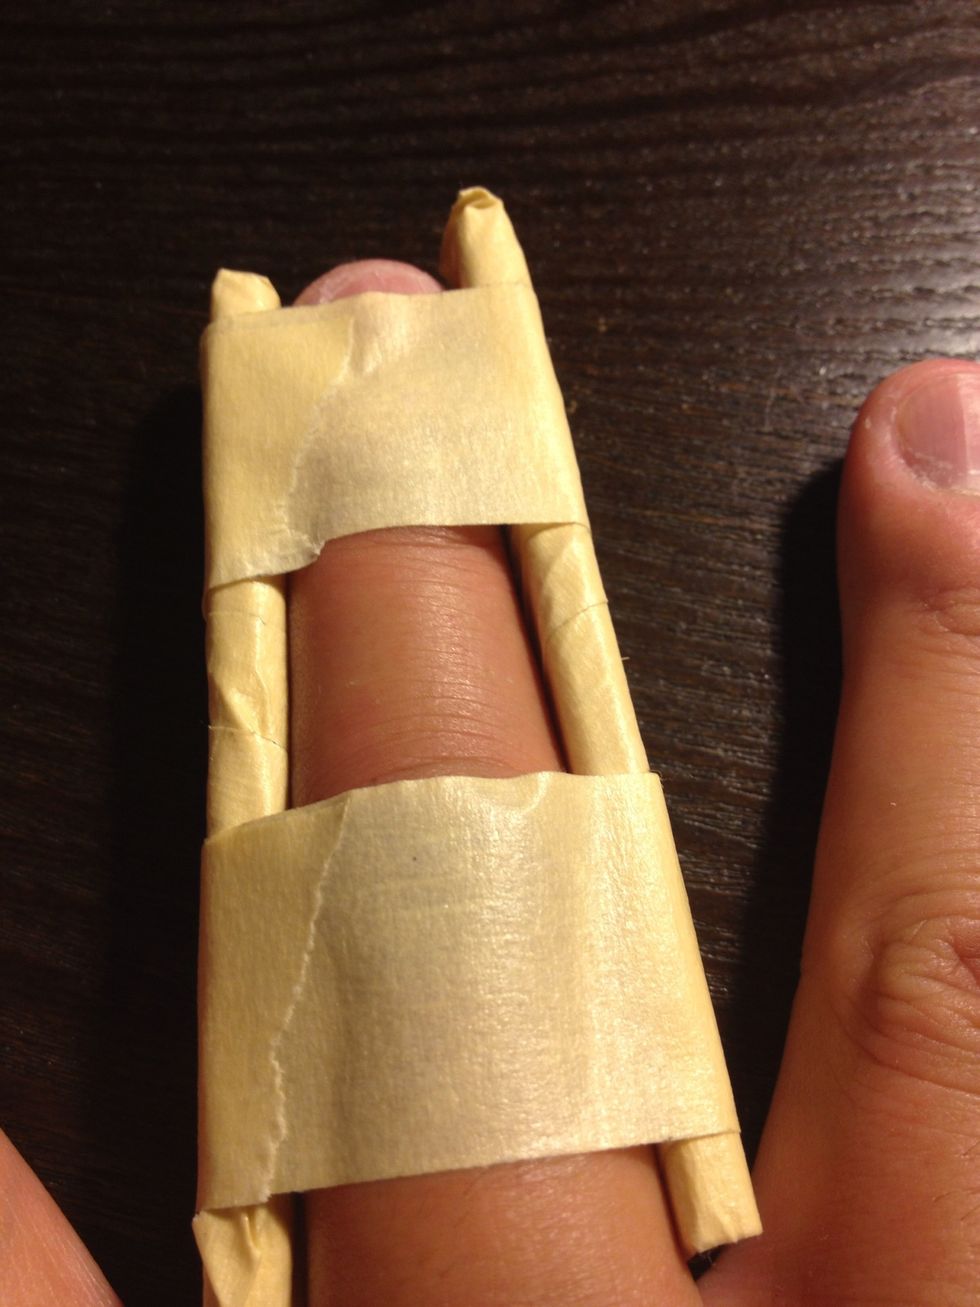
Wrap the top portion as well. In addition to the finger brace, remember to RICE. Rest, Ice, Contract, and Elevate.
- 1.0 Wooden Chopsticks
- 1.0 Roll Of masking tape
The Conversation (0)
Sign Up