The Conversation (0)
Sign Up
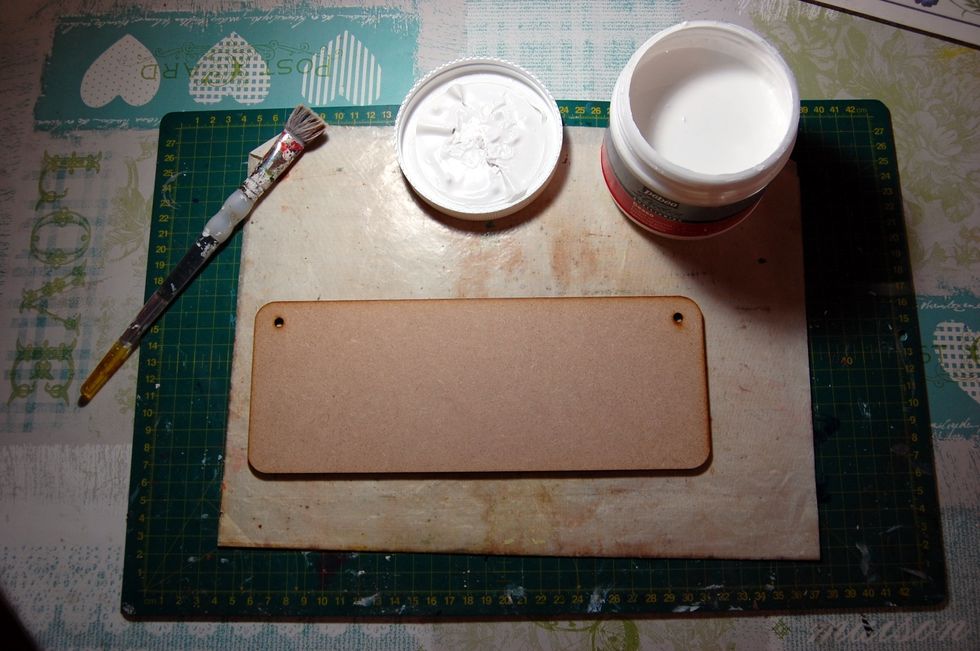
Paint the front, back and sides of the MDF plaque with a coat of gesso. The back may need more than one coat as this remains in view.
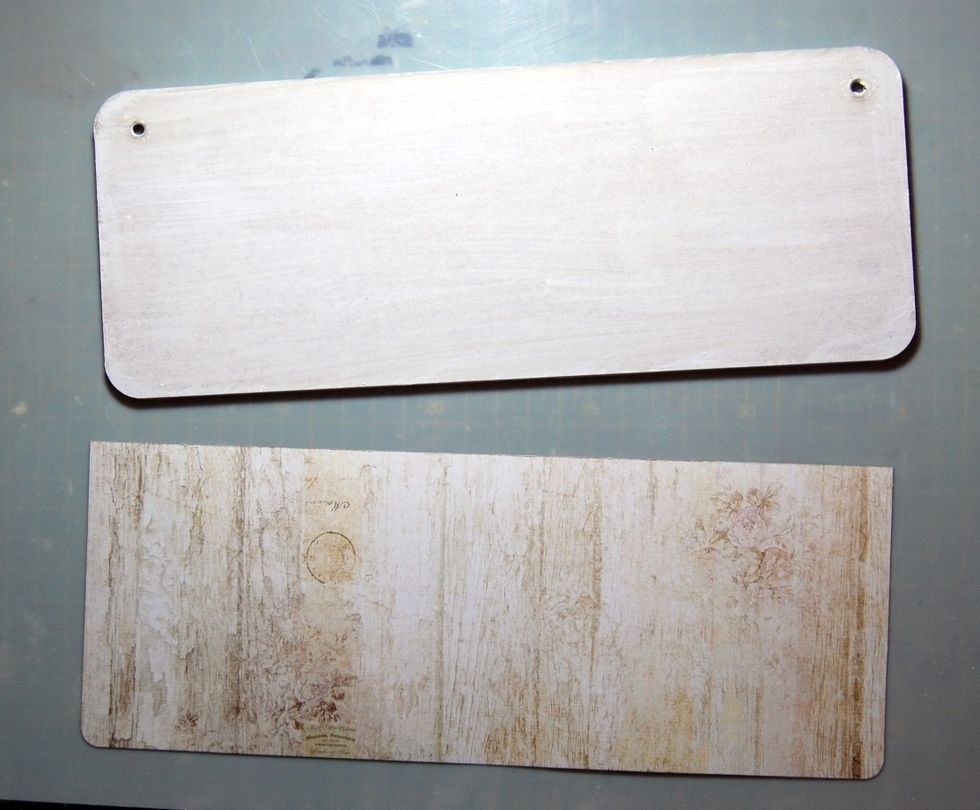
To cover MDF choose a 12 x 12 paper. I chose Blue fern Studio Deja Vu Fripperies. Cut to required size. Mine was 26cm x 10cm.
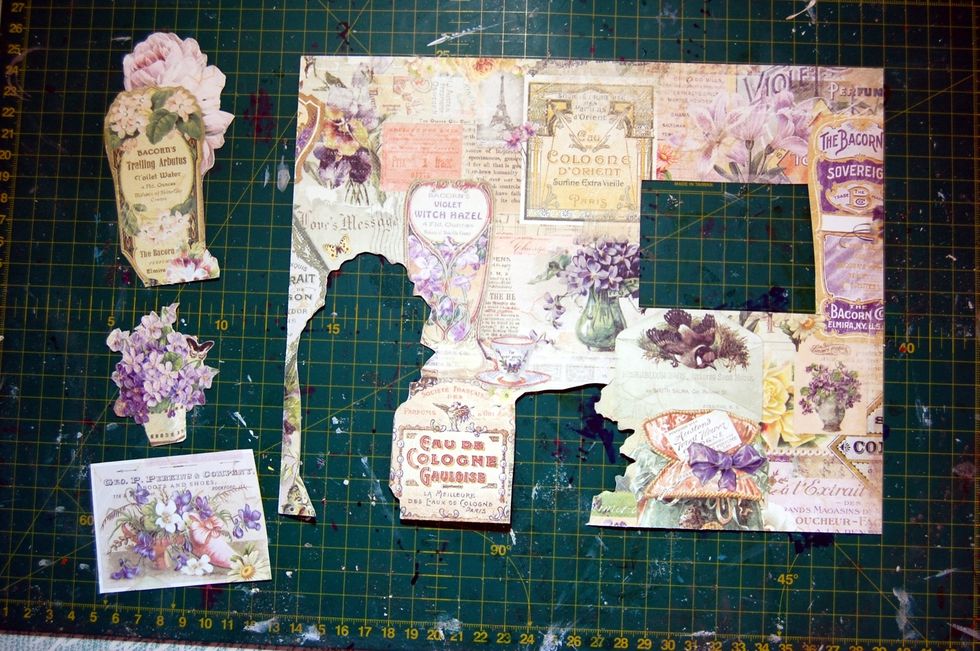
I used the other side of the paper as well, to fussy cut some elements out to use later.
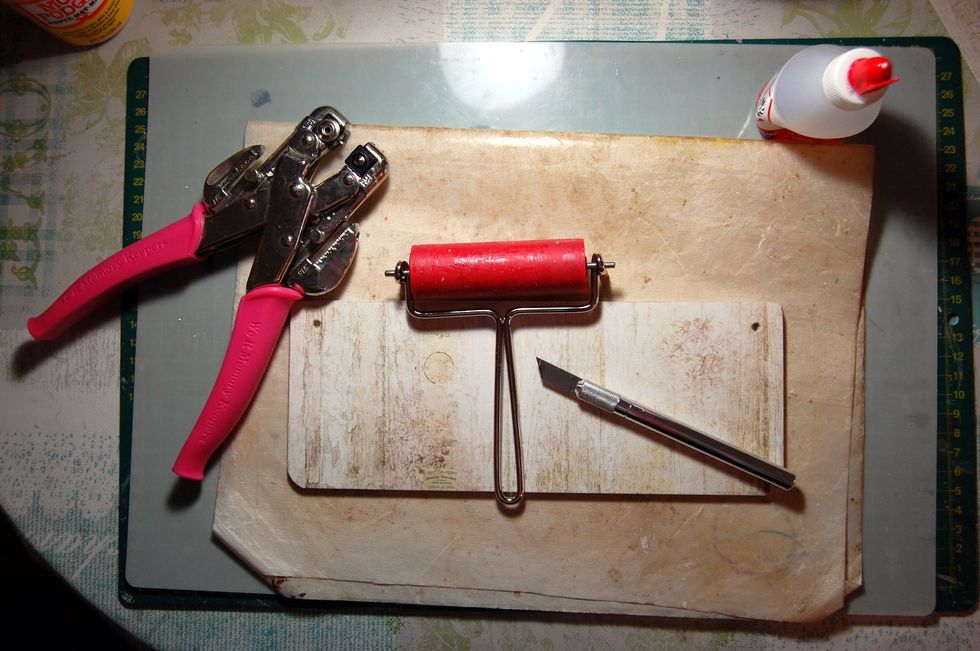
Stick your paper to front of MDF. Make sure stuck down by running brayer over it. Trim round corners, punch through hanging holes. Give back MDF coat of Mod Podge to protect from marks & scratches.
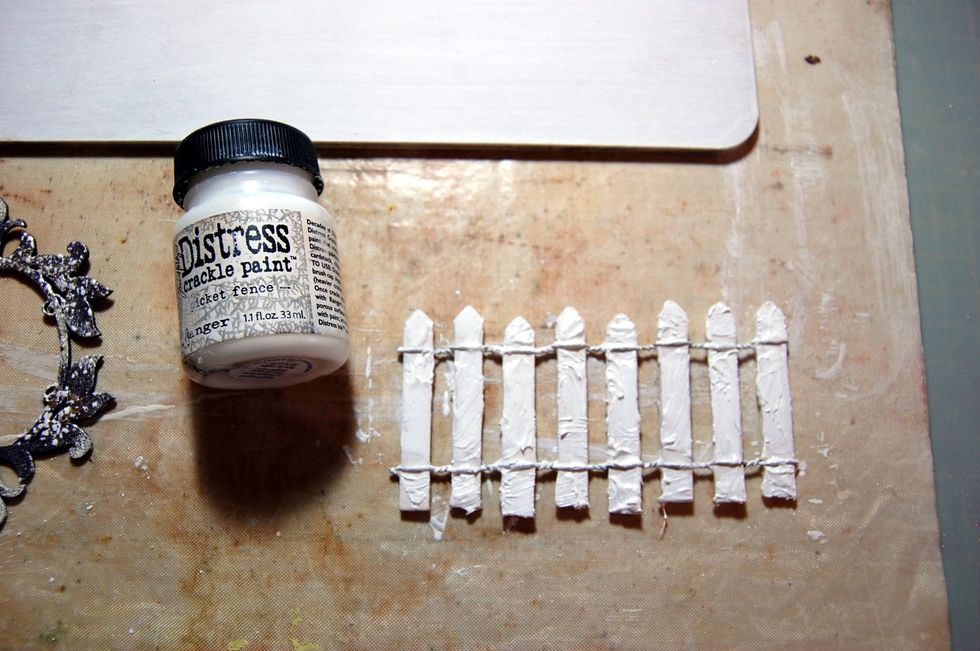
Next choose some main pieces to add to your plaque design. Cover the picket fence with a coat of Distress crackle paint 'picket fence'

Cover the chipboard with embossing powder. When the gesso was dry I used 3 different embossing powders, one was a Stampendous frantage Antique white to add texture.
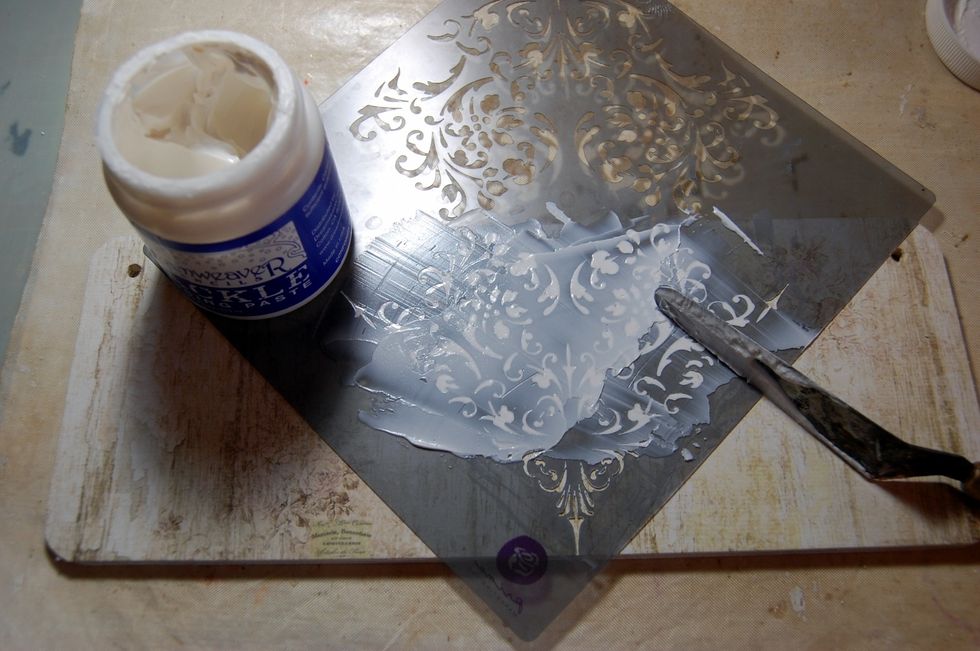
Next step is to add some stencilling to the centre area of the plaque. I used a Dreamweaver Crackle texture paste and Prima mask
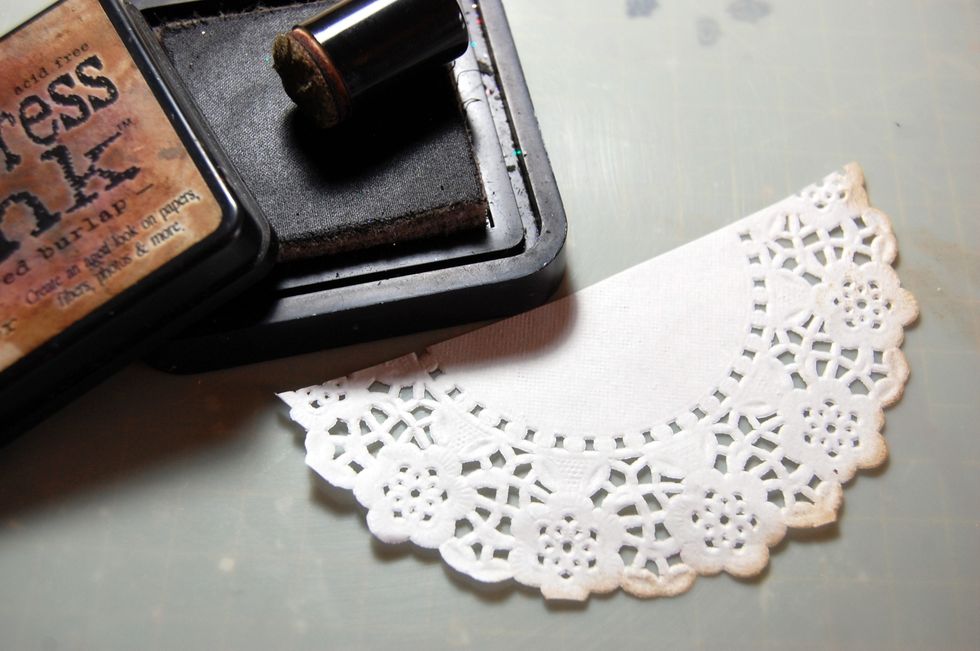
Cut a 5" doily in half and ink the edge with some Frayed Burlap distress ink. At the same time ink around the edges of the plaque.

Next add a lace trim to the bottom edge. I layered two pieces of lace and then added a pearl trim on top.
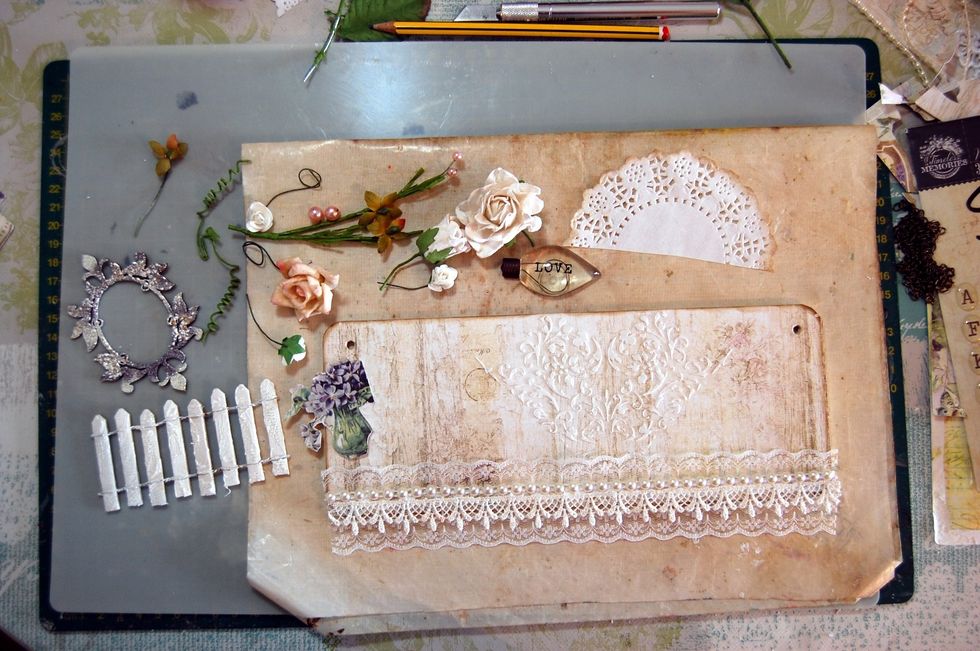
And now the best bit! Choose some embellishments! :) I raided my Swirlydoos embellishments and began to plan how I wanted it to look.
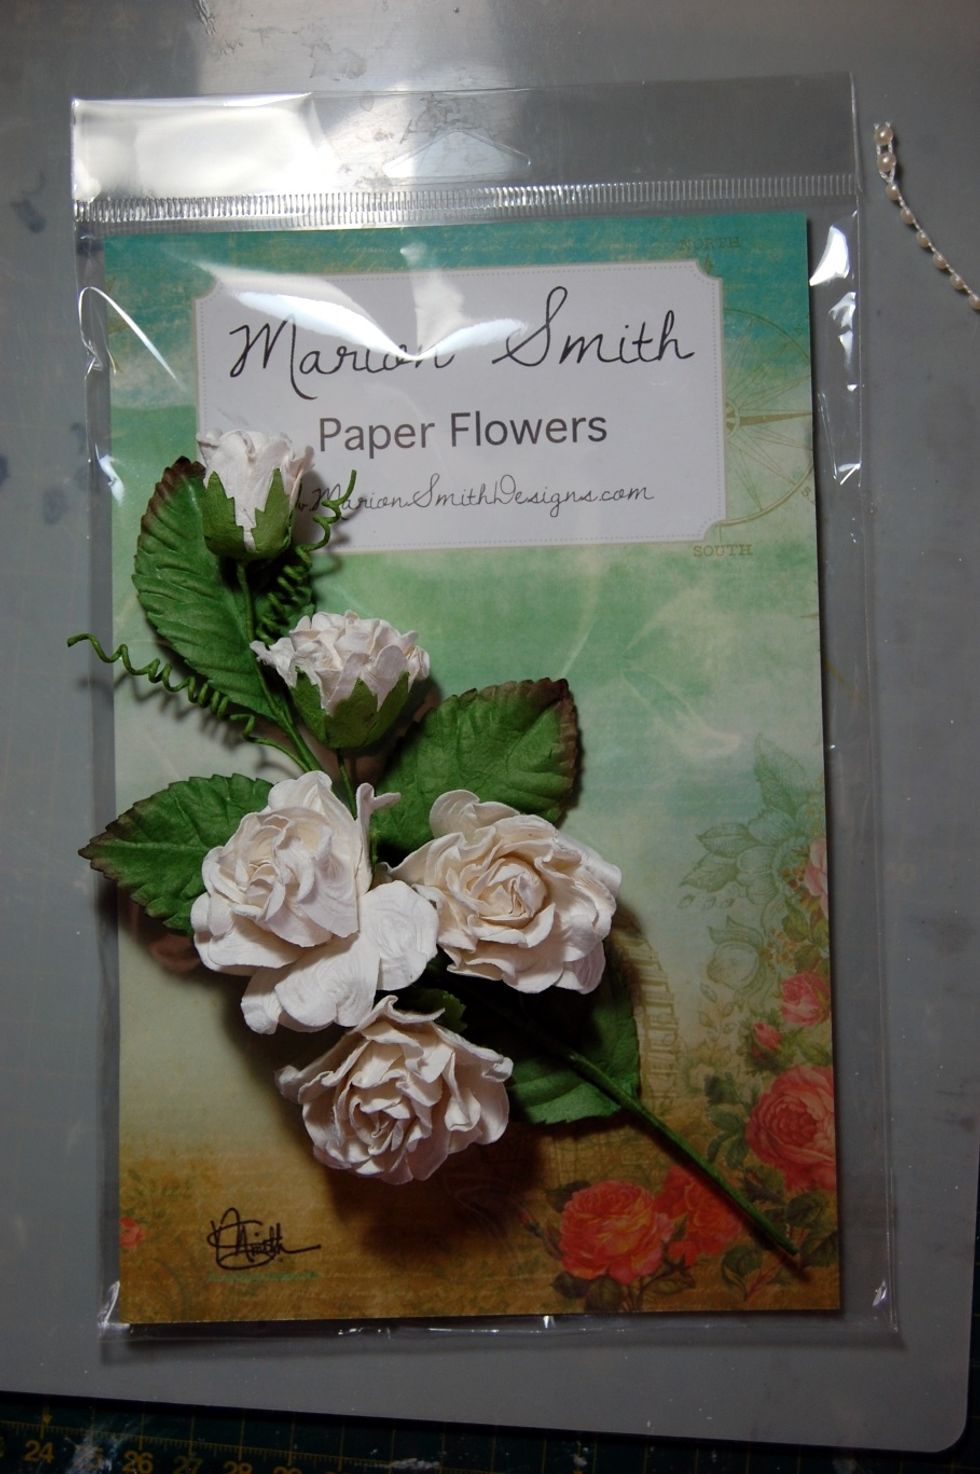
I cut off the flowers and wire twirls from this vine to use in my embellishment clusters
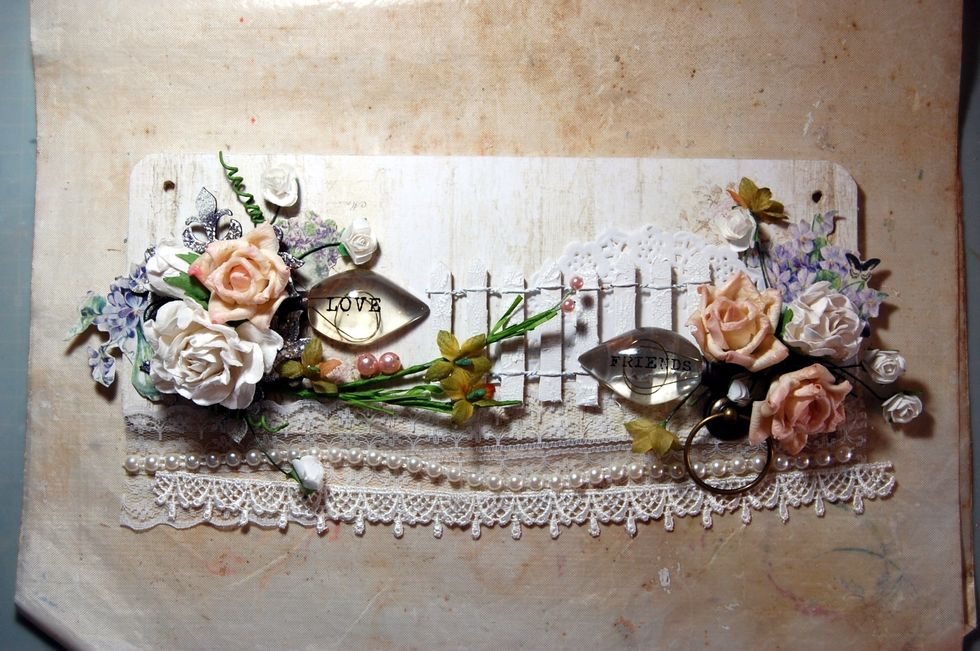
Move embellishments around until your happy before sticking. I use a Pinflair type glue. It takes a while to dry giving plenty of time to move/adjust embellishments. It will dry solid over night.
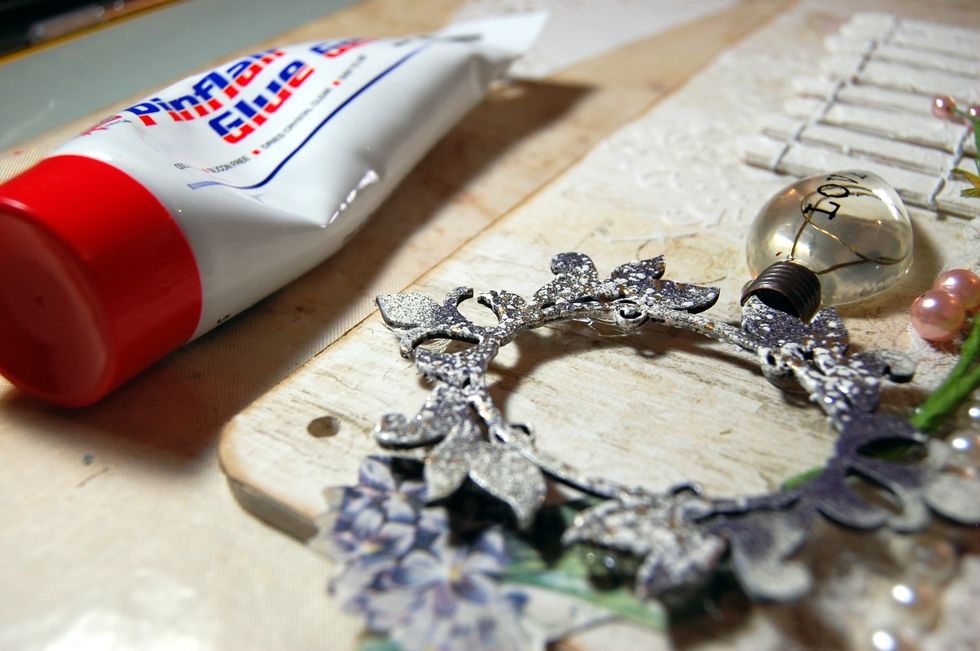
This type of glue also makes it very easy to add height and dimension. I added baubles of pinflair under my frame to lift it off the MDF base.
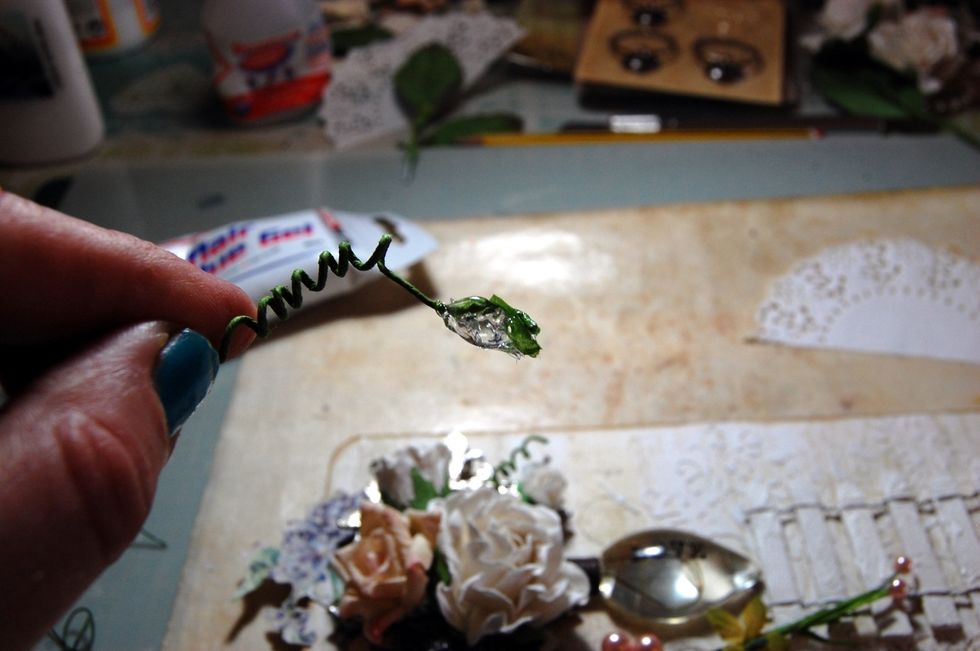
I added small blobs of pinflair on the ends of any pieces I'm trying to poke into a cluster.

Use a length of chain to hang the plaque with. Thread the chain through the holes in the plaque. Then use a short length of seam binding ribbon passed through links in both tails of chain
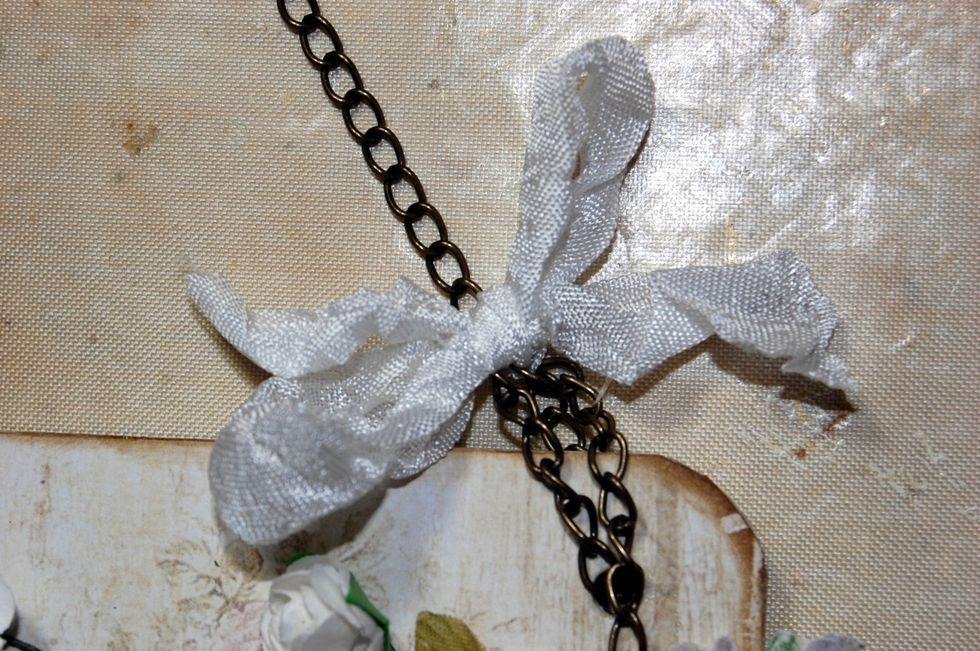
And tie the ribbon into a bow. Repeat on the other side of the plaque leaving enough chain to hang it at a nice height.

A little finishing touch, rub a little Frayed Burlap Distress Ink over the cracks on the picket fence.