The Conversation (0)
Sign Up
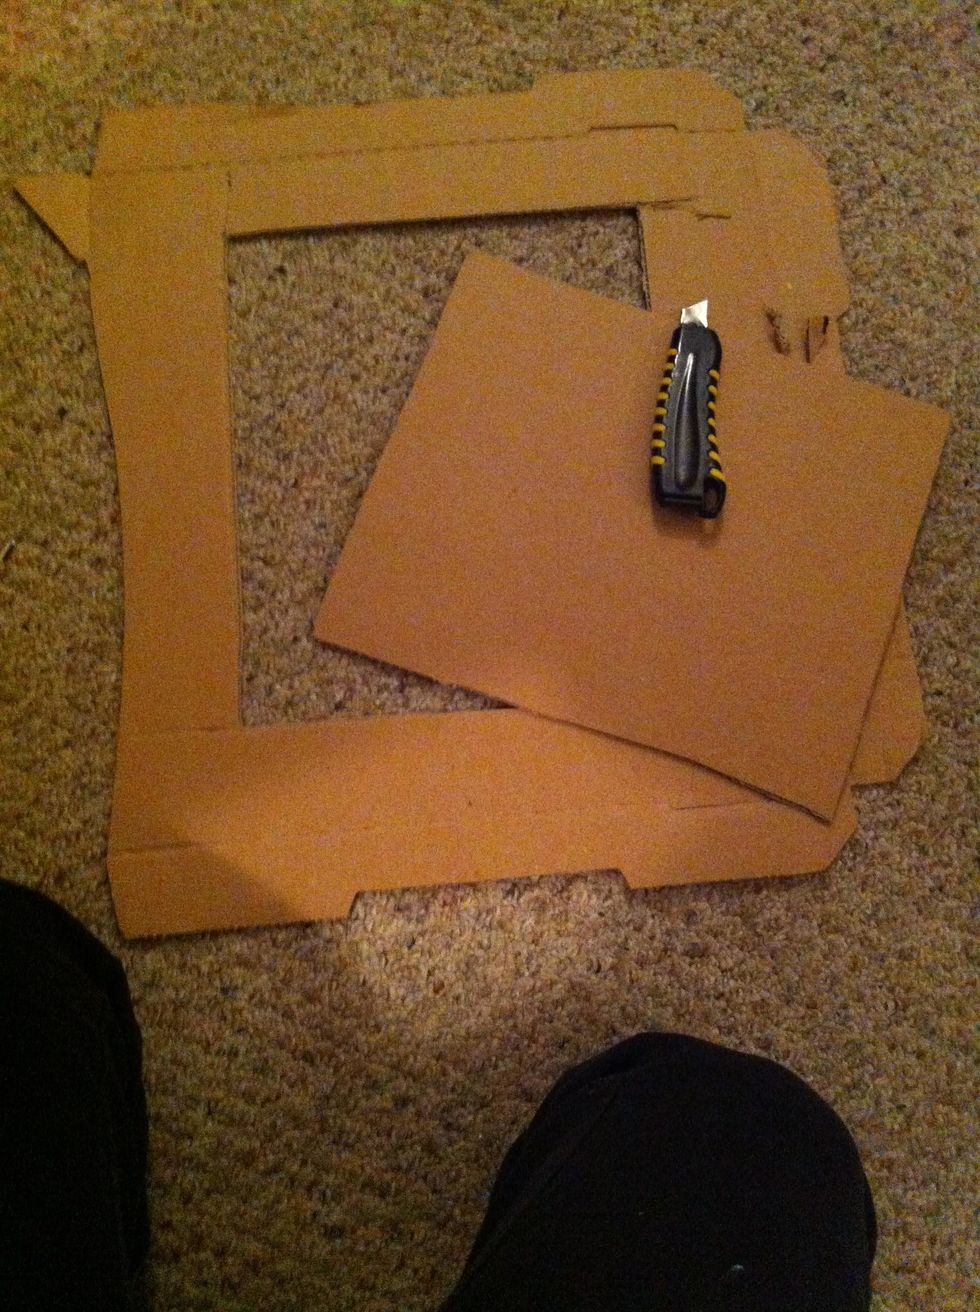
Start by cutting out your cardboard. You can cut it to any size you wish. I cut mine to 11X13. However, the bigger you cut it, the more Popsicle sticks you may need to make your frame.

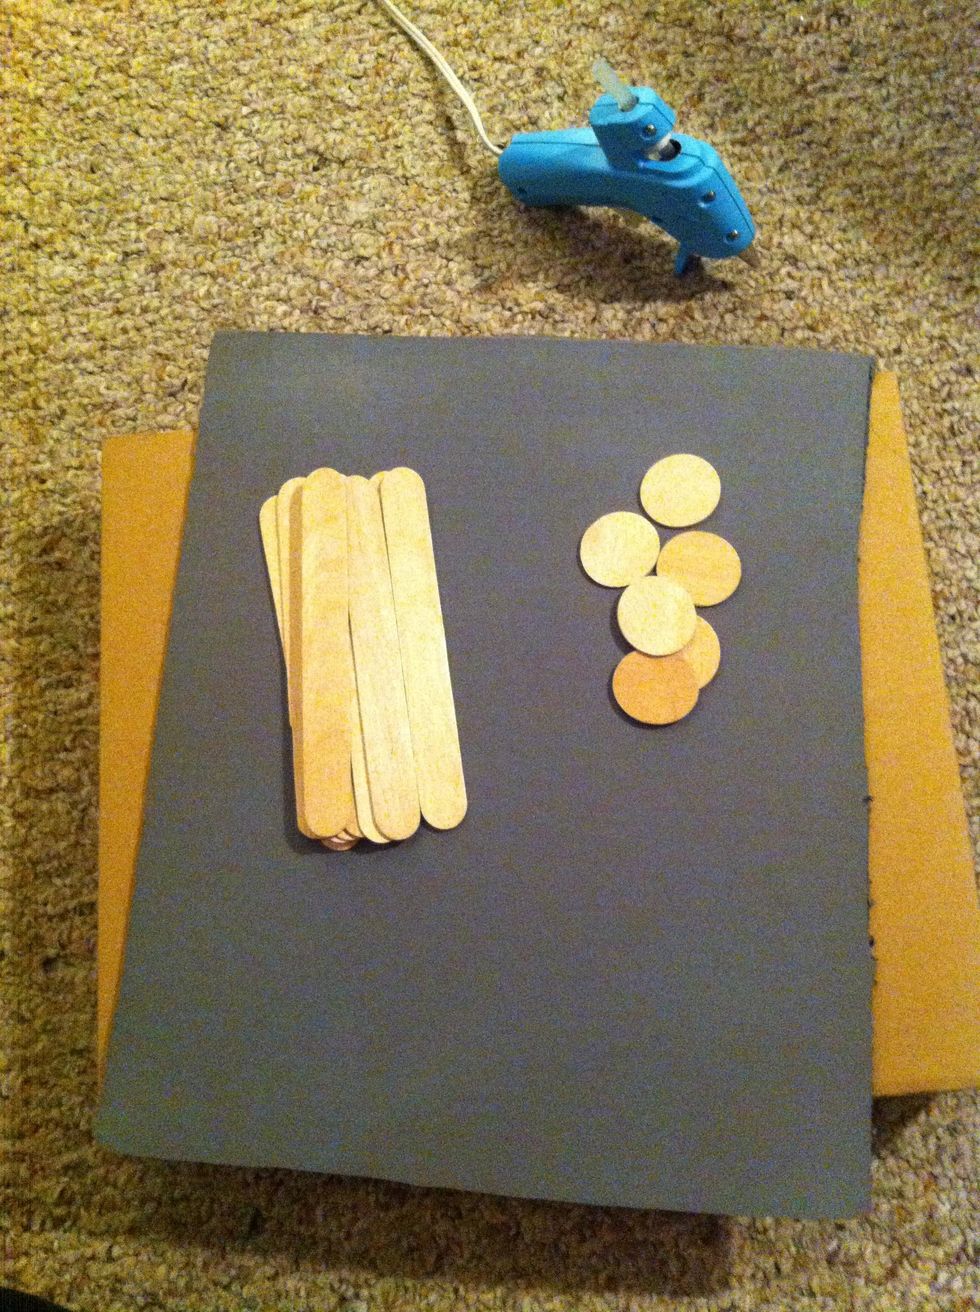
Spray paint your cardboard to any color you would like. It is not necessary to spray both sides, unless your heart desires! :)
Like this!
Like this!
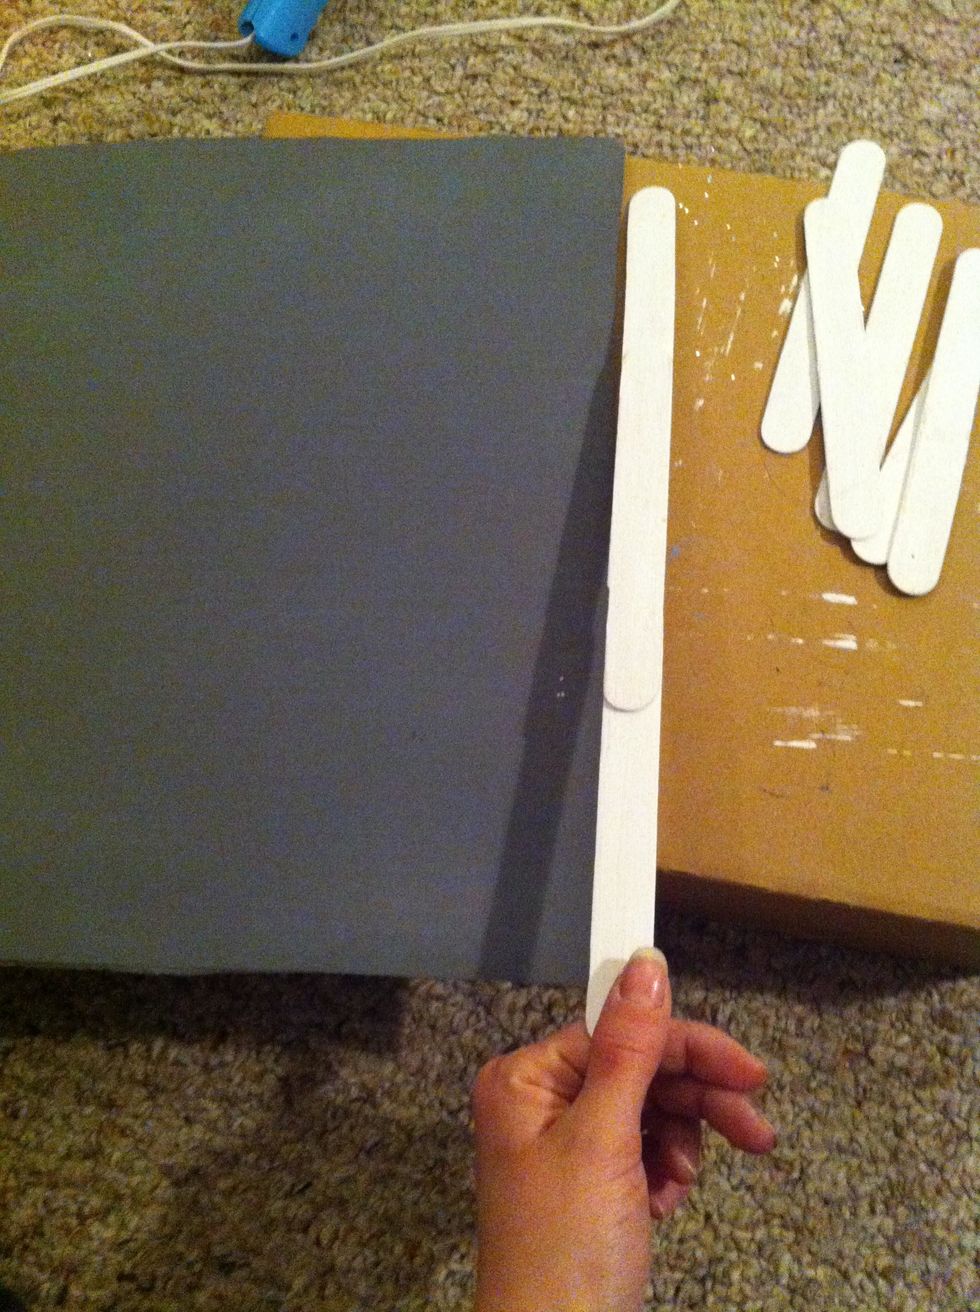
Begin your frame. Line the sticks up to be the length of each side of your card board and hot glue them together.

Like this!
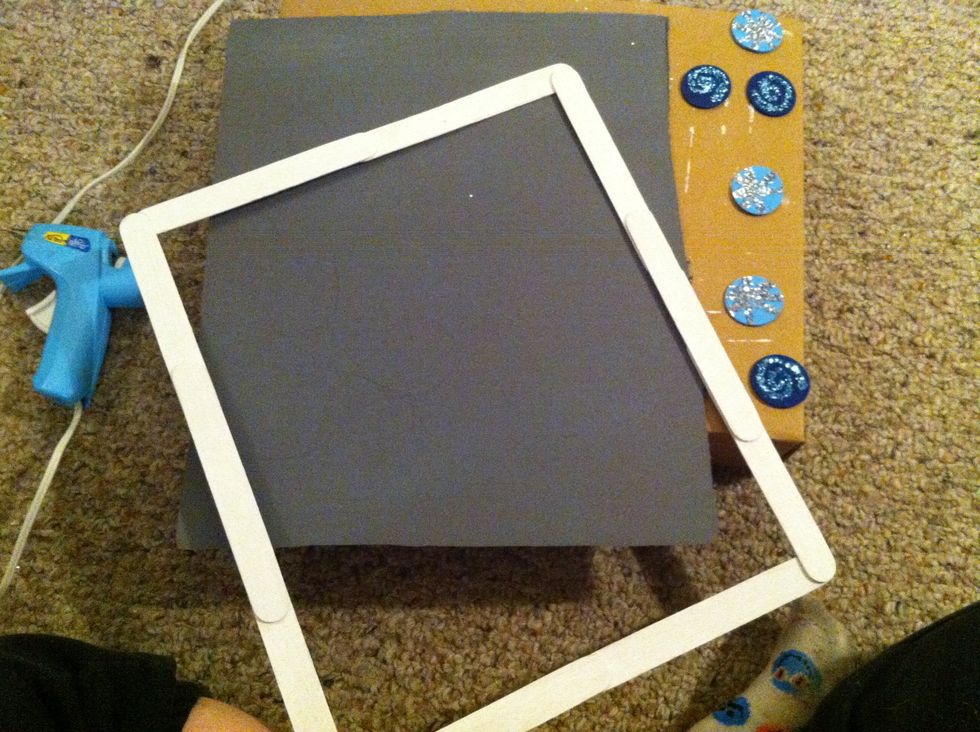
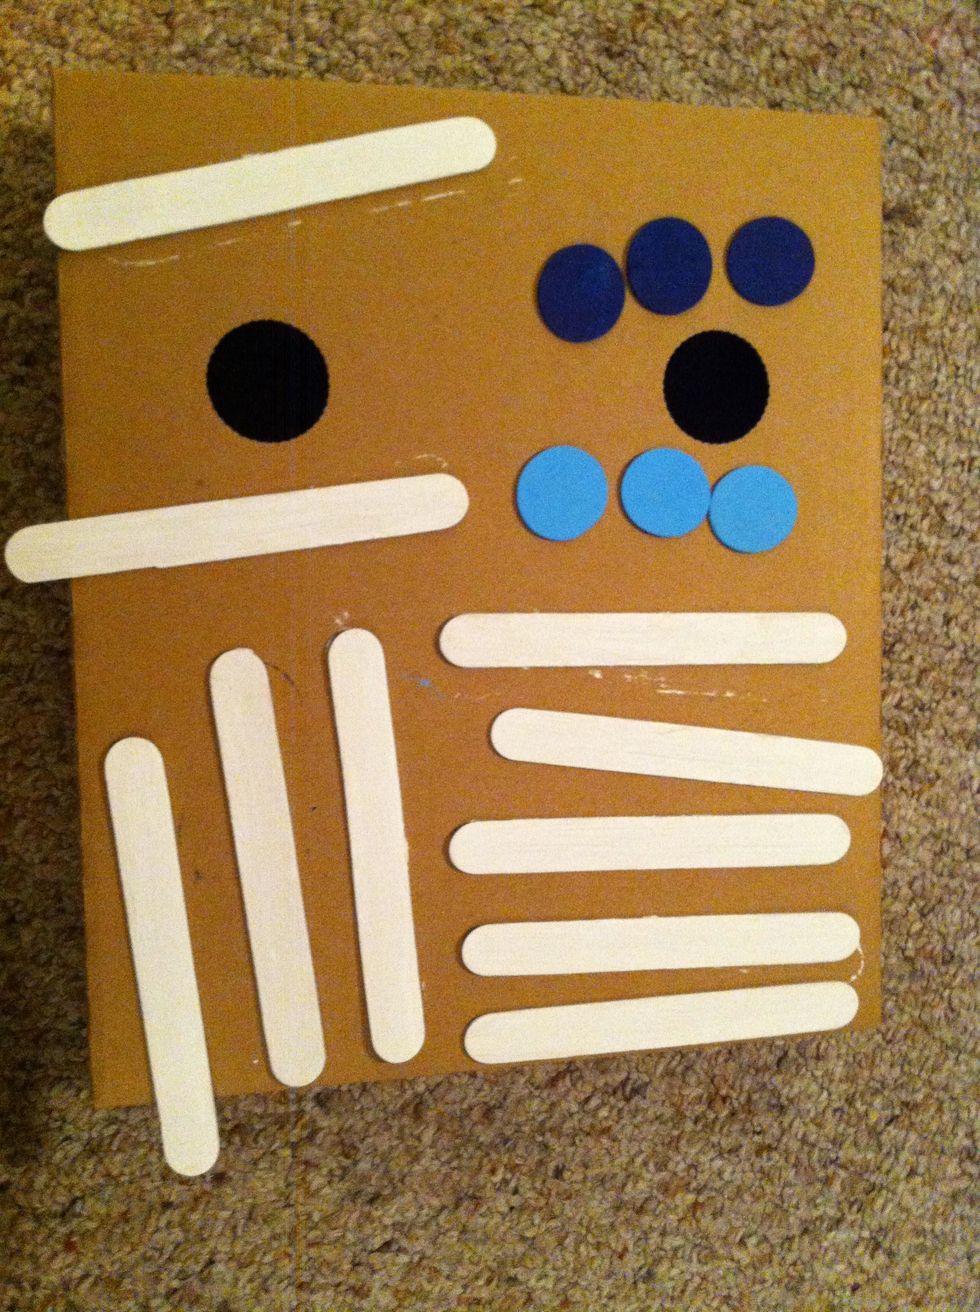
Now hot glue all four sides together to make a frame.
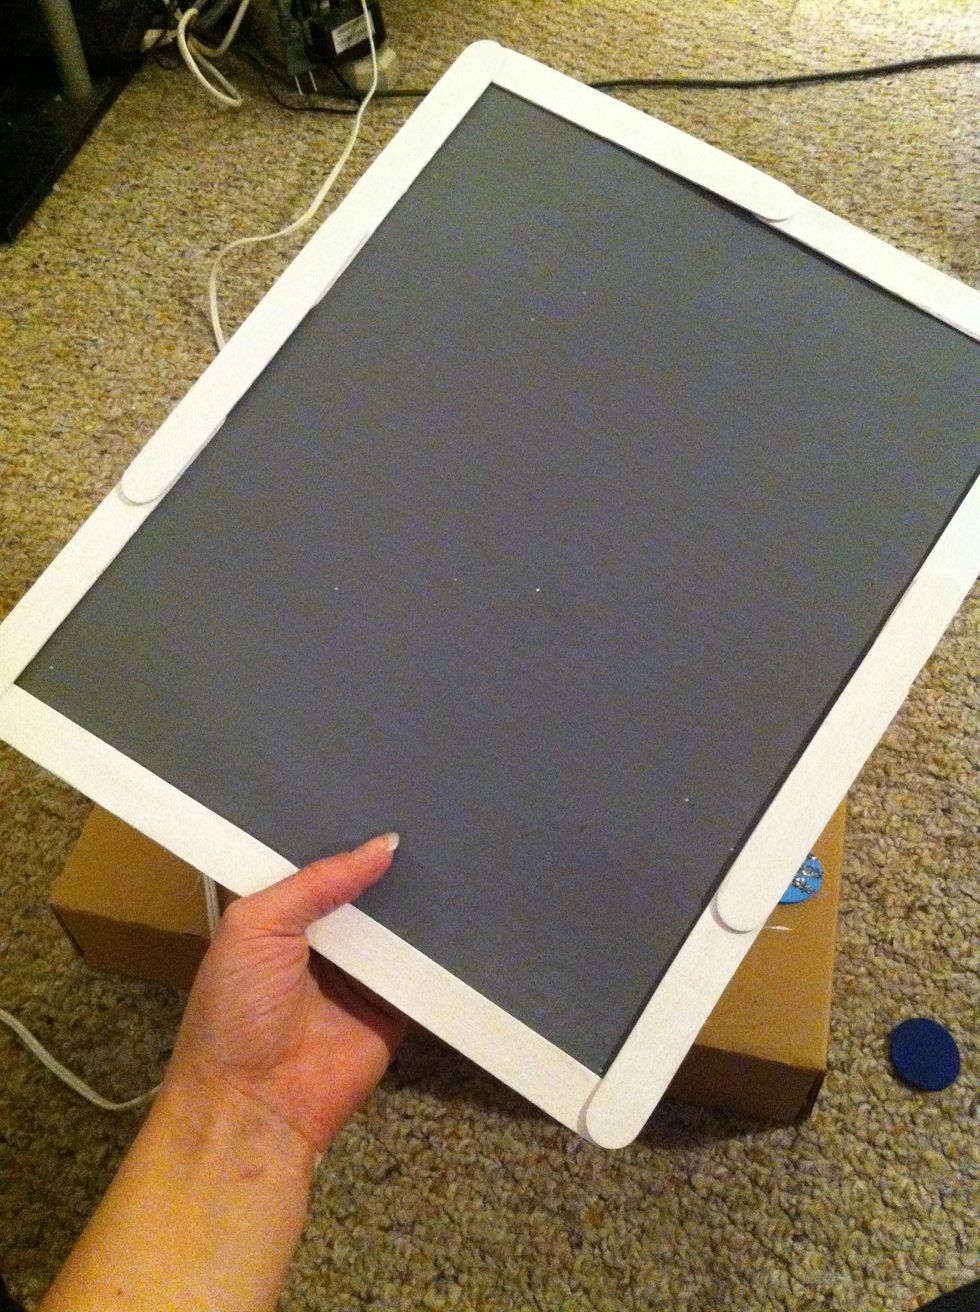
Hot glue your frame onto your piece of cardboard.
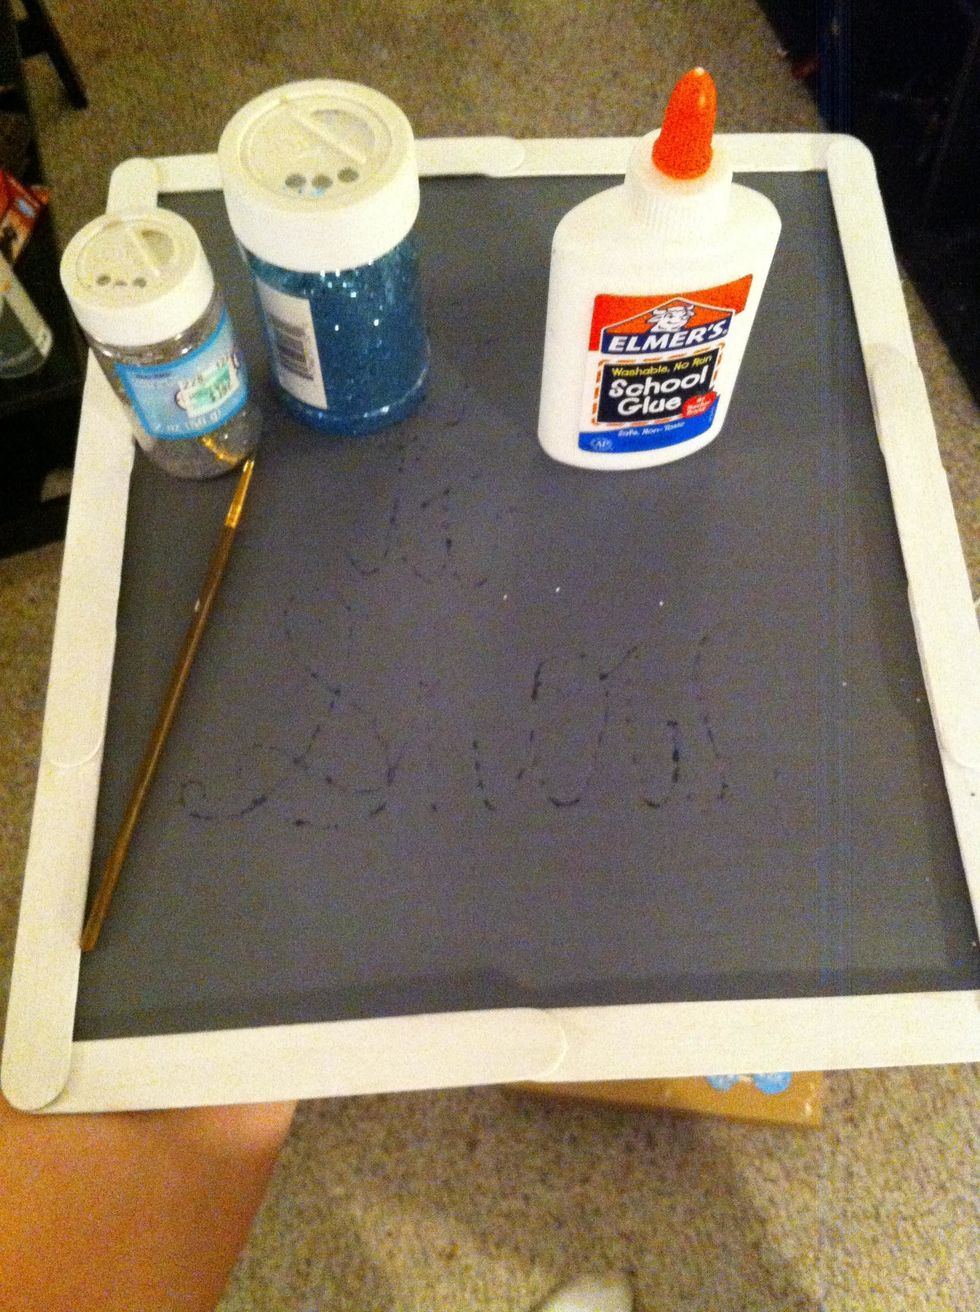
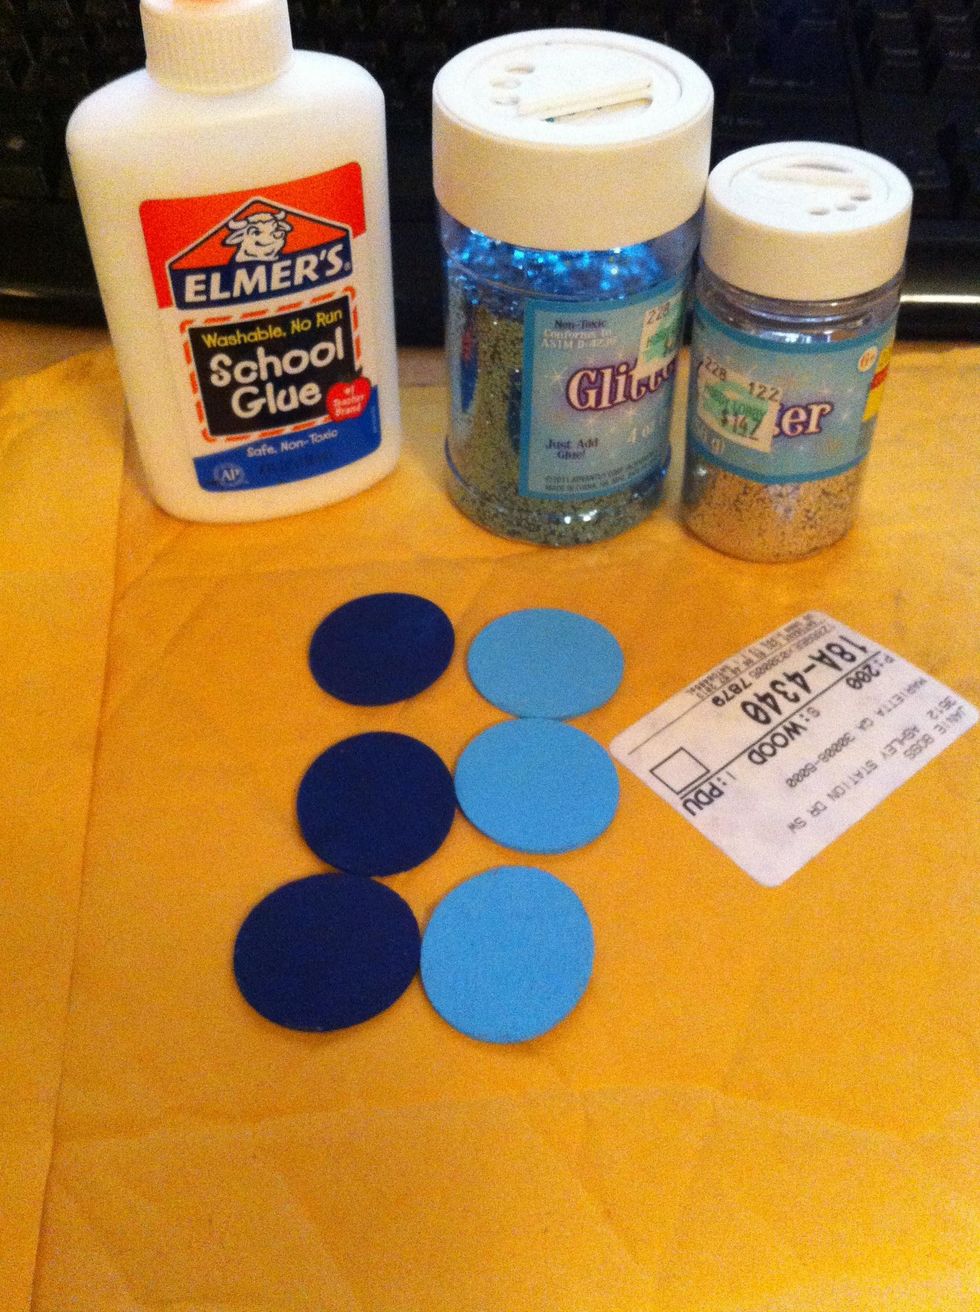
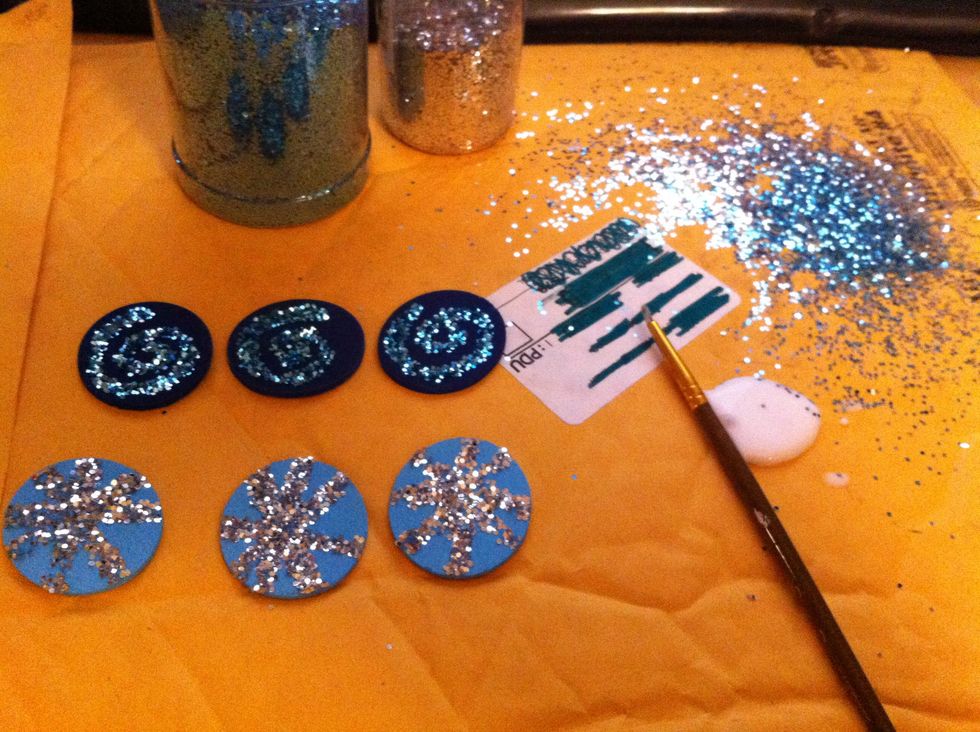
Time to write out your favorite holiday quote! As you can see, I wrote it out first before i used the Elmer's glue. Cover your quote in glitter of your choosing.

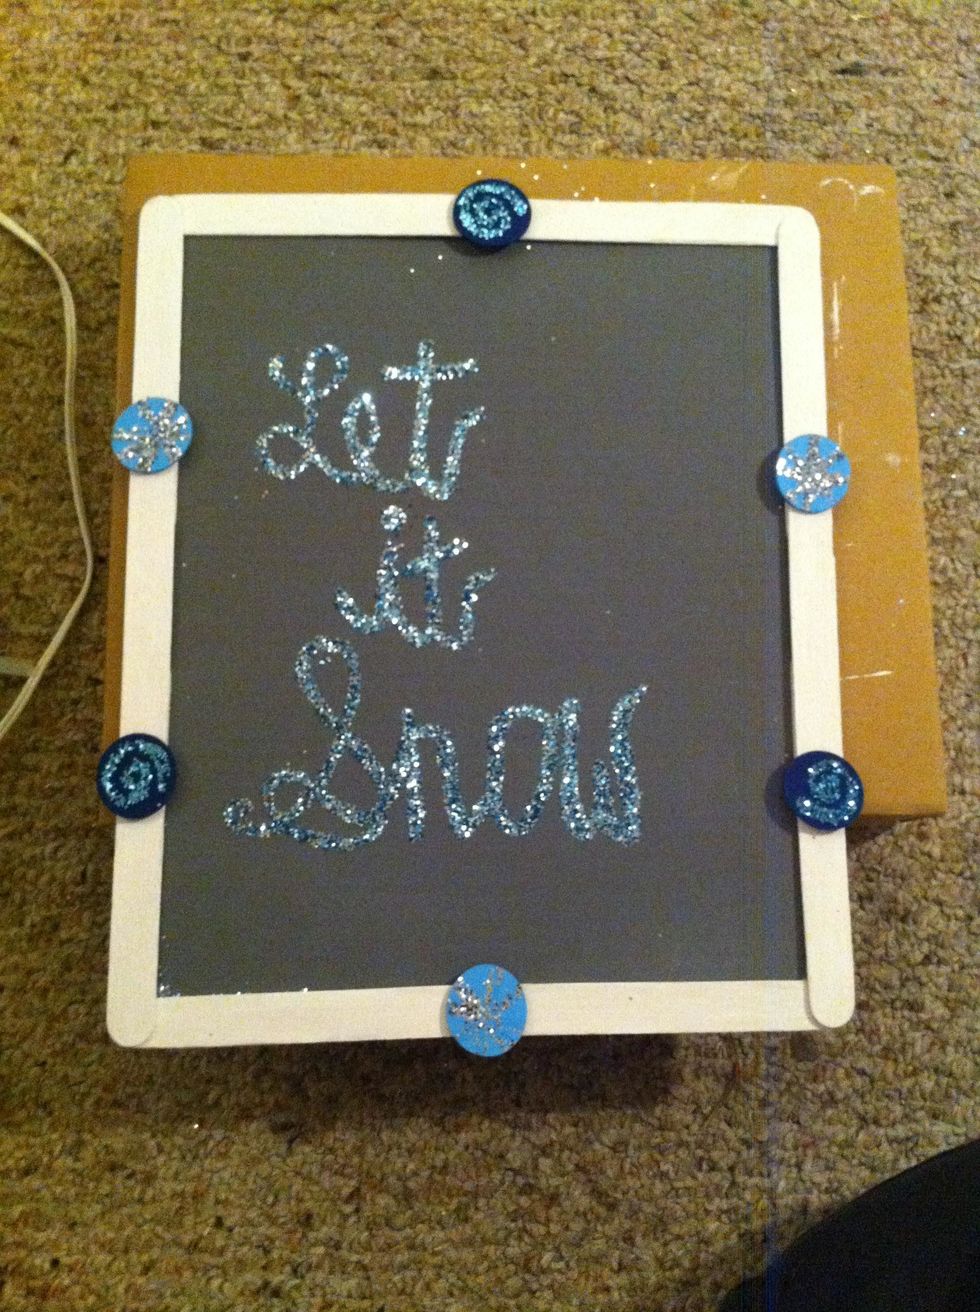
Start adding your wood shape accents to the frame of your sign.
Like this! :)
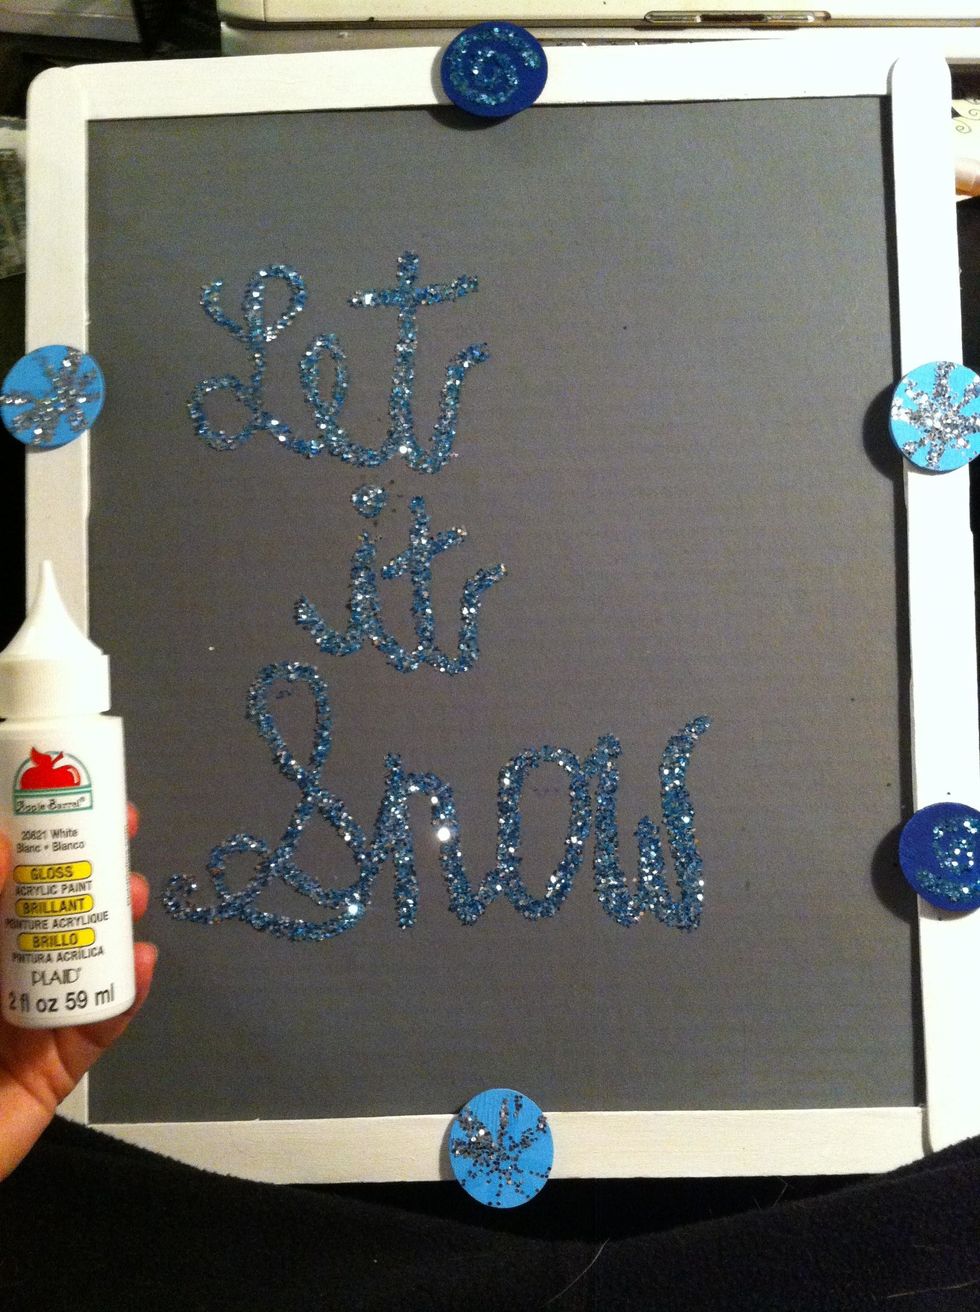
Finish off your sign with some painted pictures. Since I chose the phrase "Let it Snow", I decided to paint on some snowflakes.
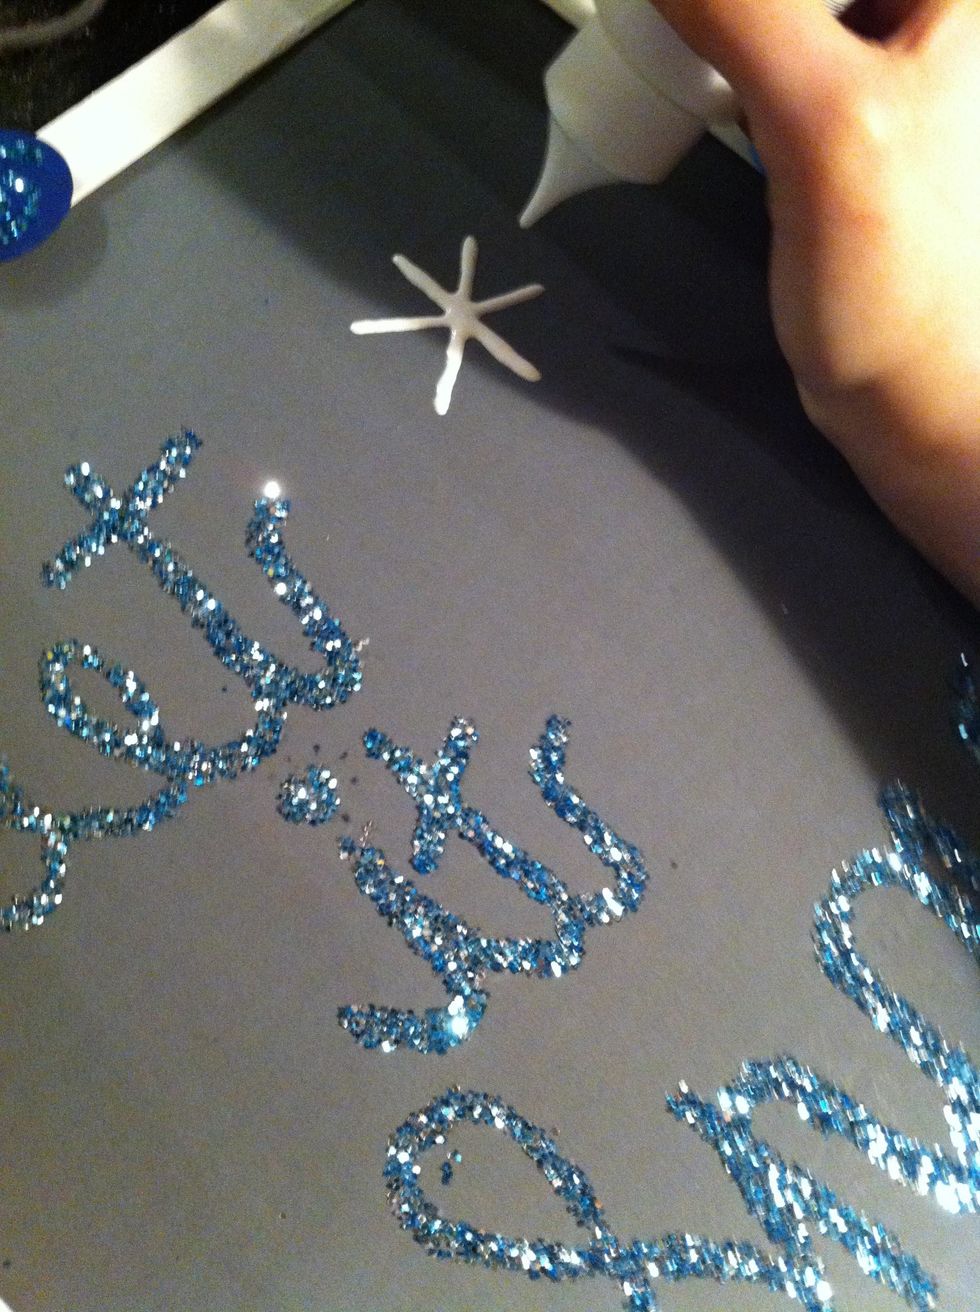
I found these awesome tips to put on paint bottles. Makes drawing with paint easier.
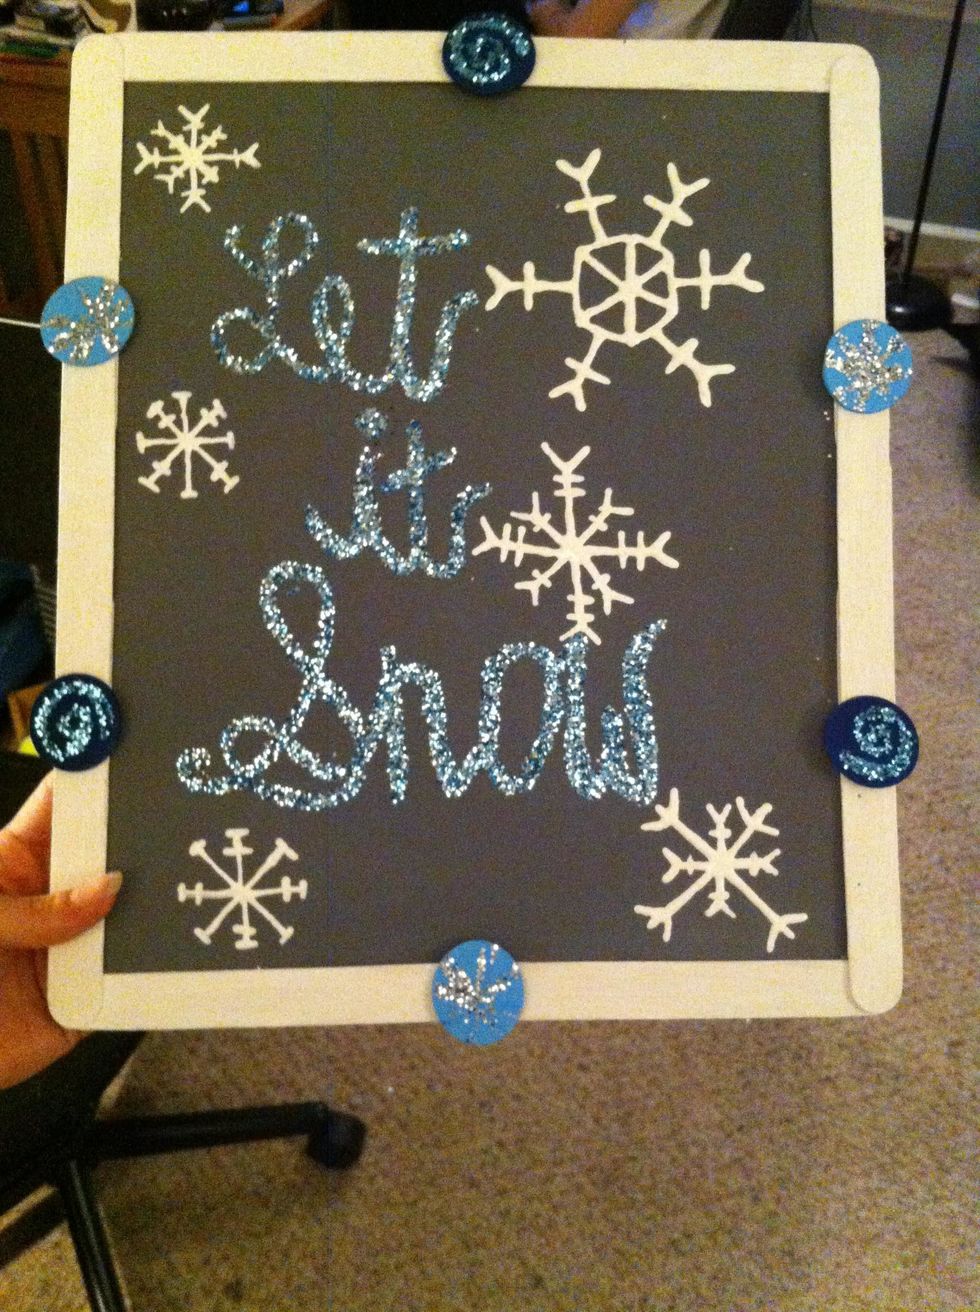
TA DA! :) Thanks for viewing! Enjoy! :)