The Conversation (0)
Sign Up
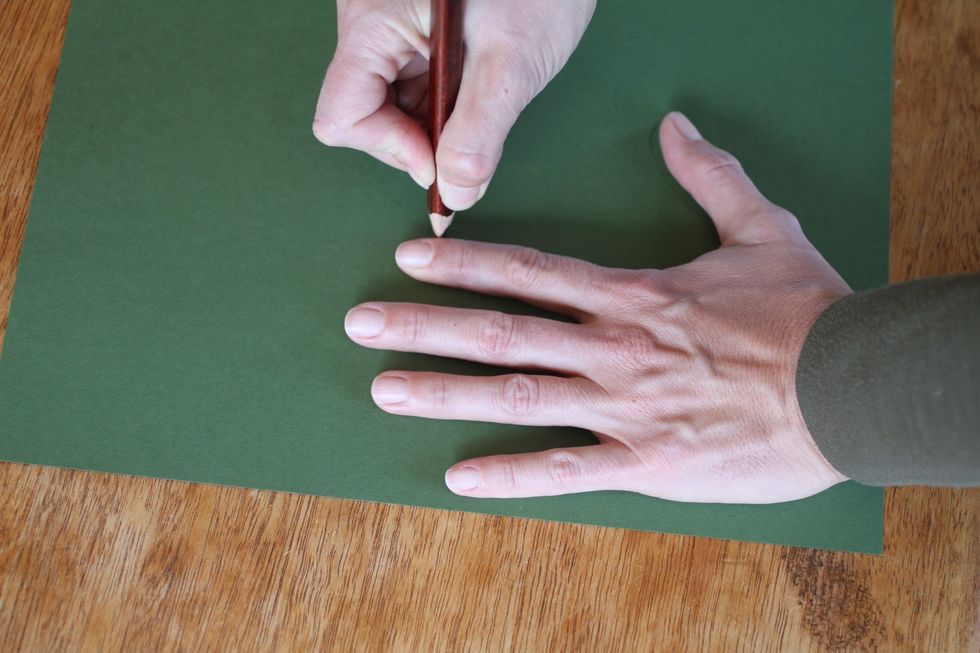
Place one hand flat on a piece of green paper and trace it with your pencil.
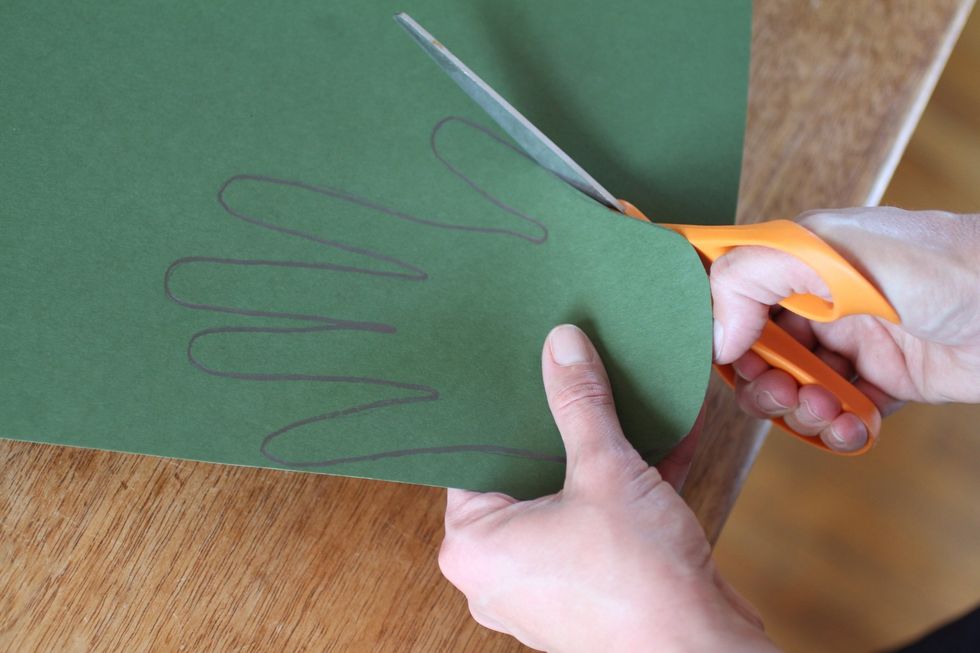
Cut out the outline of your hand and place it on another piece of green paper, tracing it with the pencil.
Cut that outline out and repeat the process until you have 12 green handprints.

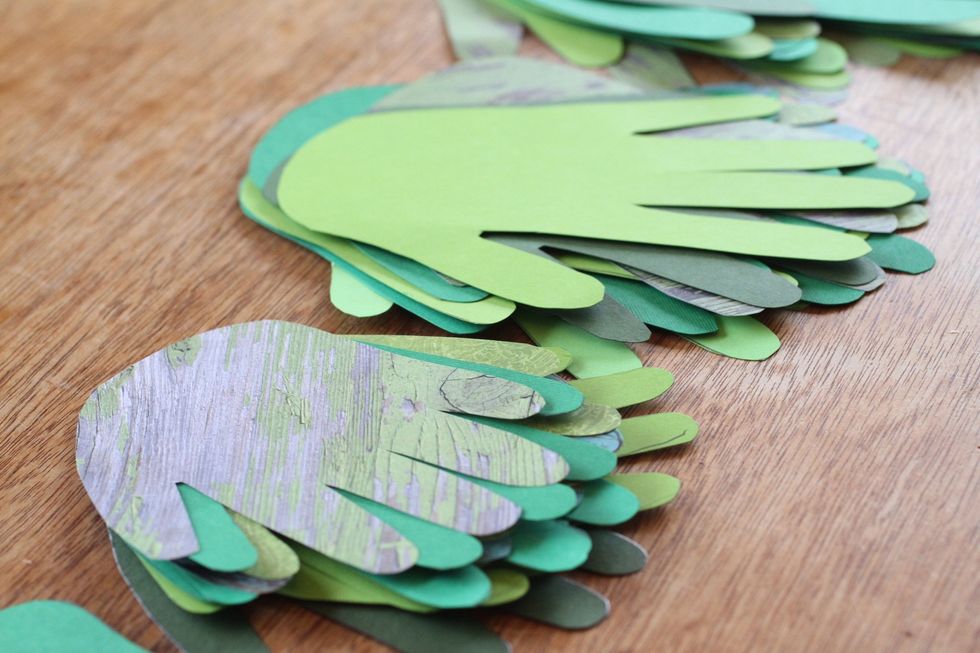
Repeat this process with other people's hands, such as your children's — using different hues of green — to add texture and meaning to your wreath.
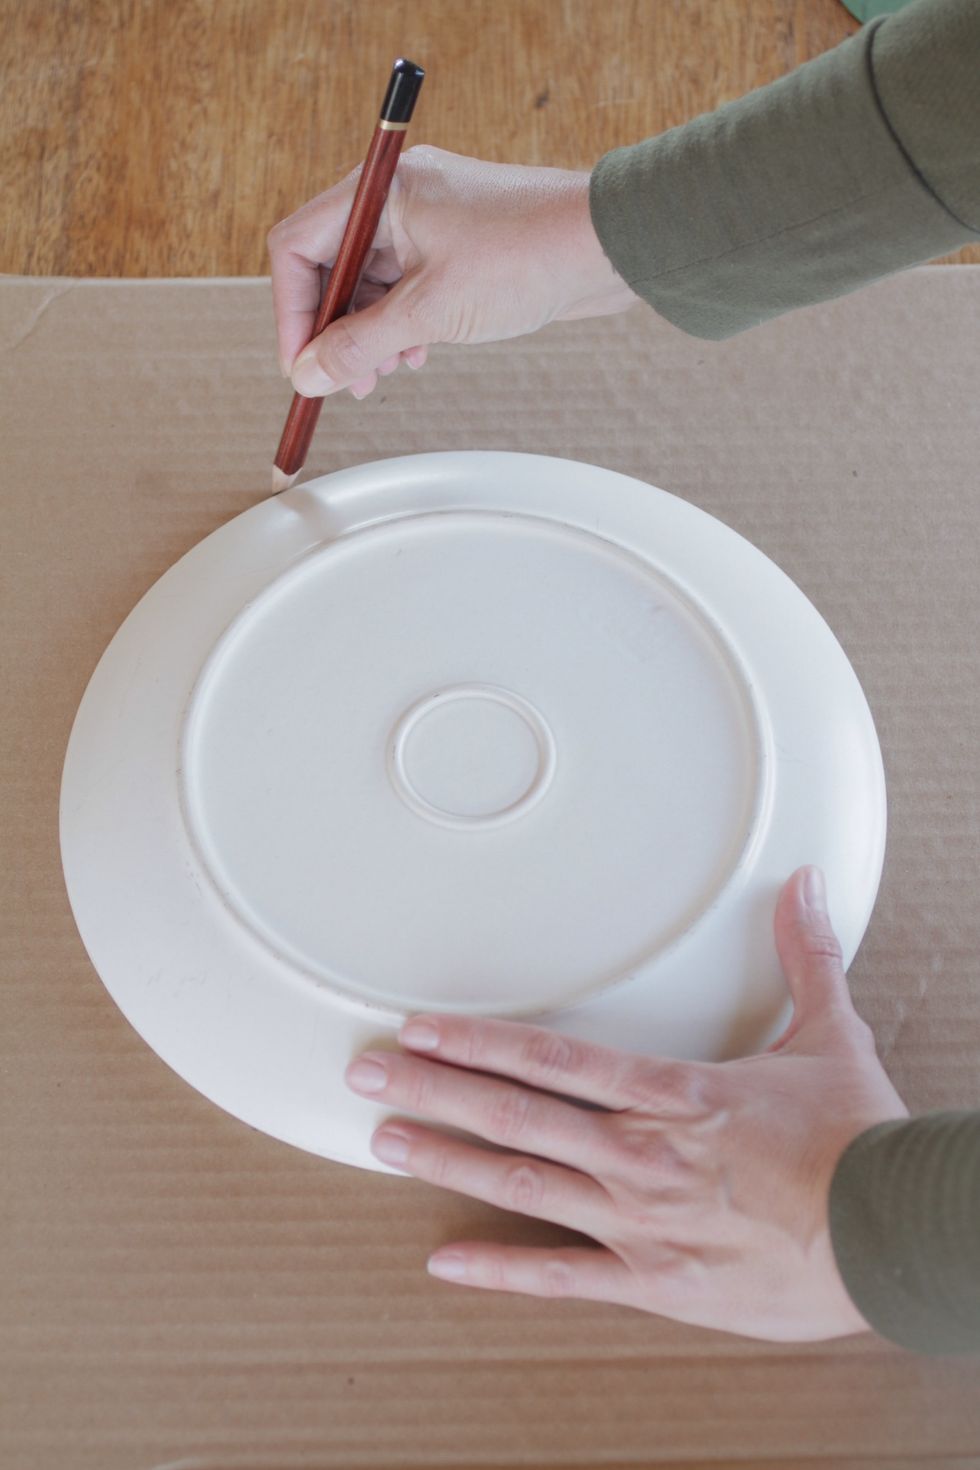
Place dinner plate upside down on the cardboard, and trace the edge of it with a pencil, leaving you with a large circle. (Or, use your trusty compass.)
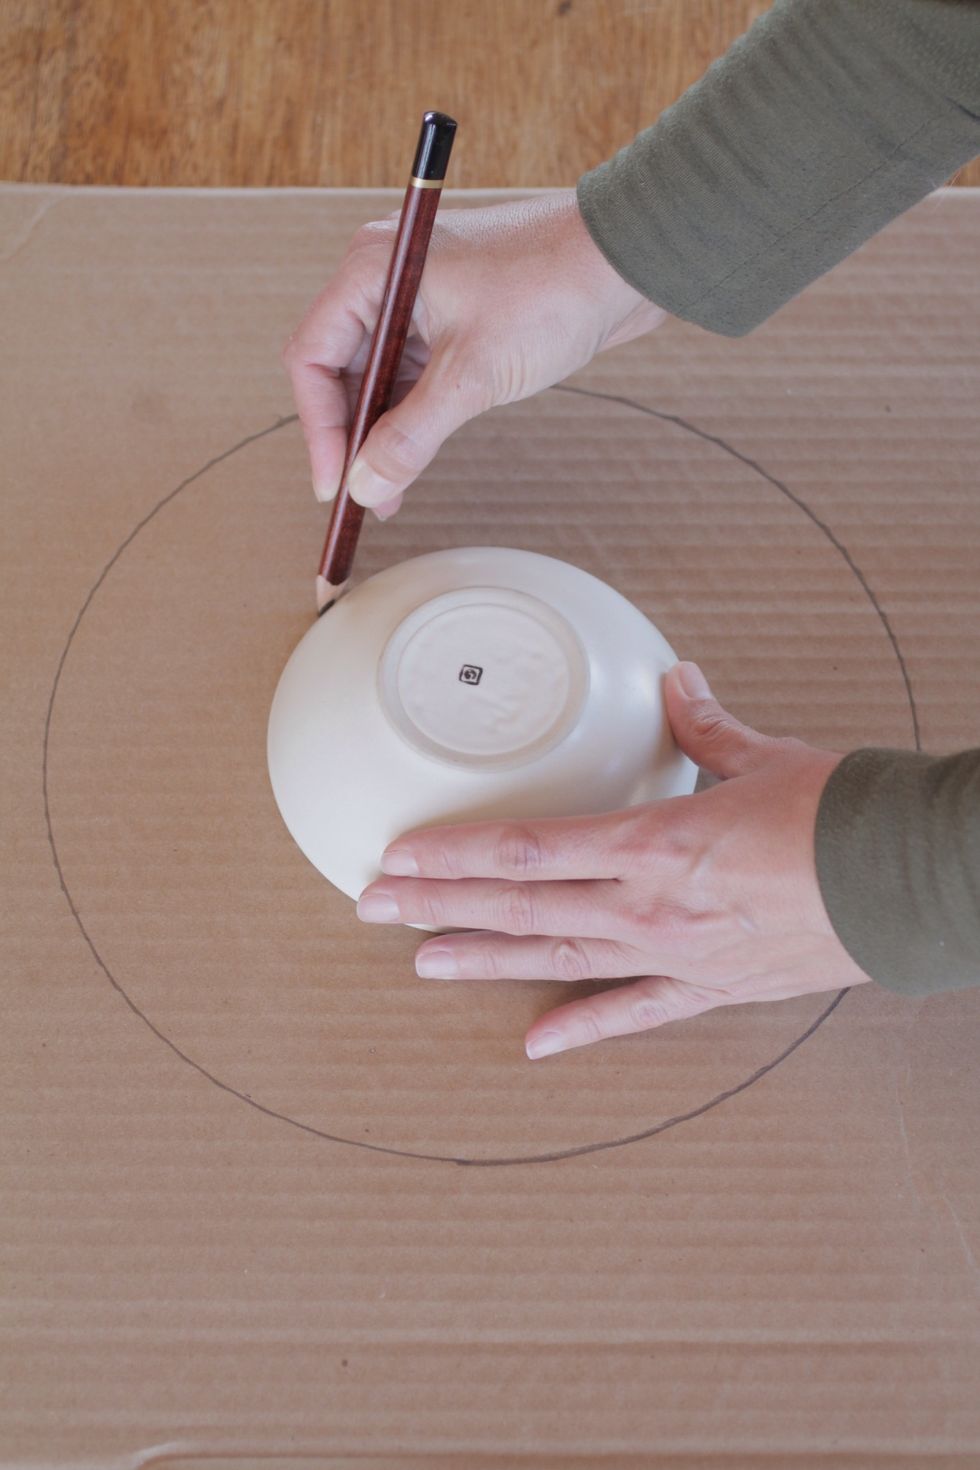
Center the small bowl in the circle you just drew, and trace a circle around the bowl.
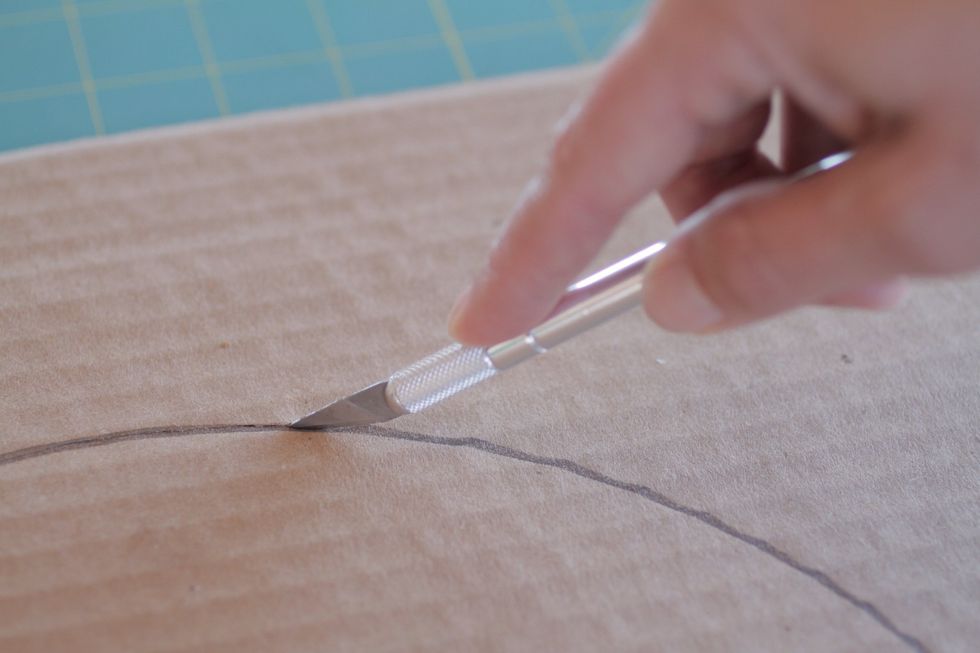
Cut out the larger circle with the exacto knife or scissors. Be sure to protect whatever surface you are working on.
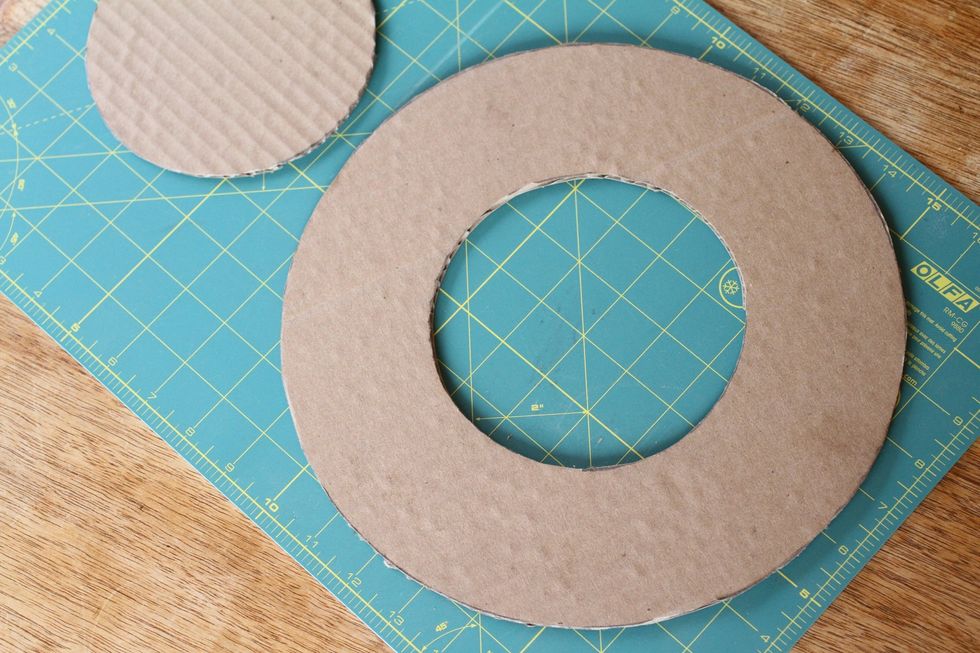
Cut out the smaller circle, leaving you with a doughnut shaped piece of cardboard about two inches wide all the way around. This will be the back of your wreath.
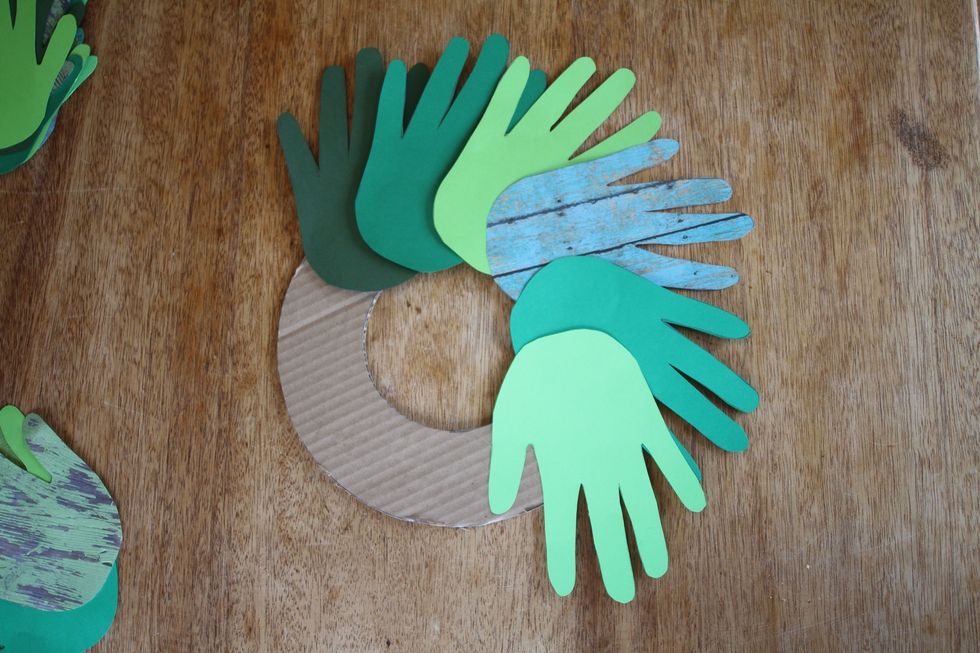
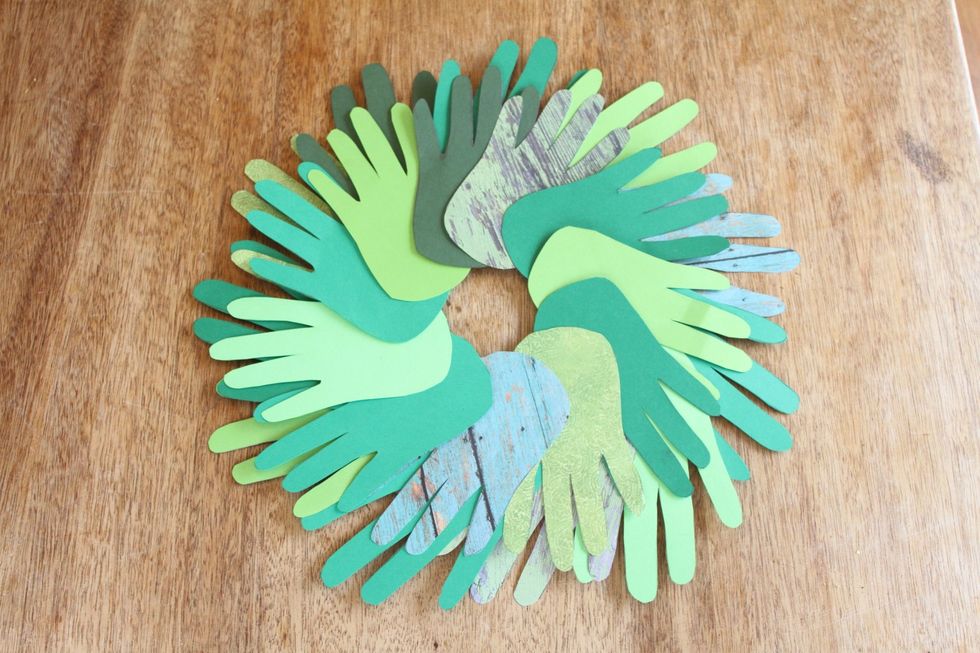
Place handprints, one overlapping another, on the doughnut, w/ the heel of the hand covering the cardboard & fingers fanning outward to the edges. You can angle them slightly, or leave them straight.
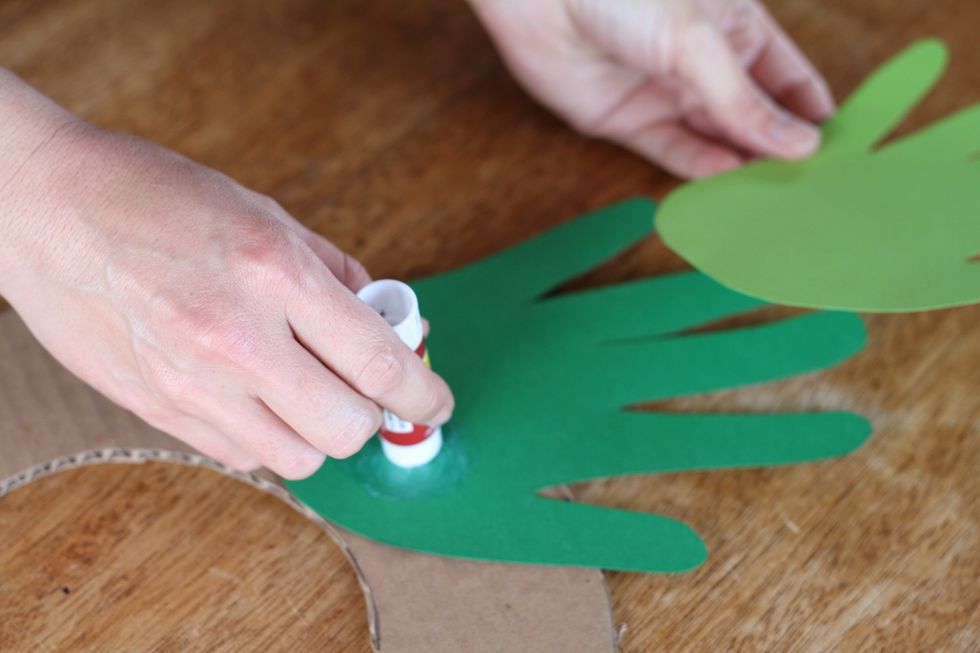
When you've arranged your handprints the way you like them, glue them one at a time onto the cardboard.
If you have a second or third set of handprints, repeat the process, making sure the largest set of hands is in the back and the smallest set in in the front.
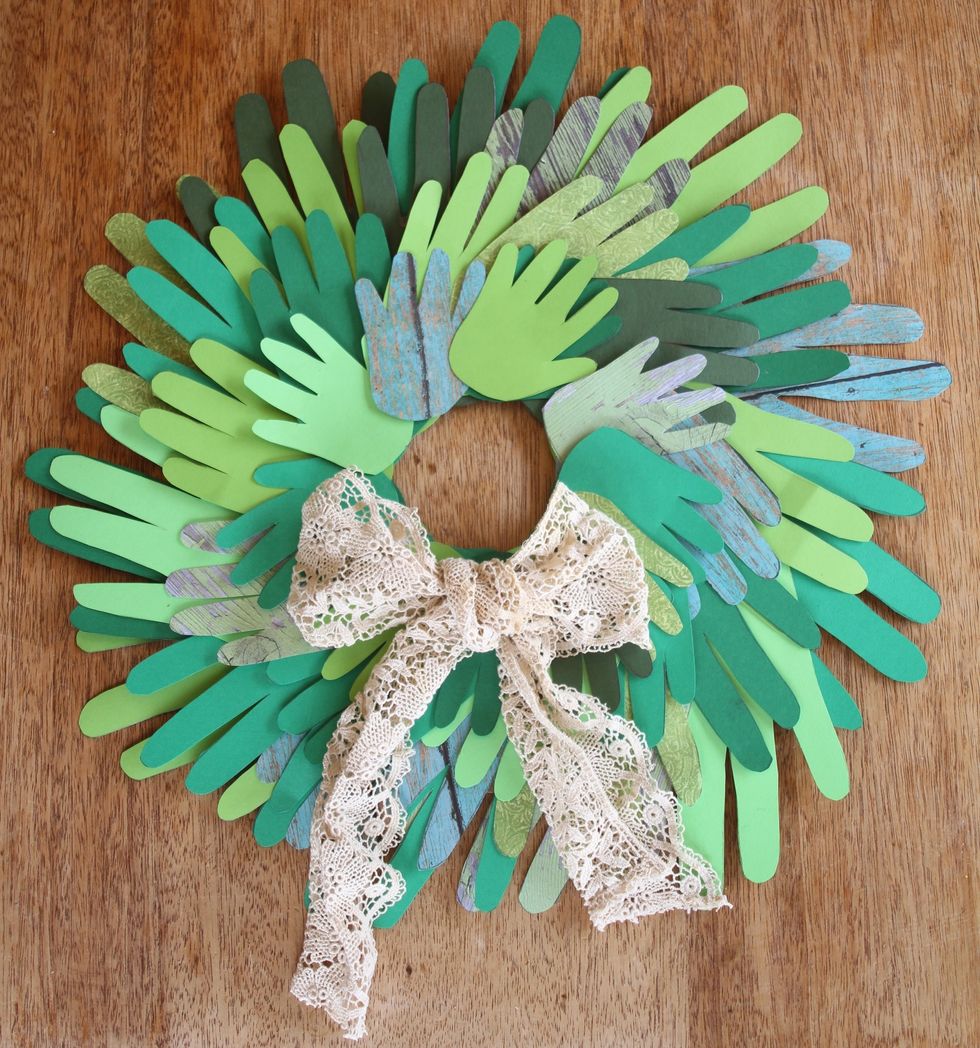
When you have glued all of the hands, adorn with a tea stained ribbon, paper berries, glitter, or really anything jazzy you have in your craft arsenal.

For more tips and guides, check out www.theoldschool.com.