The Conversation (0)
Sign Up
Since it is not just a bookshelf, but also a cat tree, we had different hexagon heights and depths. We had 3 small hexagons (approx.33cm or 13” high) and 4 large hexagons (49cm or 19.3”) high.
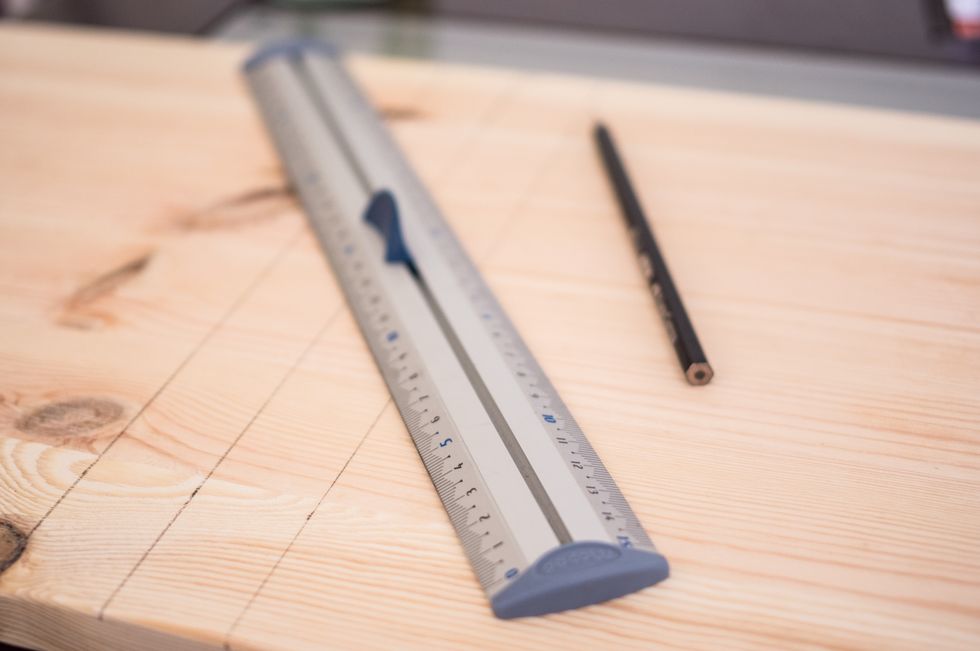
Measure and mark off 20cm (7.9") for the small hexagons and 30 cm (11.8") for the large ones. I have marked 3cm(1.18") from each side of the main line, so that it is easier to saw the straight line
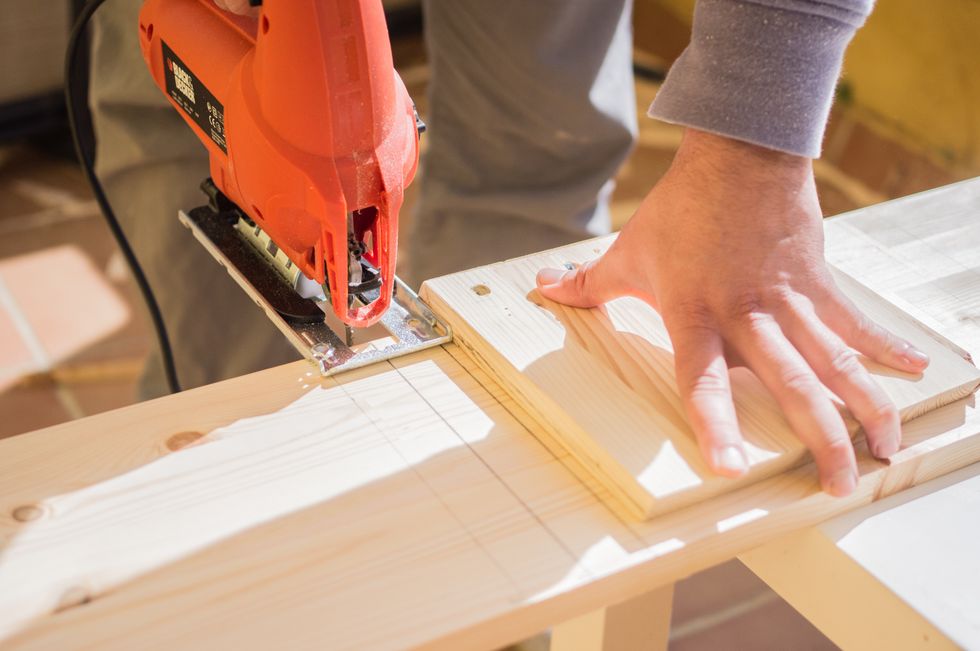
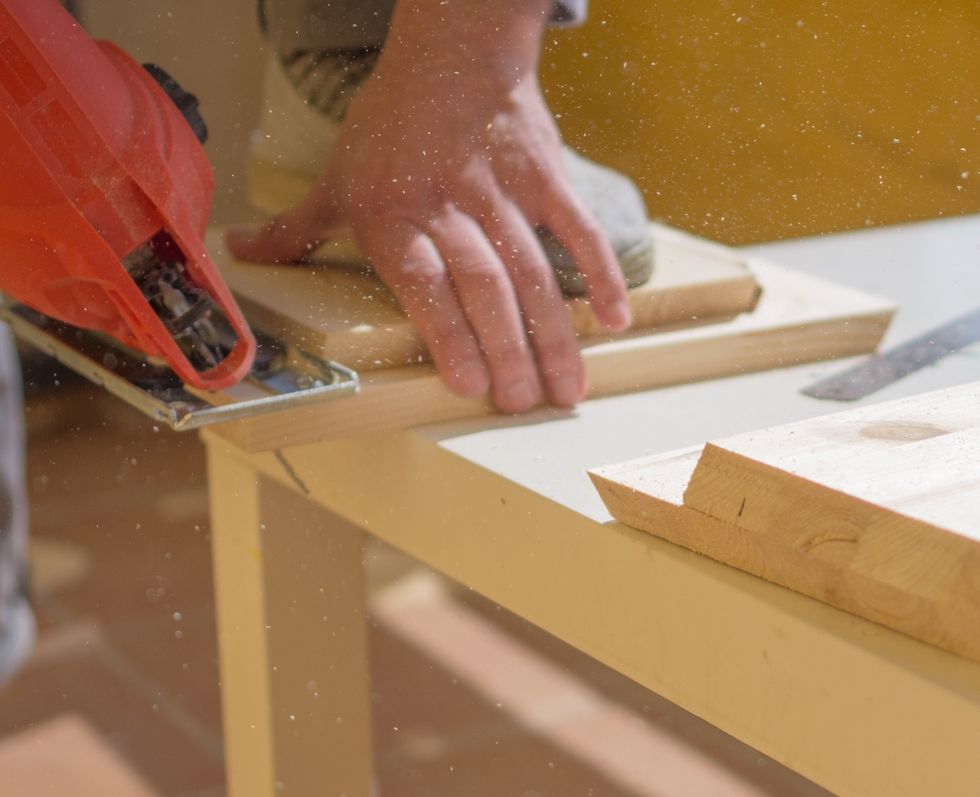
Next, saw the necessary amount of pieces. In our case we had *12 pieces 20cmx20cm (7.9”x7.9”) for 2 small and narrow hexagons *6 pieces 20cmx25cm (7.9”x9.84”) for 1 small and medium-depth hexagon >>>
*12 pieces 30cm x 20cm (11.8” x 7.9”) for 2 large and narrow hexagons *12 pieces 30cm x 30cm (11.8” x 11.8”) for 2 large and wide hexagons *1 piece 97cm x 20cm for a side board for out kitty to climb
Now cut all the edges at a 30 degrees angle, so that every piece has a 60 degree angle left
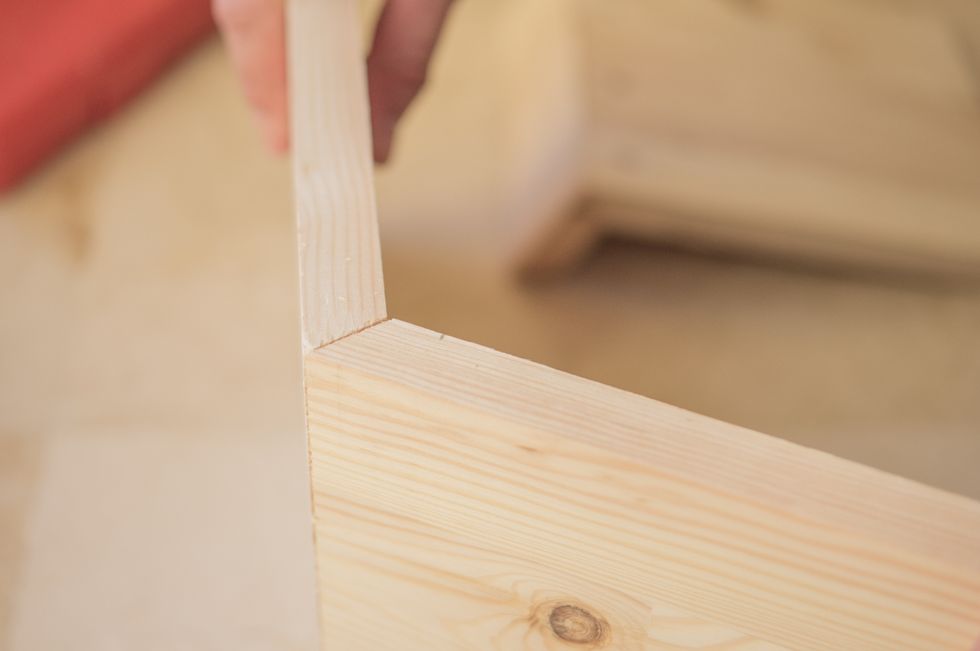
There are 2 ways how the hexagon sides can be put together.This is option 1.
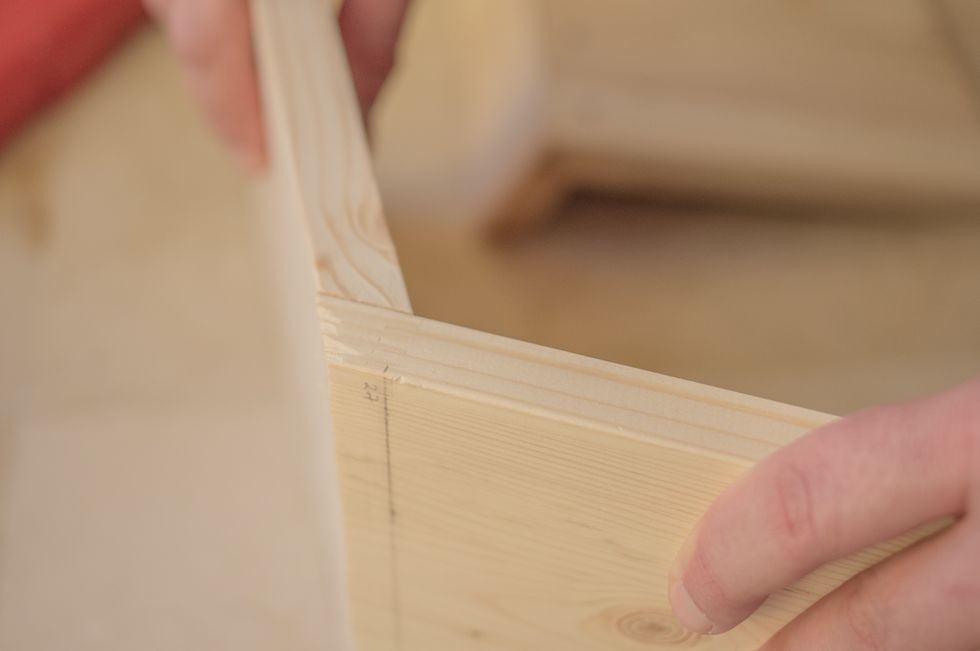
And this is option 2. We have chosen this one.
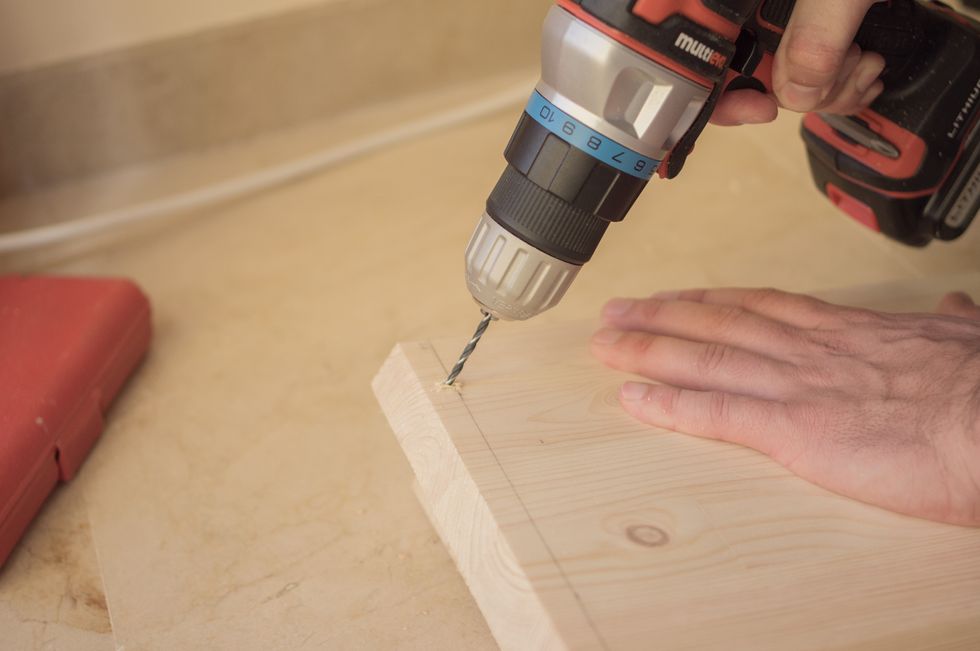
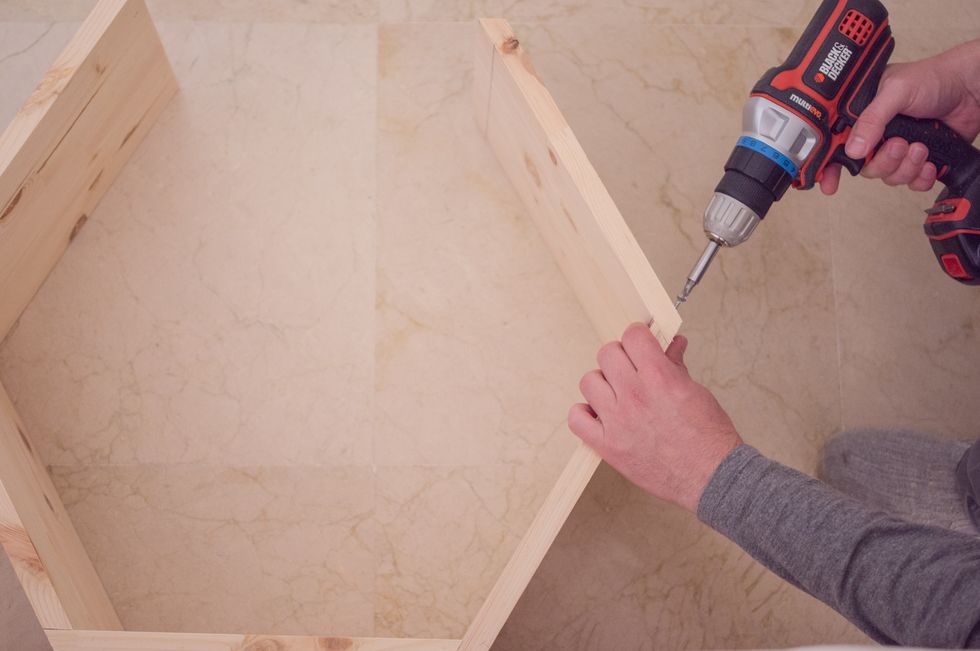
Drill 2 holes in each narrow piece, and 3 holes in the wide pieces
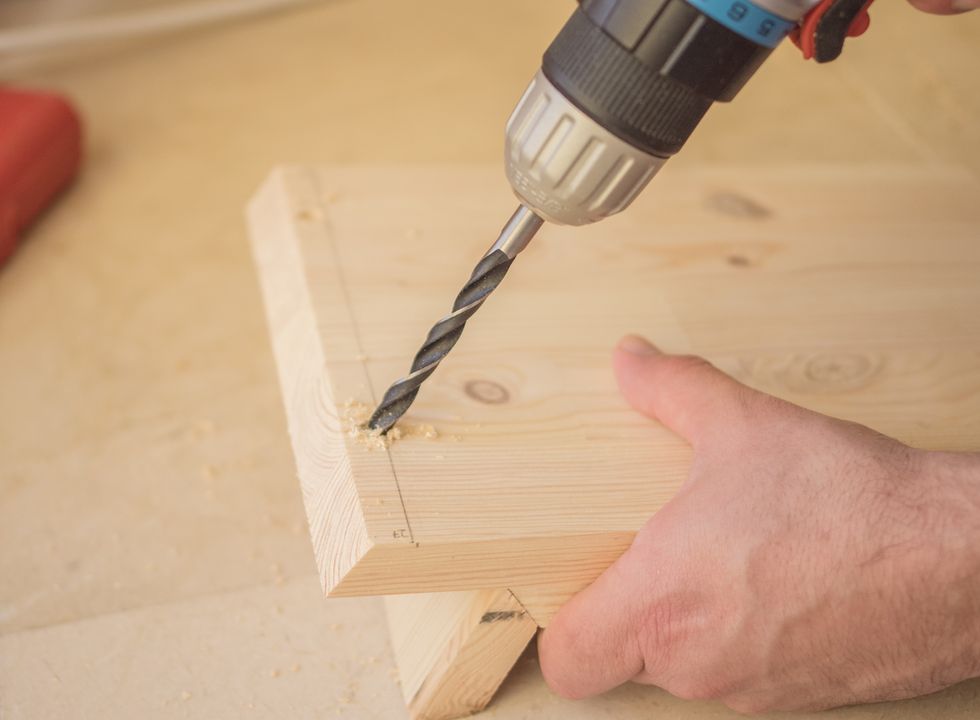
Slightly drill with a larger diameter; this will help to make screws less noticeable.
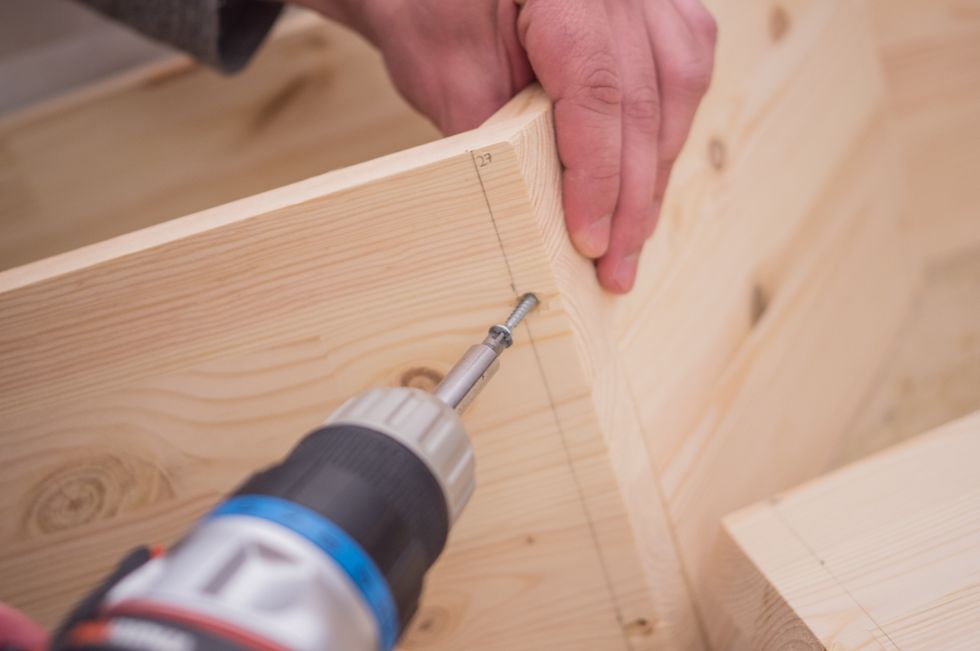
Screw the sides of hexagons together
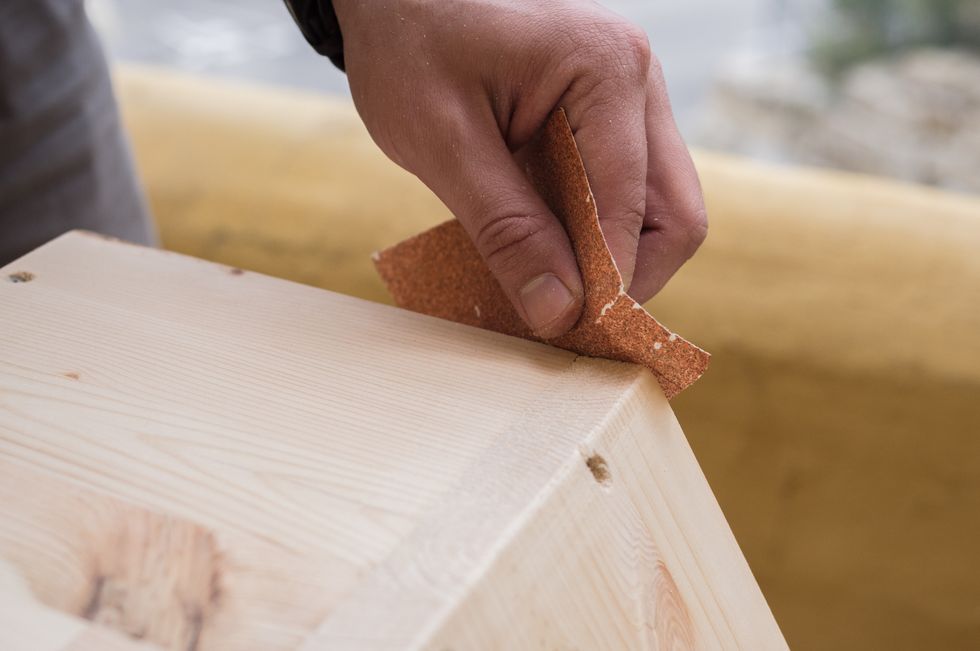
Rub down all the edges of the hexagons with some sandpaper until smooth
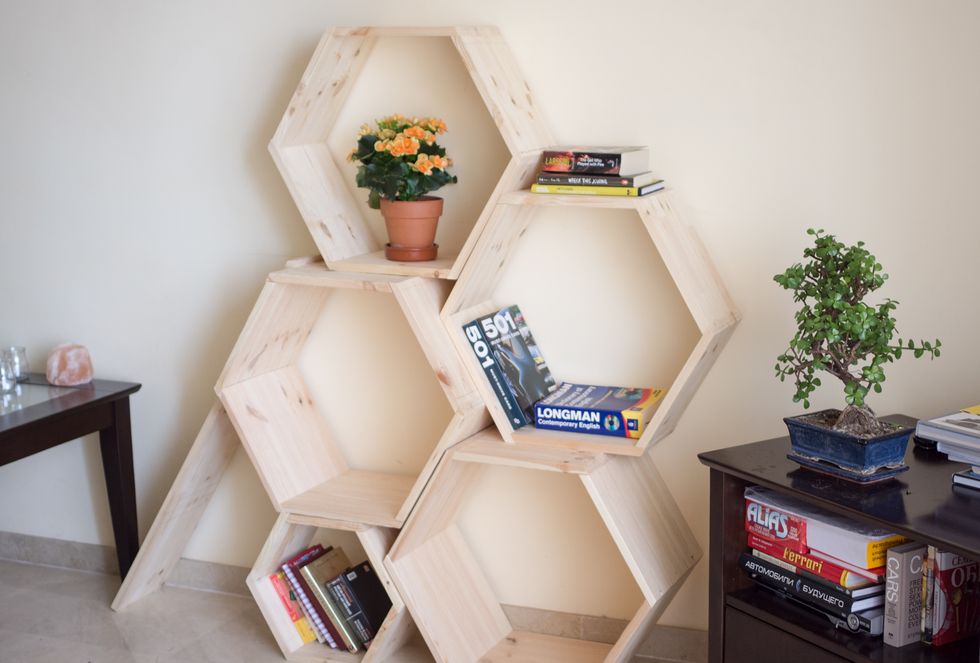
We then have put some hexagons together to get the idea how the shelf is going to look
If this is just a bookshelf you could stop here. The shelf is stable, and you don't need to screw all the hexagons together.You could then rearrange your shelf as you please, as often as you like.
But for the cat tree we screwed hexagons and also the side board together.

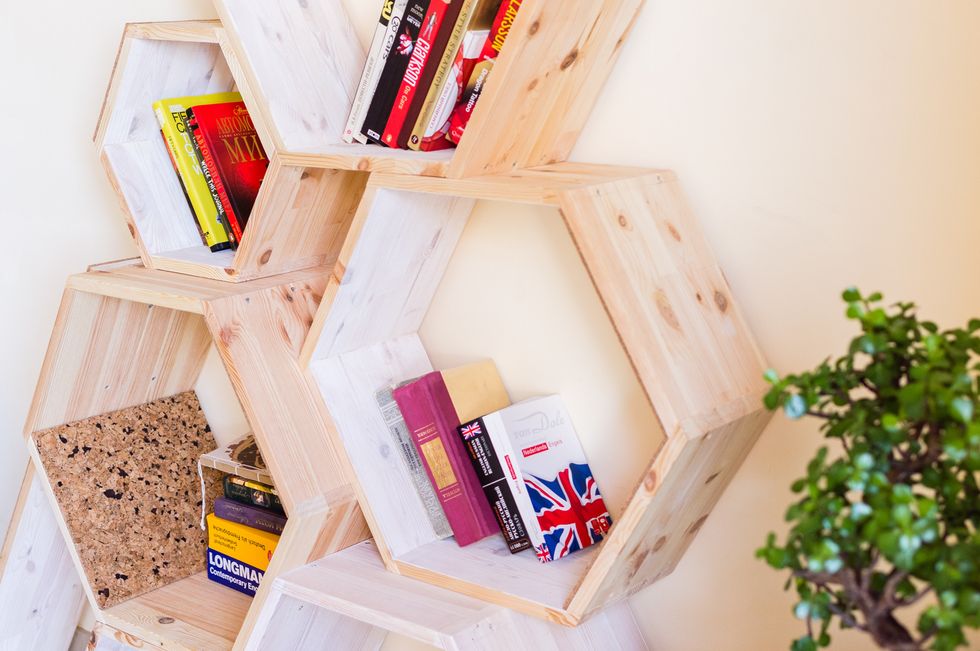
Furthermore, we have painted some hexagons (mostly inside) to add a little bit sophisticated touch to our shelf
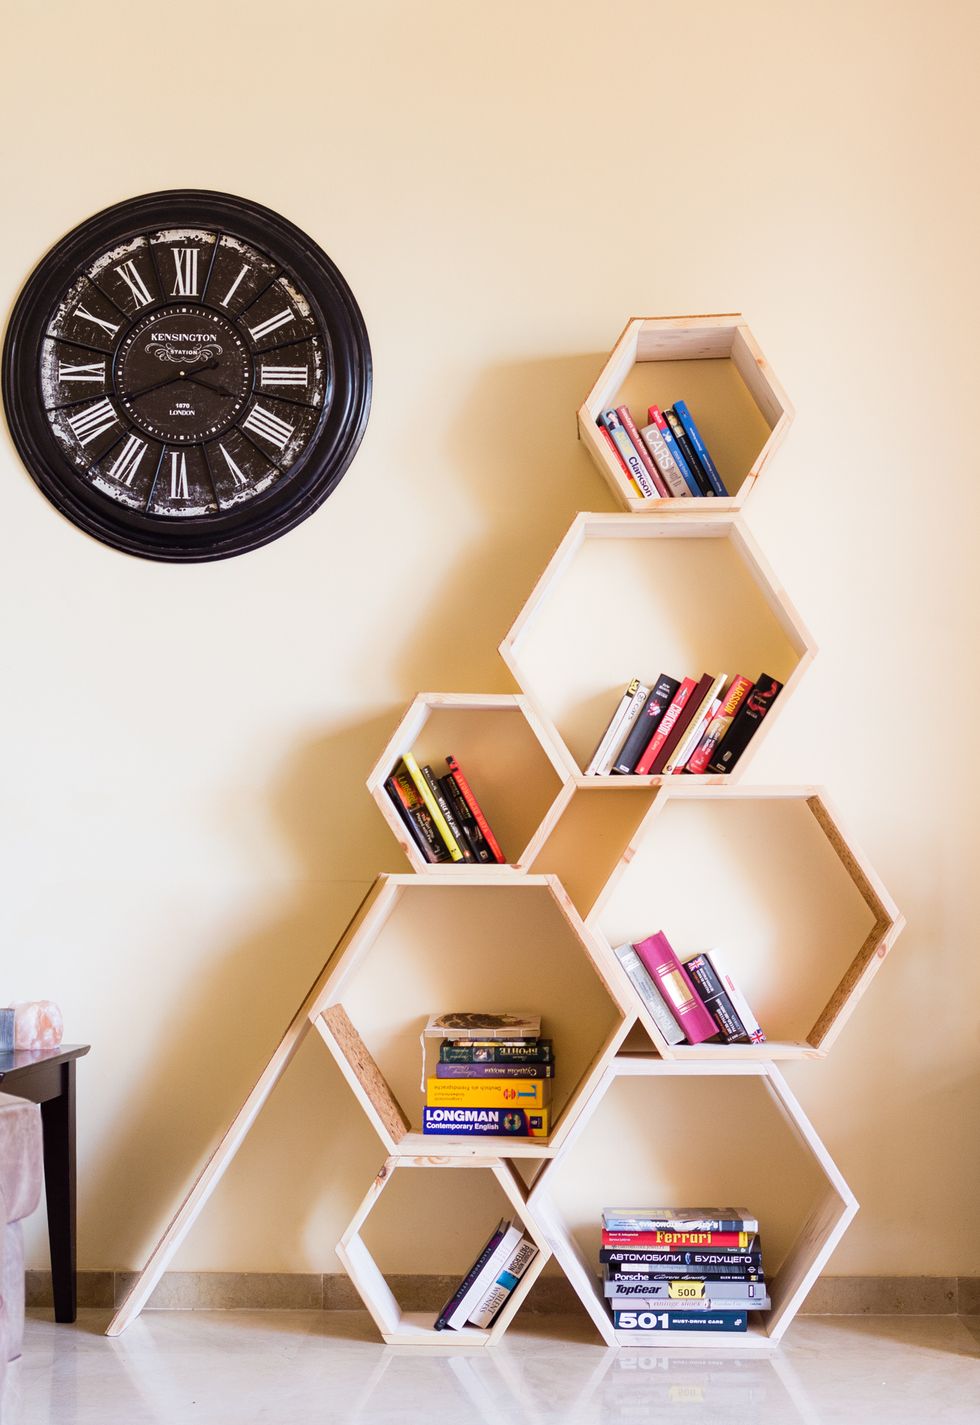
Final result
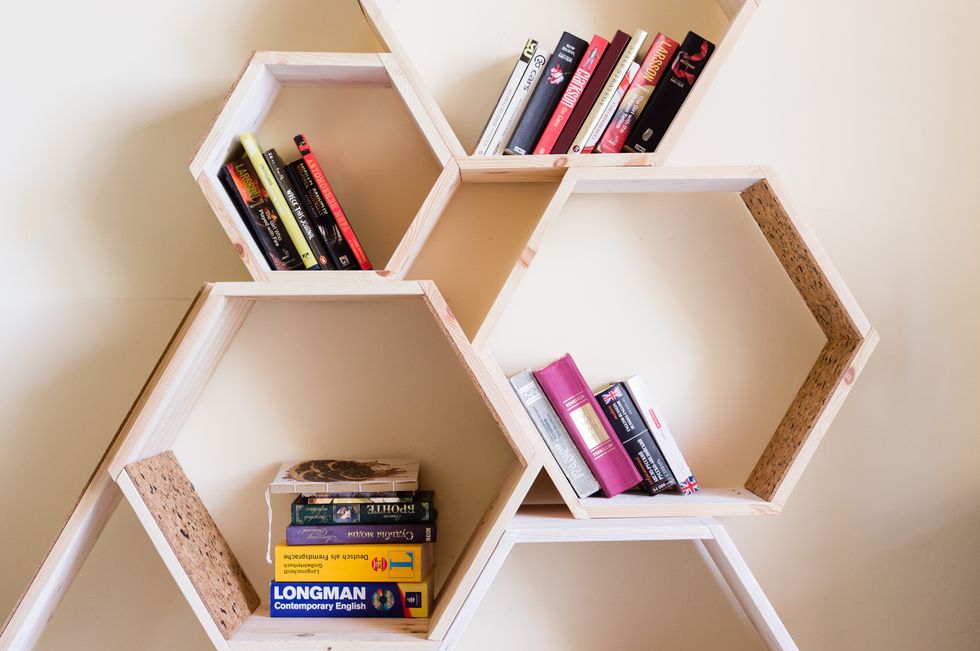
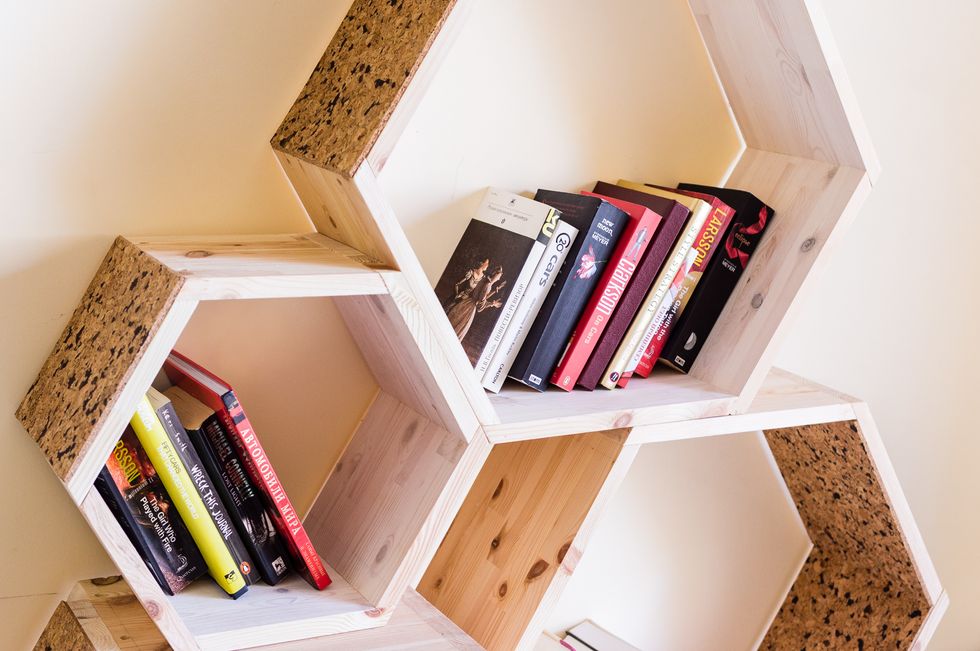
And for the cat owners, you could bring this one step further by adding cork sheets so that your buddy could climb and scratch
You can find full size photos in my blog