The Conversation (0)
Sign Up

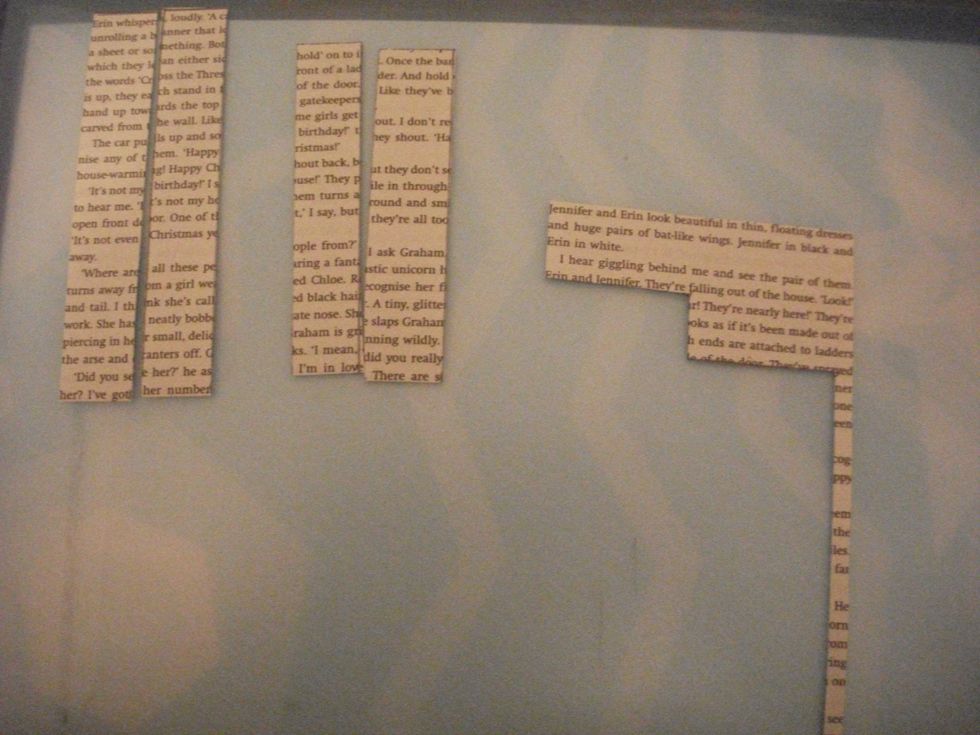
If you are ripping pages from a book I find that bending it back a lot really helps to rip them out easier. Do it so the spine practically doesn't exist anymore.
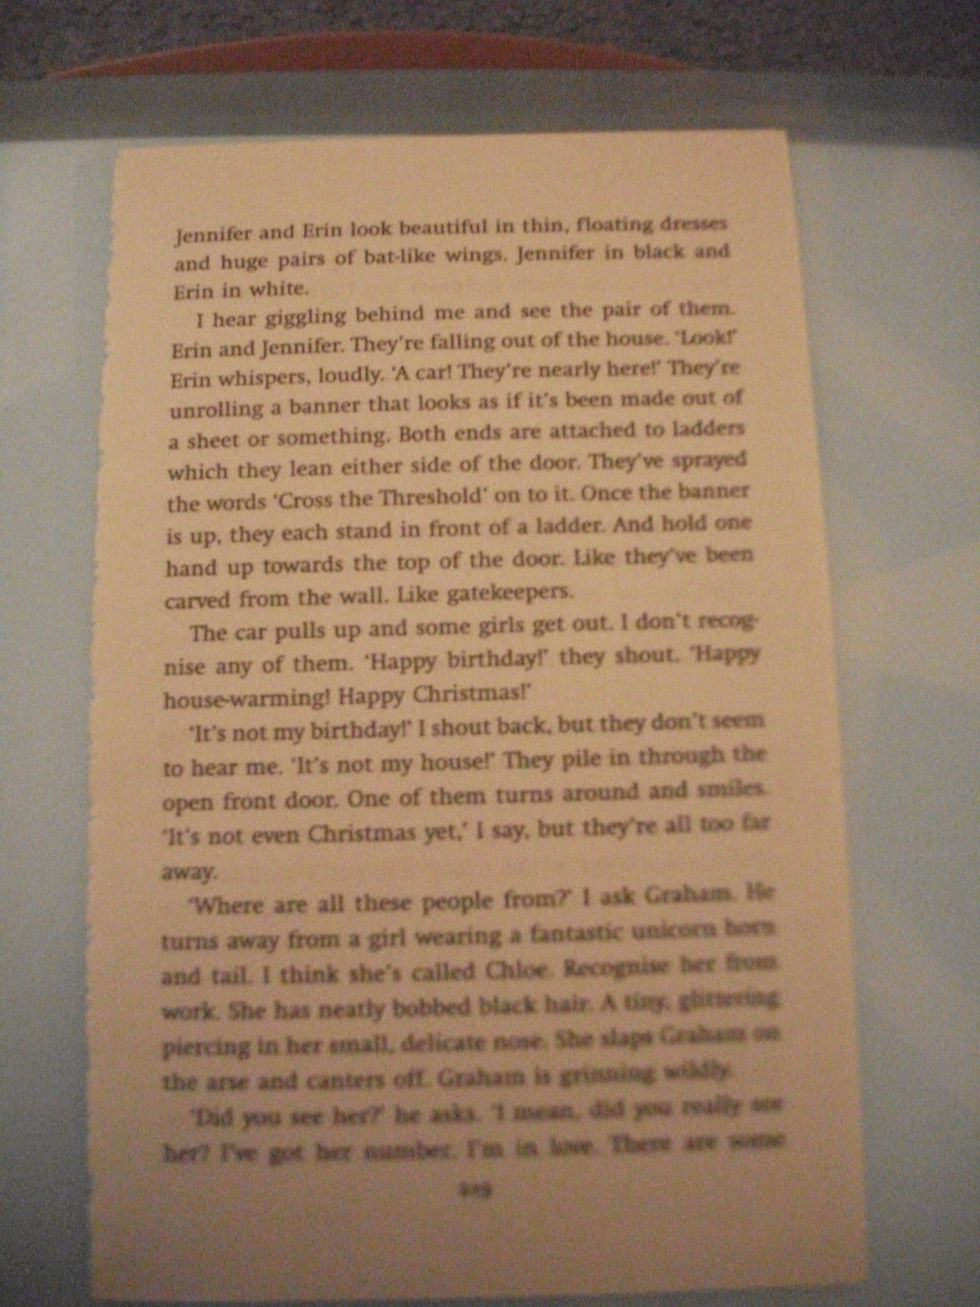
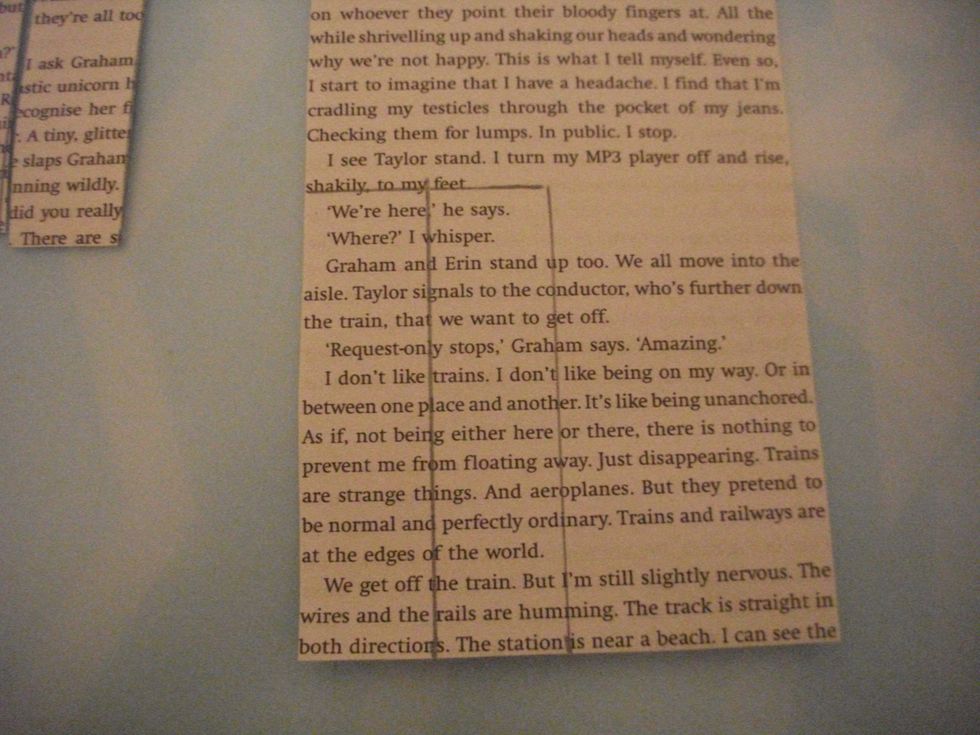
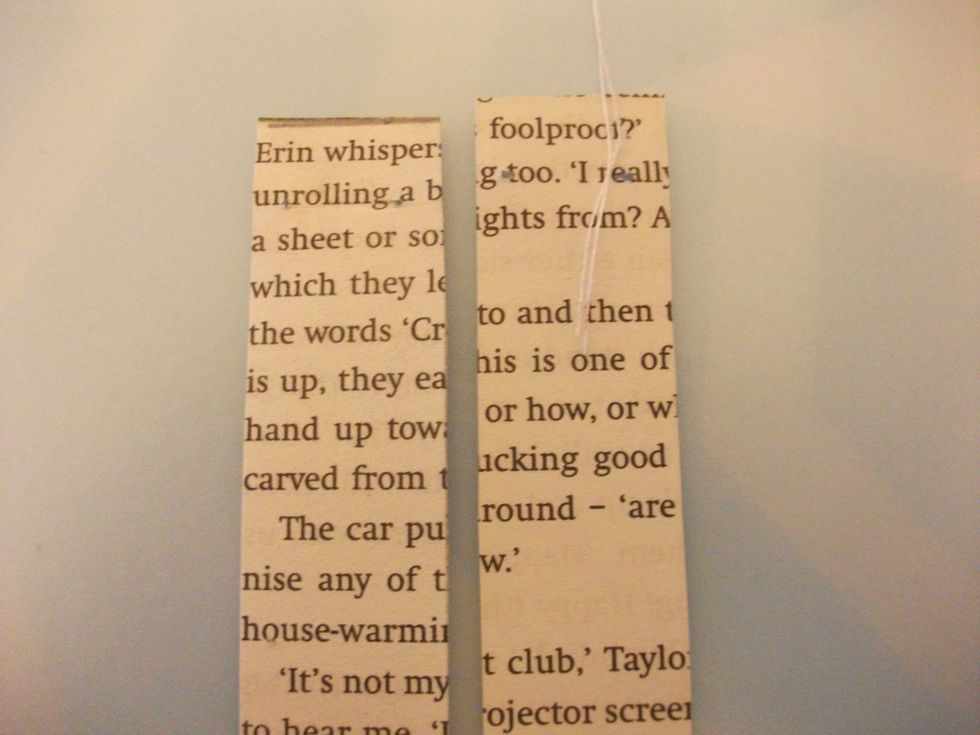
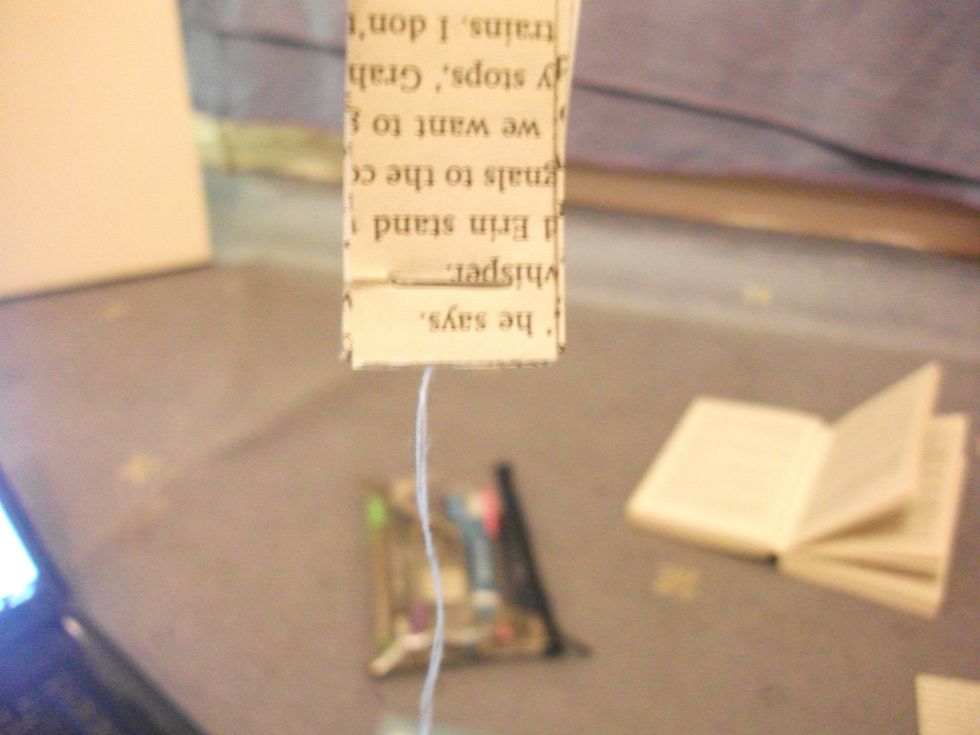
You have your page, you can choose to cut off the margins like I did. Or you could use a different type of paper.
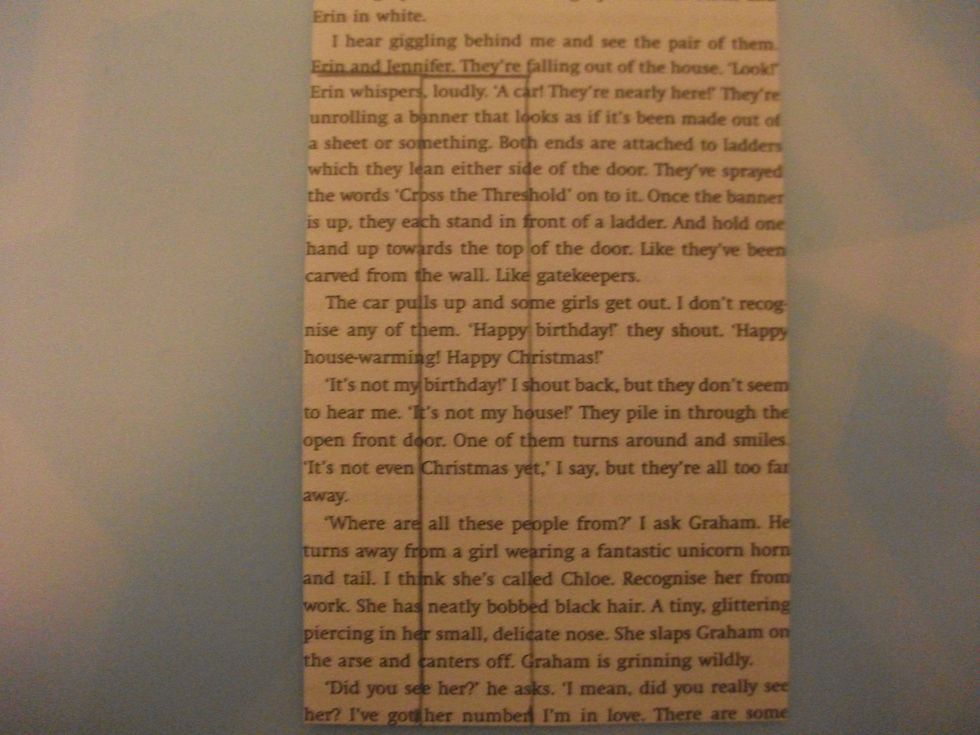
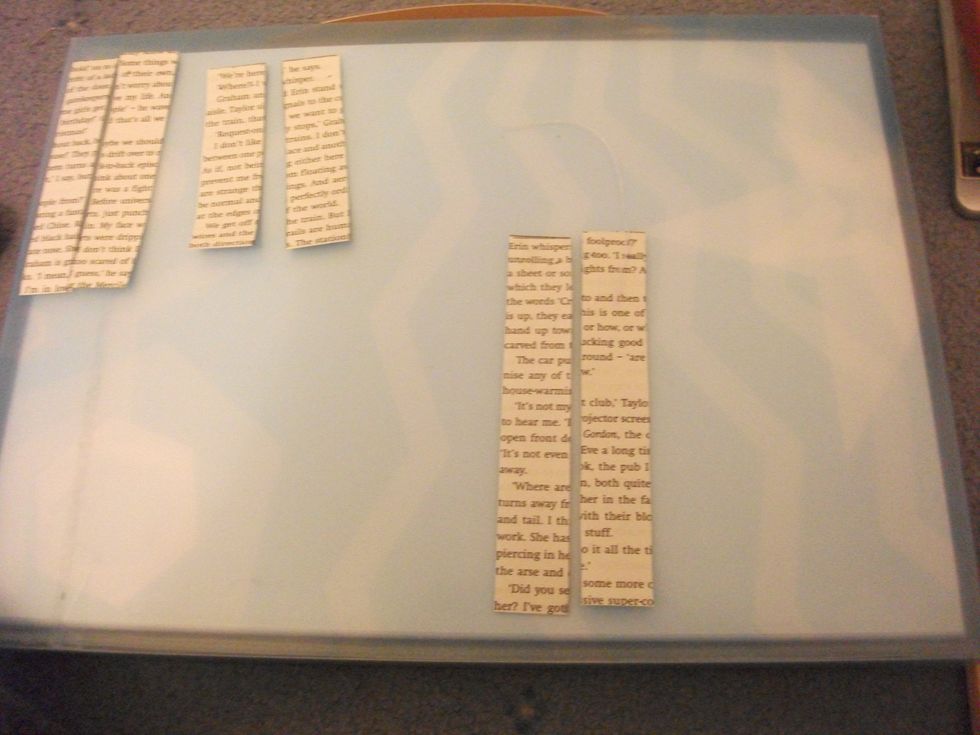
Take your ruler and pencil and draw two rectangles that are 2 cm wide and 12 cm long.
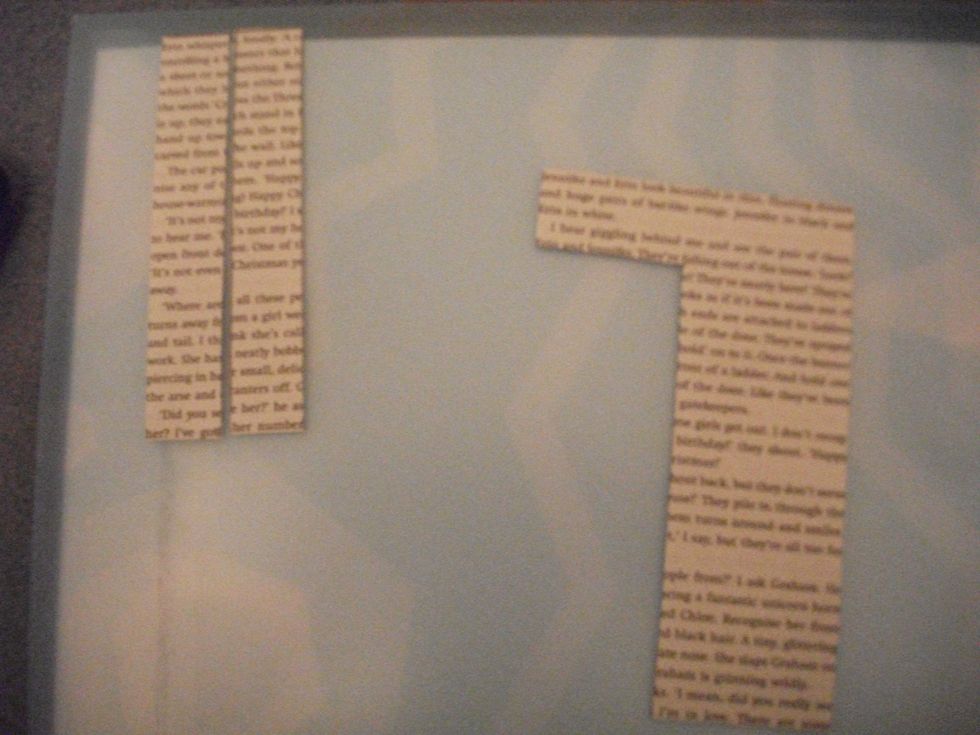
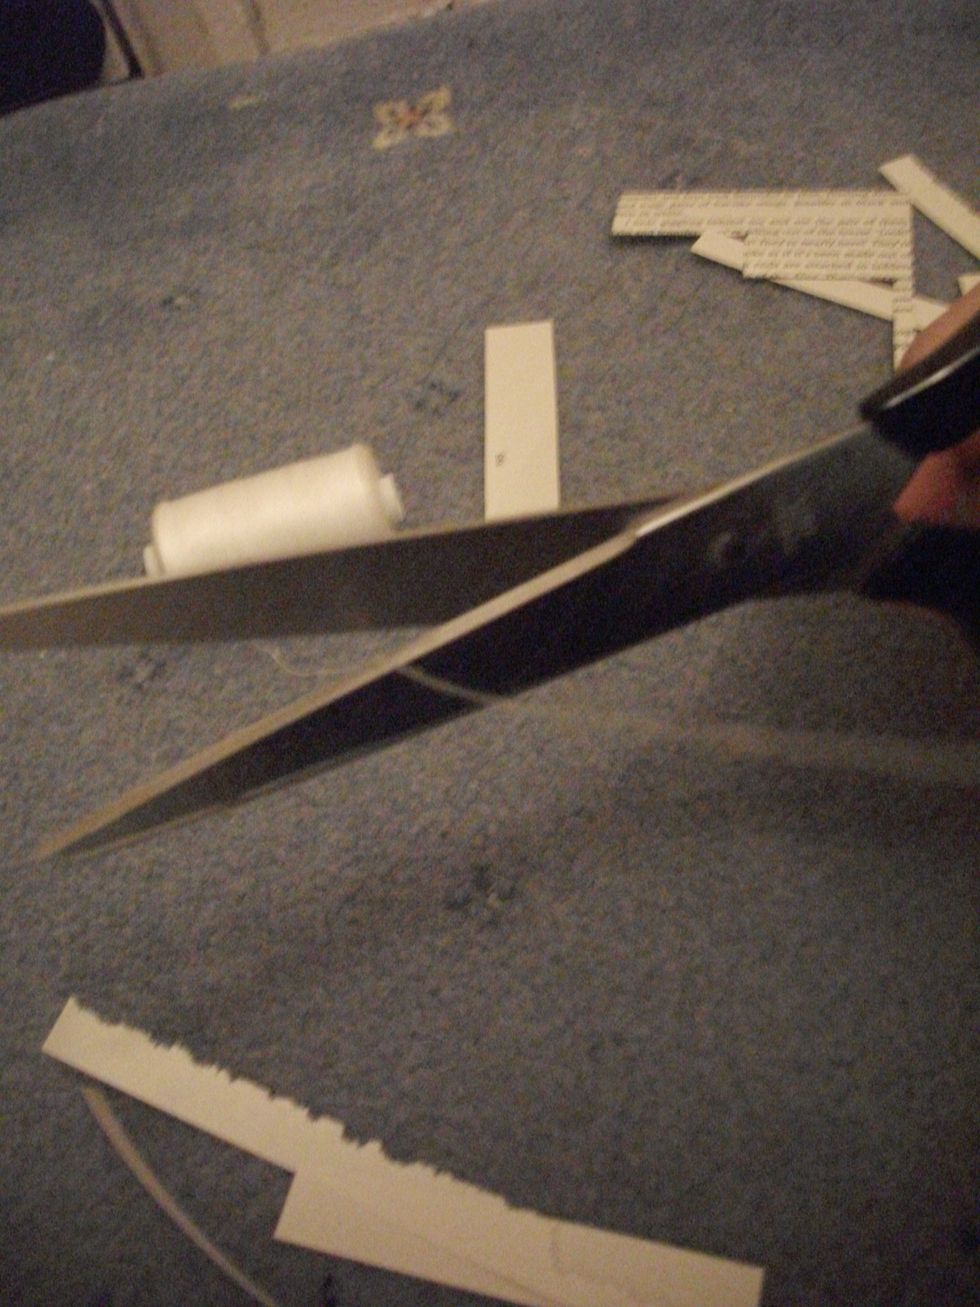
Cut them out and keep them separate from everything else but keep the two pieces together. It makes it a lot easier.
Do the same thing however make them 2 cm wide and 10 cm long instead.
Again, move them away, keep the pair together and separate enough so you don't muddle it up with the other stuff.
Do the same thing again - sorry. But instead make it 2 cm wide and 8 cm long. (You can vary the measurements how you want as long as the width is constant).

Cut those out, and now you have your 6 pieces.
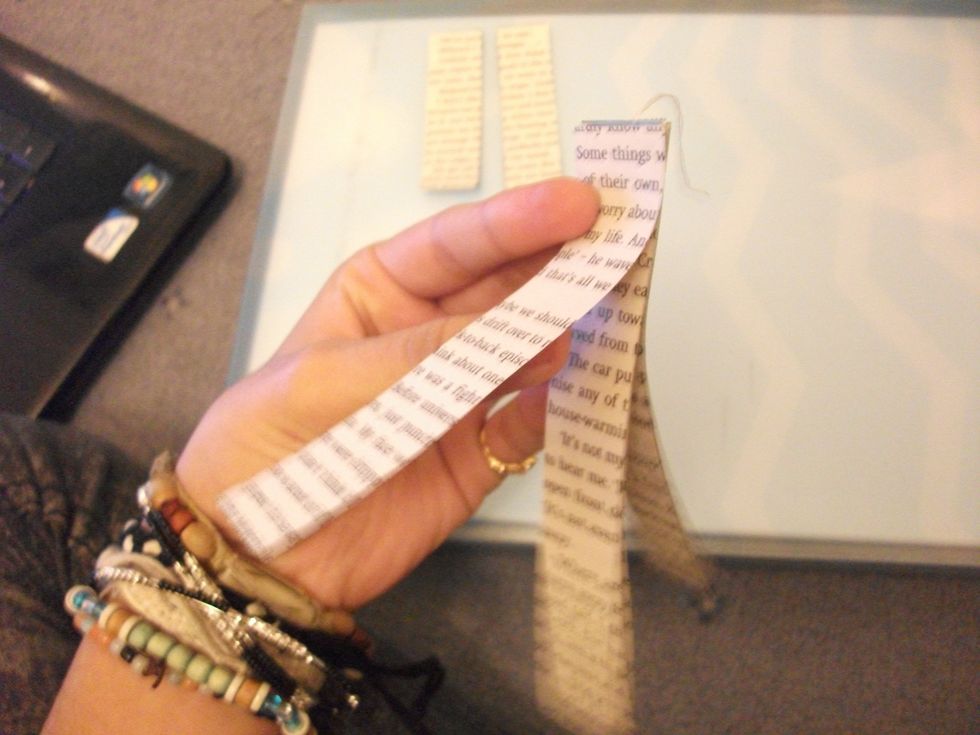
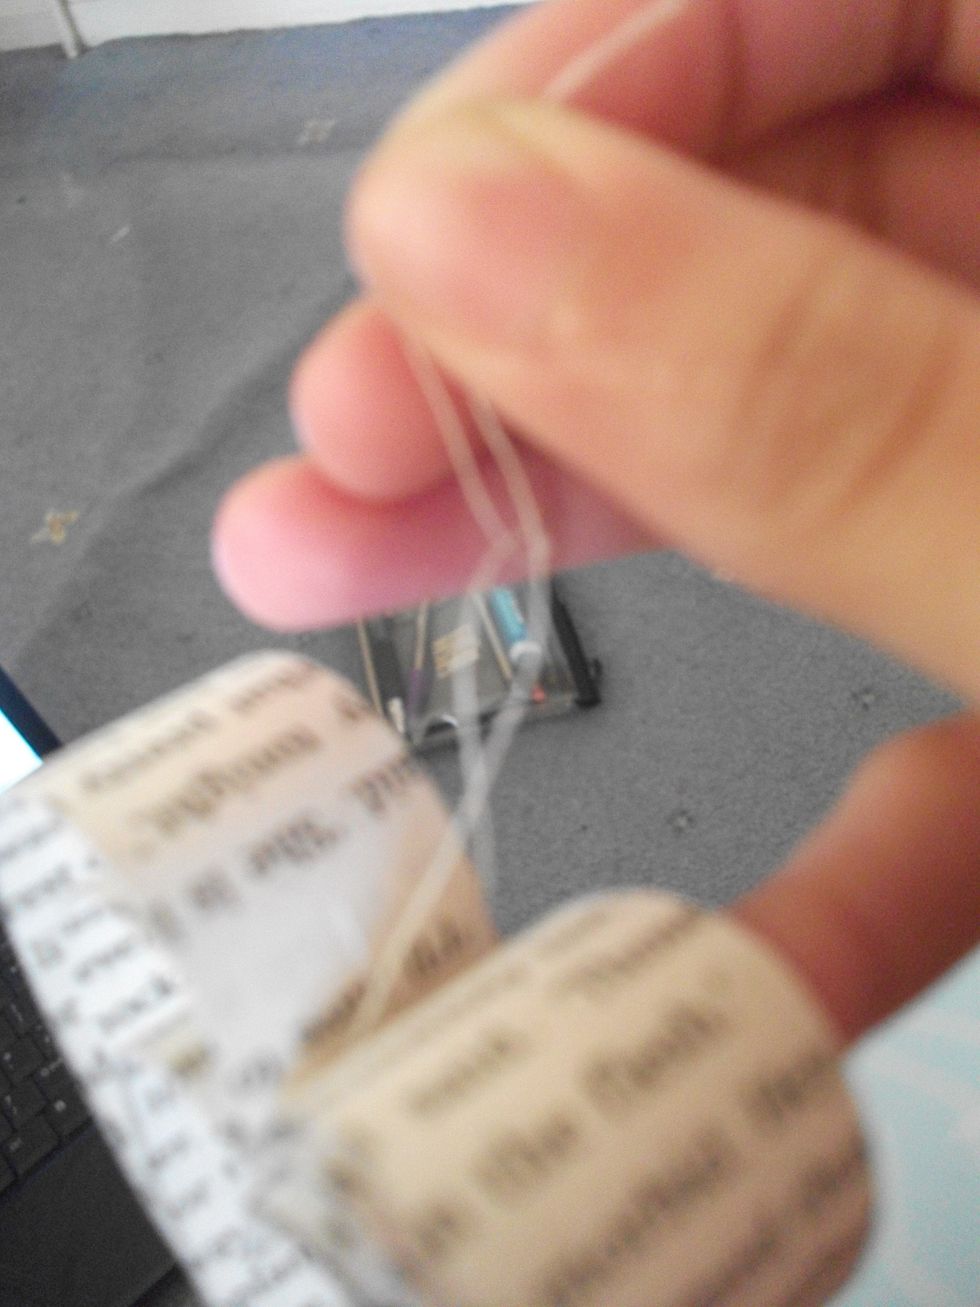
Cut a bit of thread, I would do half the length of your forearm - but the length really doesn't matter. Just if the thread is longer, it is easier to work with and less fiddly.
If you are using pages with writing and you want the end result so that the text is the right way up, make sure that from steps 11 to 16 the strips are the right way up.
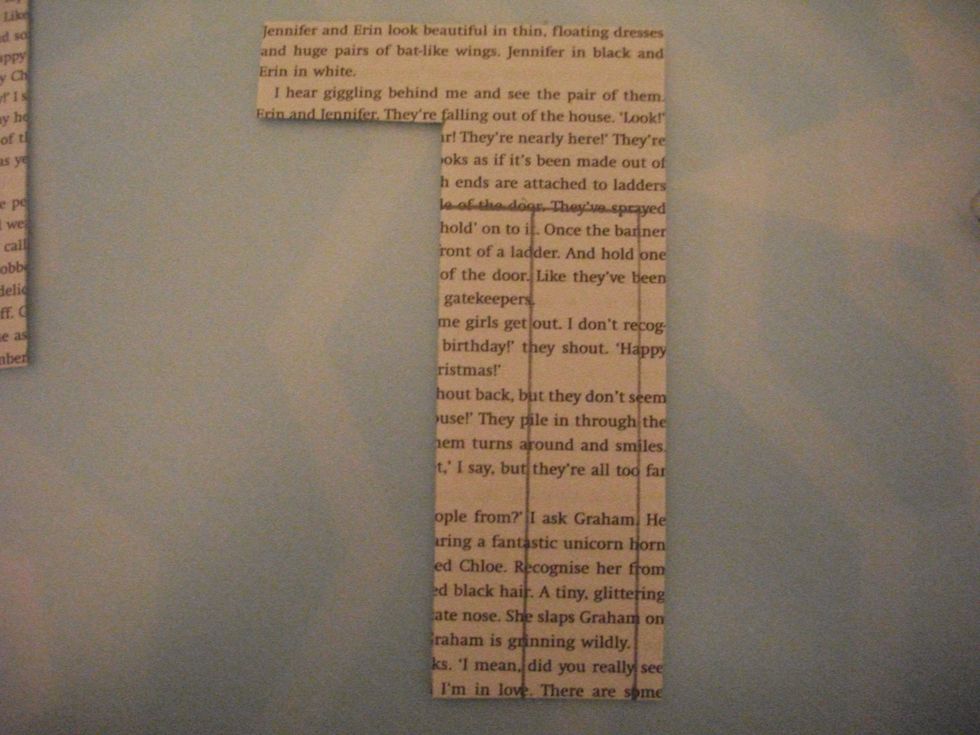
Take your two LONGEST pieces and lay them side by side.
Fold the thread in half and place the loop of the thread in the middle of one strip. I would say maybe 1-2 cm.

You then take the other long strip and 'sandwich' it onto the first, make sure that the thread remains in place.
You then take the two SECOND longest strips (10 cm) and 'sandwich' them around the first two. So it would be like: Second longest strip - longest strip - thread - longest strip - second longest strip.
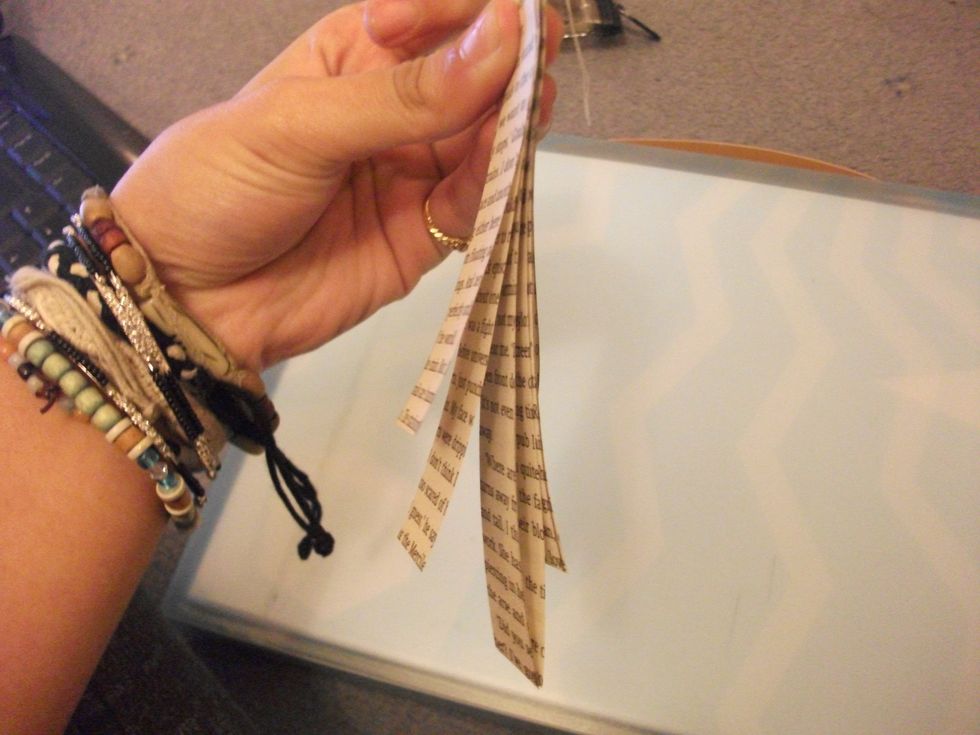
You then do the same with the shortest strips, so they would be on the outside of this paper sandwich.
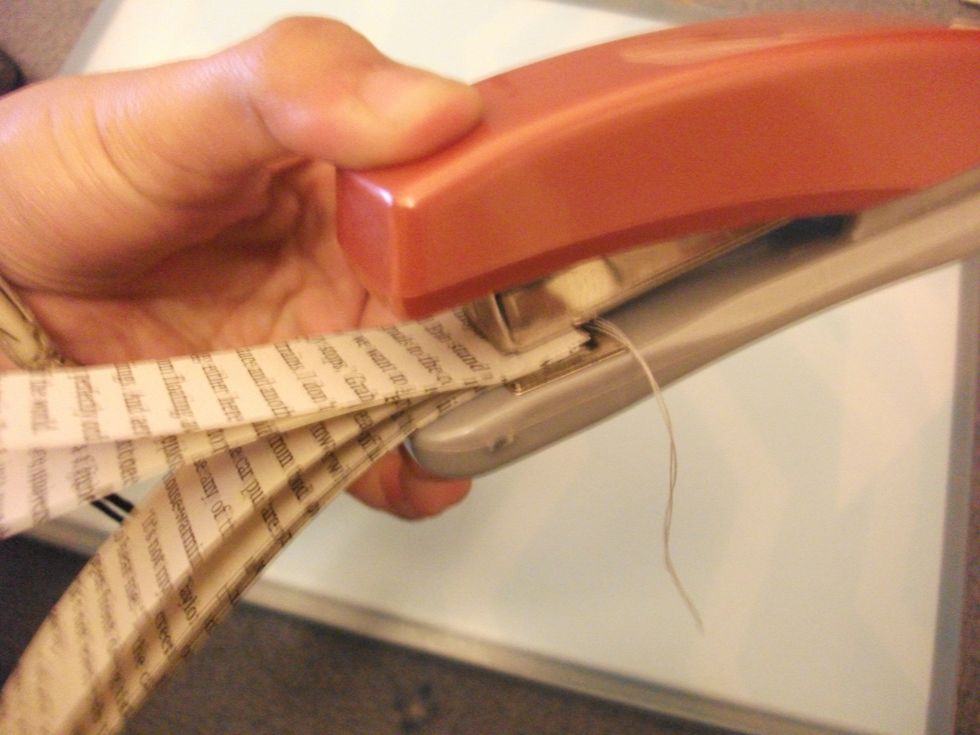
You then staple the top bit, so everything stays in place. I would say staple about 1/2 - 1 cm in so it's sturdier and the thread is less likely to pop out.
Hold upside down and you may need to just move the thread out of the way for a minute.
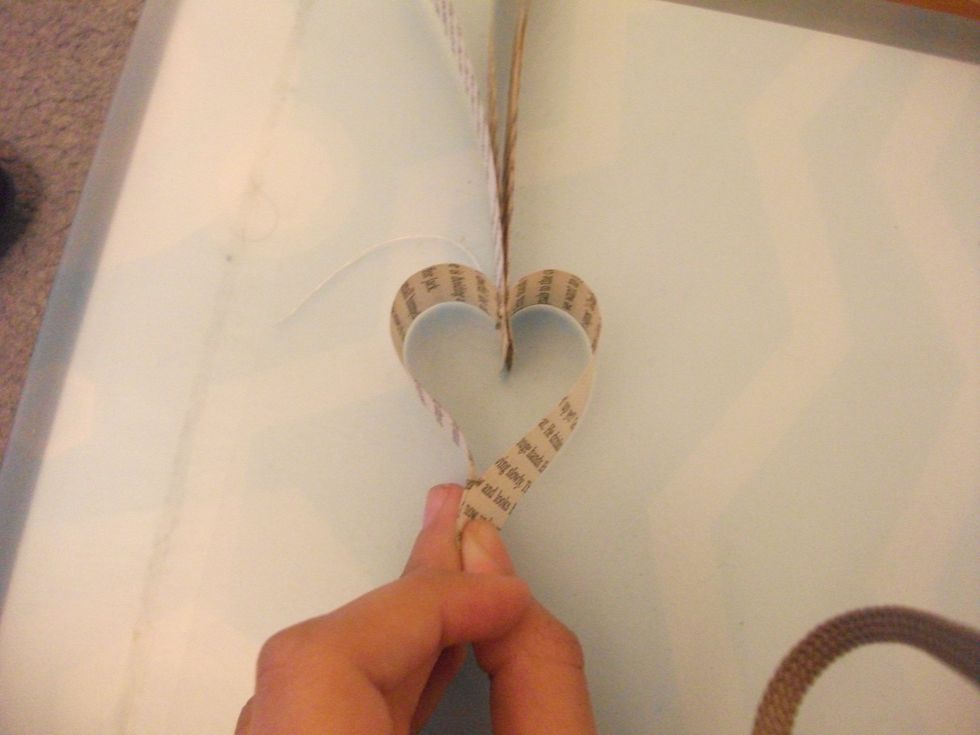
You then take the two shortest strips and bring them together and hold at the bottom.
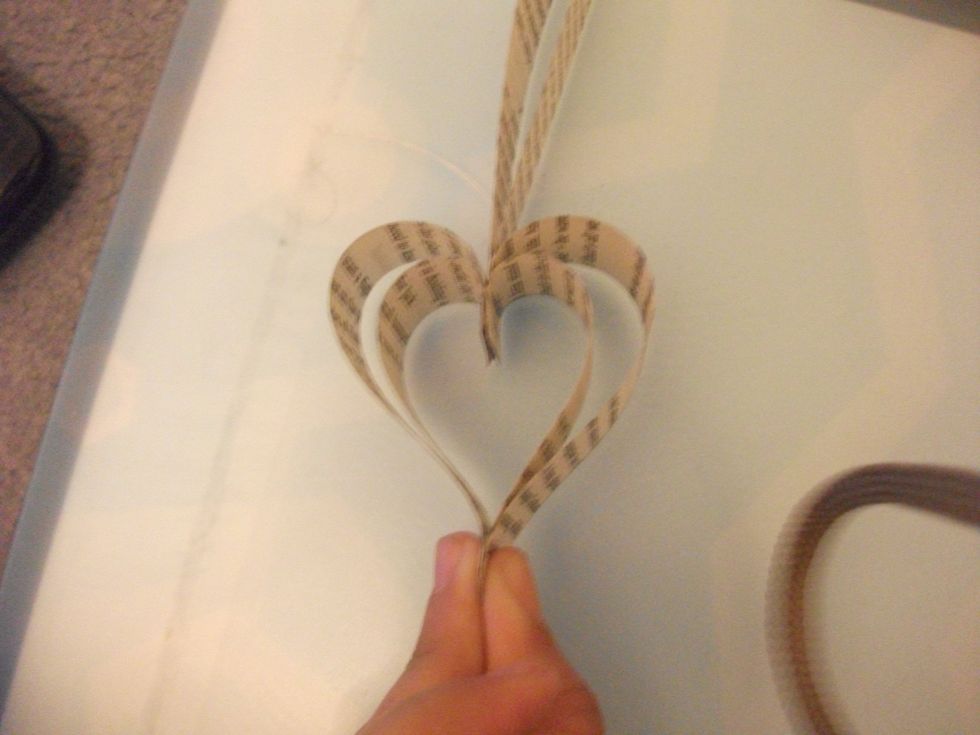
You then do the same for the other strips.
Again do the same.
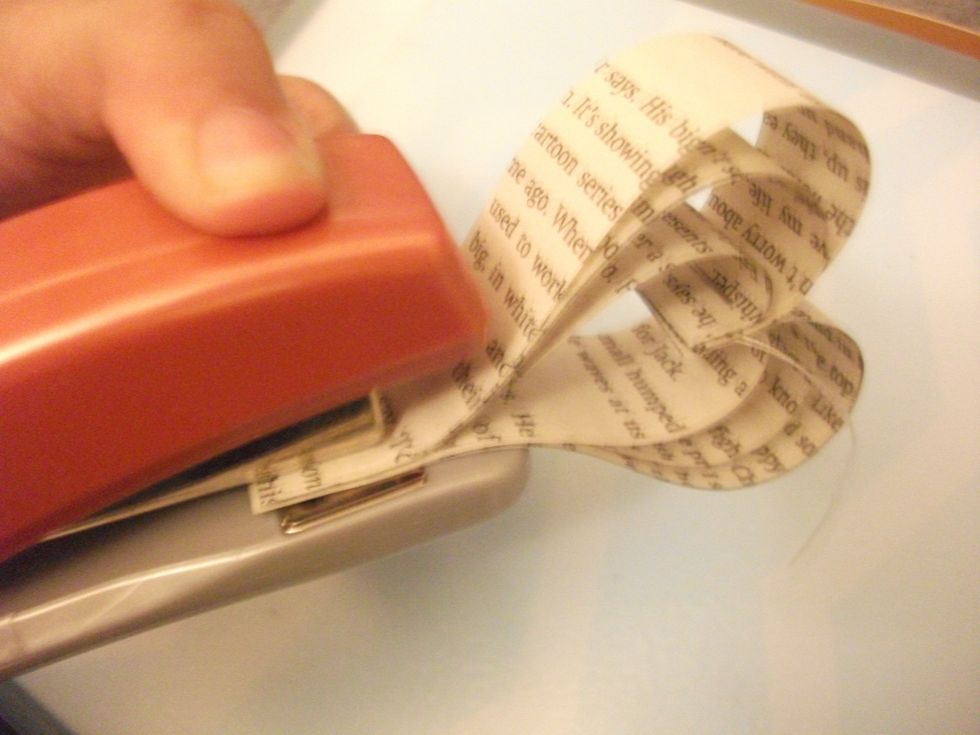
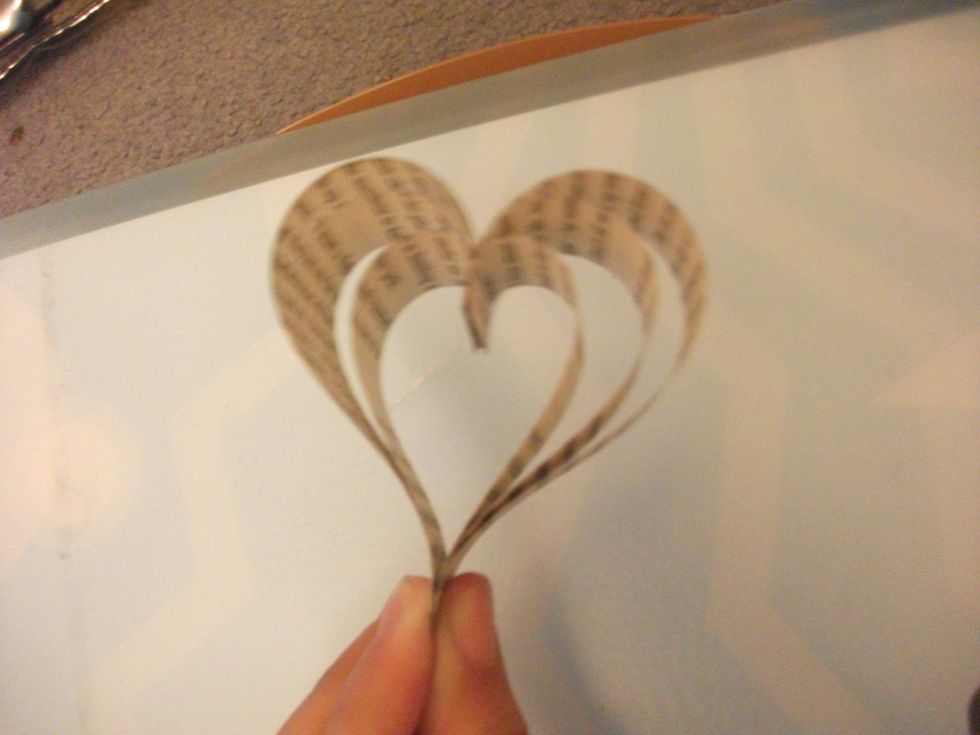
Then staple the bottom together, making sure all the strips are there. I would staple 1/2 - 1 cm up, so it is sturdier and retains it's shape for longer.
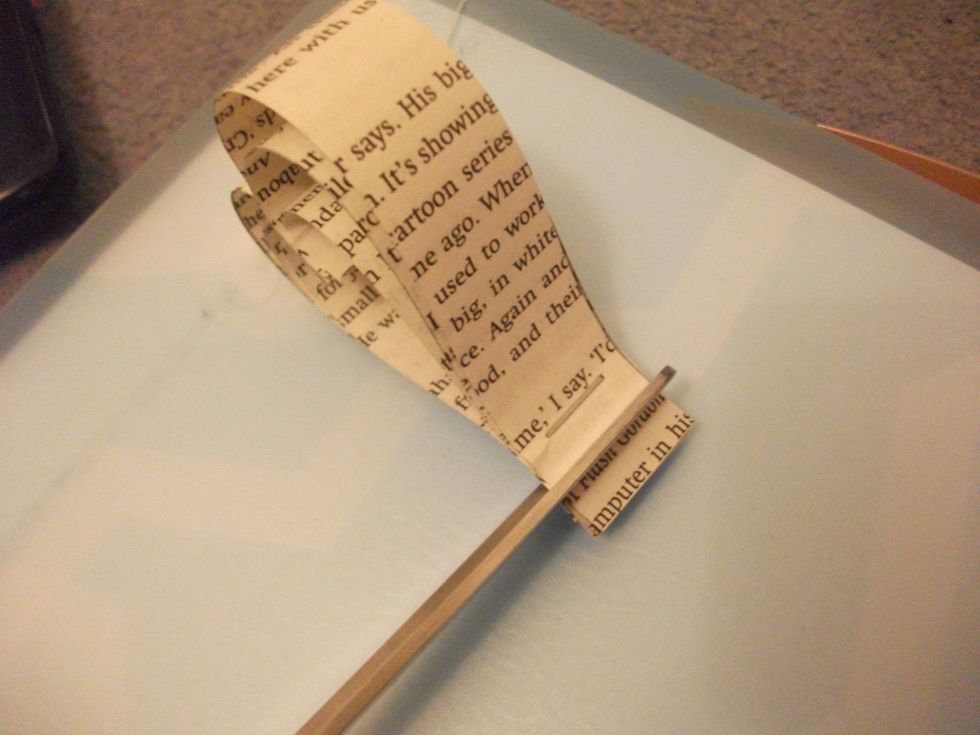
If you feel that you have gone too far up and it looks weird, just snip a bit off.
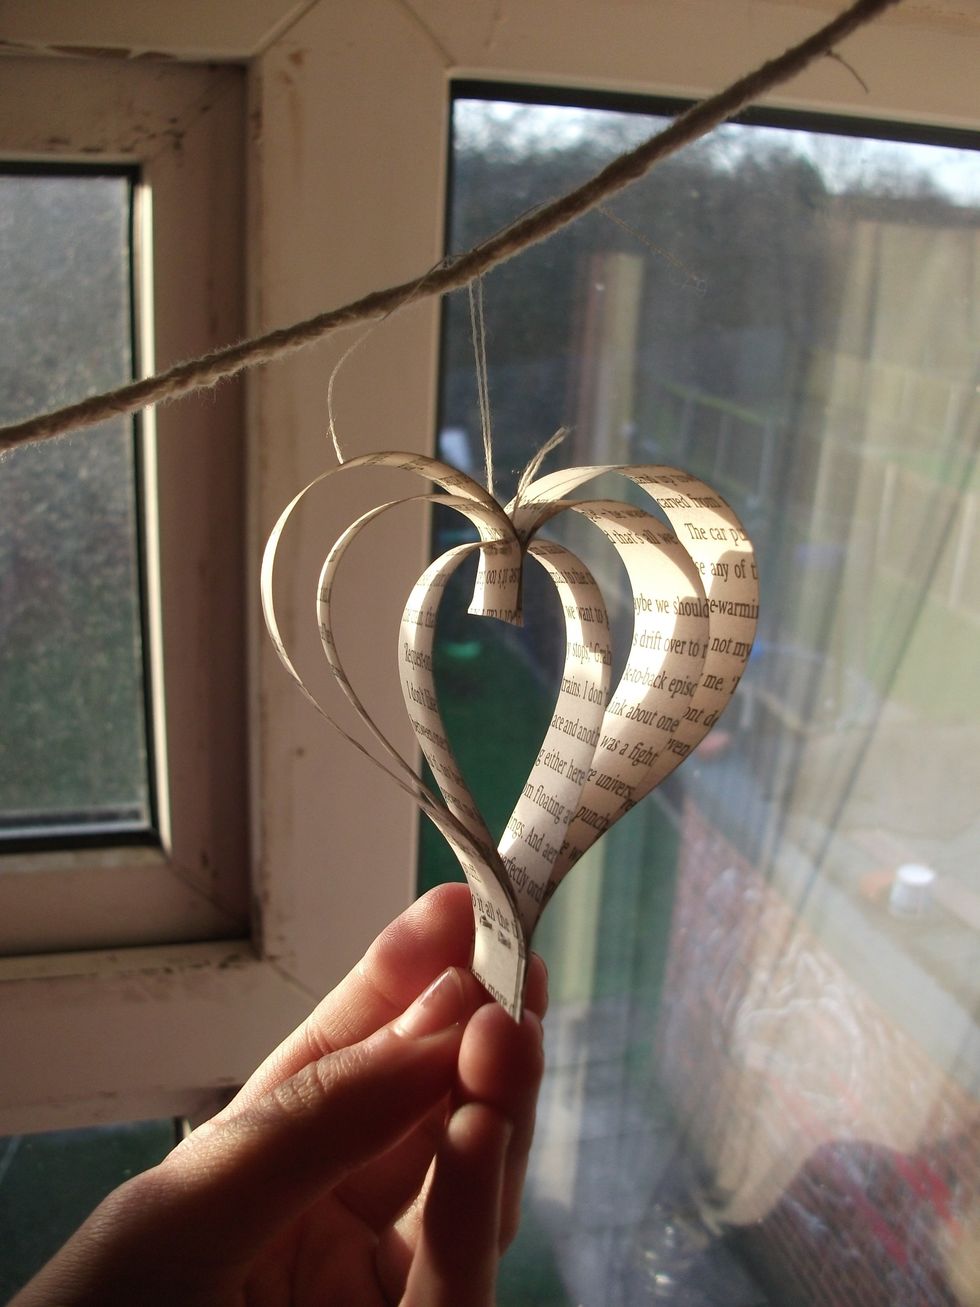
Tie your string/rope across these bits on the frame of the curtains.
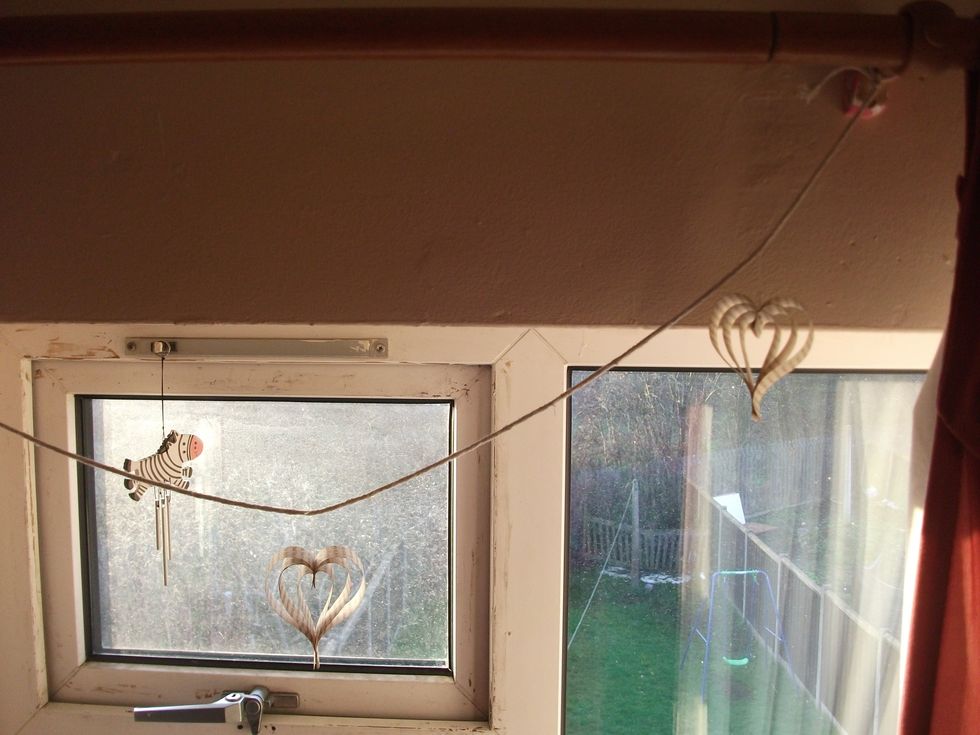
So it goes all the way across. I already put a a few one when I took the picture.
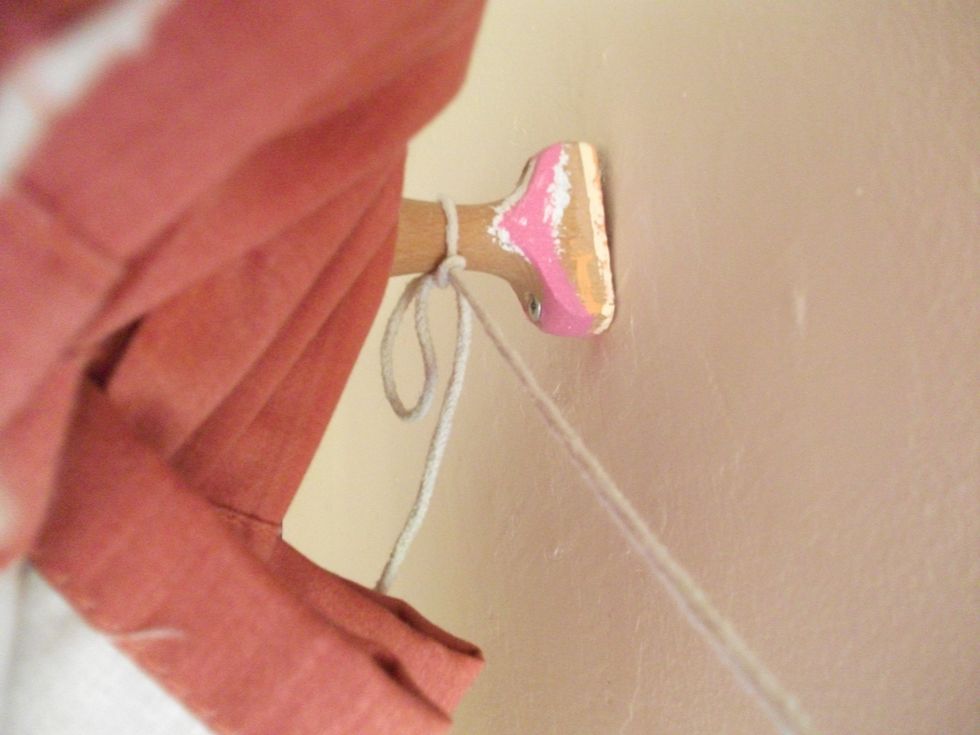
Firstly tie a simple knot in the thread - keeping in quite loose. The reason for this is so that in the next step, the thread has a tighter grip on the string.
Then place the FIRST knot so that it's UNDER the string and then tie another knot OVER the string - slowly so that it all doesn't bunch up. And then one more simple knot to hold it in place.
Snip off an excess thread that you don't want showing.
Continue this process until you have your paper hearts on the desired places of your string.
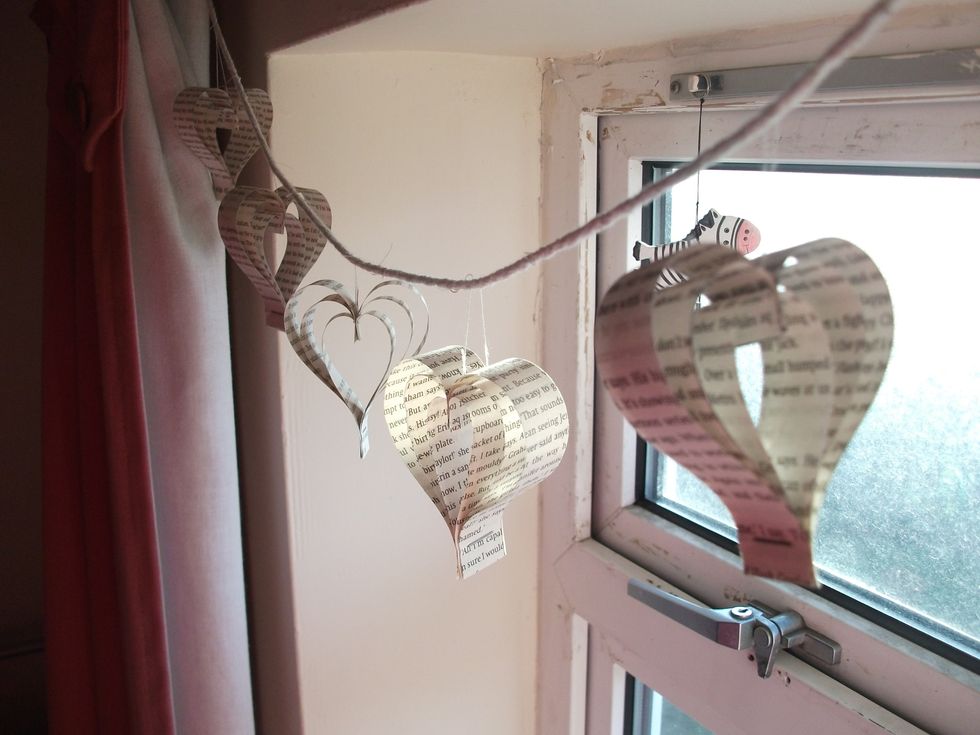
And here it is. Sorry the picture doesn't really show you how nice it actually looks.
Thanks for viewing my guide :)