The Conversation (0)
Sign Up
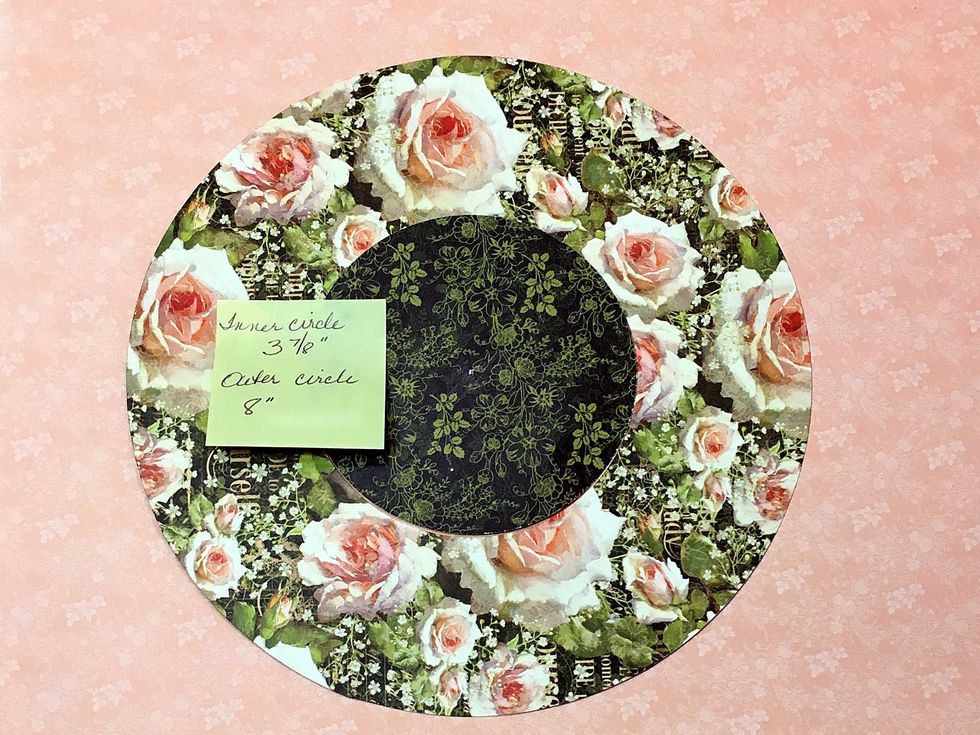
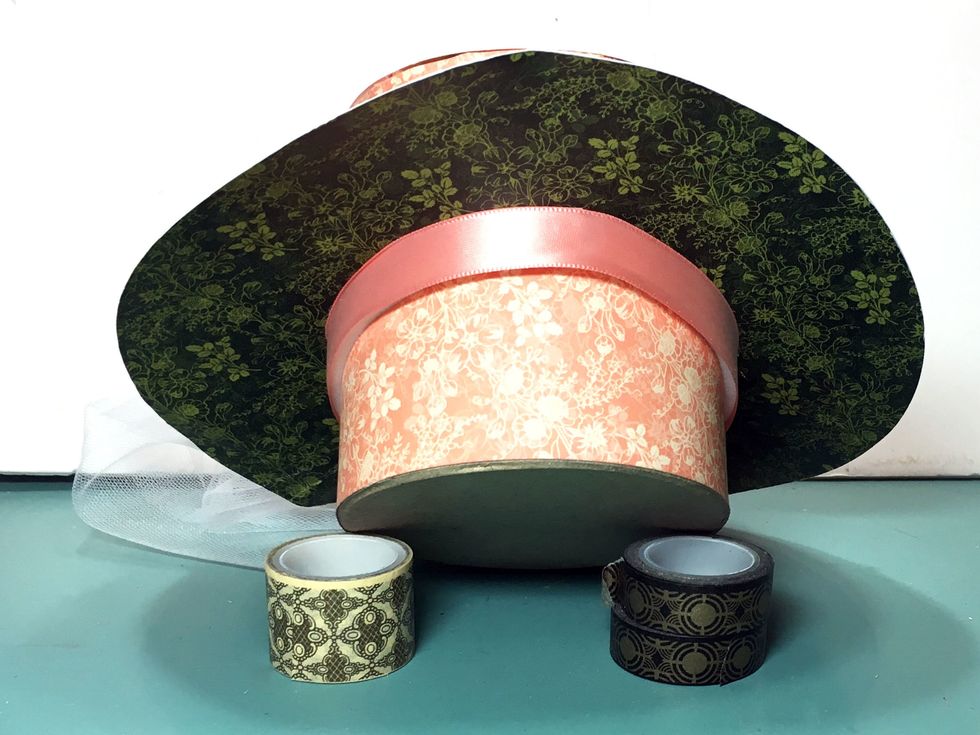
Cut a 8" in diameter circle and cut out frome the center, a 3 7/8" circle as shown. Discard the inner circle.
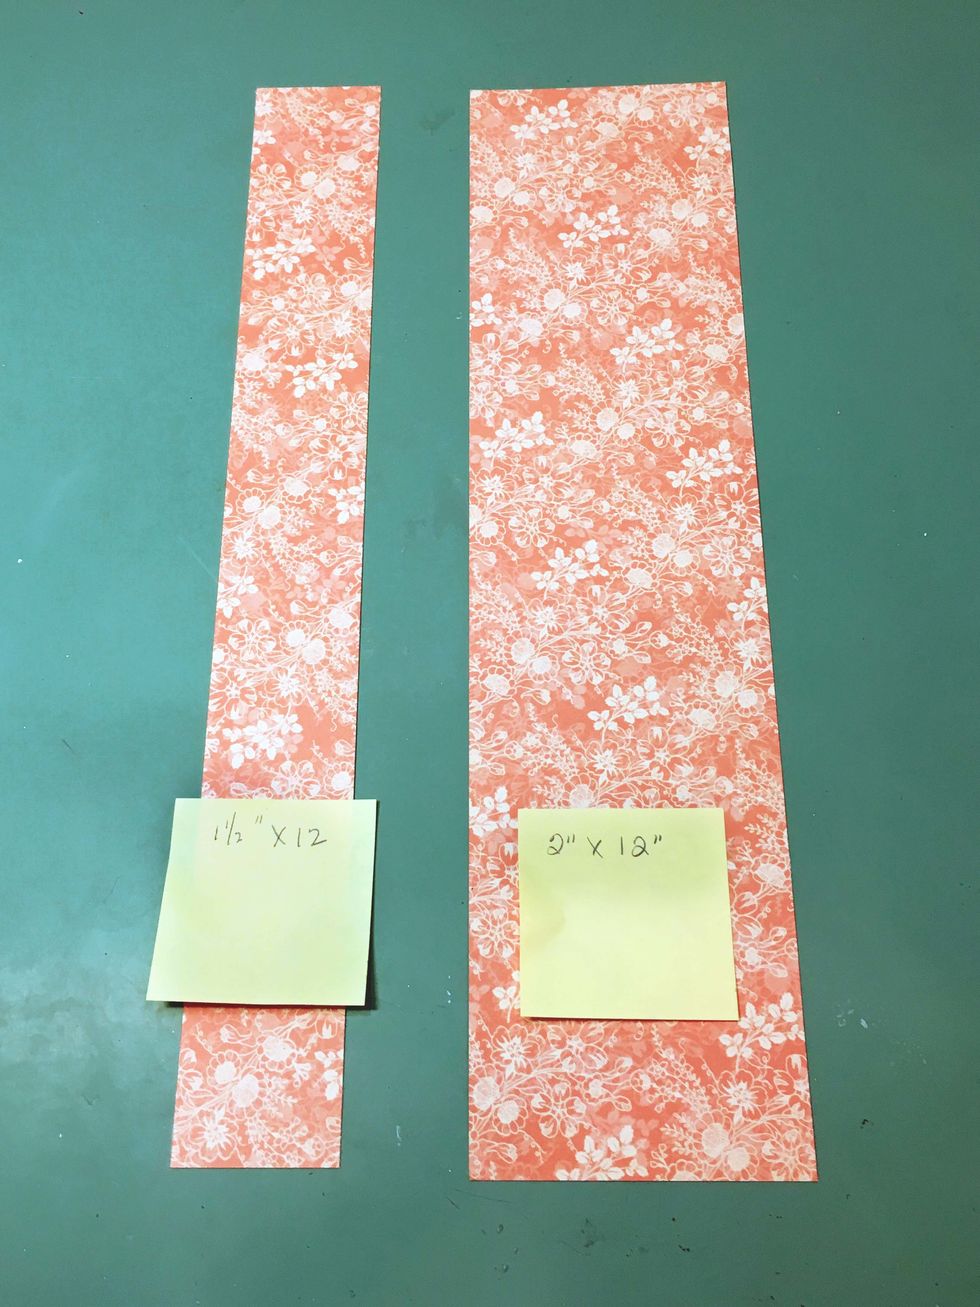
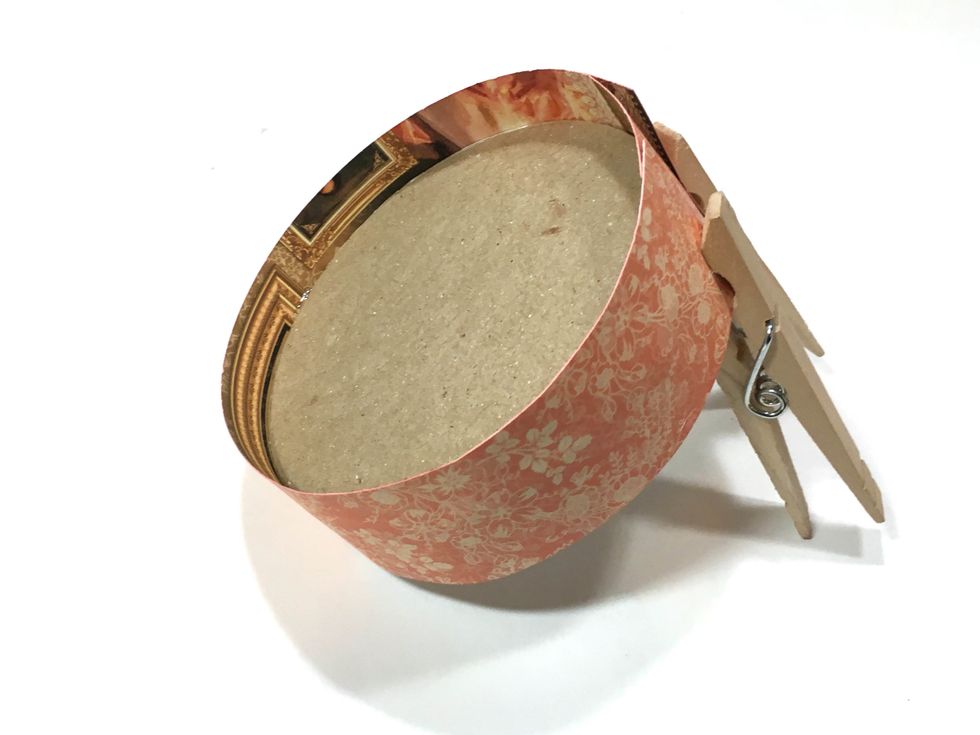
Cut two strips from the B side of Portrait of a Lady 1 1/2" x 12 " and 3" x 12". (Note on paper is wrong as it says 2" x 12")
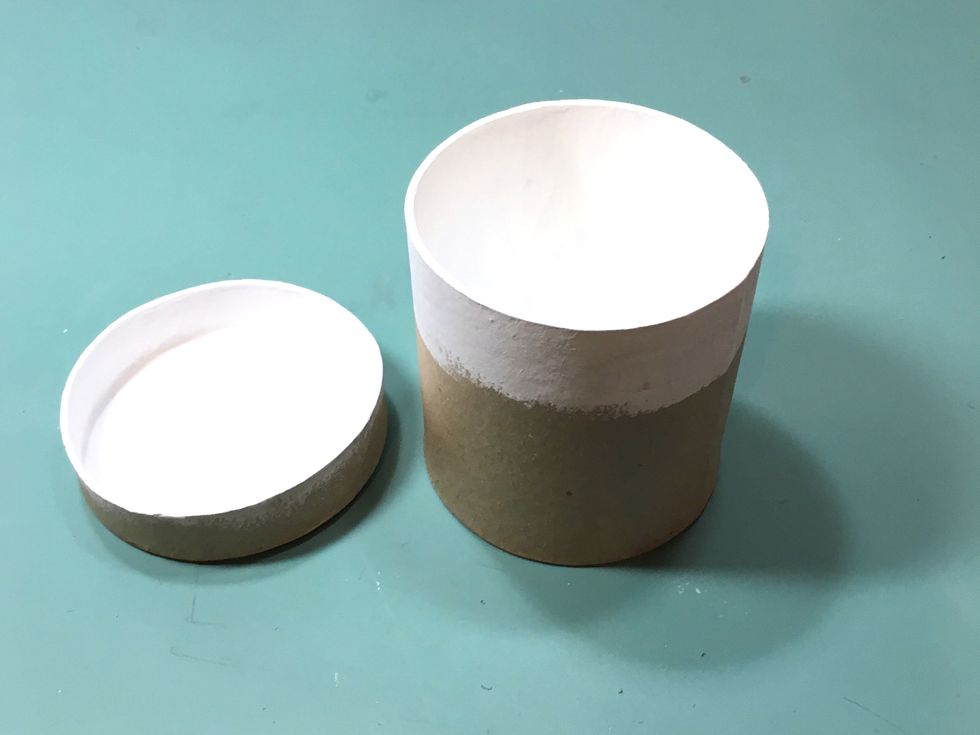
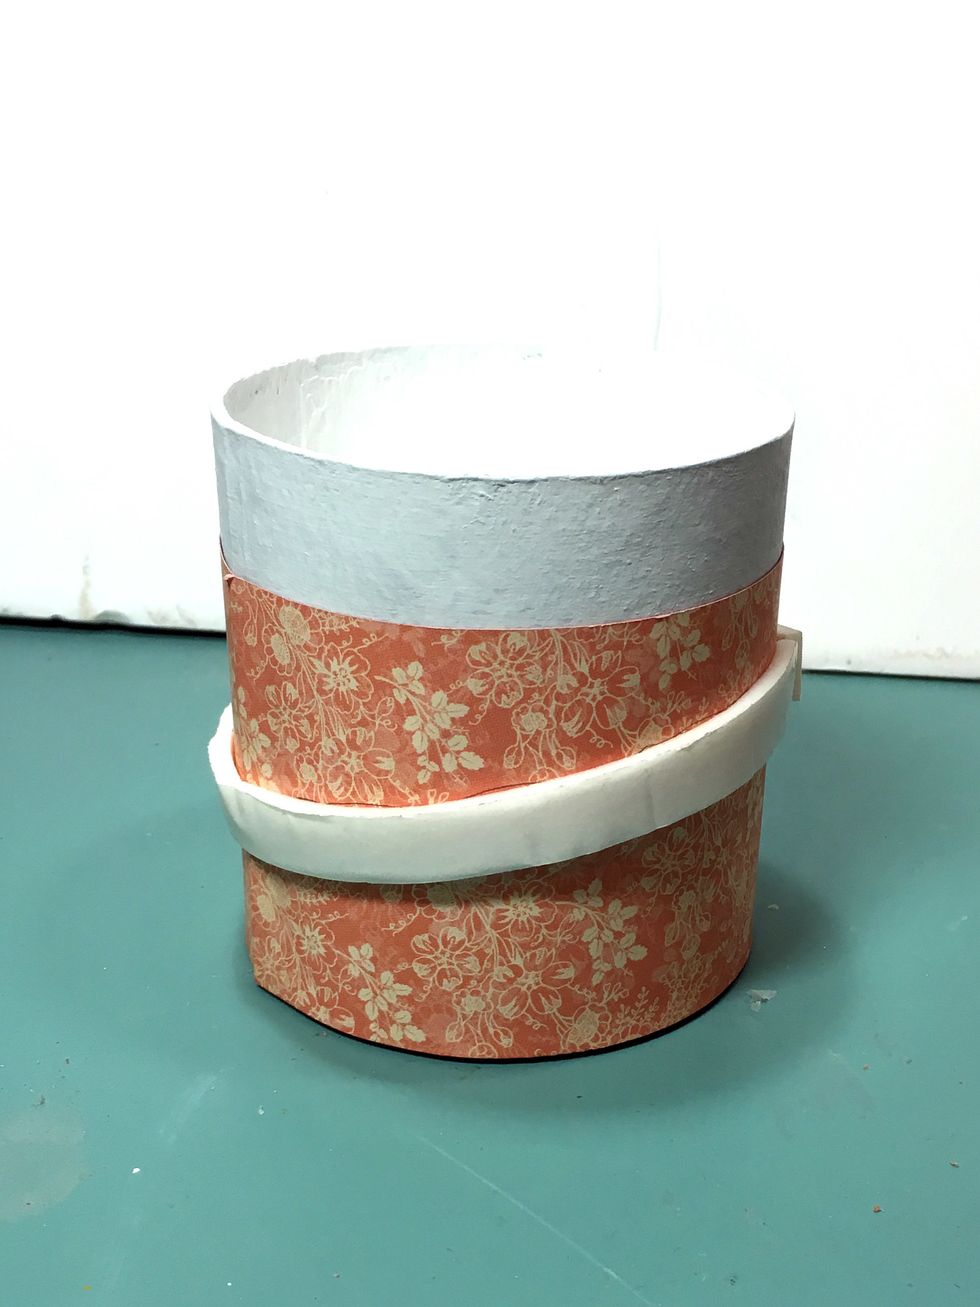
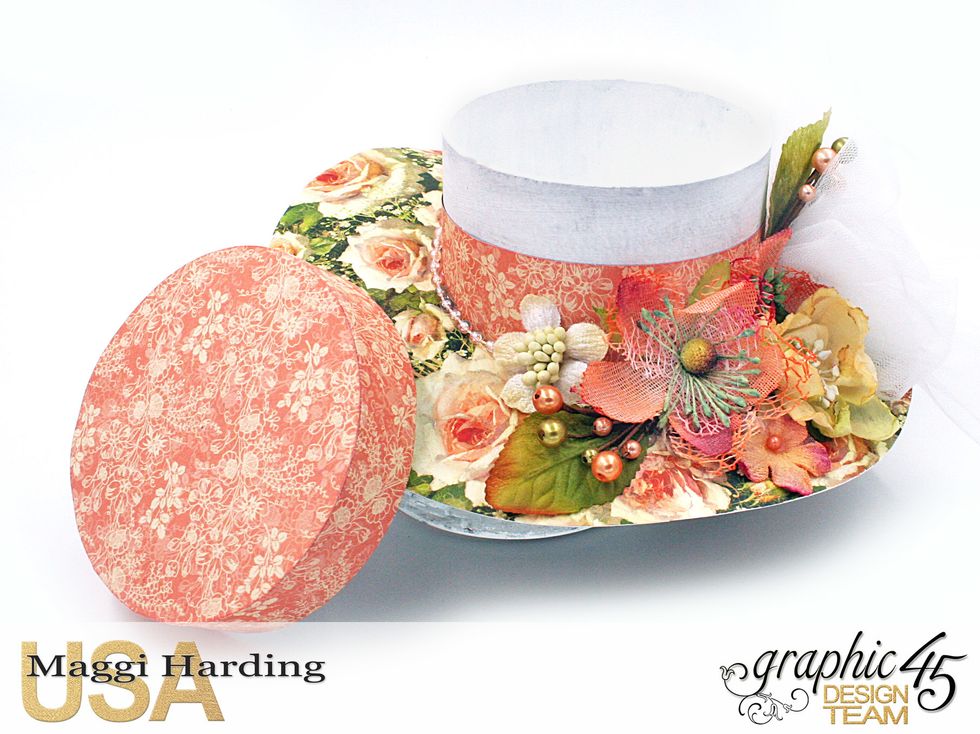
Paint the inside of the box and the lid. Paint about one inch around the outside of the box as shown.
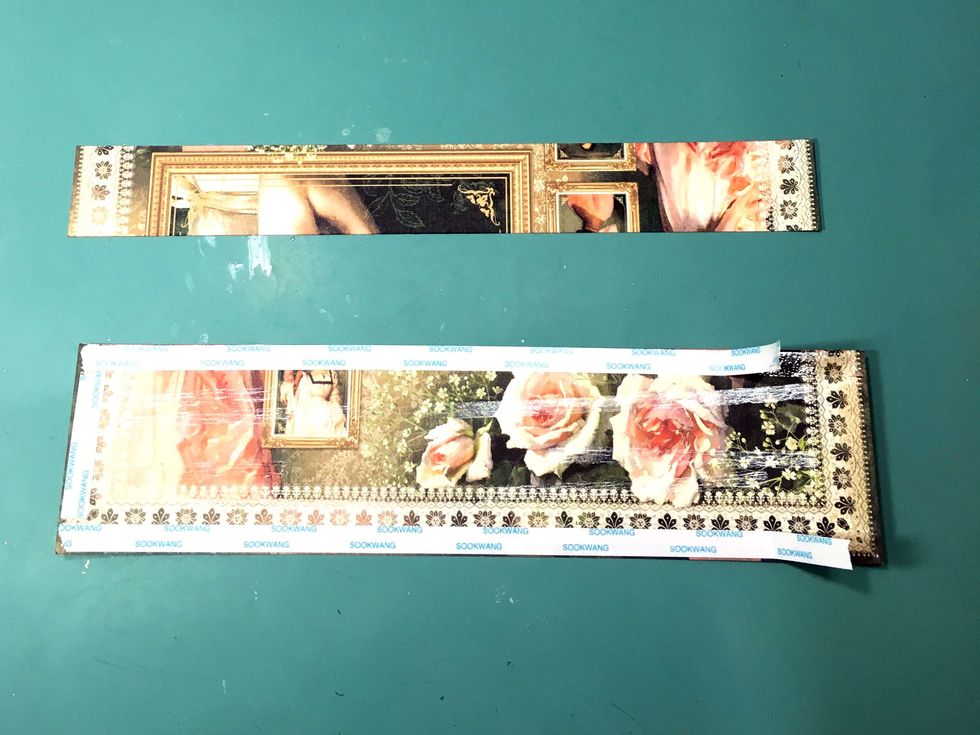
Put scortape on the backside of the two pieces of paper (I prefer to use scortape for this application, you may use whatever adhesive you prefer.)
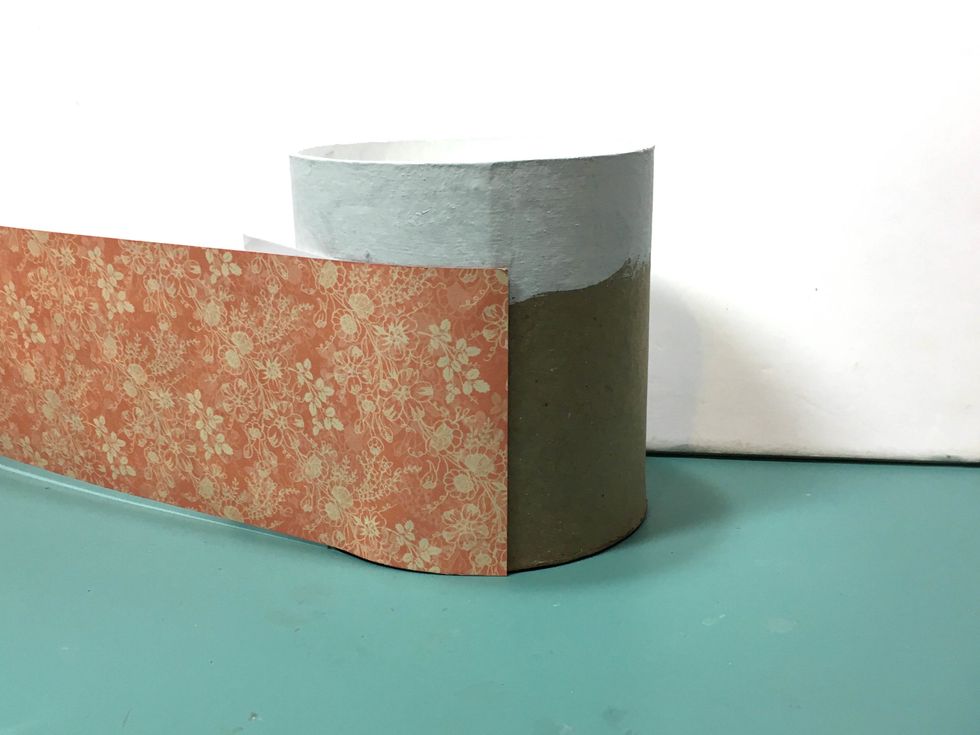
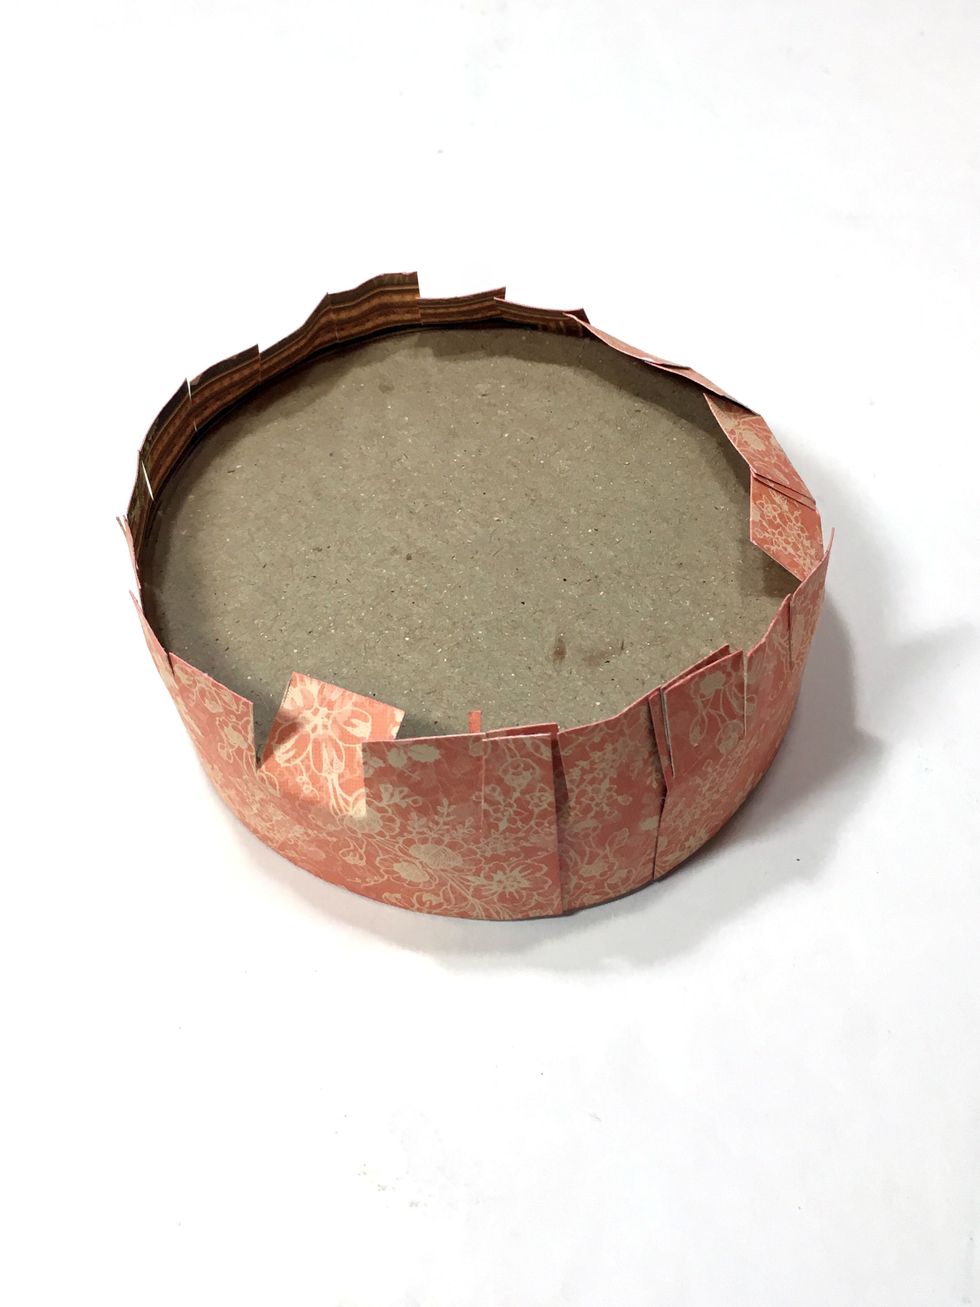
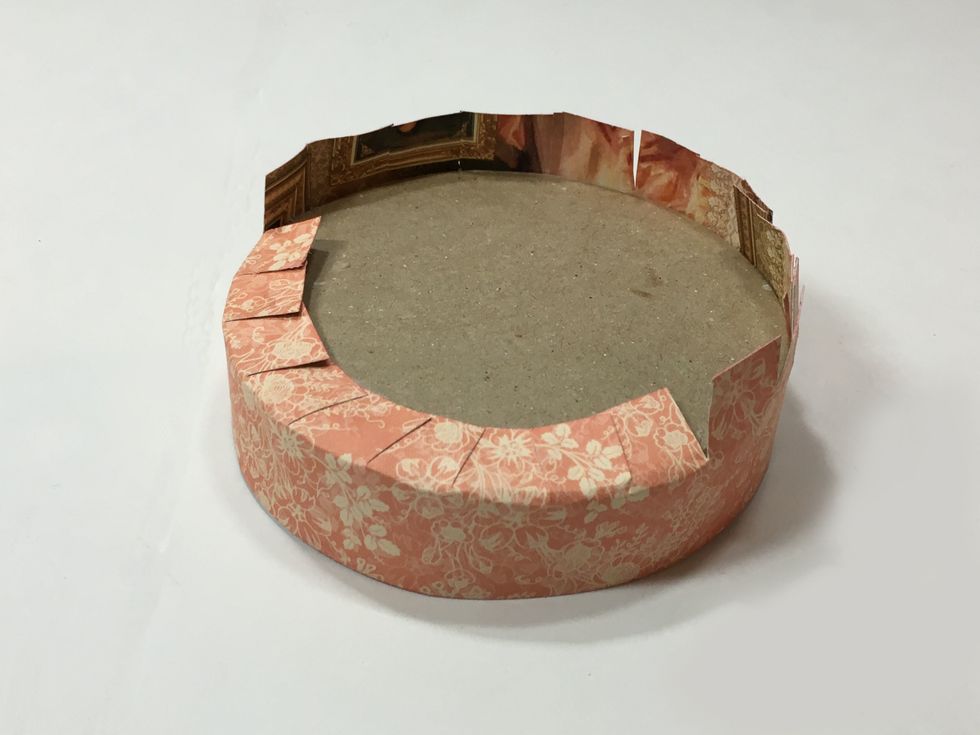
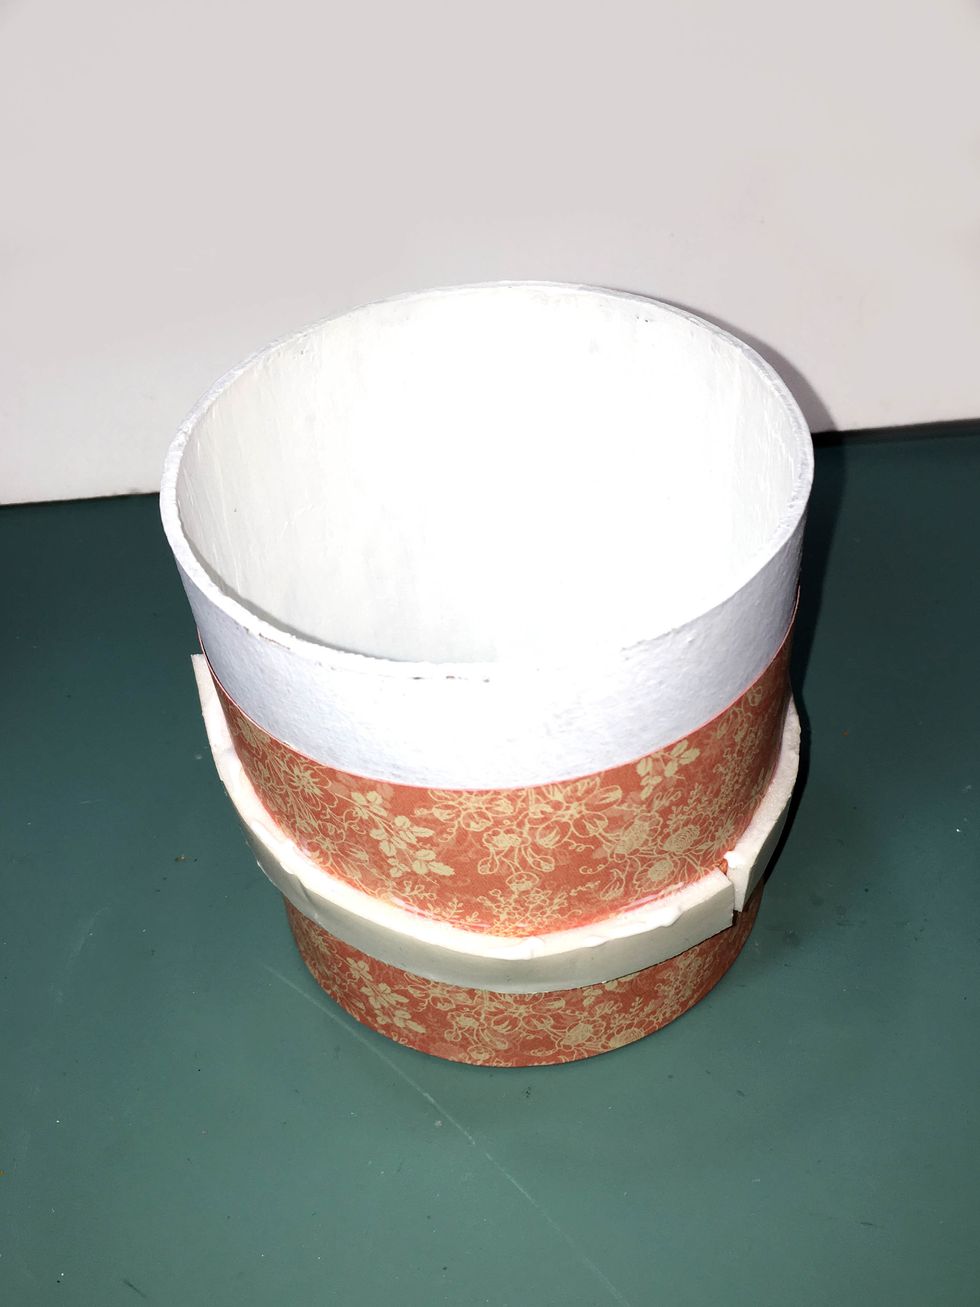
Adhere the 3"x 12" paper to the box, lining up at the bottom, so that the painted surface shows. The top portion of the box is not covered w/paper because the lid will not fit if the top is covered.
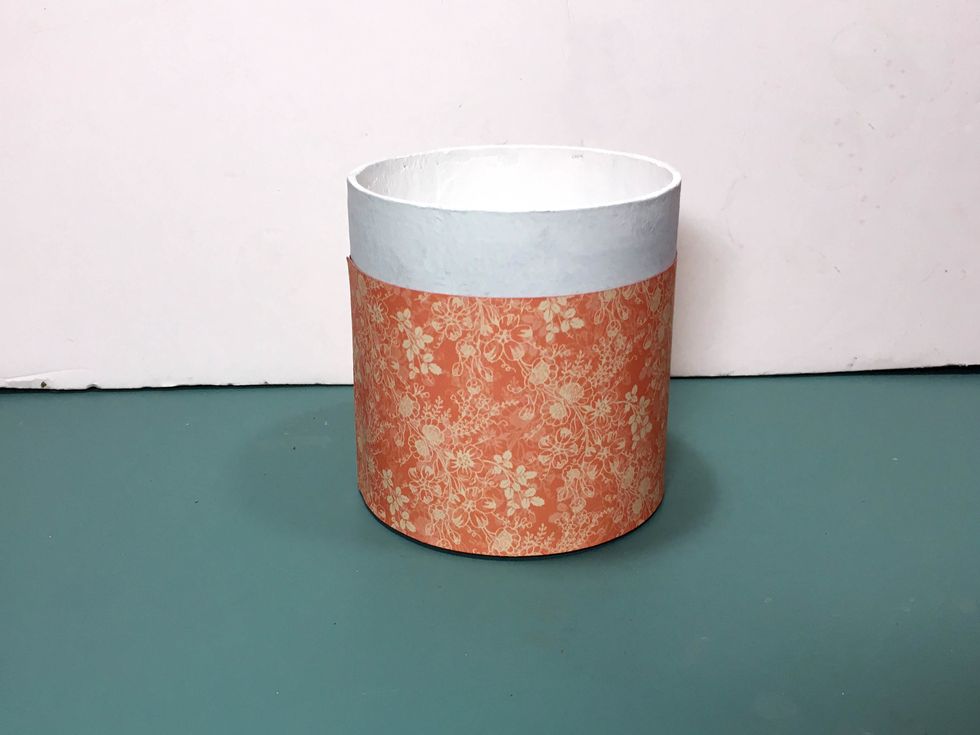
This is how it looks after the box body has been covered.
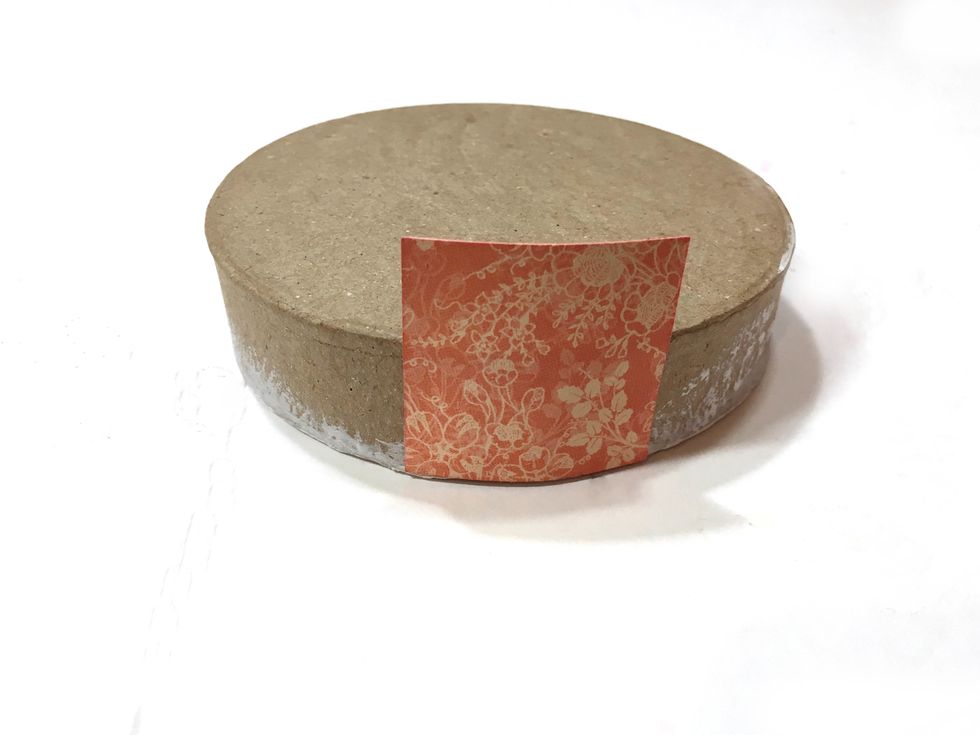
The circumference of the box lid is greater than 12" so cut a 1 1/2" square to fit it and glue to the box as shown.
Glue the 12" strip to the lid lining the bottom of the paper up with the bottom of the lid. The excess paper should extend above the top of the lid.
Now cut around the paper every 1/2" or so being careful to only cut to make the cuts to the top of the lid.
Fold the tabs down and glue all around to the top of the lid.
Cut a 4" circle from the B side of Portrait of a Lady. Note: I find that the boxes can differ a tiny bit in circumference so i suggest you 1st cut sample circles & check for fit before final cut.
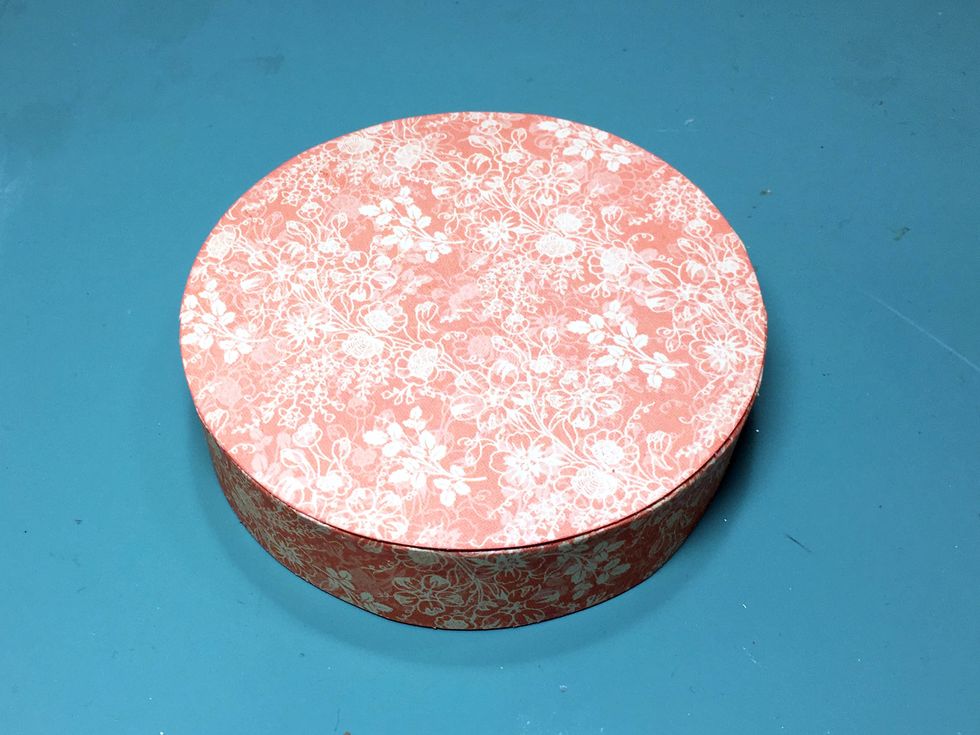
Glue the circle to the top of the lid as shown.
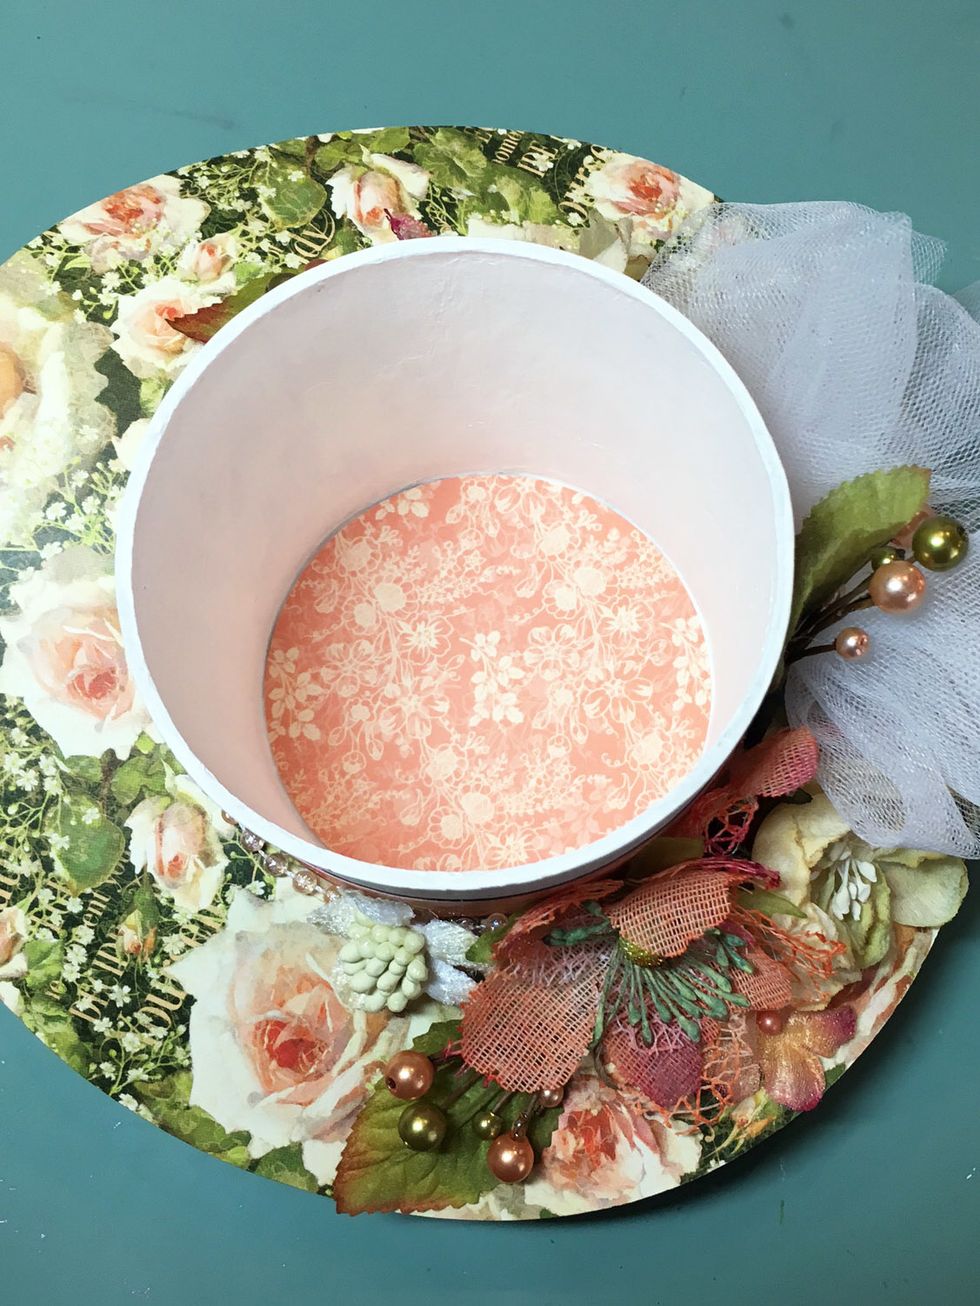
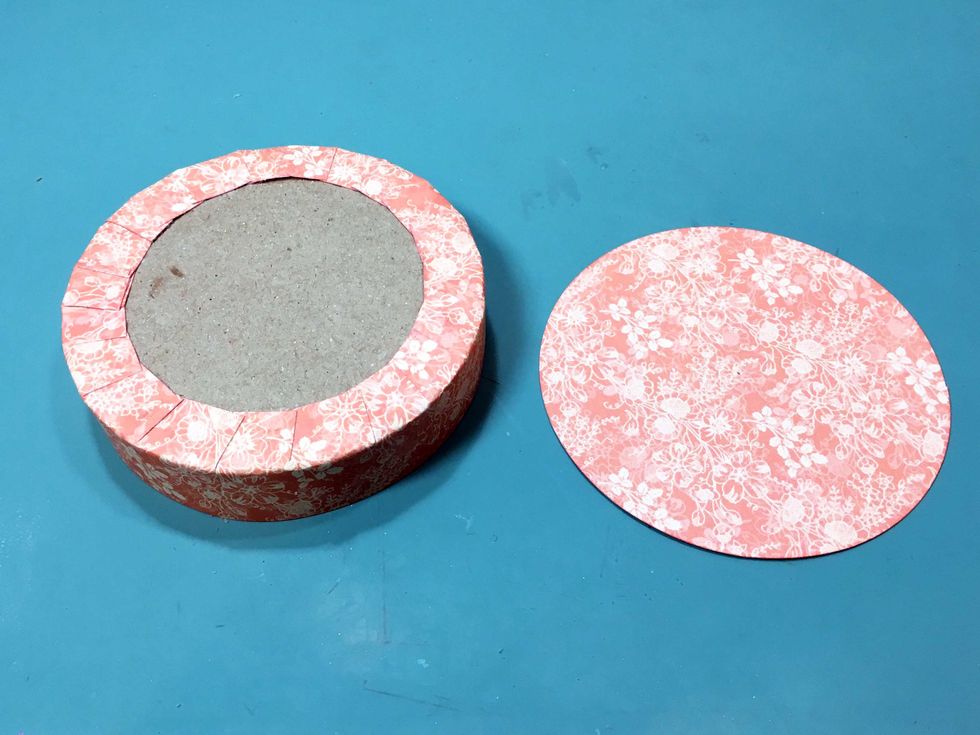
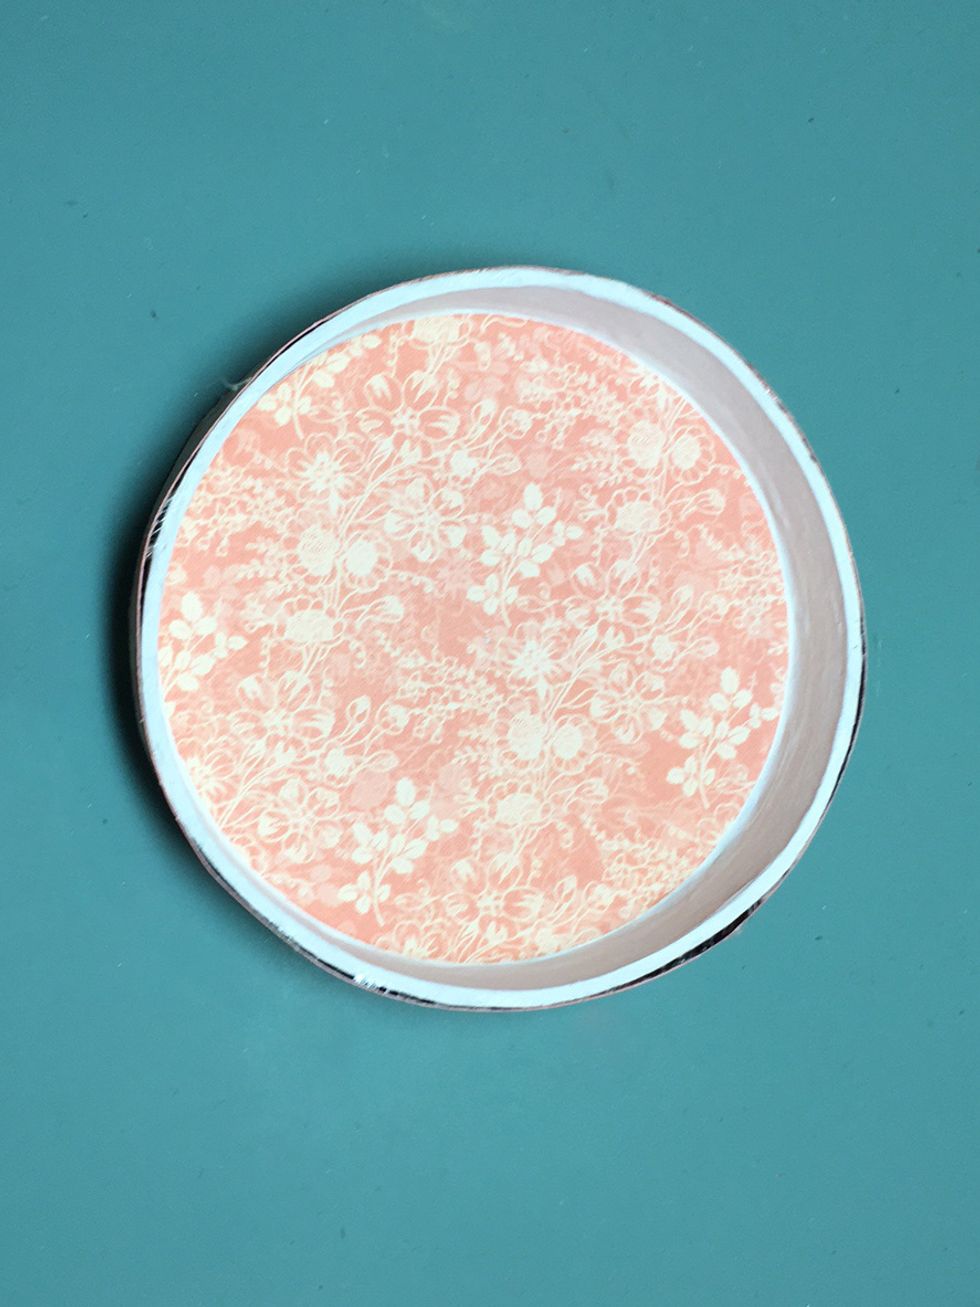
Cut a 3 1/2" circle for the inside bottom of the box and glue. (I added the inside papers after I had attached the brim but better to do it before attaching the brim!)
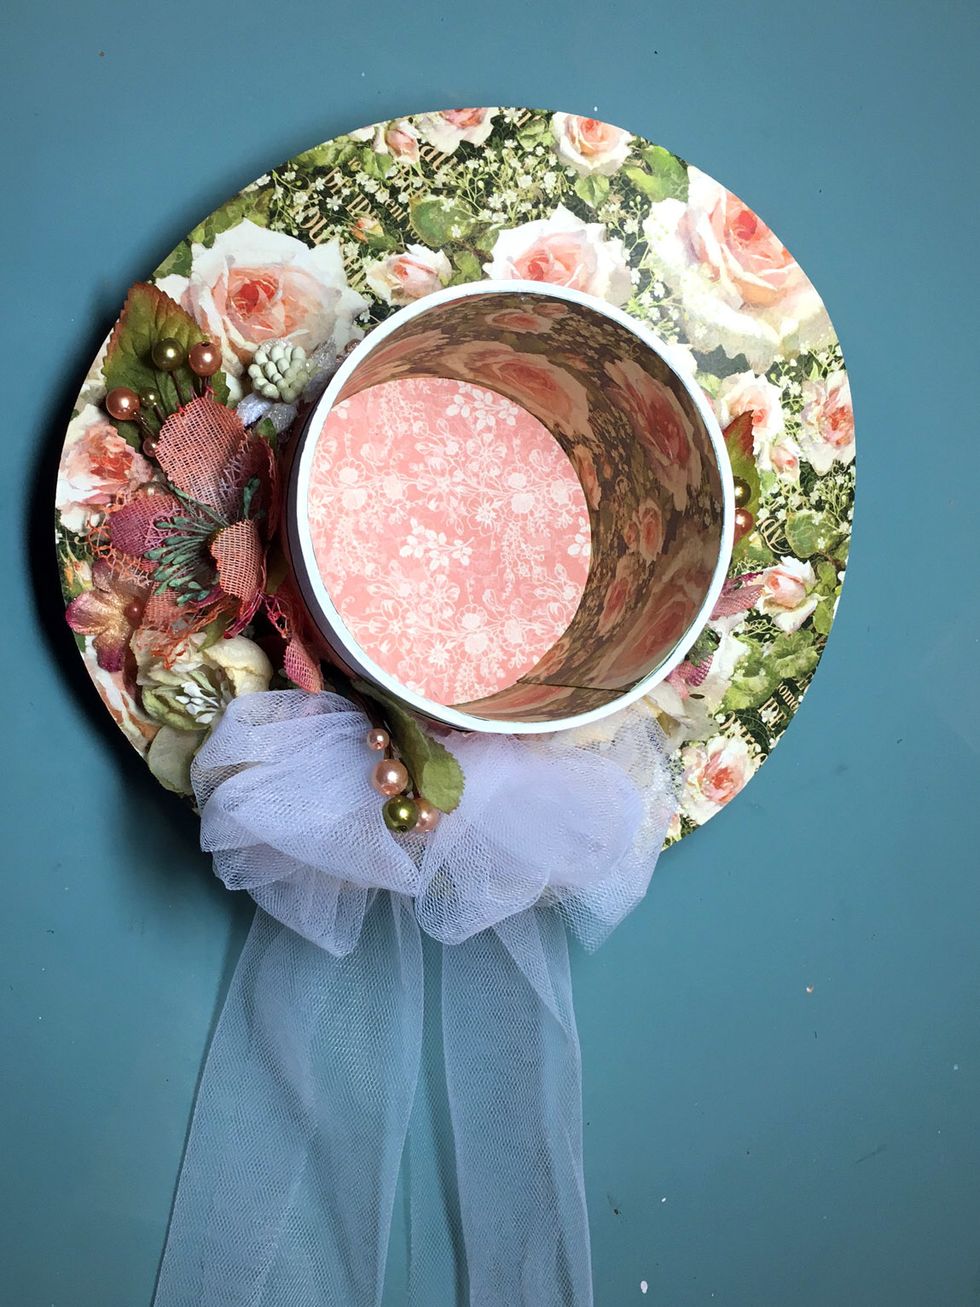
Cut a rectangle 3 7/8" x 12" and glue inside the box. Do this before adding the brim!
Cut two 3 3/4" circles and glue one to the inside of the lid and the other to the bottom of the box.
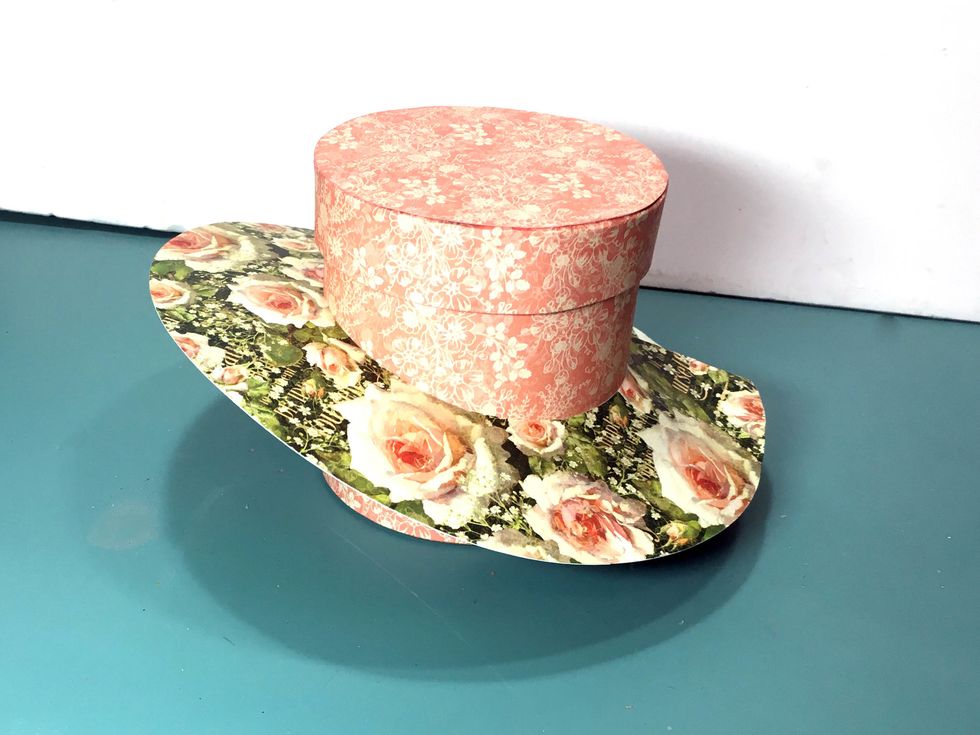
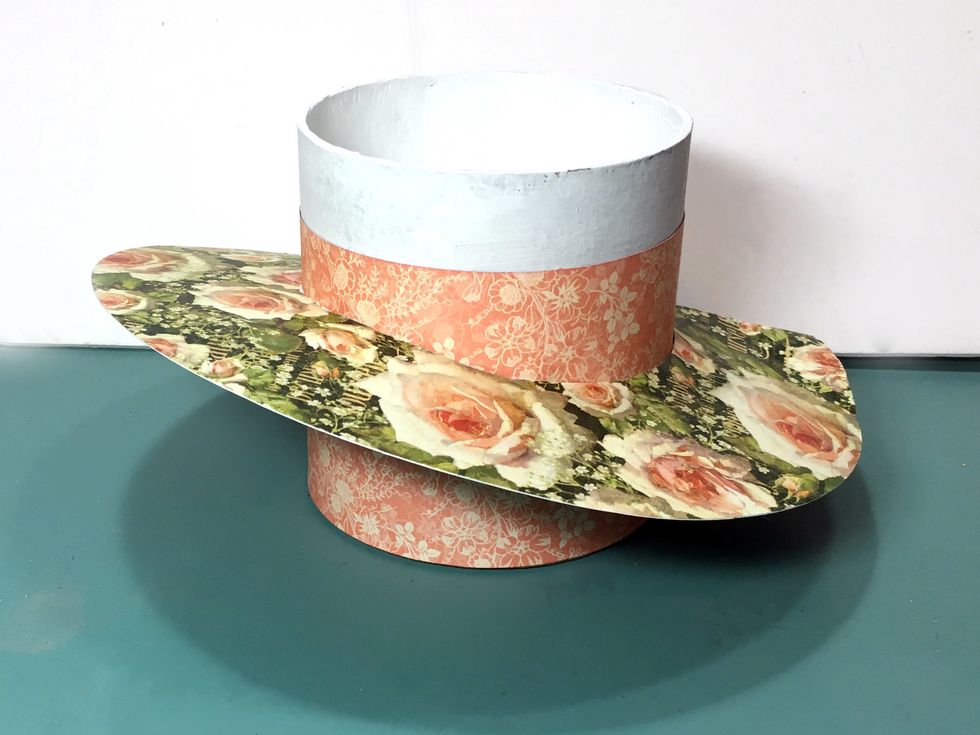
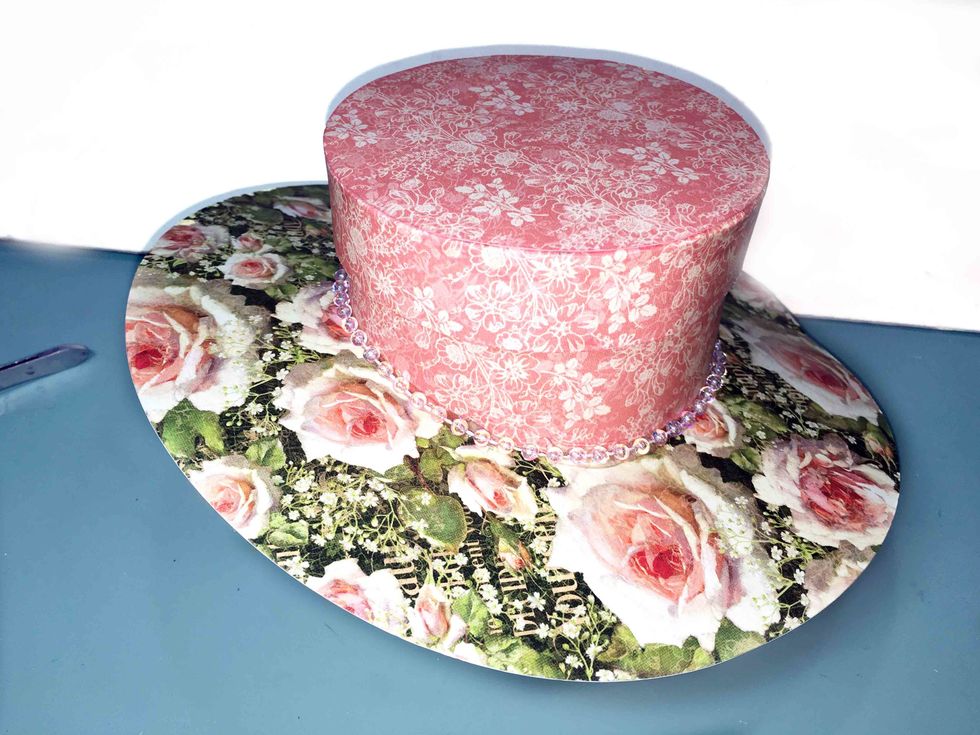
Now slide the brim (large circle) over the base of the box. Give it an angle, however you like.
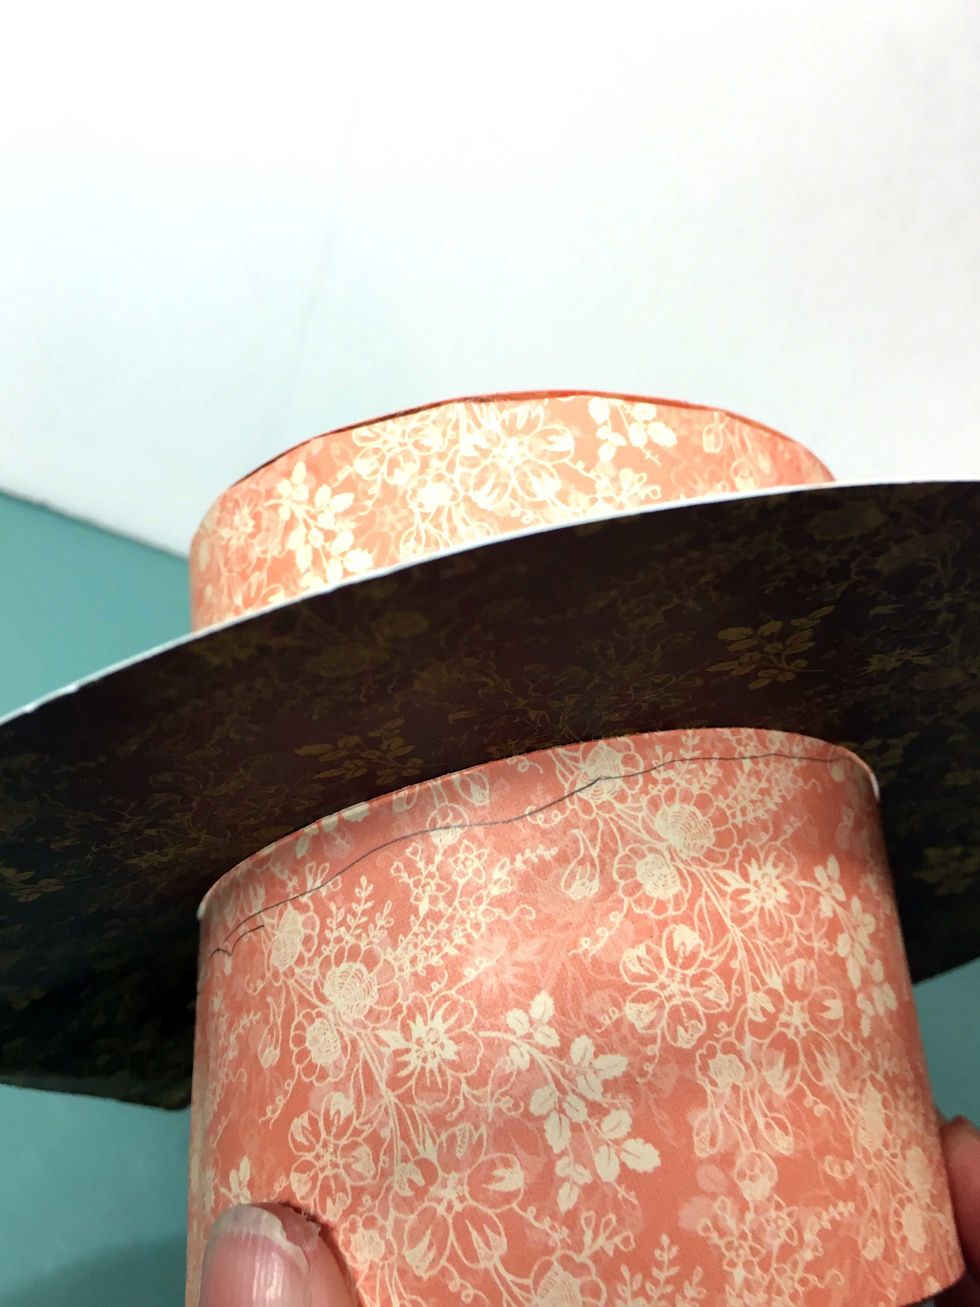
Carefully holding the brim in place, mark underneath the brim where the brim should "sit".
Tape around the box where you marked the brim placement with dimensional foam tape.
Place a bead of glue all along the edge of the foam tape.
Place the brim back on the box and press into place all along the top edge of the foam tape. Allow the glue to dry.
Pull the backing off the foam tape and press a ribbon onto the tape all around the hat.
Add beads around the hat where the crown and brim meet.
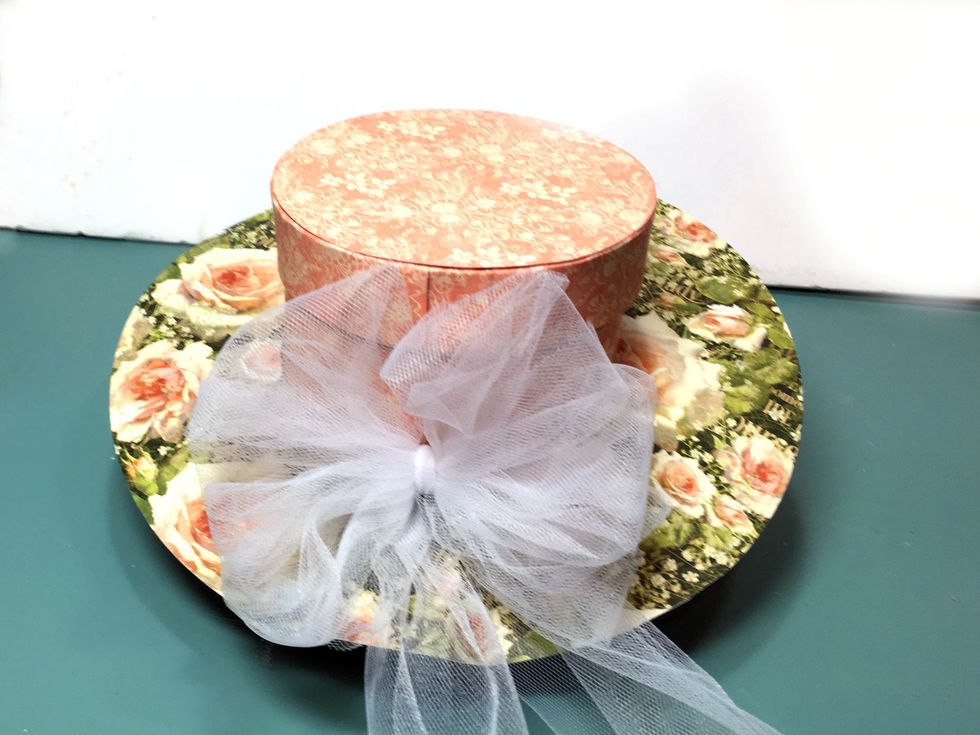
Tie a pretty box with the tulle and attach to the back of the hat at the paper seam.
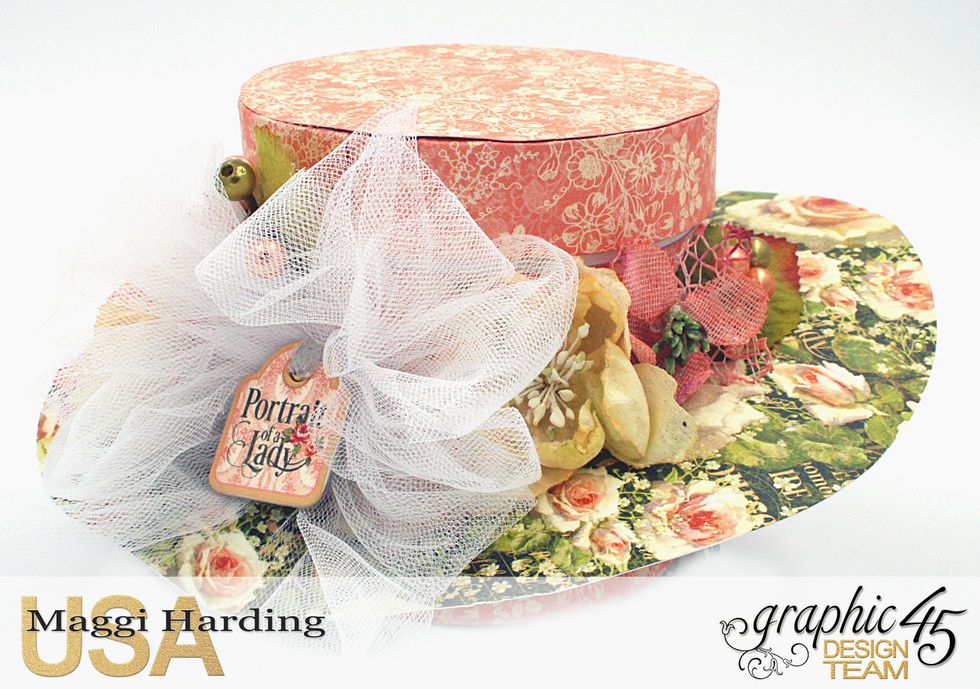
Now you are ready to embellish the hat anyway you like!
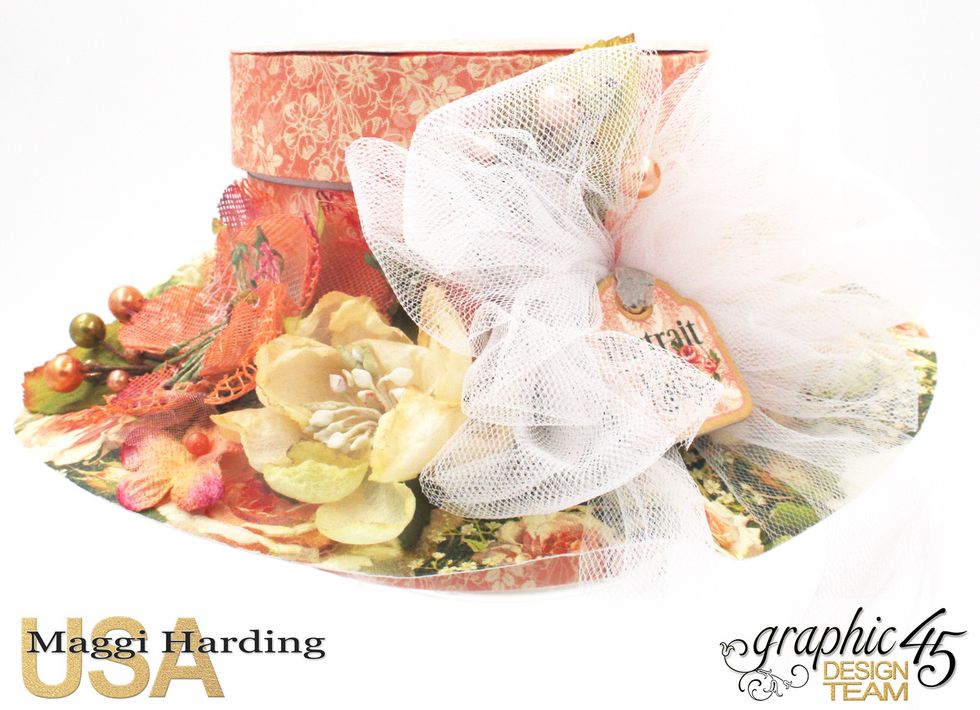
I've used a mix of Petaloo blooms.

Petaloo Botanica bloom in ivory.
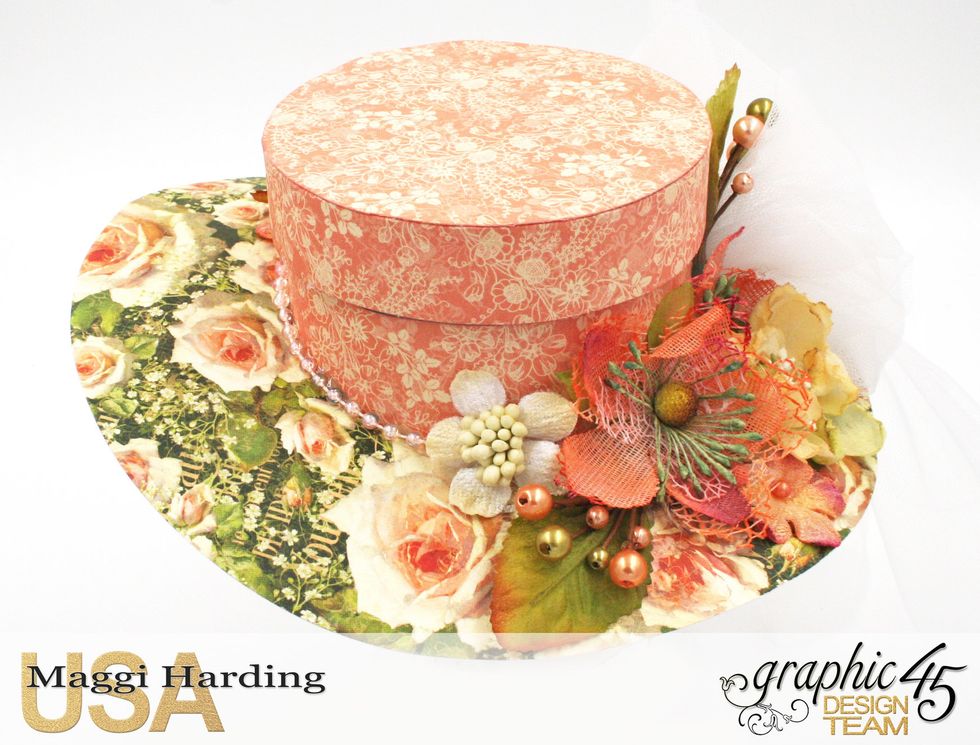
Petaloo Textured Blossoms in Apricot.
Petaloo Spring Berry Clusters.

I design for Graphic 45, Creative Embellishments, Petaloo, & Cheery Lynn Designs. Tutorials on my blog:bit.ly/1Sem2J0. Pinterest:bit.ly/1HhWvOx Thanks so much! Please like if you enjoyed this guide.