The Conversation (0)
Sign Up

Step 1: First, you will need a piece of paper, any color.
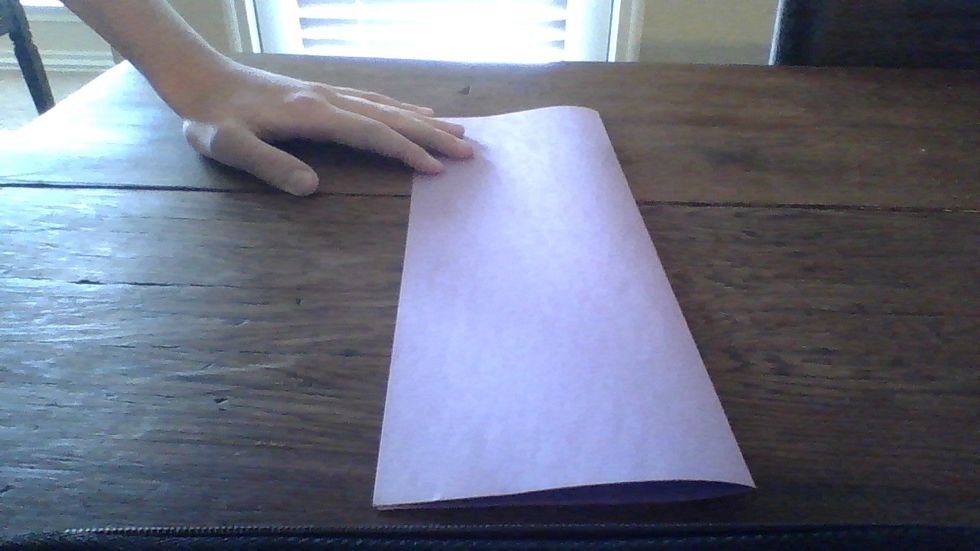
Step 2: Fold the piece of paper in half.
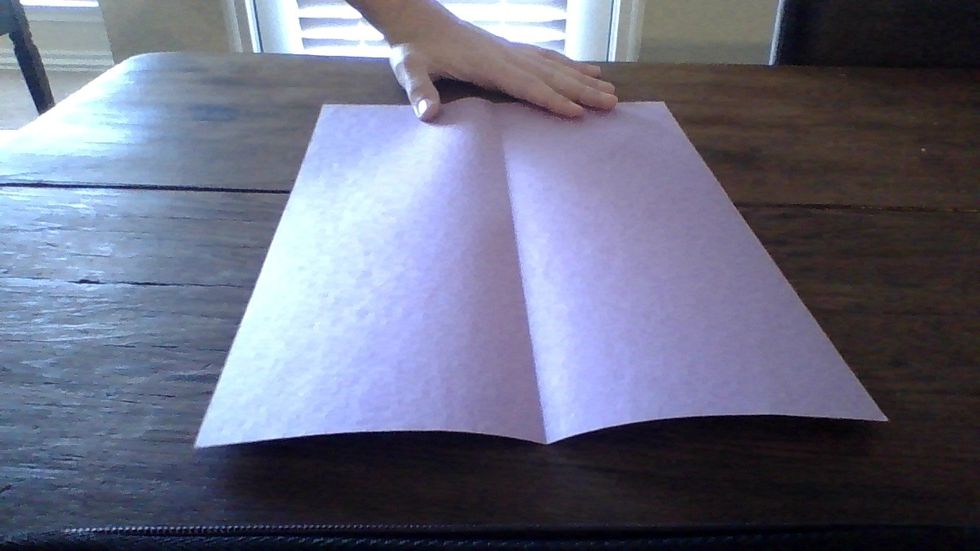
Step 3: Open the piece of paper back up.
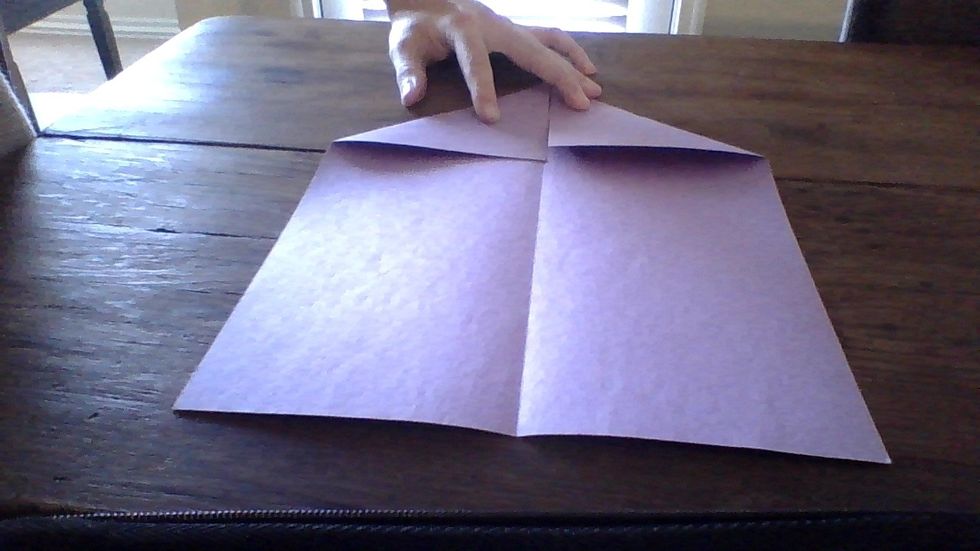
Step 4: Fold one of the corners down to the crease, and repeat with the other corner.

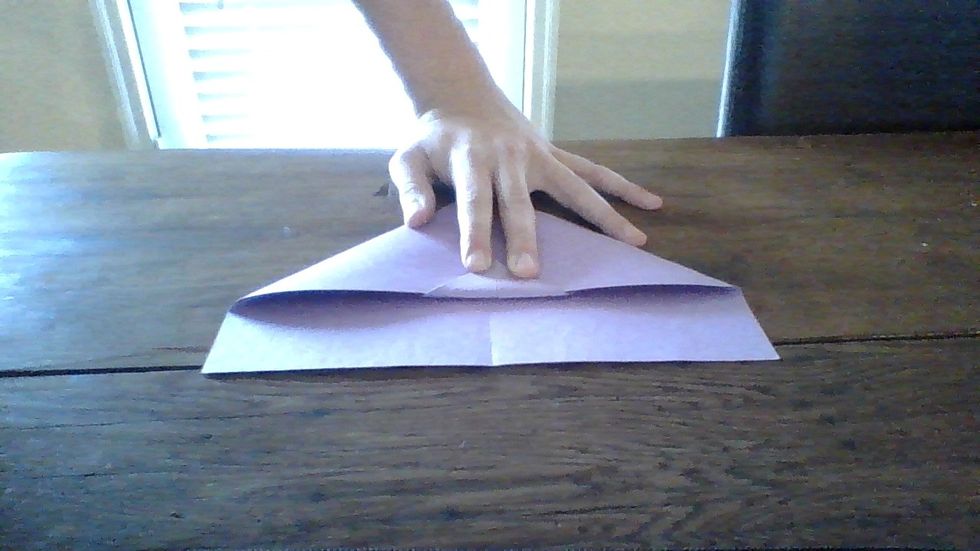
Step 5: Fold the top section down, but leave some room (about half of an inch) between the tip and the bottom.

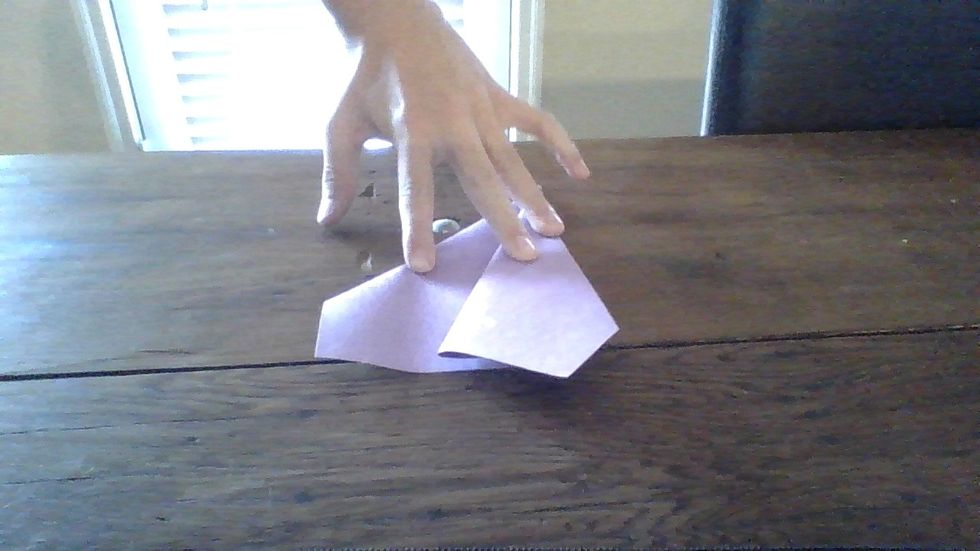
Step 6: Fold the corners over again, but leave some of the tip uncovered (this will be necessary for the next step).
Step 7: Fold the tip up over the corners (told ya).

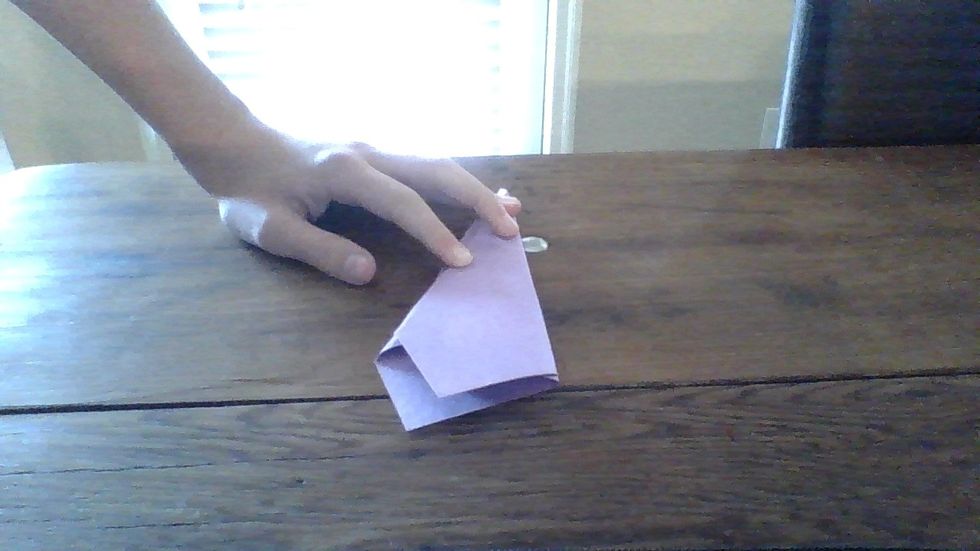
Step 8: Fold the paper in half, making sure the tip is facing outwards on both sides.
Step 9: Fold the top of the wing down so that it runs along the bottom of the plane.
Step 10: Turn the plane upside-down, and repeat step 9.

Step 11: Let go of the wings, and you have your Harrier! Enjoy!