The Conversation (0)
Sign Up
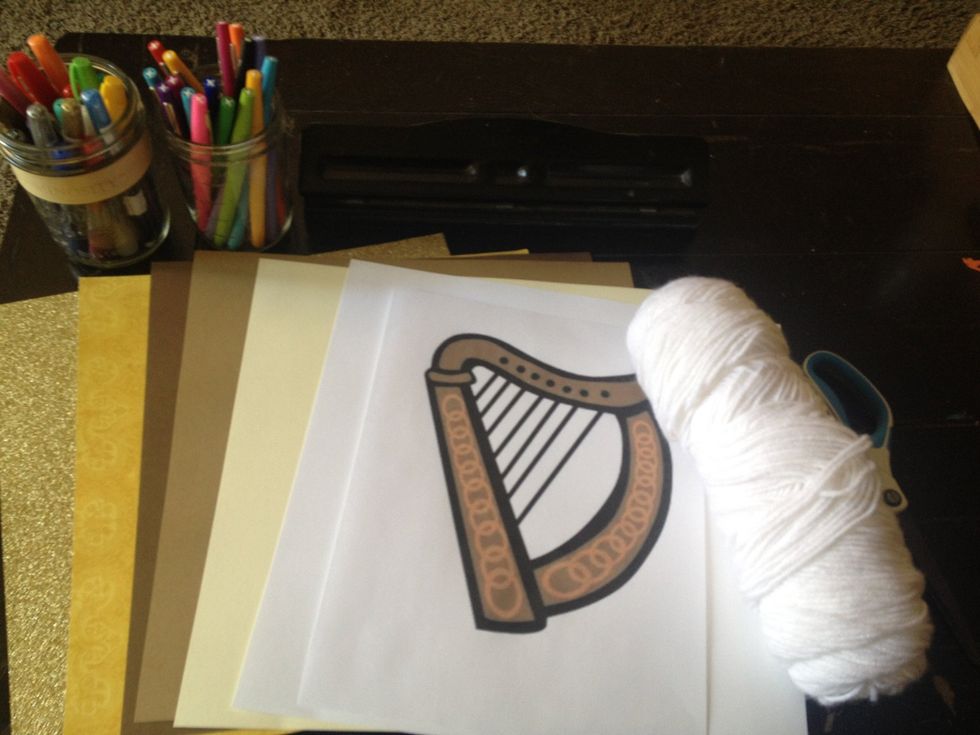
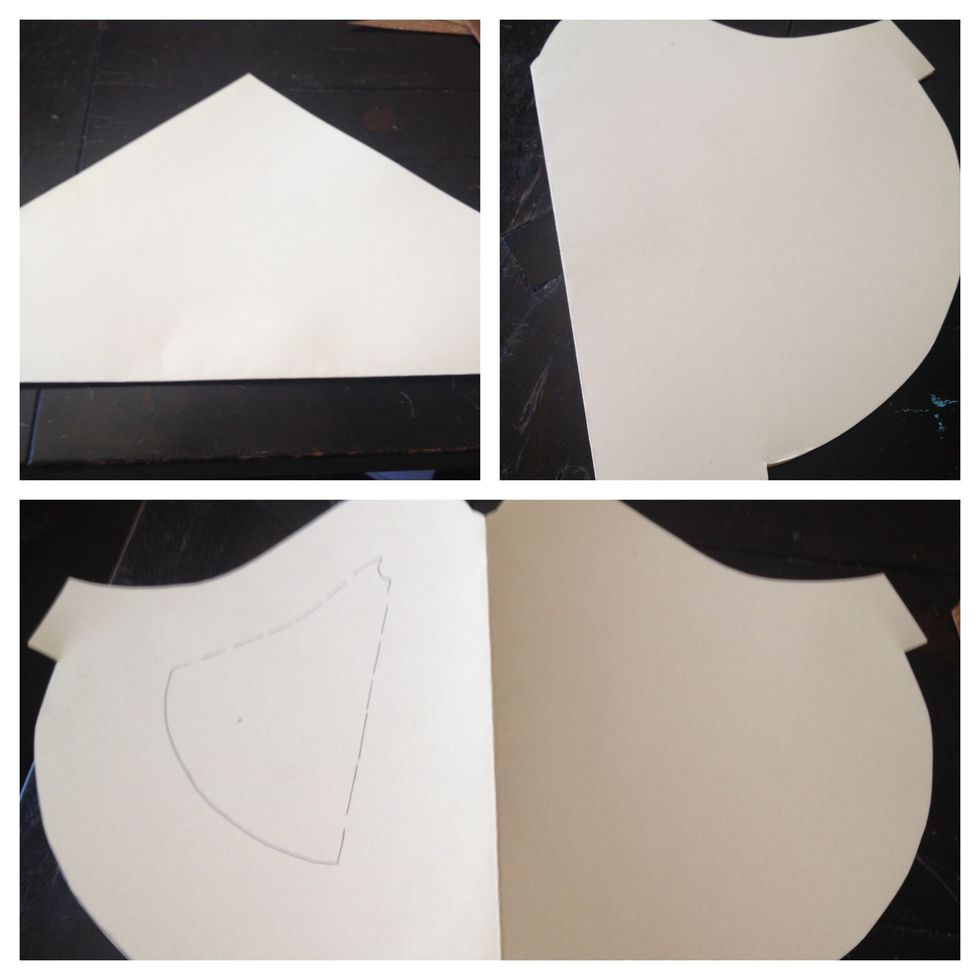
gather your materials! i used a template from google images of a harp I liked and worked for the project best.
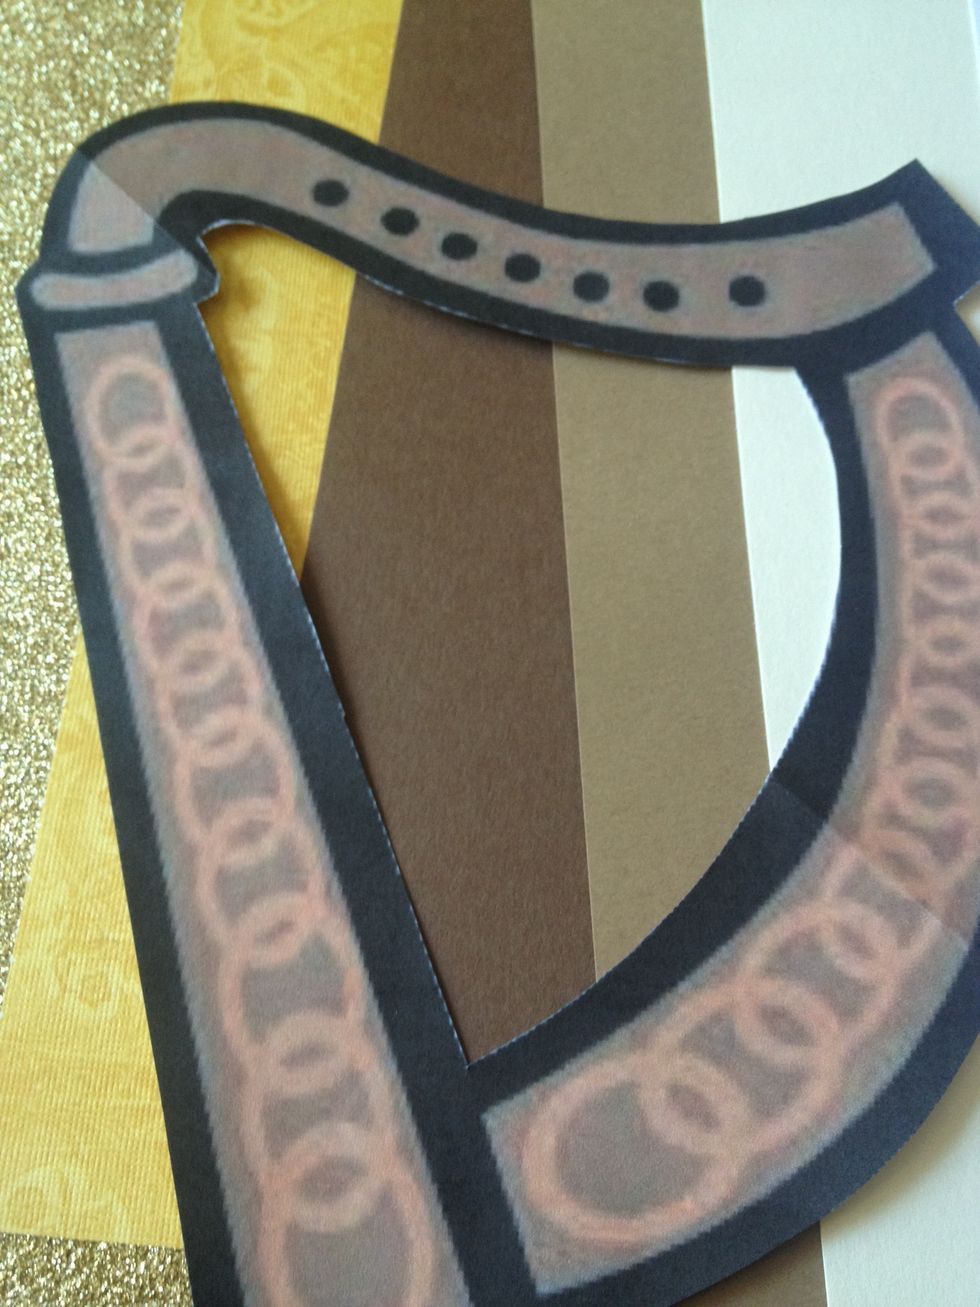
first I cut out the template. fold along the center so that you can cut out the middle as well. this is also a closer look at some of my color choices - yours may vary. keep in mind different shades.
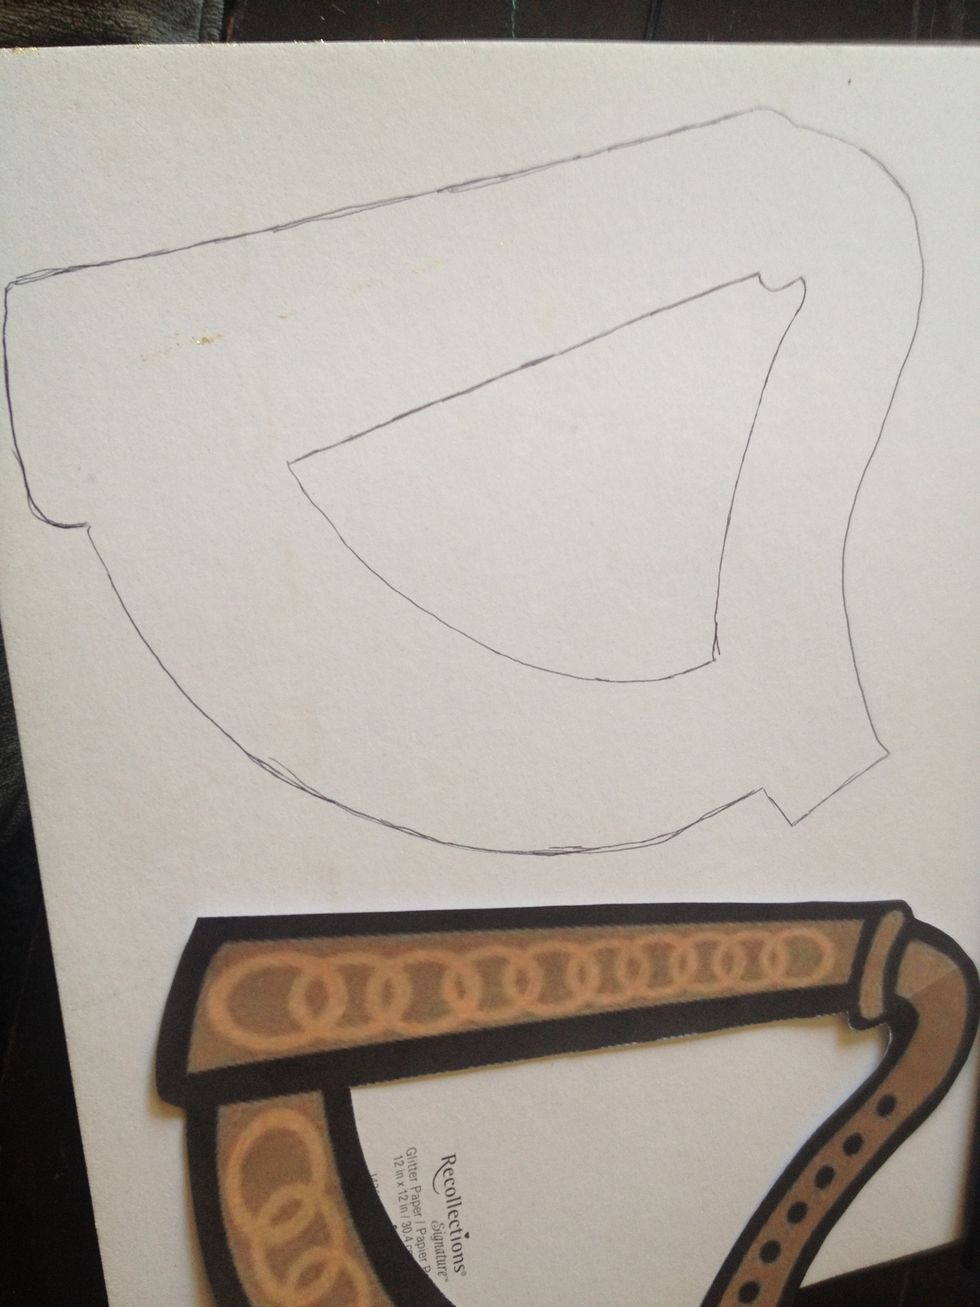
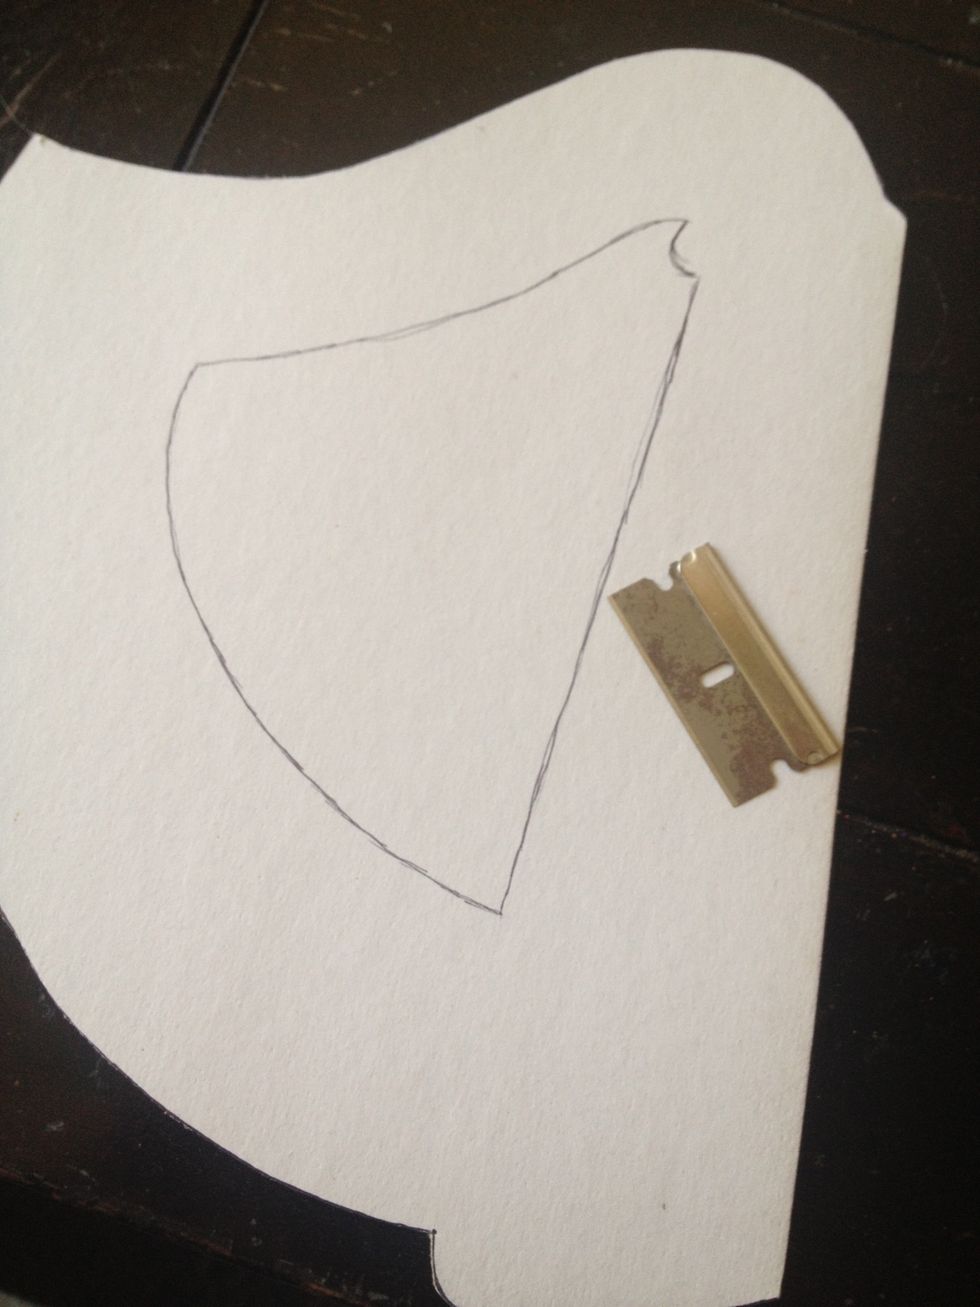
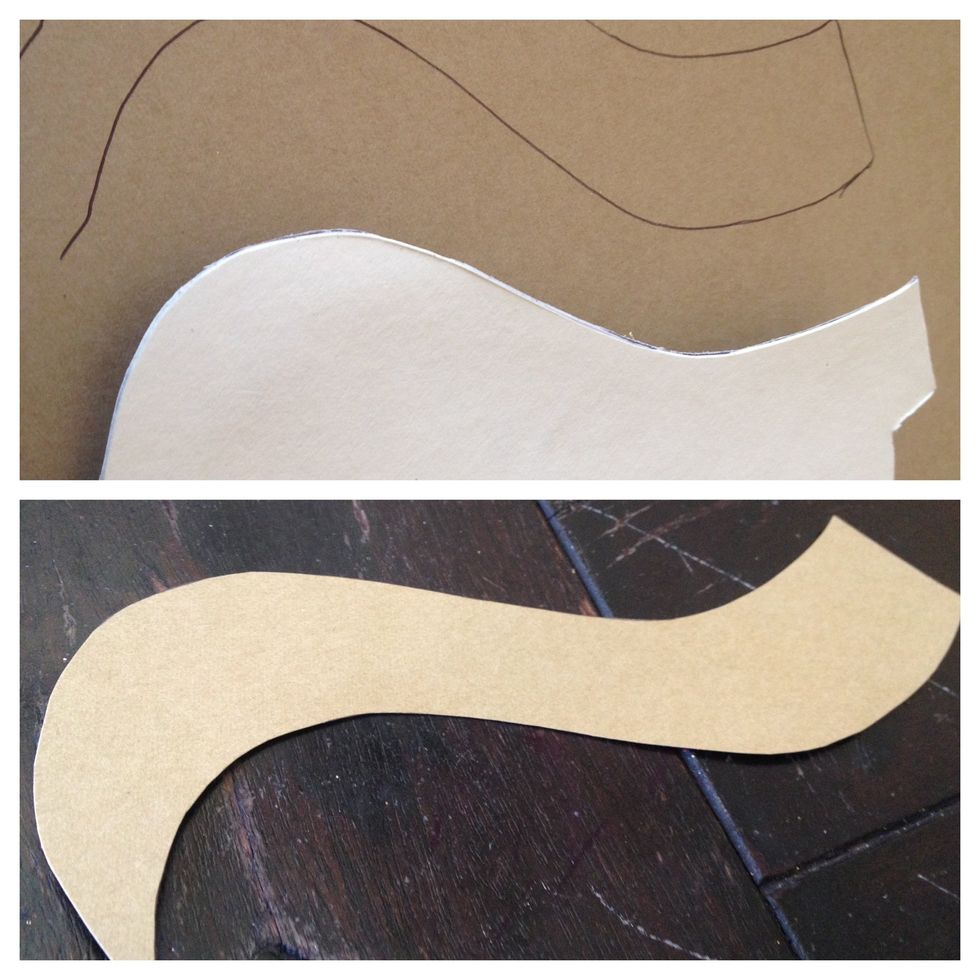
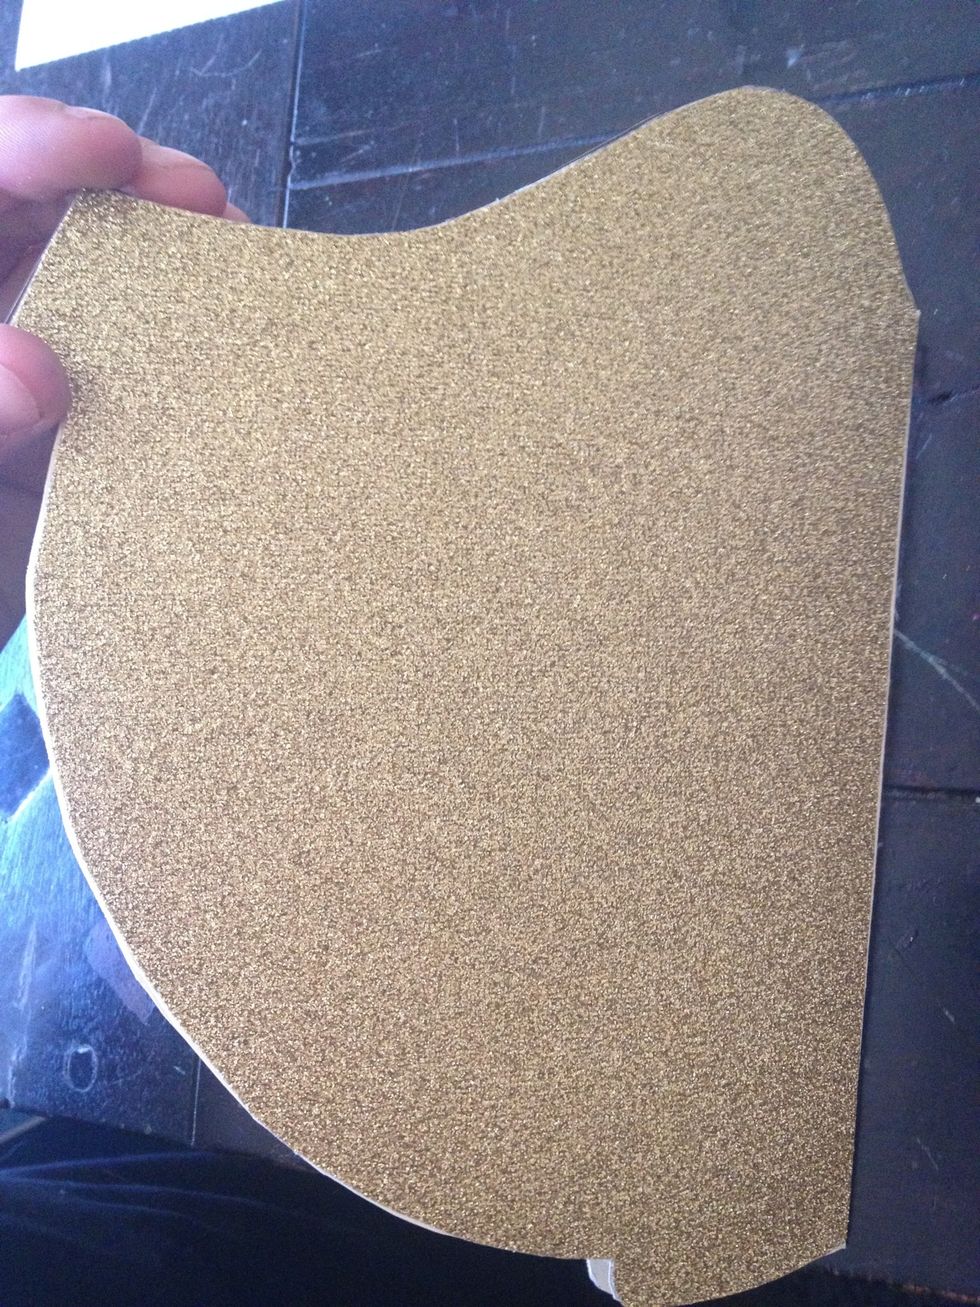
now I'm cutting out the shape of the harp. start by tracing on the back of the gold glitter paper... BUT WAIT... I've made a mistake already, can you catch it??
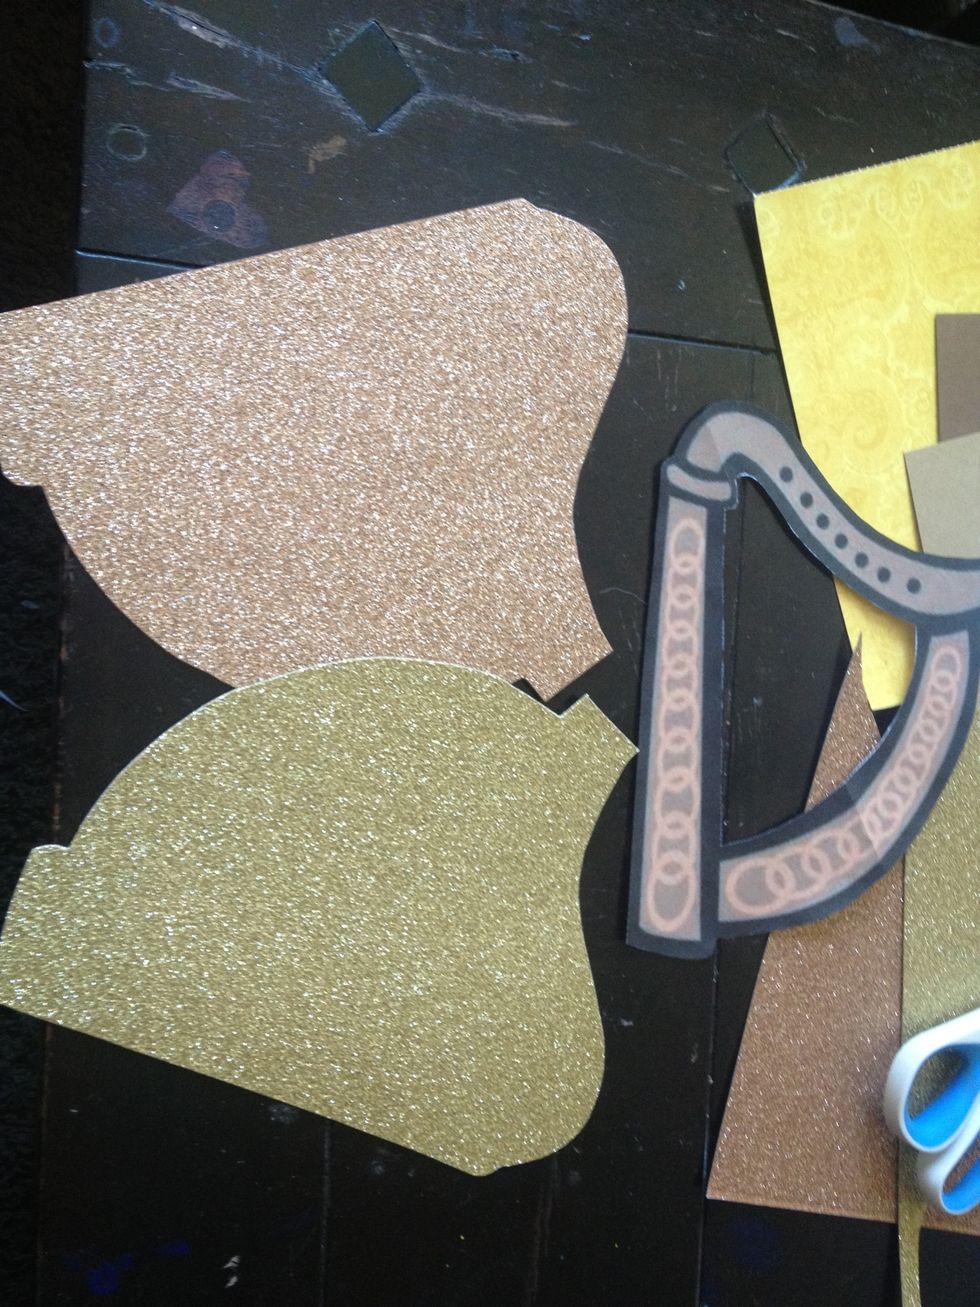
... I cut it out backwards... and for my card this wouldn't have worked! so, luckily enough I had a coppery glitter paper that actually worked better. I saved the gold one in case I want to use it.
so that the previous mistake doesn't happen to you, put the harp upside down (color/printed side down.) this will ensure that the object your tracing matches the correct direction.
now trace the center from your template and cut using a razor blade. you do not want to fold and use scissors because on most papers, especially glitter paper, the fold shows on the front.
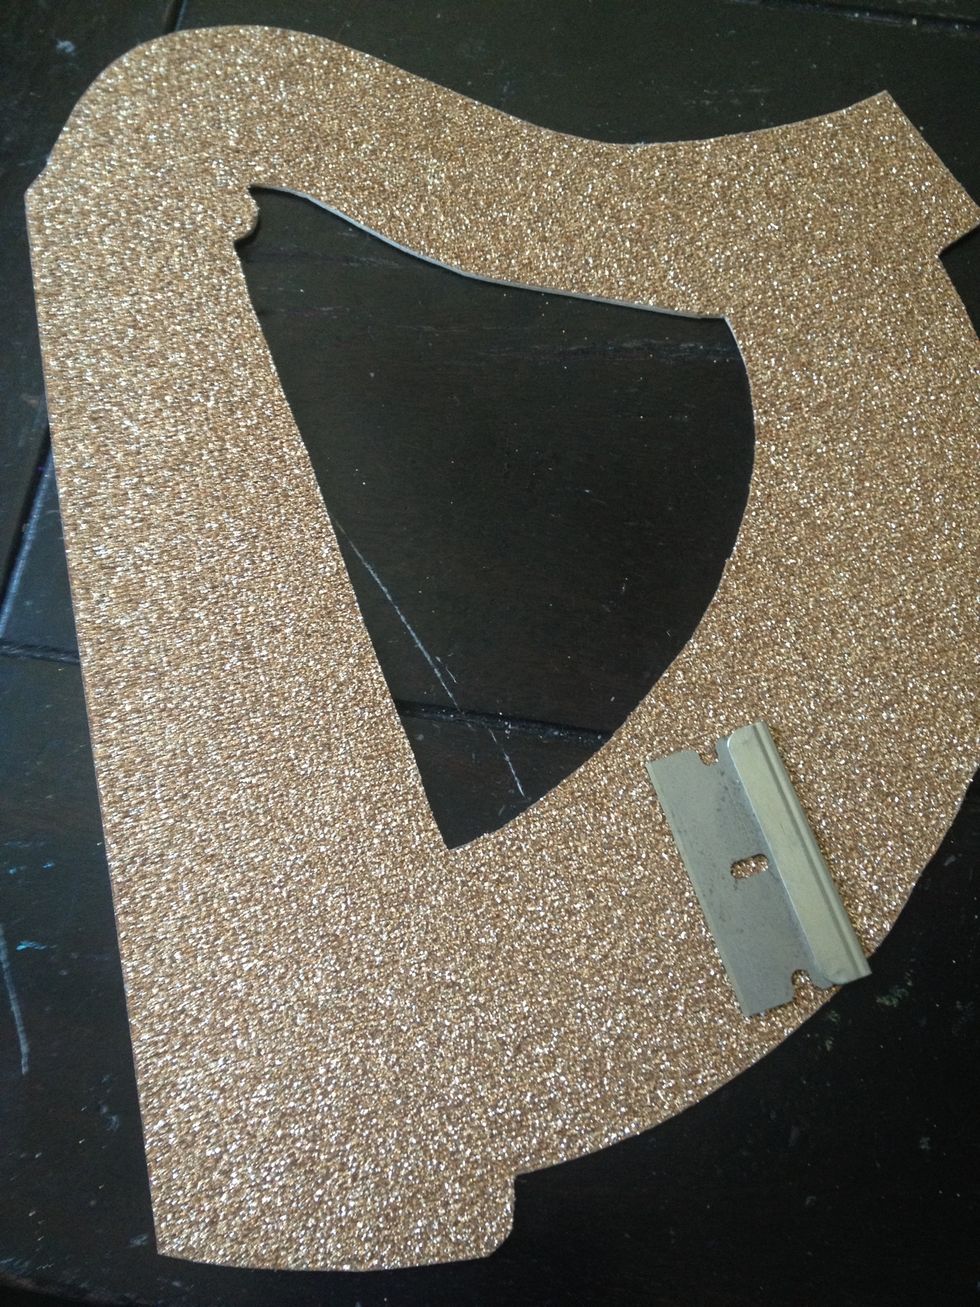
this is what it will look like: clean and bold.
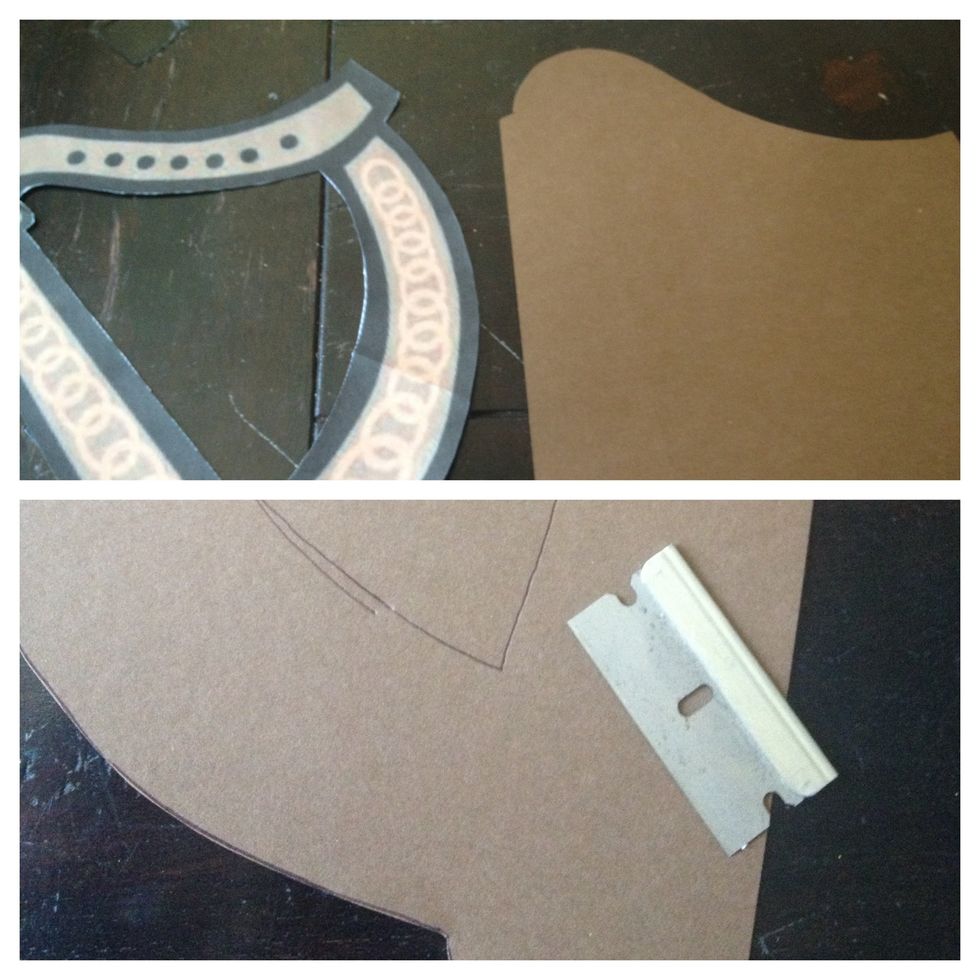
now cut out a half inch smaller, chocolate brown harp using the same techniques. this will add dimension to the card and will show more detail that the previous, bolder glitter paper.
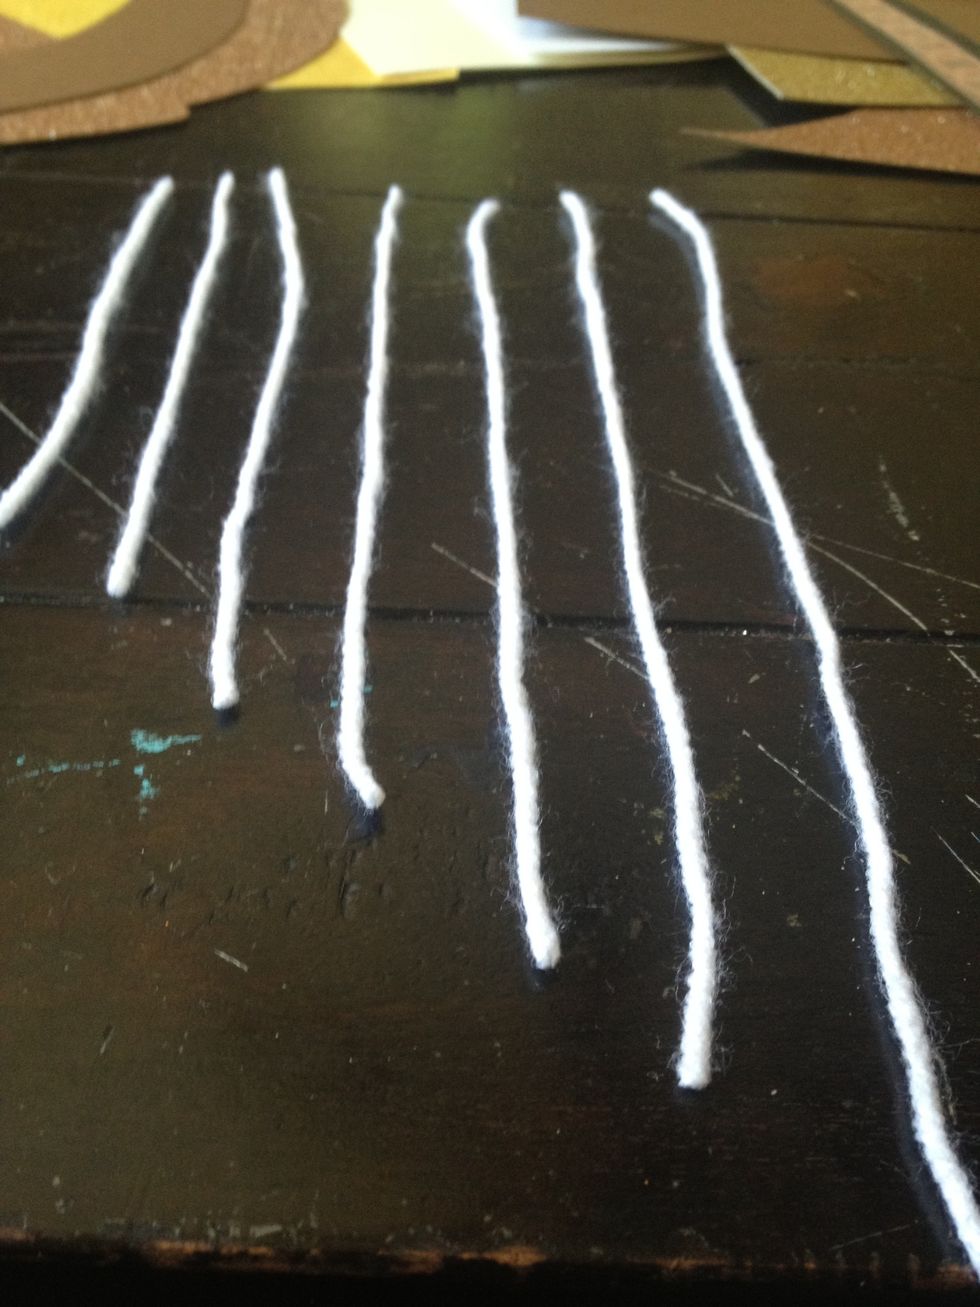
HOPEFULLY you'll have the color string you desire, but I want something more colorful. keeping in mind the size or the card, I cut six strings for the harp varying in size.
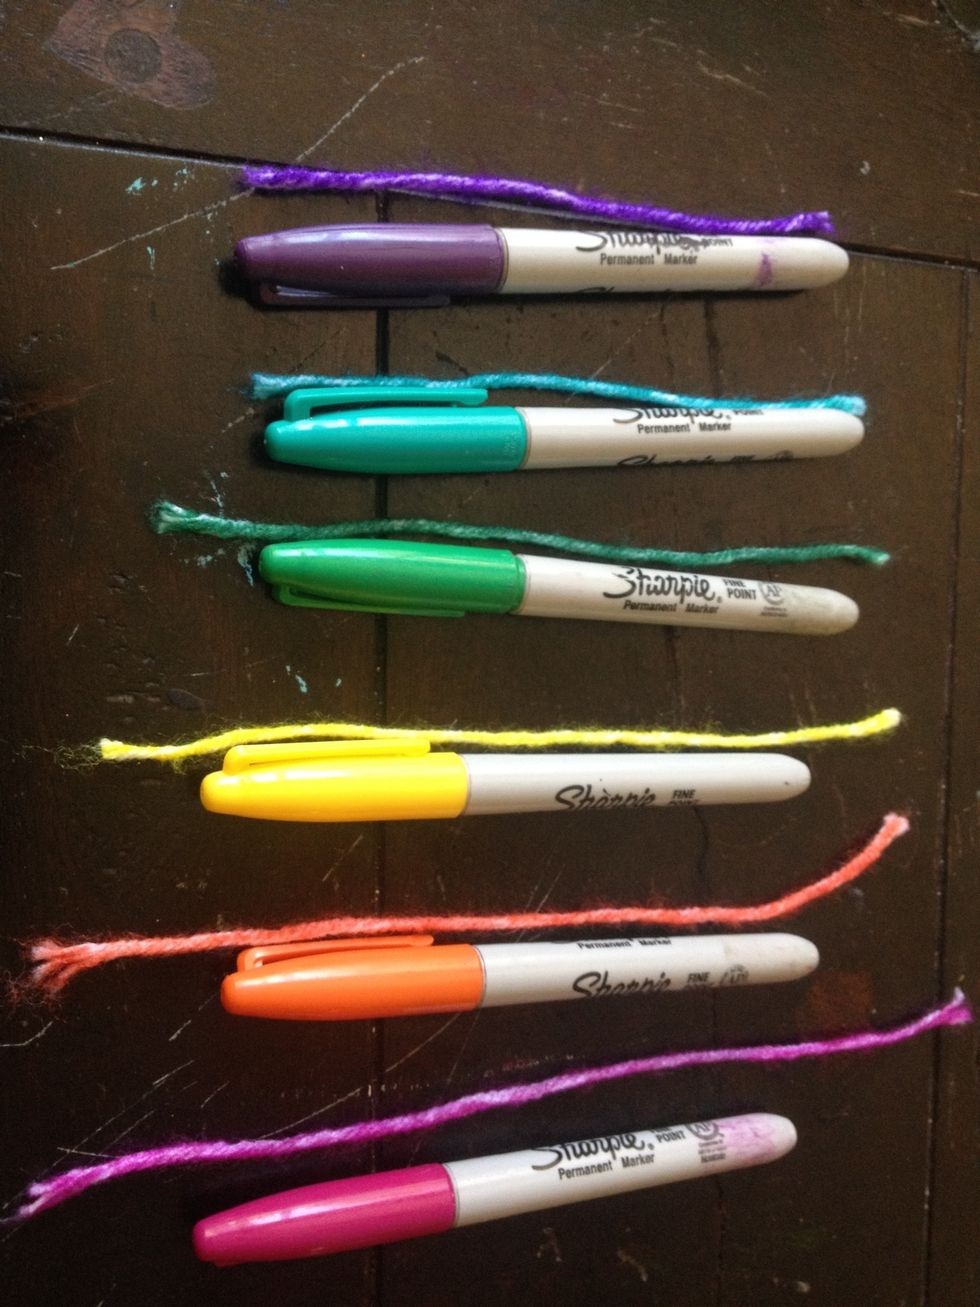
I colored mine rainbow using sharpie! haha

line up the strings to match the original template: shortest up top to longest at the bottom stretching from the top bar to the left side bar.

using a tack make small indents where the string lies and go back and make the holes larger by wiggling the tack only big enough for the string to go through.
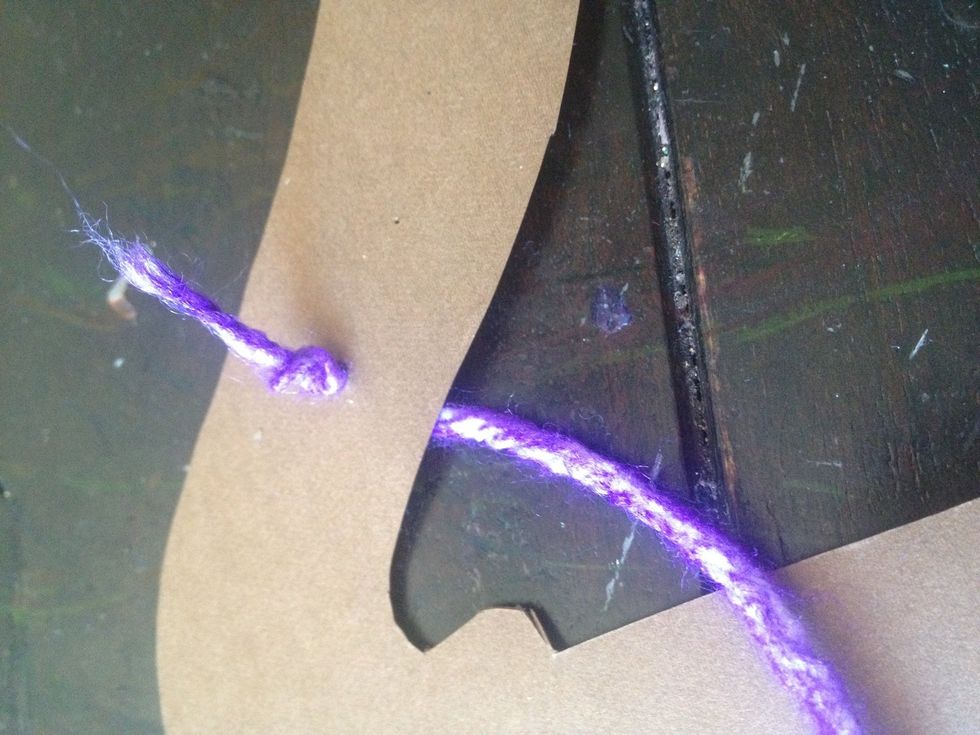
poke the string through and make a knot. this will take some finesse, kind of like threading a needle.
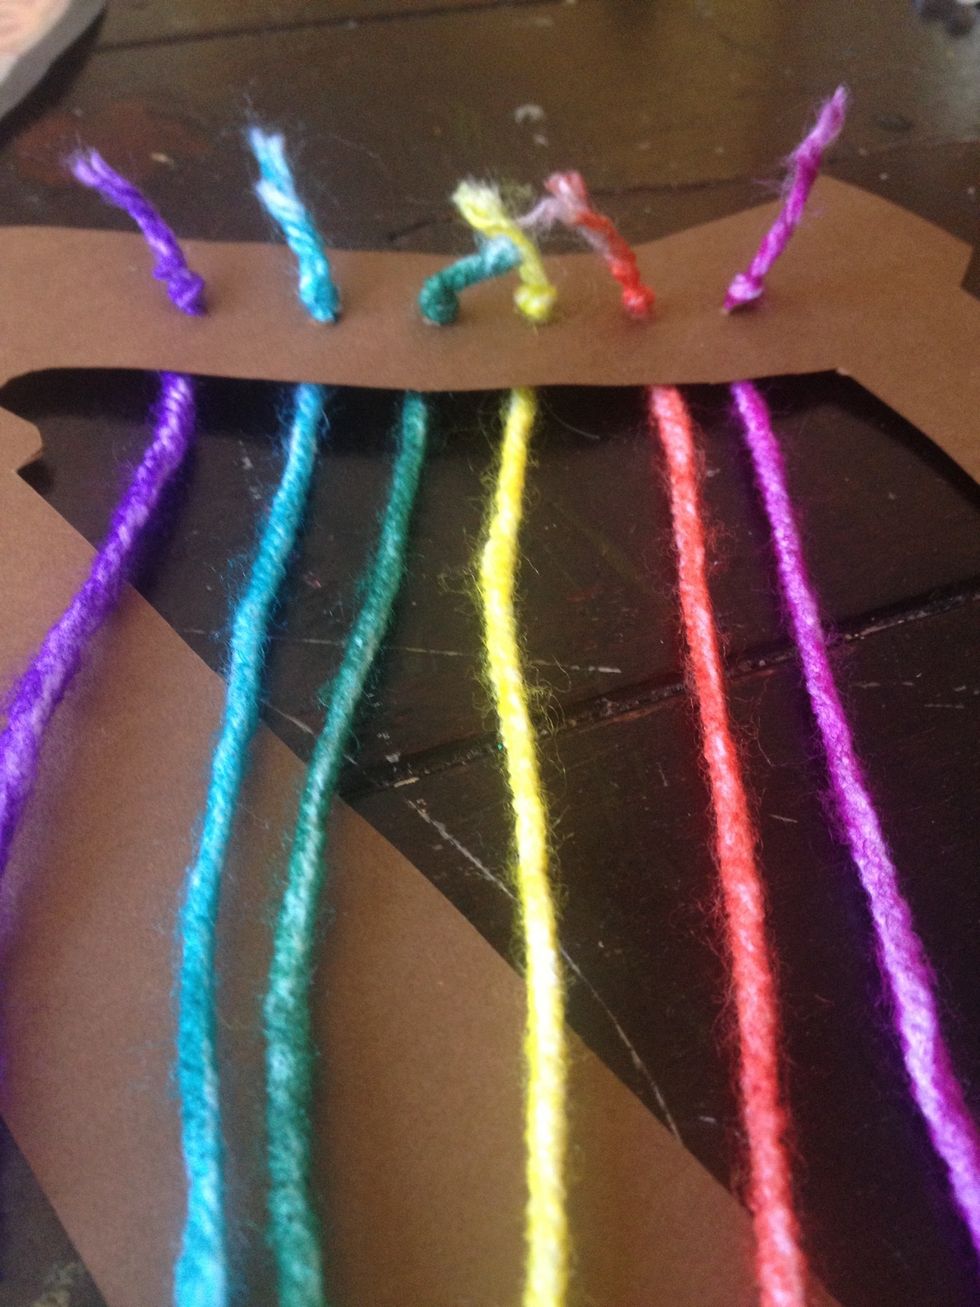
this is what it will look like when the top bar is finished. now time to tie them into the left side bar.
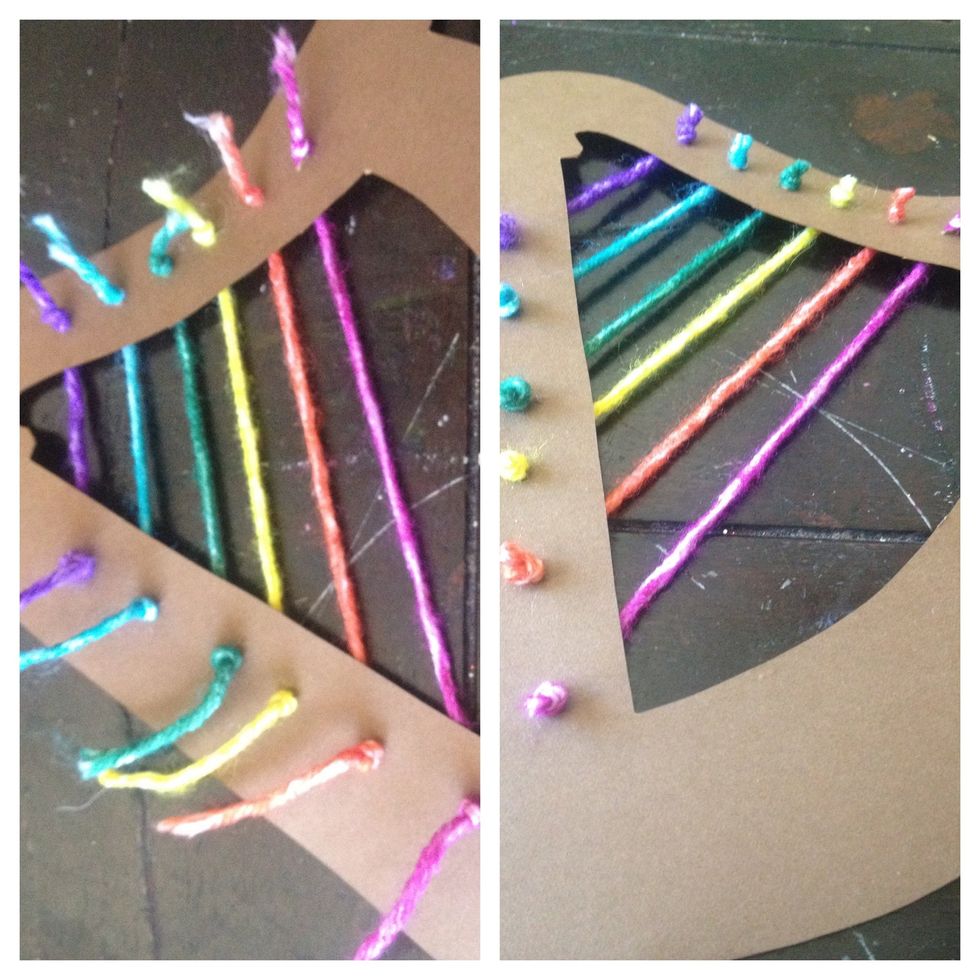
be careful when pulling strings tight so that the card doesn't bulge, you do want them taught tho. make sure the knots are tight before trimming.
I chose to have the knots on the top and the string go through the back because I wanted to have the dots (the knots) similar to the template.
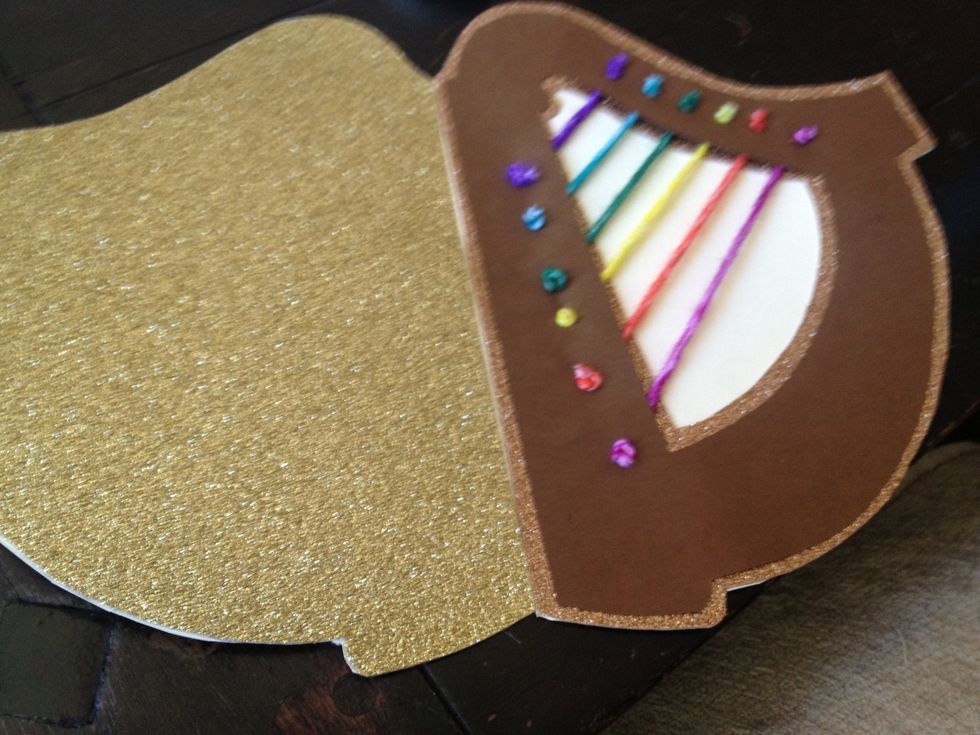
glue brown piece with strings to the gold piece and place beneath something heavy - I prefer high school yearbooks!
while the front dries, let's make the card! fold a sheet of cream paper in half and trace the harp again - same size as glitter outline. make sure to have the left side of the harp against the fold.
now glue the harp to the front of the card (I used my gold "mess up" for the back!) trim the excess cream paper and set beneath heavy object to dry.
now we'll create a fun detail for the inside. trace and cut out the top inch of the harp on a light brown paper. this was difficult to make precise, so play around with what works best for you.
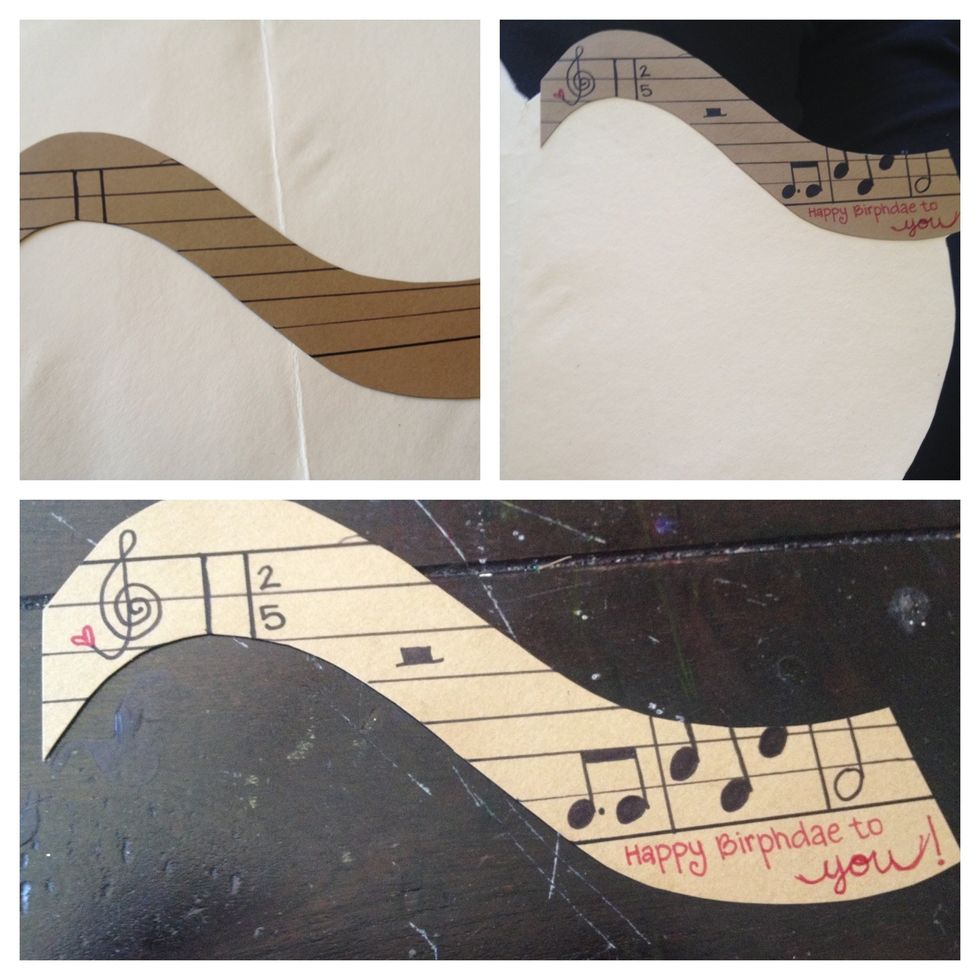
we're going to make it into a music bar! i found the notes for "happy birthday" from google, and with little musical knowledge copied them. i used 2&5 instead of 3&4 because my friend is 25.
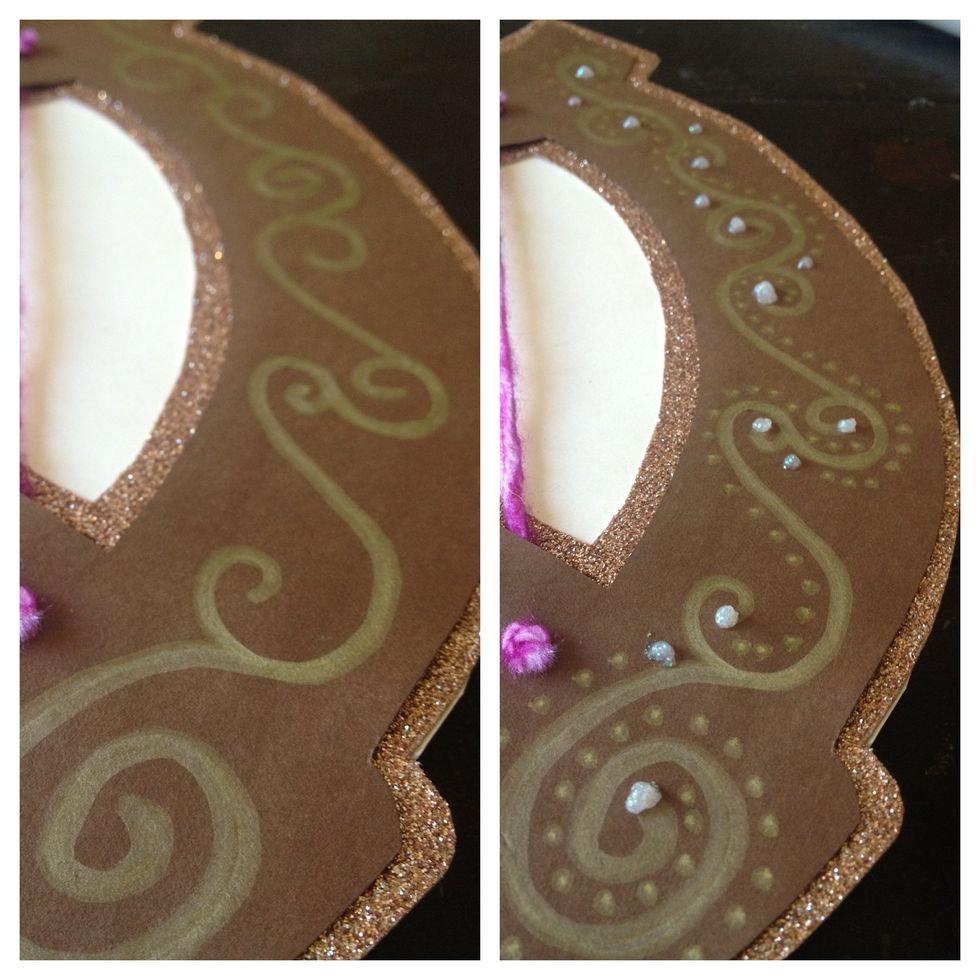
using a gold paint pen and glitter glue I added detail to the front of the card...
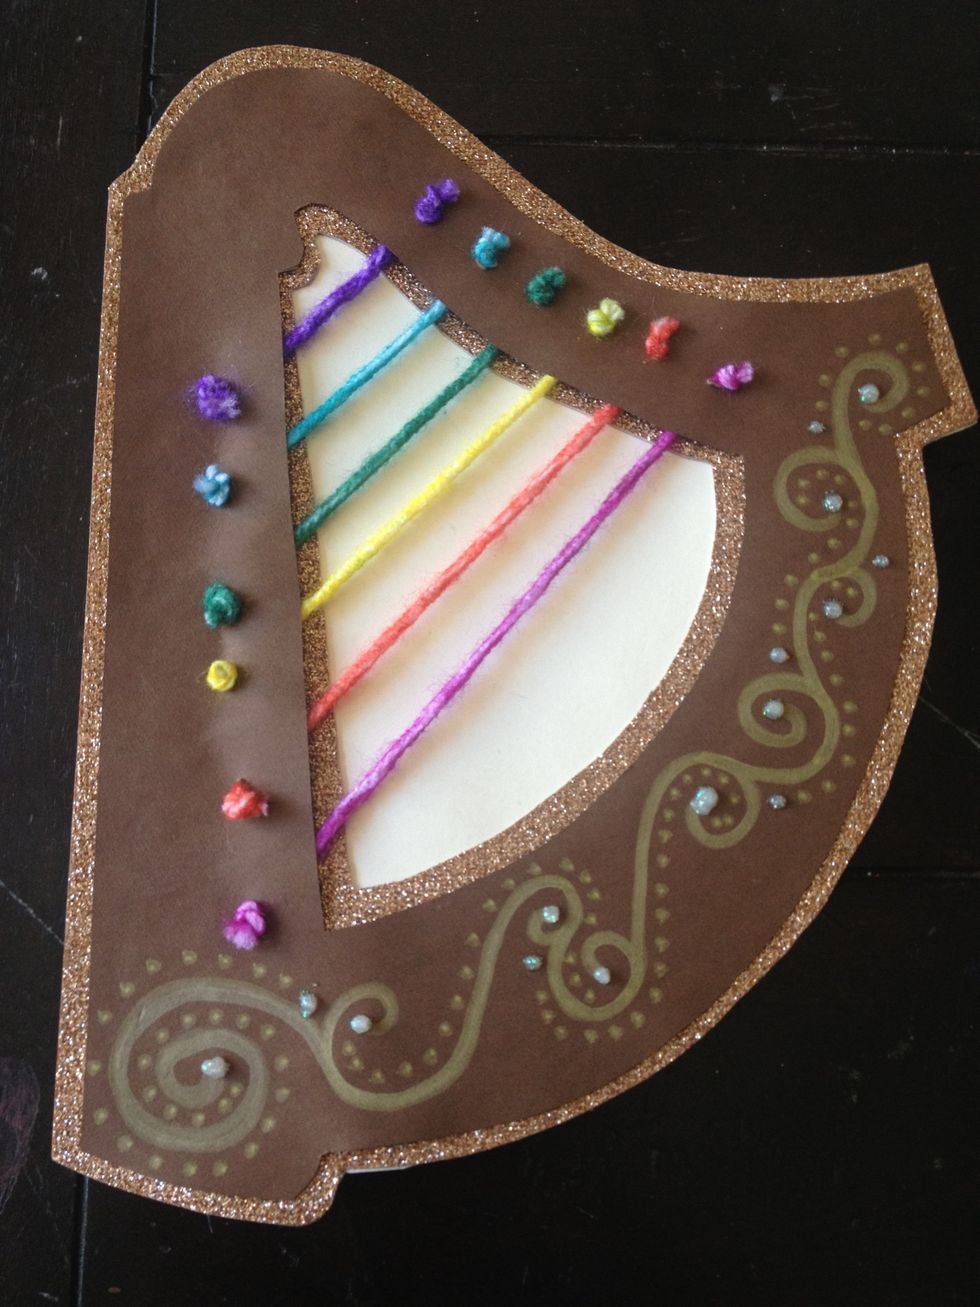
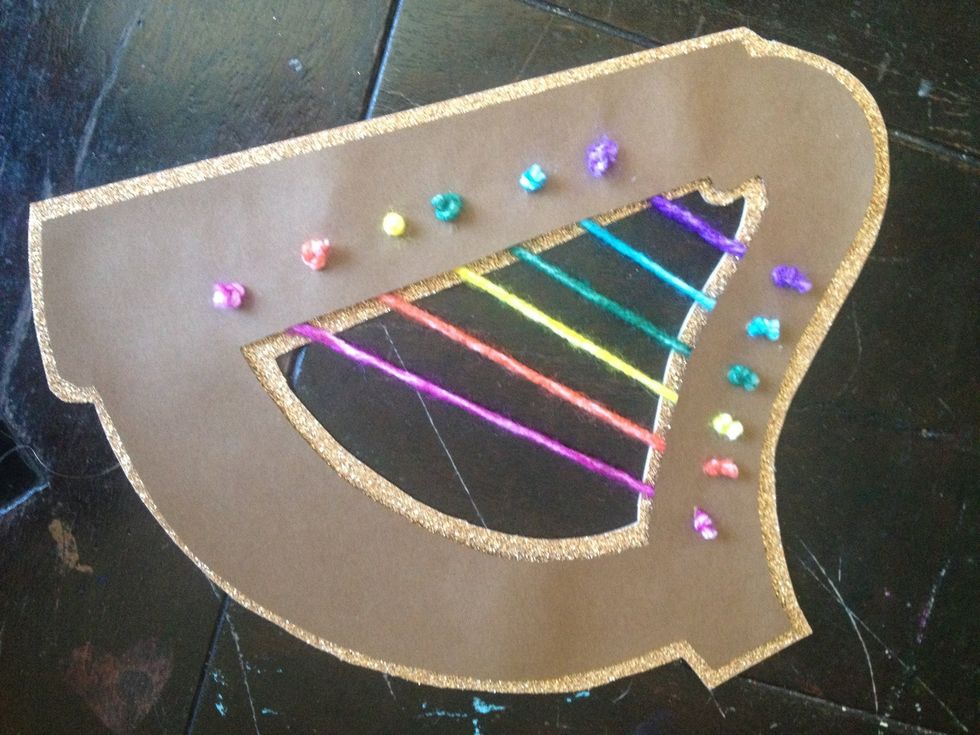
fin. here is the front!
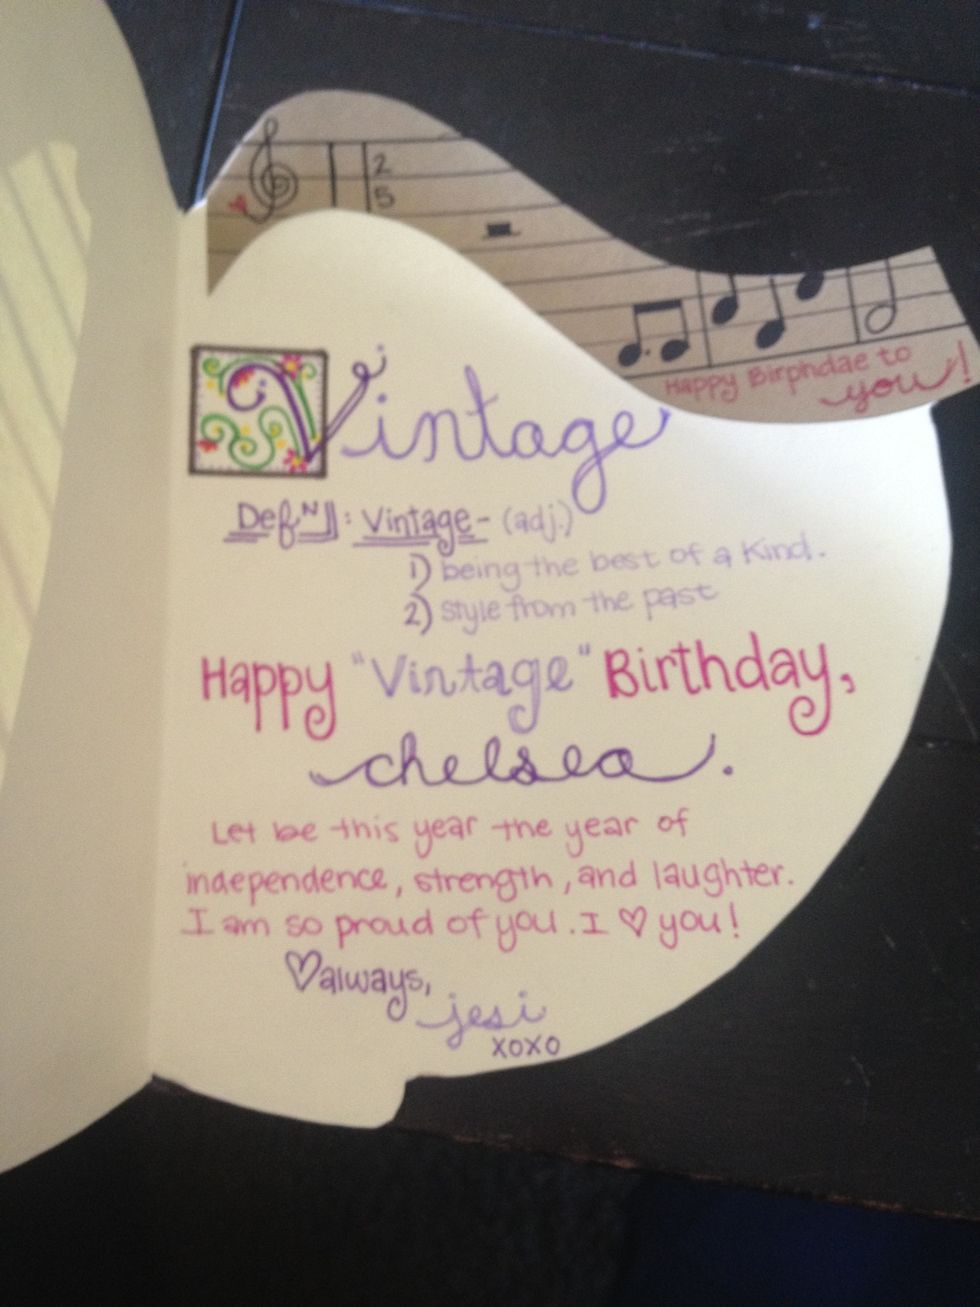
here is the inside. your 25th birthday is your "vintage" birthday. my friend is a graphics communication major so I tried to play around with typography - my lame attempt, haha!
and here's the back! I hope you enjoyed my guide! happy birthday, Chelsea!