STEPS
TOOLS
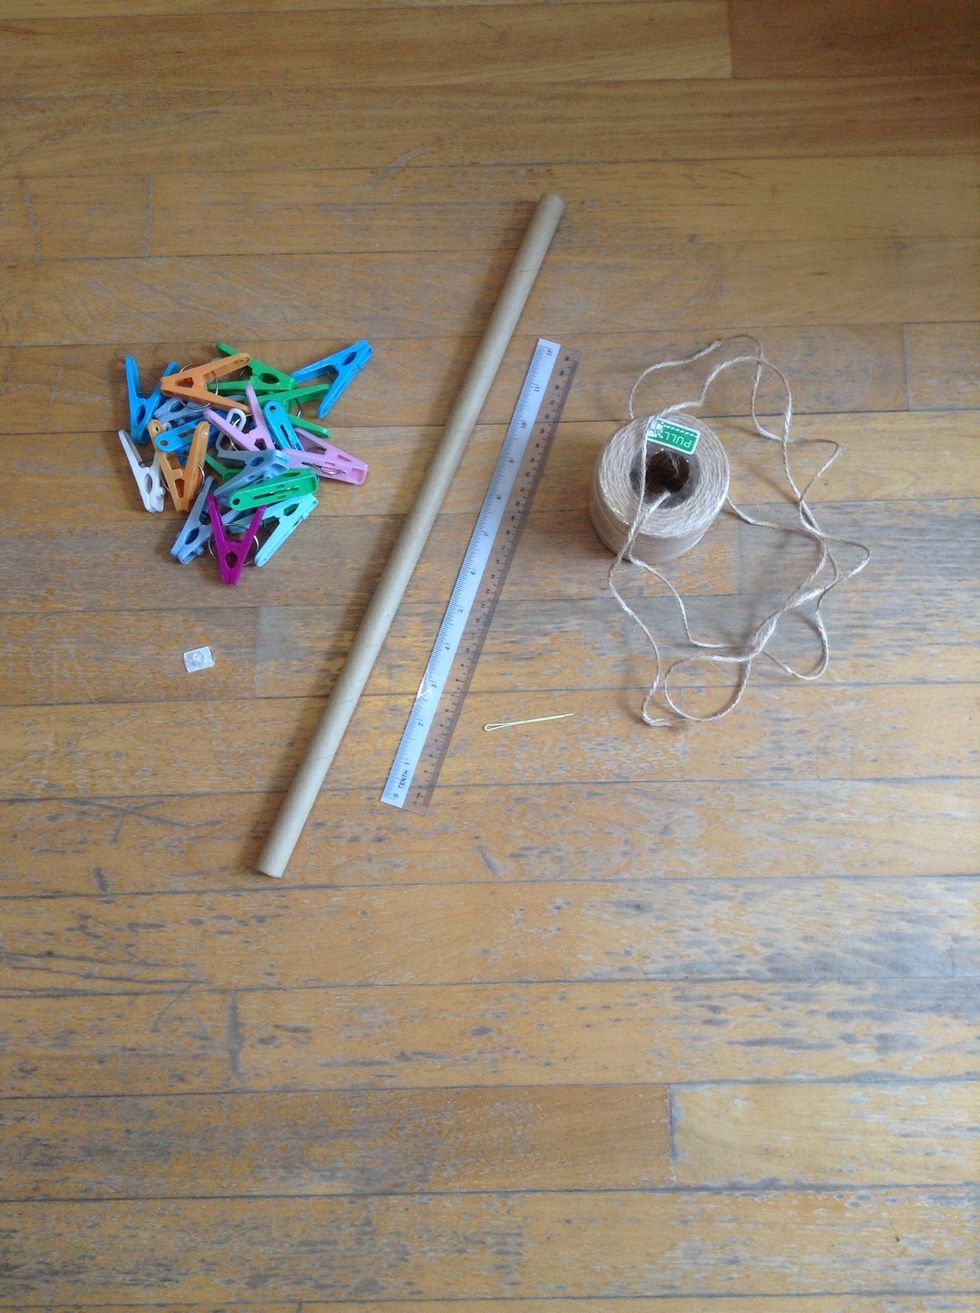
Things you'll need: - Pegs (for more vintage look, you can use wooden pegs) - String (any strong string will do) - Rod (will talk abt it in step 2) - Hook (favourable size) - Ruler
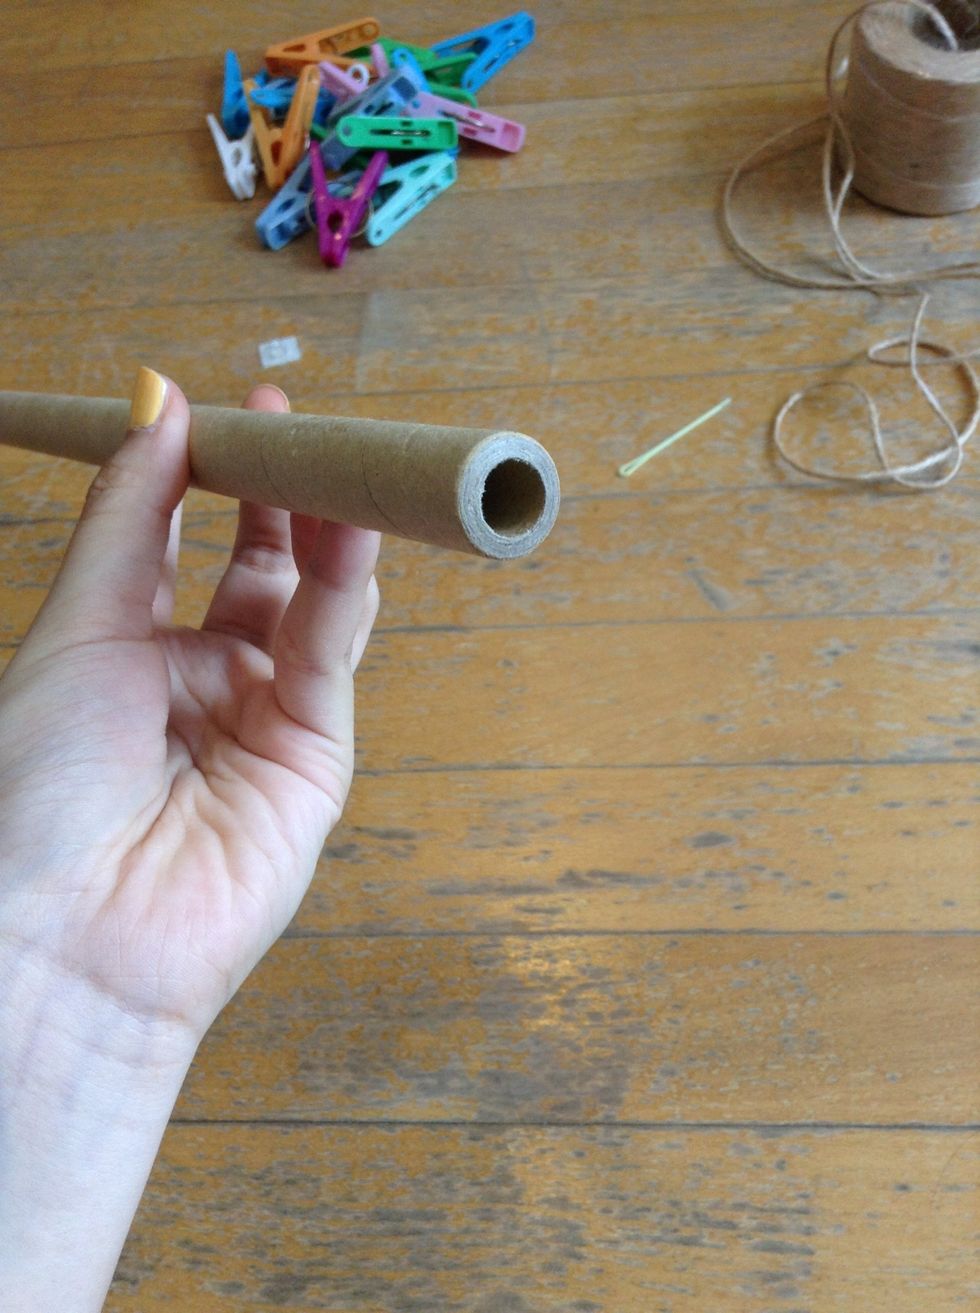
My rod is hollow, hence I can just slide the string in, but if yours isn't, it's totally fine (Step 5)
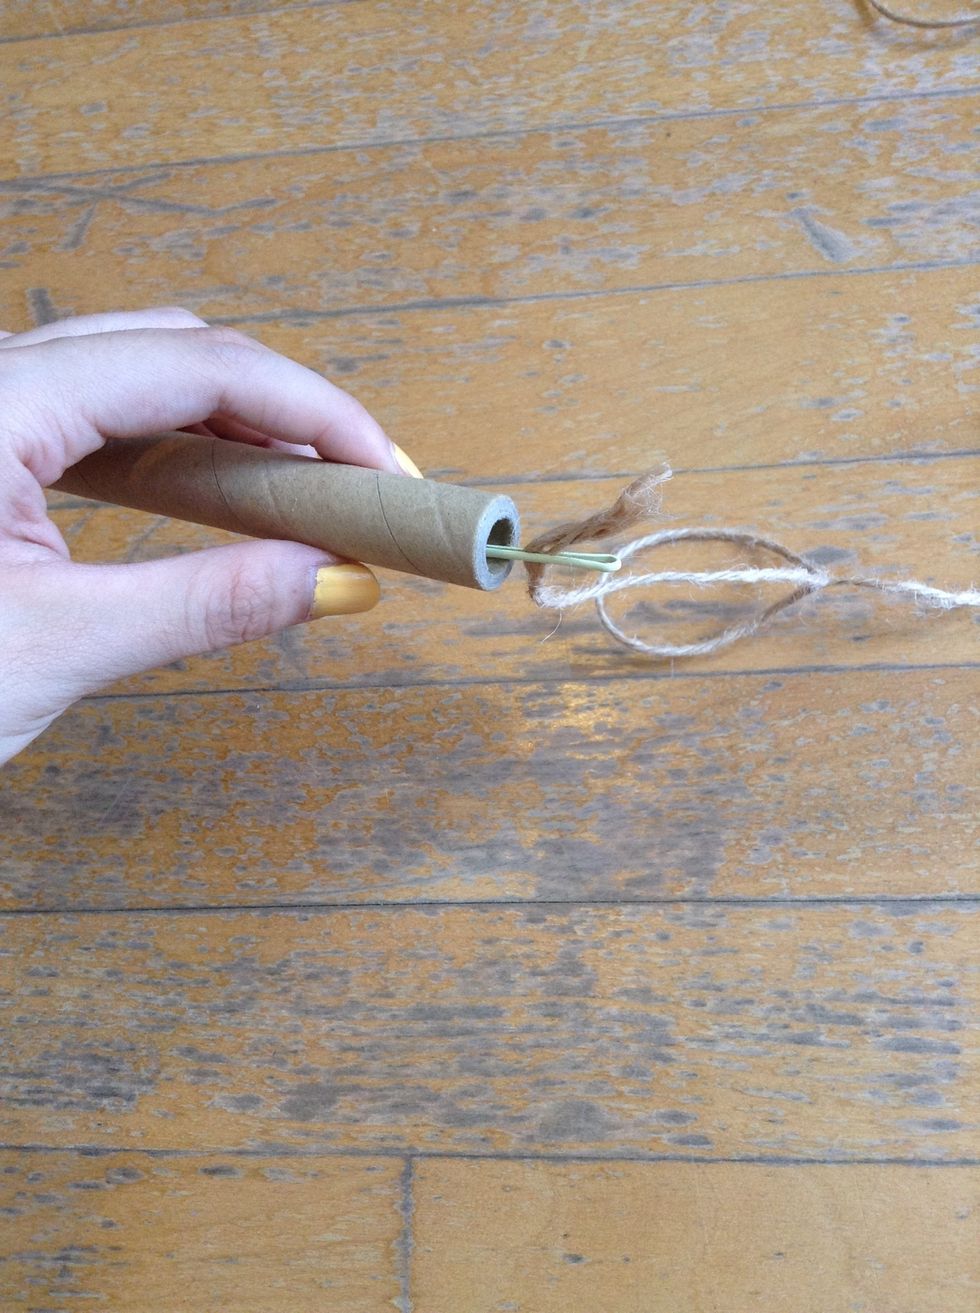
I used a pin to make my job easier. You can use anything that is slim and has mass.
If your rod isn't hollow, you can always tie two strings (same length depending on how much u want it to hang) on each end of the rod & then tie them tgt again at the other end of the string (step 9)
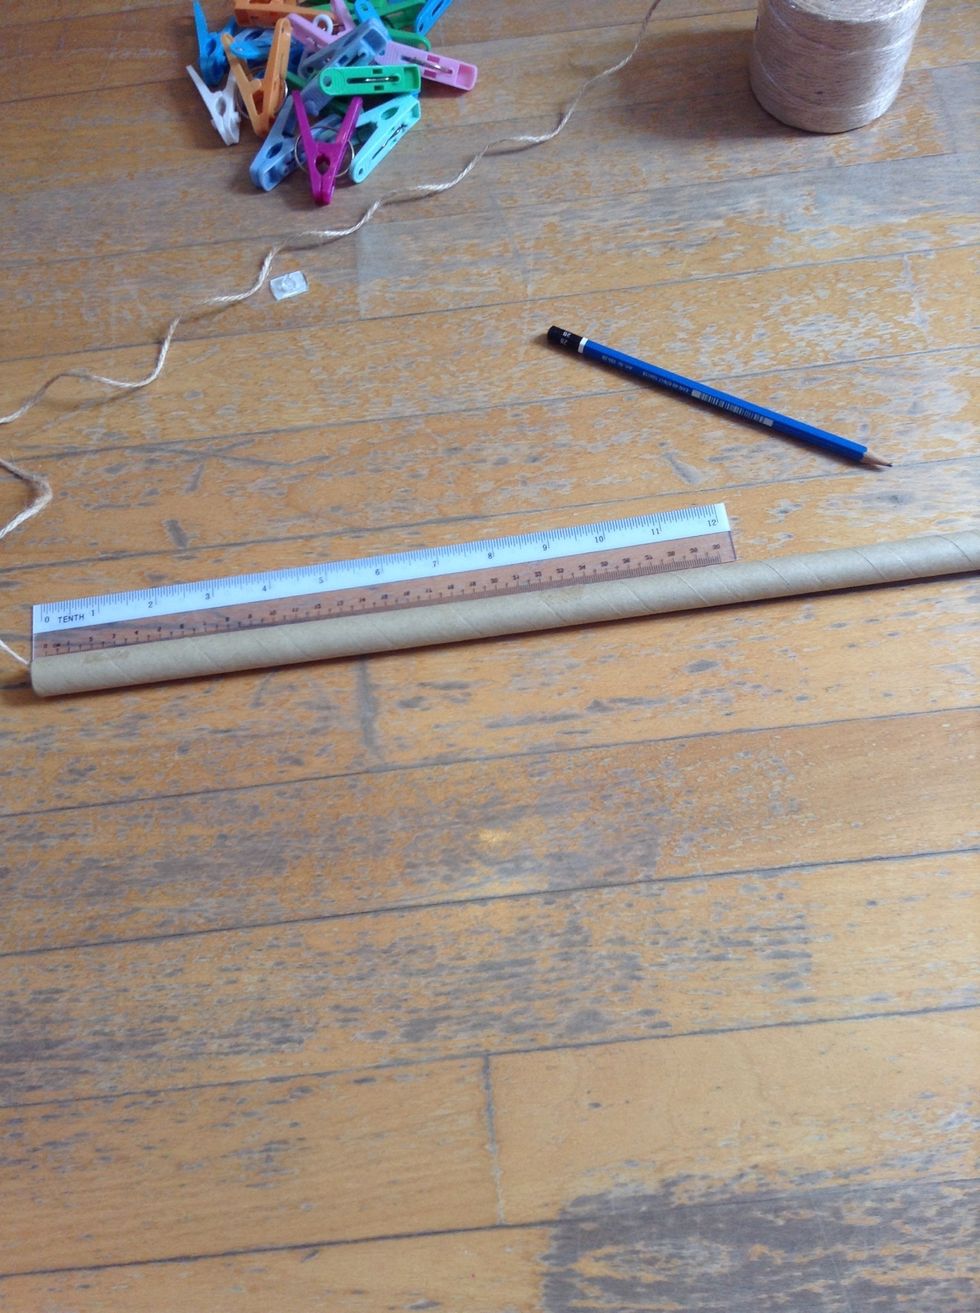
Measure the length of your rod. Divide the length by 2 and mark the center. Measure the string to a length that is slightly longer than the length of the rod (depending on how much u want it to hang).
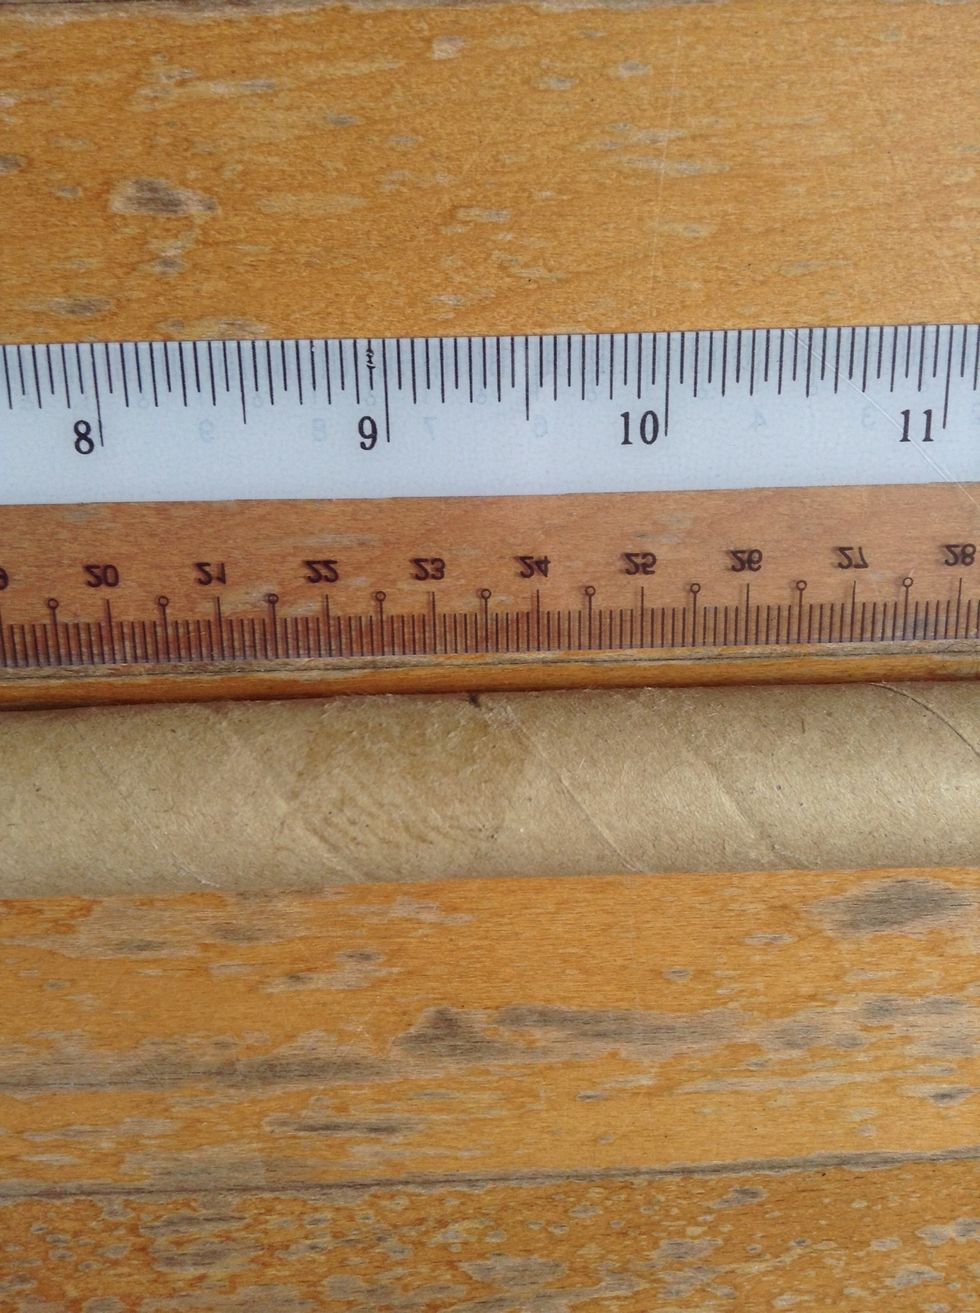
My rod measures 46.75 cm, so I marked the 23.375 cm mark on my rod, that is the center.
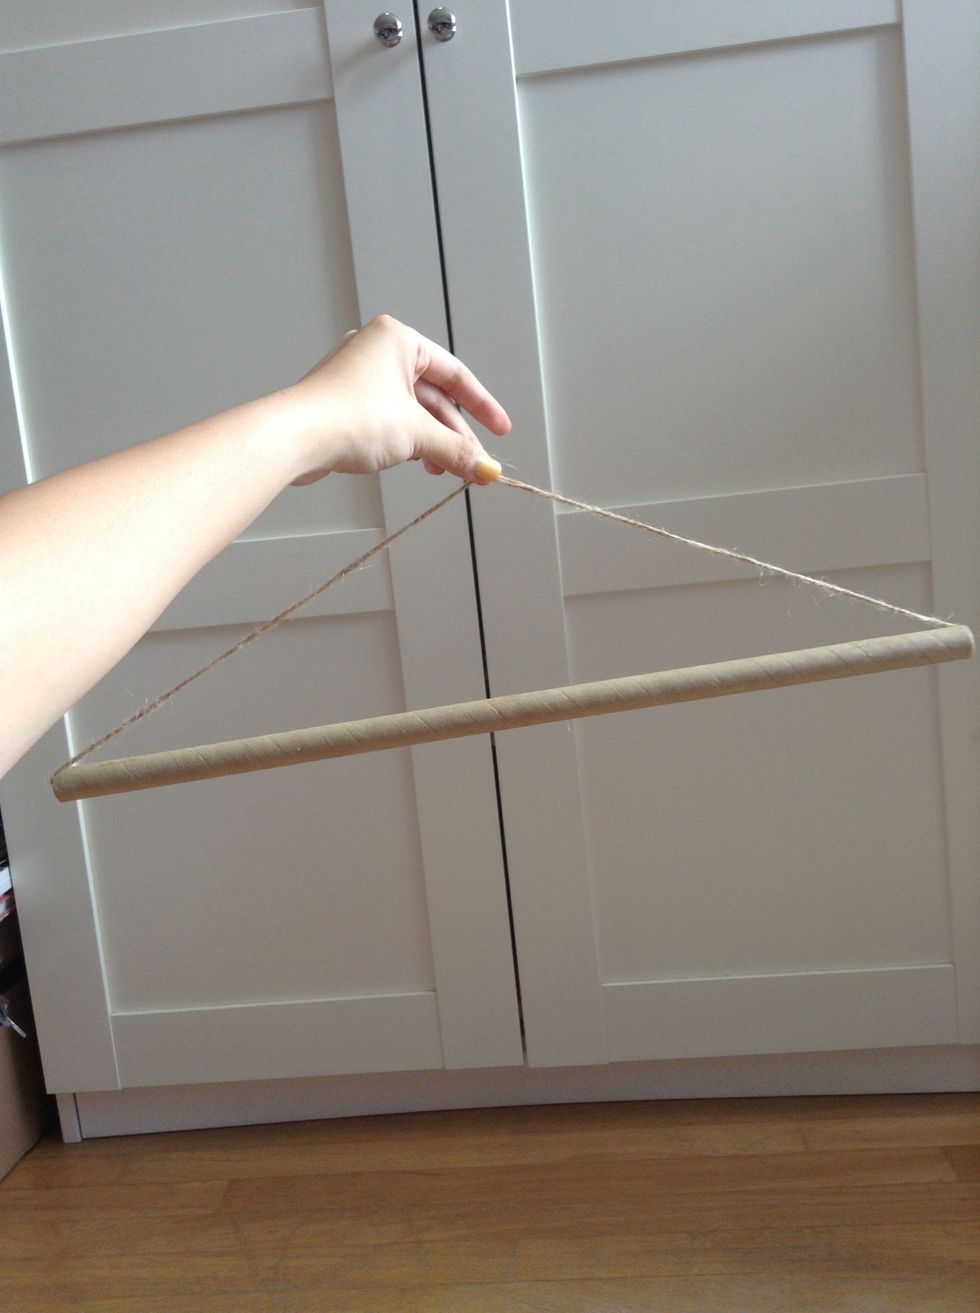
I didn't want mine to hang too much so I gave an allowance of 6cm (3cm for each side). (Which means my string measures 52.75cm) Do note after tying the strings tgt, the length may shorten a little.
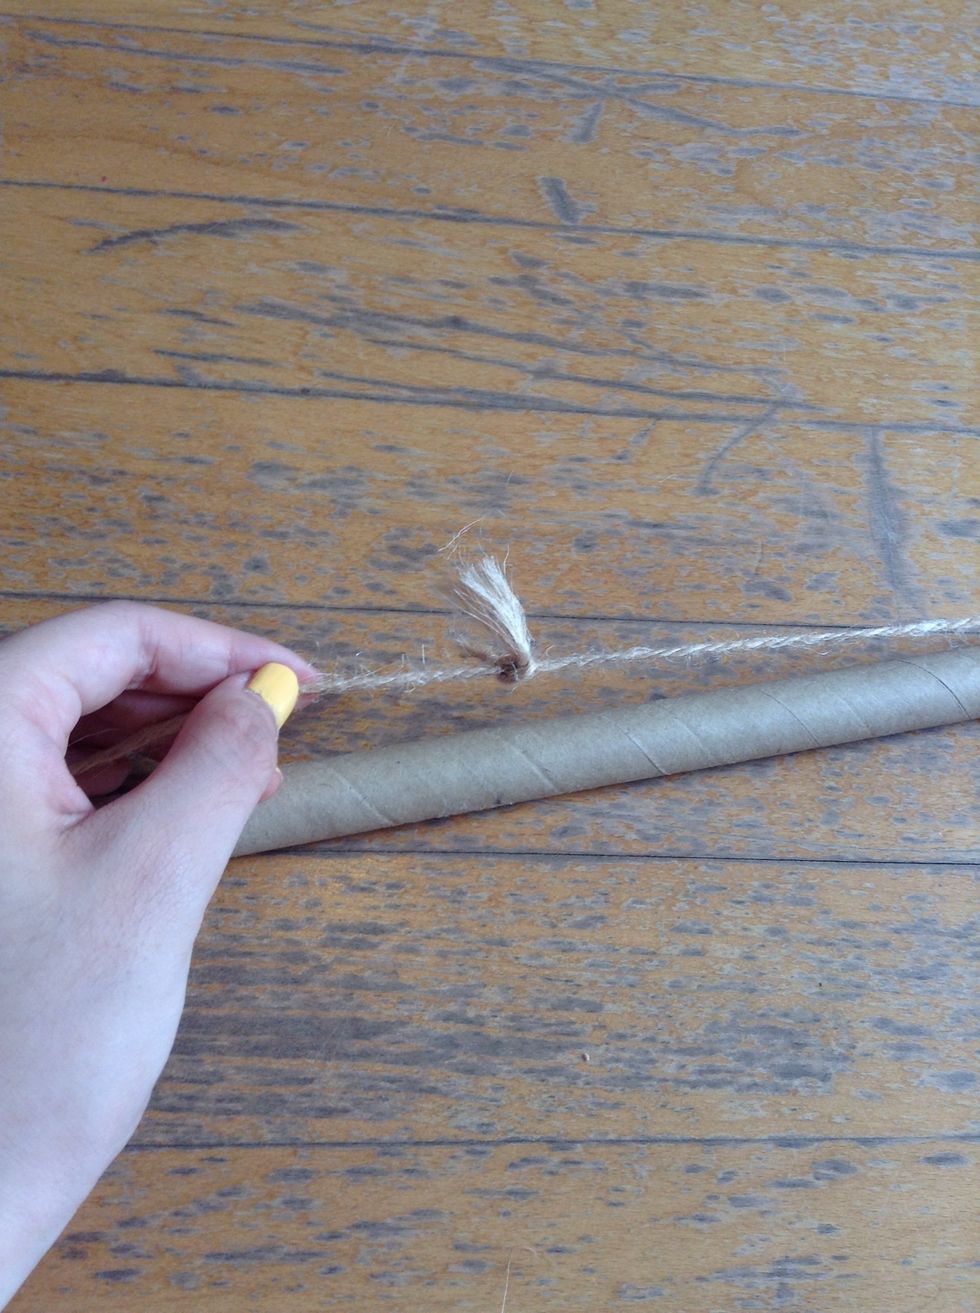
Tie the two ends together.
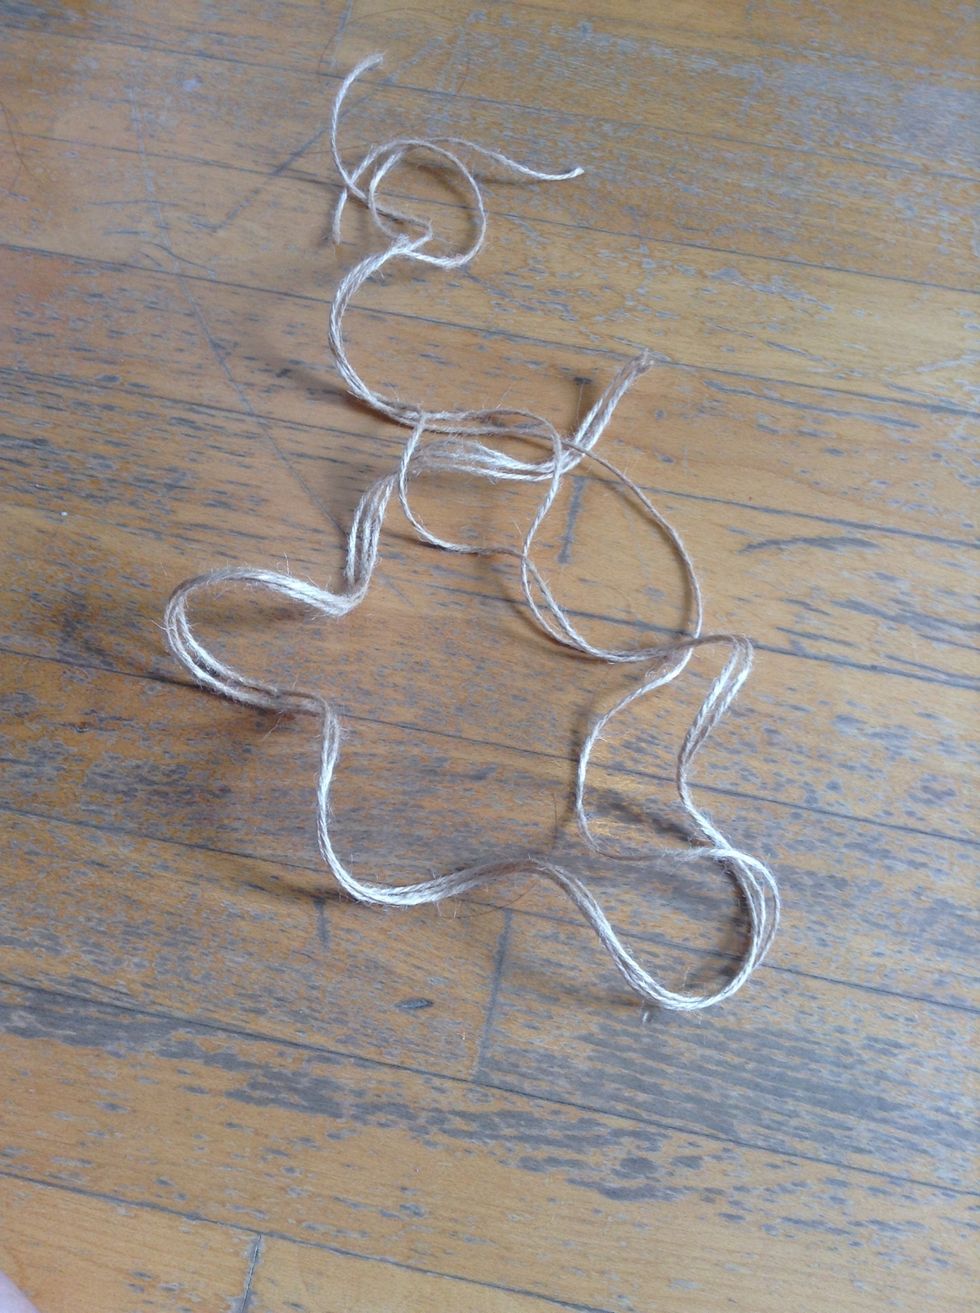
Now, measure lengths of strings to hang your hats. The length depends on the place you're gonna hang it. I start with 3. Cut as many as you want but do note the limited space on your rod!
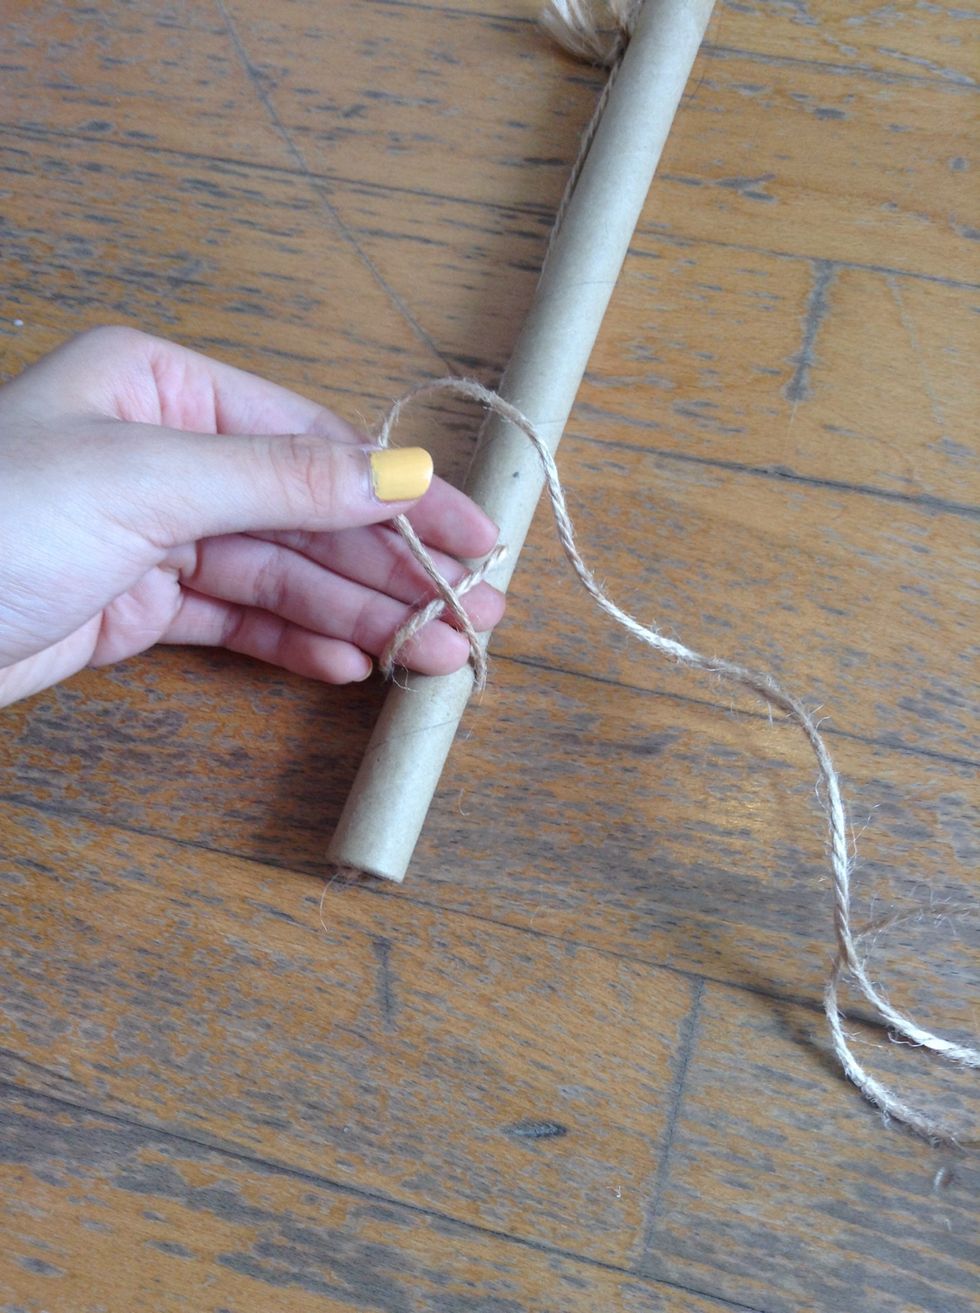
Tie one end of each long string to the rod.
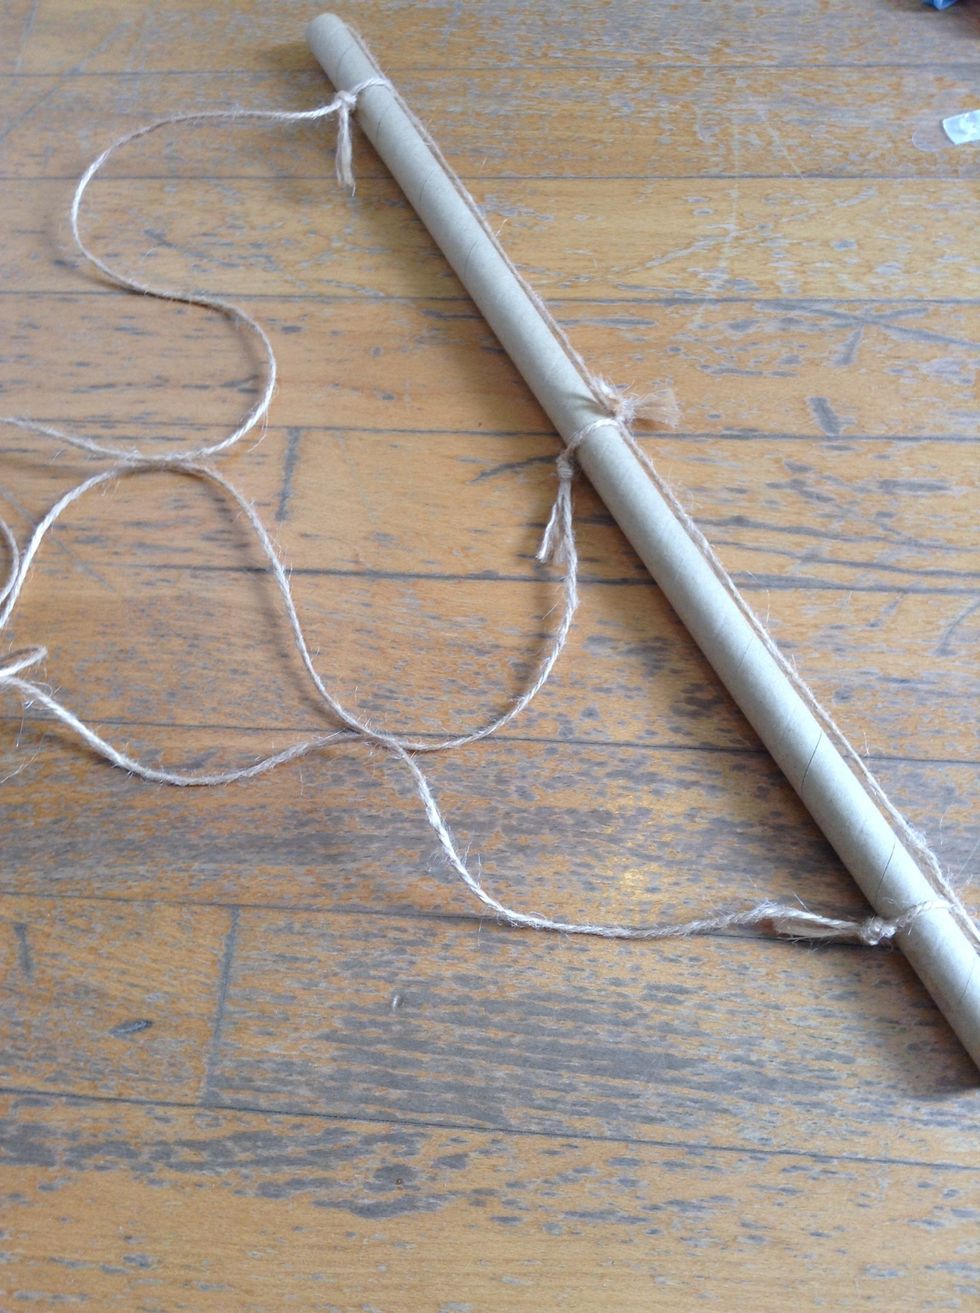
Tada!
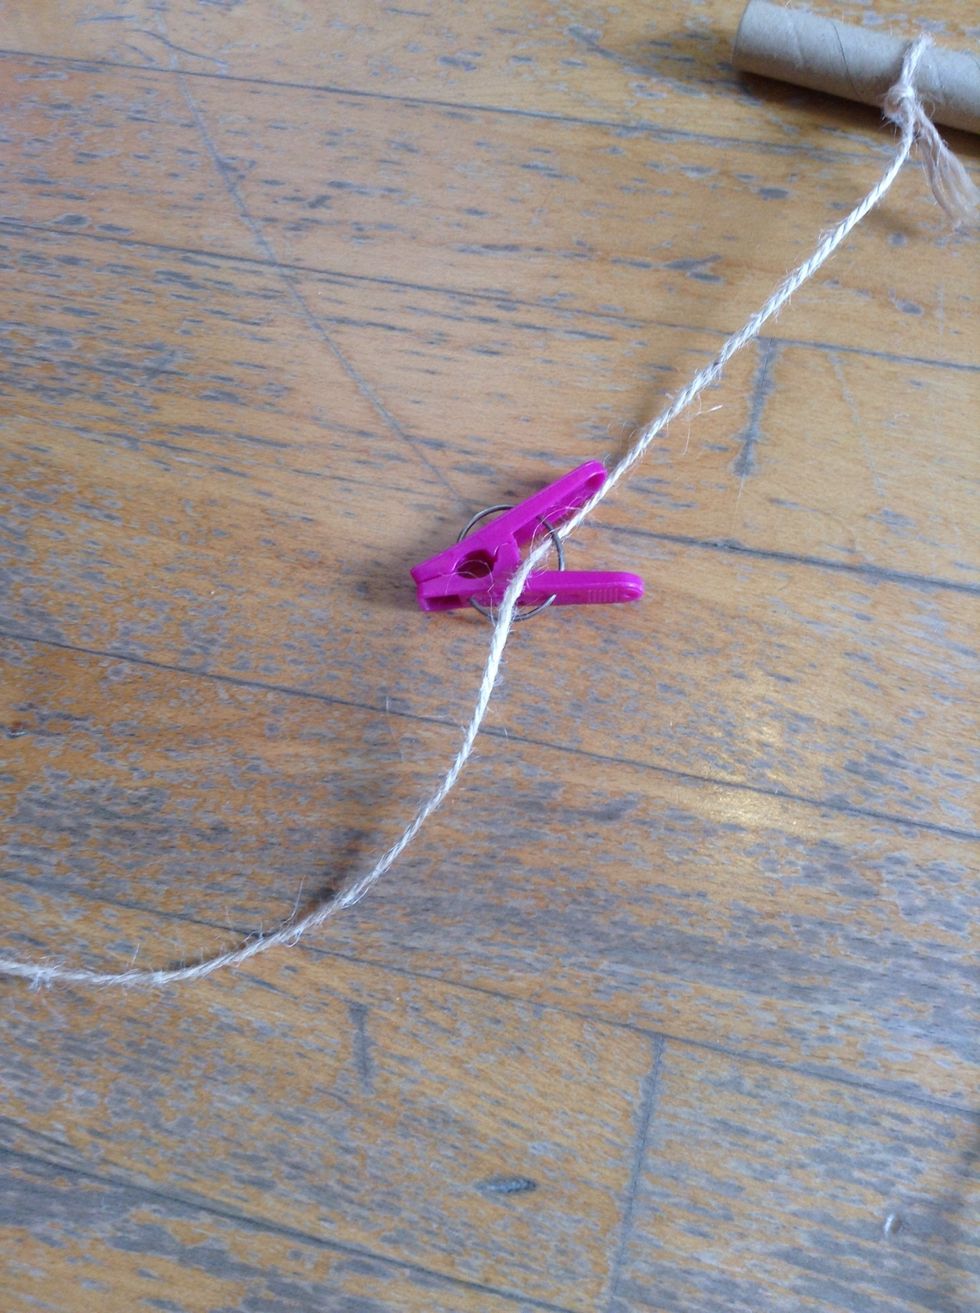
Okay, now take your pegs and start tying! As many as you want and in what ever sequence!
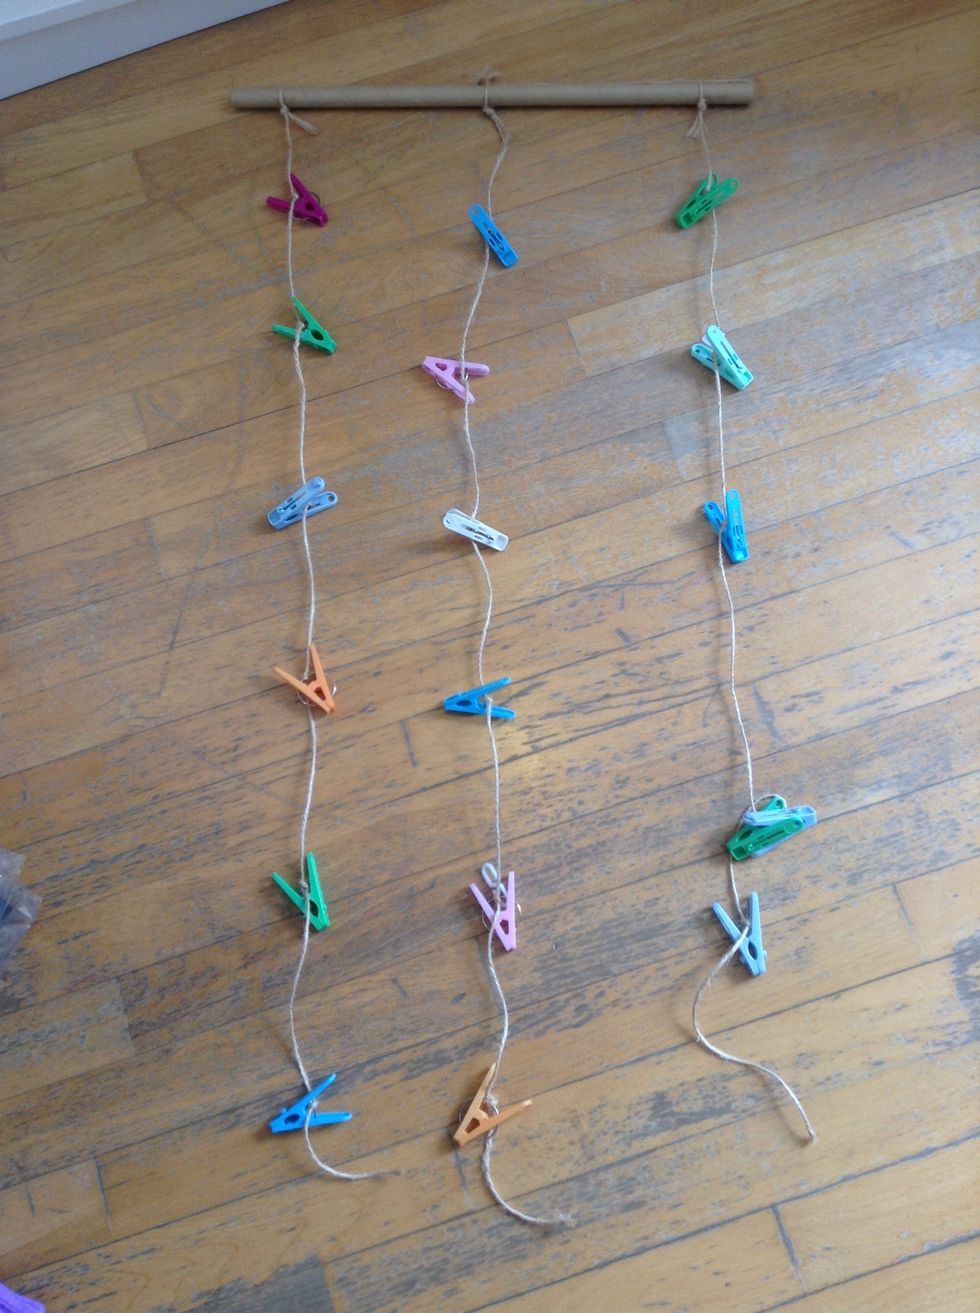
Tada!
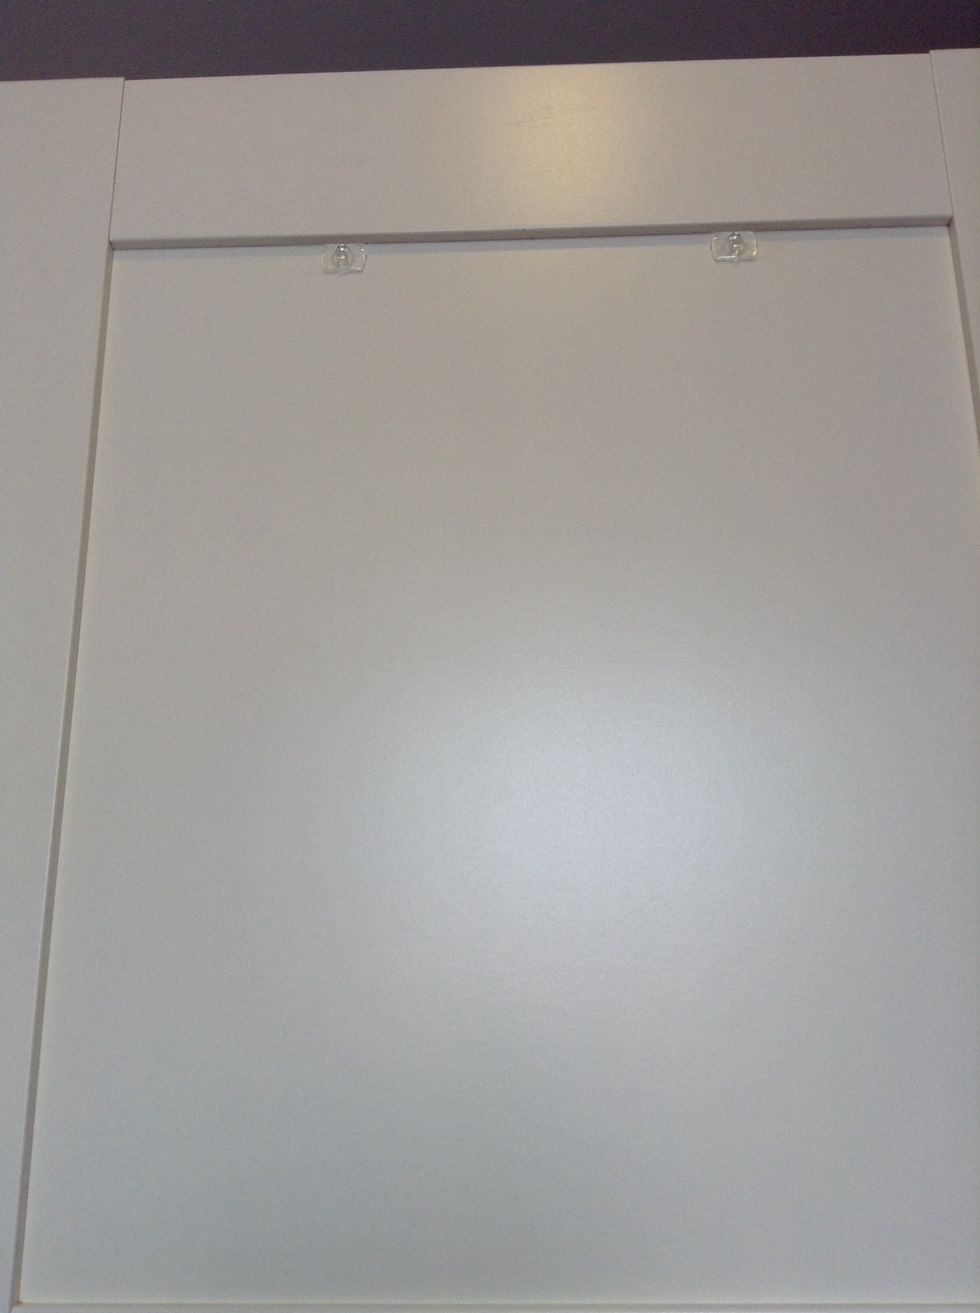
Install your hooks. Wherever you want them to be. I recommend Command Brand 3M hooks. They are removable w/o leaving traces and hold really well.
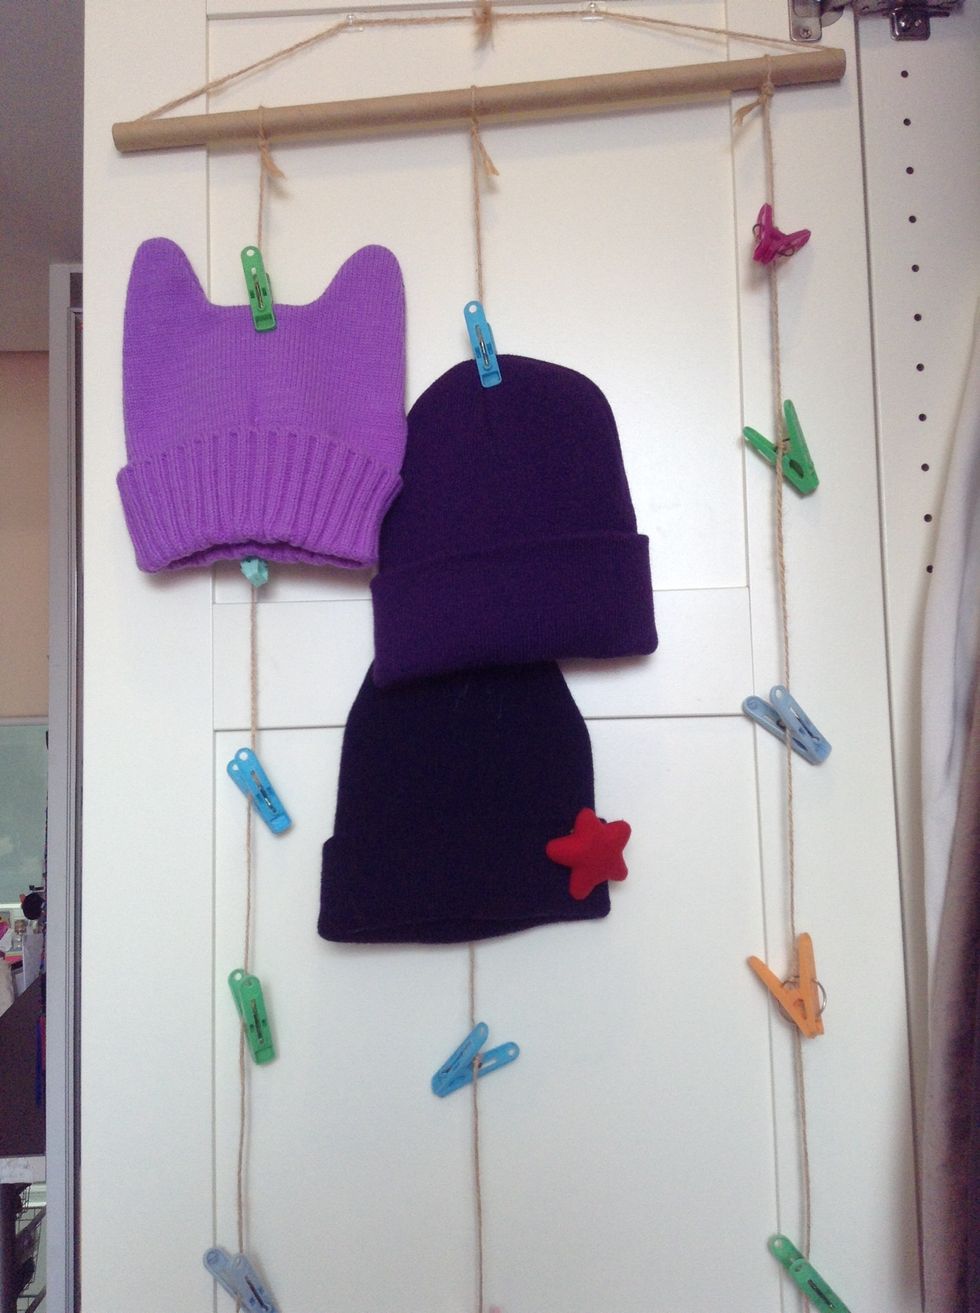
Hang the hat organiser and you're done!
- Pegs (As many as you want)
- String
- 1.0 Rod
- 2.0 Hook
- 1.0 Ruler