The Conversation (0)
Sign Up

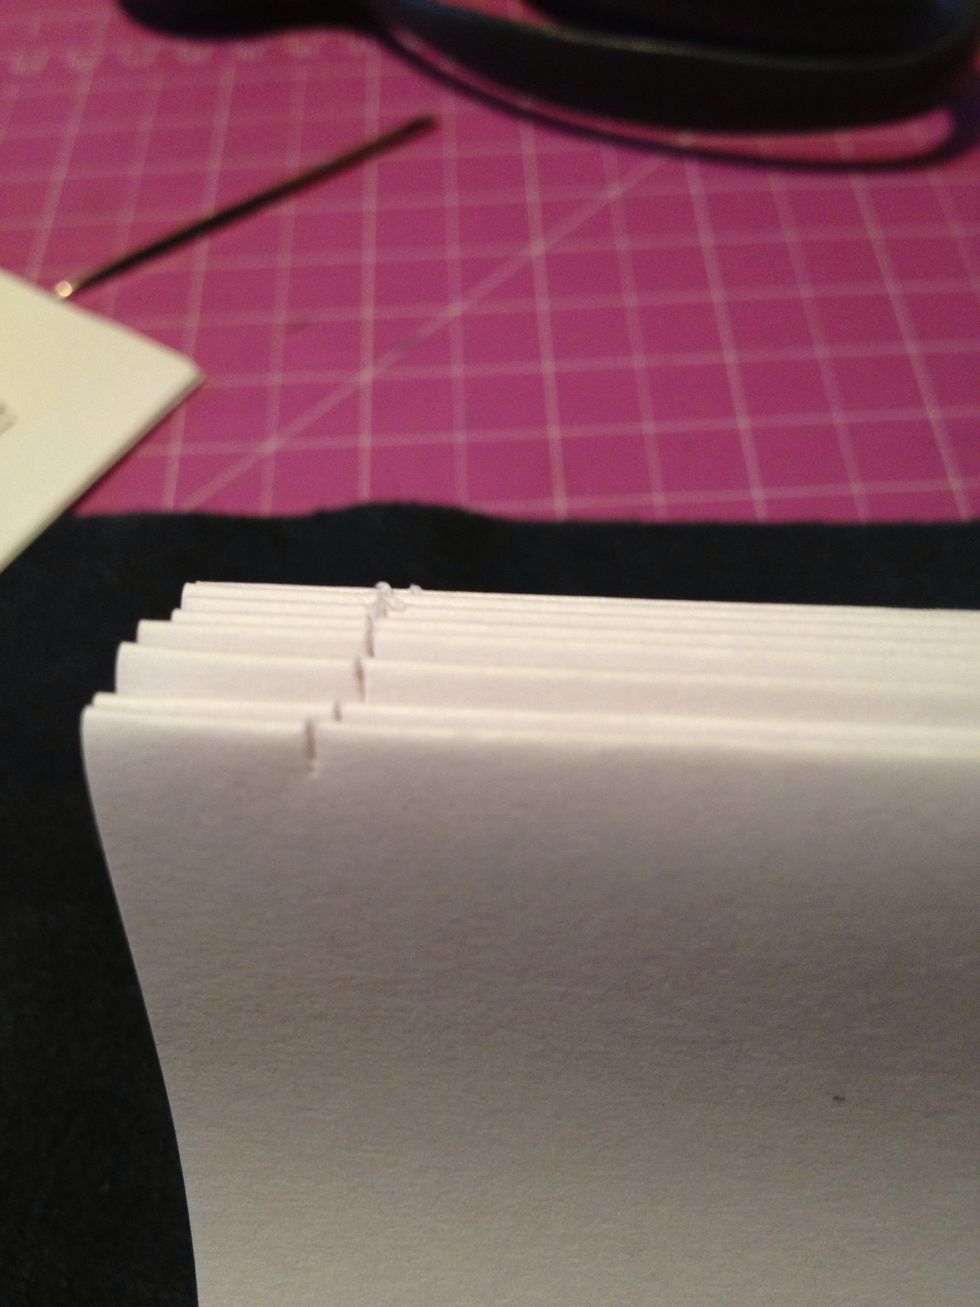
So gather your supplies, I used a cutting mat to work on. You don't have too just makes it easier when cutting the paper. So I used standard computer paper for my book.I stacked them 4 paged high.
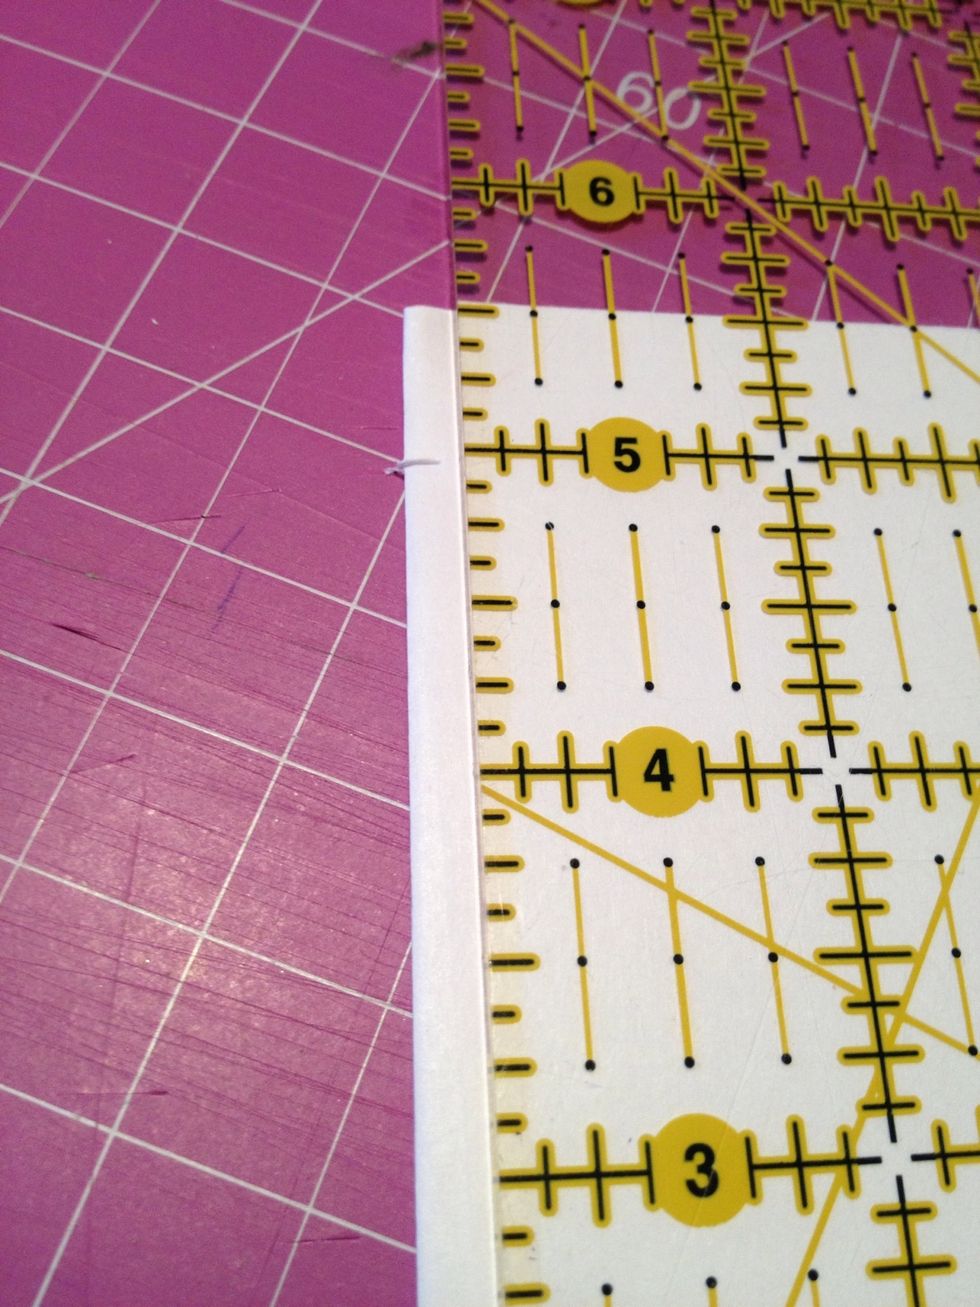
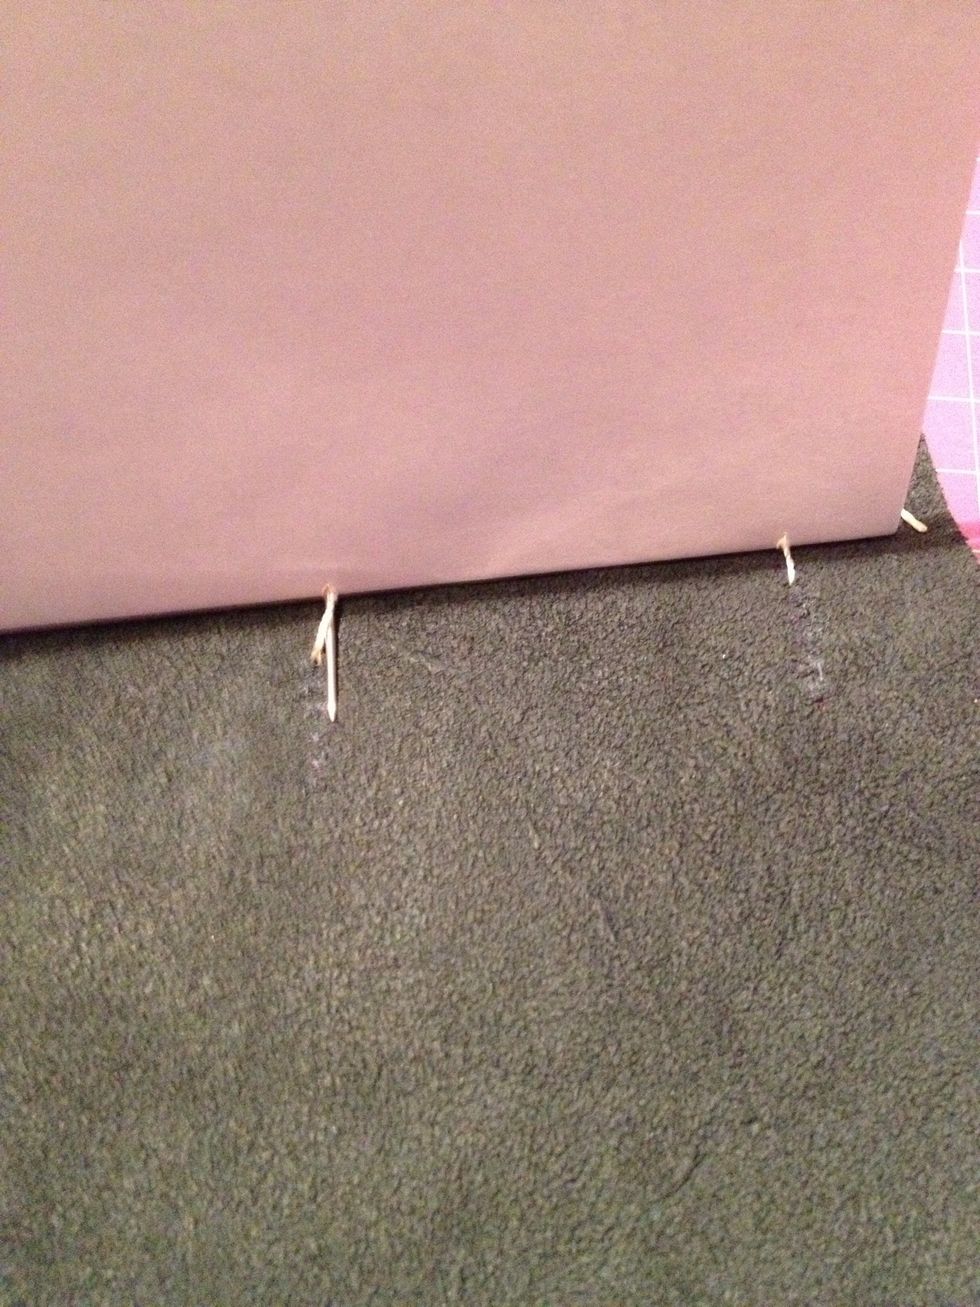
Depending on the size of your pages measure about half inch from each end. Then measure the space between your other marks halfway make your third mark. Using your knife cut a 1cm slit in spine.
Stack your page bundles (PB)s and measure how high they will be. Add that measurement too your leather piece (LP) length.
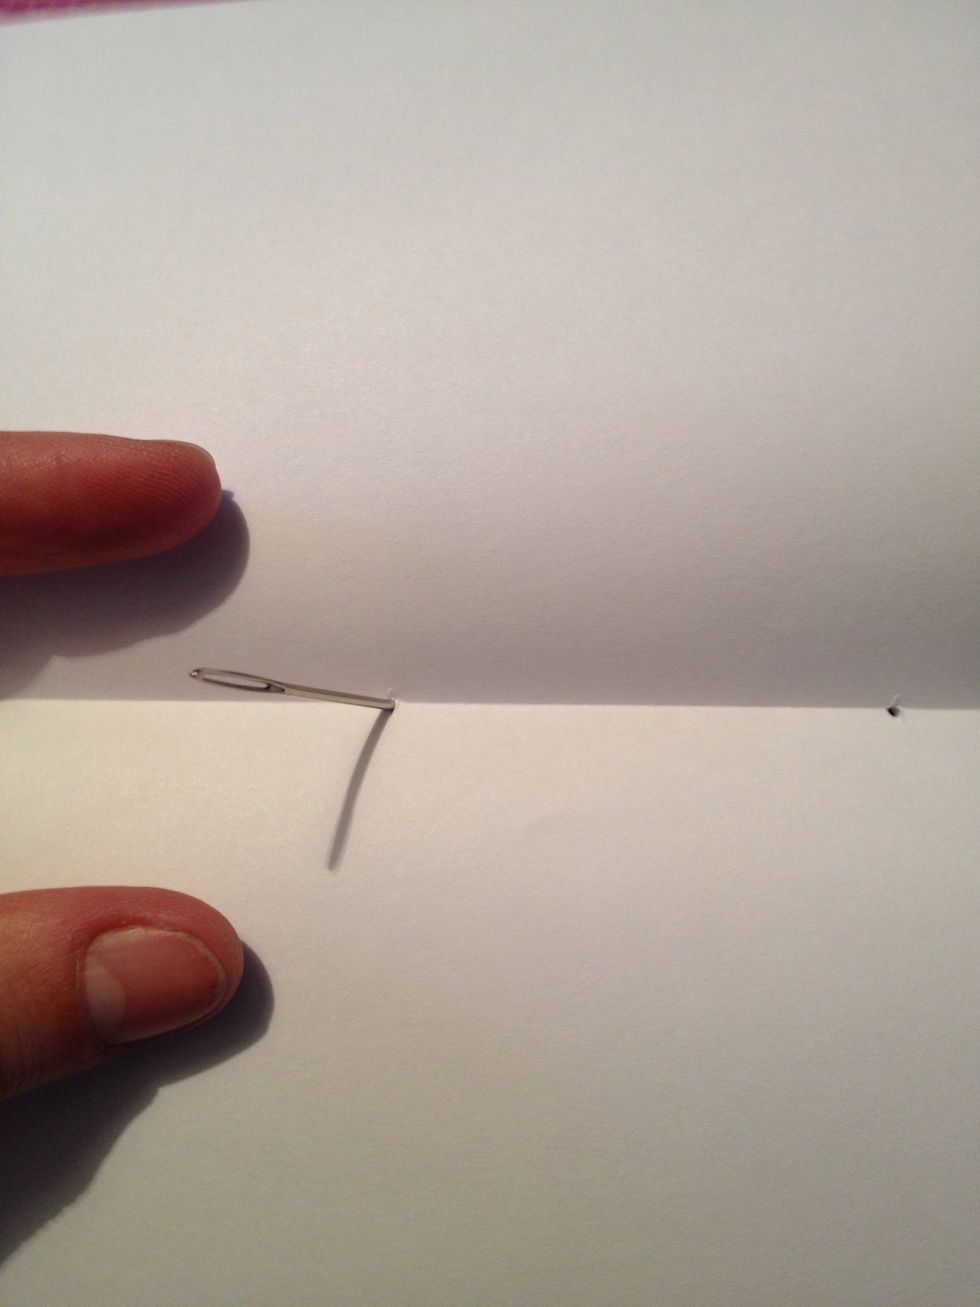
After cutting the slits in the paper take your thick needle (TN) and just push it thru the slits to make them little holes just makes the stitching process easier. Push from then inside out.
So now that your use your TN in the PBs, your ready to prep your LP for stitching.
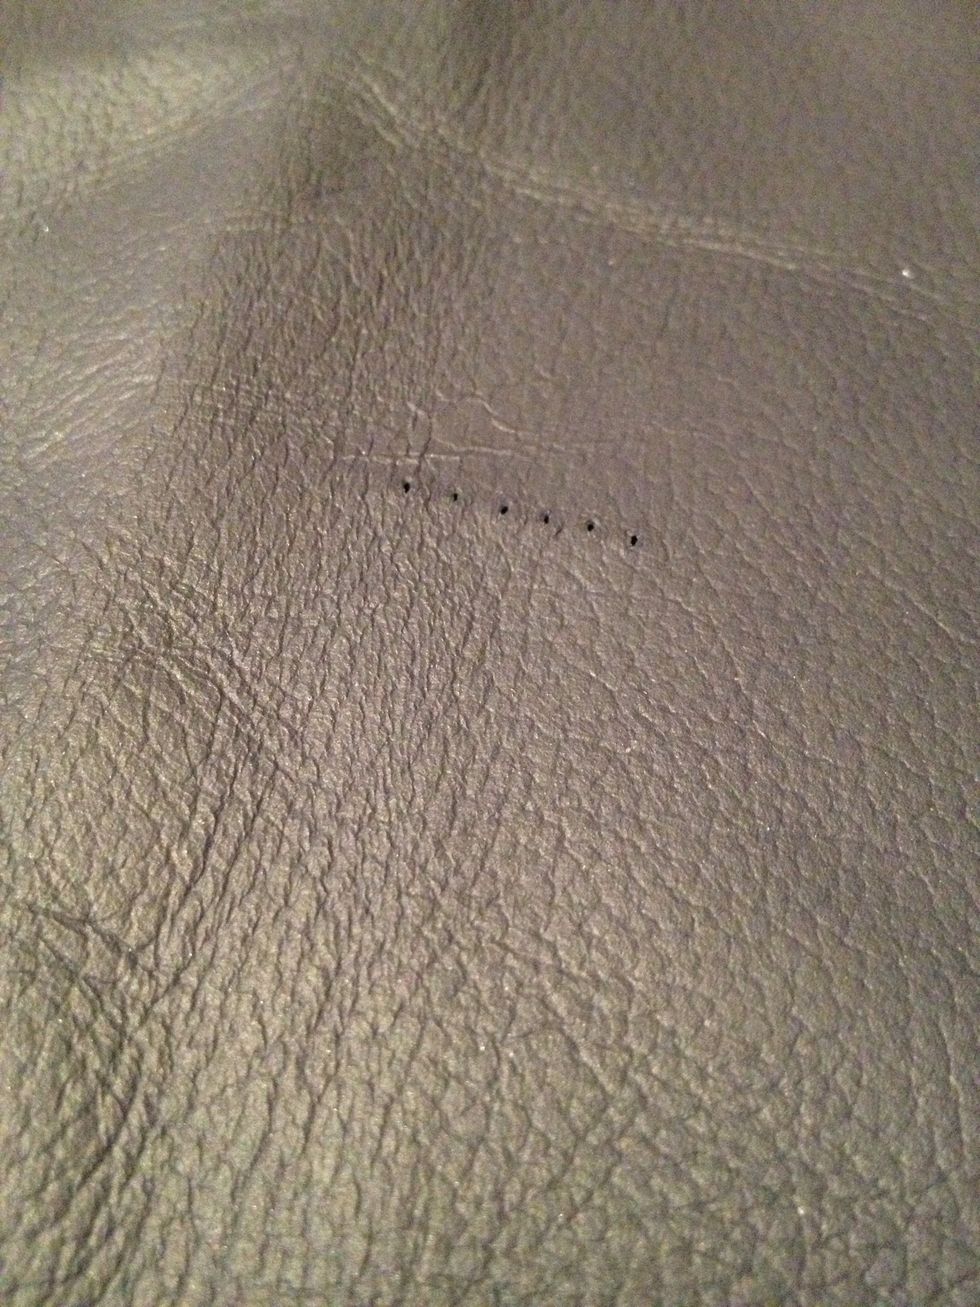
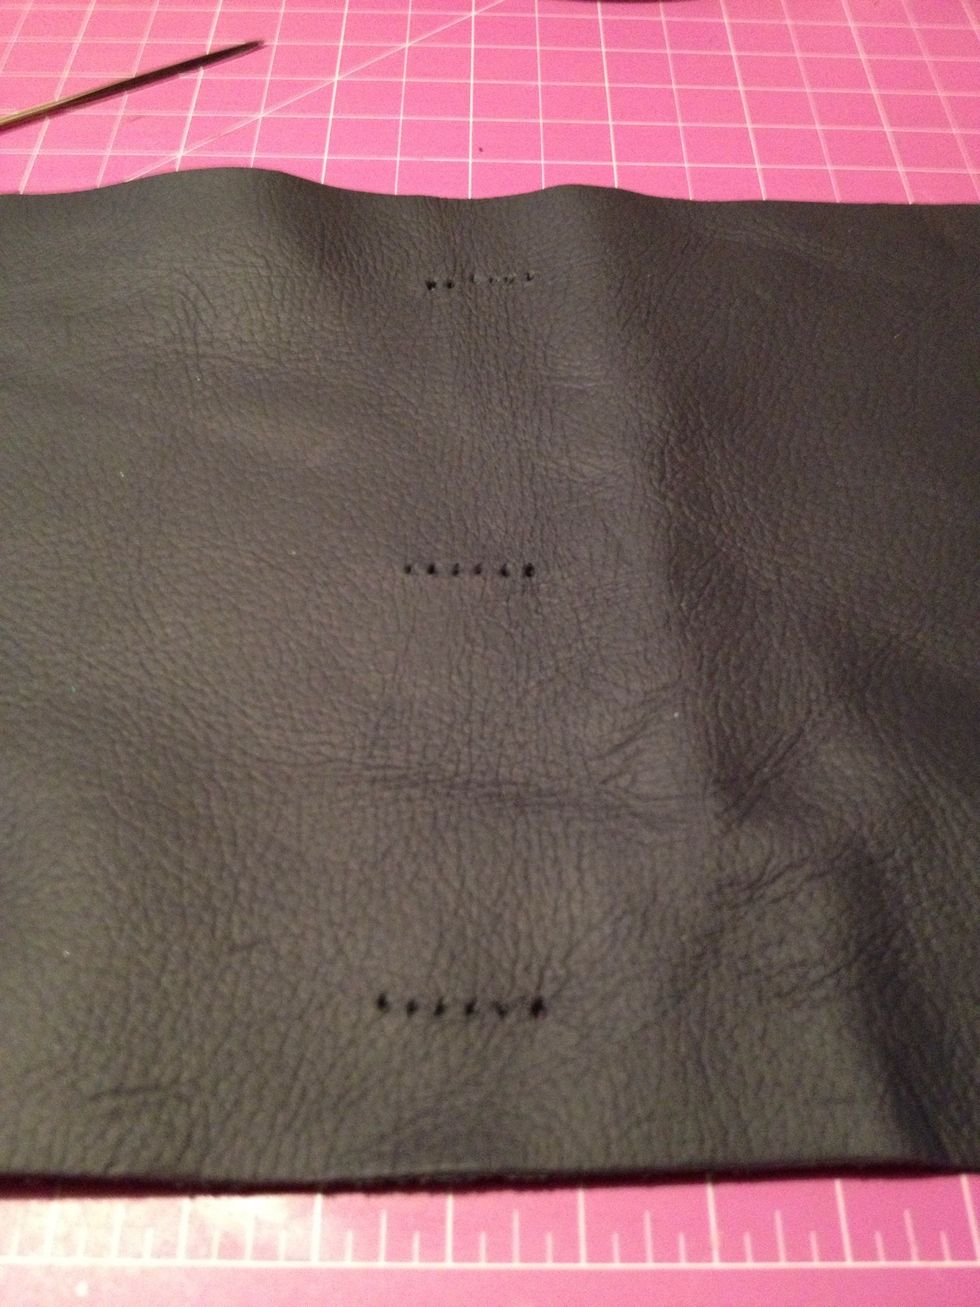
On the inside of your LP mark your three spots with a pen making the holes with the TN for how ever many PBs you have. Remember to take in account the thickness of all your pages stacked.
Leave a few cm gap between each needle hole that gives each stitch more stability in the book. Also push the needle from the outside to the inside it makes the holes look neater and more profesh.
Once your done poking holes in the LP, you can now start stitching.
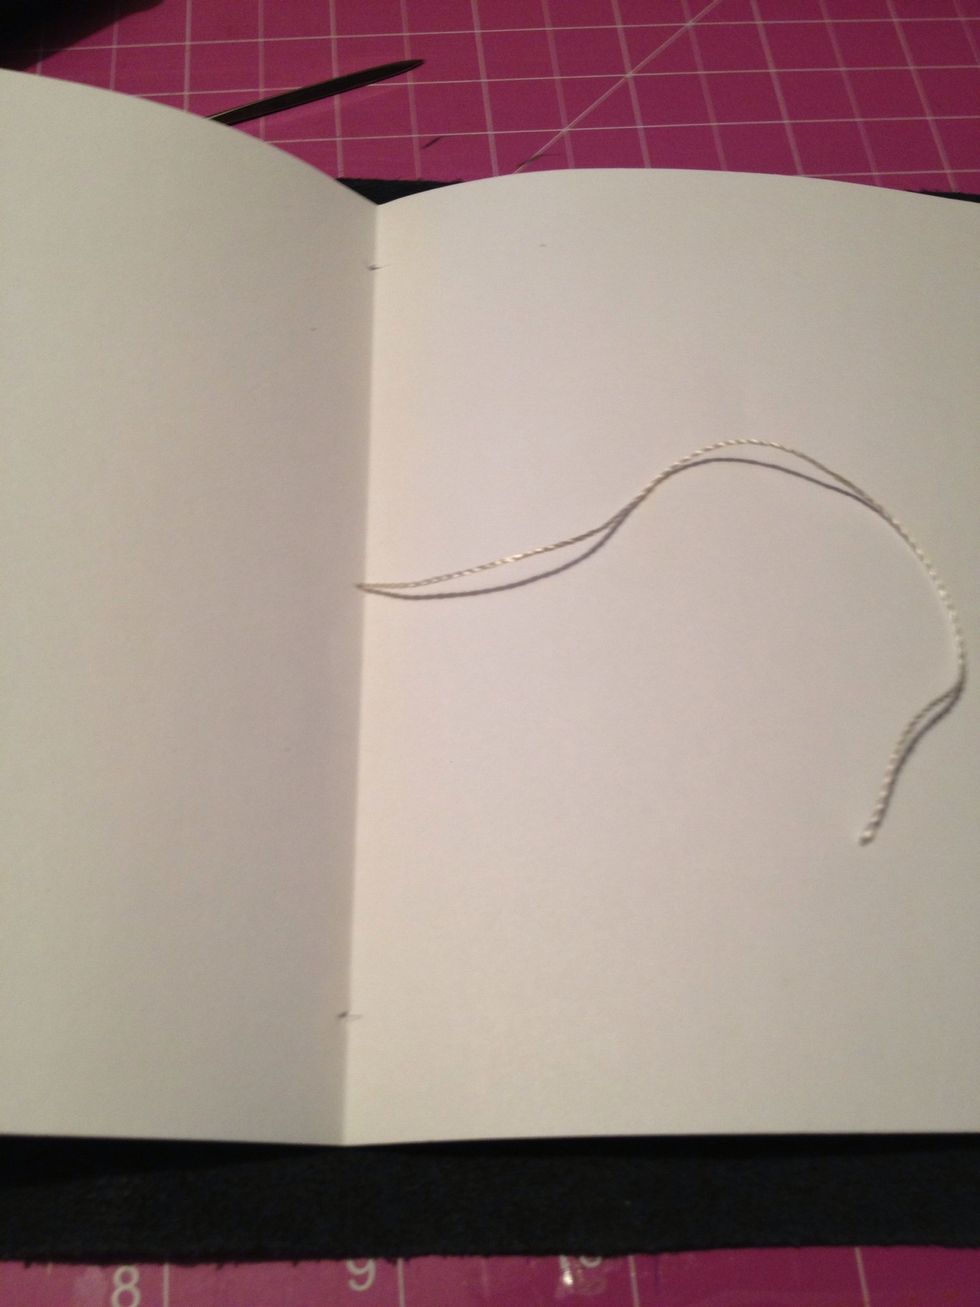
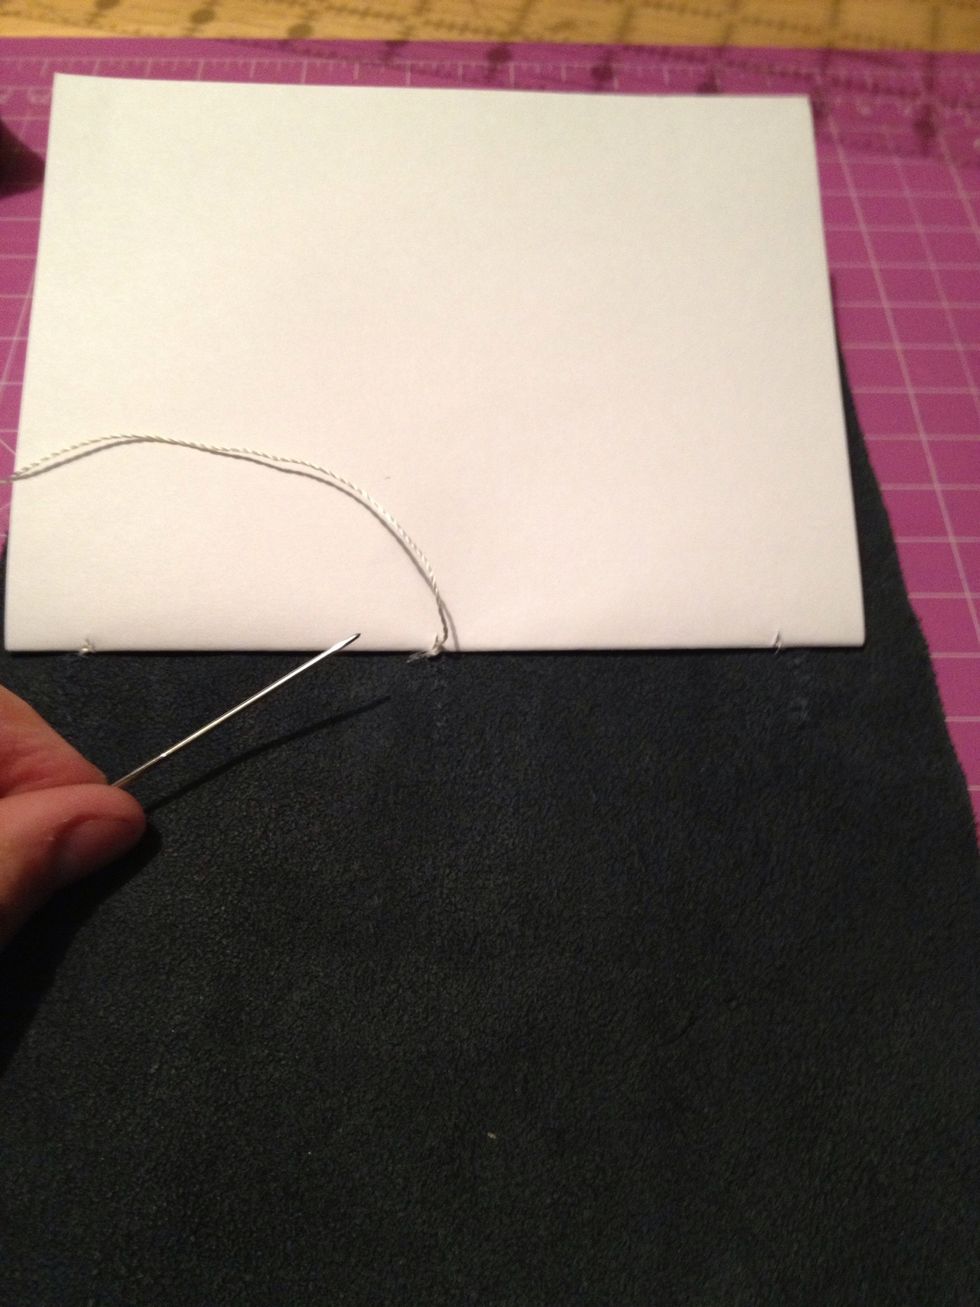
Ok so this might sound hard but it's not. So take one long long piece of your string I used like a 5 foot long piece and one PB so start by using your sewing needle (SN) an going thru the centre hole.
Leave a 4 or 5 inch tail and leave it for now you will secure it in the next steps.
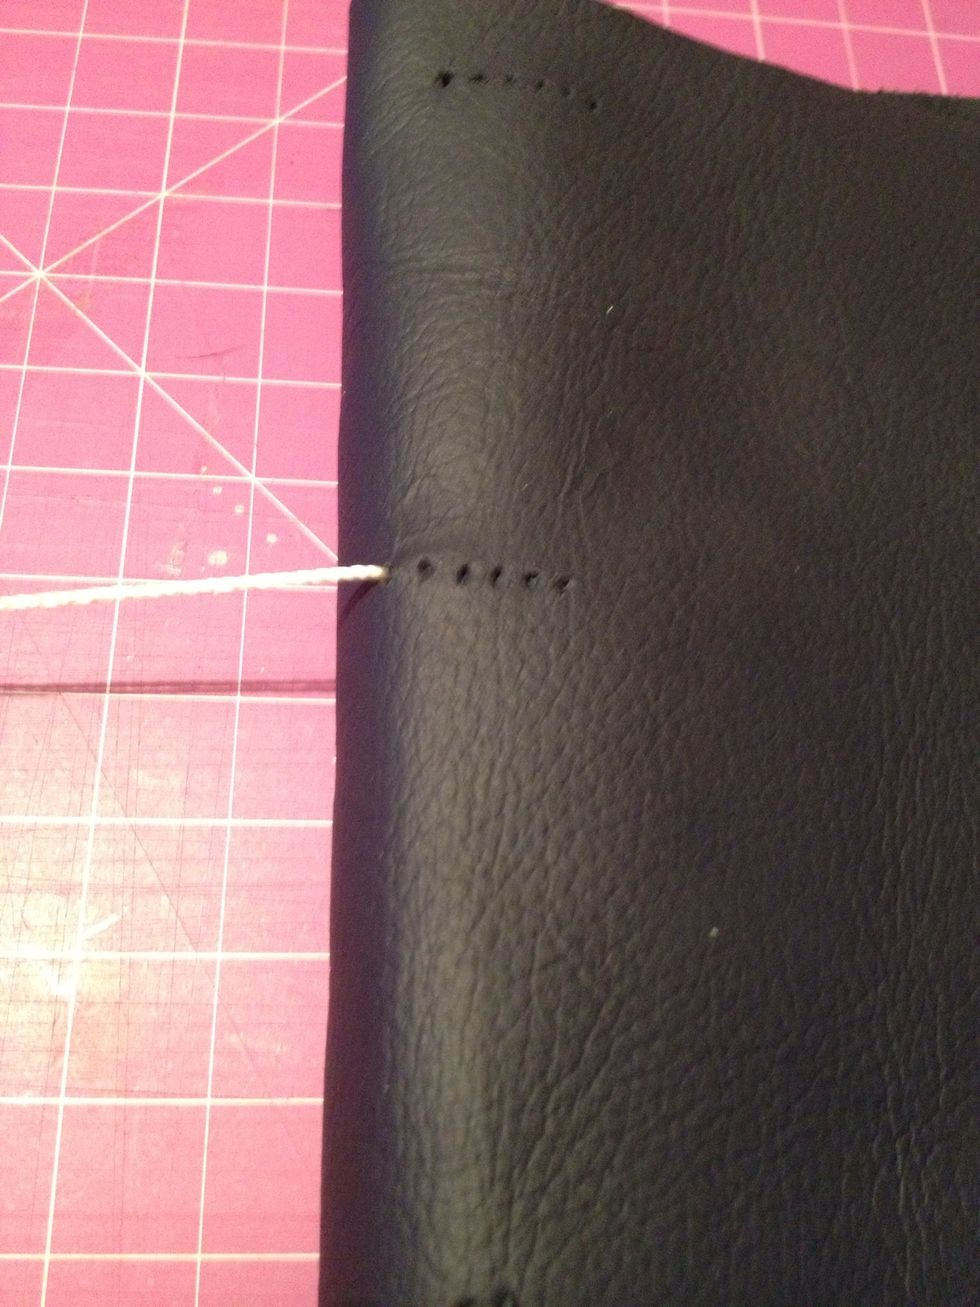
So going the centre hole to the top hole on the outside this makes the nice stitched on the exterior.
So now that you went from the top to the centre on the inside from the centre hole stitch thru again the centre hole out going thru the bottom hole to the inside.

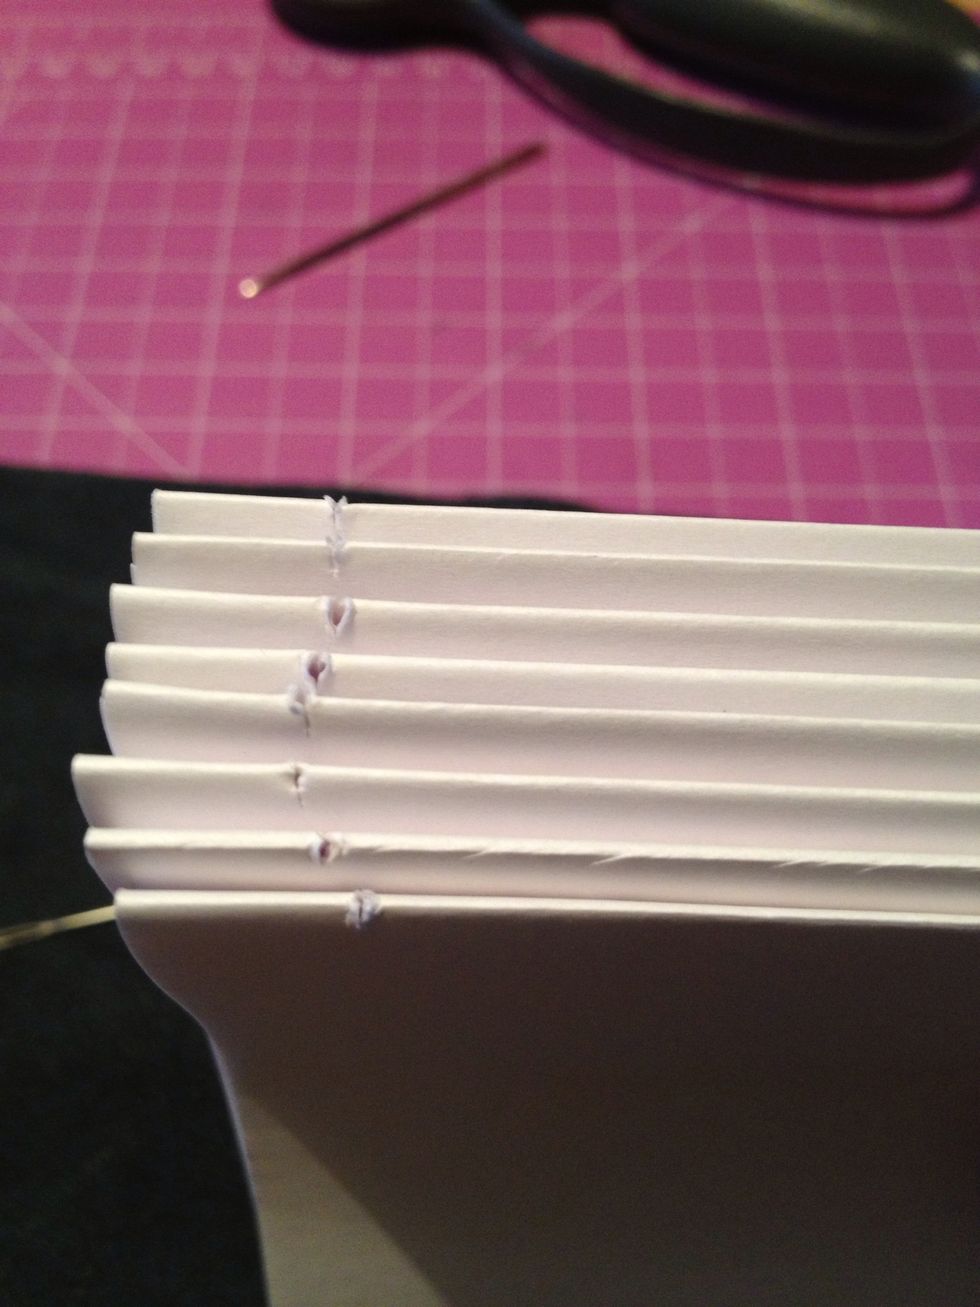
This is how the outside looks after I stitched my first PB so I stitched two PBs in one hole. That's why later you'll see two stitched in each hole.
So to attach the next PB you going thru the centre of the PB but not the LP. So stitch the second piece thru the centre hole then using the same technique continue thru all the PBs.

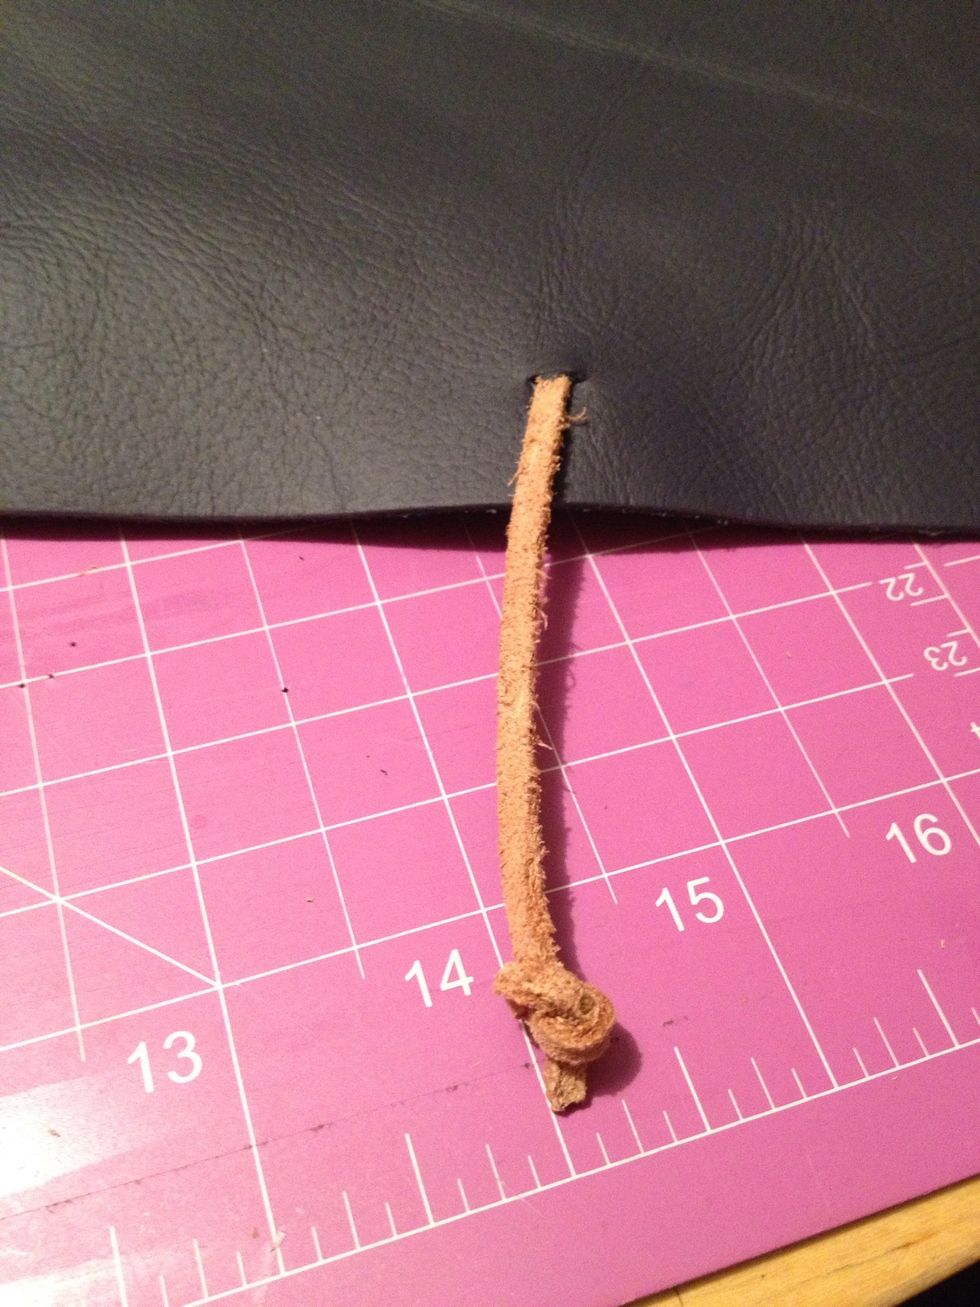
So I started and stopped using this same knot in the book. I just went around the stitched strings making a simple knot and using a bit of glue to secure the knots so they don't untie.
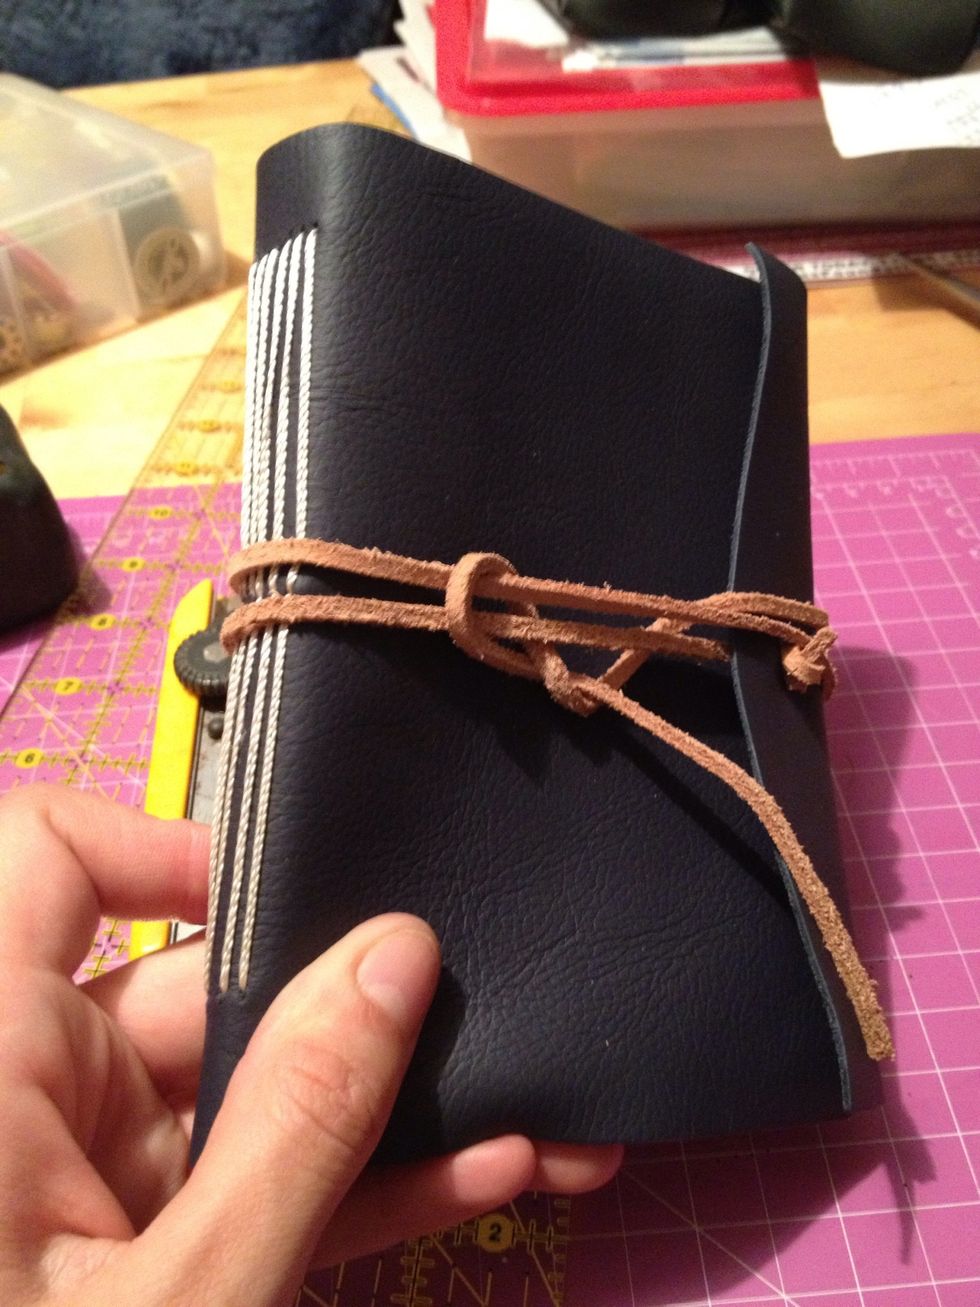
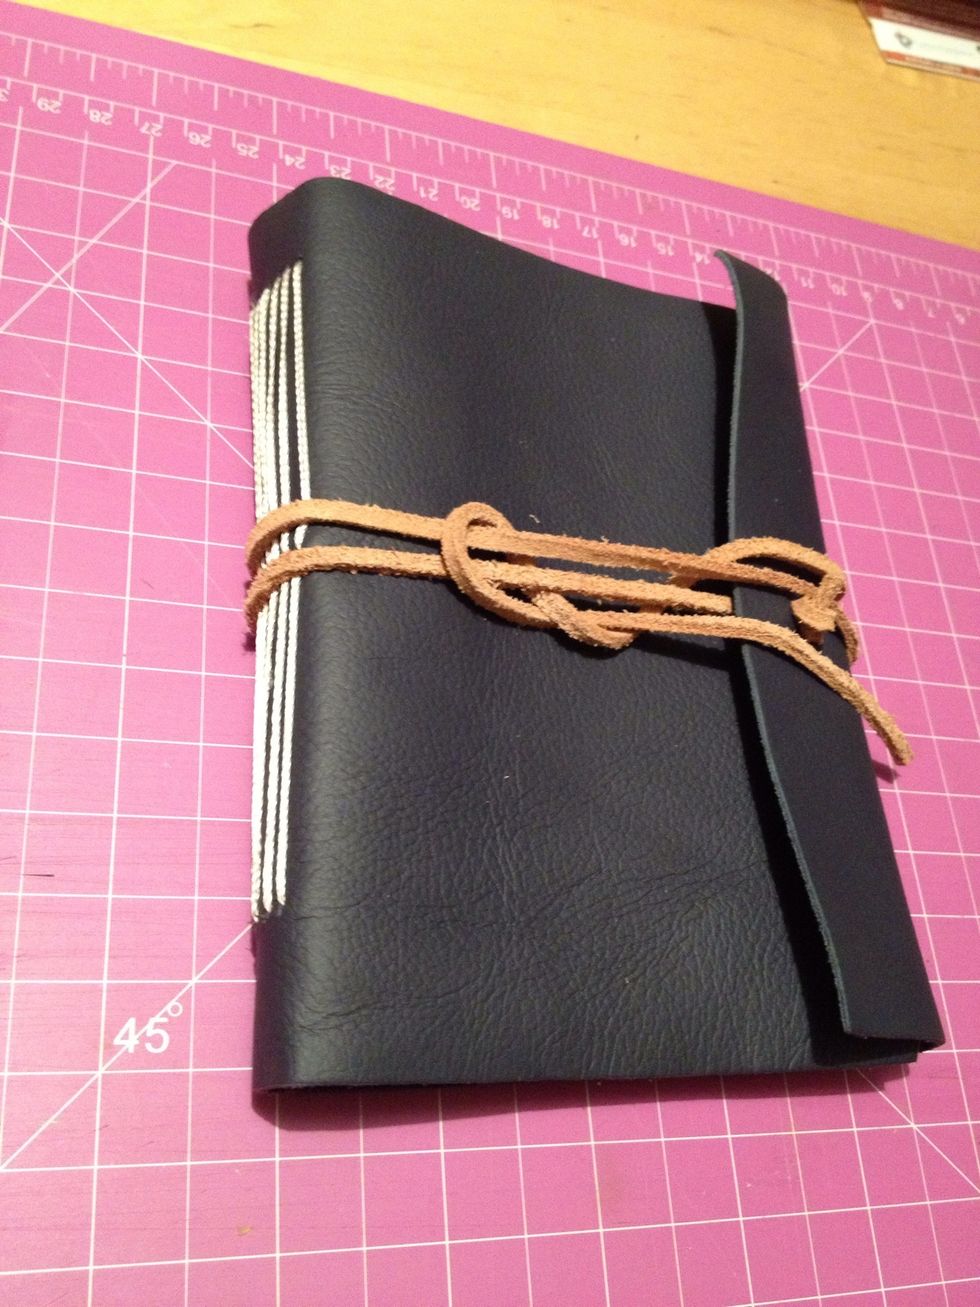
So to close my book I made the backside LP 3 inches longer so it wraps the pages. So I made a small slit in the centre and knotted a long piece of leather string to wrap around the book.
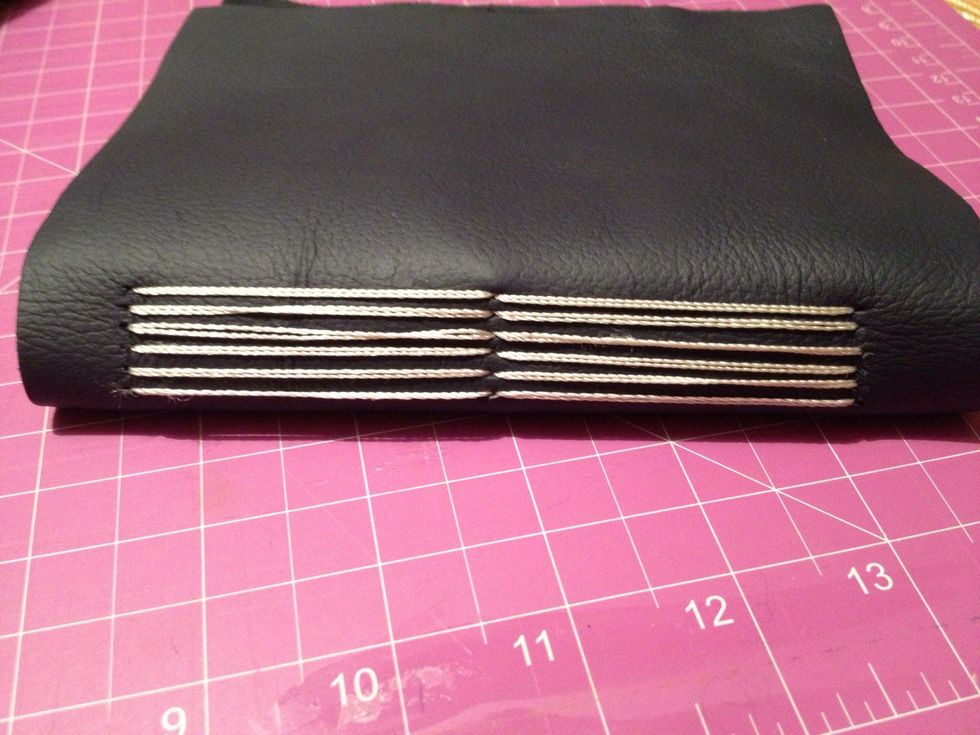
This is my outside stitch. It looks nice and professional.
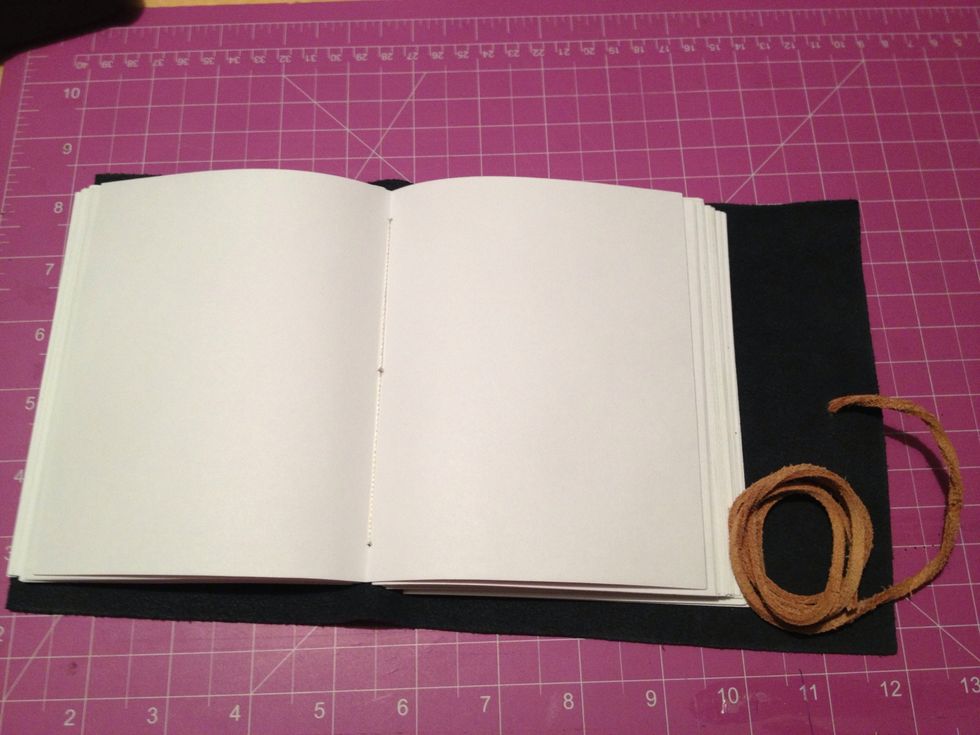
This is the inside with the nice stitches.
This is my finished book. Comment or Message me with any questions.
You can do whatever you want with it now. Leather stamp it or anything really.

Hope you enjoy. Check my other guides, and follow me. I've been featured :)