The Conversation (0)
Sign Up
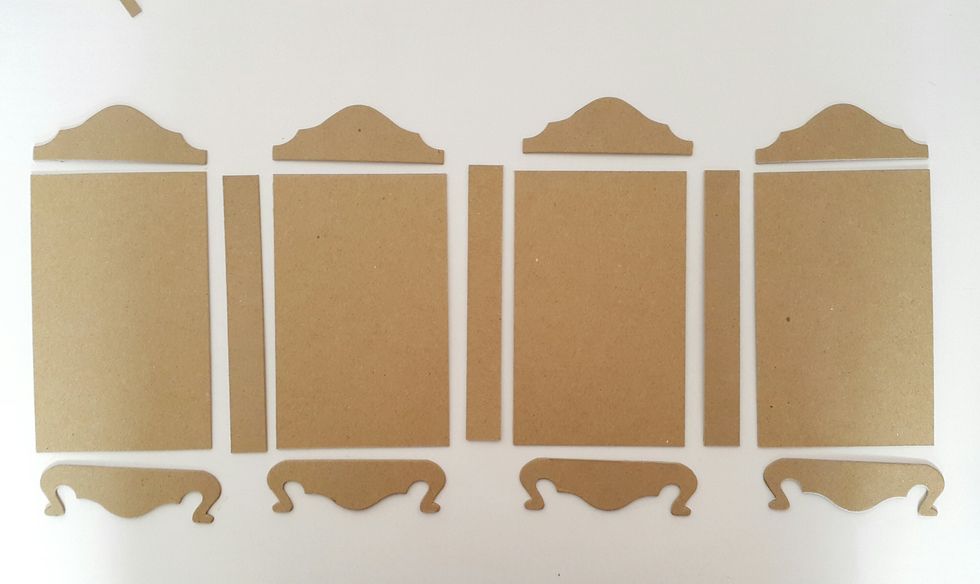
Die cut shapes and panels of 6"x3-3/4" and 6"x3/4" from chipboard
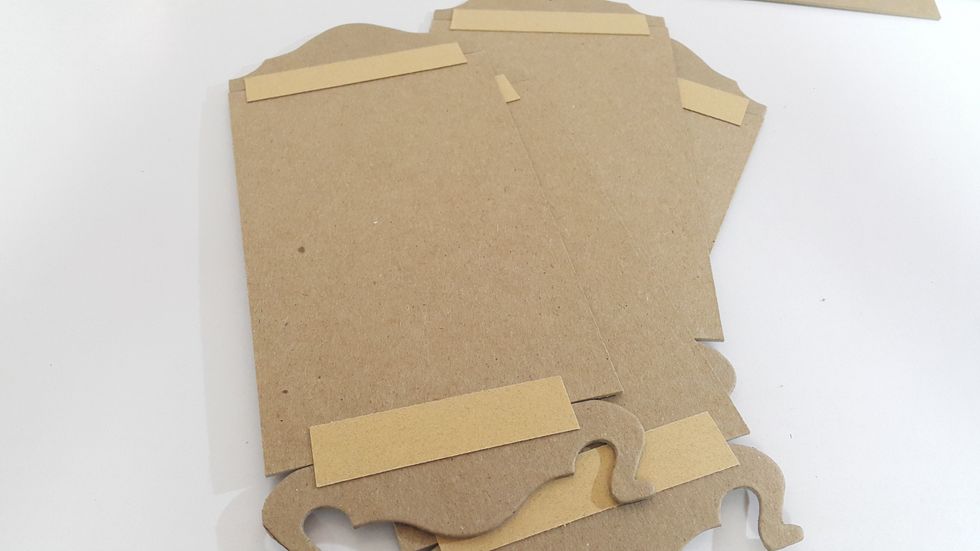
Connect the die-cut shapes and the panels together with scraps and double sided tape

Die-cut Graphic 45 papers and adhere on both sides
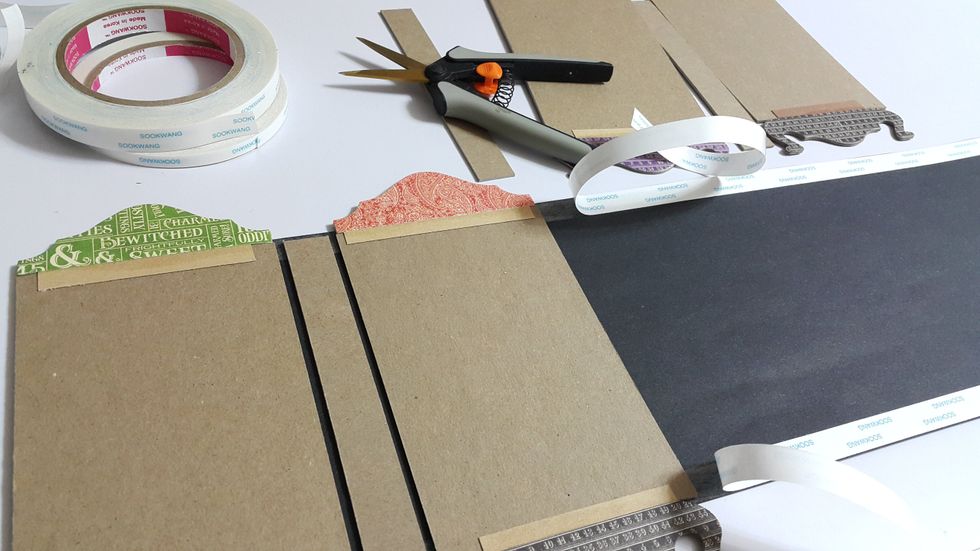
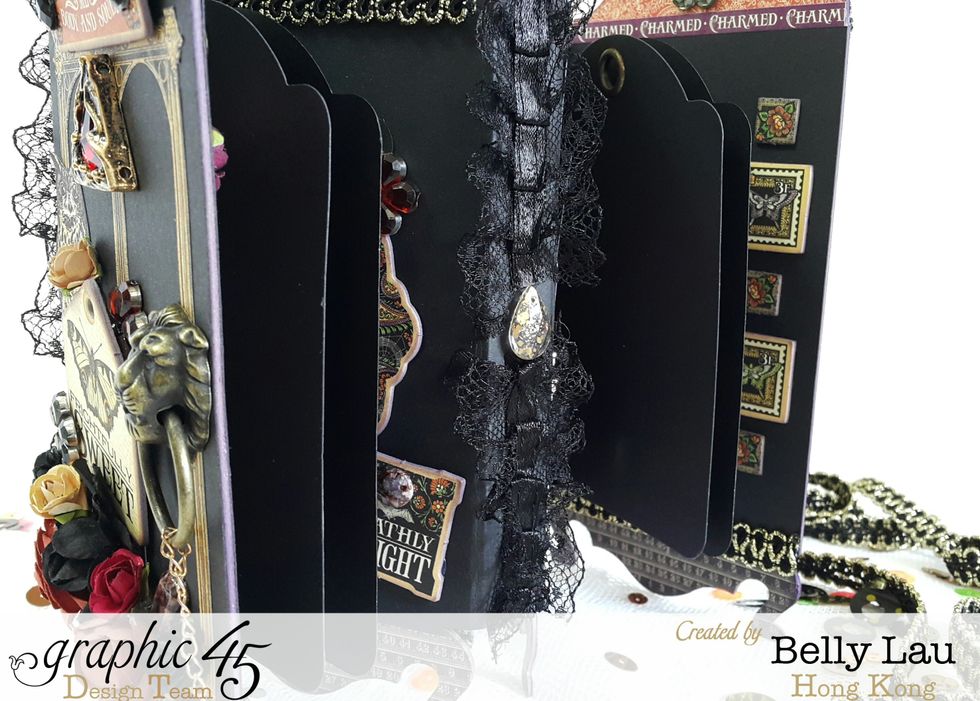
Cut pieces of black cardstock of 6-1/8" height, adhere the panels in orders, remember to leave a gab of at least 1/8" between chipboard
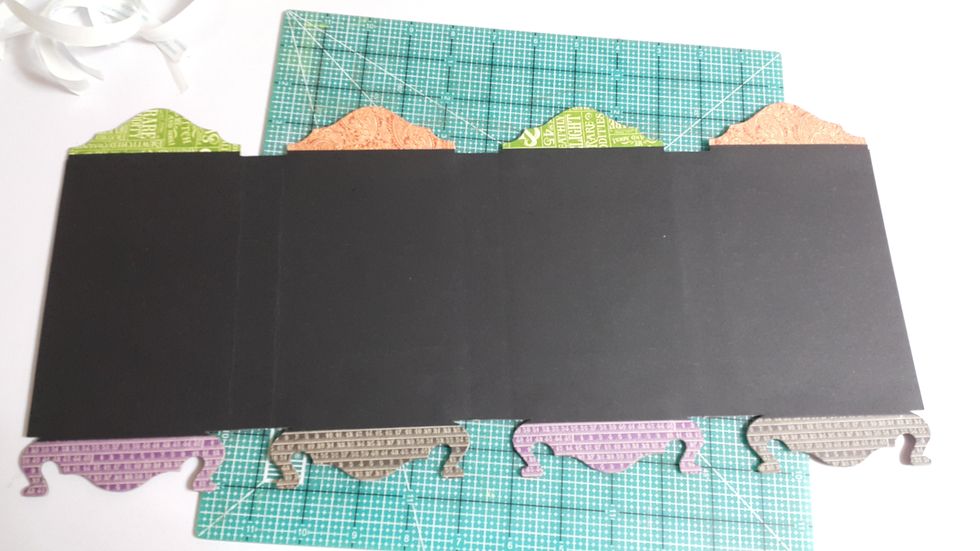
Adhere another black cardstock to cover all panels and trim the corners into shapes
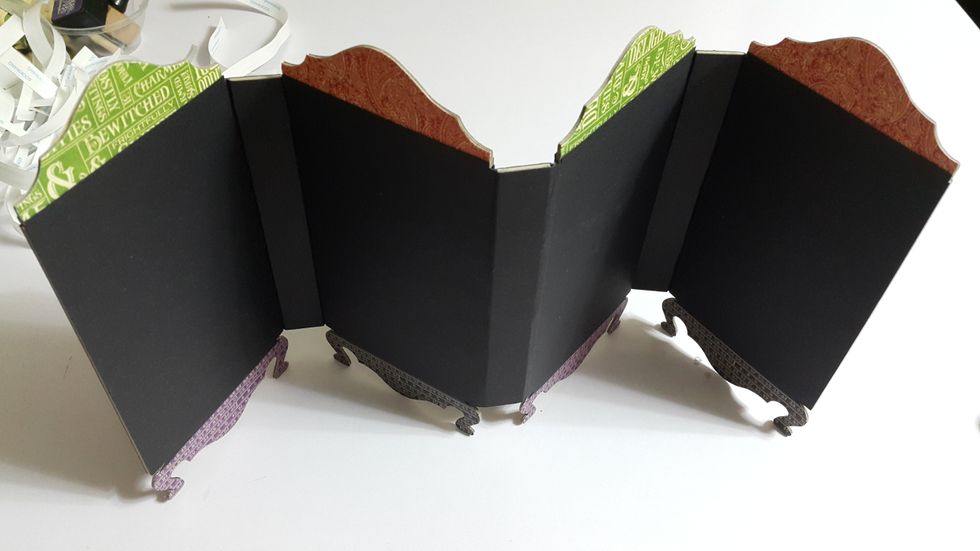
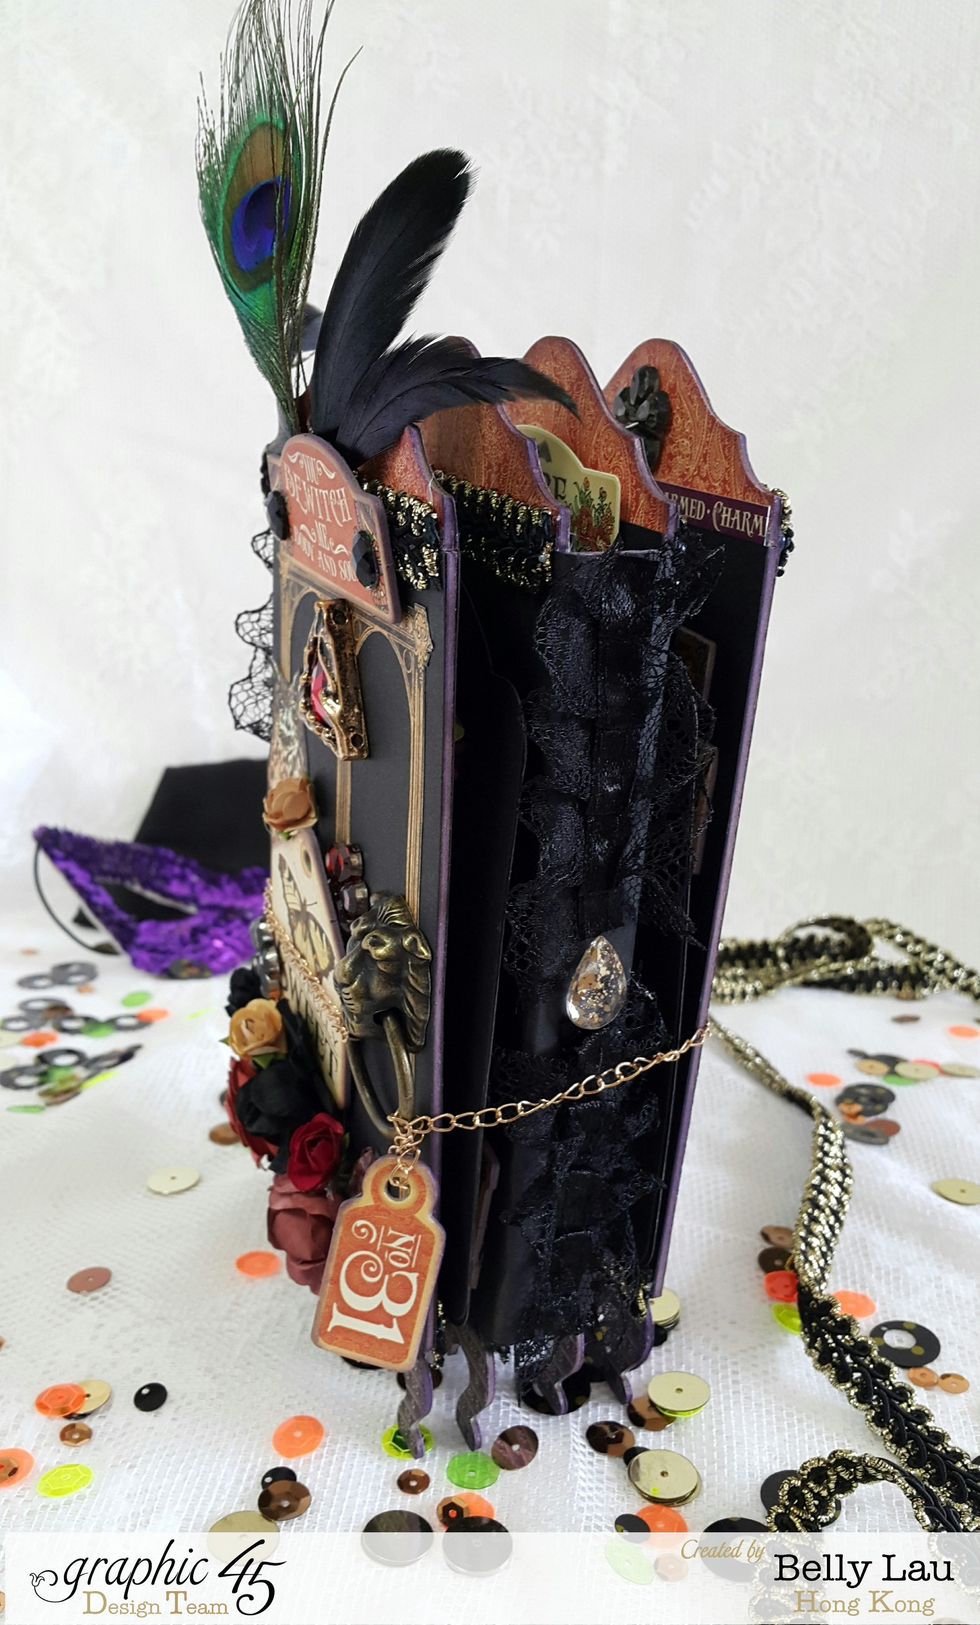
Fold the screen into shape, fold it forth and back
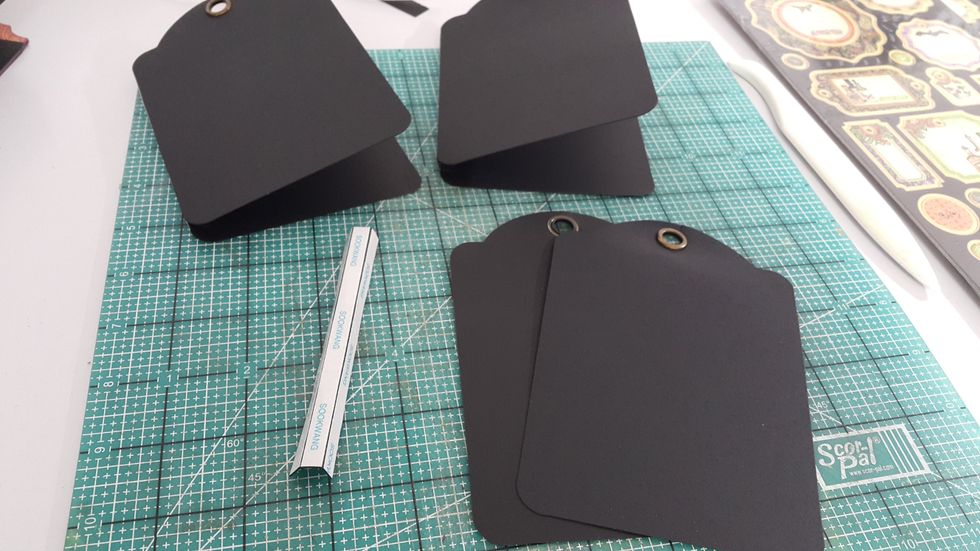
Use black cardstock to make connection strips for the tags to be hold on the screen
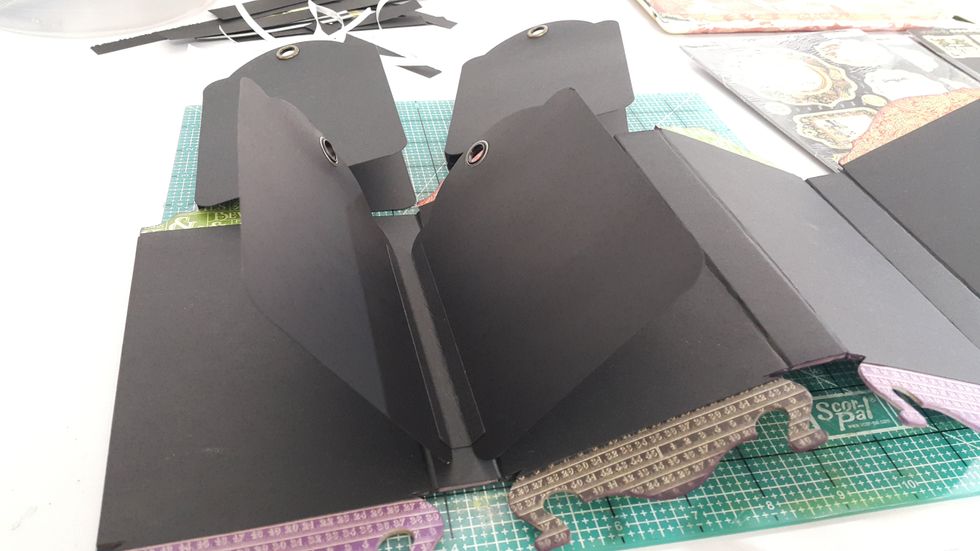
Adhere the tag flips on the screen panels, you can now start decorating with your favorite Graphic 45 papers and Staples
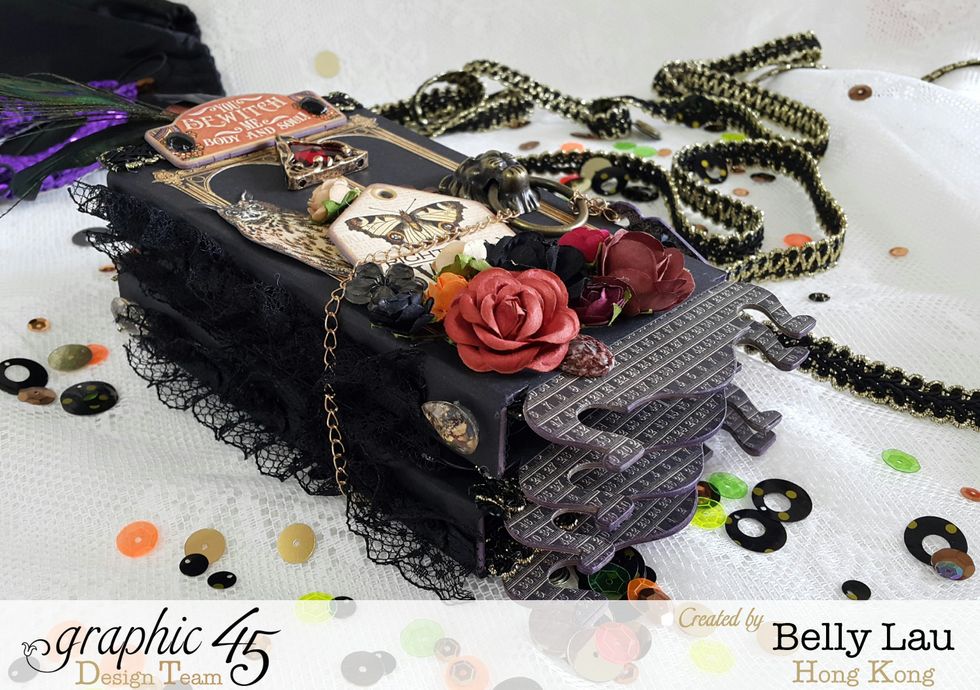
I didn't put bulky embellishments at the back so it can be stay flat for storage
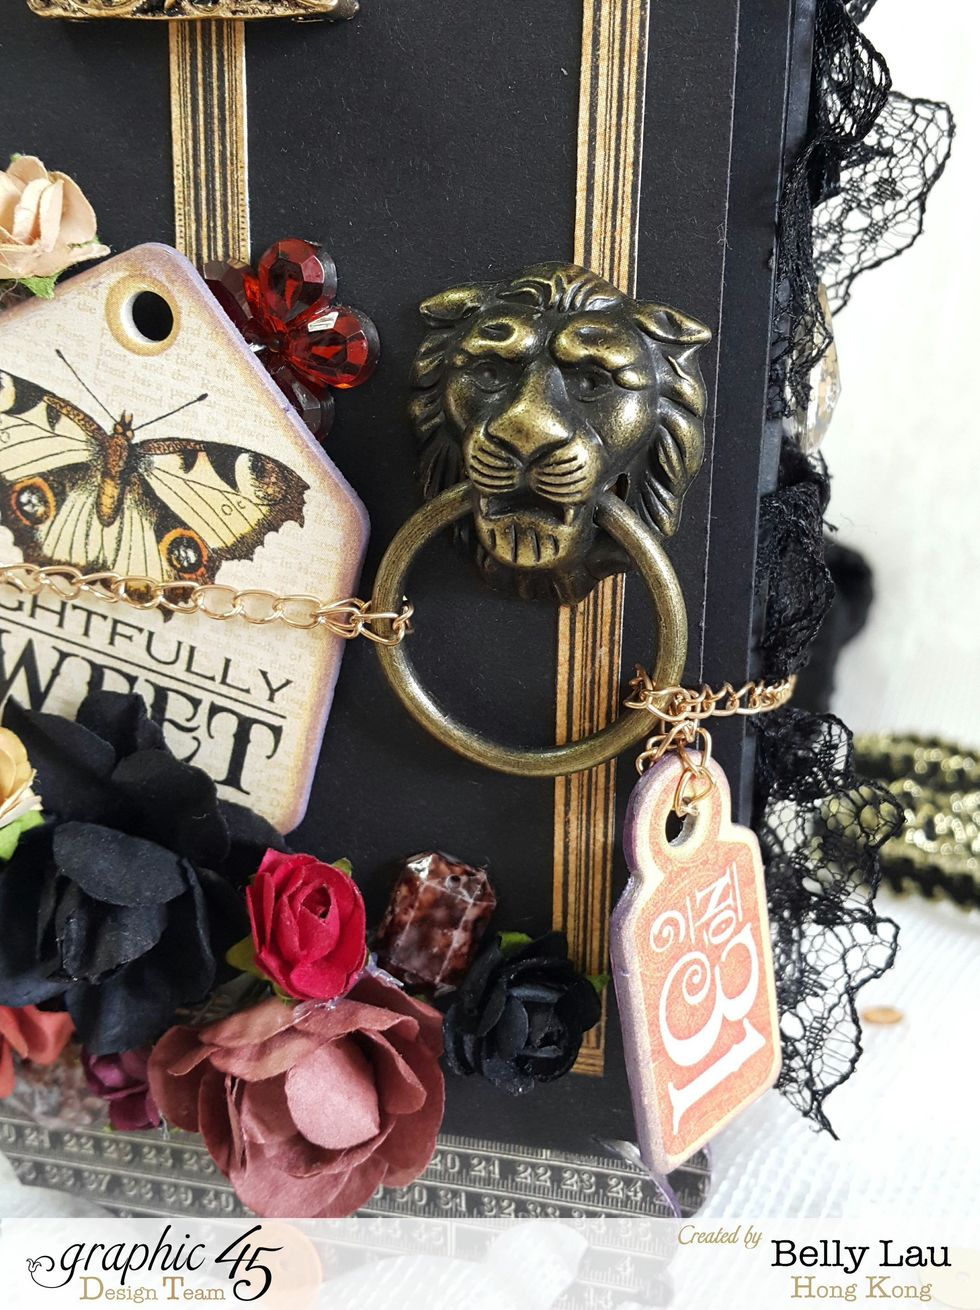
I used Graphic 45 Staples Door Knockers and a chain to tie the screen
I used trims and beads to decorate the sides
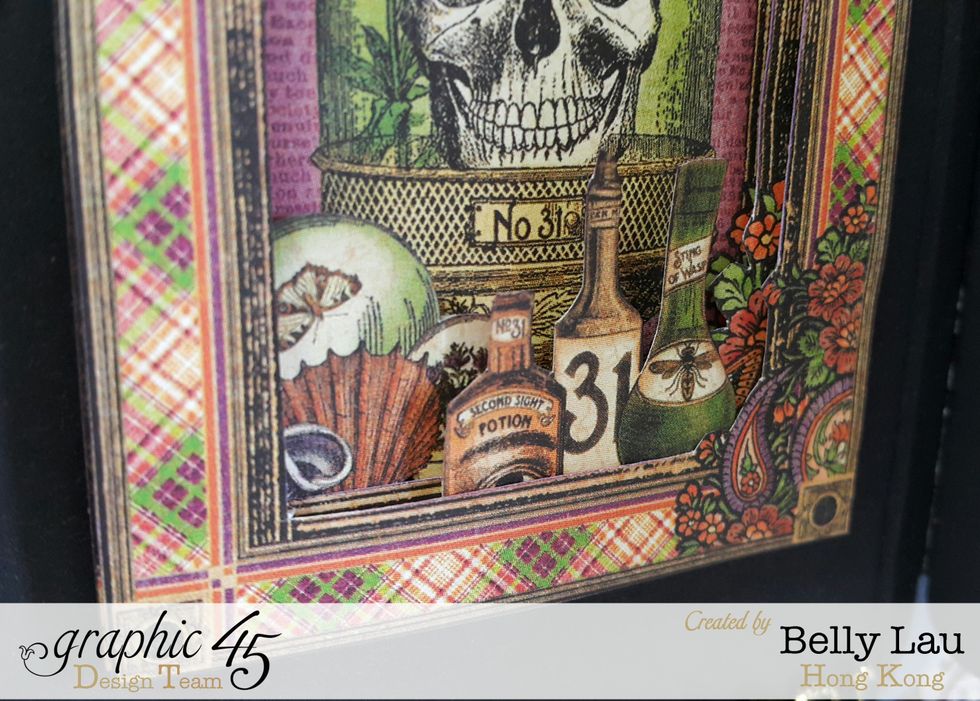
Fussy cut patterns from Graphic 45 papers and layer up to form a scene frame
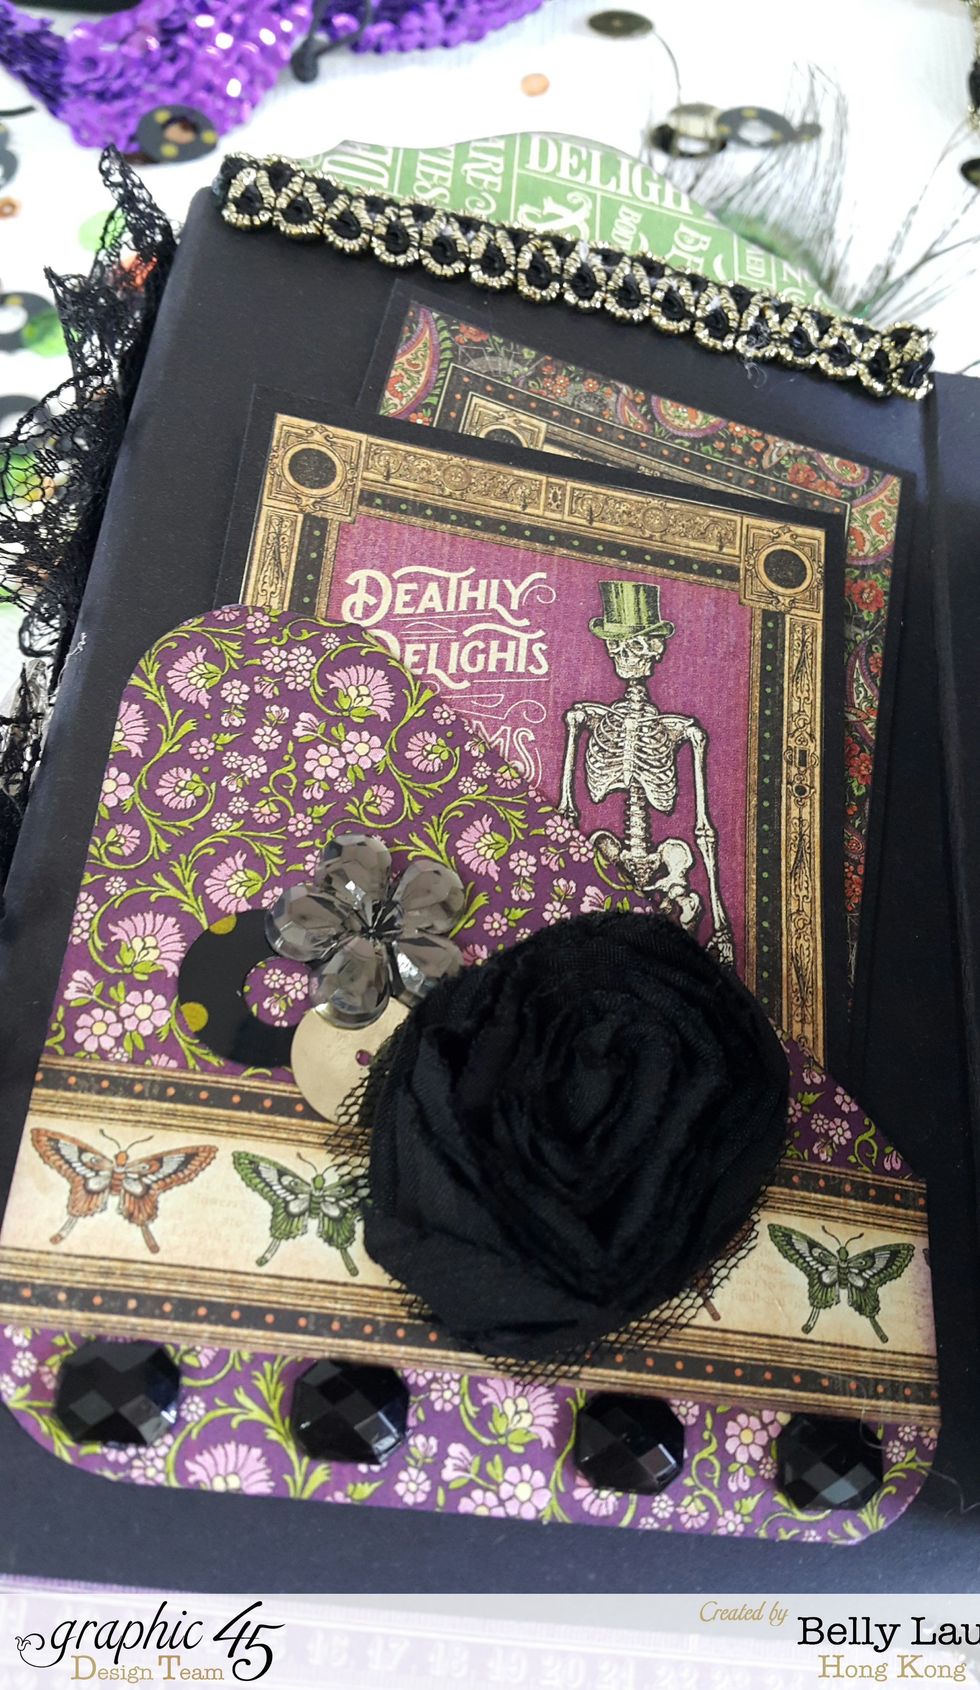
Make some pockets for journaling and cards
You can adjust the depth and put more tags for photos
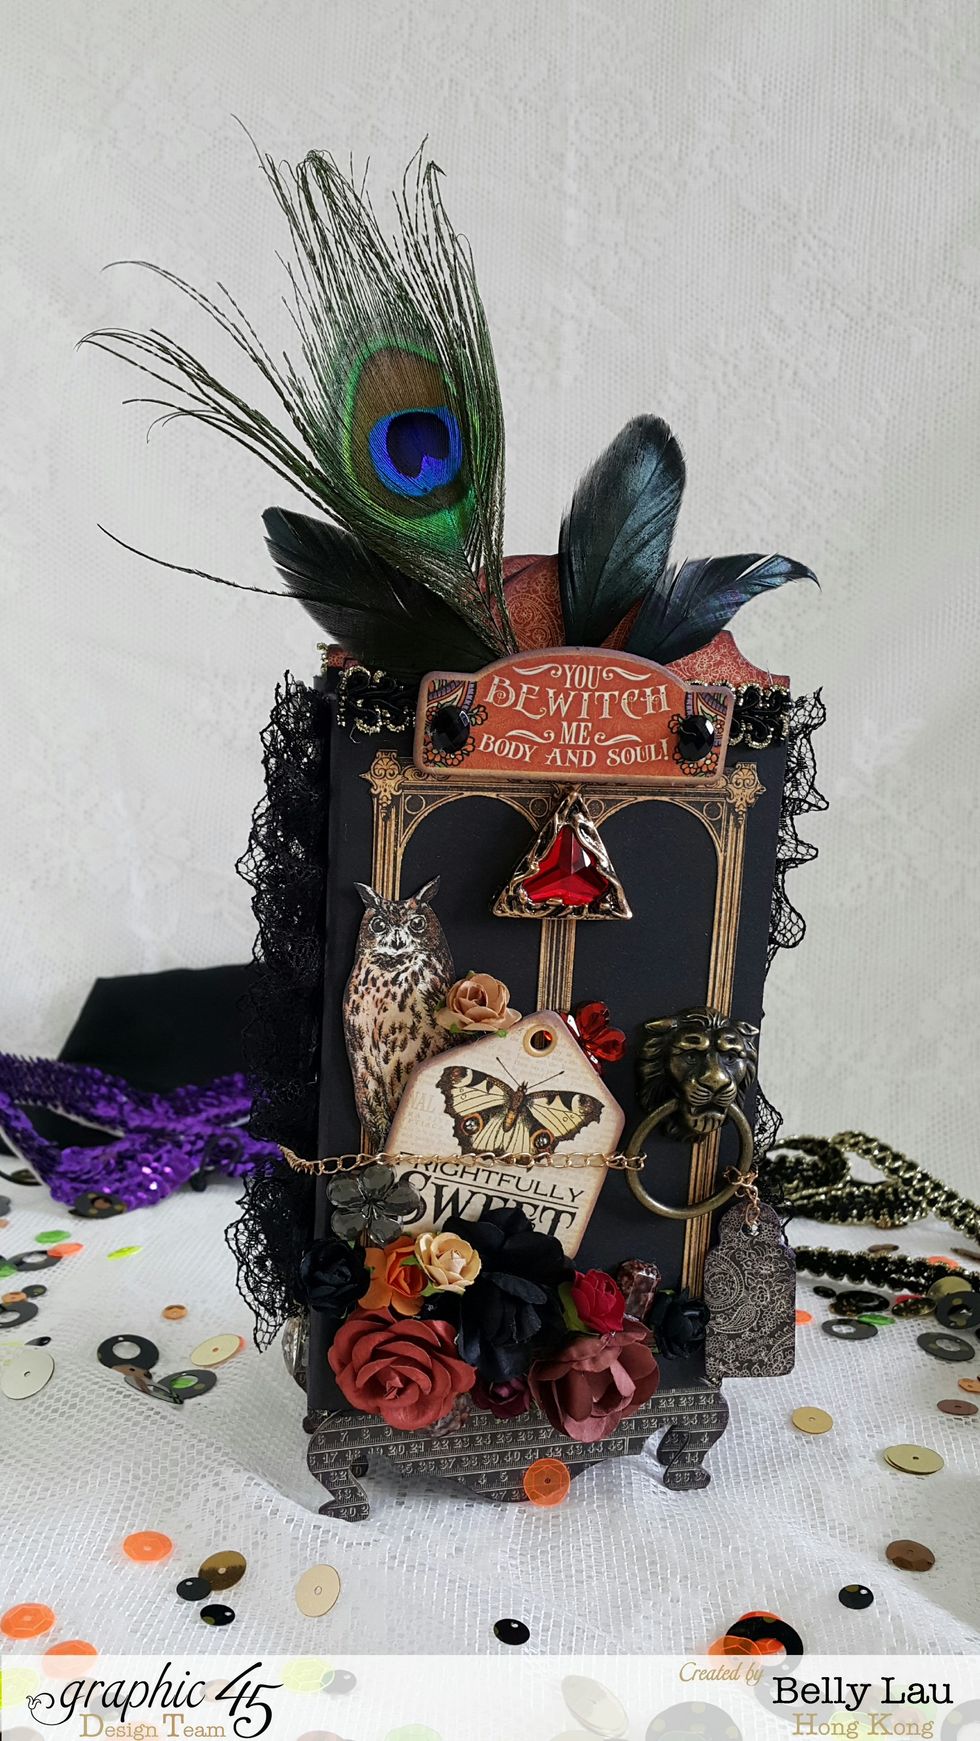
I love the feathers which add a great touch for the album. Thanks for watching!