The Conversation (0)
Sign Up
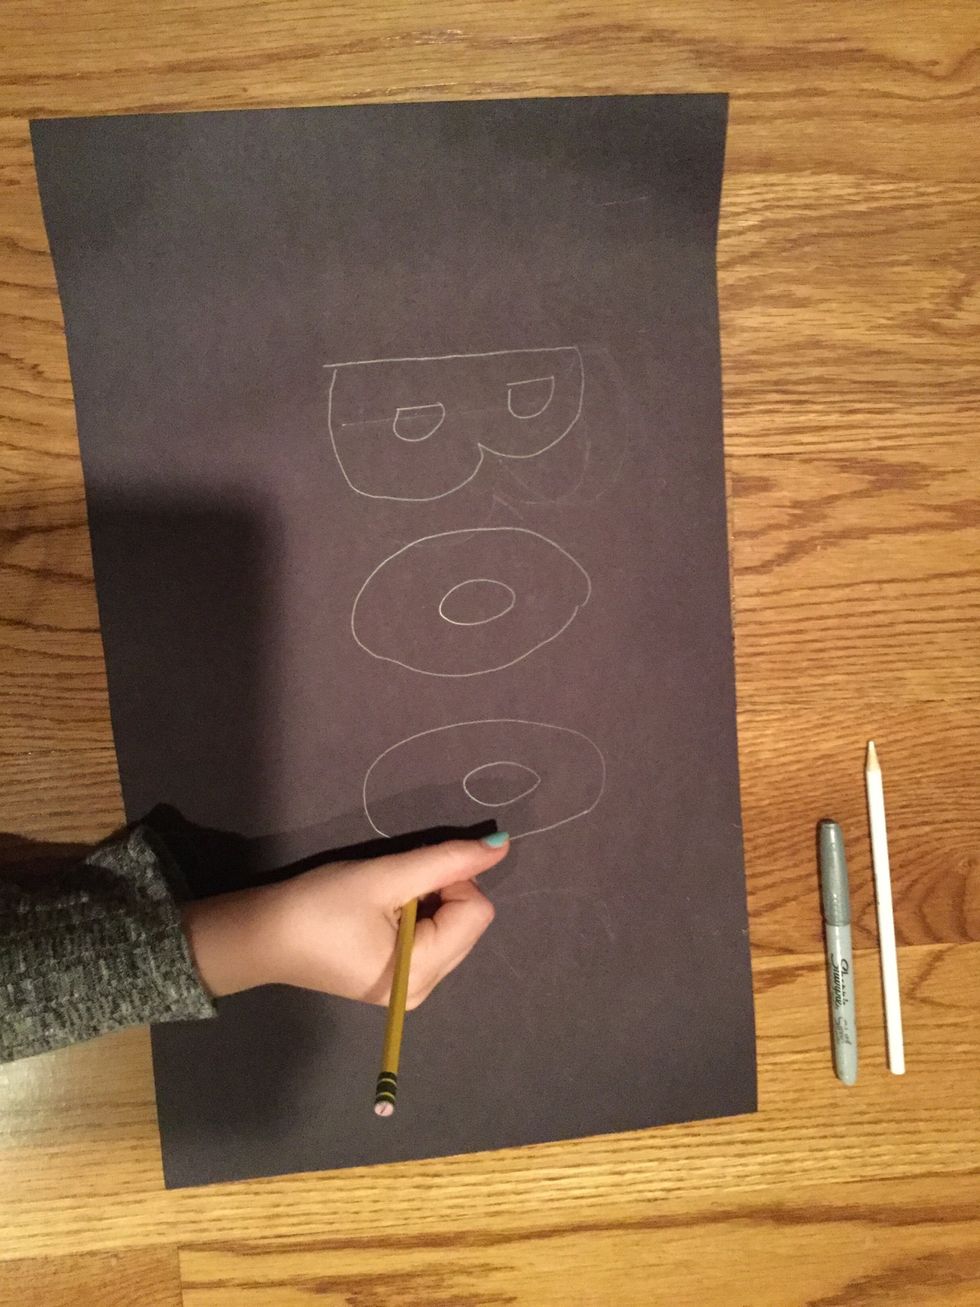
Use a pencil to write the desired Halloween word on black construction paper.
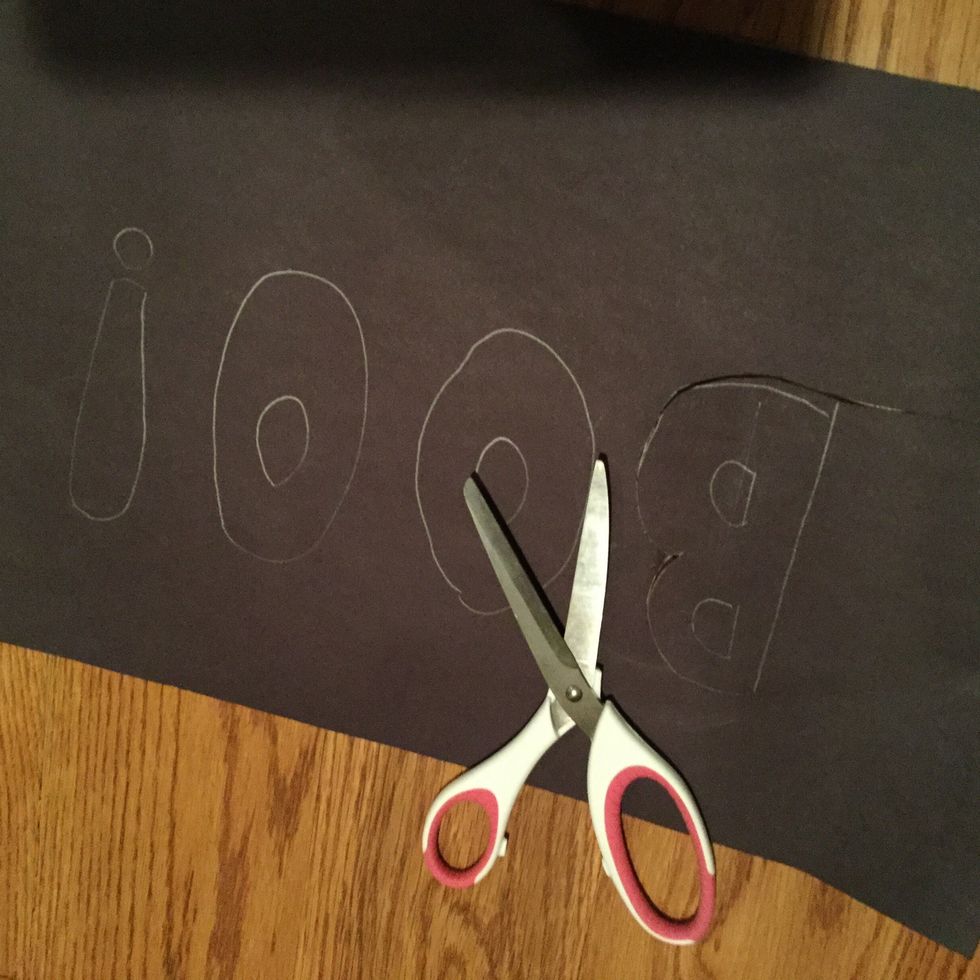
Next, cut out your letters.
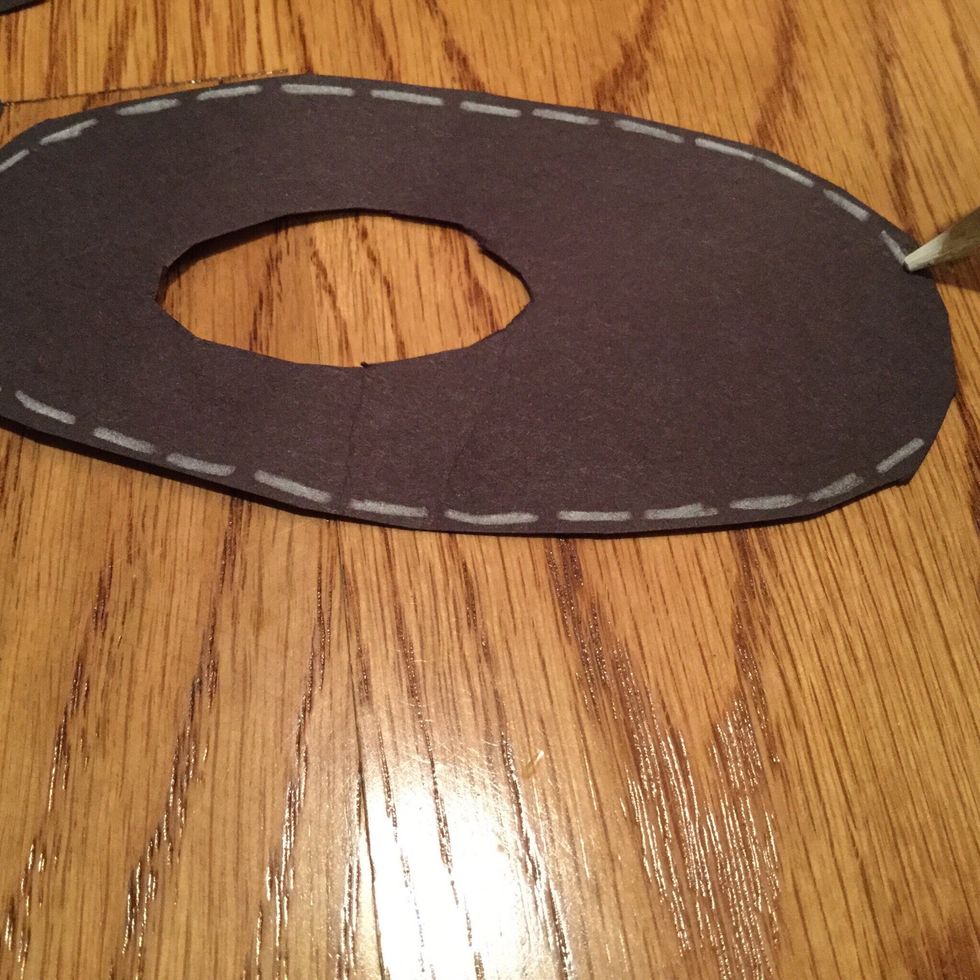
Now, you should turn your letters over and draw little white lines around the edges with your white colored pencil. Try to make them look like stitches.
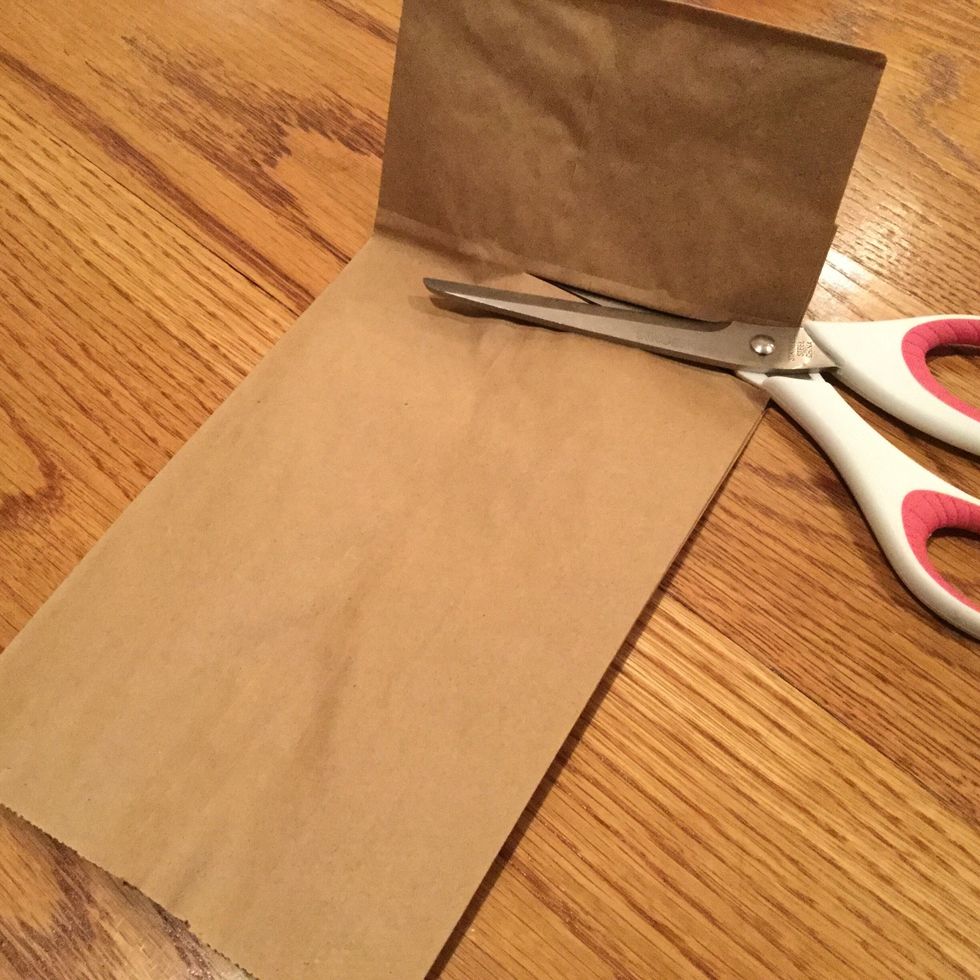
Cut off the bottoms of your brown paper bags. Make sure you have enough bags for each letter plus two extra.

Take a hole puncher and punch two holes at the top of each bag.
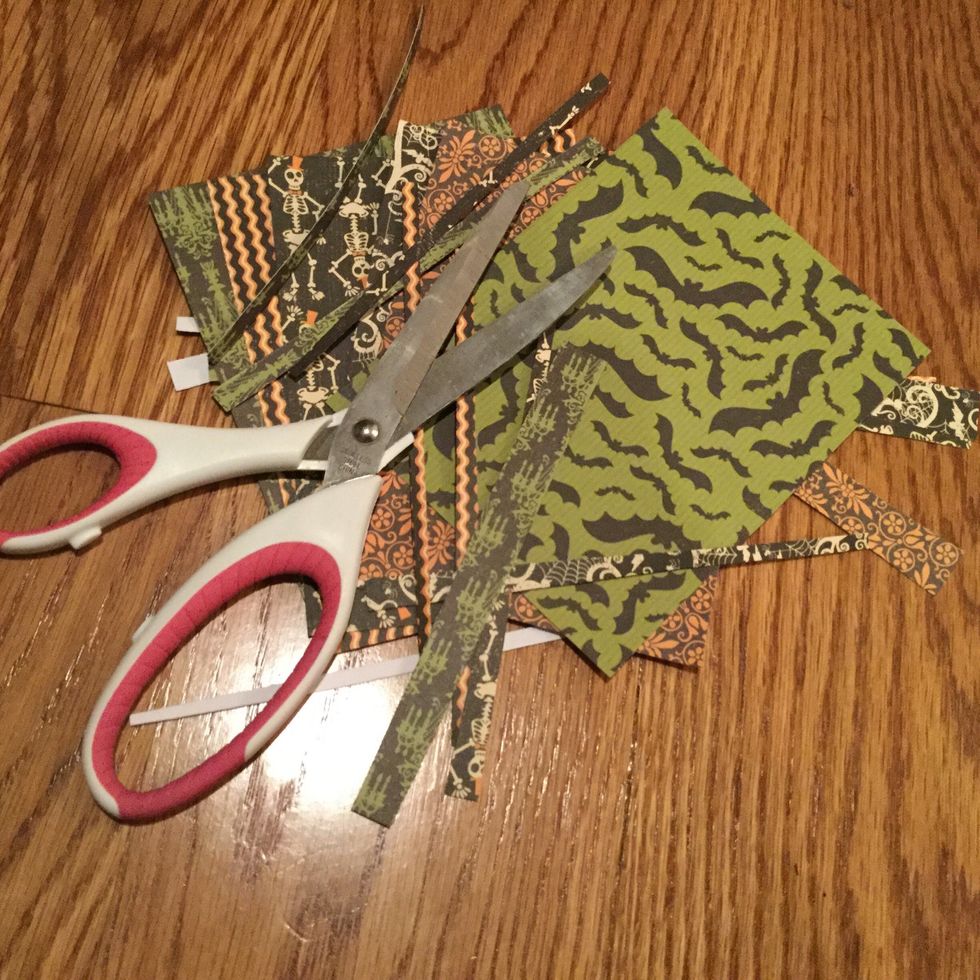
Cut Halloween themed scrapbook paper.
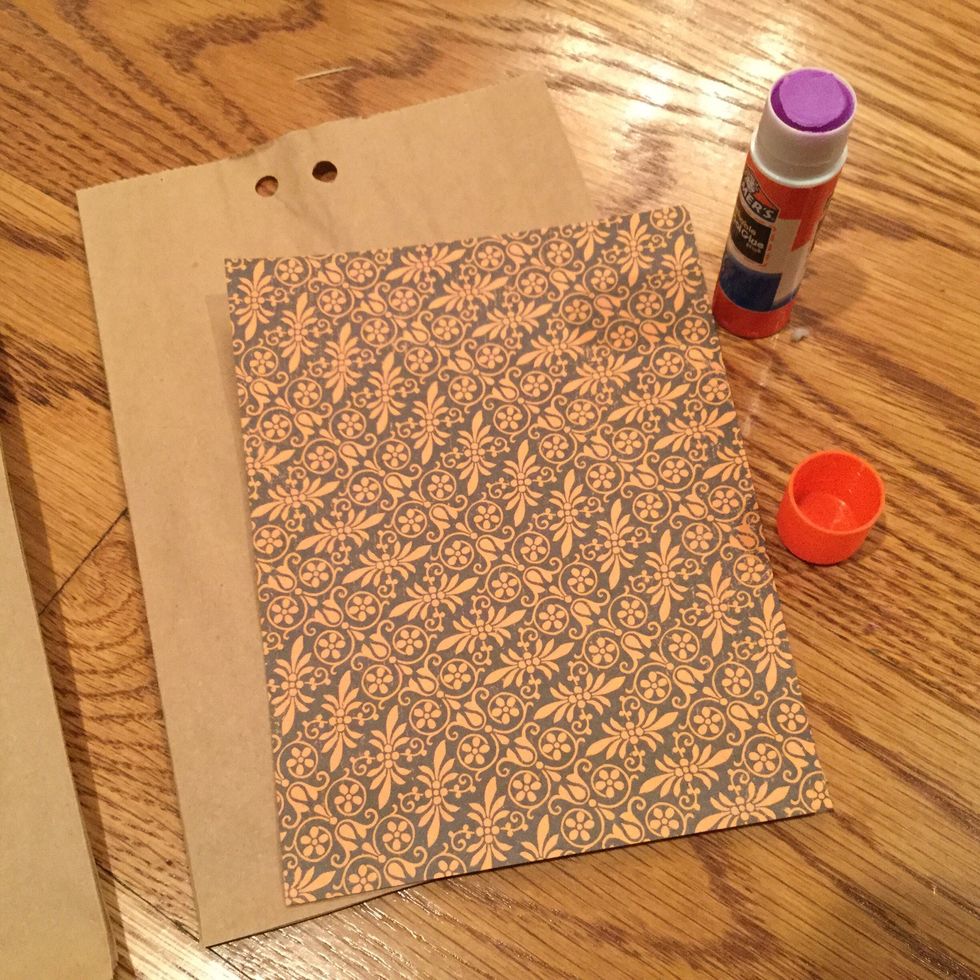
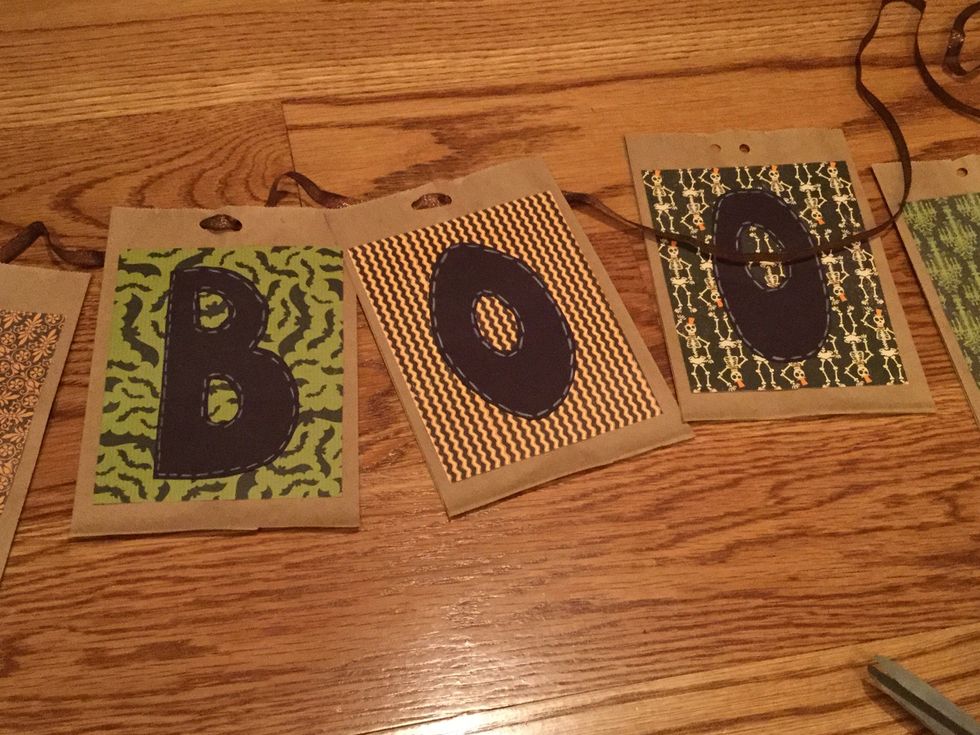
Now, glue your scrapbook paper to your bags.
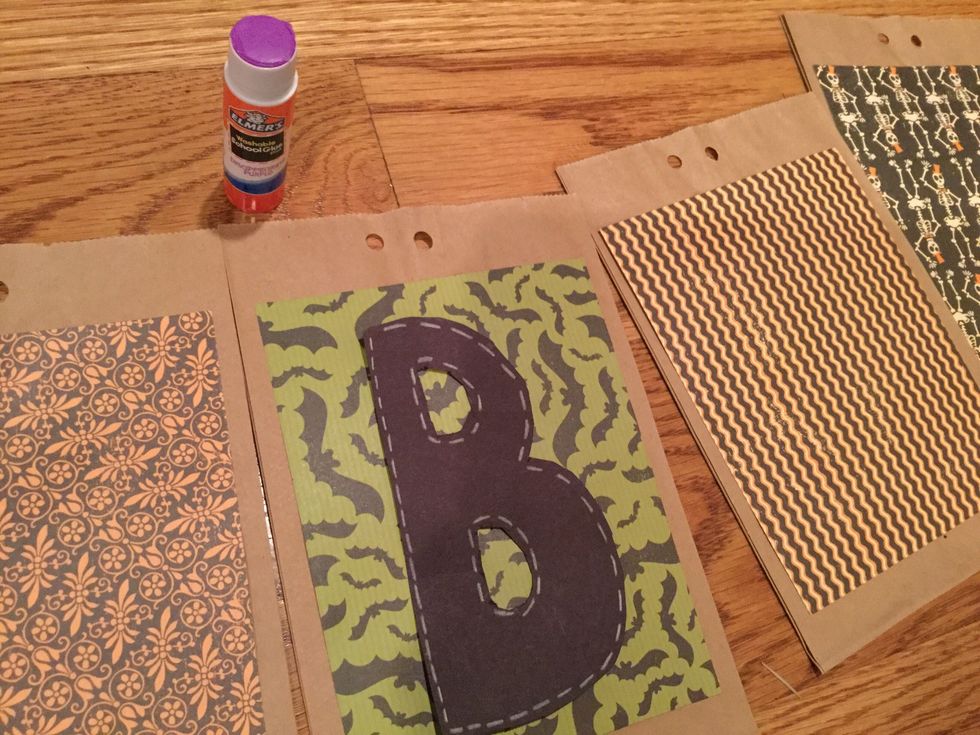
Glue your letters to your bags. (You should have two bags without letters)
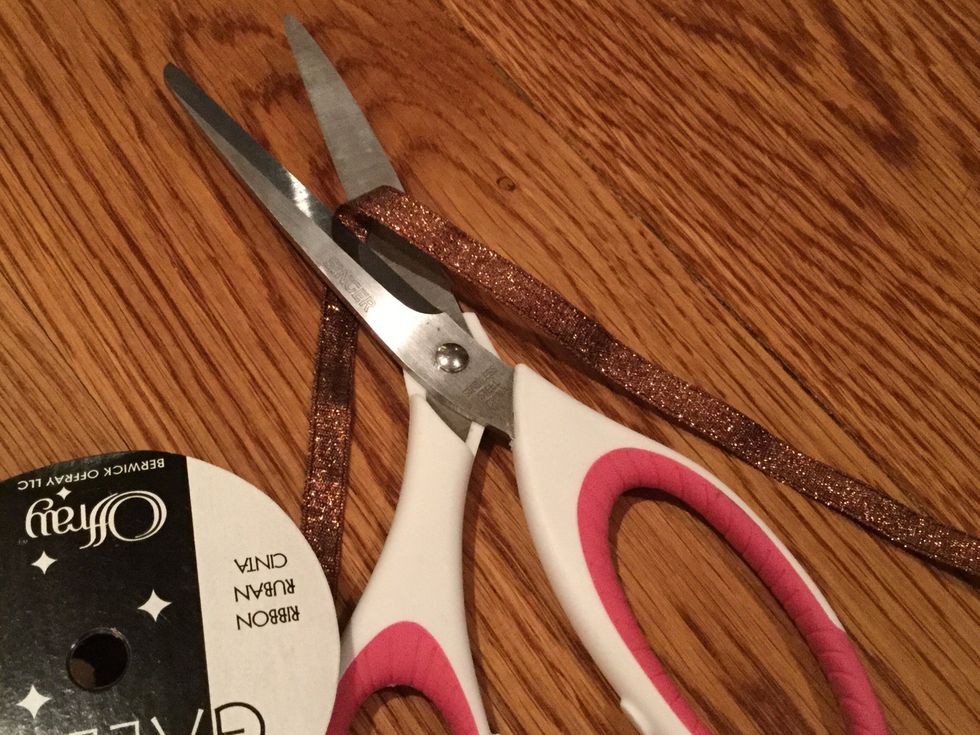
Cut the ribbon you're using to string together the bags.
Now, you can string together you bags.

Once you've finished you can embellish your bags with ribbon and Halloween stickers.
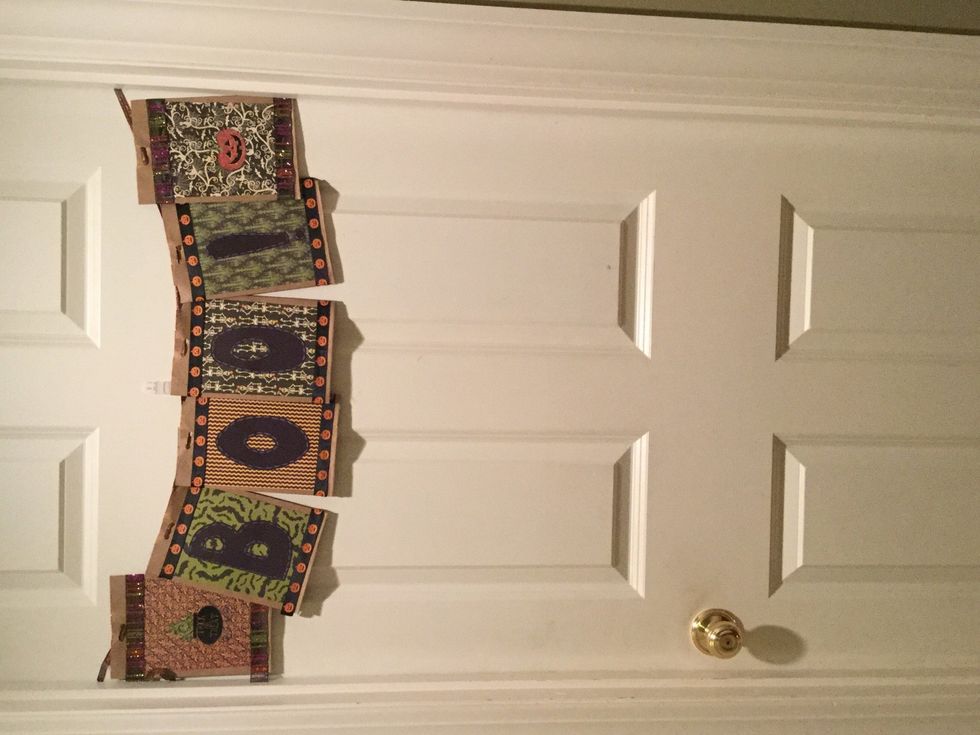
Hang and Enjoy!