The Conversation (0)
Sign Up
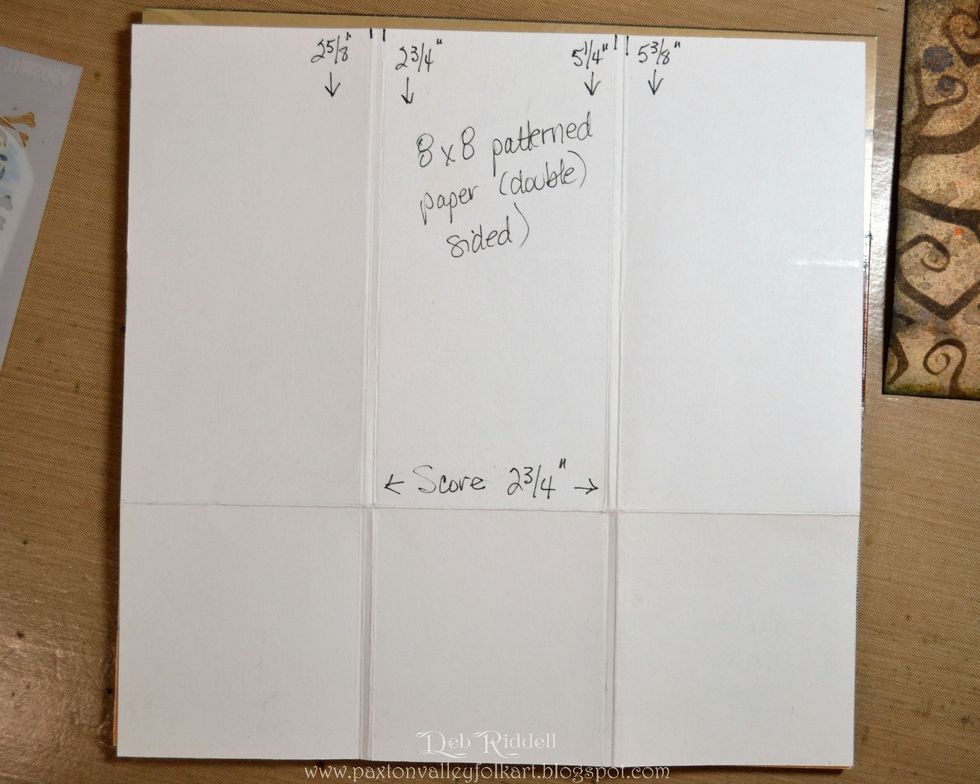
Score a piece of 8" x 8" paper from the Regions Beyond paper stash crosswise at 2 3/4" from the bottom and lengthwise at 2 5/8", 2 3/4", 5 1/4" and 5 3/8".
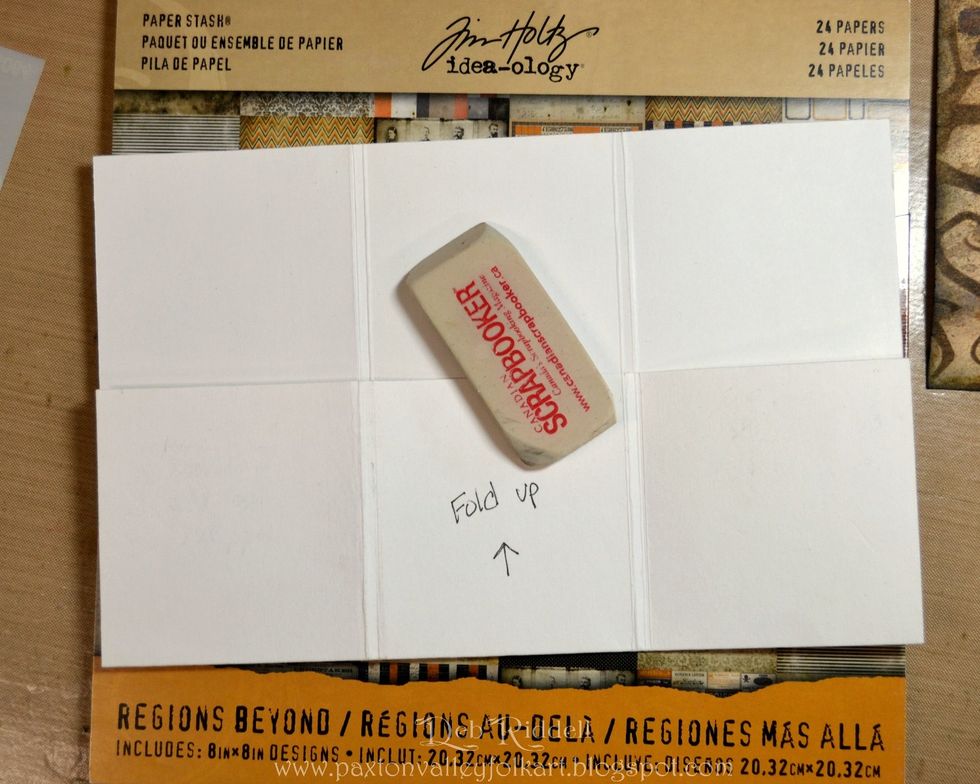
Fold the crosswise score upwards to form a pocket.
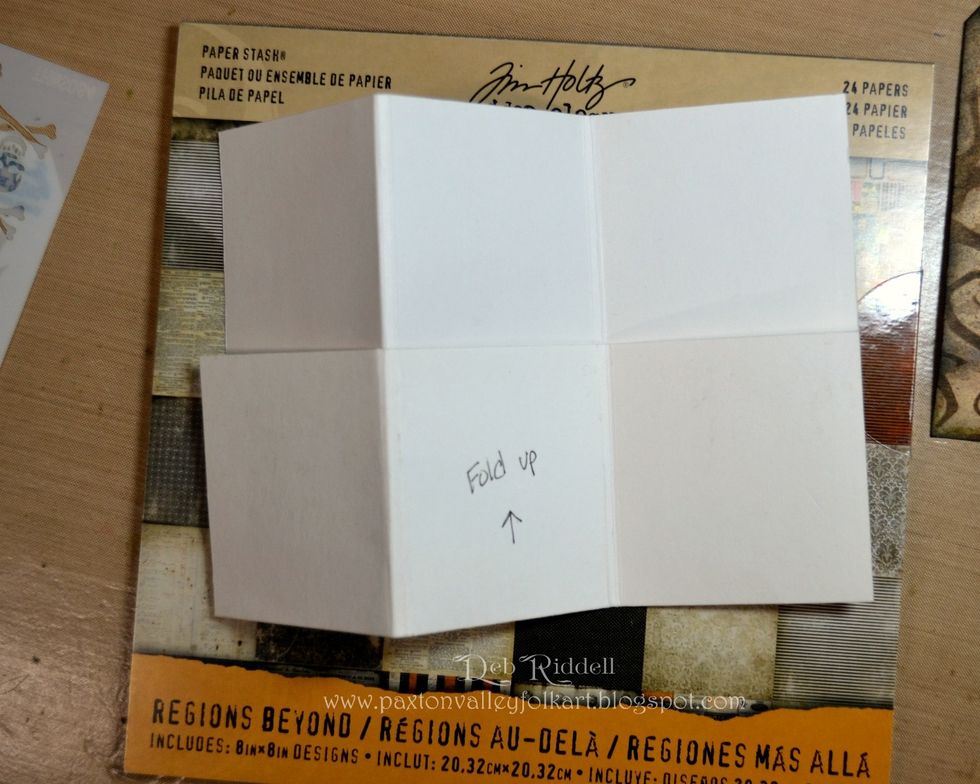
Accordion fold the paper by folding and burnishing on the lengthwise score lines. You will end up with three 'pages', each with a pocket on the front.
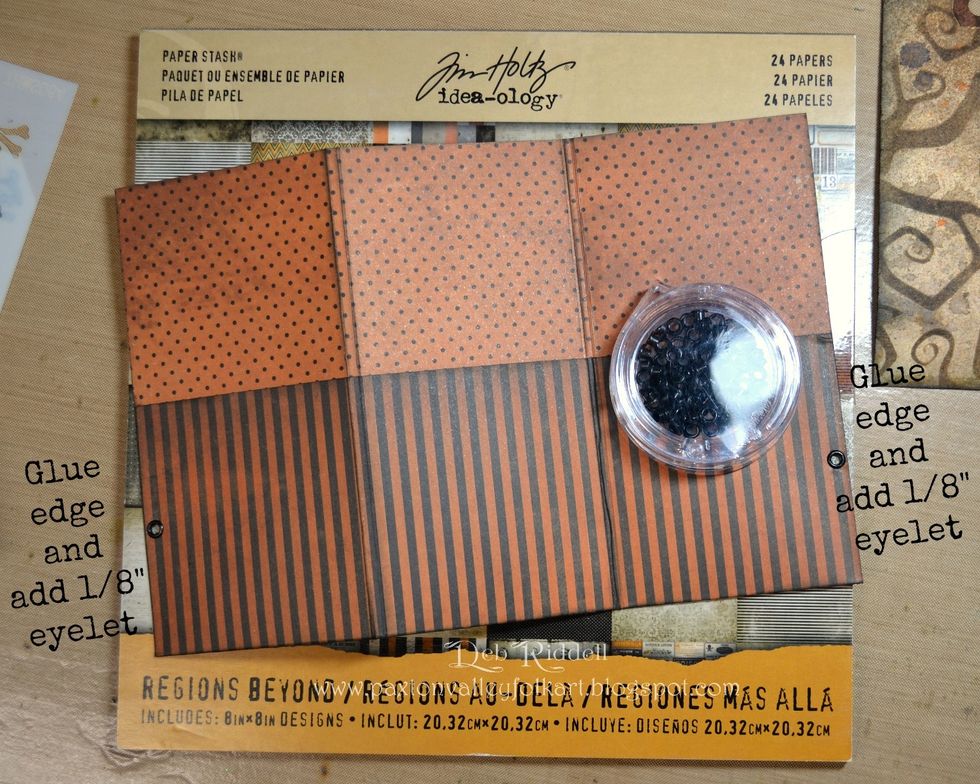
Add a small bead of wet adhesive down the outer edges only of the right and left pockets. Don't add too much or your pocket will get too narrow. Set your 1/8" eyelets on the right and left edges.
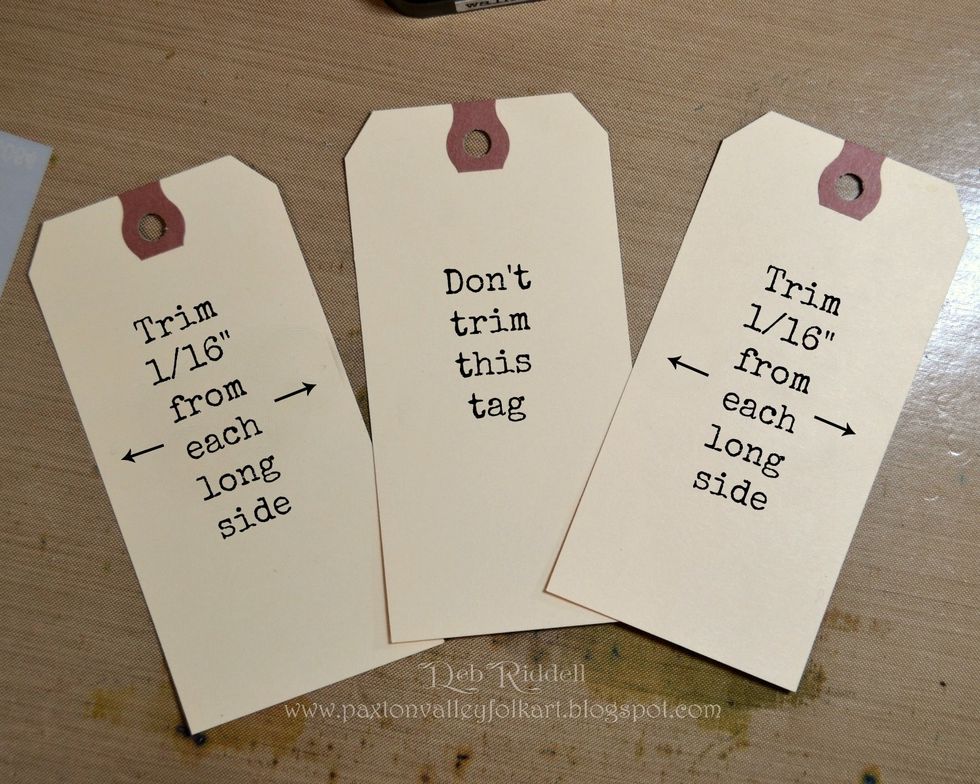
Trim 2 of the #8 hang tags by 1/16" on each long side. These tags will be for the right and left outer pockets which are slightly narrower than the center pocket because of the glued edge.
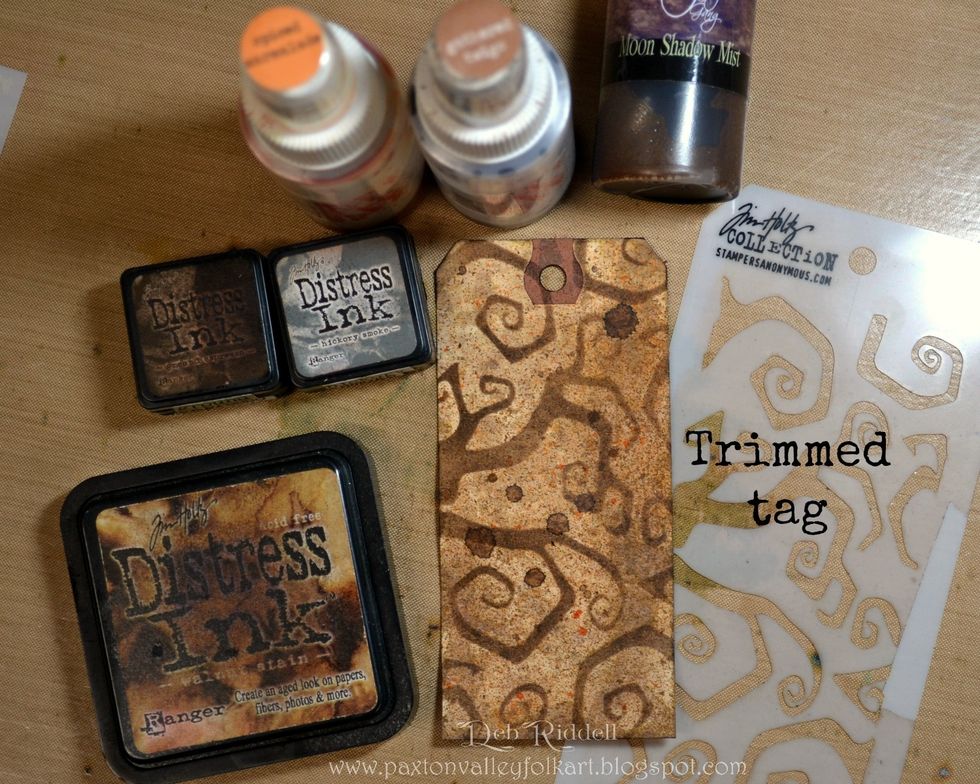
Colour the two trimmed tags with Distress inks (Walnut Stain, Ground Espresso, Hickory Smoke) and then spray lightly with Distress spray stain (Gathered Twigs & Spiced Marmalade) front and back.
I also added a spritz of Lindy's Stamp Gang Vandyke Sepia (optional). Edge both tags with Black Soot Distress ink & stencil one tag front and back with the Twisted mini stencil and Ground Espresso DI
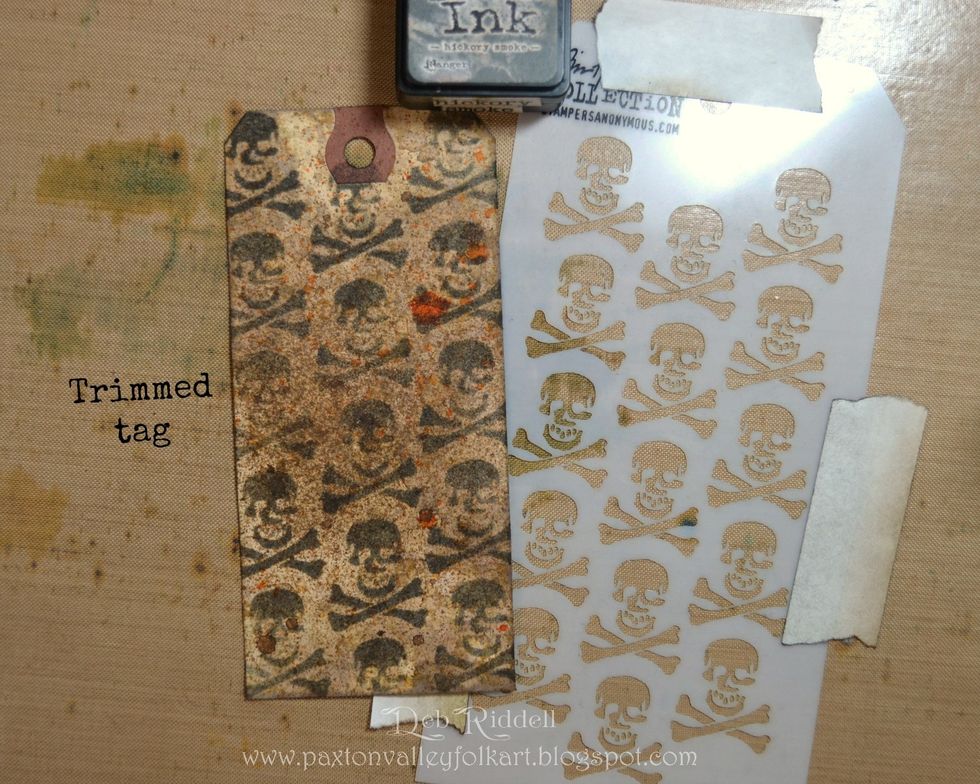
Stencil the second trimmed tag front and back with the crossbones mini stencil and Hickory Smoke DI
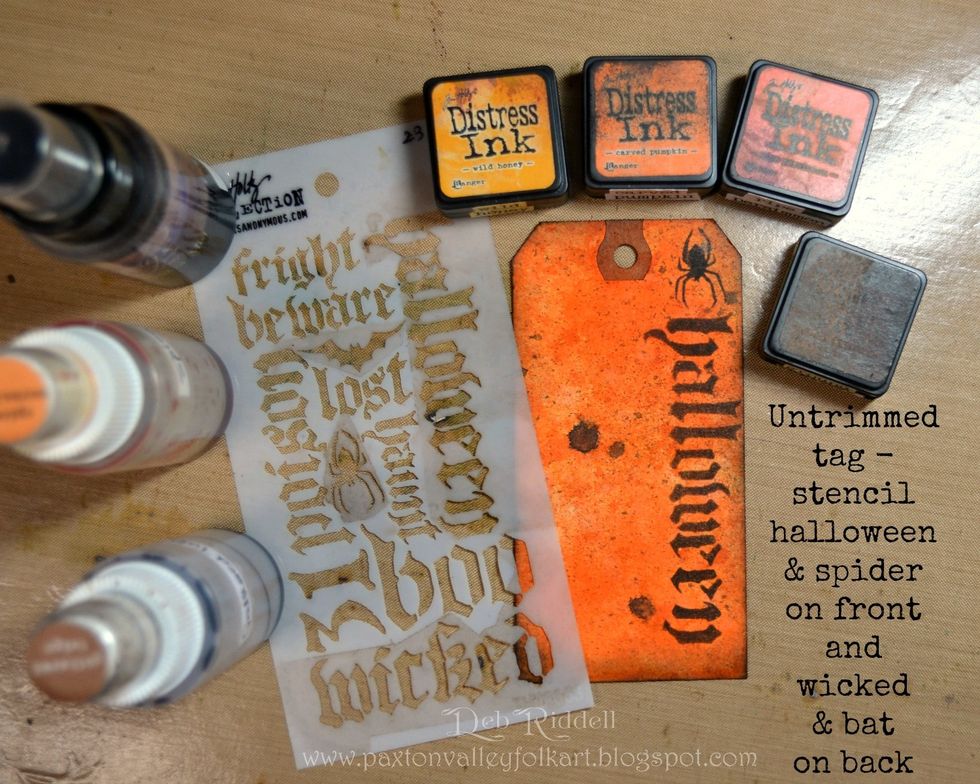
Colour the full sized tag with Distress inks (Wild Honey, Spiced Marmalade, Carved Pumpkin) and spray with the same Distress Stain sprays as for the trimmed tags. Edge the tag with Black Soot DI.
Stencil the full size tag with the mini Halloween Script stencil and Black Soot DI. I stenciled 'halloween' and the spider on the front right side and 'wicked' and the bat on the back left side.

Time to embellish! Adhere the three images (cat, moon and phrenology head) from the Frightful Ephemera pack to the top of the pocket pages.
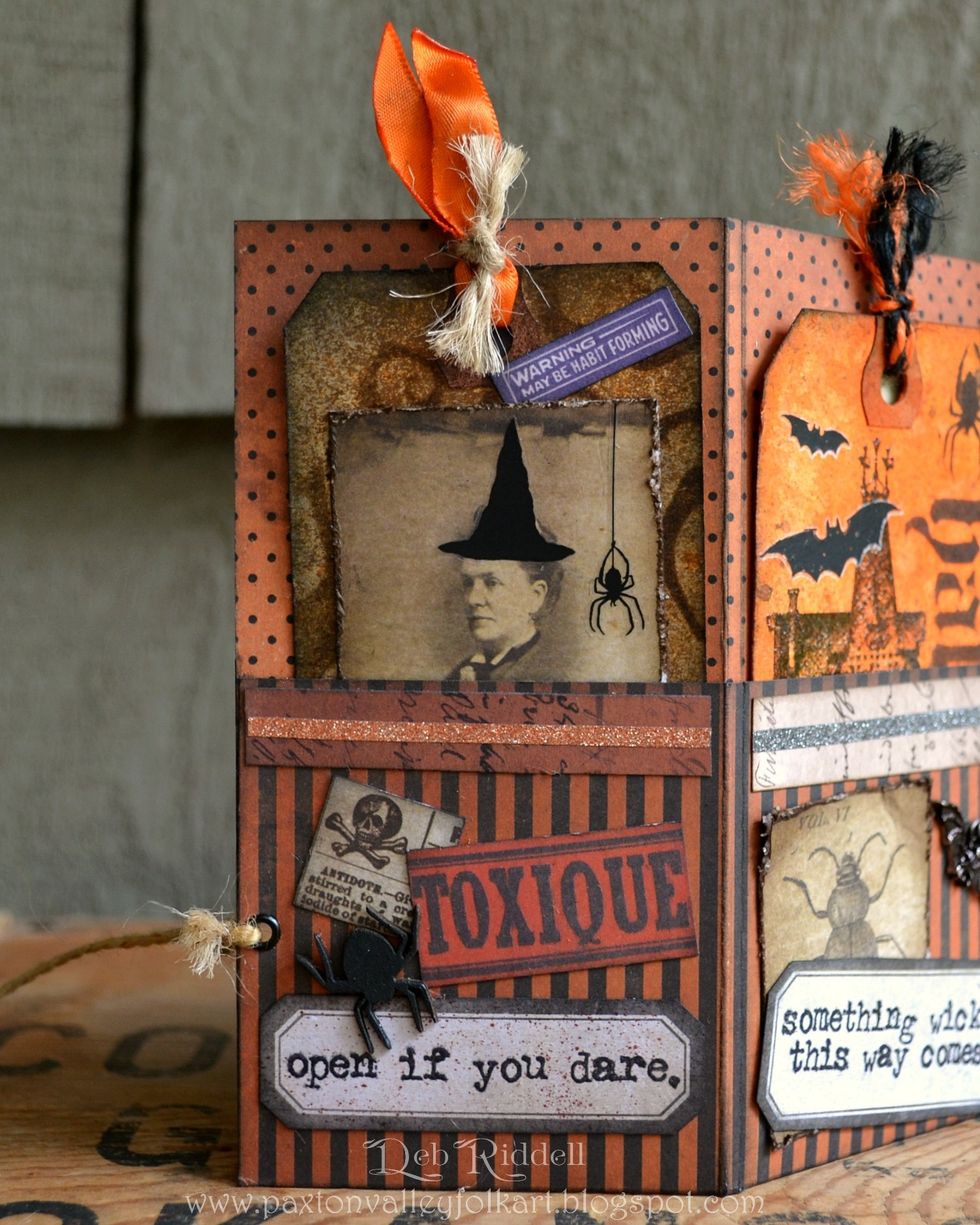
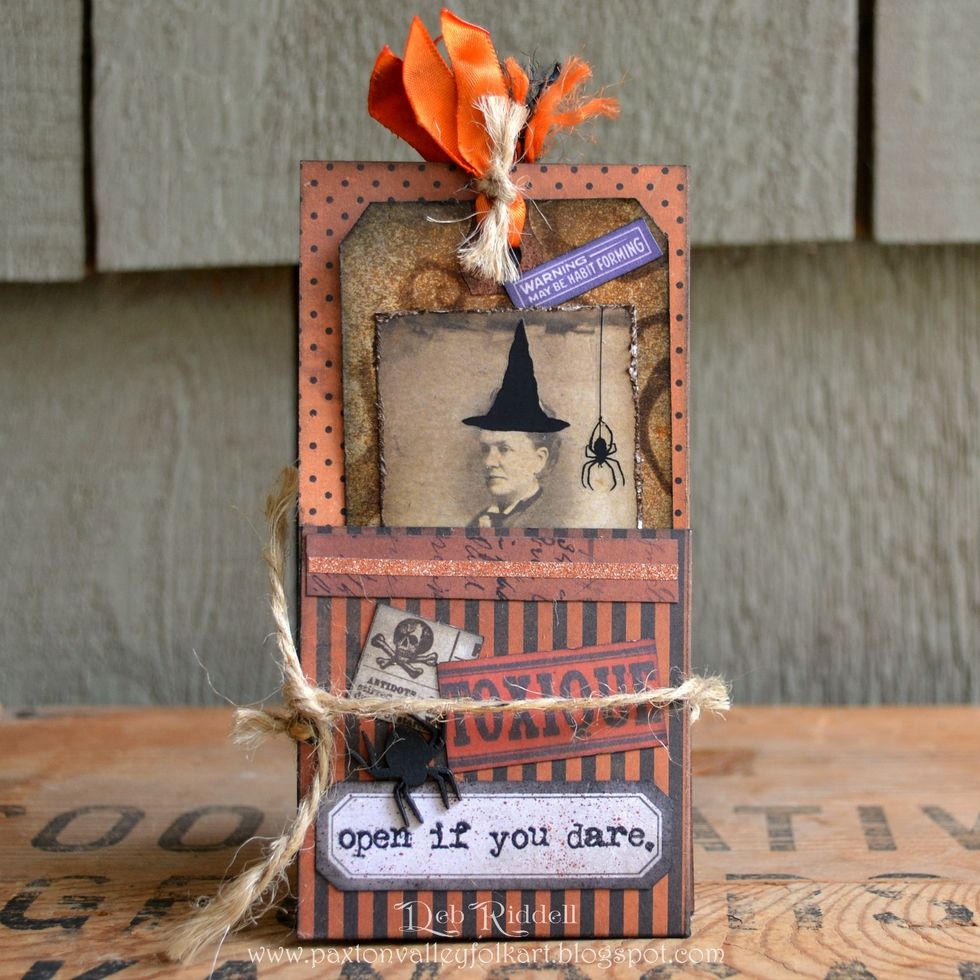
Front pocket page - cut a strip from Regions Beyond paper, layer a narrow strip of Halloween Deco sheet on top and adhere to the top of the pocket. Layer images from the Frightful Ephemera pack.
Cut a label from the Regions Beyond paper, stamp the 'open' sentiment from Regions Beyond and clear emboss. Colour a chipboard spider with black alcohol ink and adhere both to the pocket front.

Cut another paper strip, label and the insect image from Regions Beyond paper. Layer the strip with black Halloween Deco sheet. Colour the bat charm with black alcohol ink and secure with a brad.
Stamp the label with the 'something wicked' sentiment from Regions Beyond and clear emboss. Tatter the edges of the insect image, ink with Black Soot and layer the elements.
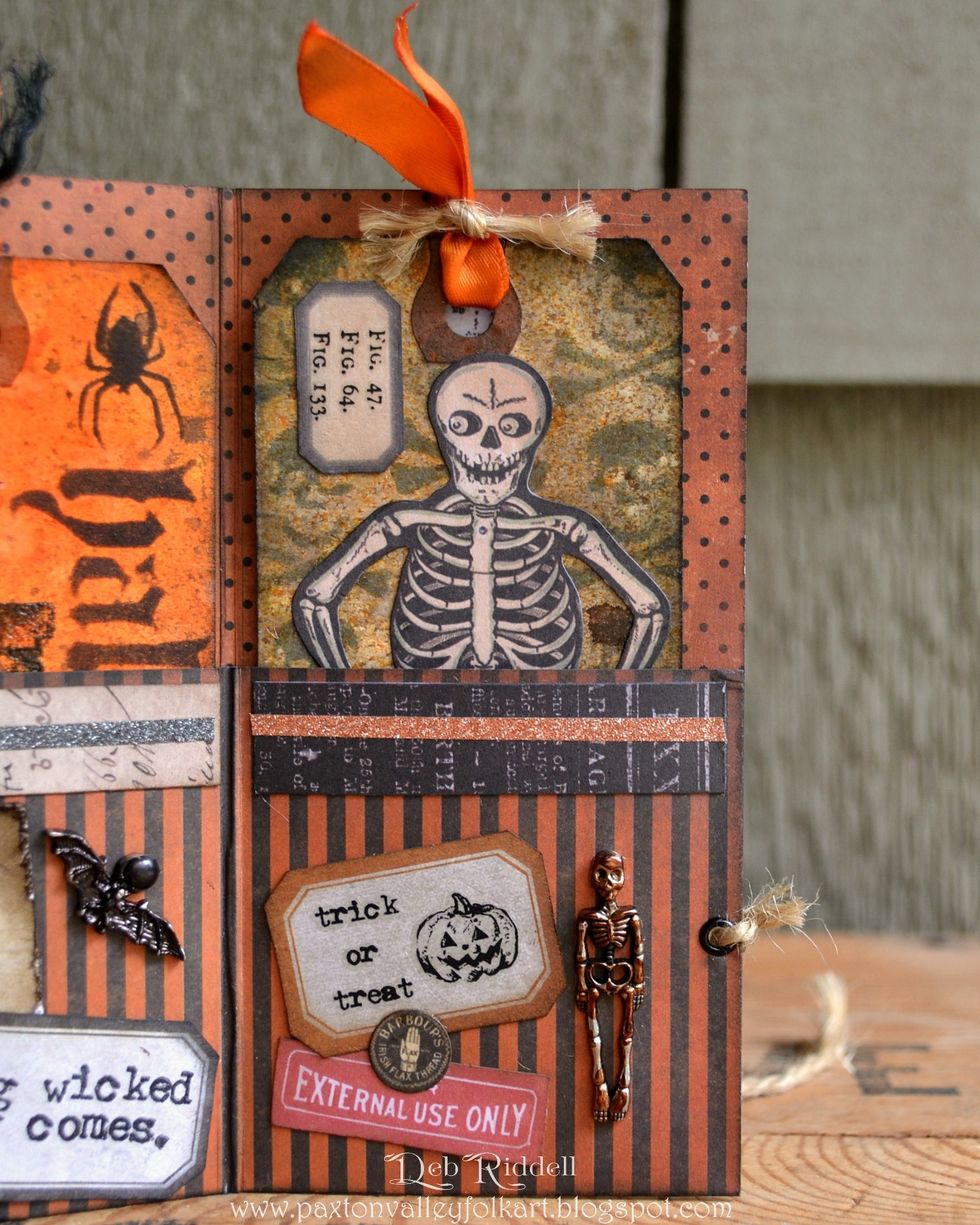
Cut another paper strip and label from Regions Beyond paper and add Curiosities Remnant Rubs to the label. Choose some elements from the Frightful Ephemera pack and layer.
Snip the hanging loop off of the Oddities Adornments skeleton charm and colour him with Ginger alcohol ink. Adhere the skeleton to the front of the pocket with E6ooo glue.
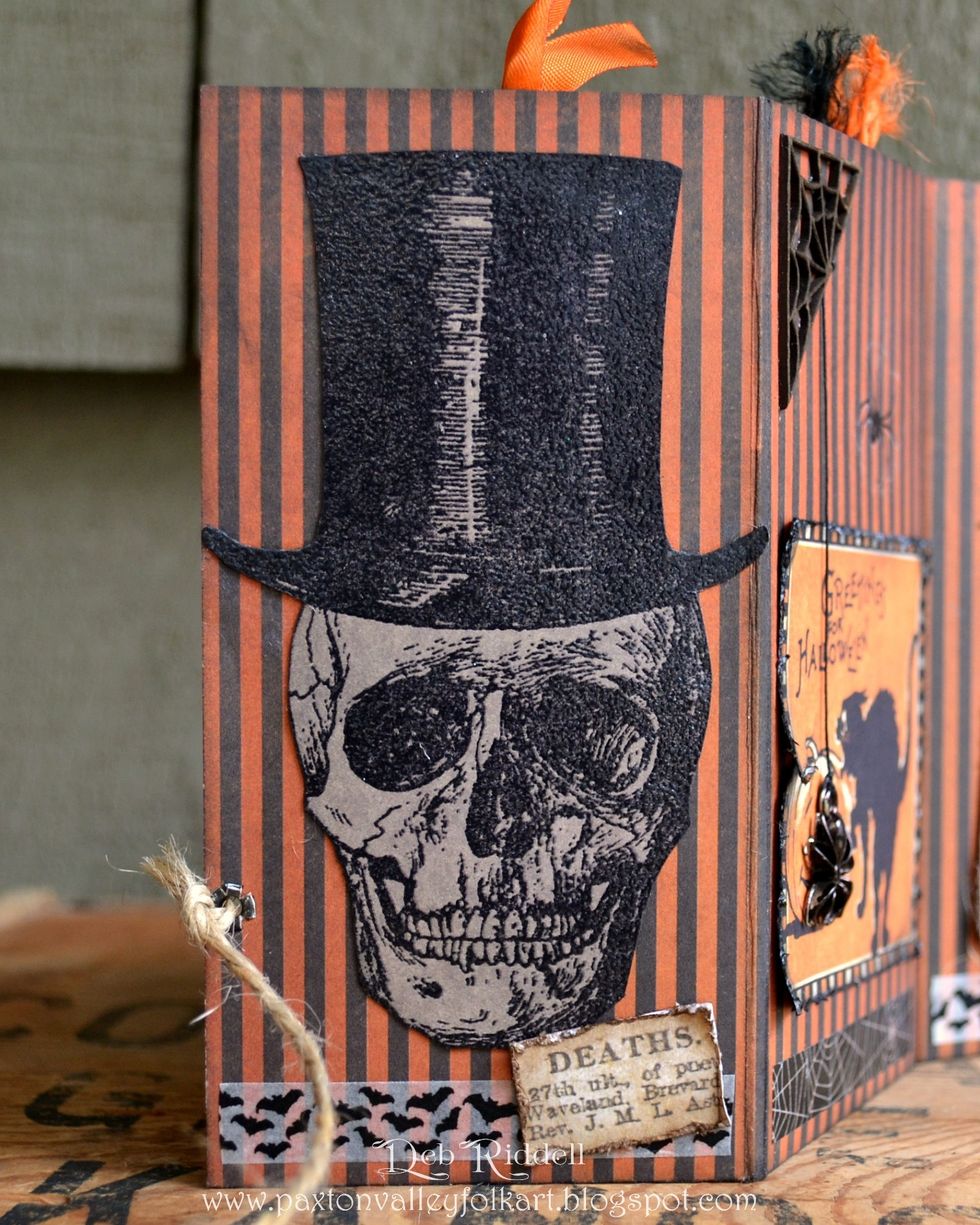
Time to decorate the back of the pocket pages! Stamp the large skull from the Undertaker set onto grey cardstock, clear emboss and fussy cut the image and adhere in place.
Snip the 'deaths' notice from the Regions Beyond paper, tatter the edges and ink with Black Soot DI. Add a strip of Halloween washi tape along the bottom (think I got this at Michaels?).
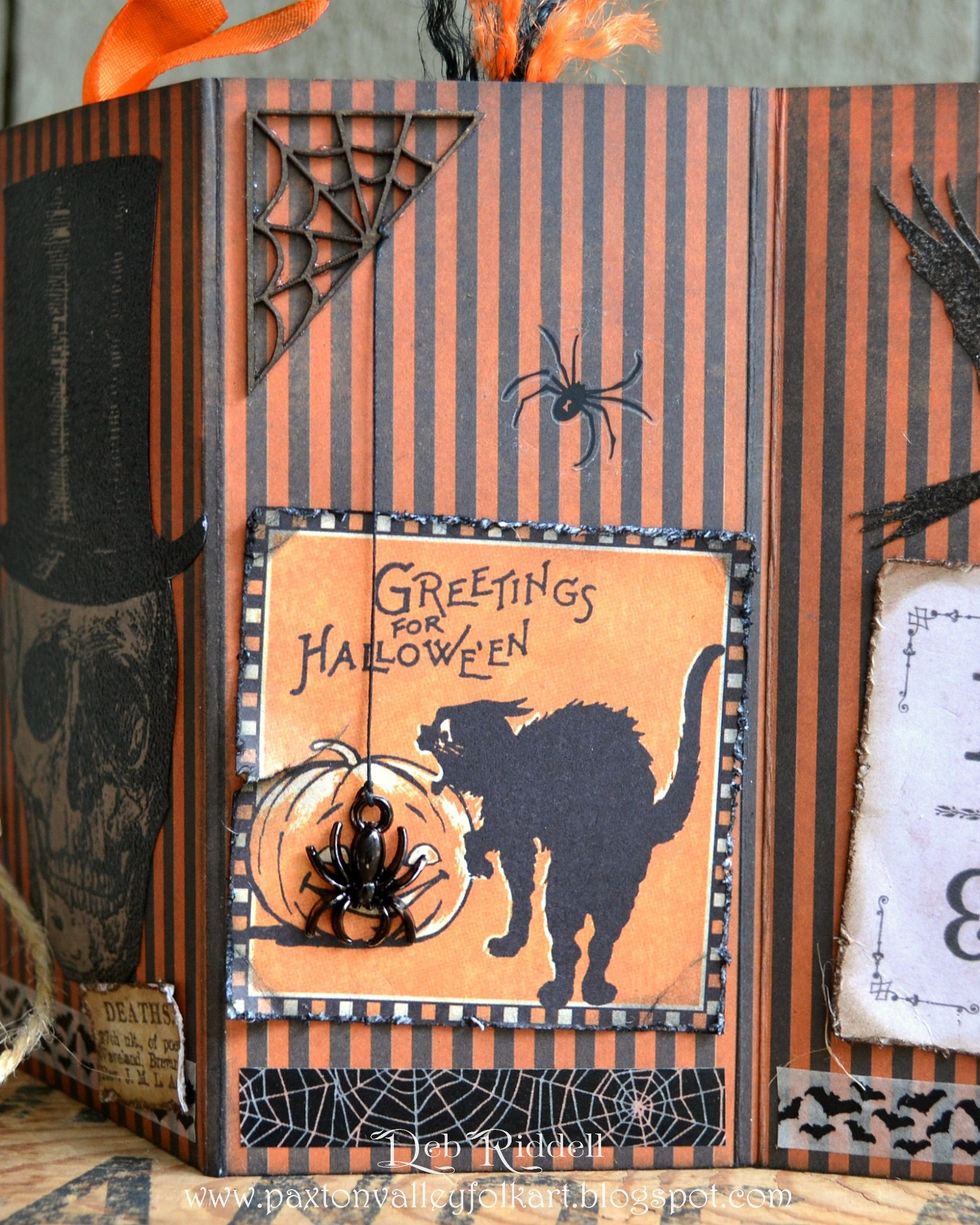
Colour a chipboard spider web with Mushroom alcohol ink. Colour the Oddities Adornments spider with black alcohol ink and suspend it from the web with black button thread.
Add a Curiosities Remnant Rub spider and a strip of Halloween washi tape. Select an image from the Frightful Ephemera pack, tatter the edges and adhere in place with the spider charm hanging down.
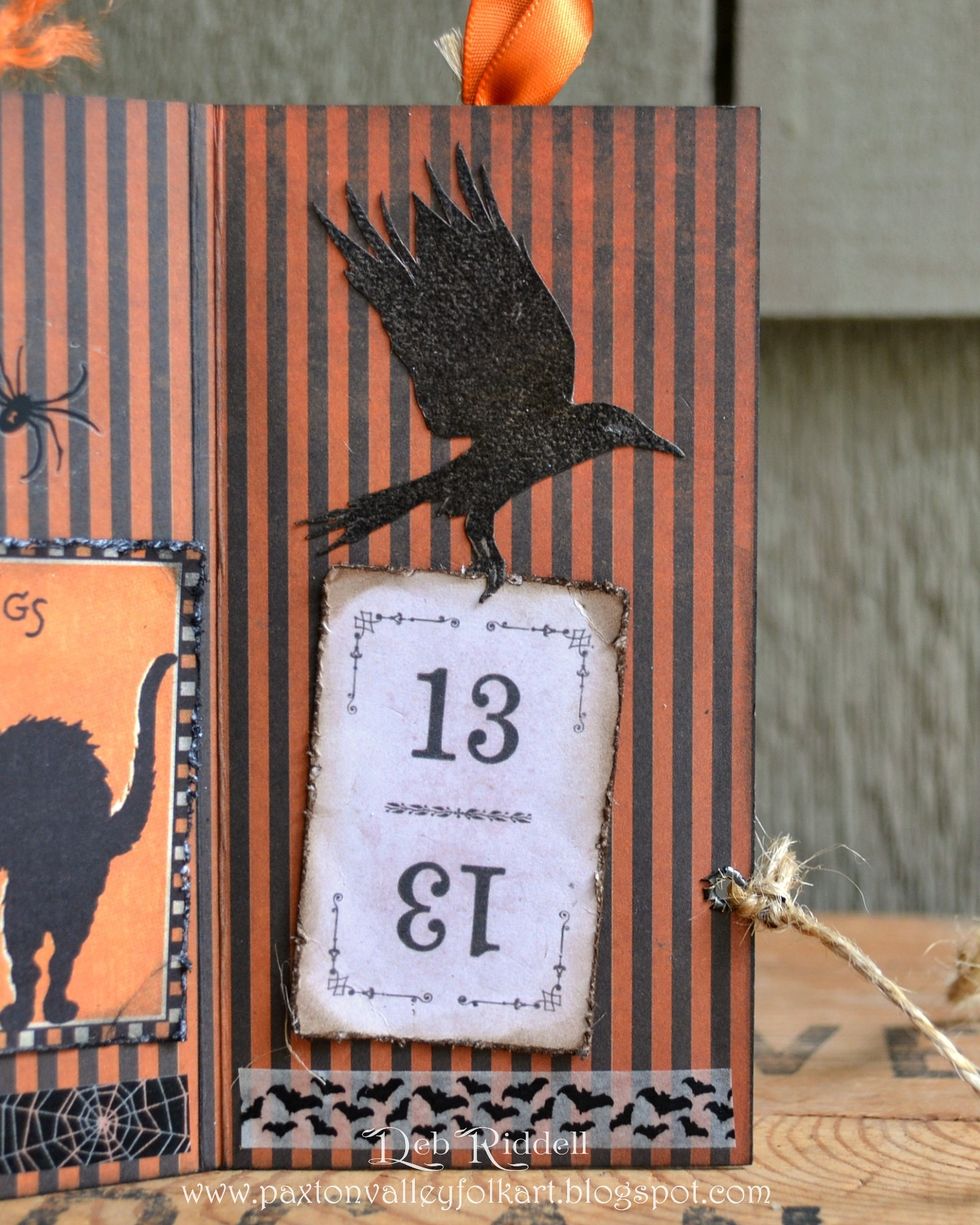
Stamp the raven from Regions Beyond onto cardstock, clear emboss and fussy cut. Tatter the edges of the '13' playing card from the Frightful Ephemera pack and adhere. Add another strip of washi tape
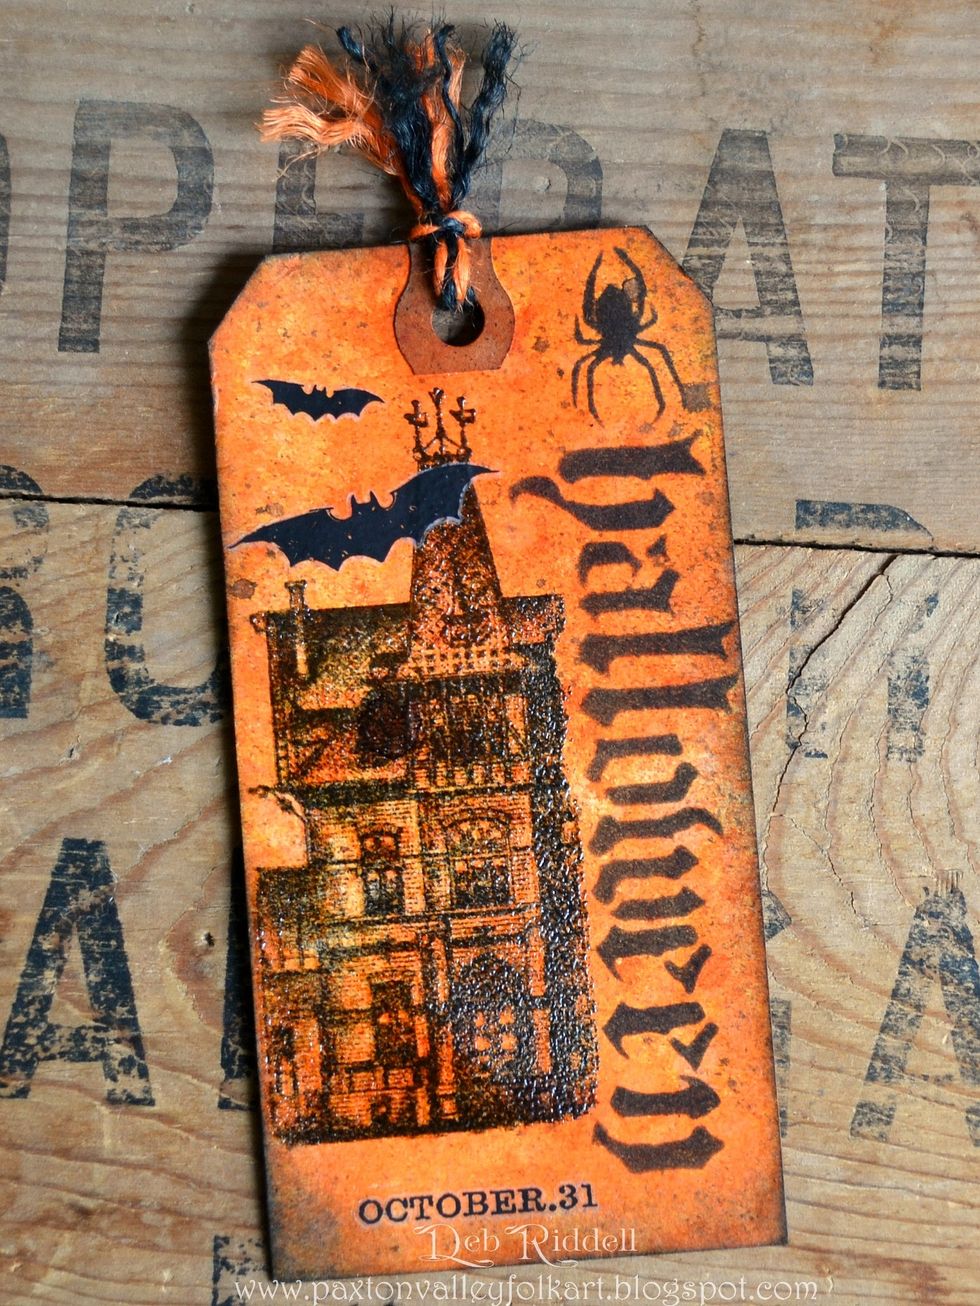
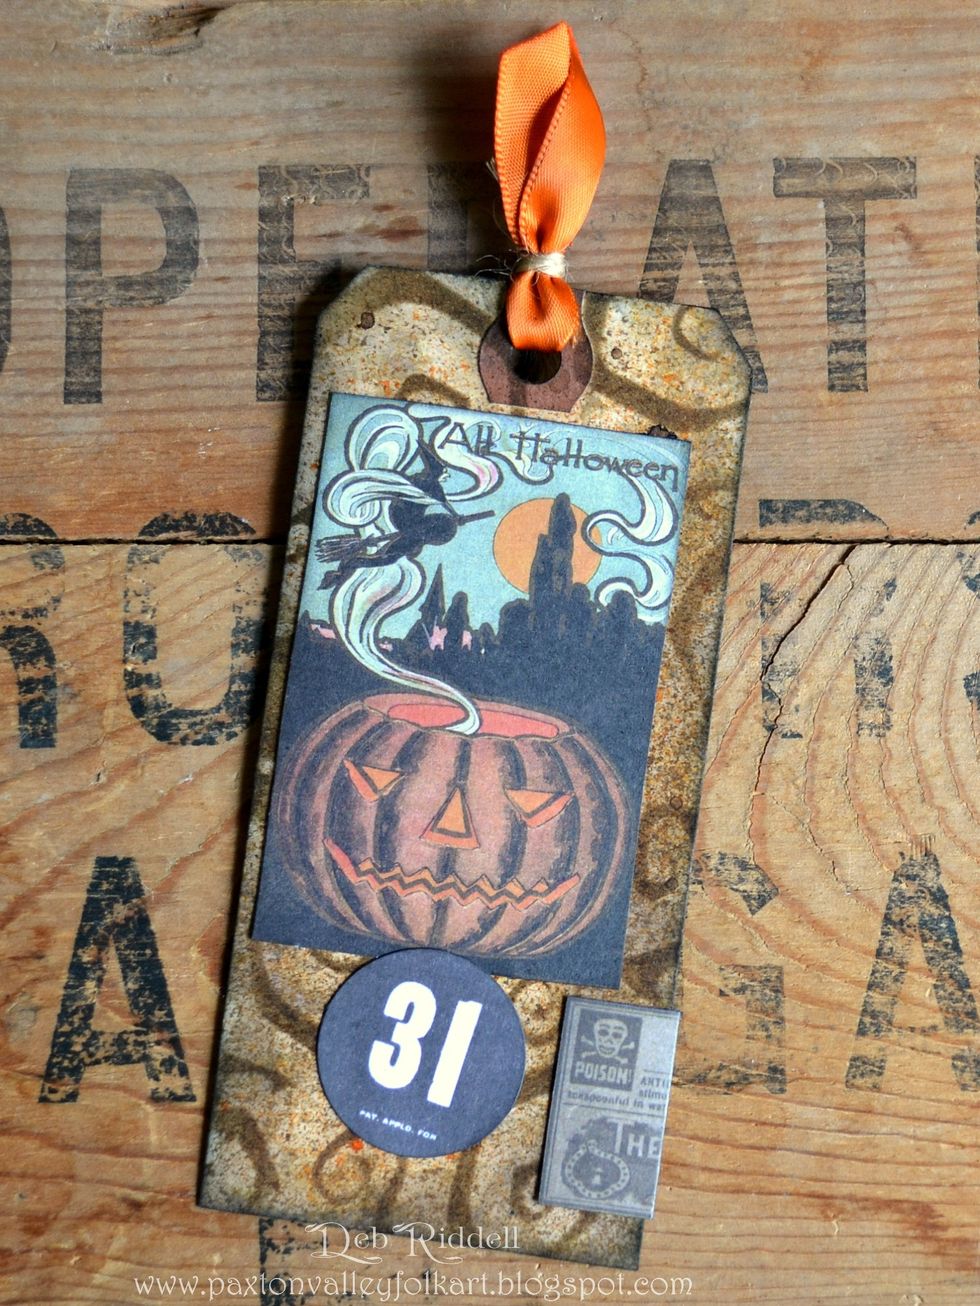
Tag time, on the front of the untrimmed tag stamp the house from Mini Halloween 5 and clear emboss. Add the bats and October 31 from Curiosities Remnant Rubs and a piece of Halloween Jute String.
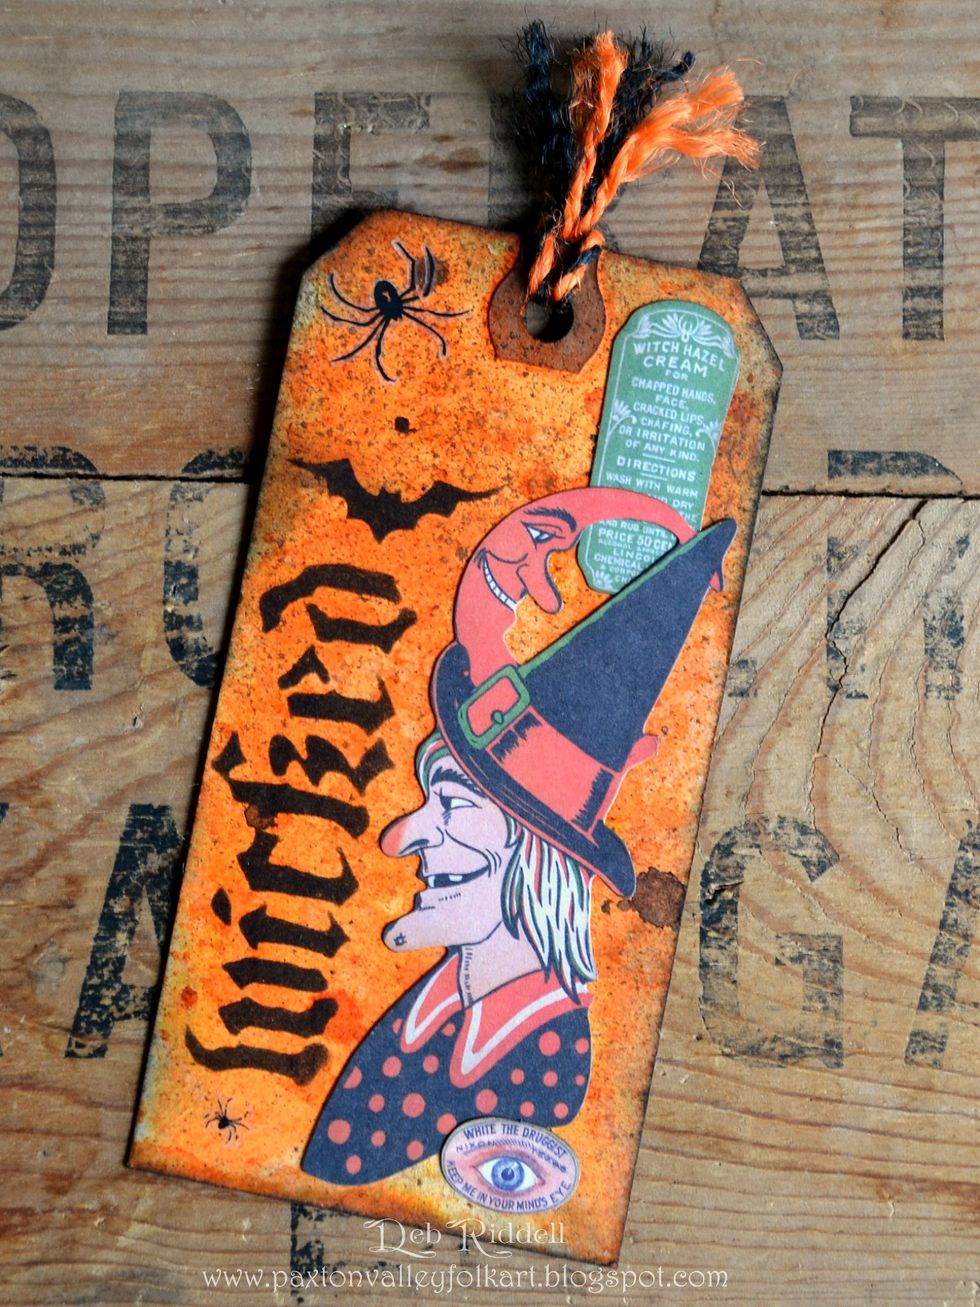
On the back of the same tag, choose elements from the Frightful Ephemera pack and layer. Add another spider from the Curiosities Remnant Rubs.
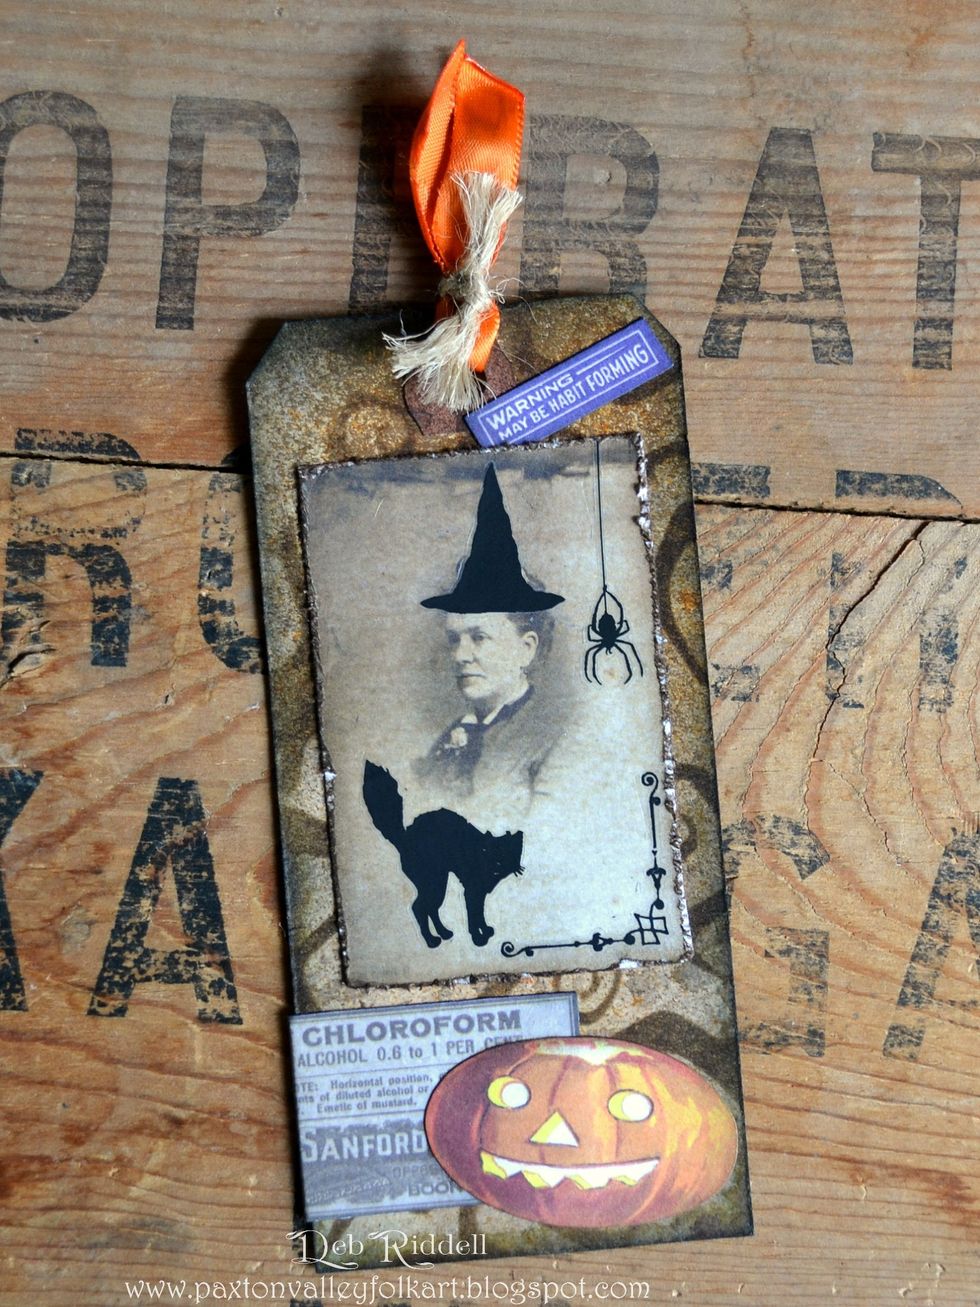
Cut out a photo from the Regions Beyond paper stash, tatter and ink the edges and adhere to the trimmed tag stenciled with the mini Twisted stencil. Add Curiosities Remnant rubs to the photo.
Select elements from the Frightful Ephemera pack and layer. I wrapped part of the vintage chloroform ad around to the back of the tag. Add a piece of orange ribbon tied with jute string to the top.
On the back of the same trimmed tag, select elements from the Frightful Ephemera pack and layer in place. You can see where I wrapped the chloroform ad to the back on this tag.
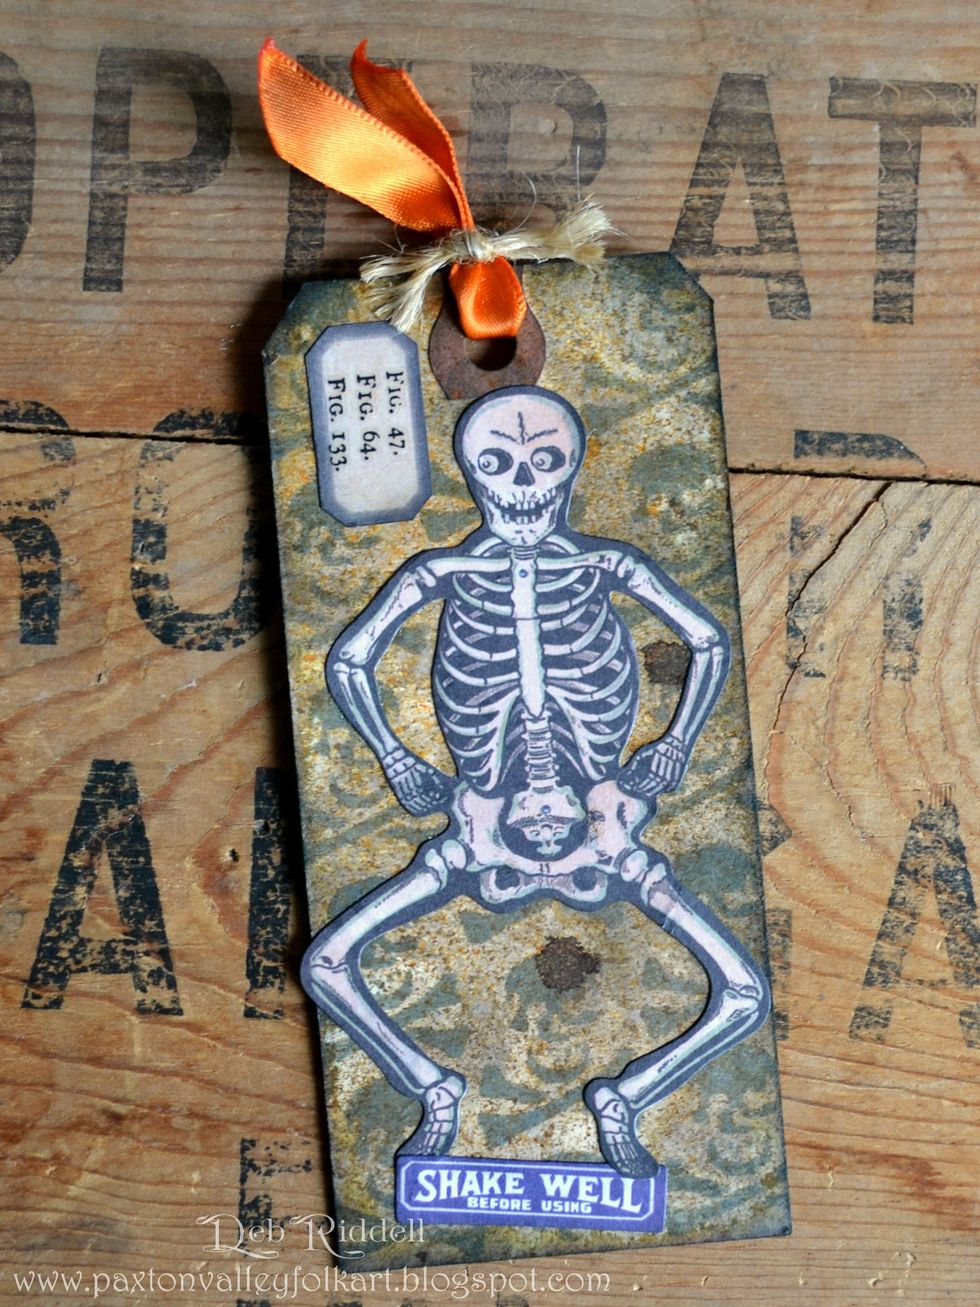
Adhere the skeleton from the Frightful Ephemera pack onto the trimmed Crossbones stenciled tag. Add Curiosities remnant rubs to a small tag from the Ephemera pack along with the 'shake well' label.
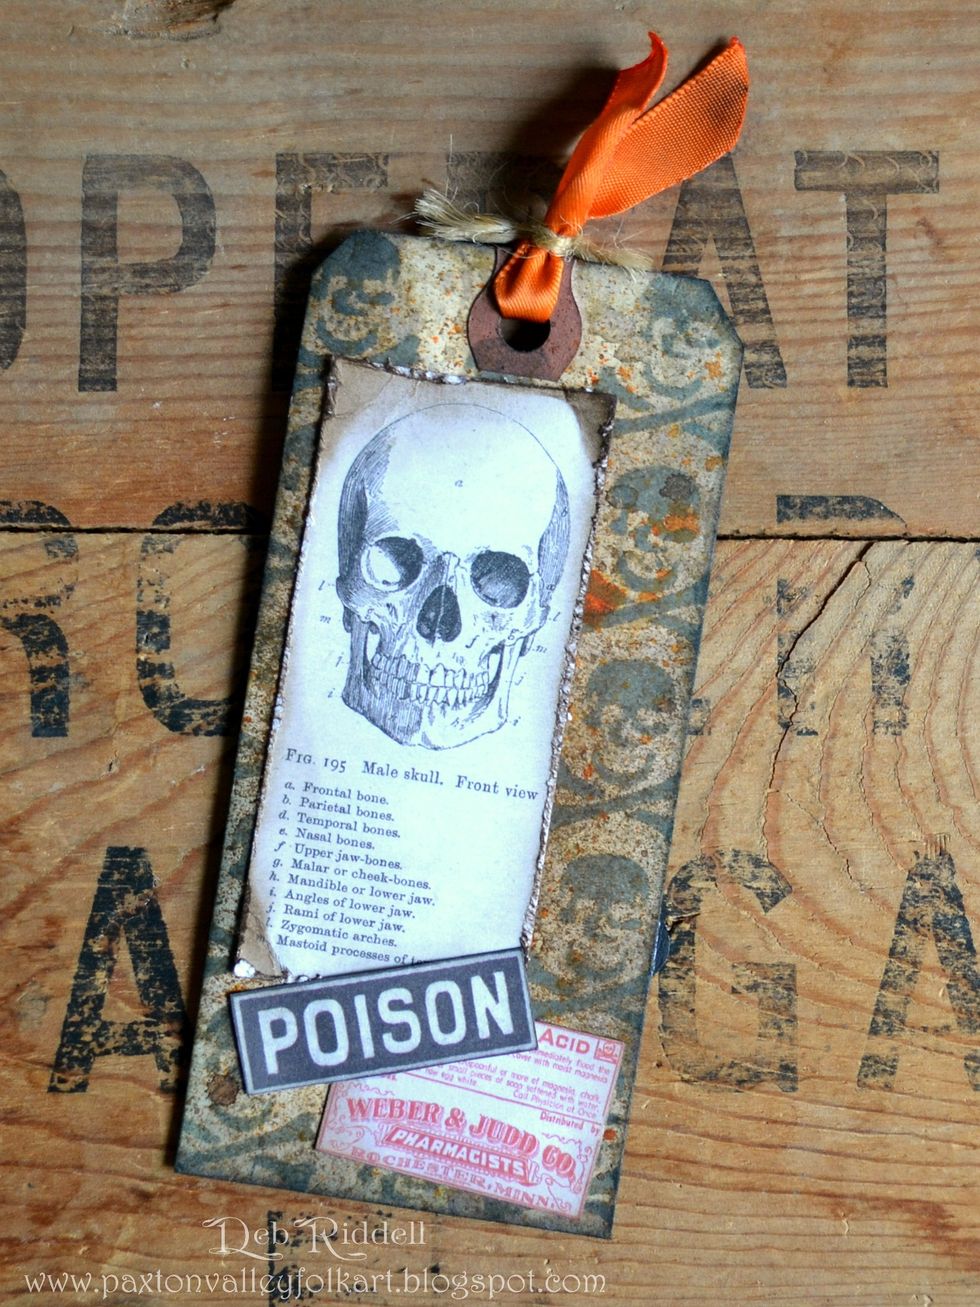
On the back of the same tag, add the anatomy skull and more images from the Frightful Ephemera pack and layer. Add another piece of orange ribbon tied on with jute twine.
And last but not least, insert your tags into the pockets, fold up your Halloween accordion tag folder and secure closed with some jute twine tied through the eyelets. Happy Halloween! Deb xo