The Conversation (0)
Sign Up
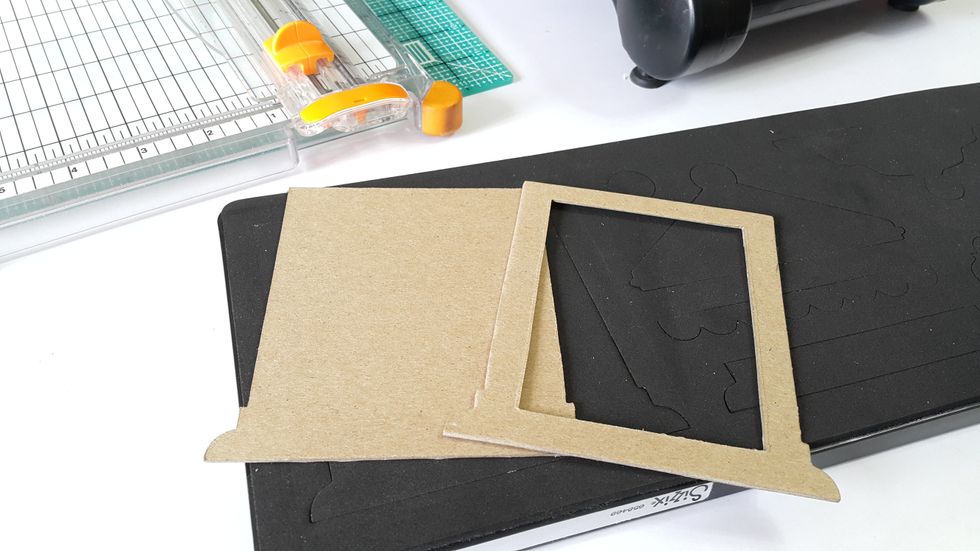
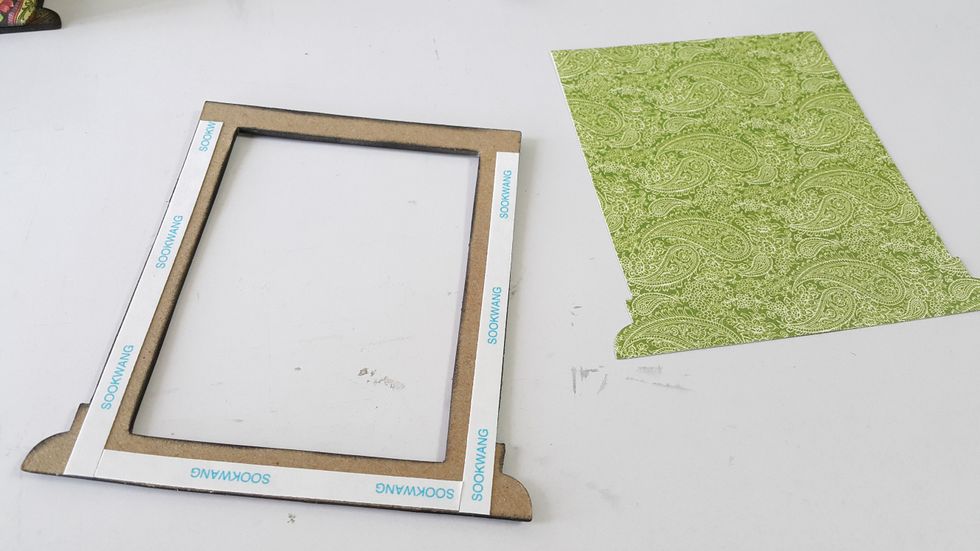
Die-cut shapes from chipboard, cut a rectangular window on one of the pieces
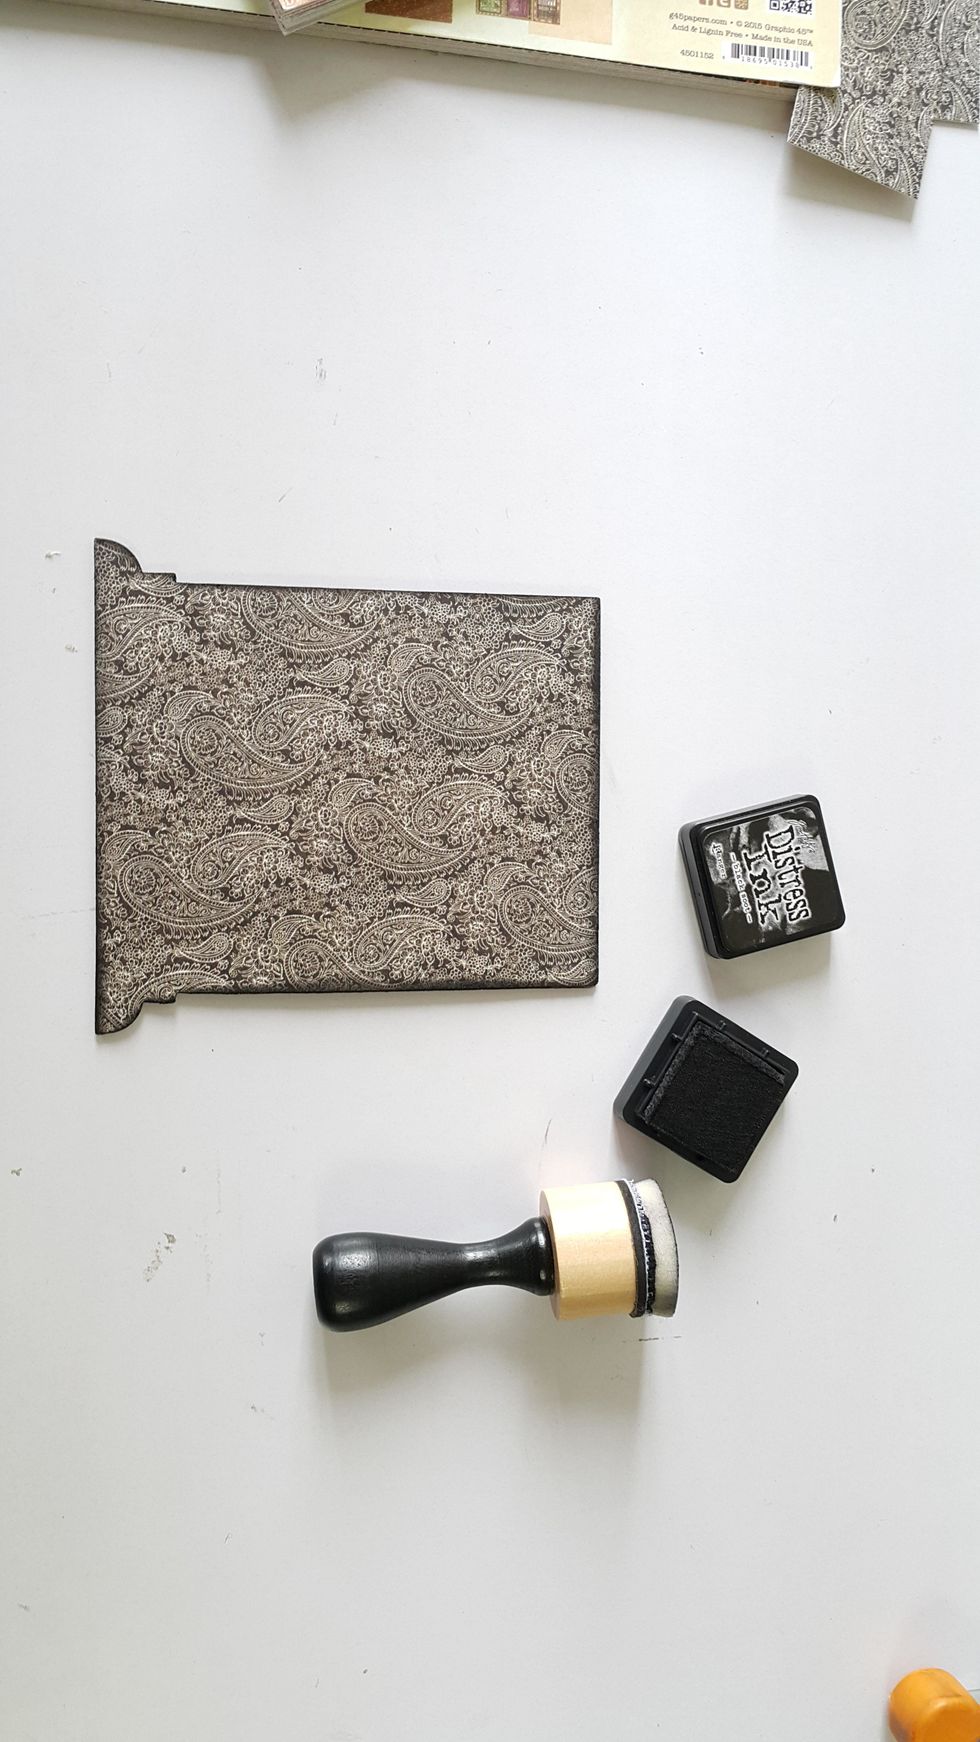
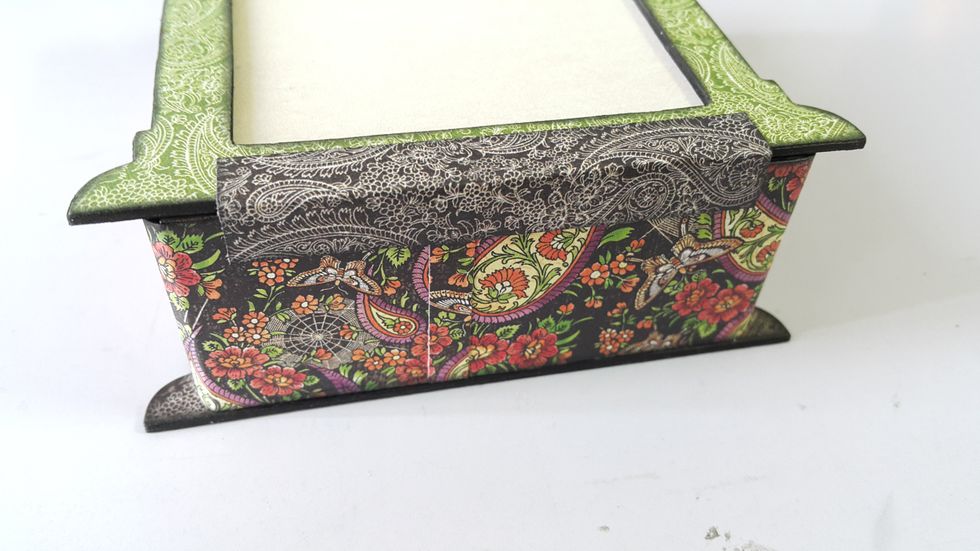
Adhere pattern papers on both sides of the back chipboard piece, apply distress ink on the edges
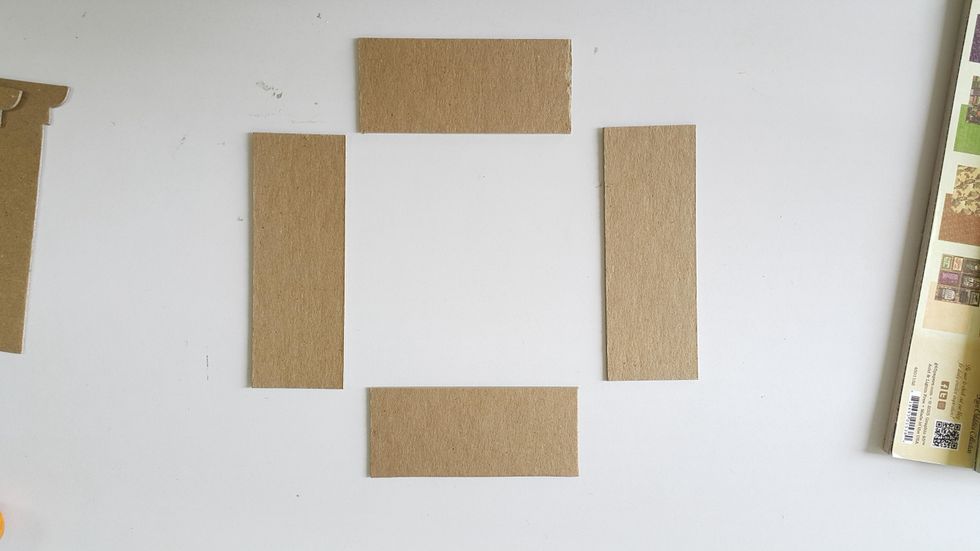
Cut chipboard pieces to be the box, they are measured 3-1/2"x1-1/2" and 4-1/2"x1-1/2", 2pcs each
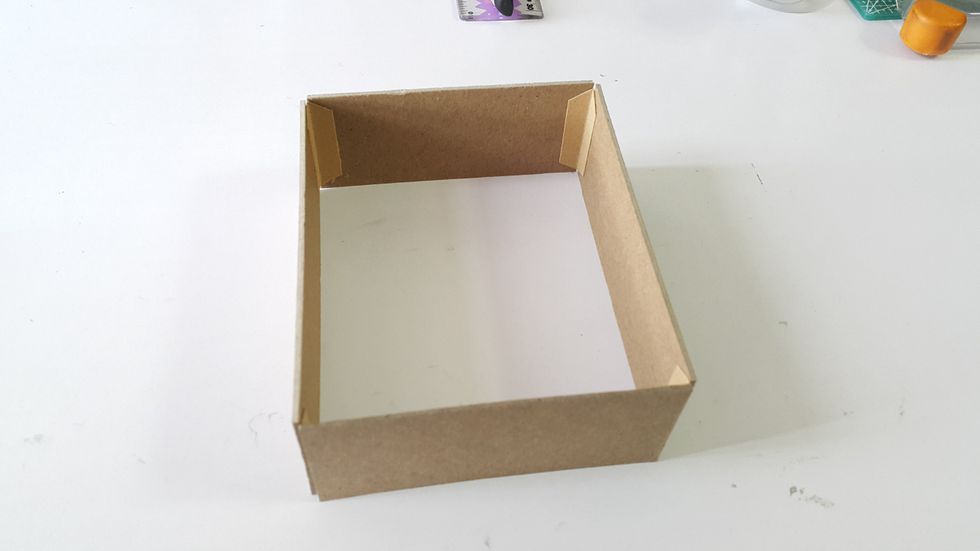
Form the box shape with tape or connection strips
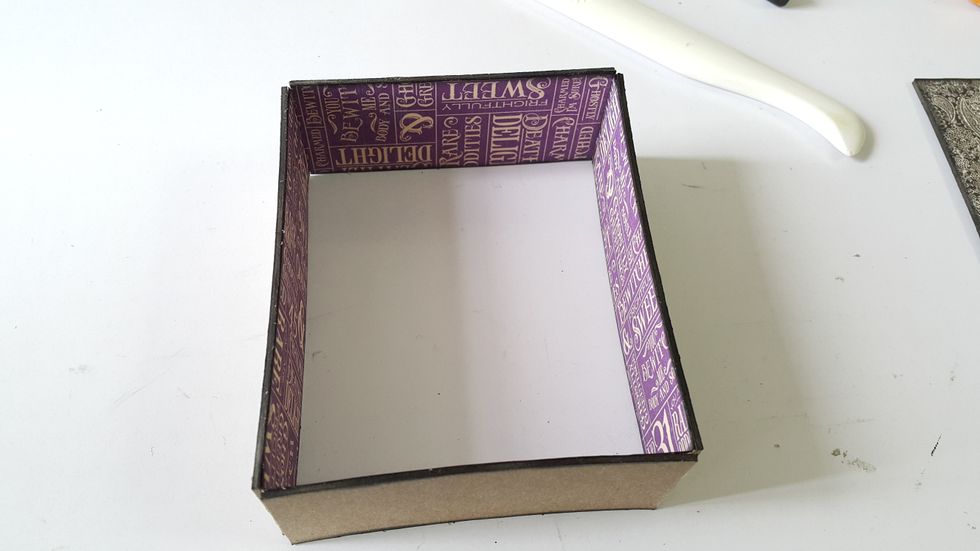
Cover in and out with pattern paper and apply Distress Ink on the edges
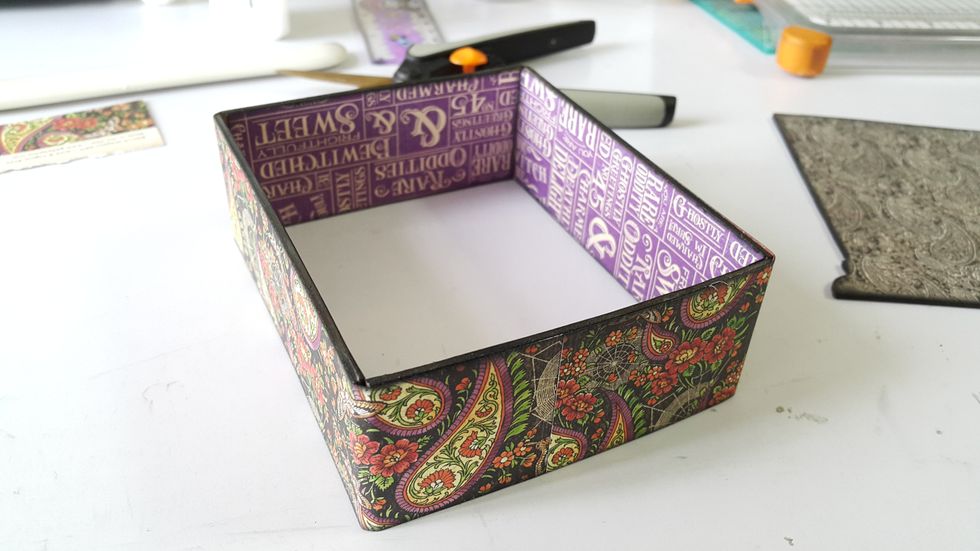
Here how it looks
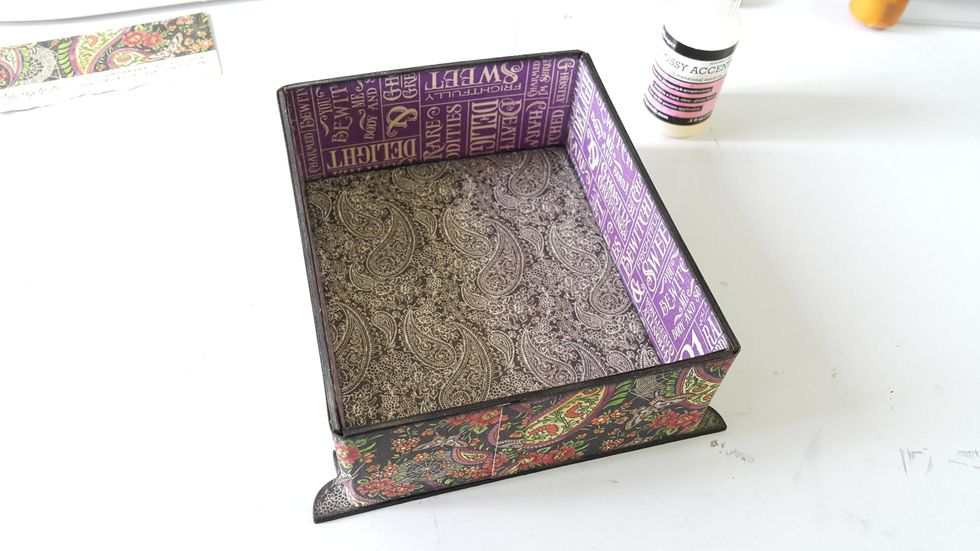
Adhere on the box base using strong glue, like Glossy Accents
Die-cut another piece of pattern paper for the window

Adhere on and cut out the excess
Die-cut another piece of pattern paper, adhere on the back of the window, cut the excess again
Use a piece of scraps to hold the front window in place
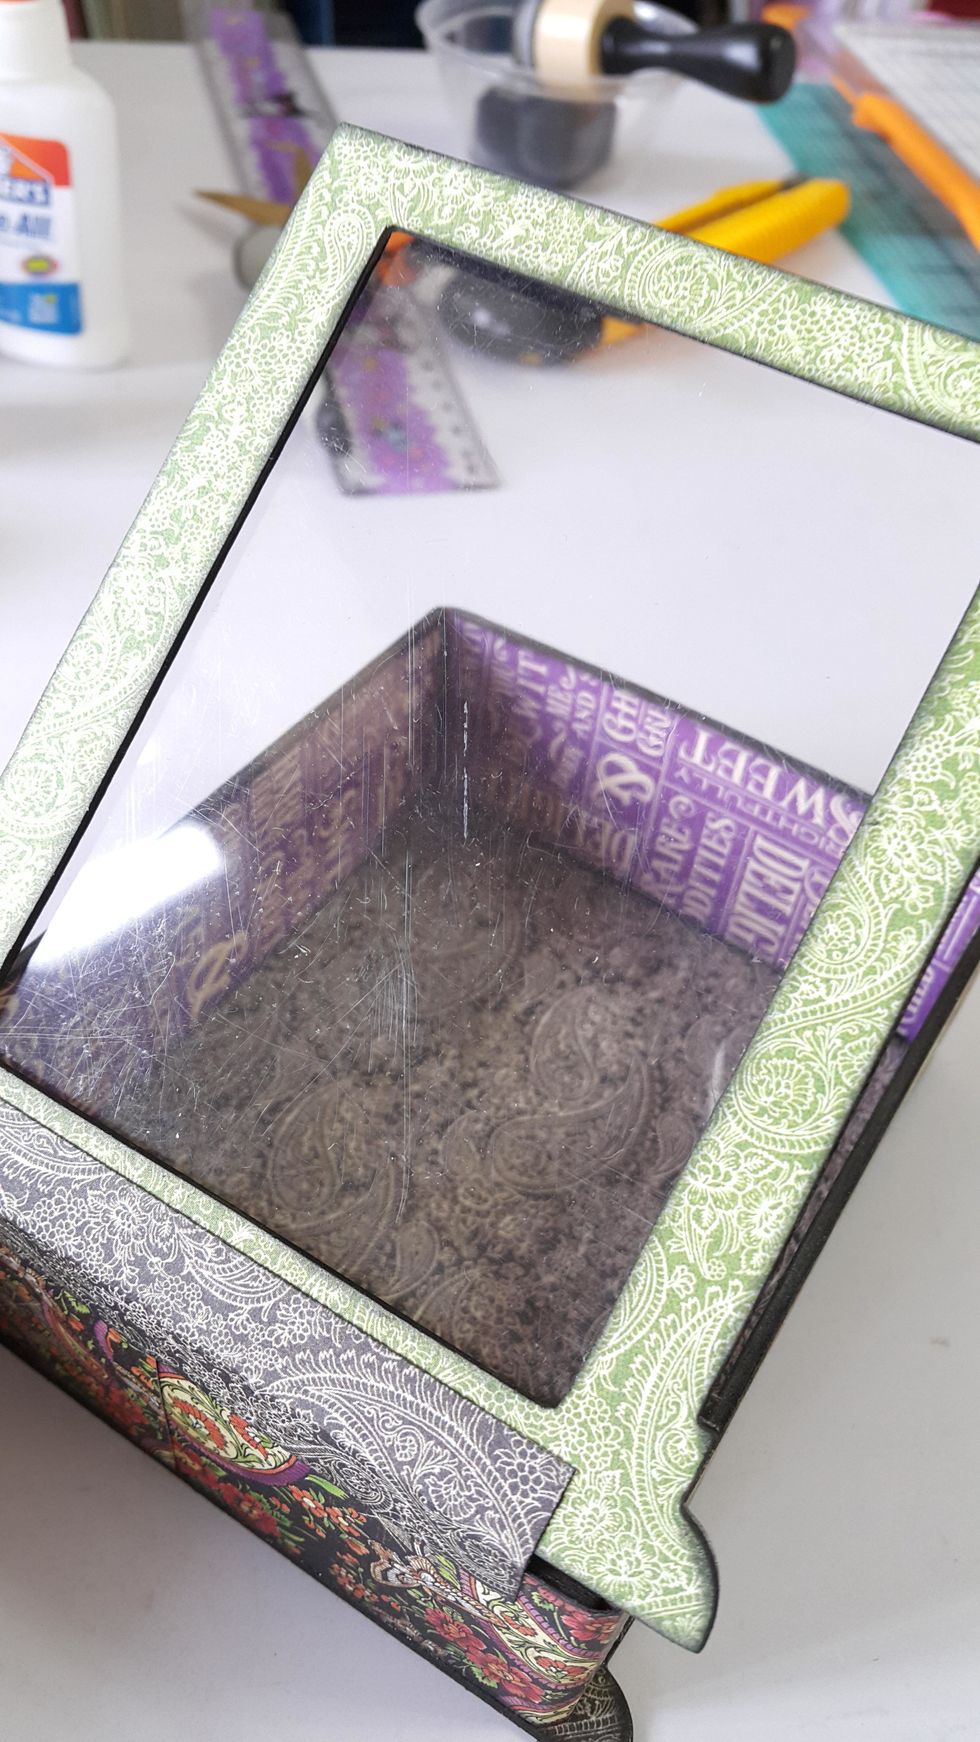
Trim 2pcs acetate to size, adhere only 3 sides of the second acetate, leave one side for photos to sleeve in
Die-cut chipboard and papers for the top, adhere well
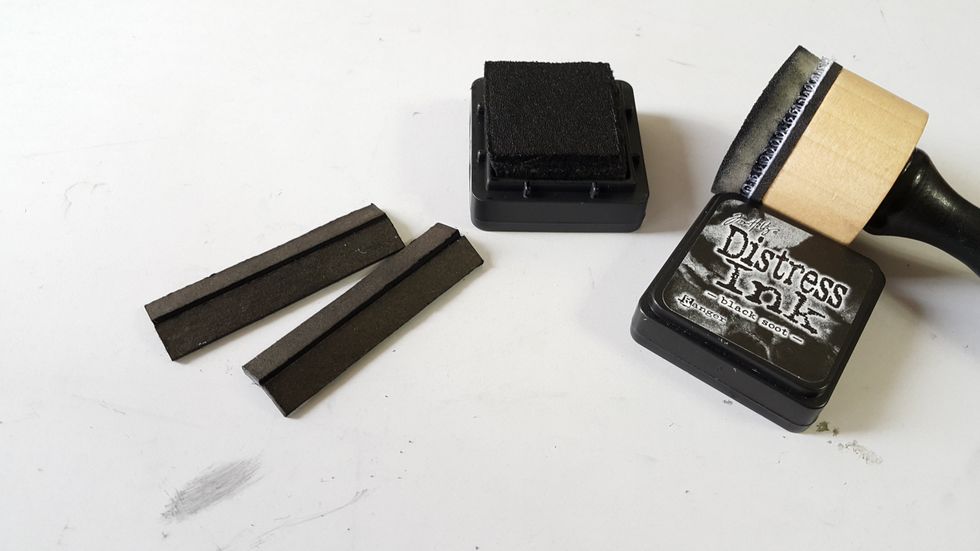
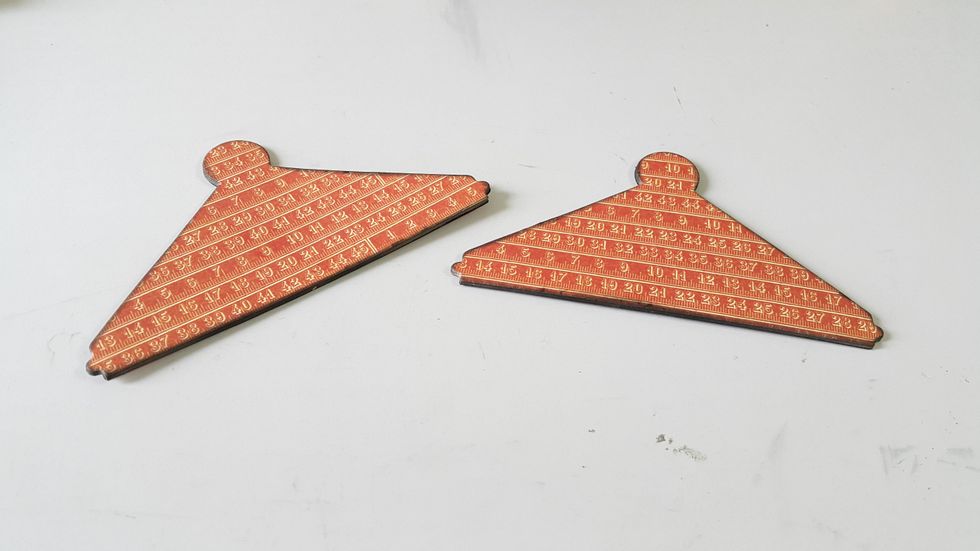
Cut chipboard with half inch, fold into half, simply color with Black Soot Distress Ink
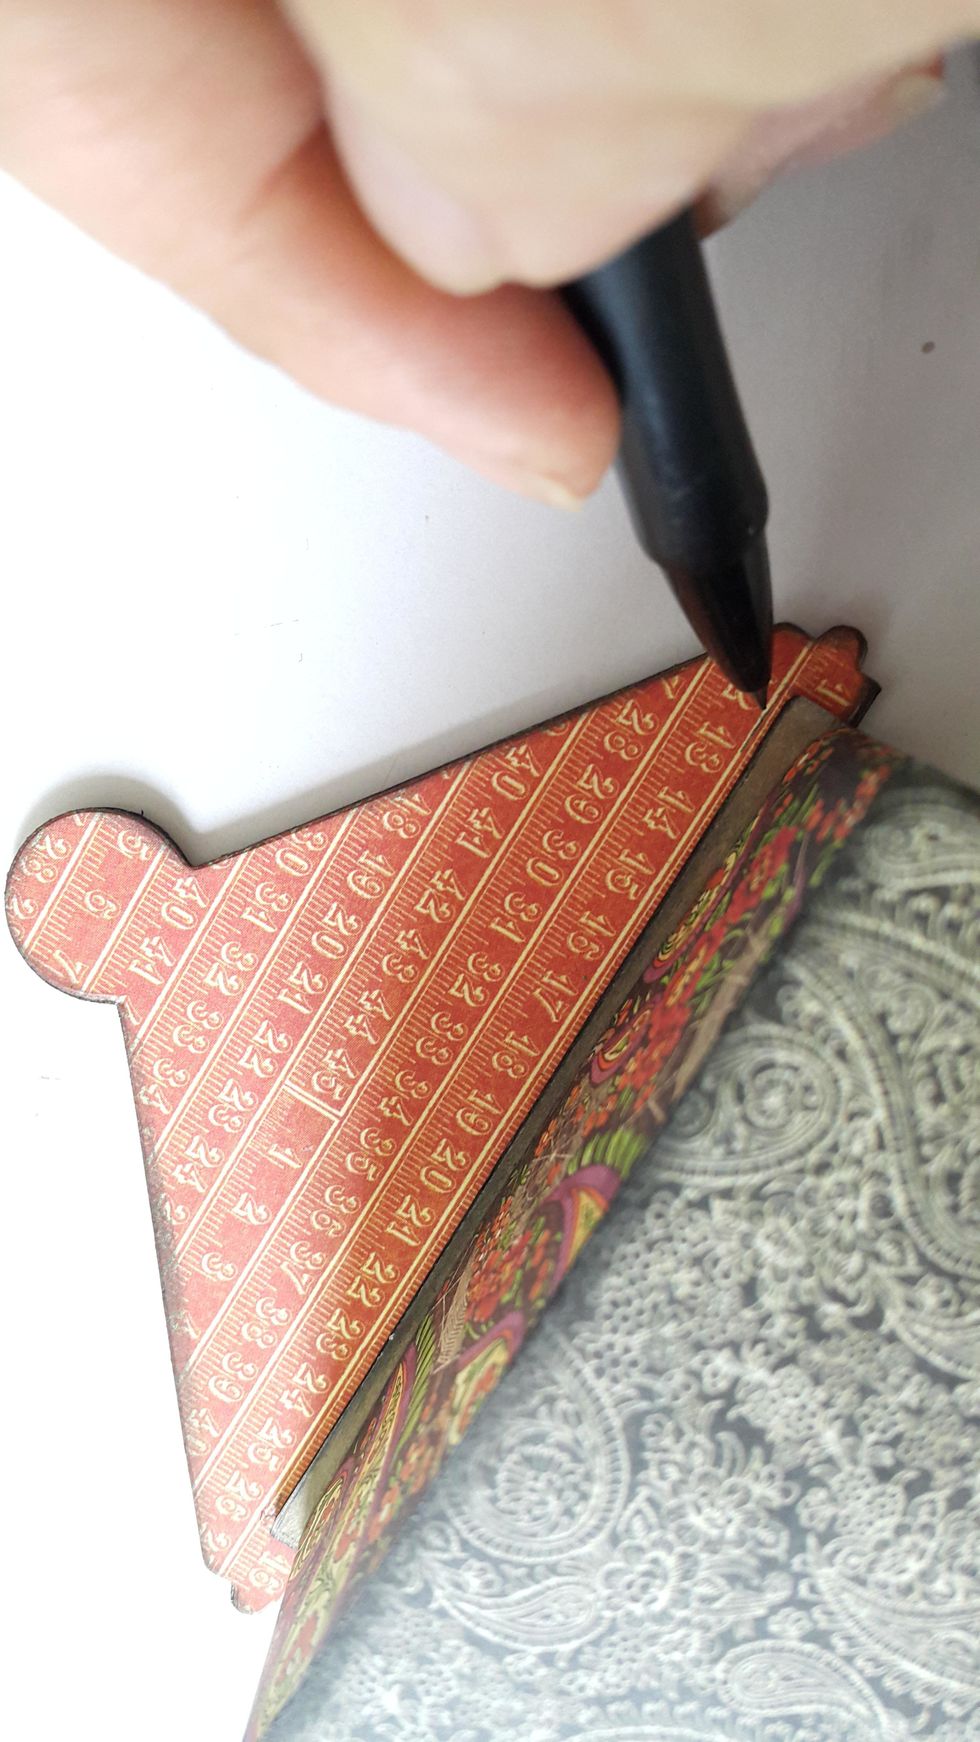
Mark the position of the box on the top, where you will stick on the lid holder
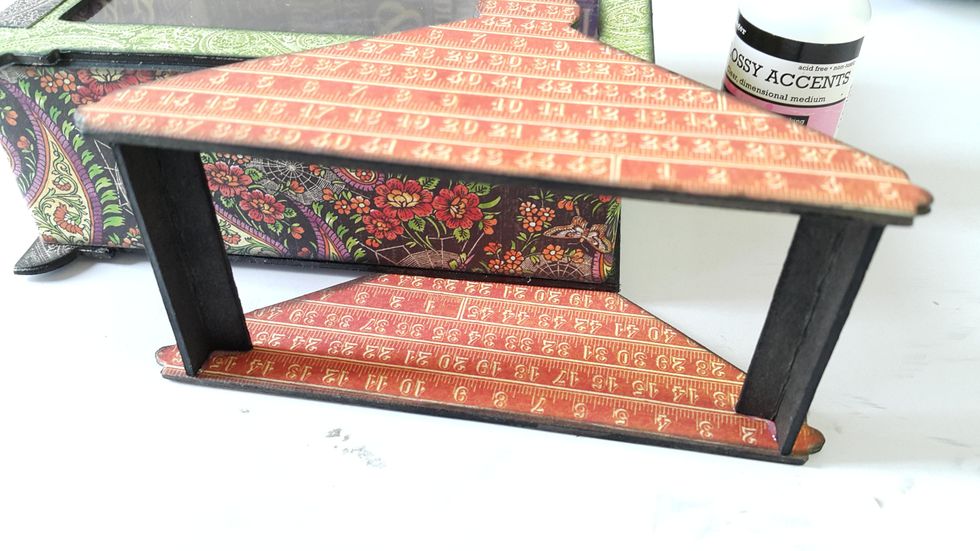
Adhere your black lid holder in place using strong glue, leave to dry
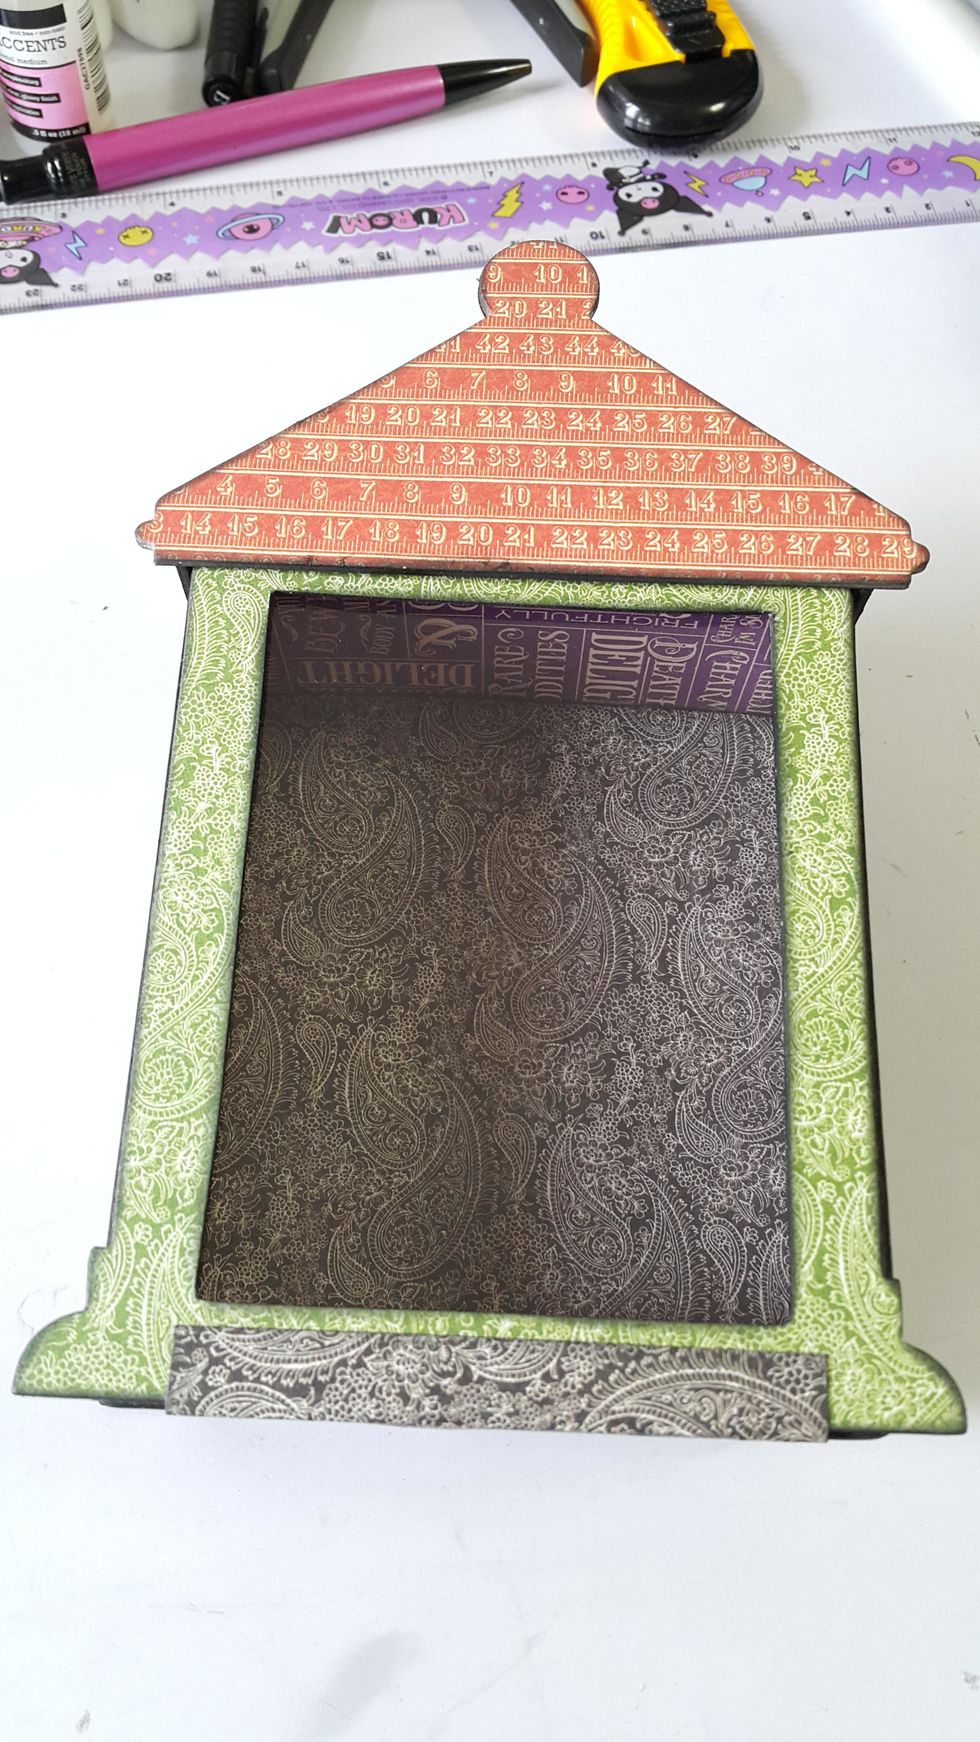
This is how it look like before decoration
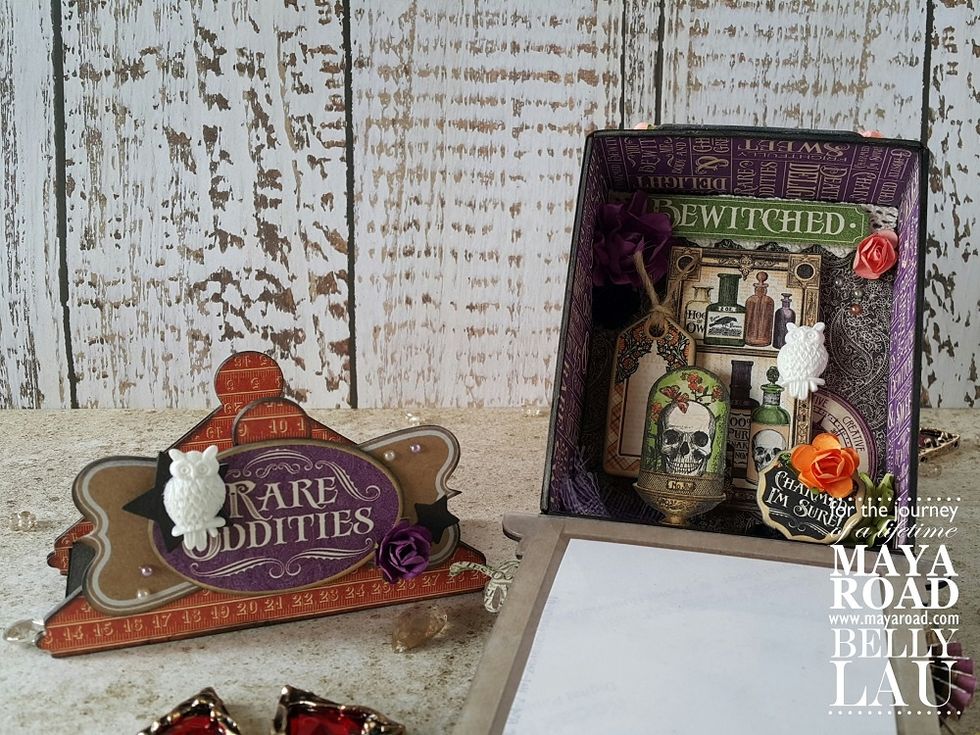
This is how it look like when you open the top and the window
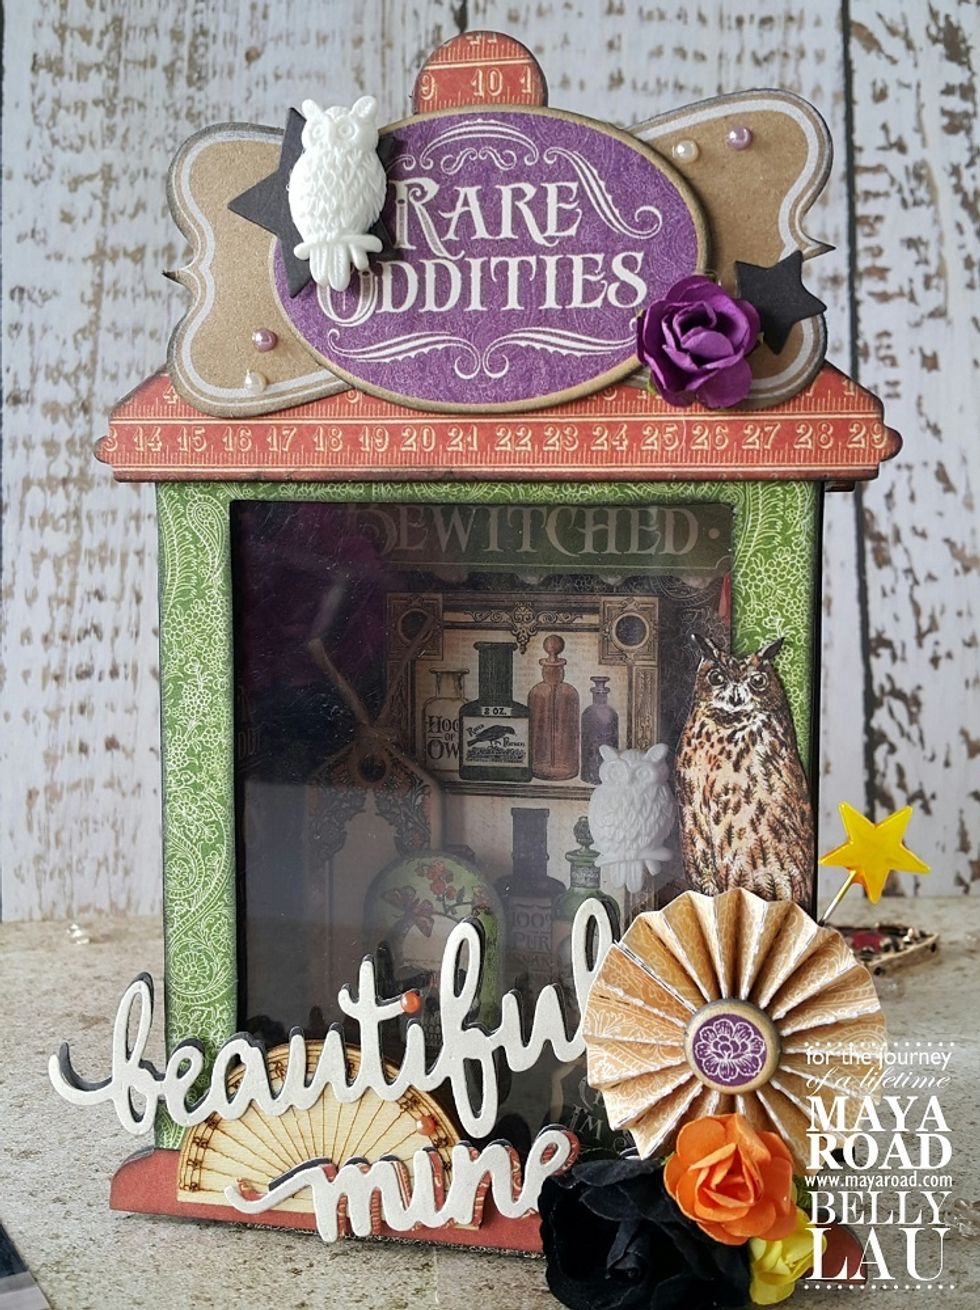
If you don't put any photos in, it can be a beautiful Halloween home decoration
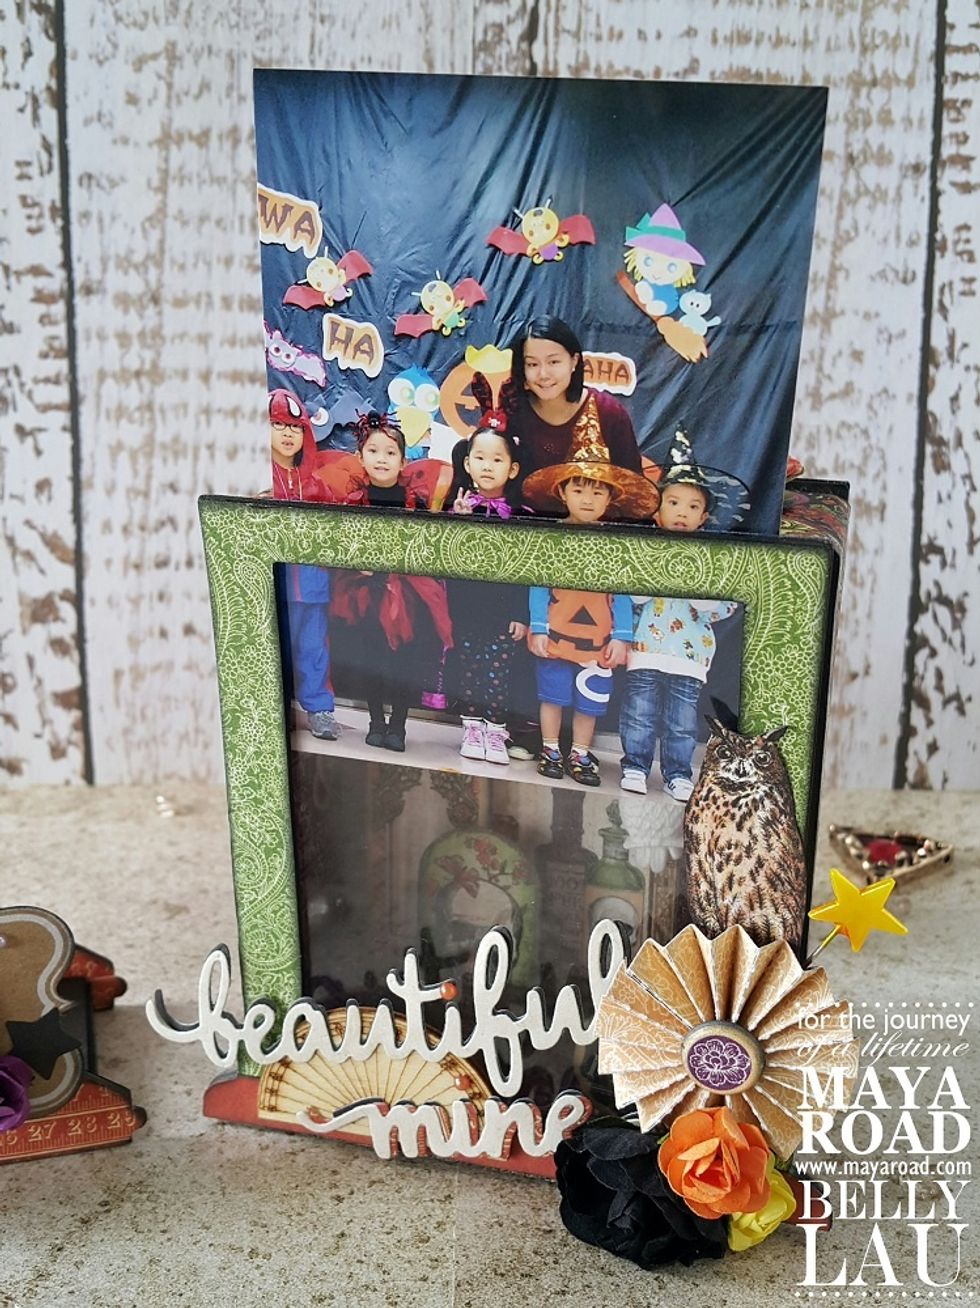
Your photos can simply be sleeve in between the acetate window