The Conversation (1)
Sign Up

These are the colors and beads that my daughter picked out.
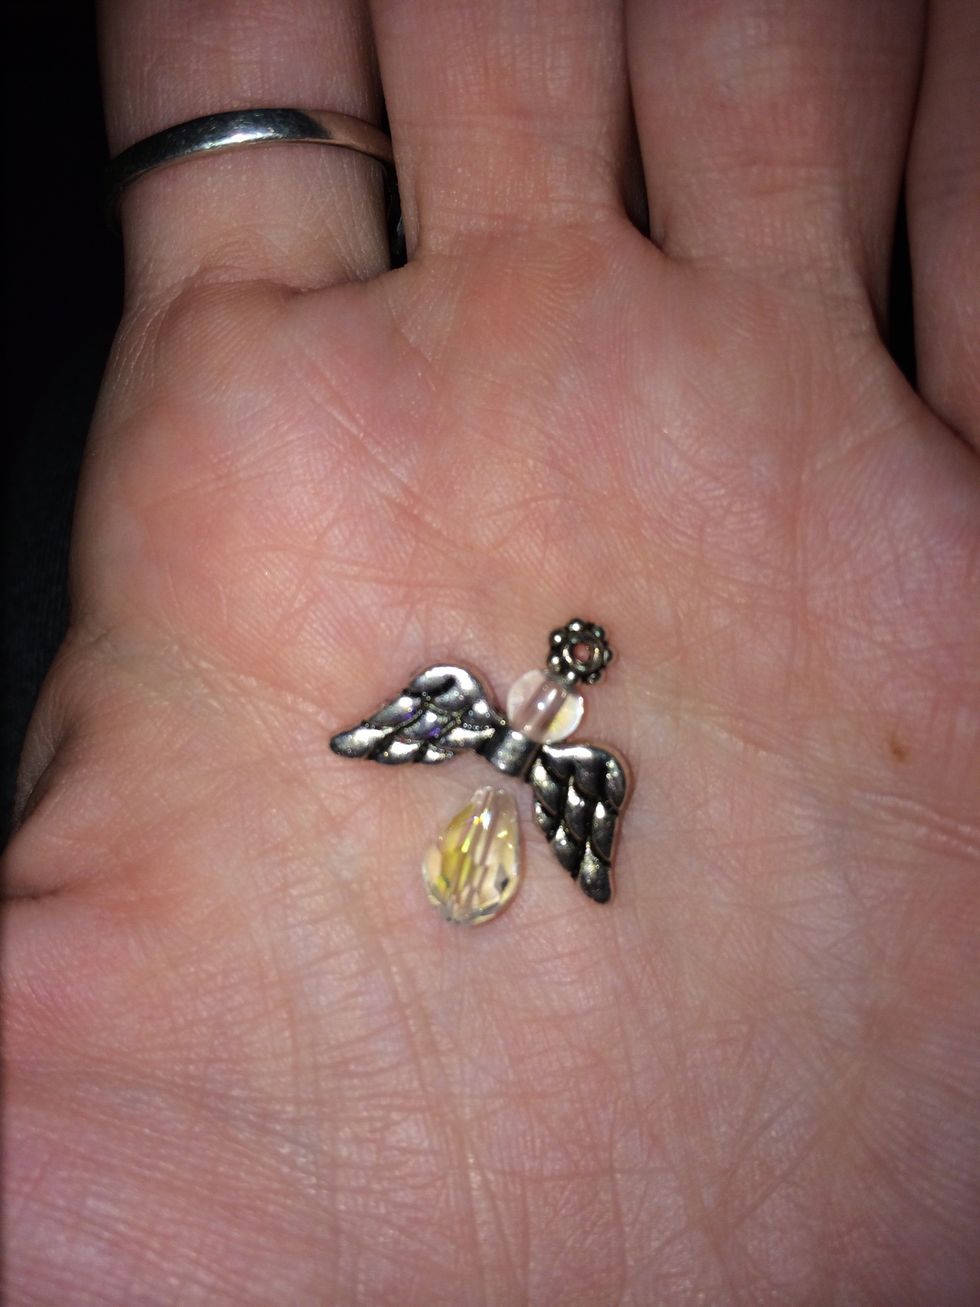
And a cute angel charm to go at the end.
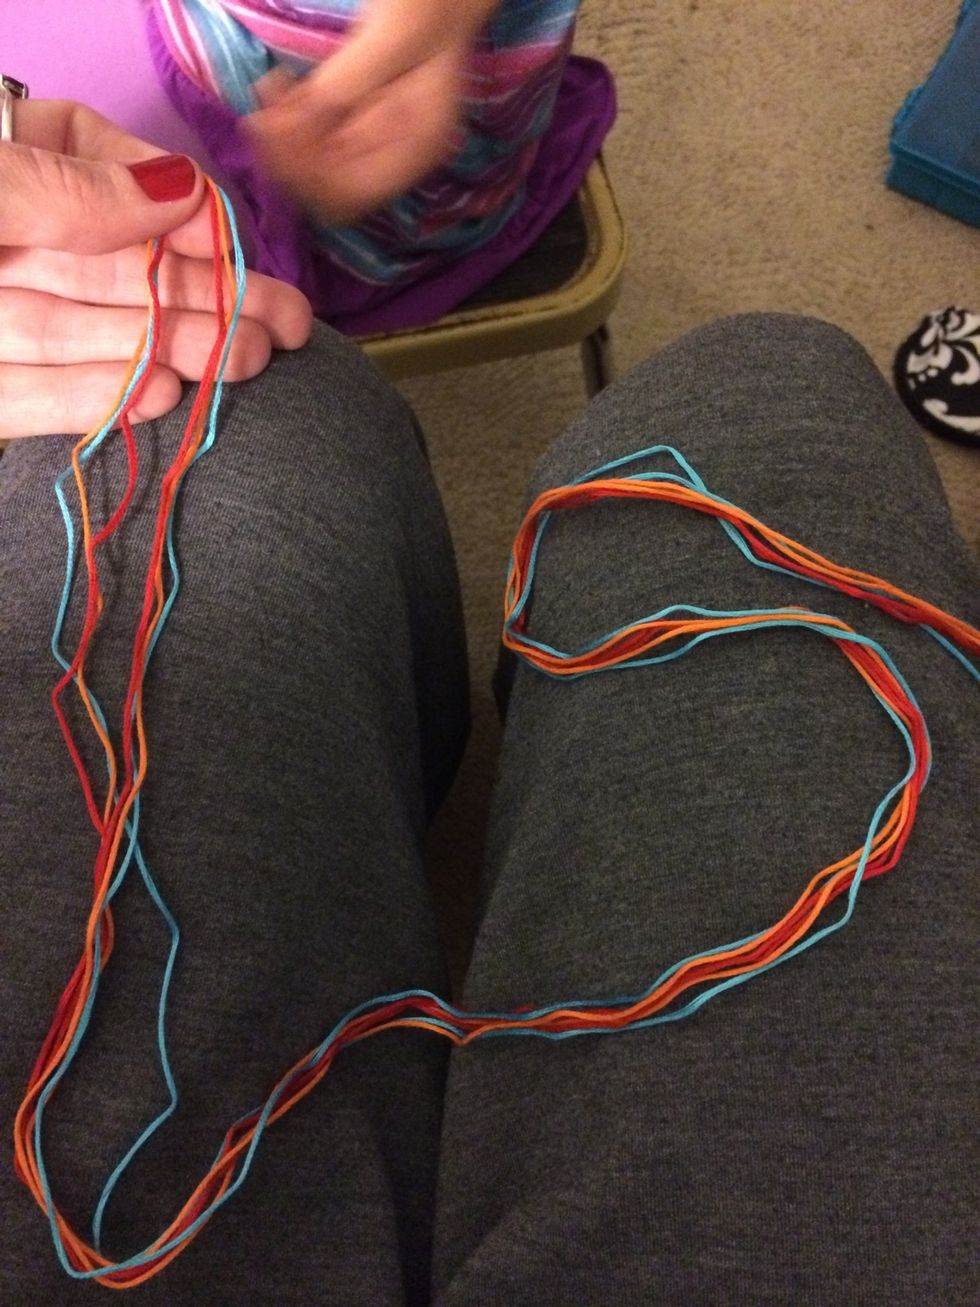
Cut your floss. According to the length of hair you want to double it at least. I always like to have more floss at the end.

This is my daughter. Wiling participate and guinea pig to some of my crafts, lol.
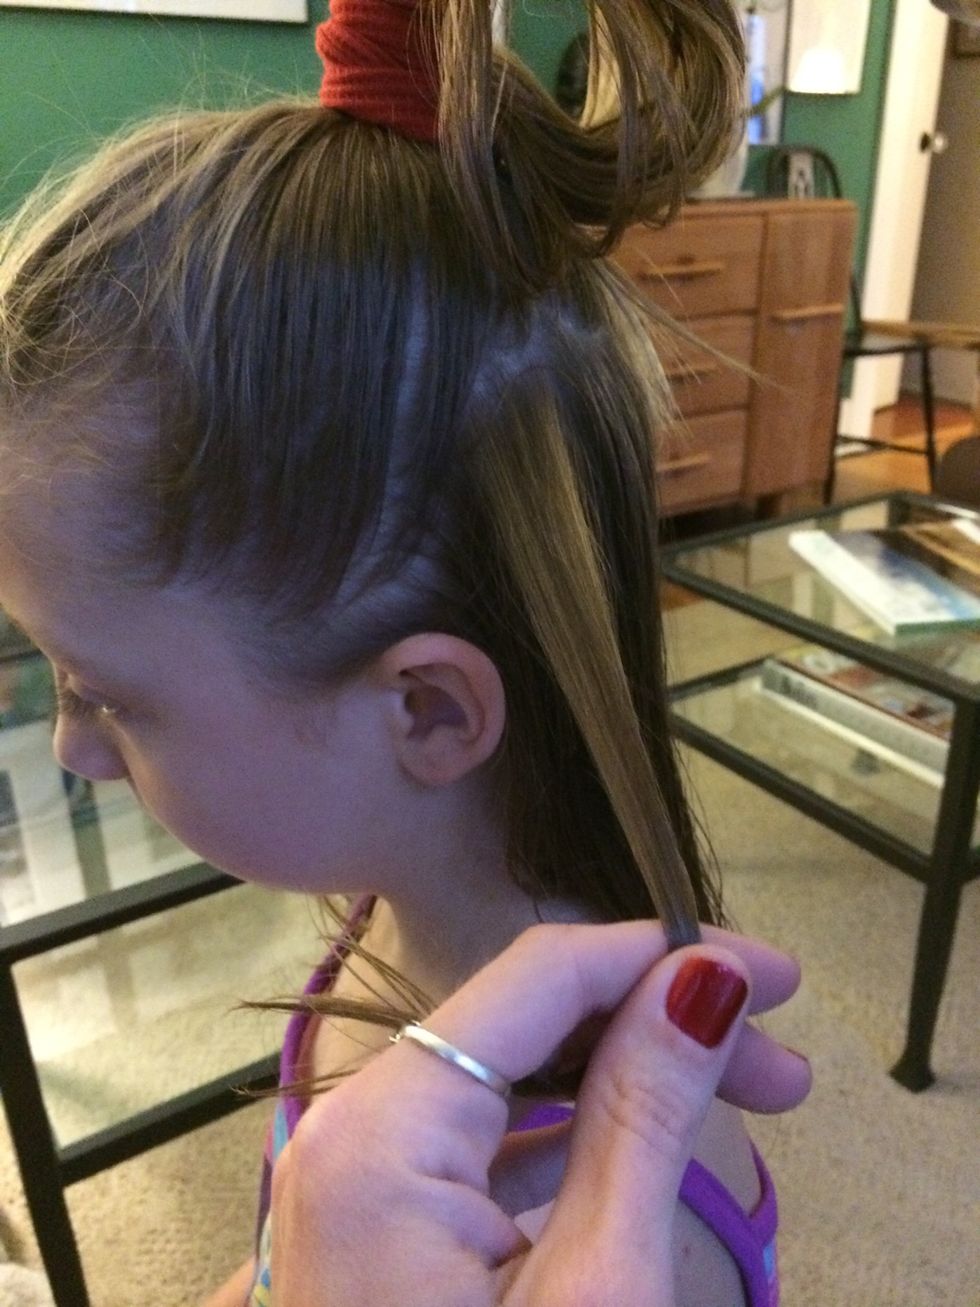
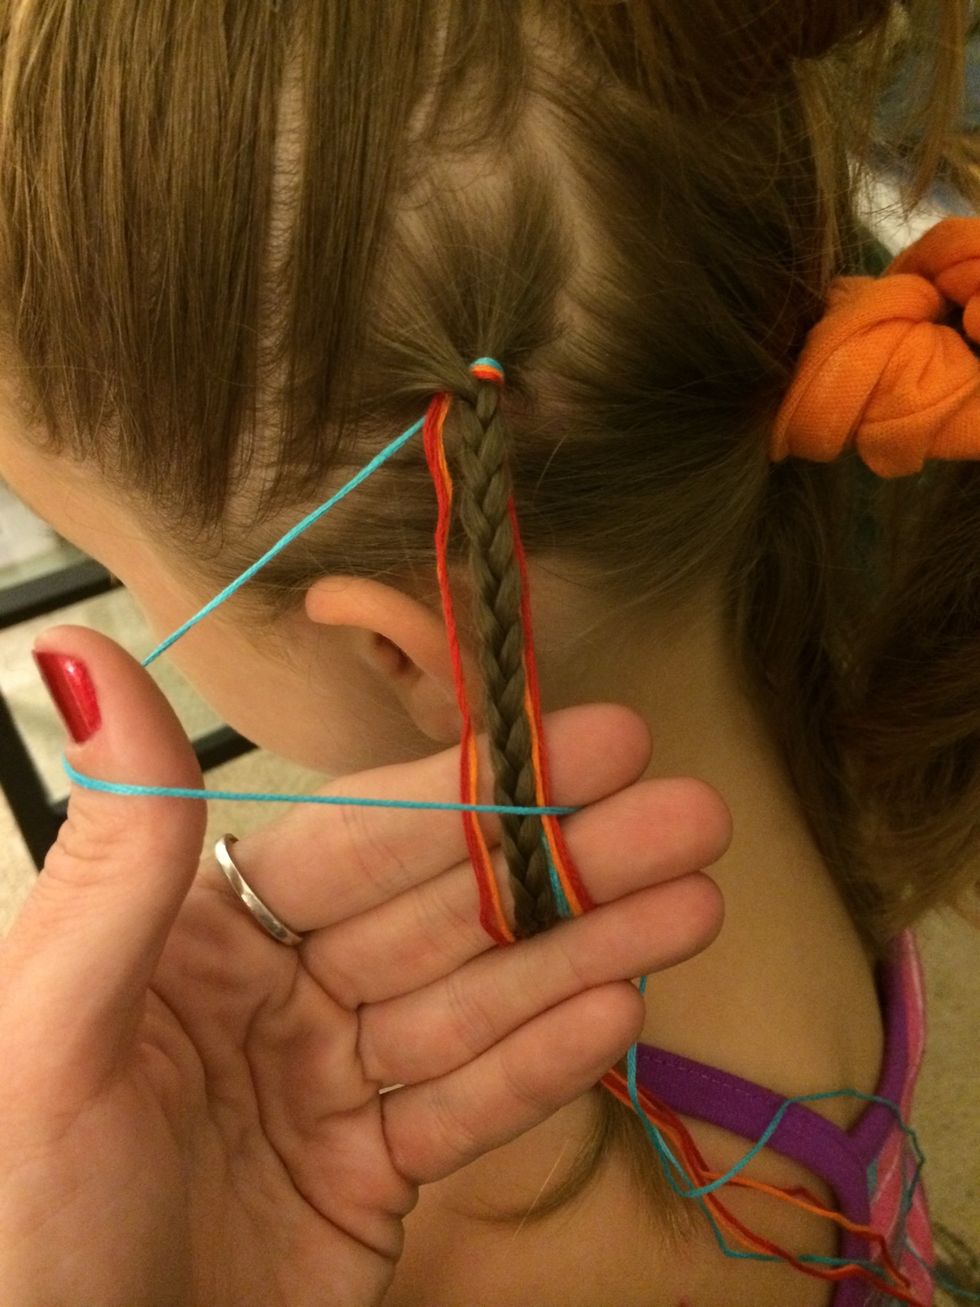
Figure out where you would like to put your hair wrap. Section off the hair so it won't get in your way.
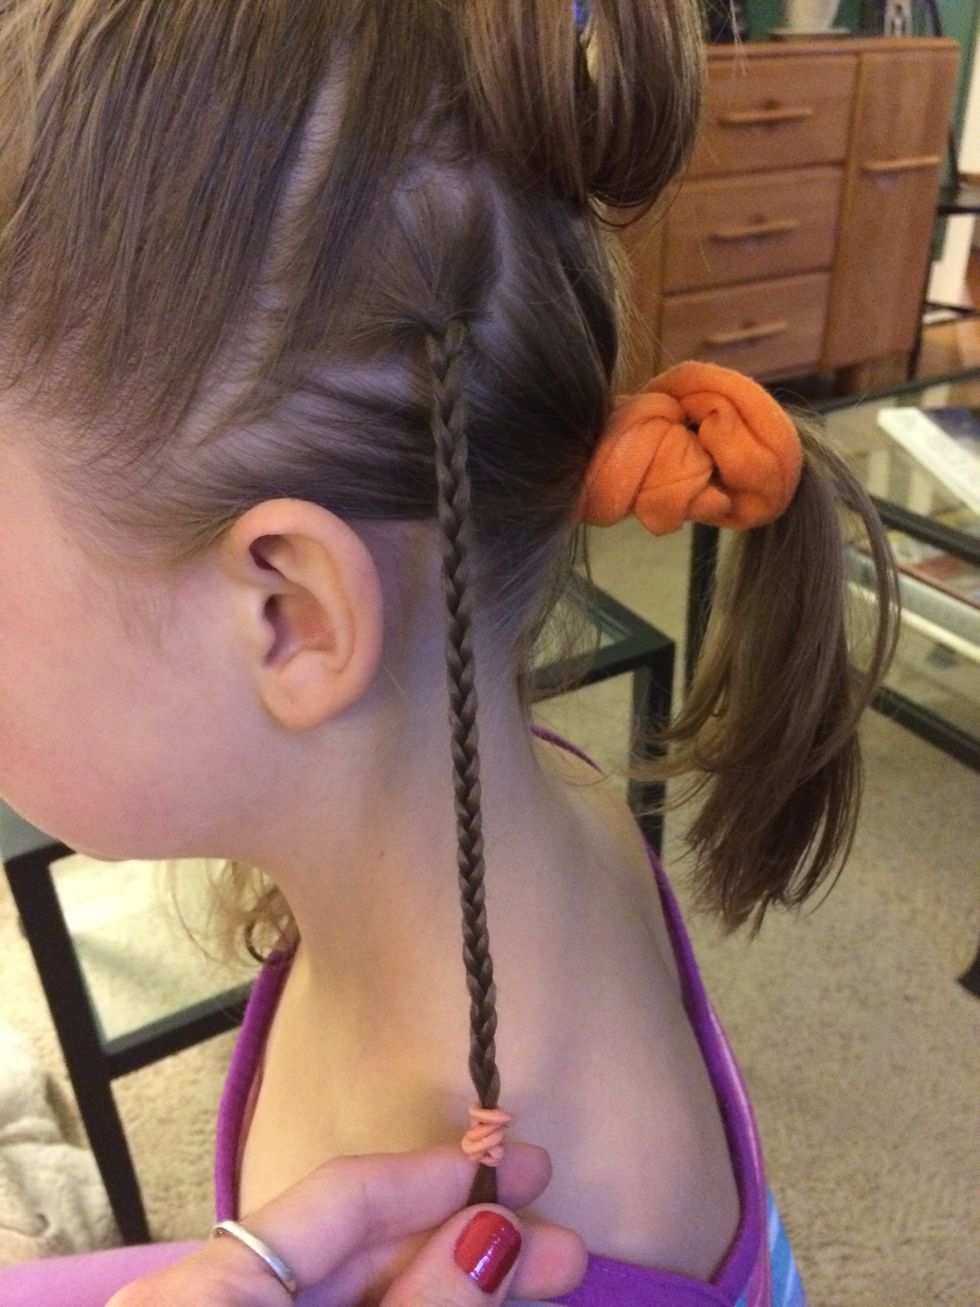
Braid the section of hair. This will help for thickness of your wrap and to keep most of the hair in place.

Having a little fun

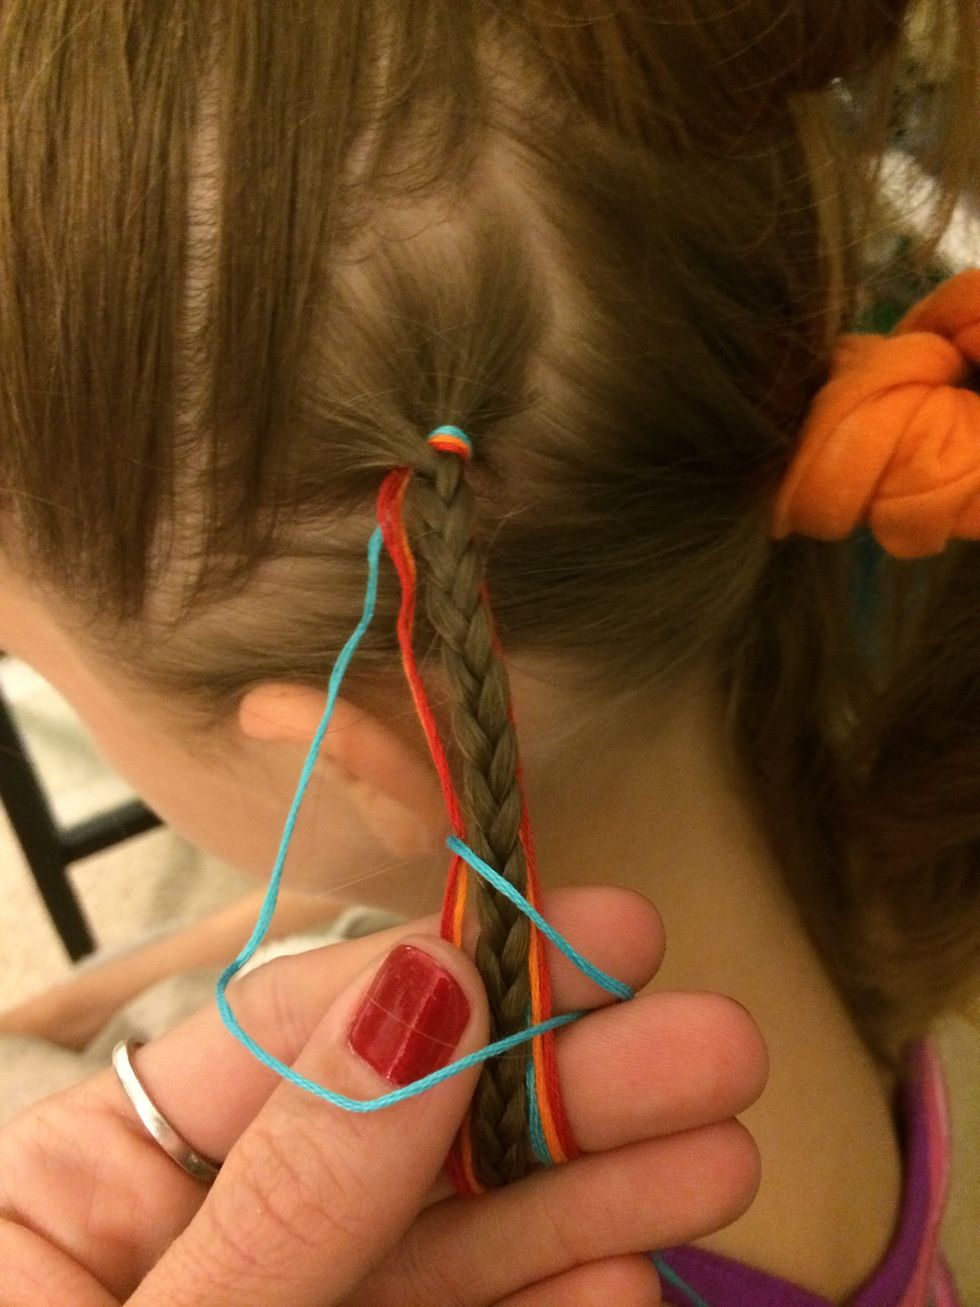
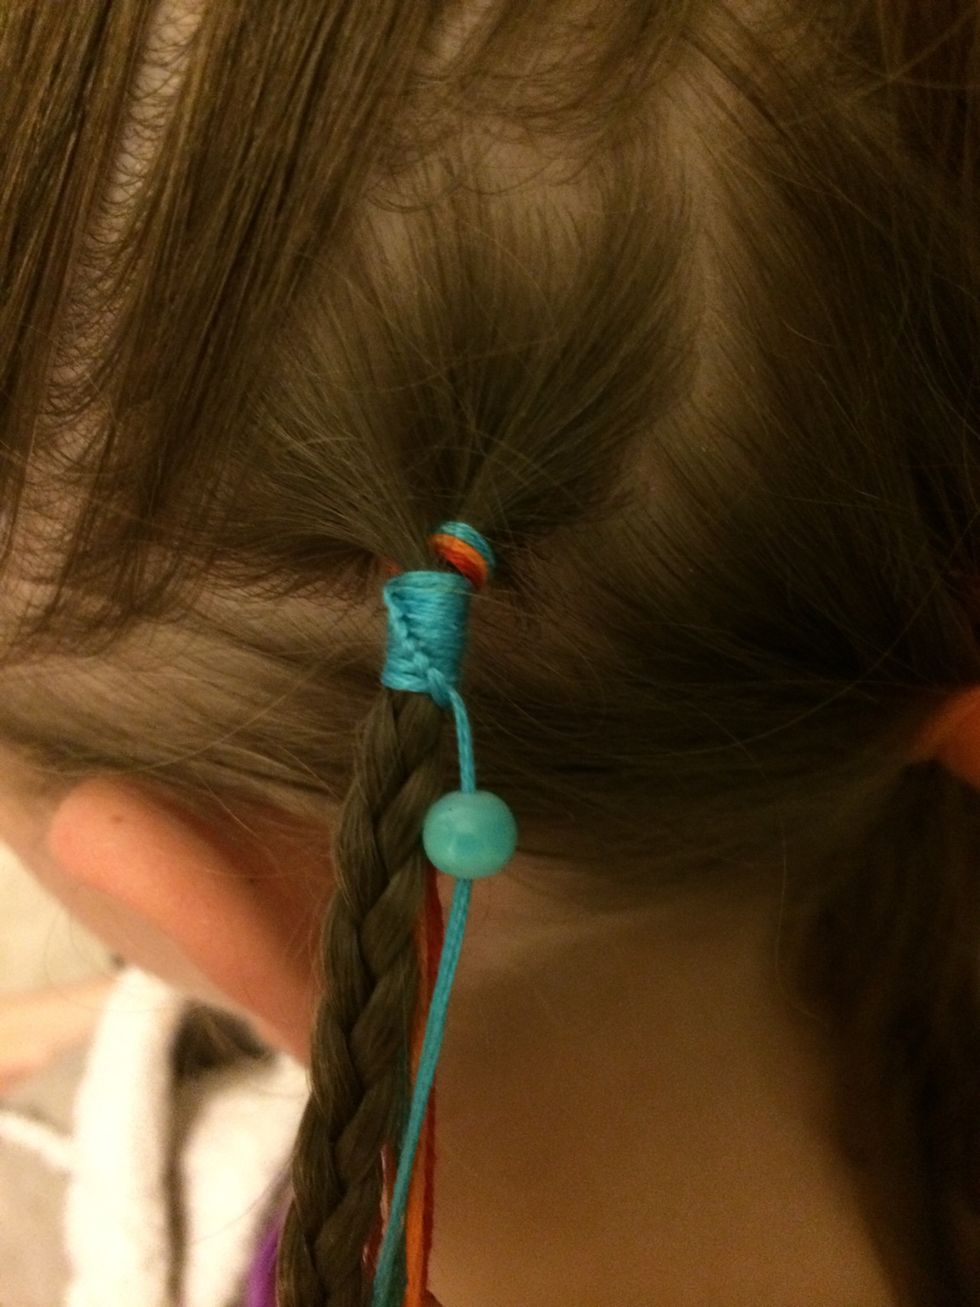
Take one end of your floss and put it through the top of the braid. Make a knot.
For this hair wrap we will be doing the Chinese staircase. I can do a separate guide on this kind of bracelet if you like. Choose your first color and make a 4 over the braid and rest of floss.
Take the end of the floss and put it through the loop. Take the end of the floss and pull it tight all the way to the top.
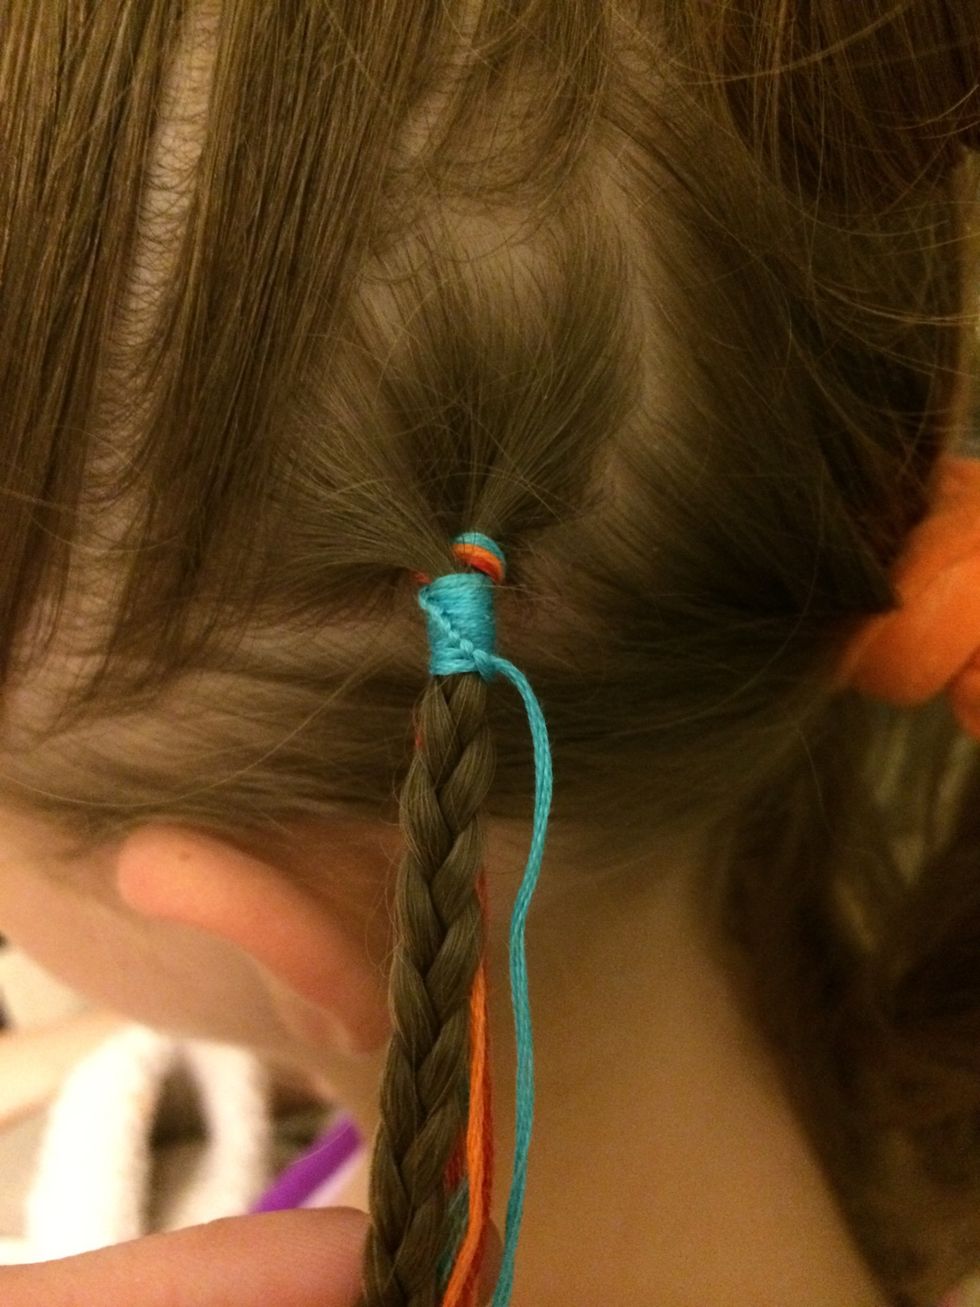
Continue to repeat those two steps. The floss will move to the right. Let it. If you pull to the left your staircase will not look like one.
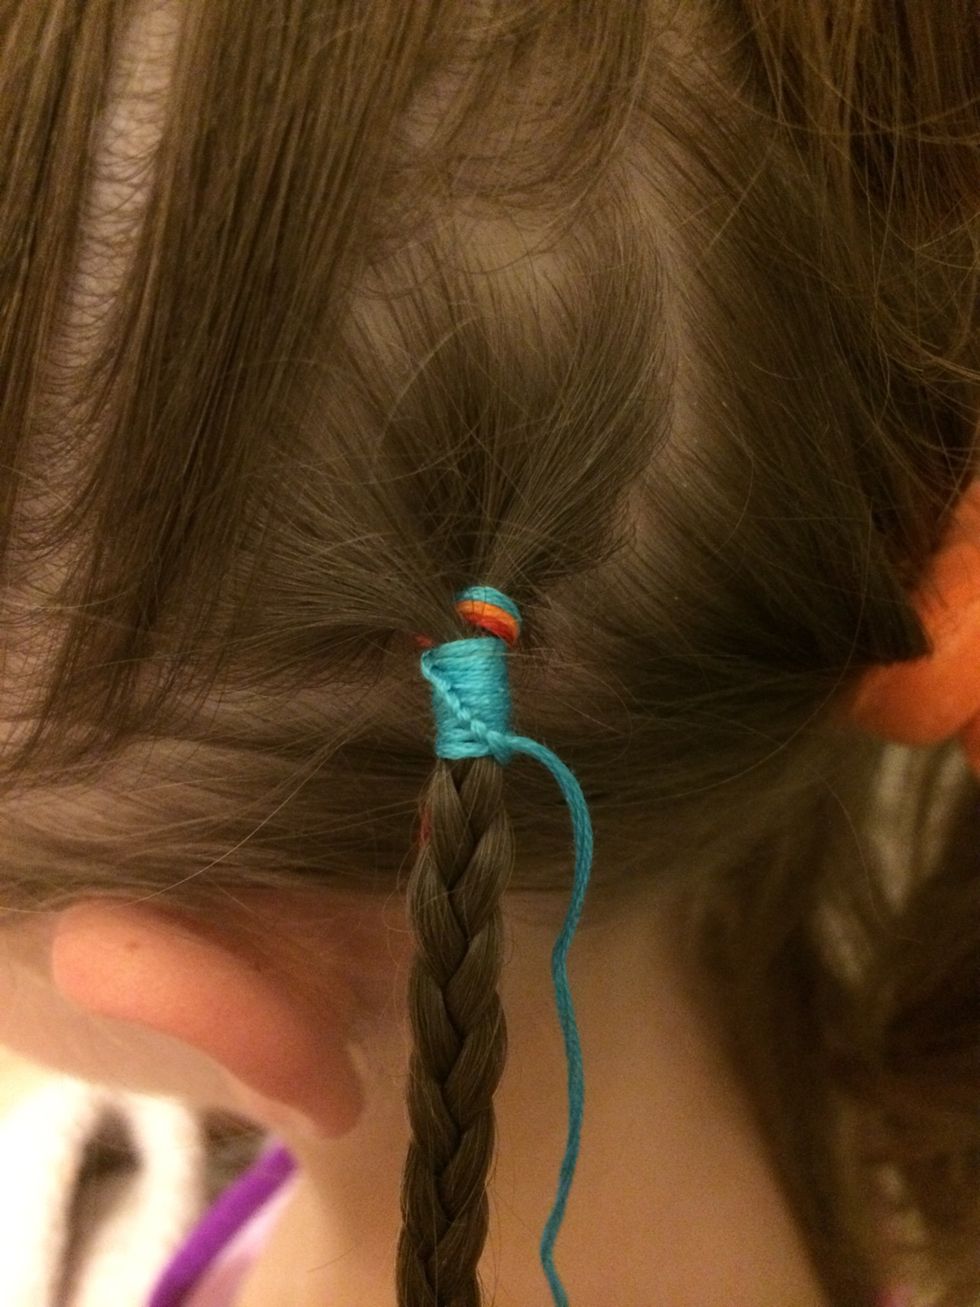
Here it is just a little bit closer.
Put a bead on the end of your floss and push it up. Make another knot. Your floss will slide under the bead. You may not see the next knot, but that is ok. Keep going.
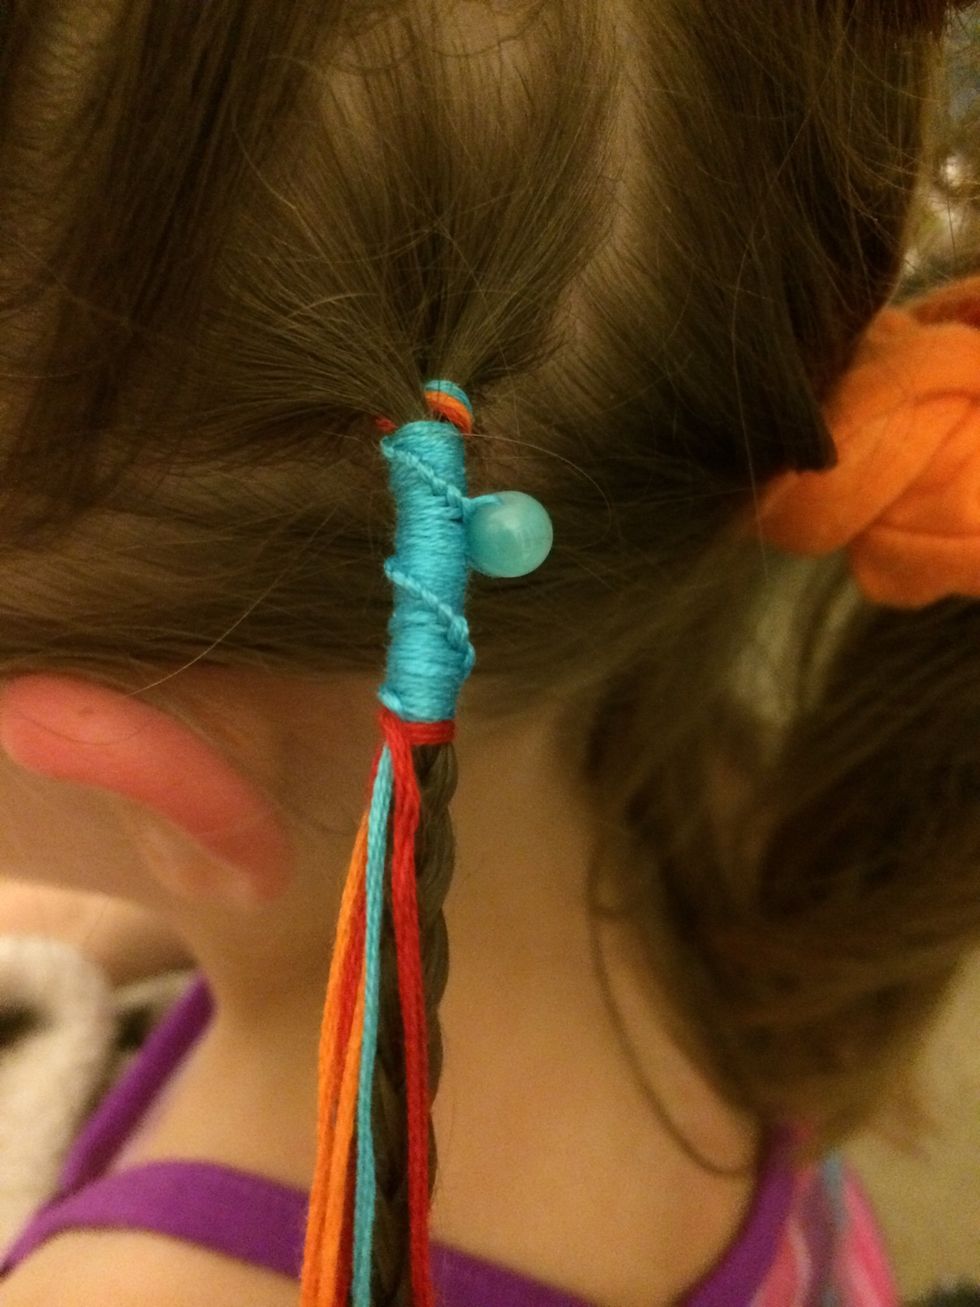
When your knots reach the back, pull the floss around and continue to knot. When you are ready go ahead and change to the next color.
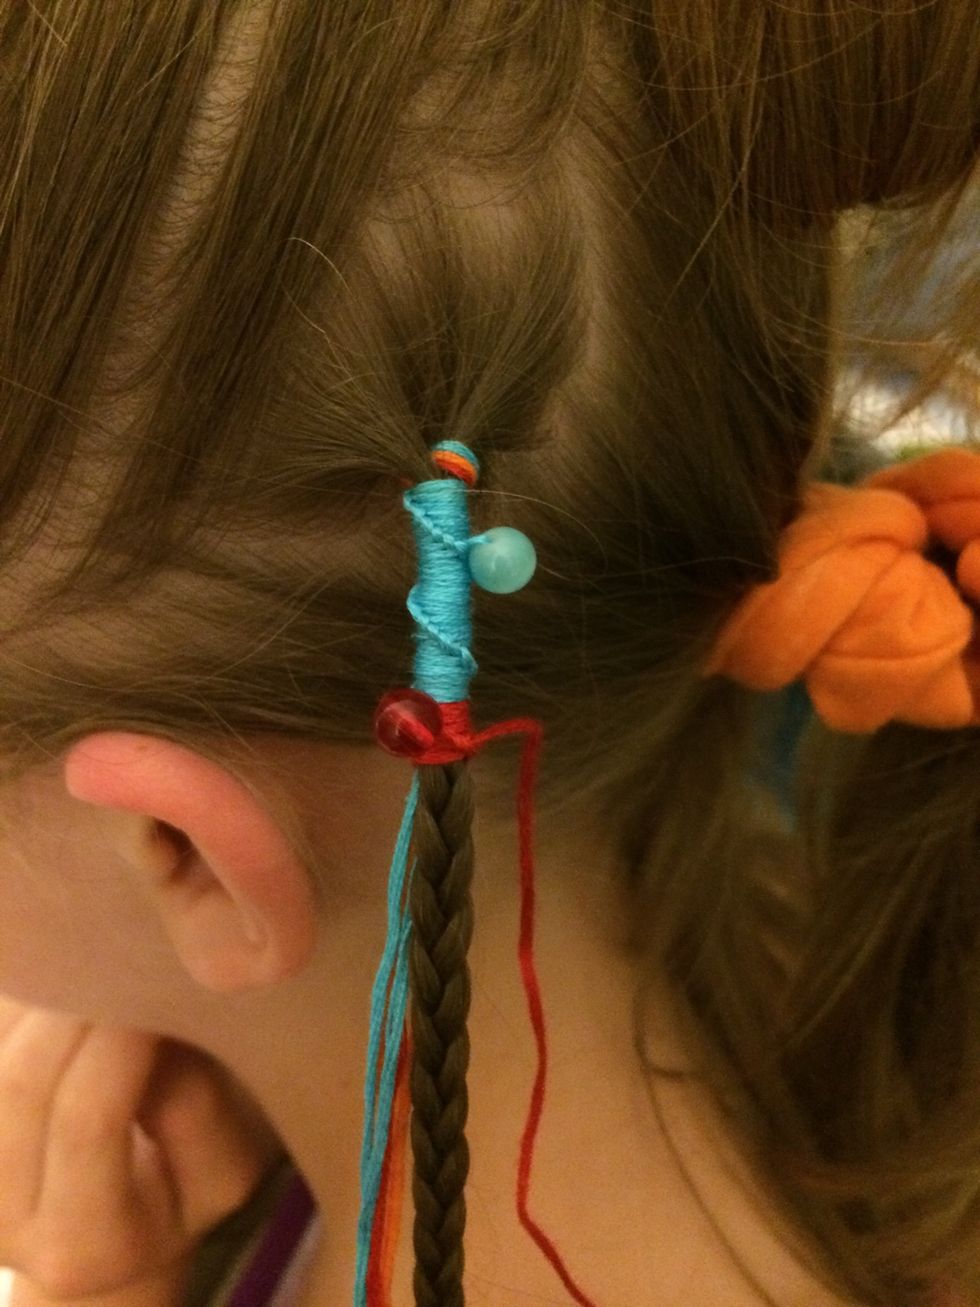
Let's add another bead.
And then continue to knot. I really love the Chinese Staircase, it's so much fun to make.
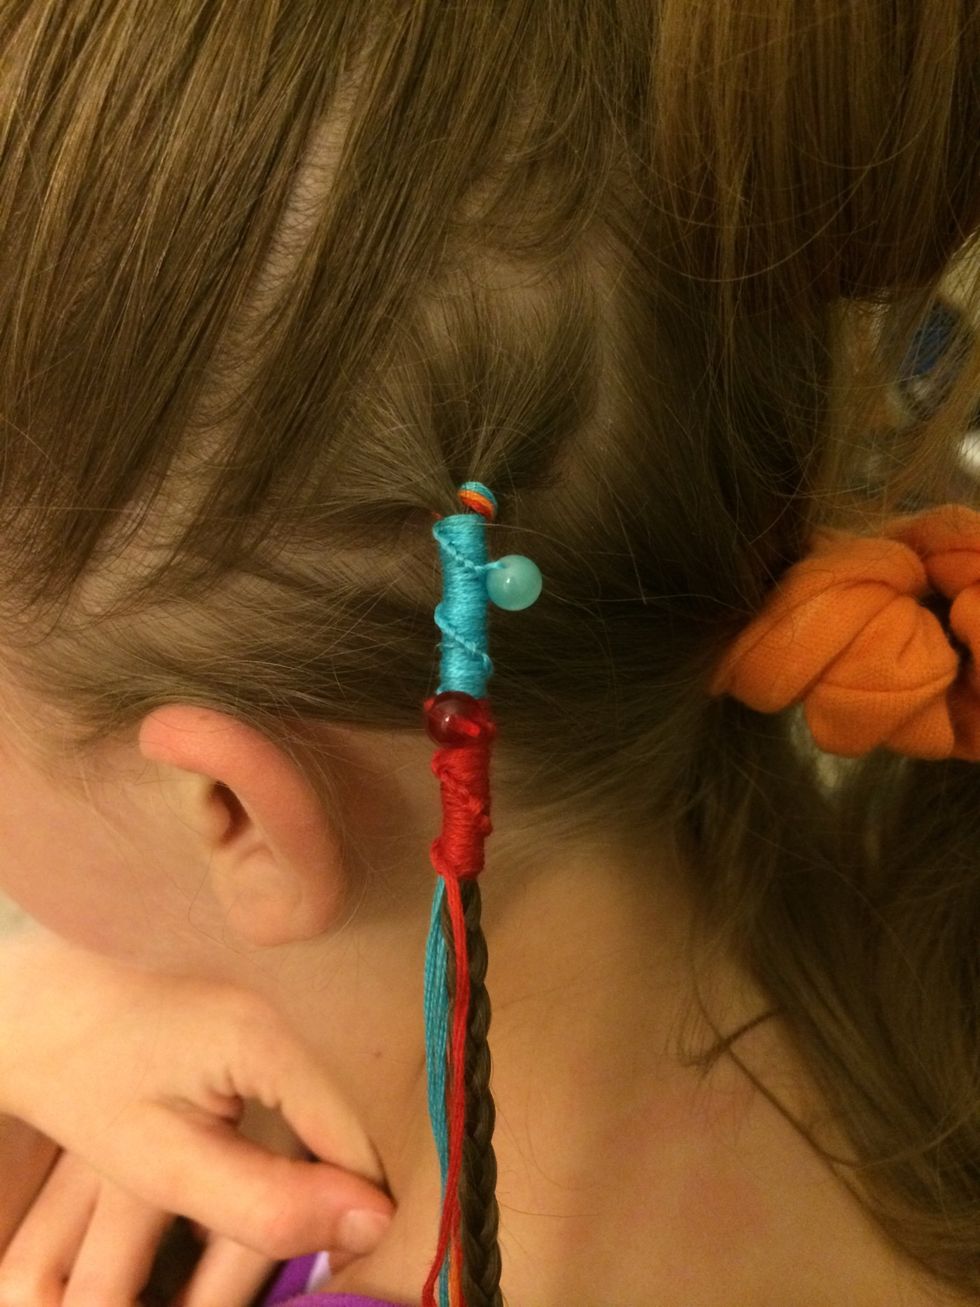
Another color, a few more beads and a lot of knots. After a while it will take no time at all the make a Chinese staircase.
We are getting close to the end of the braid. I will be taking out the rubber band so it is easier to make knots.
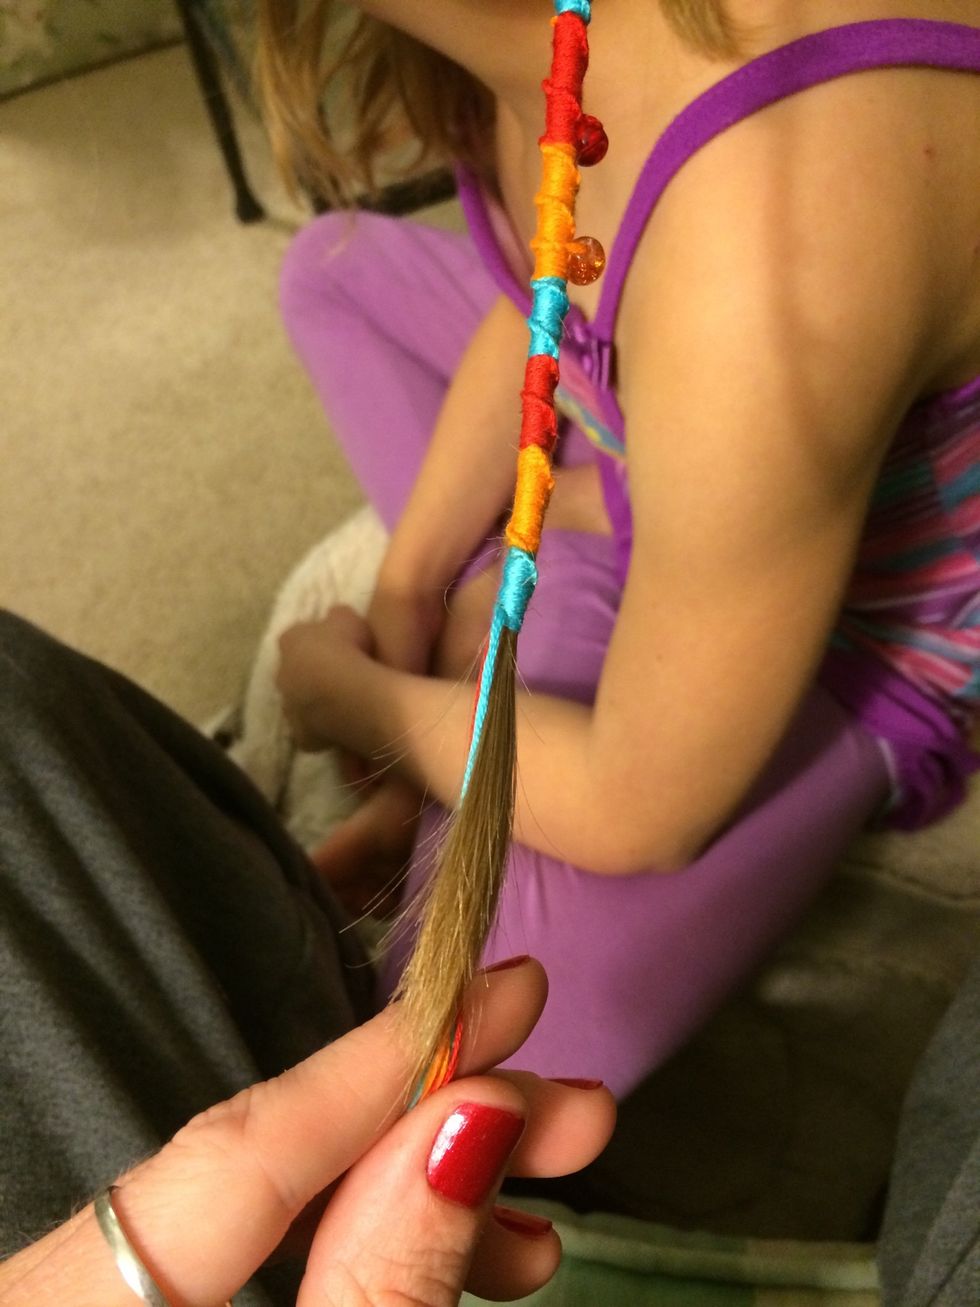
My floss is getting short and so is her hair. I am going to cut off the last bit of hair and finish a few more rows if color.
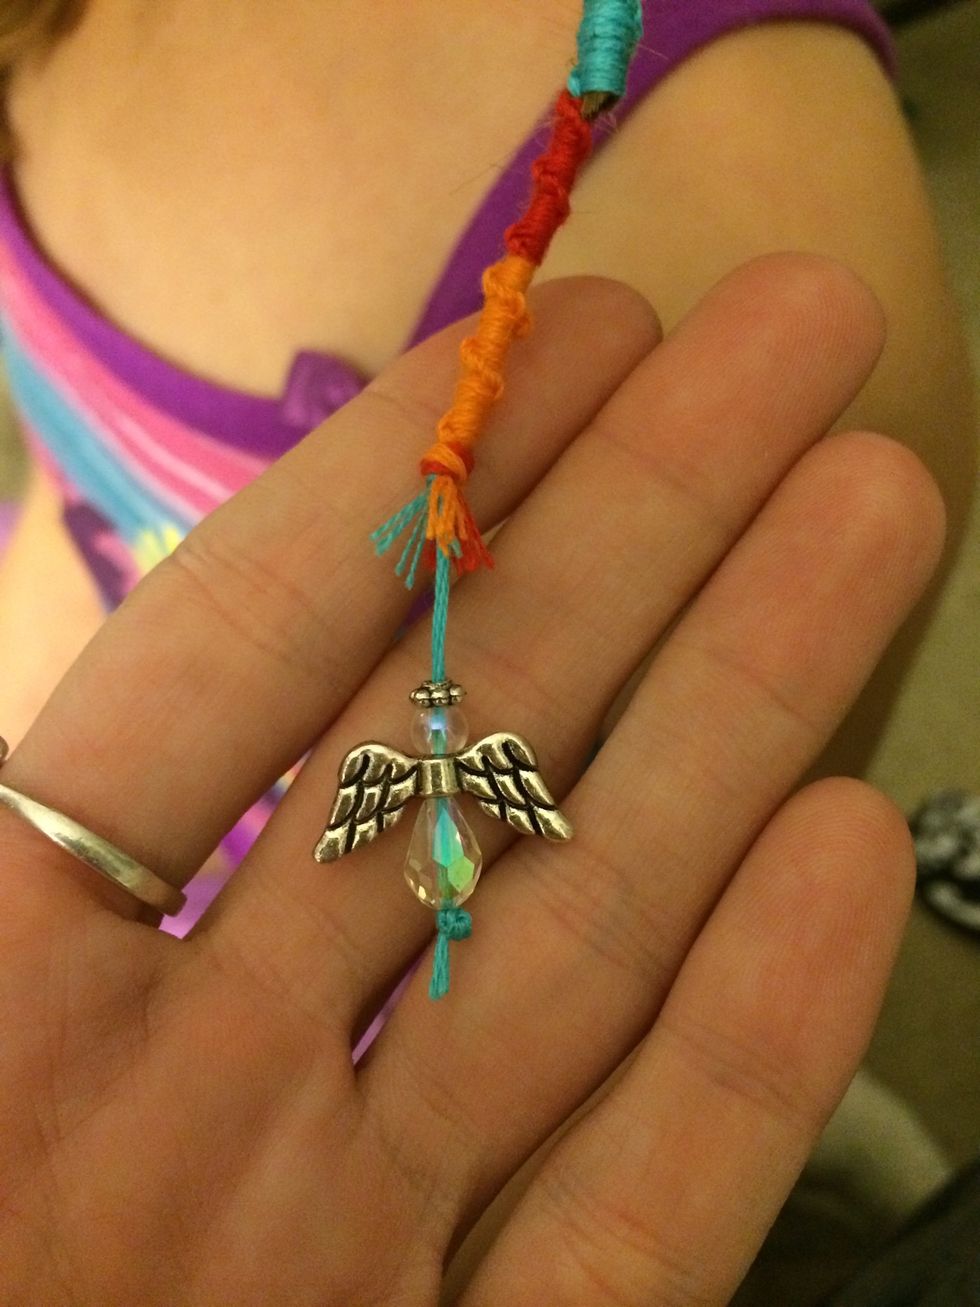
Make a knot when you are finished. Cut off the excess floss. I left one so I could put a charm on it. A cute angel to remind her how special she is to me.
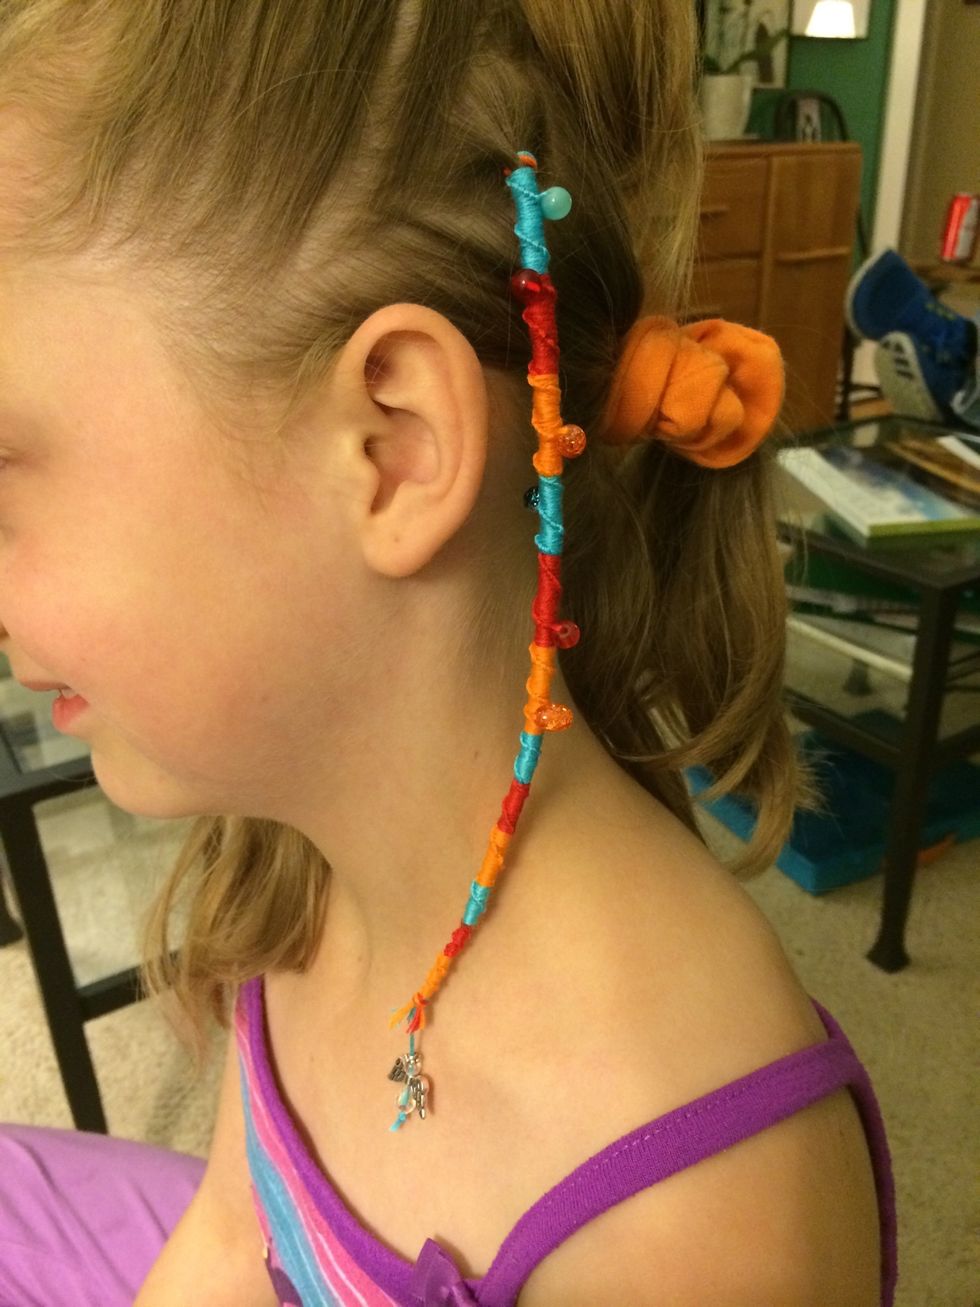
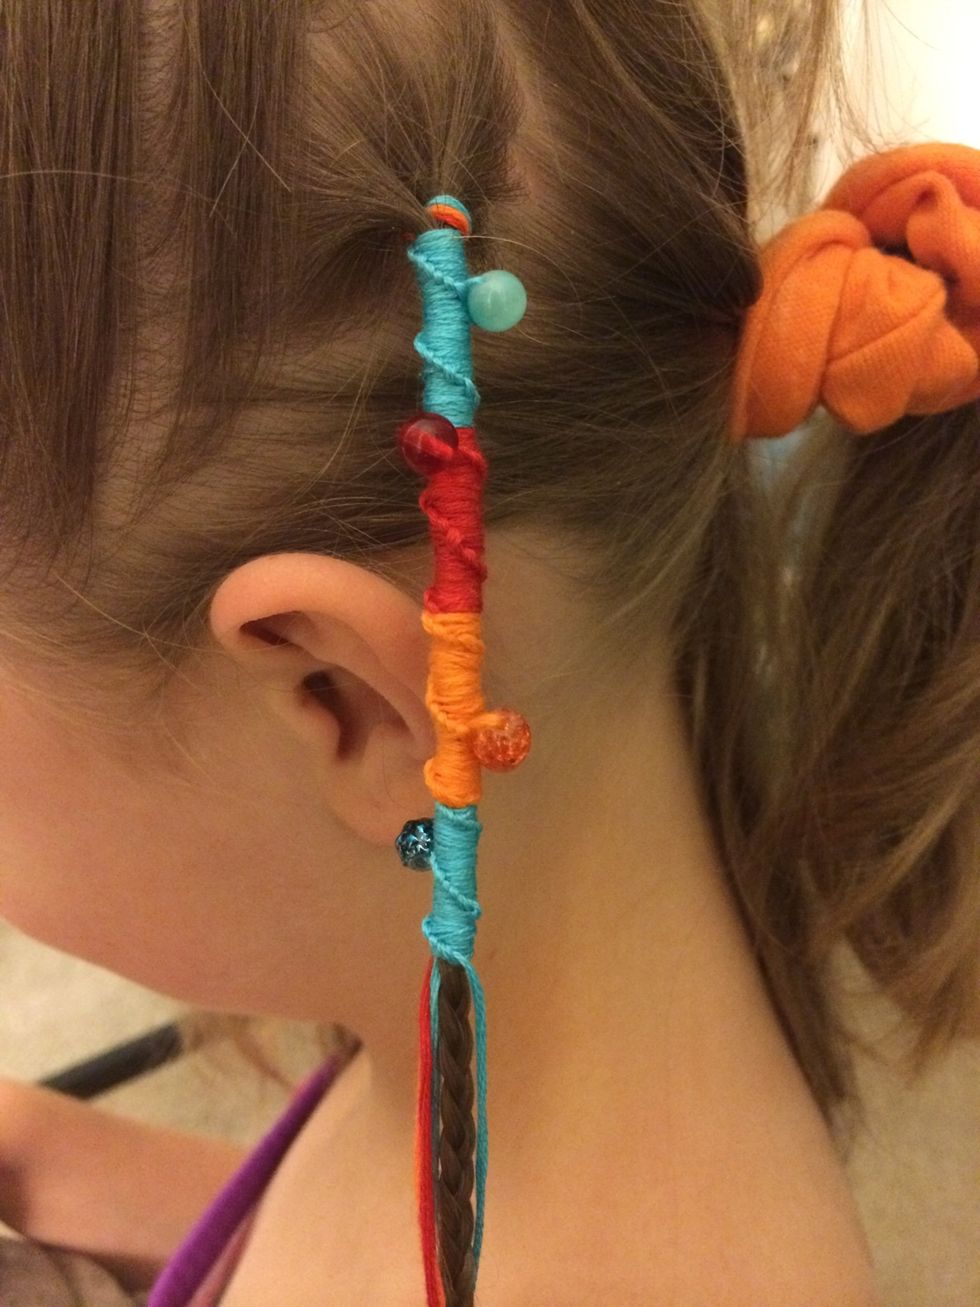
And there you have it. A finished hair wrap.
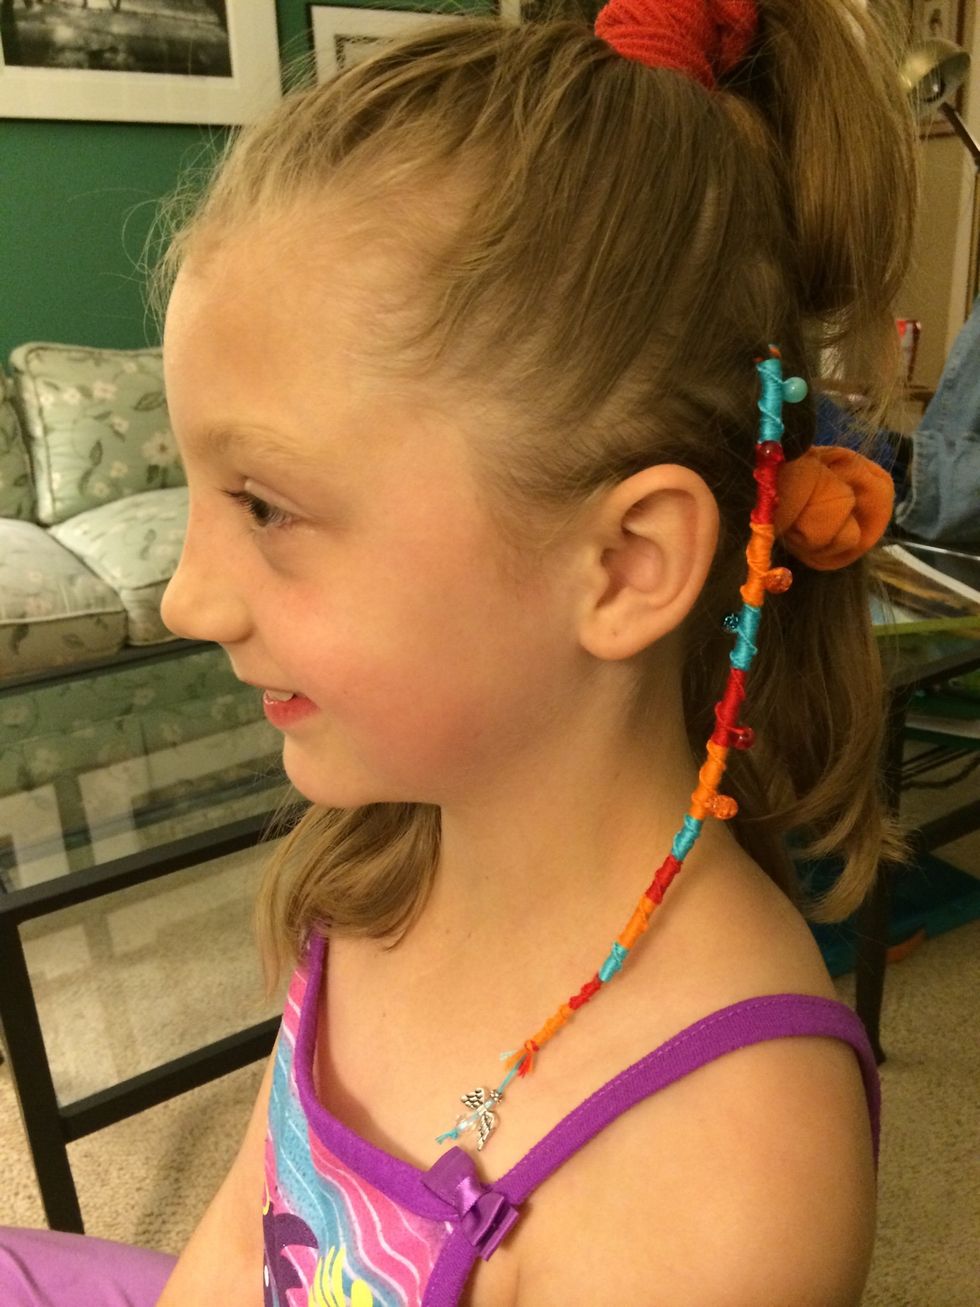
Here is another view with a happy little person.
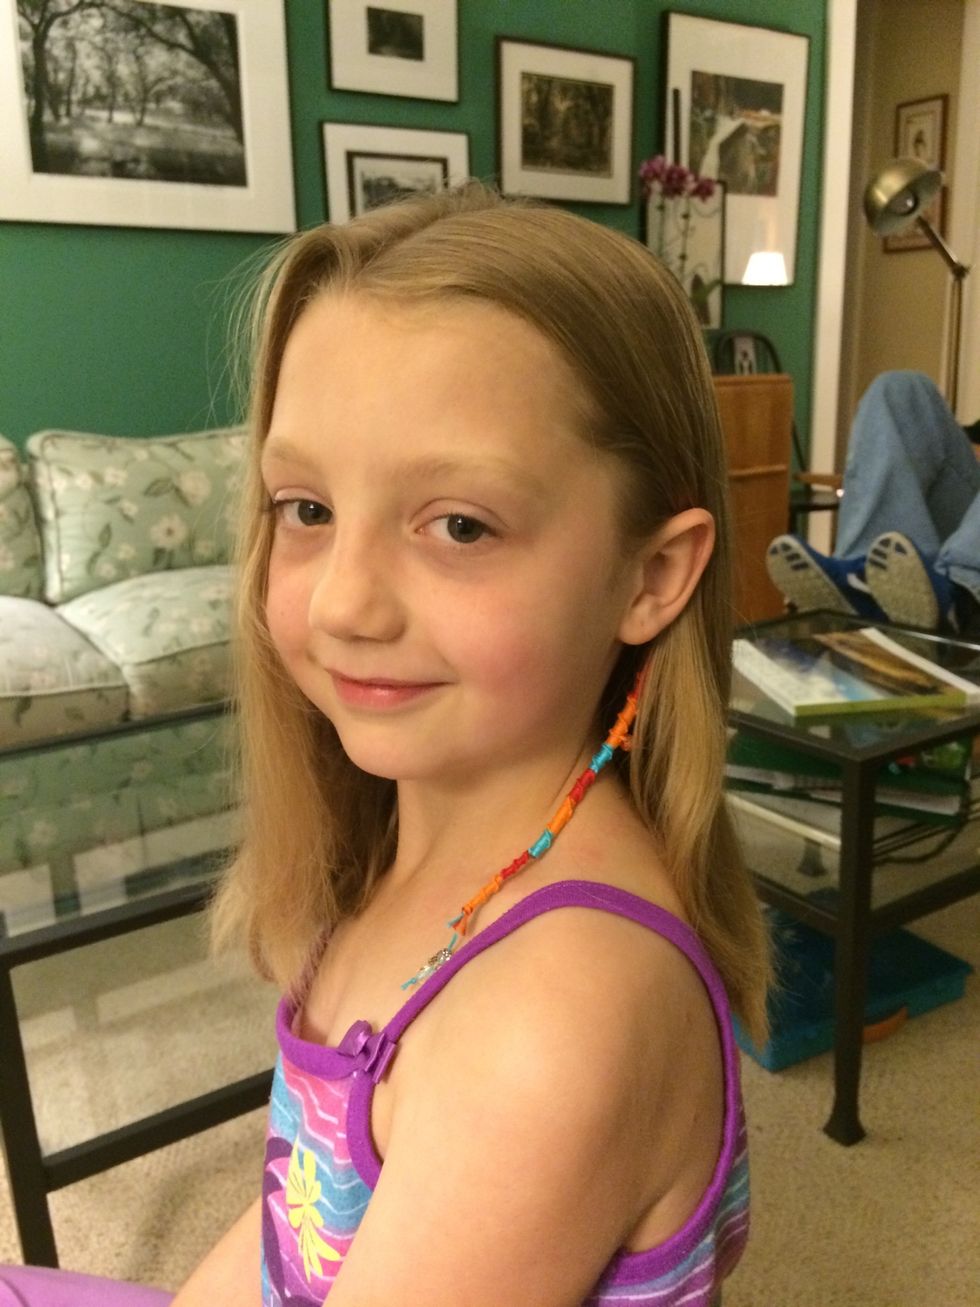
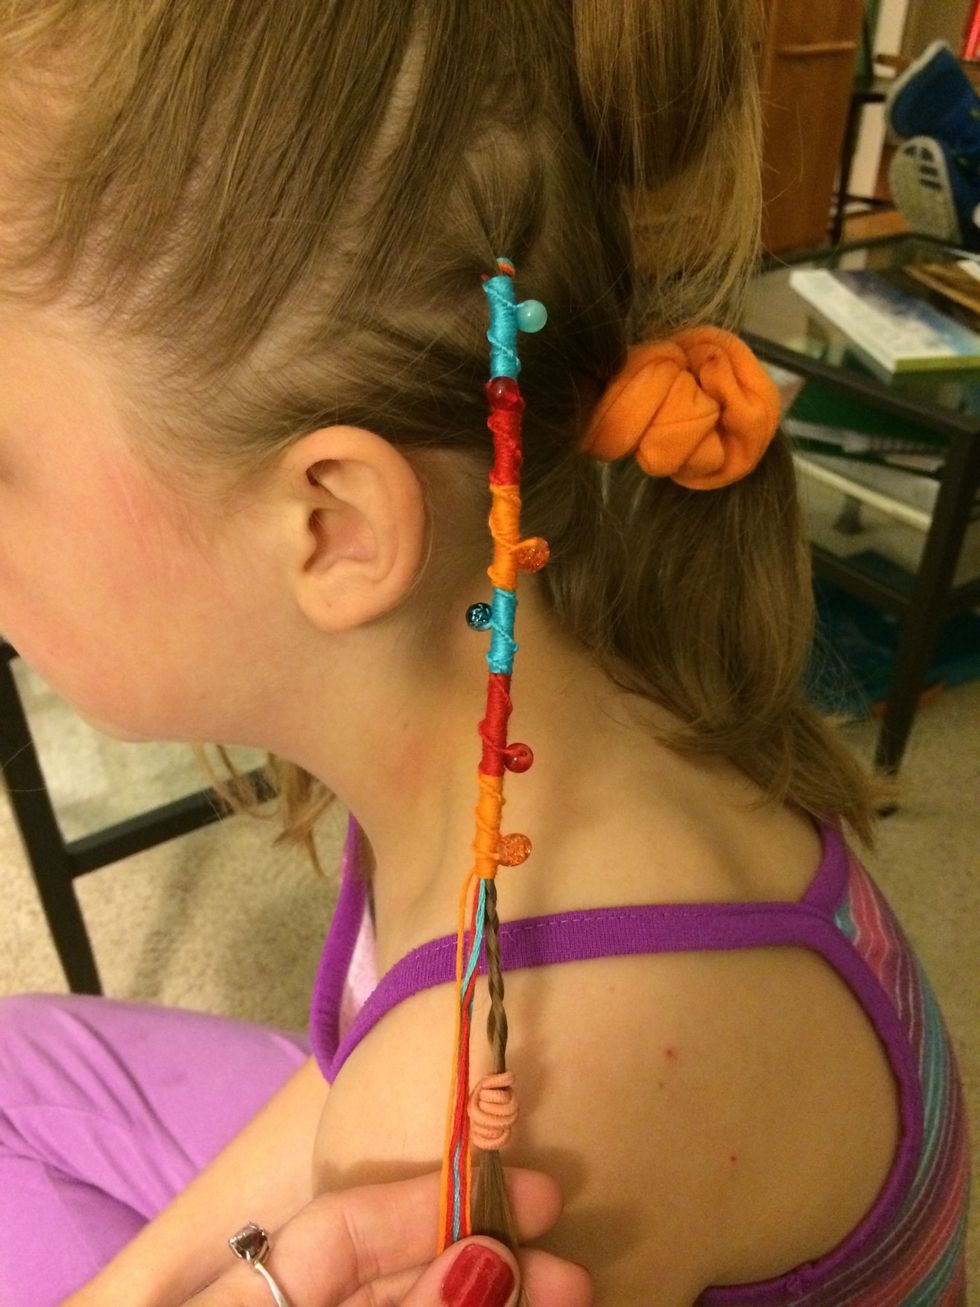
Hair down, and looking a lot better. Here is the finished craft.
And there you go a very simple hair wrap with a little pizazz. This should last at least 3 months. I will be taking photos month by month to update the guide and see how long it lasts.
I hope you all enjoyed this guide, please like and follow me :D. More guides will be coming soon!!!