The Conversation (0)
Sign Up

This is what you will need ✂
First measure and cut about 3 feet of your wider ribbon. The bigger the bow, the more ribbon will need to be cut.
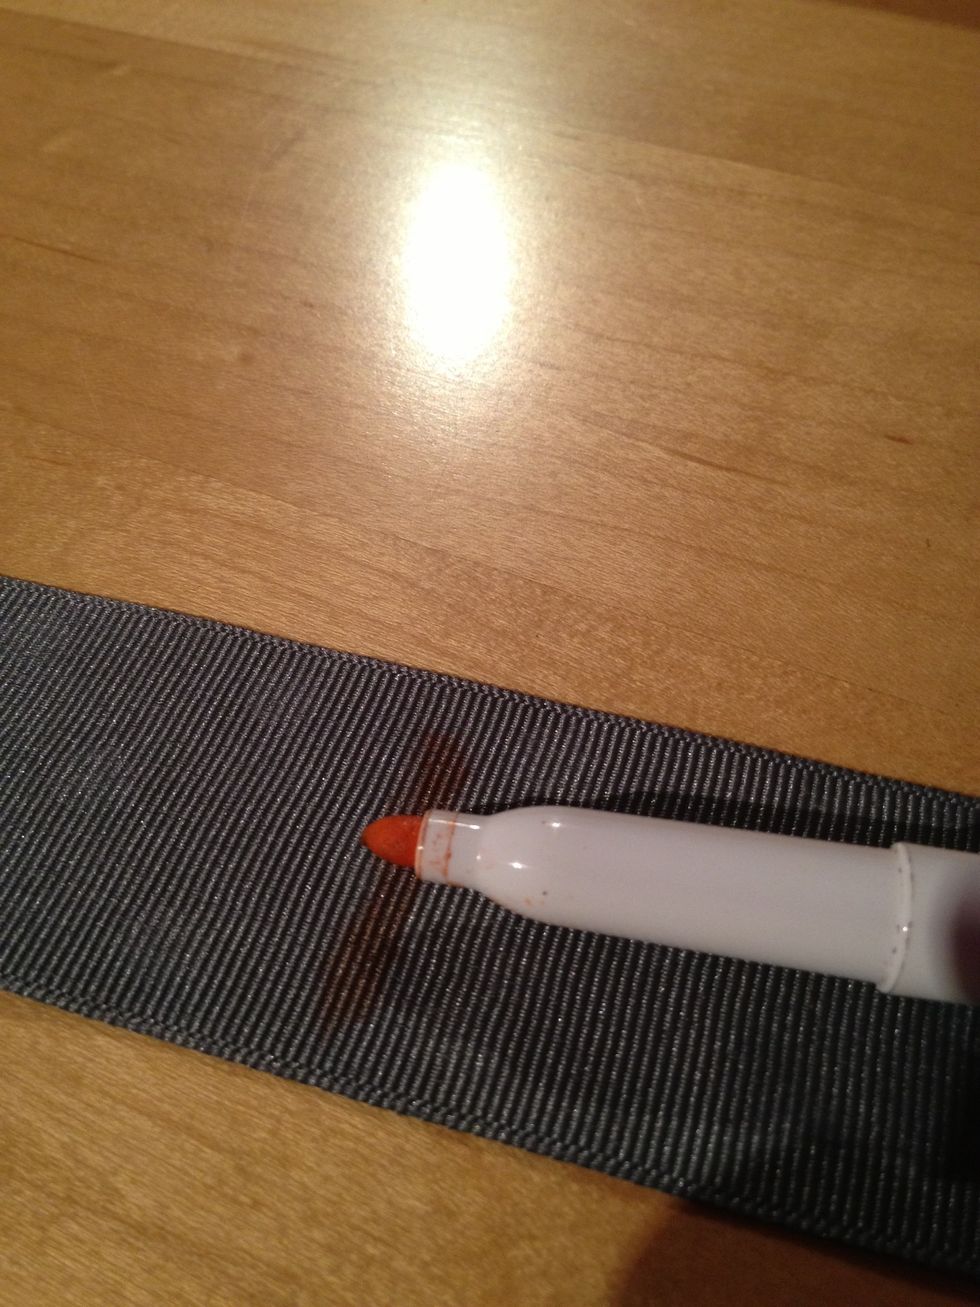
Make a mark with a marker about every 7inches (If you use more than 3ft. Of ribbon the distance between the lines will increase. Play around with these next steps until you figure out a good length)
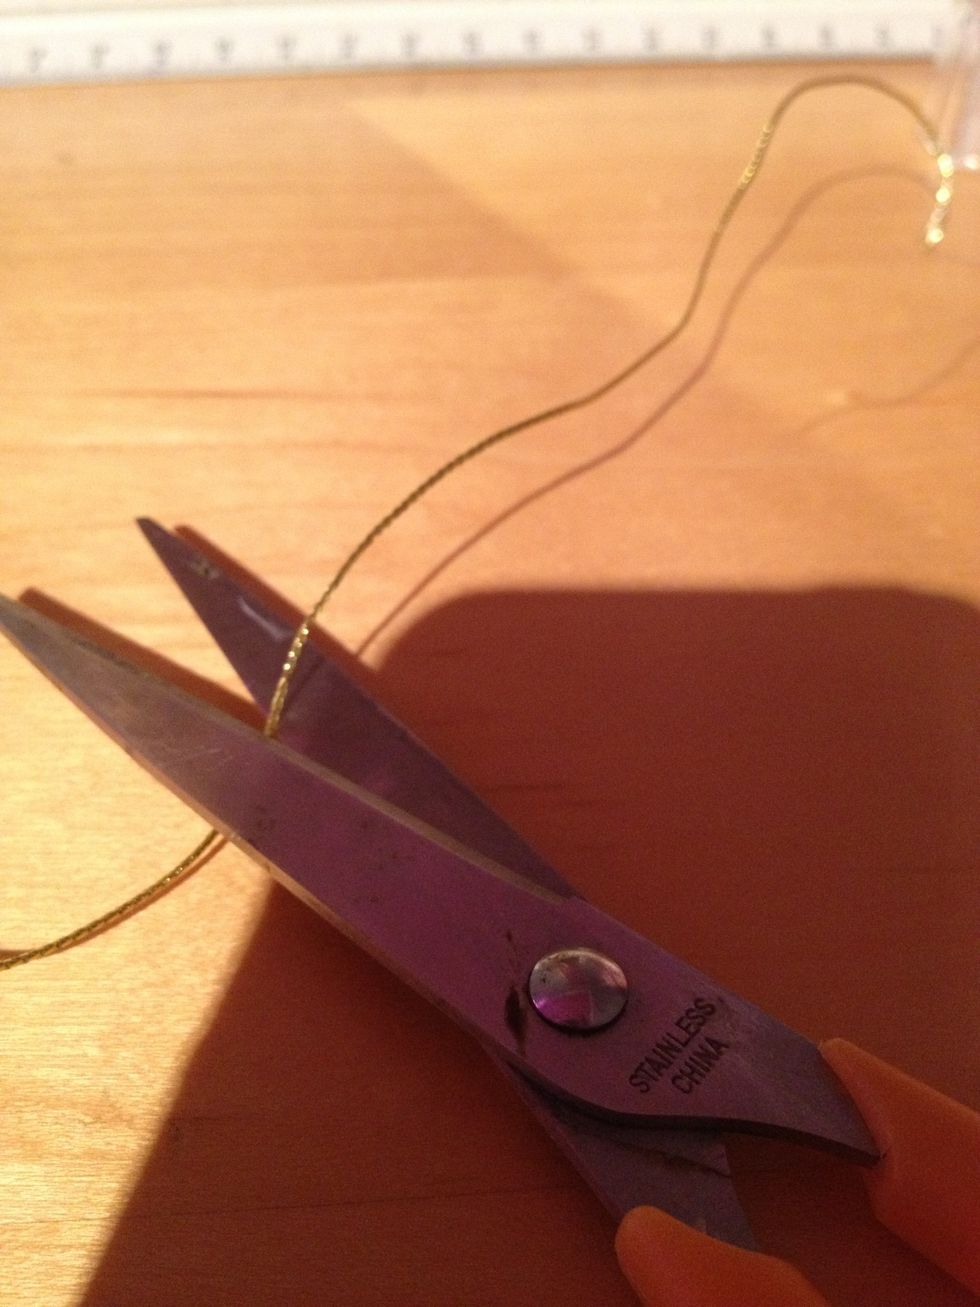
Cut some string to tie around the ribbon
Adjust the ribbon until you like how it looks and also cut off the excess string.
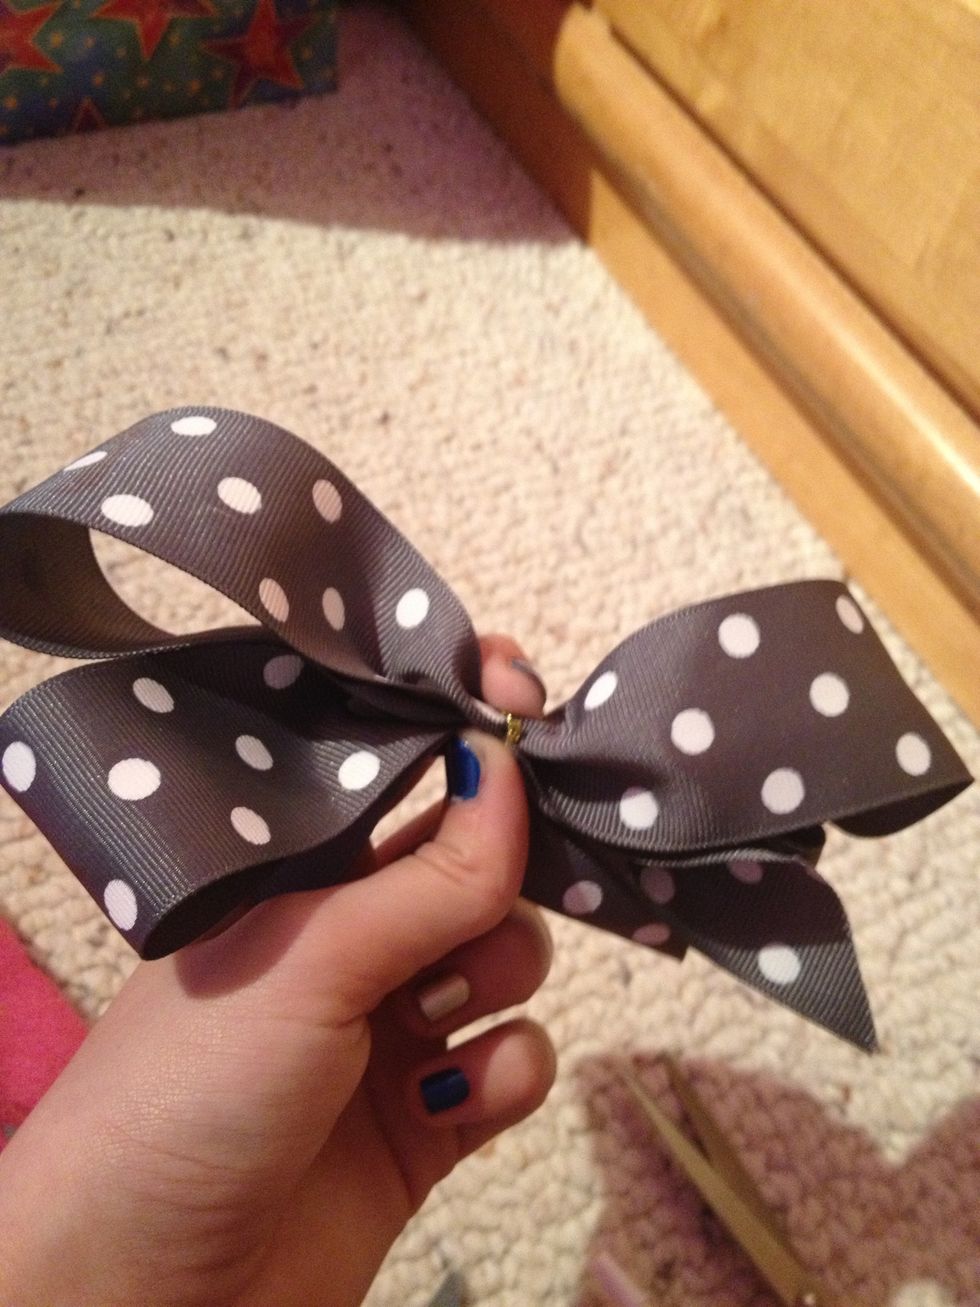
It should look like this now

Cut about two to three inches of your thinner ribbon. Excuse my PJs 😁😝
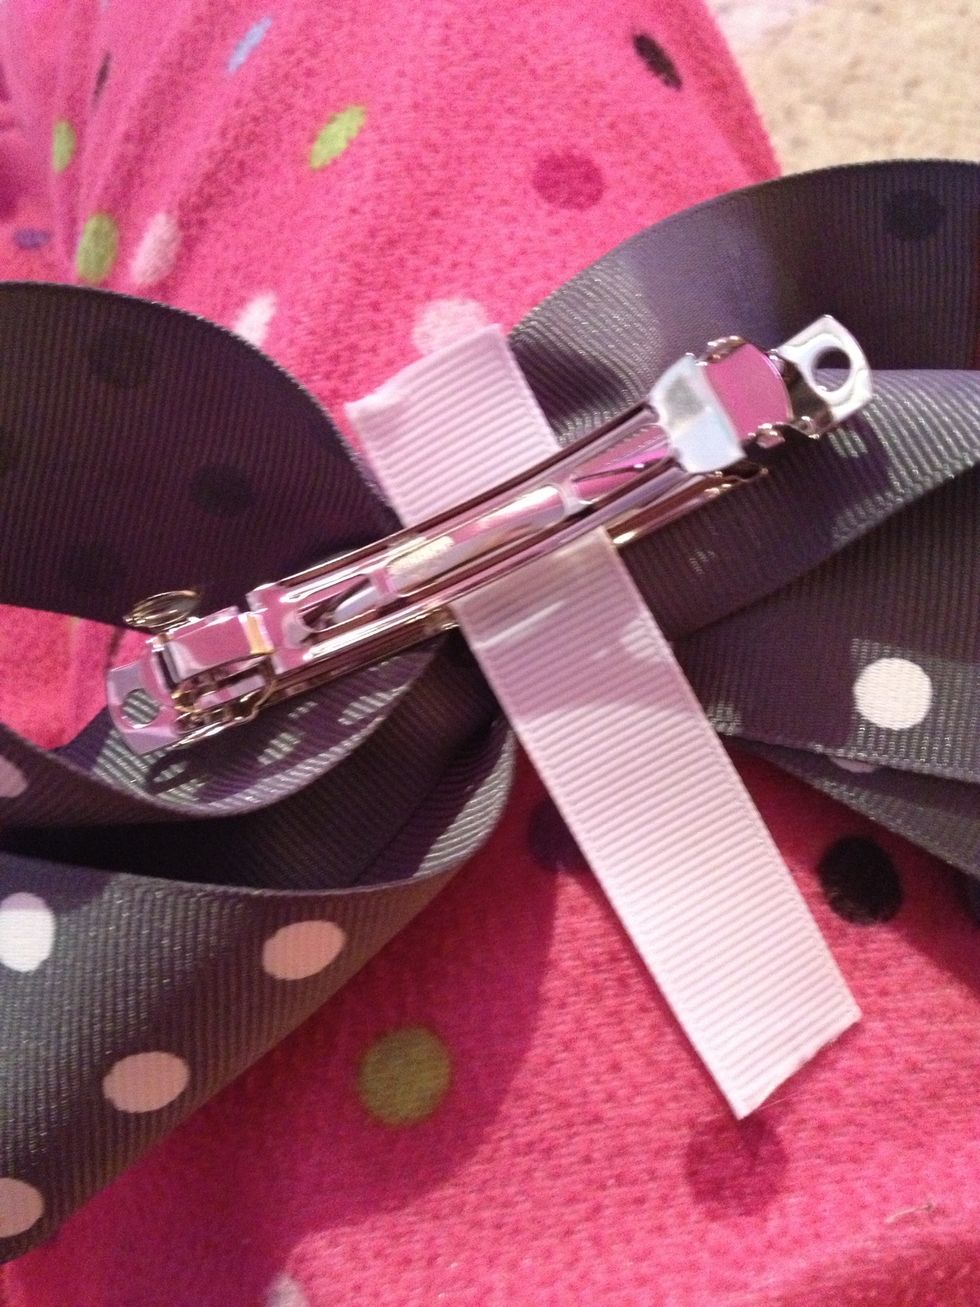
Put glue on the back of the thin ribbon and slide it through the clip and wrap around
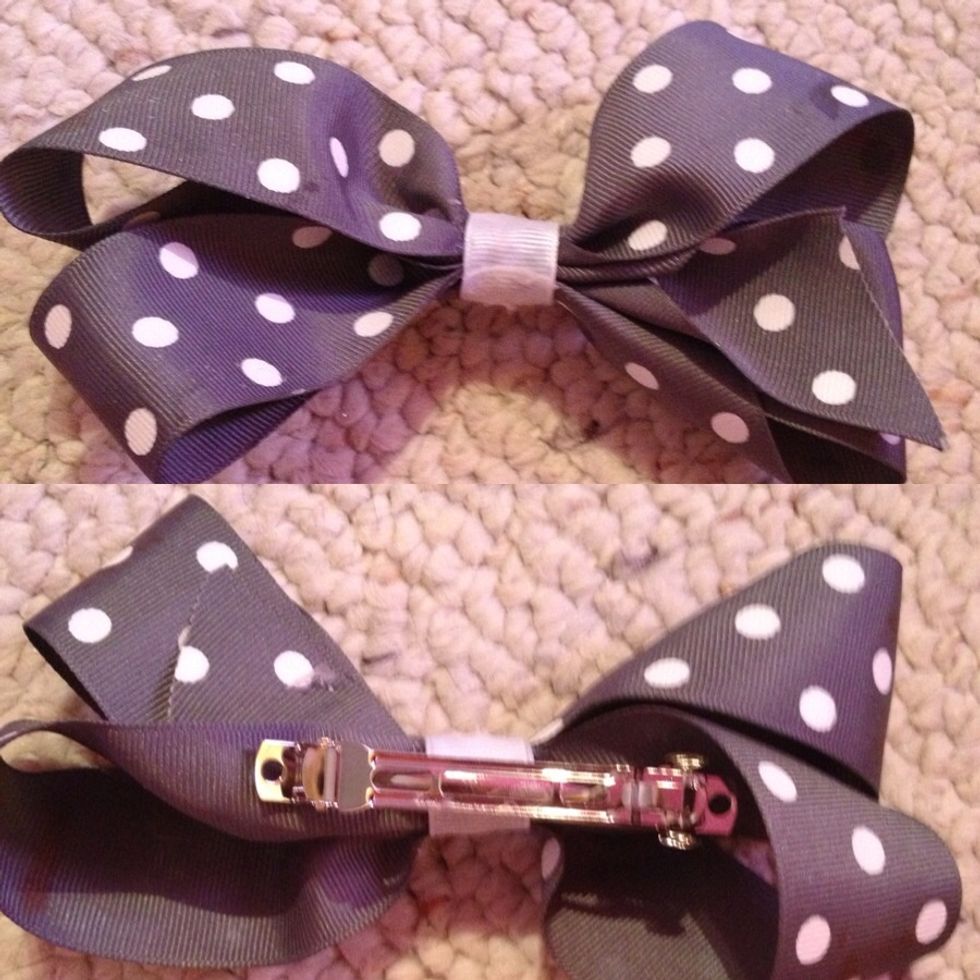
This is the finished product! Enjoy the bow🎀