The Conversation (0)
Sign Up
Cover an 8x10 blank canvas with a medium coat of Modge Podge. Add patterned paper print side down to top and sides. Use a brayer to make sure there is a good seal. Let dry completely.

Once dry, add water in sections and start rubbing away the top layer of the paper. You can continue to add water and rub until the print below is fully visible.
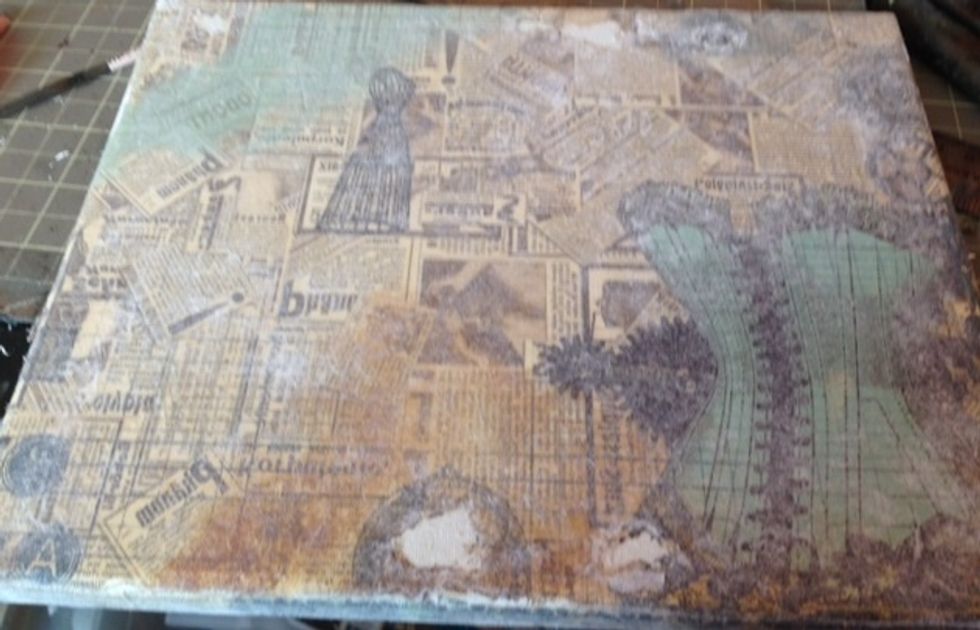
Once you remove the top layer of paper their will be some paper flakes. You can seal with multi medium matte to get a nice finish
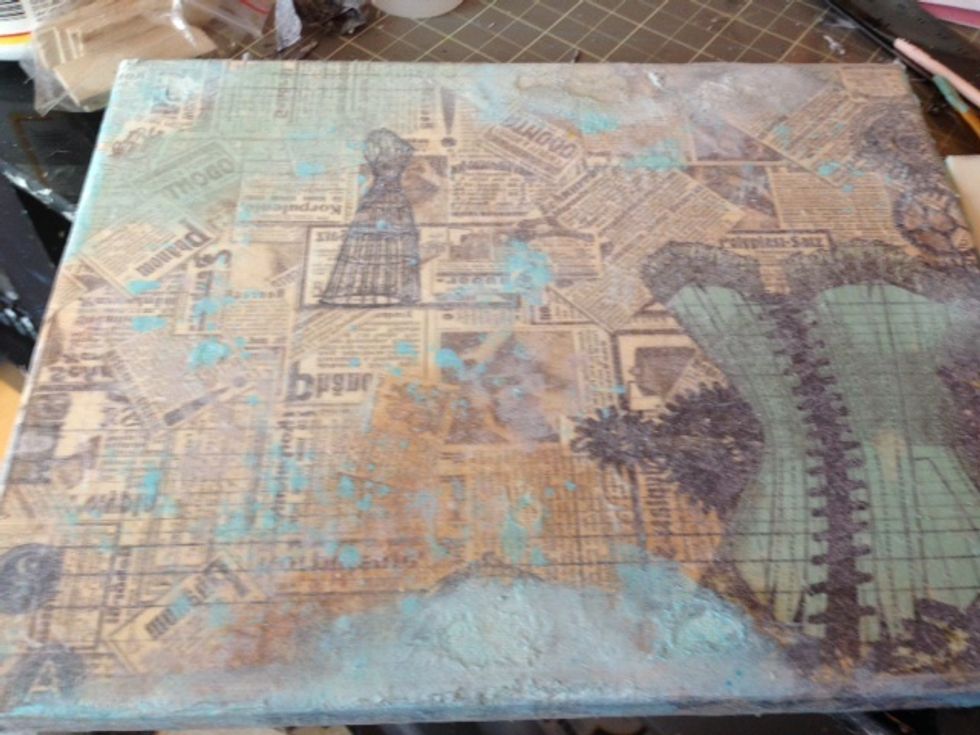
mix Lindy's Stamp Gang magicals with gesso to sponge randomly on canvas. I used Tiffany BLue here and then repeated with the Dark Chocolate Truffle.

Add splatters of Lindy's Stamp Gang Spray. Emboss stamped images in various LSG embossing powders. I used black powder for the script stamp. I used aged black embossing powder for edges of canvas.
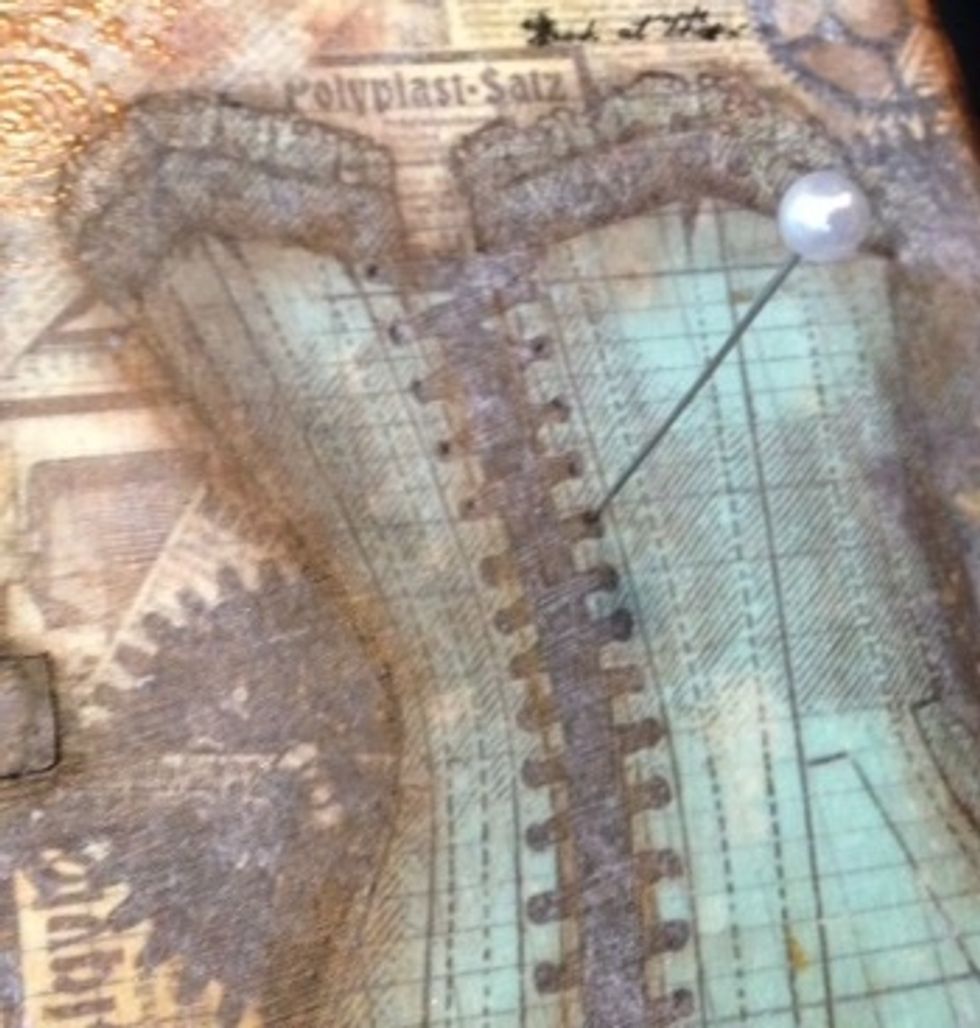
use a pin to poke holes into the canvas to feed the ribbon through
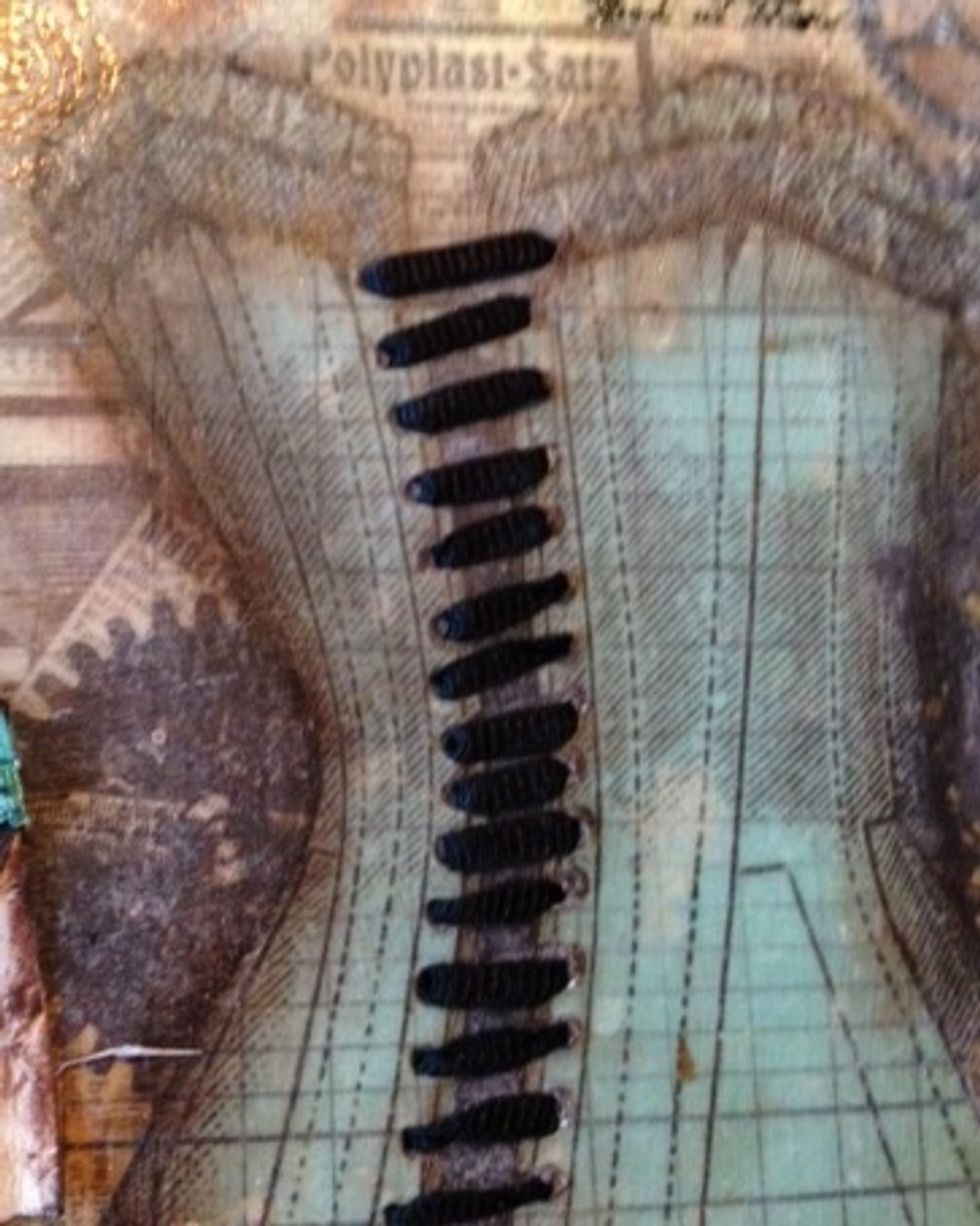
Feed the ribbon through the holes using a needle.

Add banner die cut from BoBunny. Shade with Faber-Castell Big Brush markers t get depth. Repeat this step with the corset image.
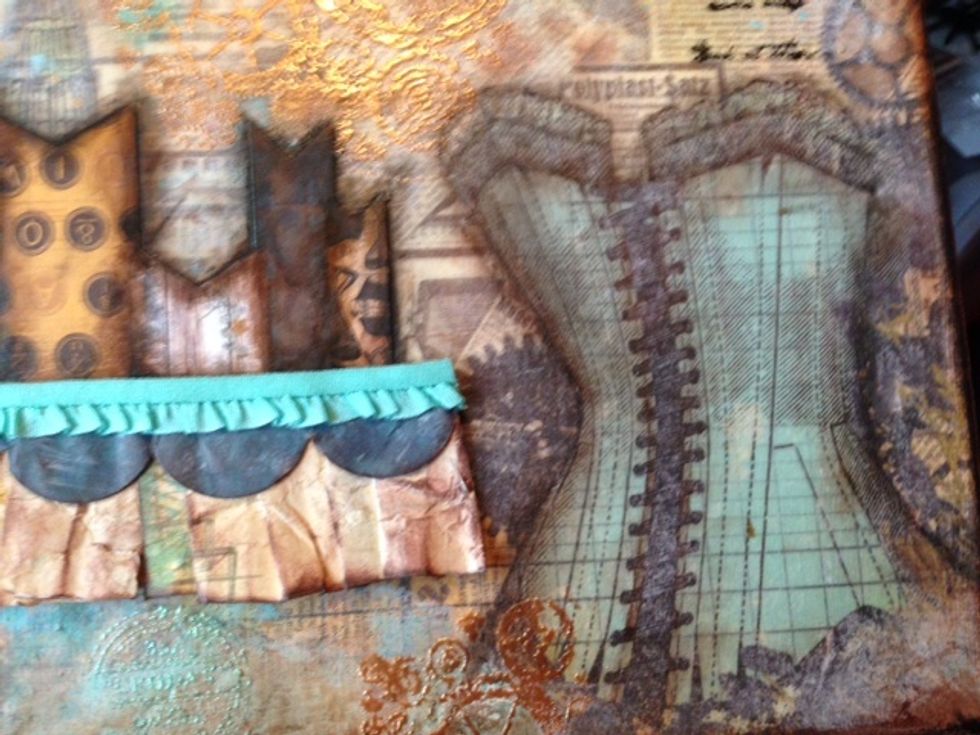
Wet and wrinkle some paper strips. Wrinkle and ink. Then on the bottom layer pleat, add a shaped piece, then a piece of fabric trim to the top. I tucked a little lace behind to peek out of the top.
Next step is to create some embellishments using Amazing Crafting Products. I started with Amazing Mold Putty. This stuff is AWESOME. You so need to check out their YouTube videos and blog.
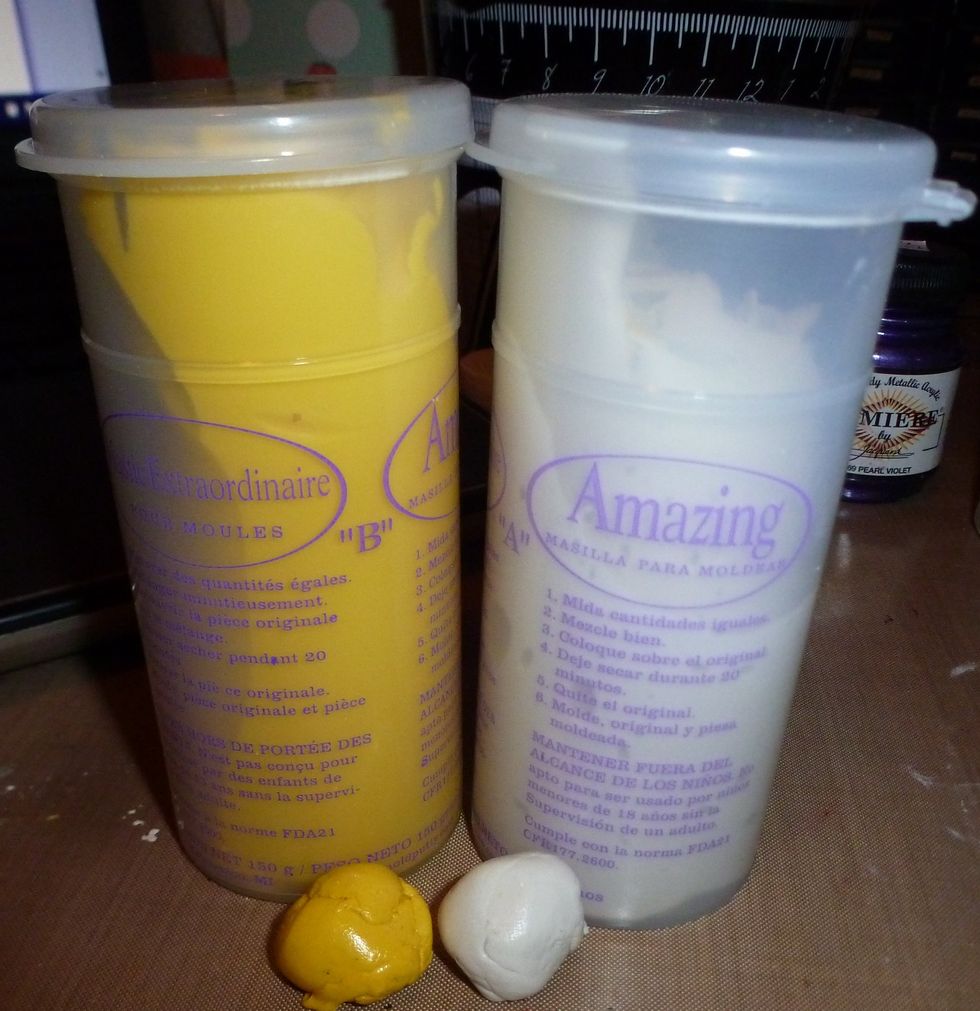
Take equal amounts from each container.
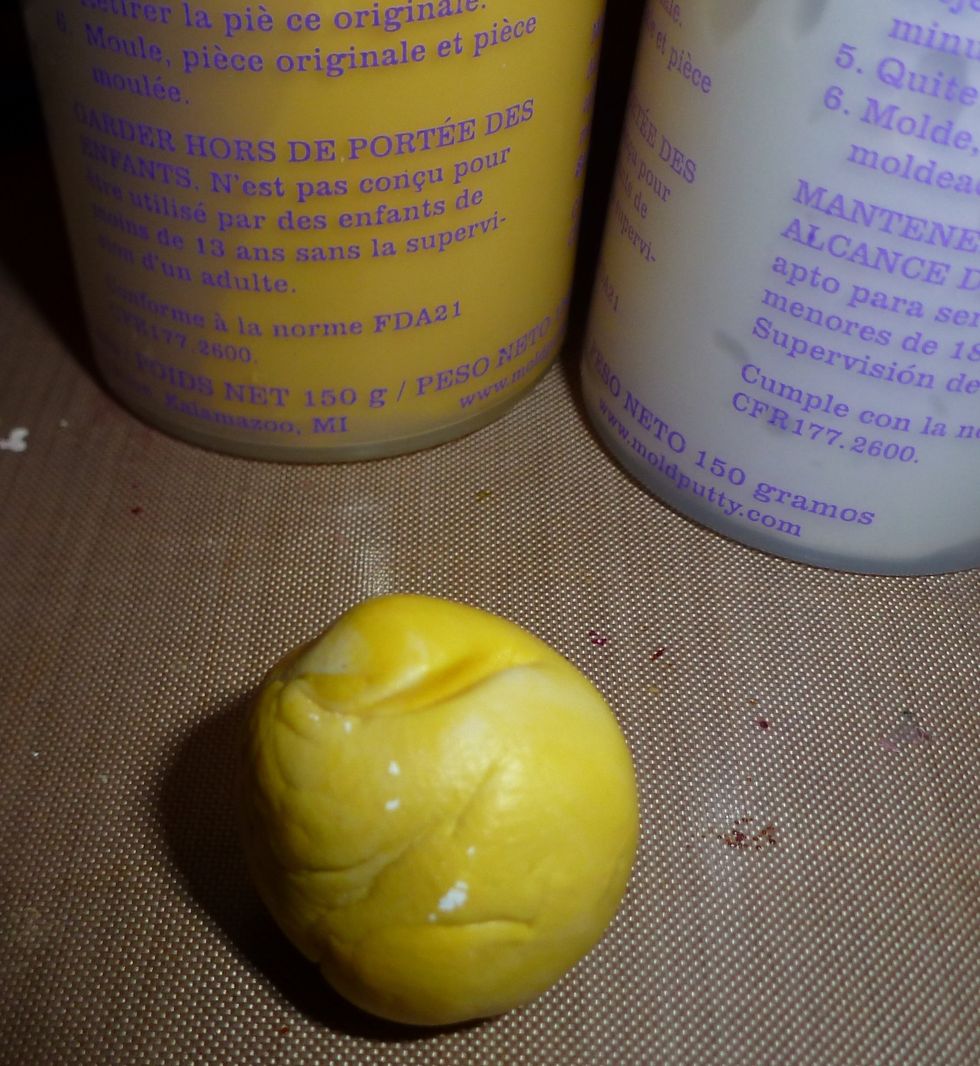
kneed together until no streaks and it is smooth
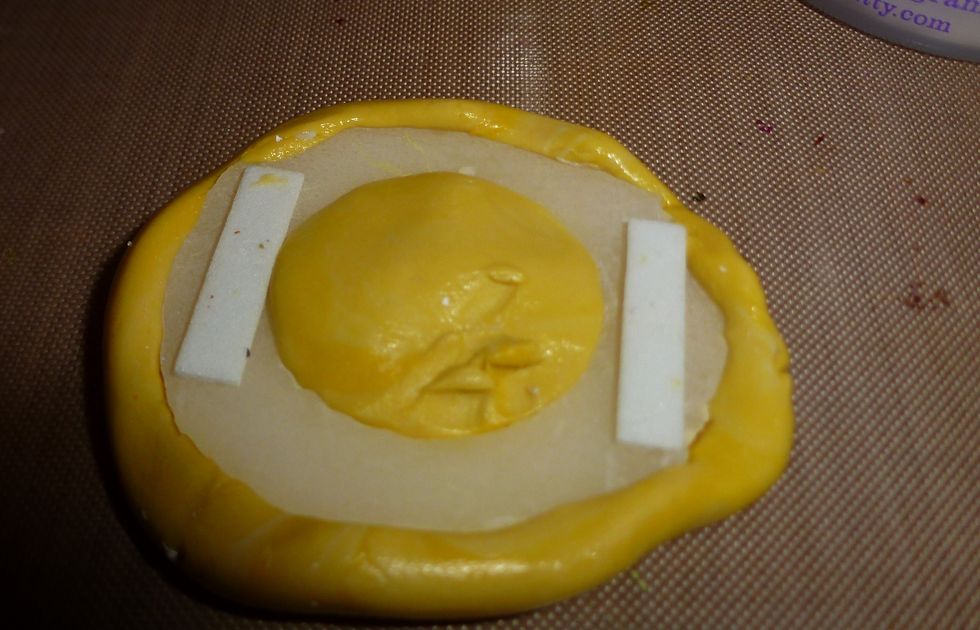
Shape around your item. You can use all kinds of embellishments, stamps, etc to create your molds. Let cure and then remove. http://amazingmoldputty.com/instructions.cfmtorial

I used Fimo clay to make mine. Just press into the mold, release, then bake for 20 minutes. I used Alumilite powders to dust on prior to baking

These after being baked. I personally like when things aren't perfect. However when you take the clay out of the mold if you don't like it you can just mush up the clay and do again.
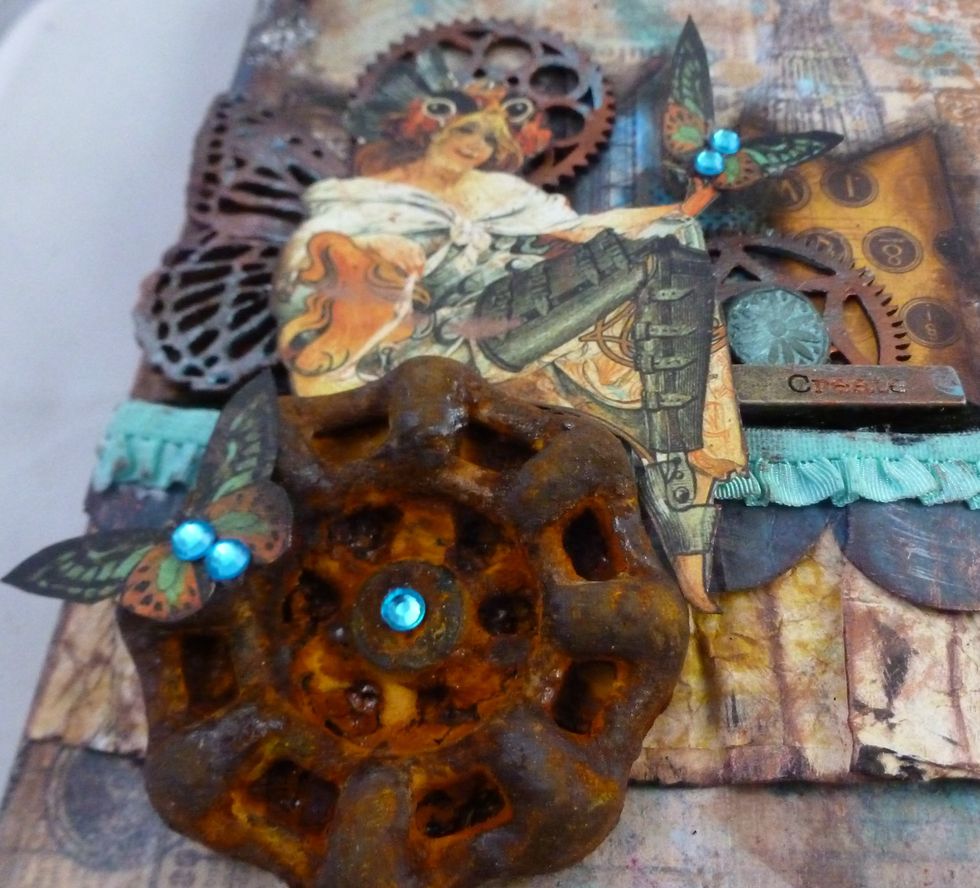
I made a faucet handle mold and then rusted it using Modern Master's Metal Effects Iron Paint and Rust activator. I so love this piece. I need to make more.
For the Creative Embellishments chipboard gears behind the focal image and the feather I used Alumilite powders directly on the chipboard.

I added Lumiere paints by Jaquard over some of the areas of the Alumilite then used the heat gun to blister the paint
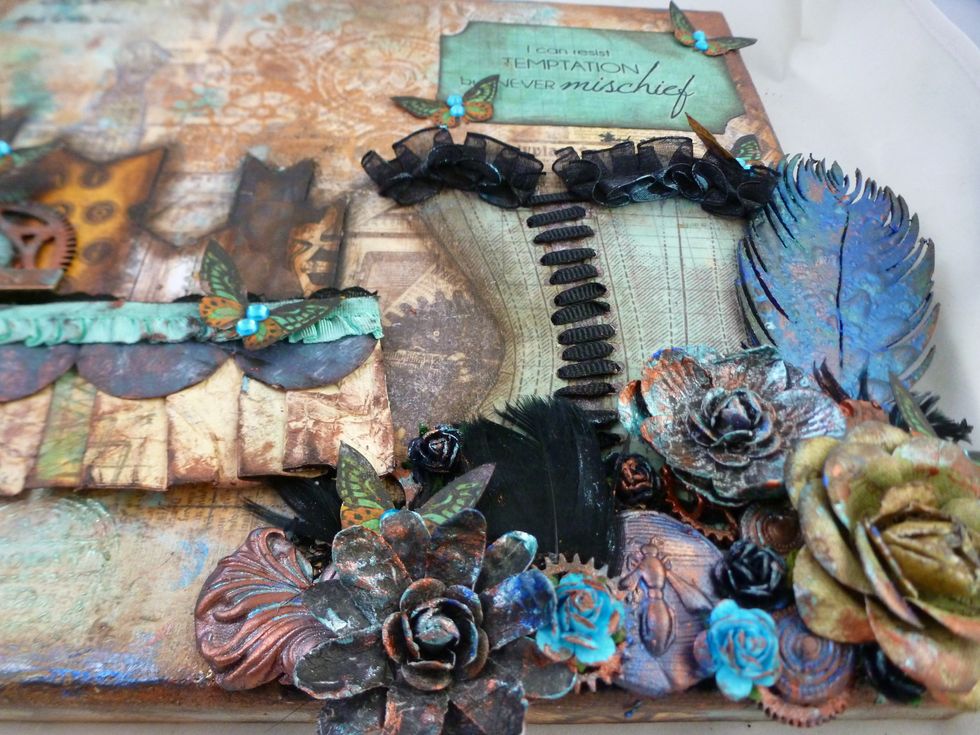
Add quote and layer embellishements. Finish with adding some paint to embellishments to tie together. Add trim to top of corset.

Add some bling and hit areas that you want to darken and along the sides with a Prima Chalk Edger in dark rust.